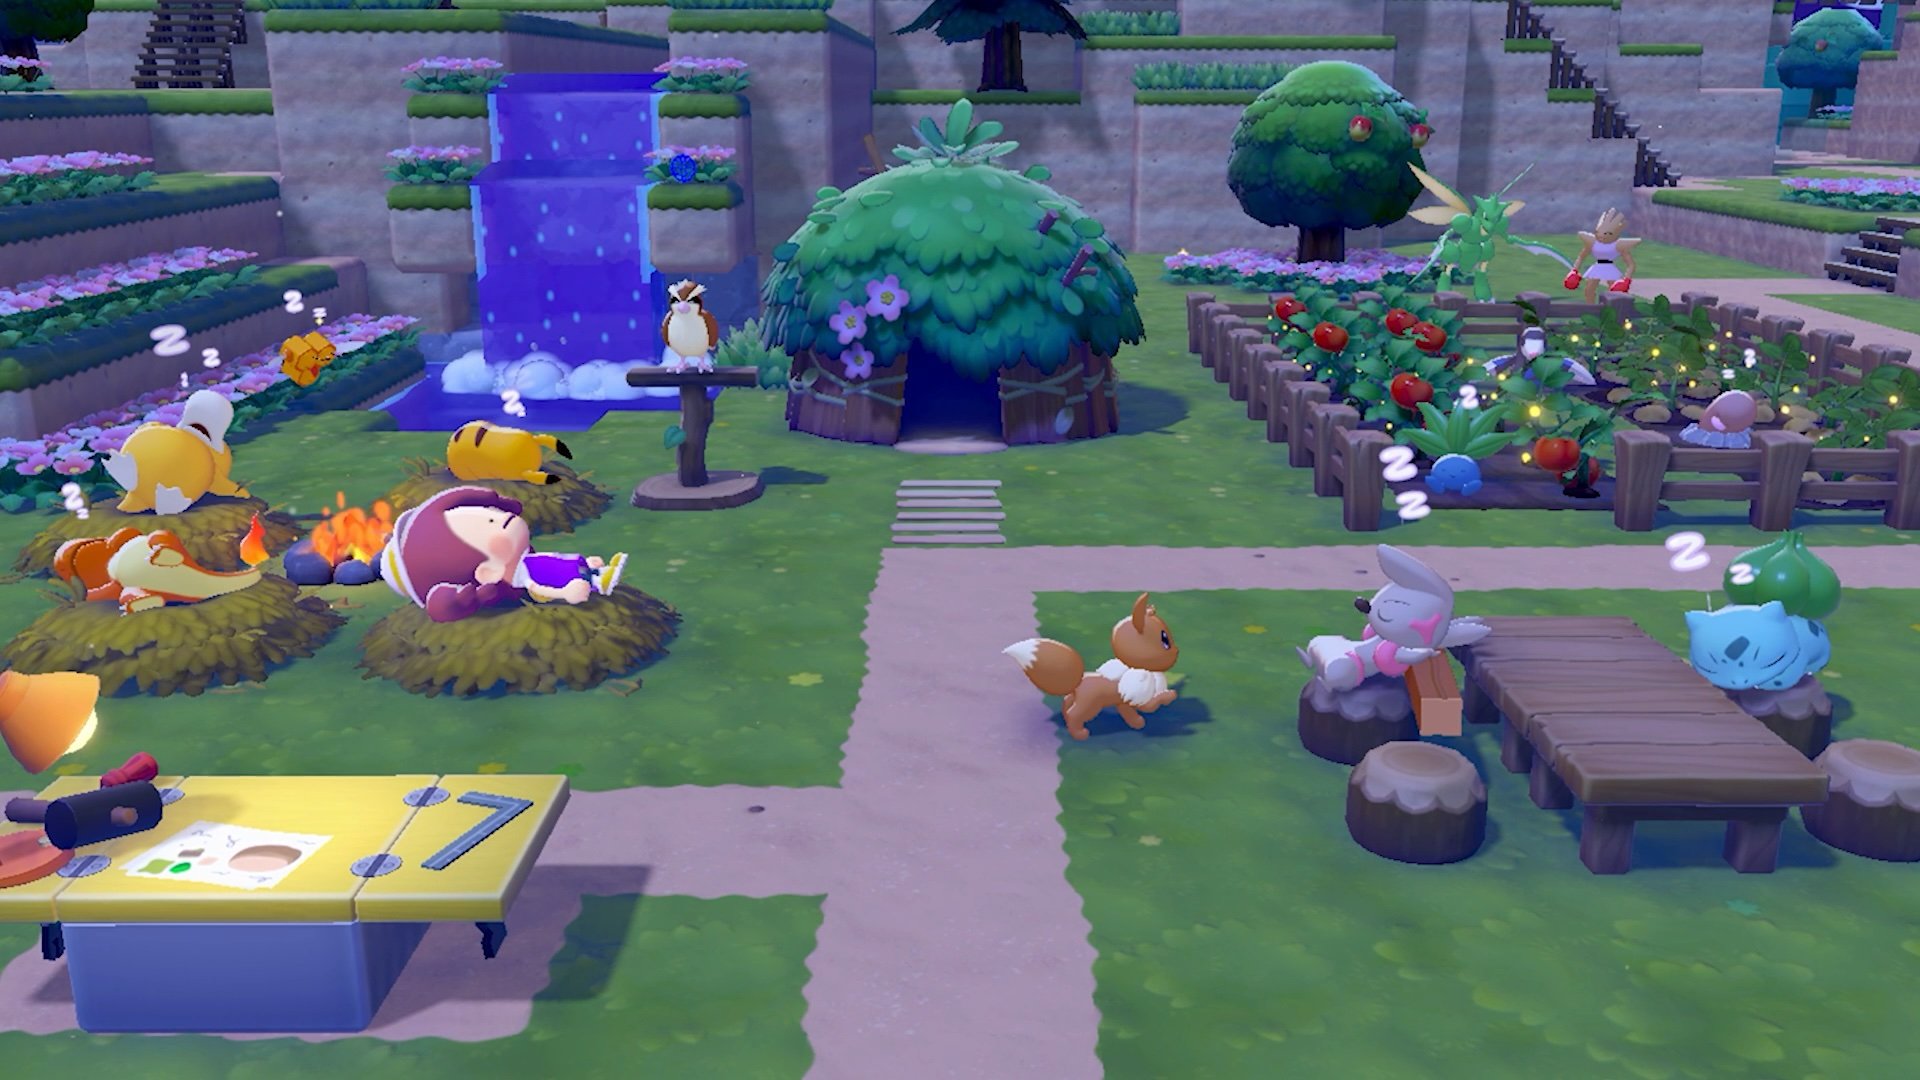
Overview
The Habitat Dex is the in-game catalog tracking all 213 habitats in Pokemon Pokopia. Each habitat has specific item requirements and attracts certain Pokemon. Build habitats by placing the required items near each other; a sparkle confirms correct construction. This page lists every habitat with its icon, requirements, and Pokemon spawns.
How Habitats Work
Check the Habitat Dex for a Pokemon's requirements (accessible from the Pokedex menu).
Gather the necessary terrain blocks, plants, and crafted items.
Place them near each other within a certain range. Exact positioning is not required; items just need to be within proximity.
A sparkle notification confirms the habitat is correctly constructed.
Wait for the Pokemon to appear (some appear immediately; others require specific time of day or weather).
Interact with the Pokemon and ask it to follow you.
Lead it to a furnished house and invite it to move in.
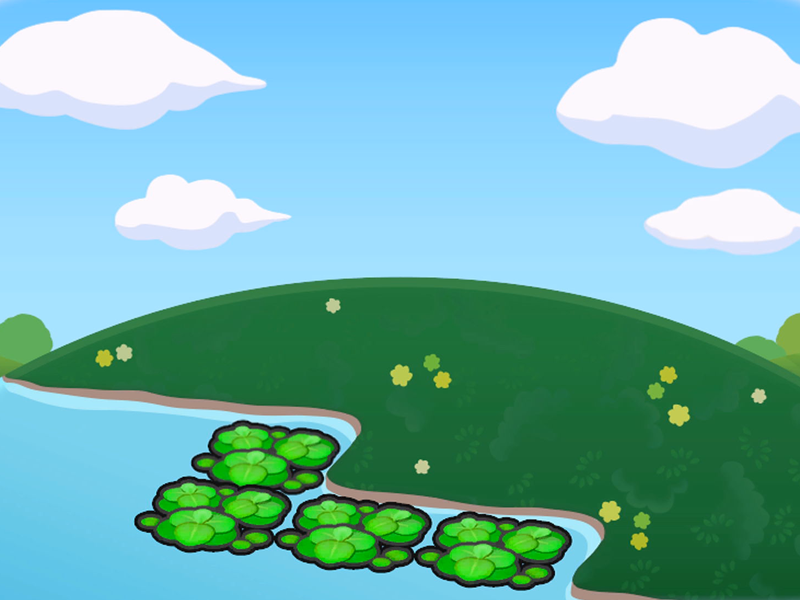
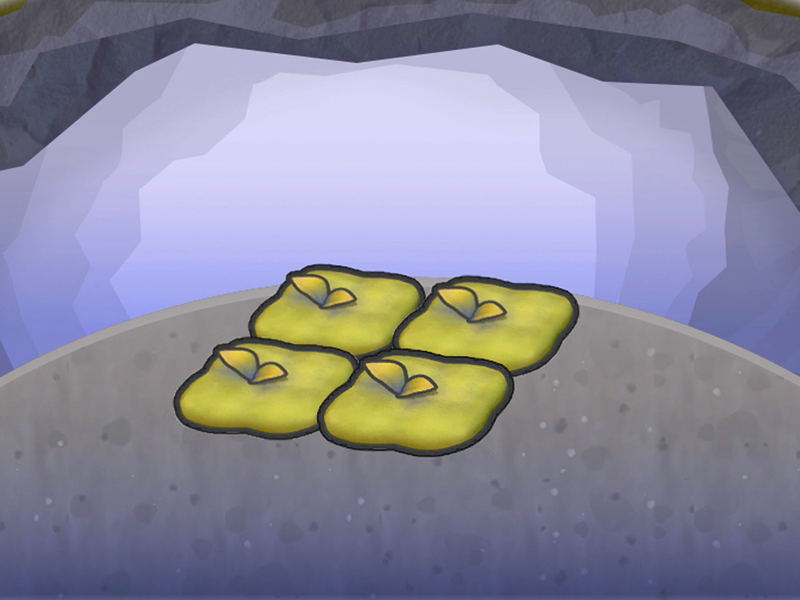
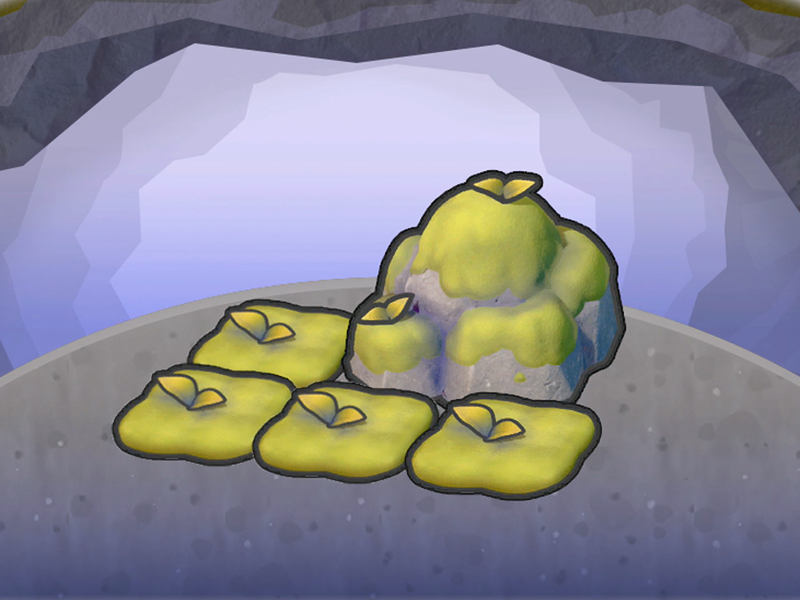
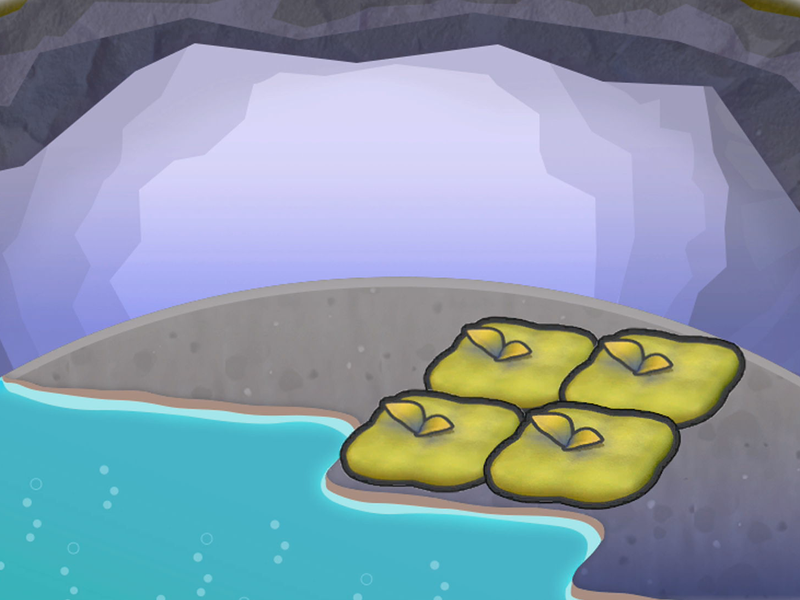
Location matters: Placing the same combination of items in a different setting (near water, at high elevation, indoors, in a cave) can create a completely different habitat. This means identical materials can attract different Pokemon depending on where you build.
Discovering Habitats
Habitats are discovered through three methods:
Pokemon traces: Sparkling spots with a rainbow aura appear on the ground throughout all five regions. Inspect them to learn about a Pokemon's preferred habitat. The recipe is automatically added to your Habitat Dex.
Pokemon conversations: Some befriended Pokemon share hints about habitats when you talk to them.
Pokemon Center PC: Purchase habitat clues from the PC terminal at any rebuilt Pokemon Center.
Once a habitat is registered in the Habitat Dex, you can view its exact requirements (items and terrain) and the list of Pokemon it can attract.
Spawning Rules
One Per Species
You can only befriend one of each Pokemon species. Duplicates cannot be recruited. Once a Pokemon moves into a habitat, no new Pokemon will appear there until you relocate the current resident.
No Evolution
Pokemon do not evolve in Pokopia. This is a fundamental departure from mainline games. Evolved forms like Charizard, Blastoise, and Venusaur exist as separate, rarer spawns that appear in the same or similar habitats as their pre-evolved forms. Each evolved form has its own Pokedex entry.
Guaranteed Rare Spawns
Once you have caught all common species for a particular habitat, the next spawn is guaranteed to be the rare evolved form. This works because you cannot attract duplicate Pokemon. When all common options are exhausted, only the rare evolved form remains as a possibility. Some habitats exclusively spawn certain evolved forms (like "Floating in the Shade" for Blastoise), providing a shortcut.
Befriending Pokemon
Once you build a habitat, you can interact with it to make a Pokemon appear. Walk up to the habitat and press the interact button to summon a visiting Pokemon. If the Pokemon likes the habitat, you can ask it to stay and it will take up residence there.
Befriended Pokemon may ask for Requests, which are side quests that reward items, recipes, or new Moves. Moves let you transform terrain: add grass tiles, plant flowers, destroy stone blocks, cultivate soil, and more. Completing a Pokemon's requests also increases its Comfort level.
Moving Pokemon to Houses
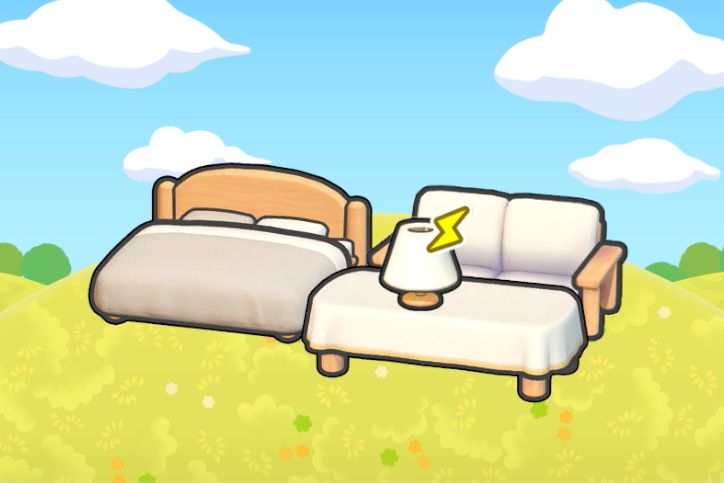
You can move befriended Pokemon from habitats into houses. A house is any structure with four walls and a door. Place at least three pieces of furniture inside to make it livable. Then bring a Pokemon with you, enter the building, and ask it to move in. Pokemon living in houses contribute to the area's Environment Level based on their Comfort tier.
Weather and Time Conditions
Some Pokemon only appear under specific environmental conditions:
Weather-Exclusive
Weather | Pokemon |
|---|---|
Rain | |
Sunshine |
Set up Rain Dance Sites and Sunny Day Sites early using Castform Weather Charms to control weather in each area.
Time-Exclusive
Time | Pokemon |
|---|---|
Daytime only | |
Nighttime only |
The game uses the Nintendo Switch 2 system clock, so in-game time matches real-world time. You can adjust the system clock to switch between day and night without penalty.
Area-Exclusive
Eevee and all Eeveelutions are exclusive to Palette Town. Build Pretty Flower Bed habitats there to attract Eevee, then construct additional habitats for Vaporeon, Jolteon, Flareon, Espeon, Umbreon, Leafeon, Glaceon, and Sylveon.
Pokemon Comfort
After a Pokemon moves in, its comfort level determines how much it contributes to the area's Environment Level. Comfort is measured in six tiers:
Tier | Description |
|---|---|
Awesome | Highest rating; Pokemon gives random gifts and uses your character name |
Great | Very happy; may have one minor request remaining |
Nice | Some preferences met; room for improvement |
Average | Default starting point for newly placed Pokemon |
No Home | Pokemon lacks housing or has been displaced |
Comfort is increased by:
Furniture matching: Place furniture that matches the Pokemon's personality and style preferences. Check the Pokedex entry for each species.
Food: Feed them cooked meals with their preferred flavor (Sweet, Sour, Spicy, Bitter, or Dry).
Requests: Complete individual requests shown as thought bubbles above their heads. These provide the largest comfort boosts.
Bed sizing: Give larger Pokemon appropriately sized beds. A small bed for a large Pokemon reduces comfort.
Decoration: Add items they enjoy to their habitat and home.
Direct inquiry: Ask "How's your comfort level?" and they tell you exactly what they need in orange-highlighted text.
Using the Habitat Dex
Access the Habitat Dex from the Pokedex menu (press Plus, then navigate to the Habitat Dex tab). The interface uses color coding and icons to show your progress:
Indicator | Meaning |
|---|---|
Full color entry | You have built this habitat at least once |
Greyed-out entry | You have discovered the habitat recipe but have not built it yet |
Hidden entry | You have not discovered this habitat; find Pokemon traces to reveal it |
Green Poke Ball | All Pokemon that can spawn at this habitat have been registered in your Pokedex |
Grey Poke Ball | Additional undiscovered Pokemon can still appear at this habitat |
Regional Variants
Certain habitat materials are region-specific. Each of the four main regions has its own grass type, flower type, and hedge type. Palette Town is the exception: it can use all grass, flower, and hedge types from every region, making it the most flexible area for habitat construction.
Grass Types by Region
Grass Type | Region | Habitat Range |
|---|---|---|
Tall Grass (green) | #001 - #007 | |
Yellow Tall Grass | #050 - #055 | |
Red Tall Grass | #098 - #103 | |
Pink Tall Grass | #137 - #140 |
Flower Types by Region
Flower Type | Region | Habitat Range |
|---|---|---|
Wildflowers | #008 - #014 | |
Seashore Flowers | #056 - #058 | |
Mountain Flowers | #104 - #106 | |
Skyland Flowers | #142 - #145 |
Hedge Types by Region
Hedge Type | Region |
|---|---|
Adorable Hedge | |
Healthy Hedge | |
Damp Hedge | |
Stylish Hedge |
Spawn Rarity
Each Pokemon that appears in a habitat has a rarity rating shown by star icons:
Rating | Rarity | Notes |
|---|---|---|
★ | Common | Appears frequently; usually the base-form Pokemon |
★★ | Uncommon | Less frequent; may require specific weather or time of day |
★★★ | Rare | Hardest to encounter; often evolved forms or special Pokemon |
Evolved forms are generally rarer than their base forms within the same habitat. Once you have befriended every common and uncommon species from a habitat, the next spawn is guaranteed to be the remaining rare Pokemon, since duplicates cannot appear. Some Pokemon also require specific weather (rain, sunshine) or time of day (daytime, nighttime) to appear.
Time of Day
Period | Hours |
|---|---|
Morning | 6:00 AM - 9:00 AM |
Day | 9:00 AM - 5:00 PM |
Dusk | 5:00 PM - 7:00 PM |
Night | 7:00 PM - 6:00 AM |
Withered Wasteland Habitats (#001-#049)
Withered Wasteland has 49 habitats, from basic grass patches to elaborate themed setups.
Grass Habitats (#001-#007)
Icon | # | Name | Requirements | Pokemon (Rarity) |
|---|---|---|---|---|
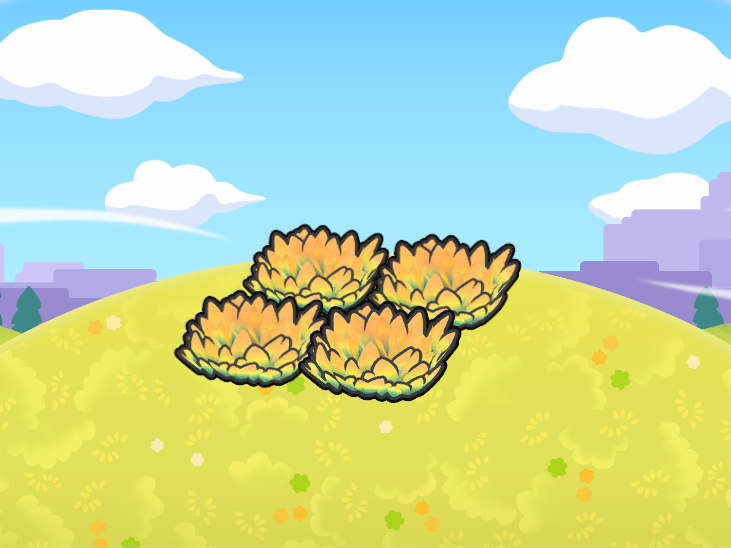
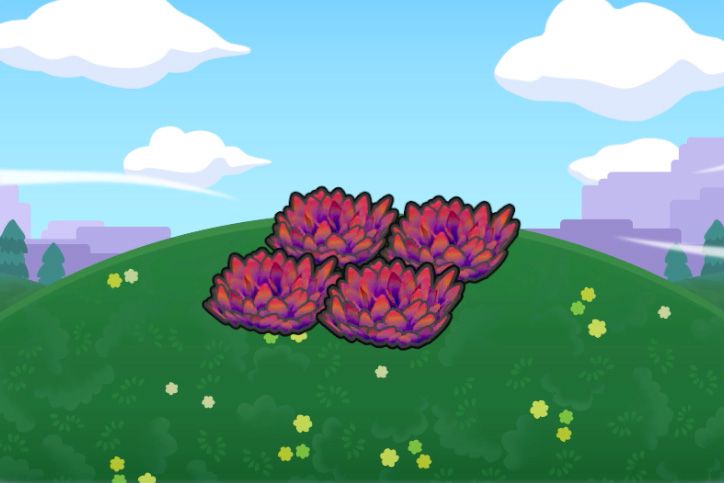
 | #001 | Tall Grass | Tall grass x4 | Squirtle (Common), Bulbasaur (Common), Charmander (Common), Oddish (Common), Geodude (Common), Charizard (Very Rare) |
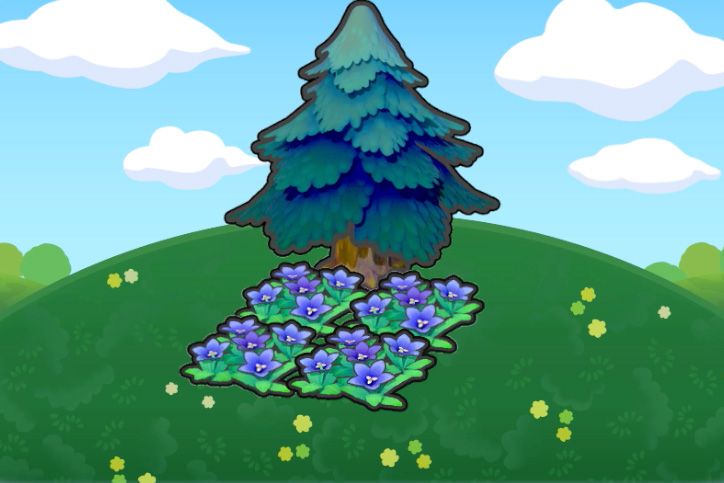
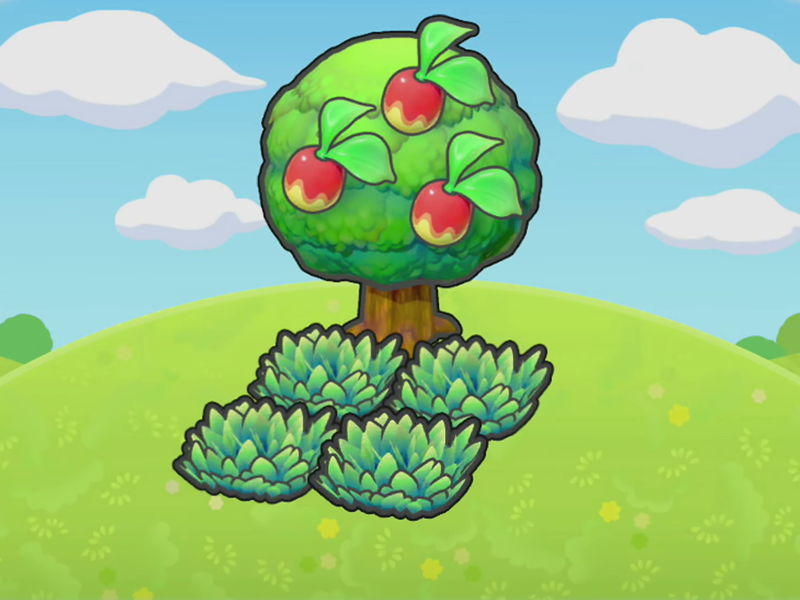 | #002 | Tree-Shaded Tall Grass | Large tree (any) x1, Tall grass x4 | Scyther (Common), Bellsprout (Common), Skwovet (Common), Scizor (Common), Pinsir (Rare), Heracross (Rare) |
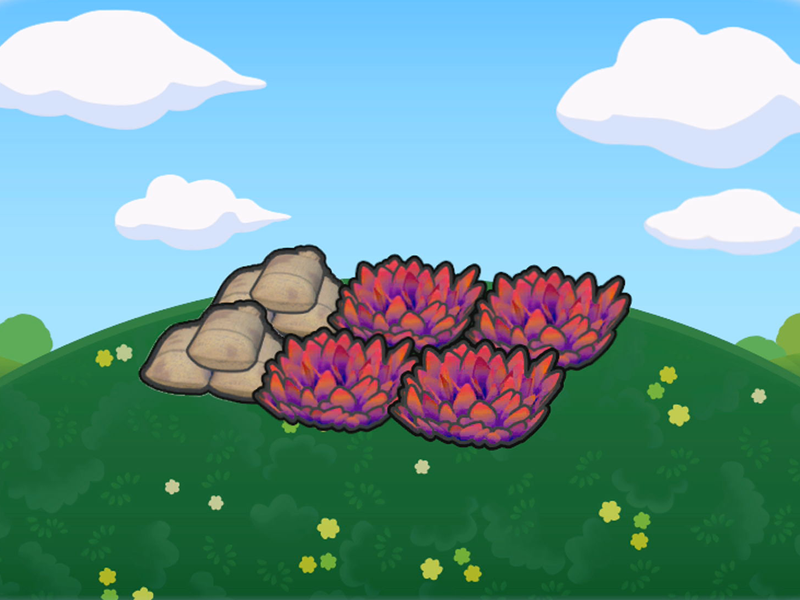
 | #003 | Boulder-Shaded Tall Grass | Tall grass x4, Large boulder x1 | |
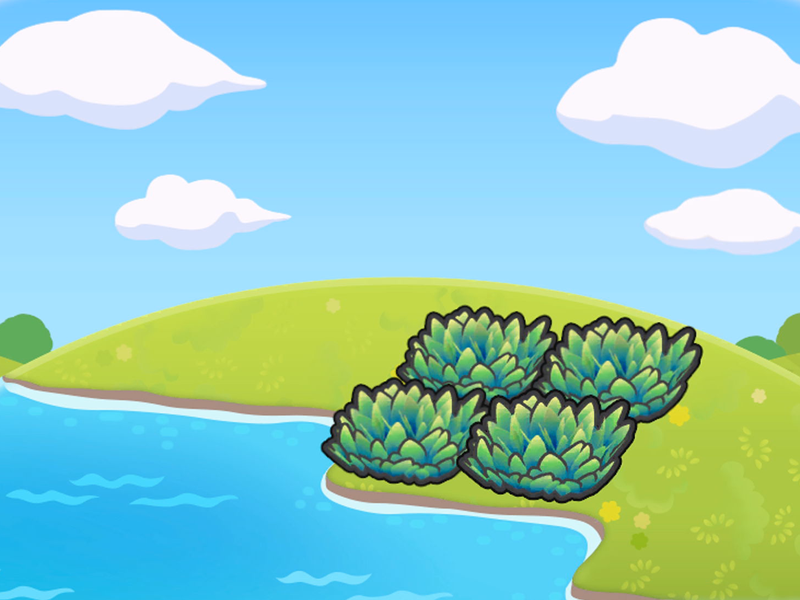
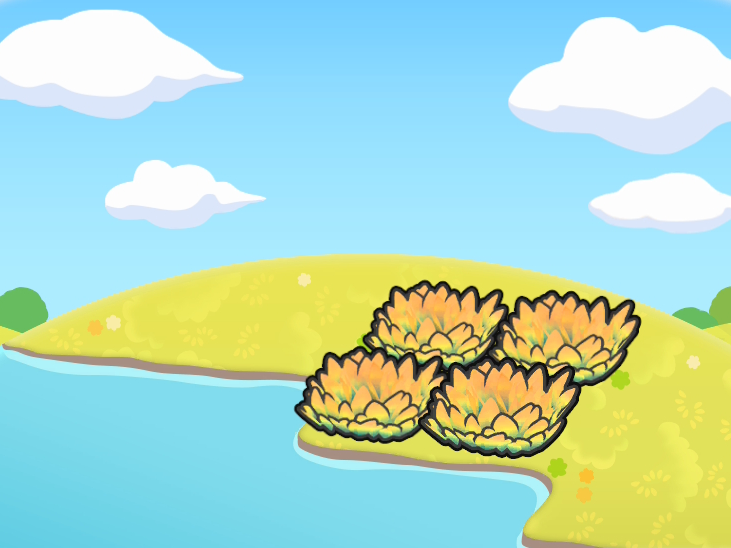
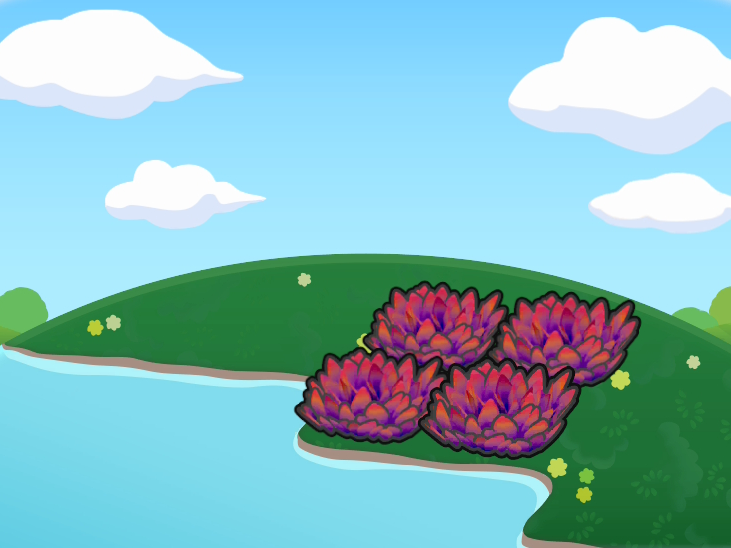
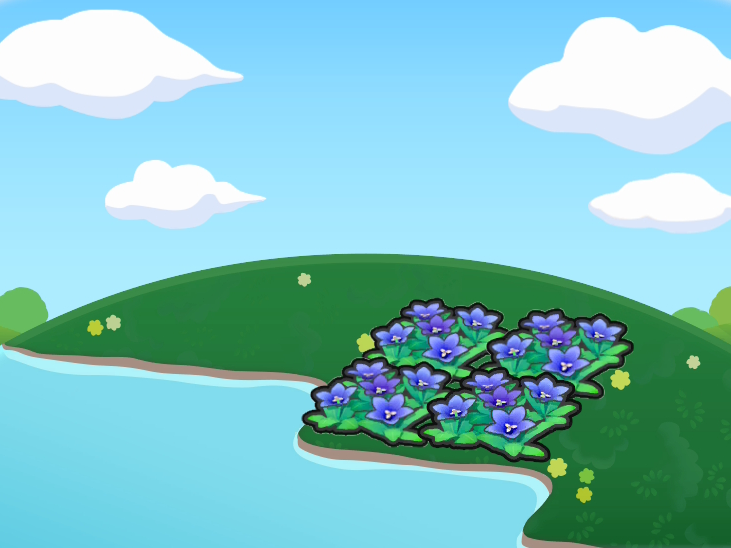
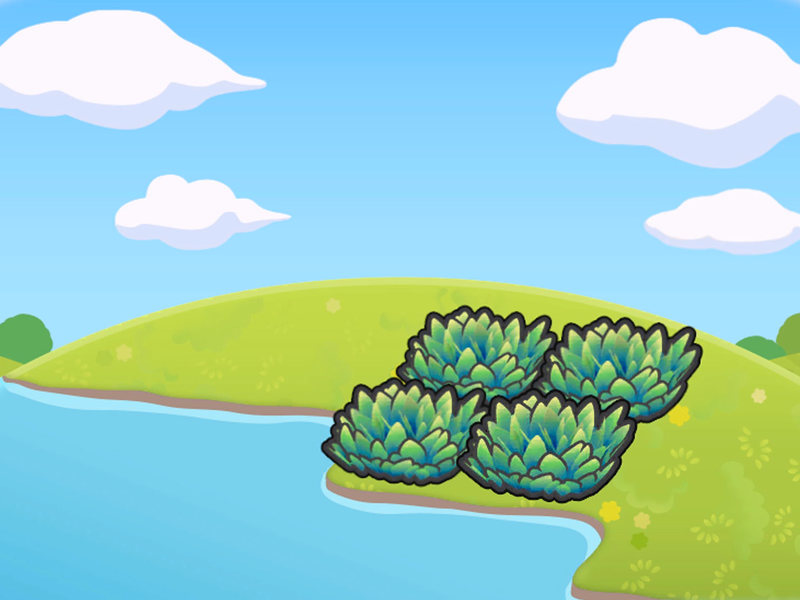 | #004 | Hydrated Tall Grass | Tall grass x4, Water x2 | Squirtle (Common), Sliggoo (Common), Cramorant (Common), Wartortle (Rare), Blastoise (Very Rare) |
 | #005 | Seaside Tall Grass | Tall grass x4, Ocean water x2 | Slowpoke (Common), Slowbro (Very Rare), Slowking (Very Rare) |
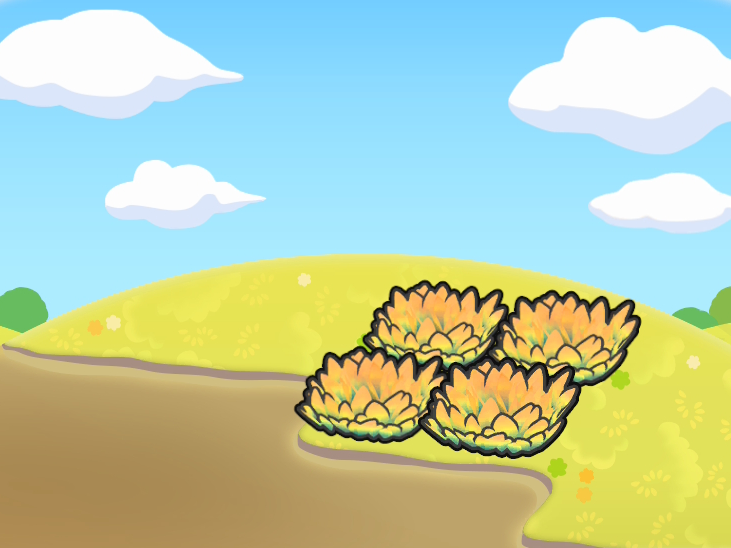
 | #006 | Elevated Tall Grass | Tall grass x4, High-up location x1 | Pidgey (Common), Hoothoot (Common), Pidgeotto (Rare), Noctowl (Rare) |
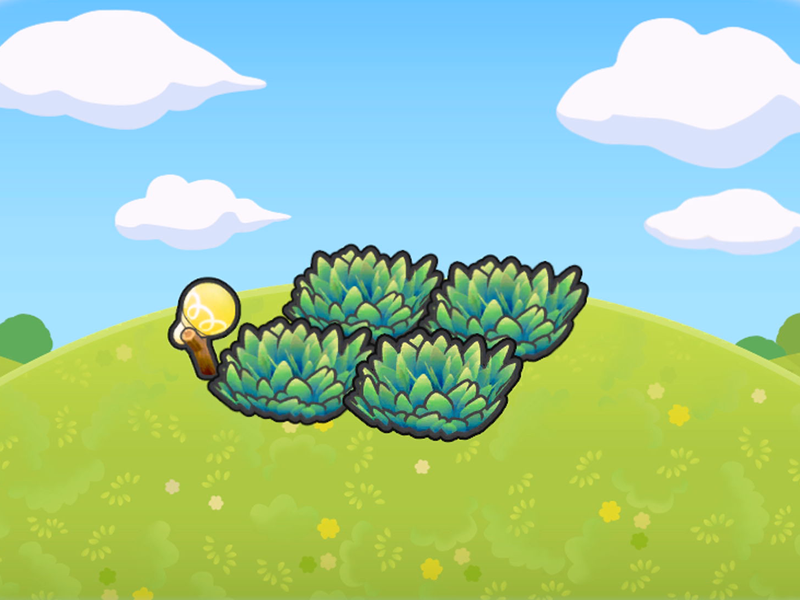 | #007 | Illuminated Tall Grass | Tall grass (any) x4, Lighting (any) x1 |
Flower Habitats (#008-#014)
Icon | # | Name | Requirements | Pokemon (Rarity) |
|---|---|---|---|---|
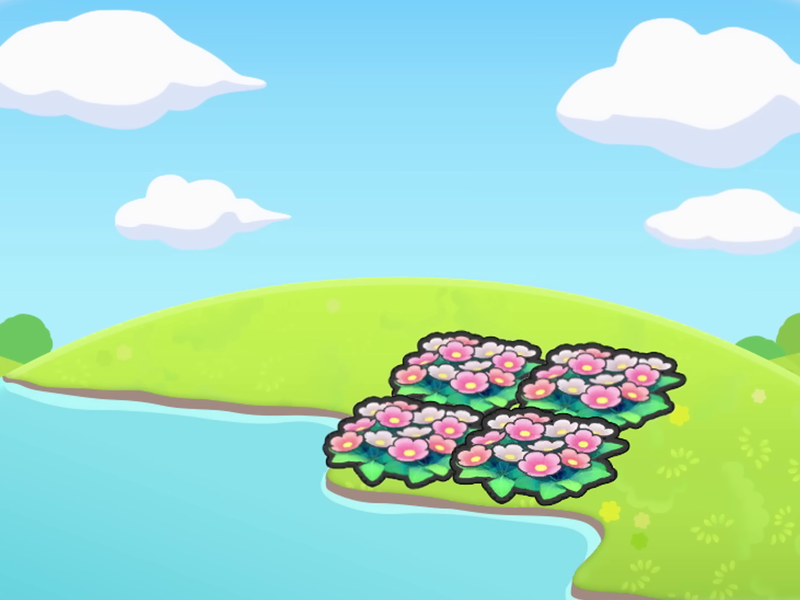
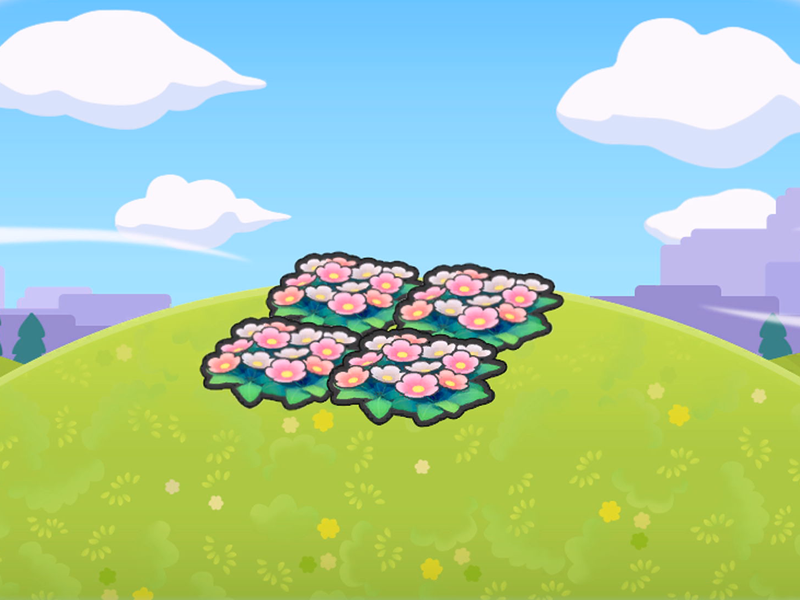
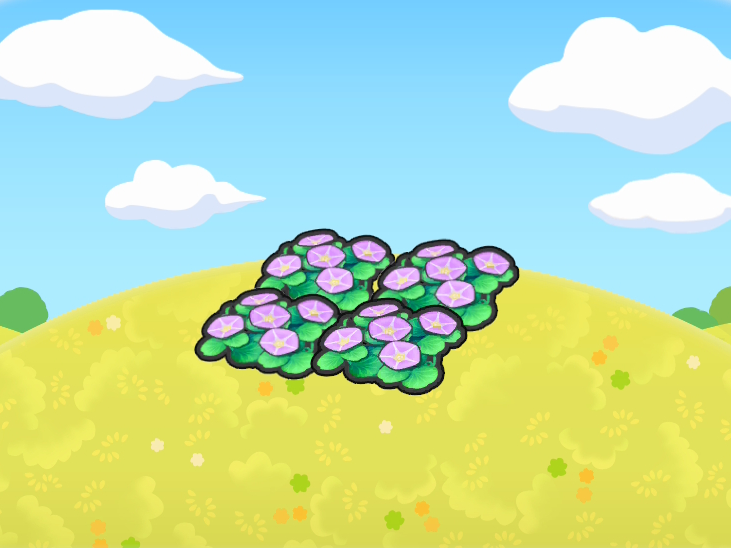
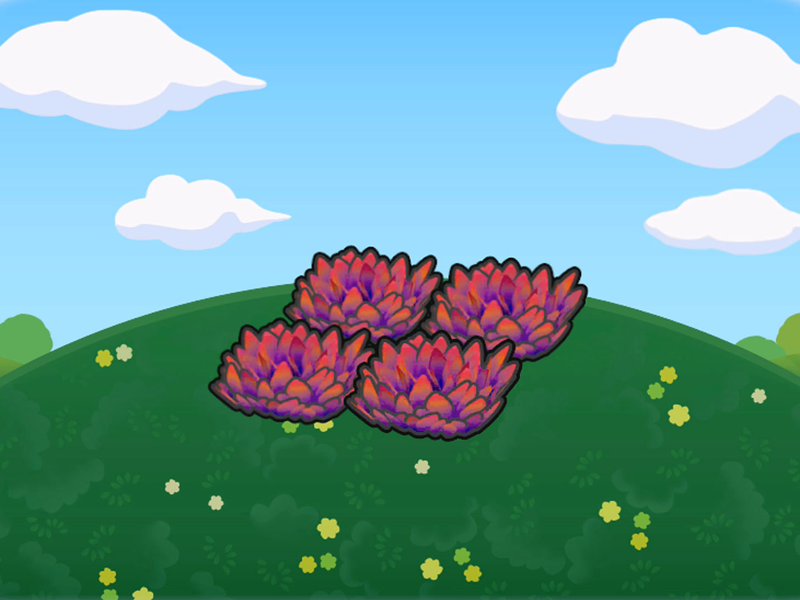
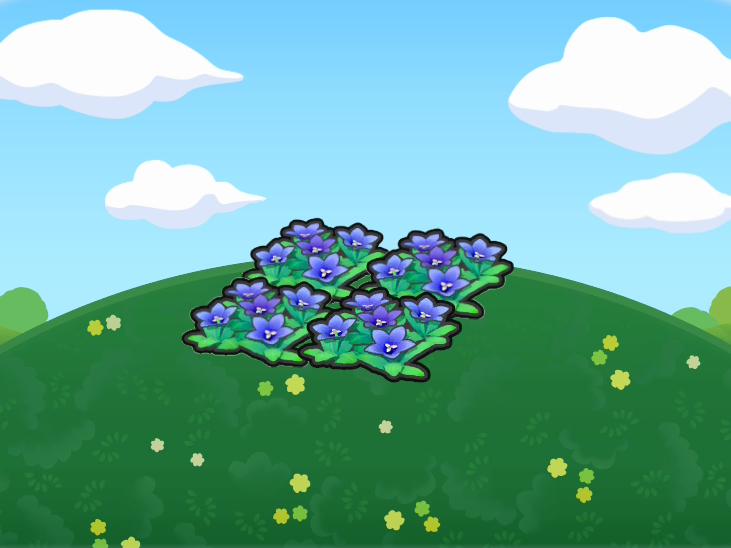
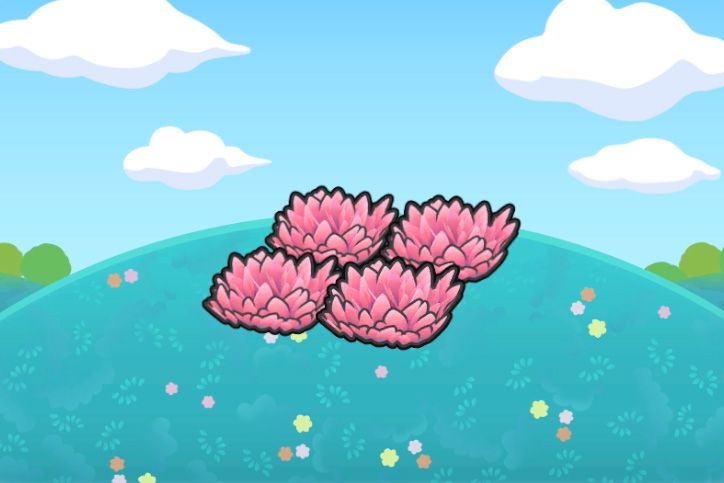
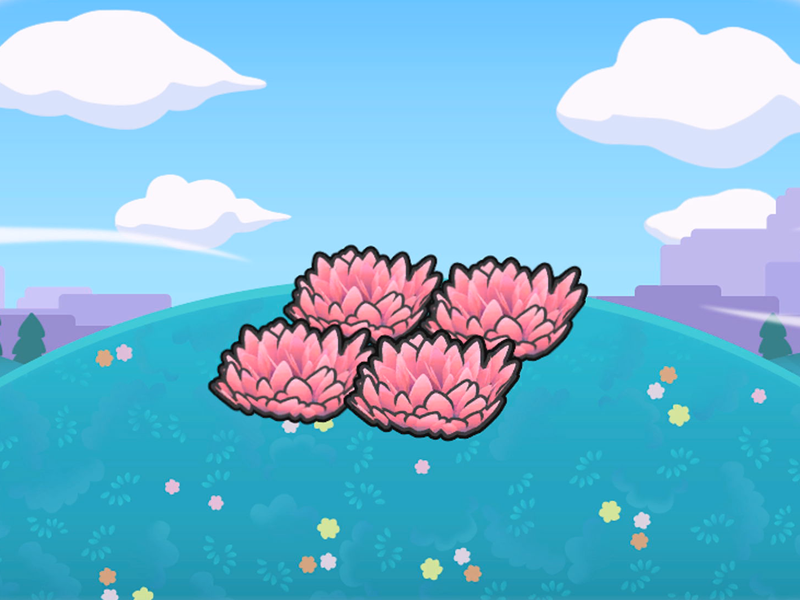
 | #008 | Pretty Flower Bed | Wildflowers x4 | Pidgey (Common), Combee (Common), Magby (Common), Hoothoot (Common), Eevee (Common), Pidgeotto (Rare) |
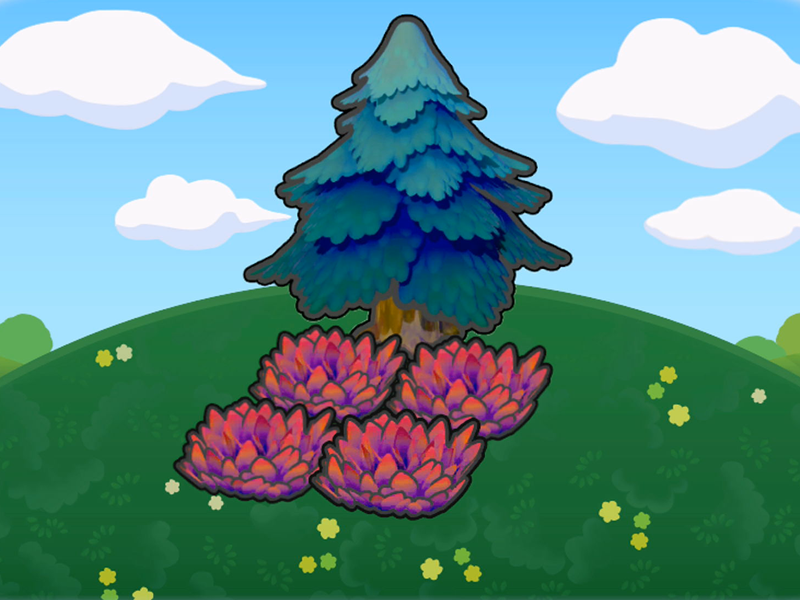
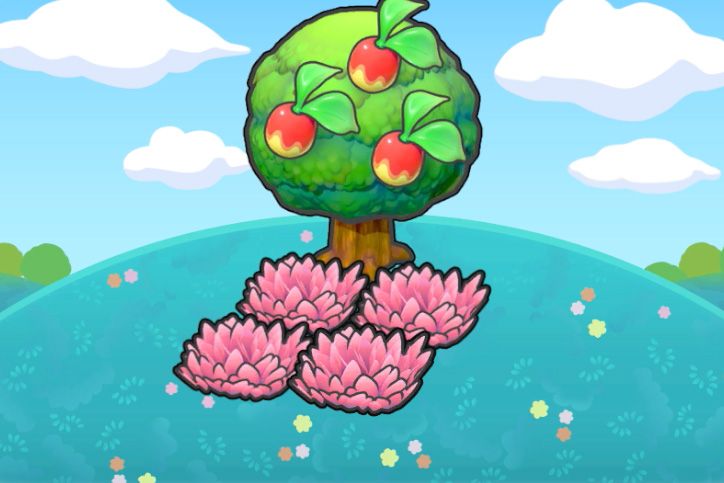
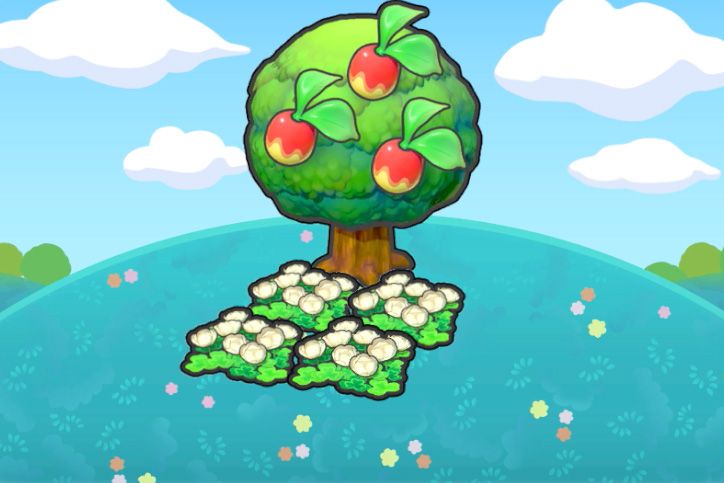
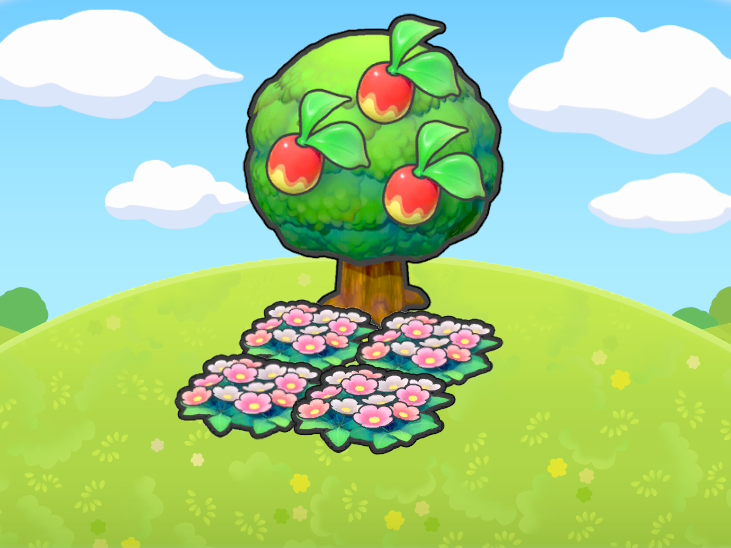 | #009 | Tree-Shaded Flower Bed | Berry tree (any) x1, Wildflowers x4 | |
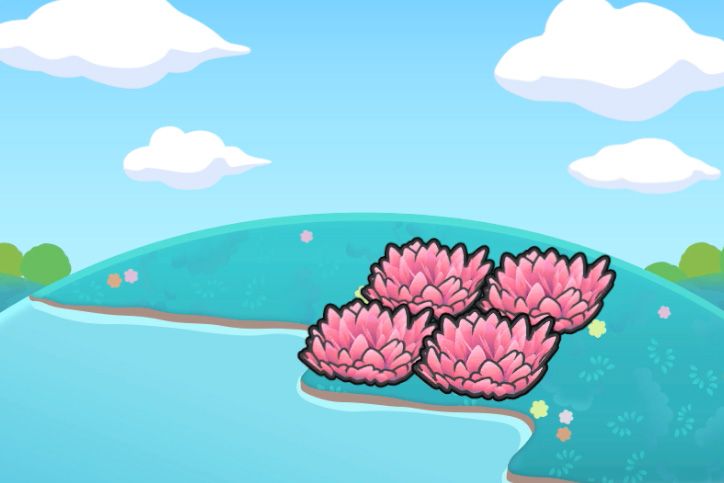
 | #010 | Hydrated Flower Bed | Wildflowers x4, Water x2 | |
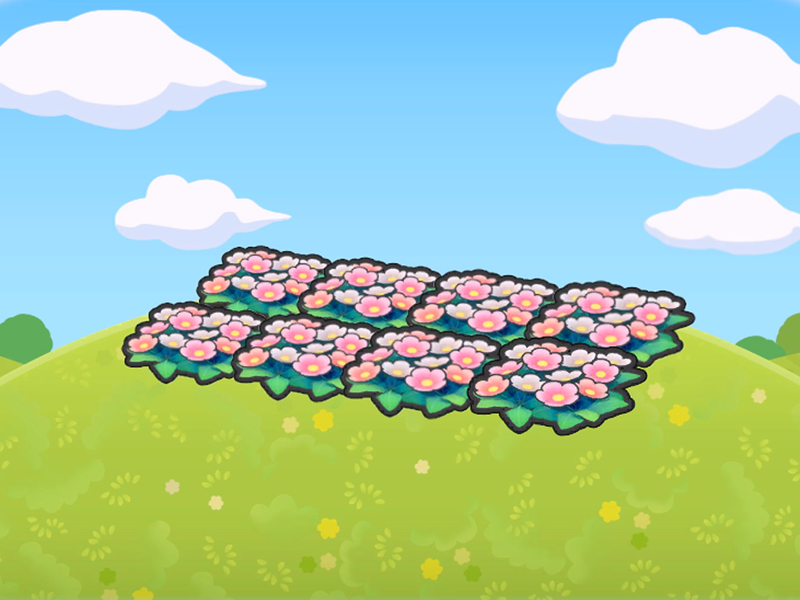 | #011 | Field of Flowers | Wildflowers x8 | |
 | #012 | Elevated Flower Bed | Wildflowers x4, High-up location x1 | |
 | #013 | Grave with Flowers | Wildflowers x4, Gravestone x1 | |
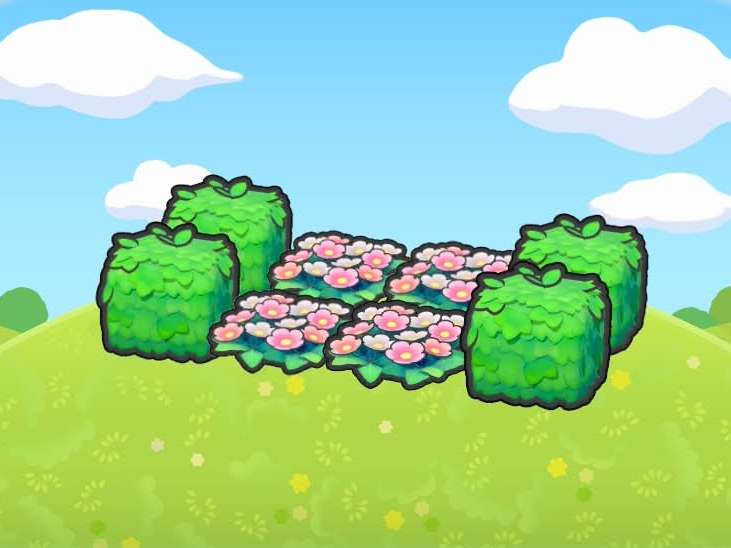 | #014 | Flower Garden | Hedge (any) x4, Wildflowers x4 |
Utility and Specialty Habitats (#015-#049)
Icon | # | Name | Requirements | Pokemon (Rarity) |
|---|---|---|---|---|
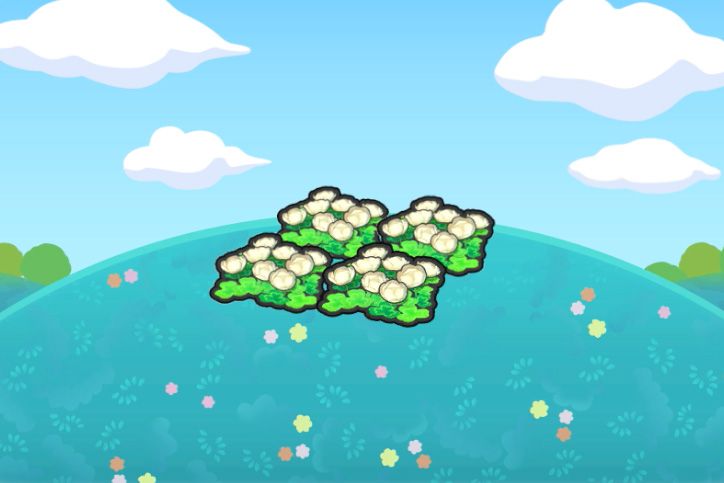
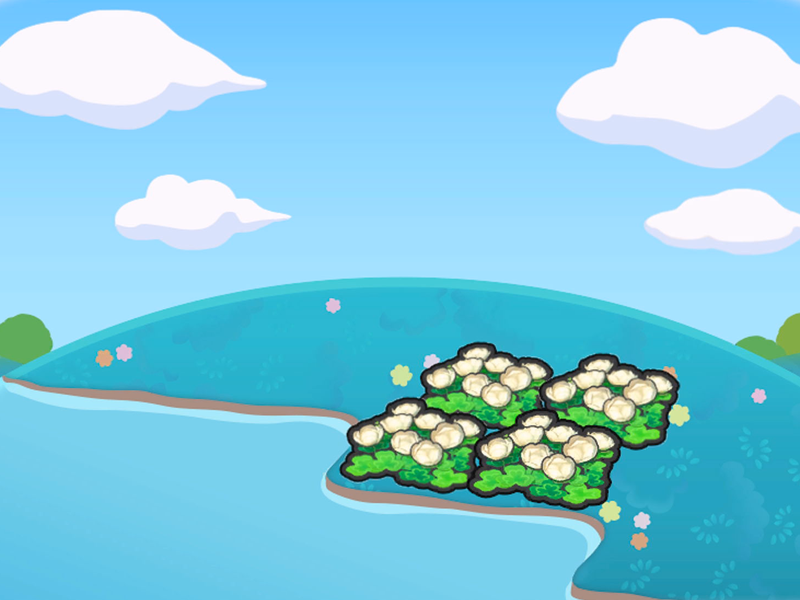
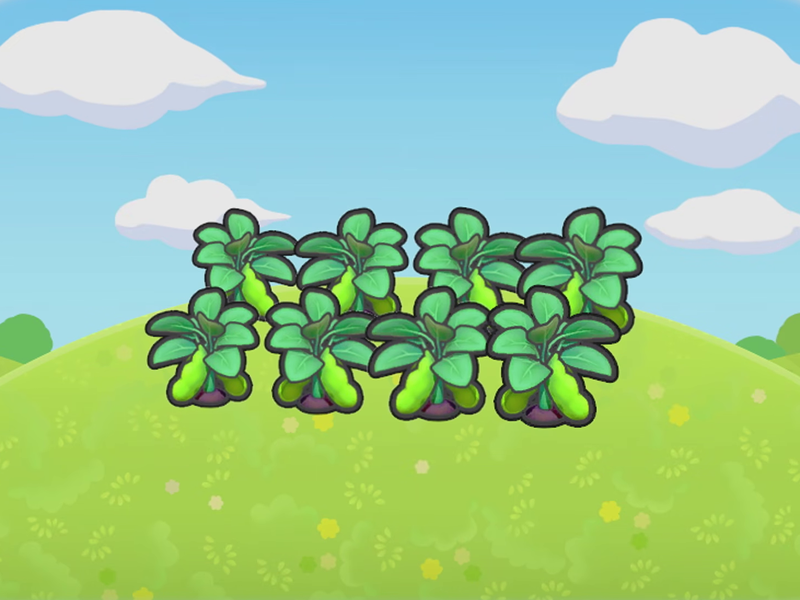 | #015 | Fresh Veggie Field | Vegetable field (any) x8 | |
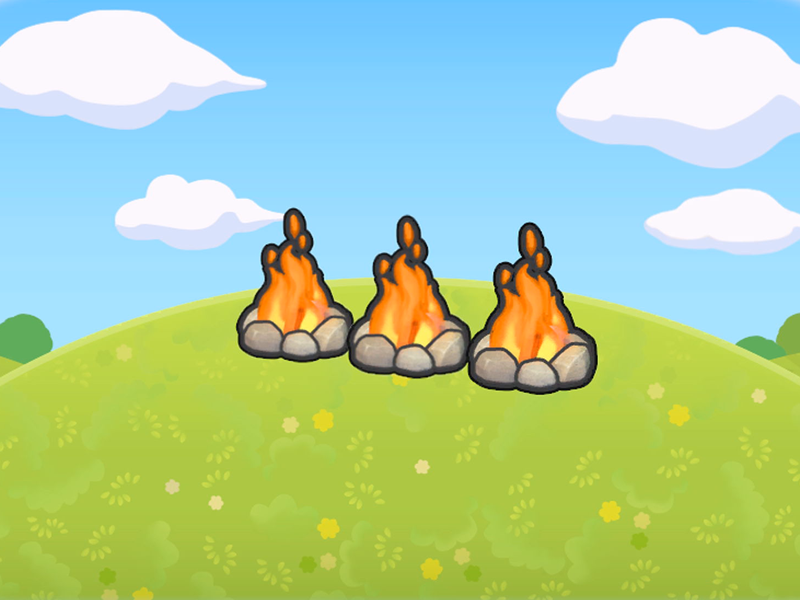 | #016 | Riding Warm Updrafts | Campfire x3 (lit) | Drifloon (Common) |
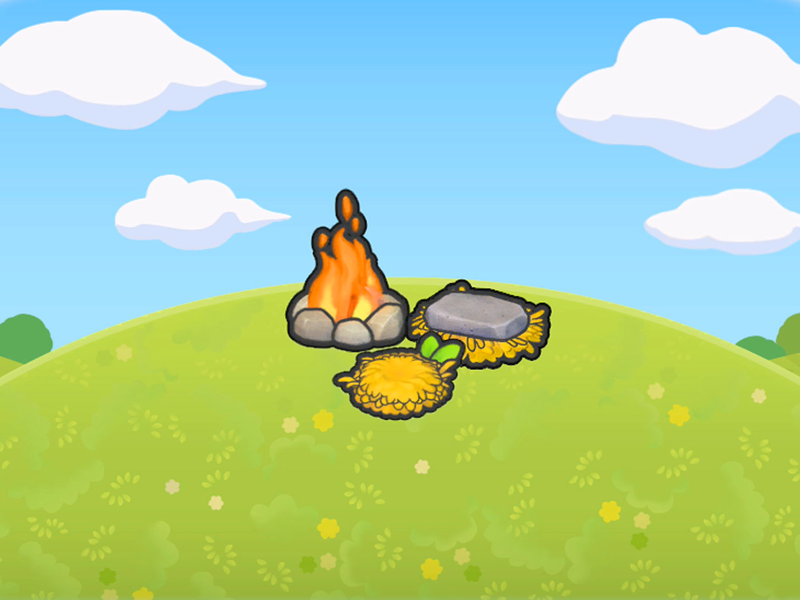 | #017 | Campsite | Campfire x1 (lit), Straw table x1, Straw stool x1 | Charmeleon (Rare) |
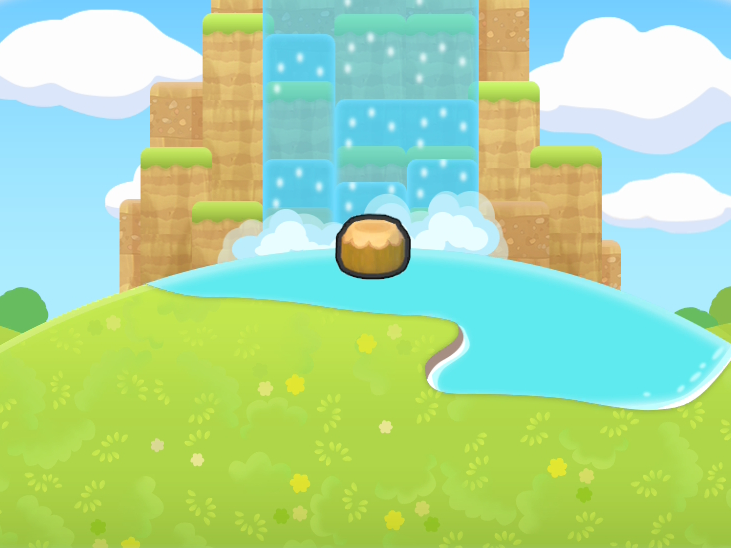 | #018 | Training Waterfall | Seat (any) x1, Water x2, Waterfall x1 | Tyrogue (Common) |
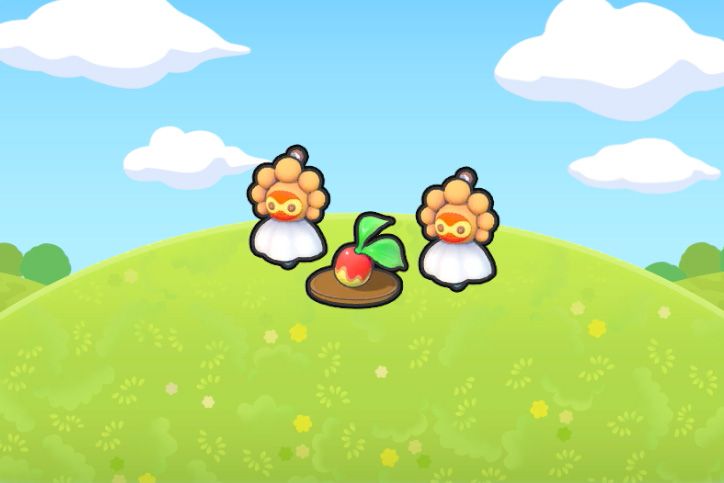
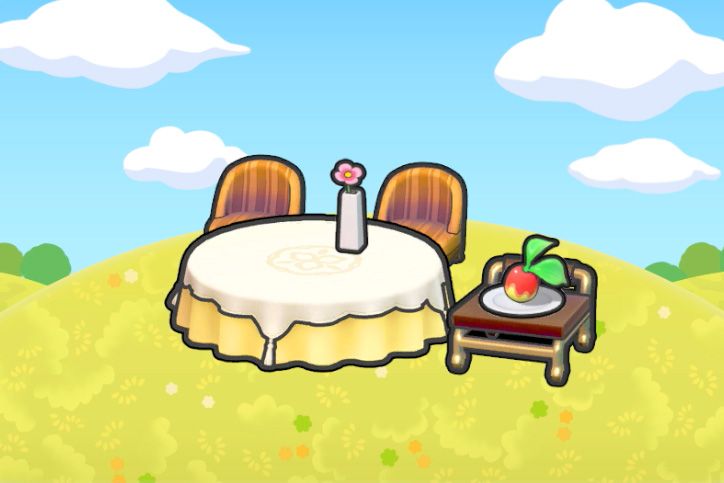
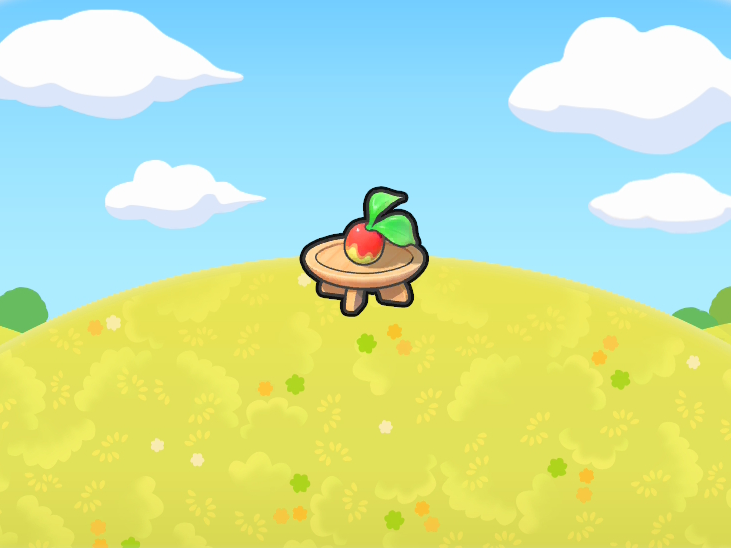
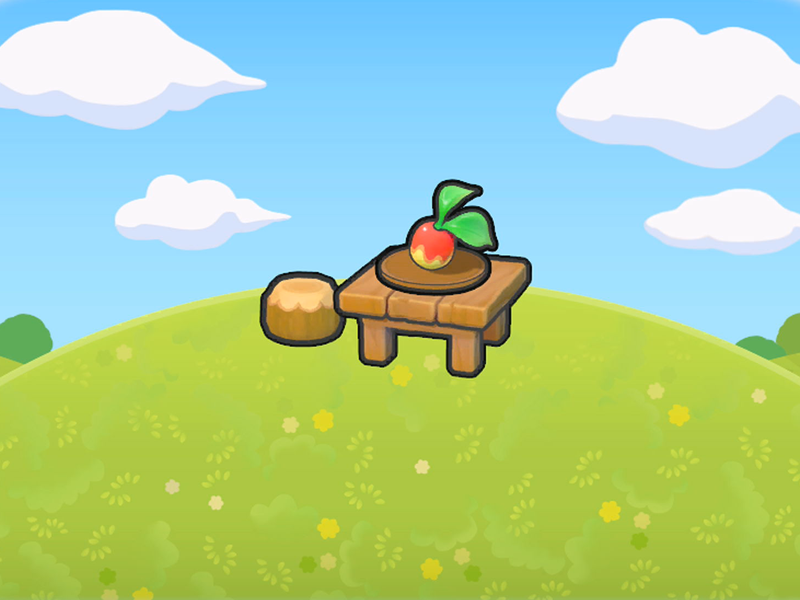 | #019 | Tantalizing Dining Set | Seat (any) x1, Table (any) x1, Plated food x1 | Gulpin (Common) |
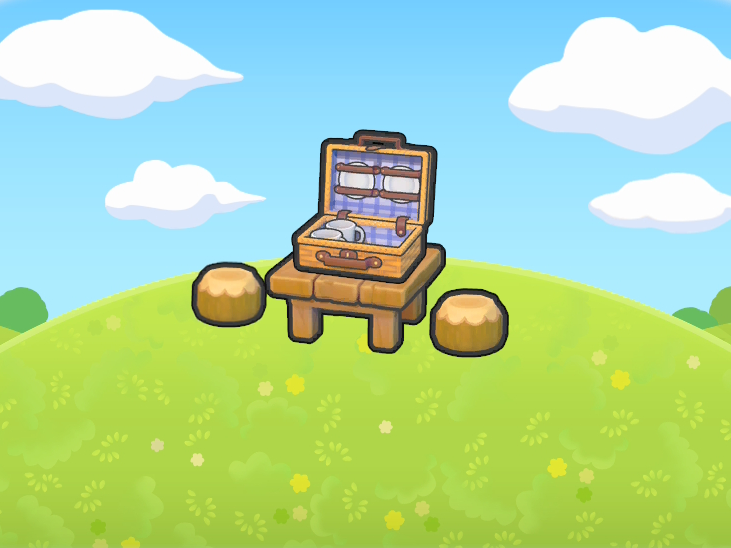 | #020 | Picnic Set | Seat (any) x2, Table (any) x1, Picnic basket x1 | |
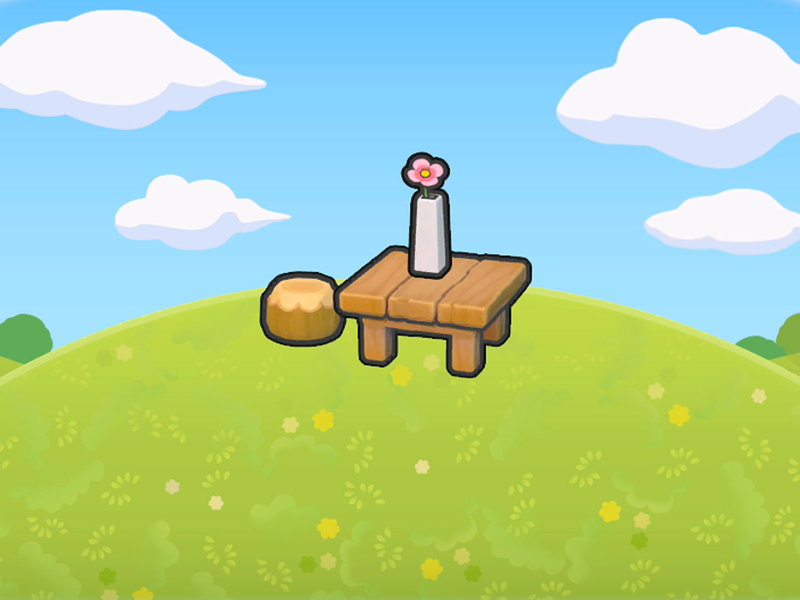 | #021 | Flowery Table | Seat (any) x1, Table (any) x1, Small vase x1 | Weepinbell (Rare), Victreebel (Very Rare) |
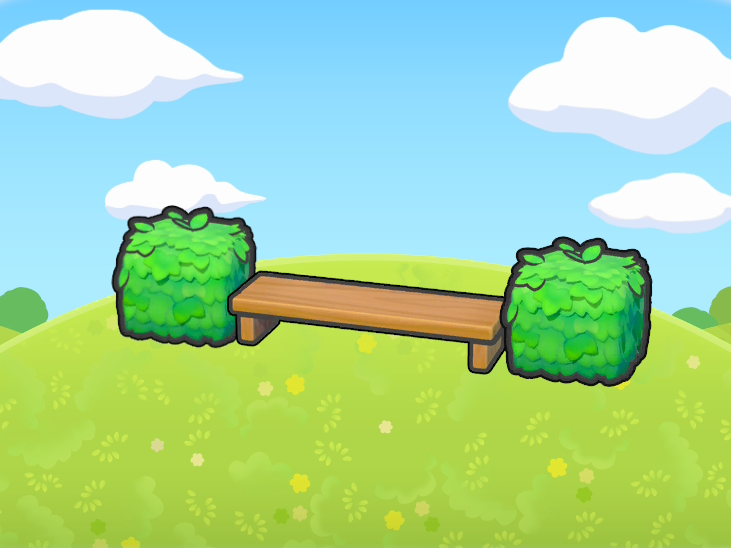 | #022 | Bench with Greenery | Hedge (any) x2, Seat (wide) x1 | |
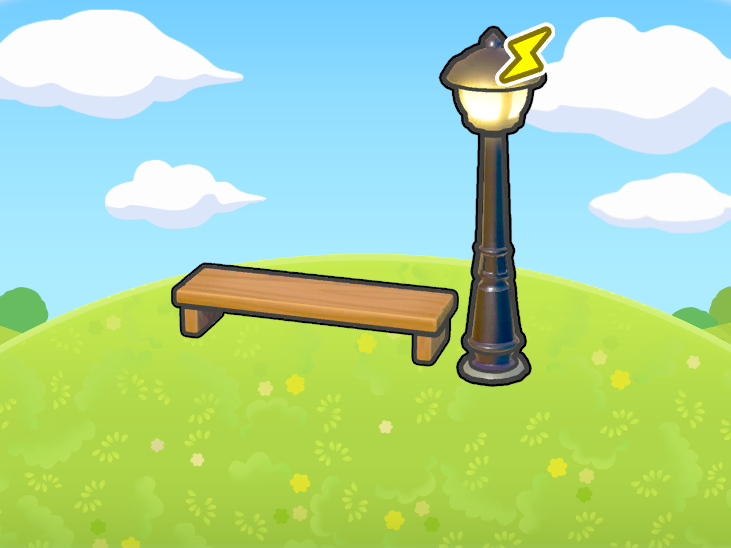 | #023 | Illuminated Bench | Seat (wide) x1, Streetlight (any) x1 (powered) | |
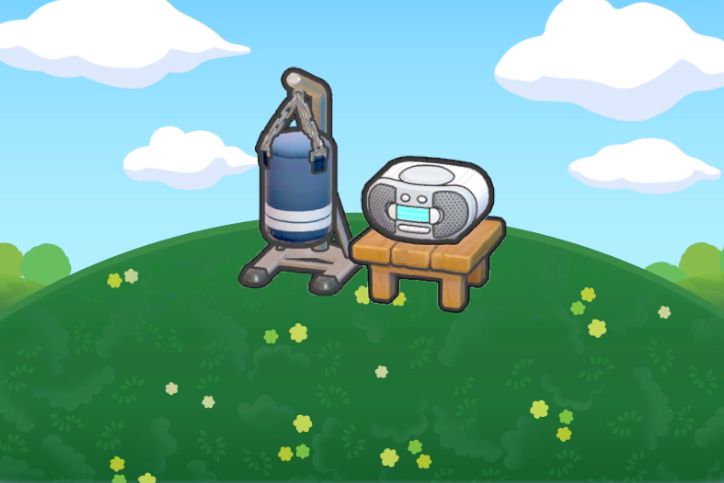
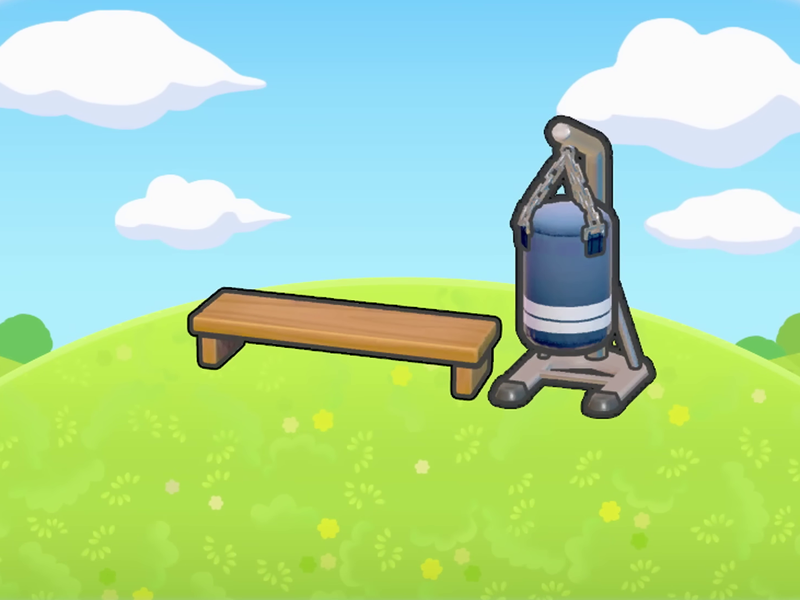 | #024 | Exercise Resting Spot | Punching bag x1, Seat (any) x1 | Hitmonchan (Common) |
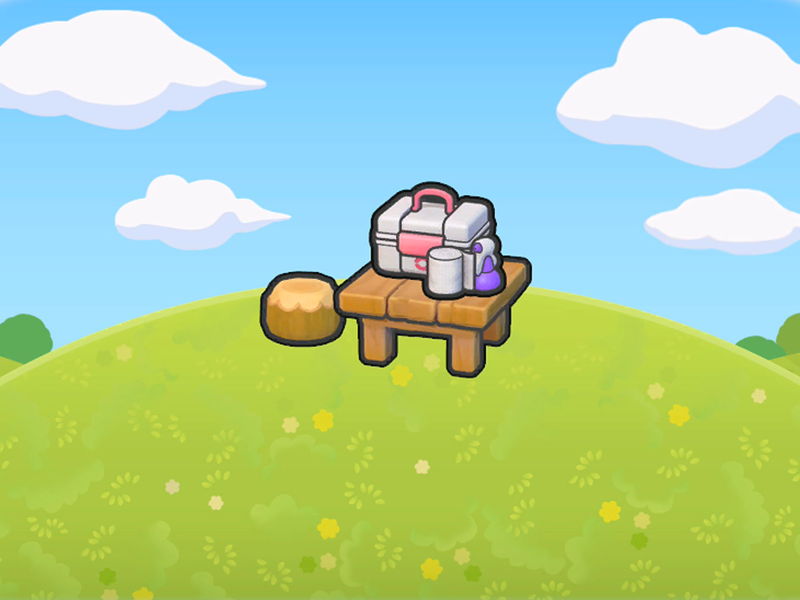 | #025 | Urgent Care | Seat (any) x1, Table (any) x1, First aid kit x1 | Hitmonlee (Common) |
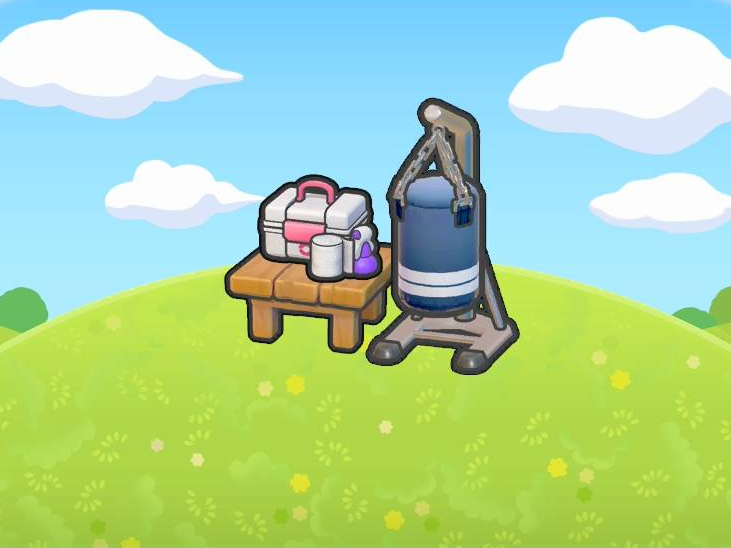 | #026 | Gym First Aid | Table (any) x1, Punching bag x1, First aid kit x1 | Hitmontop (Common) |
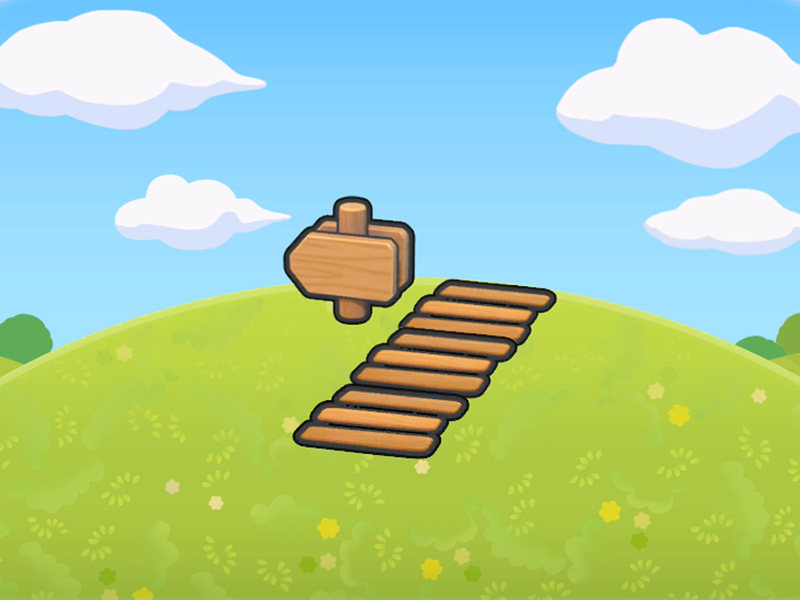 | #027 | Road Sign | Arrow sign x1, Wooden path x3 | Shellos (West Sea) (Rare), Shellos (East Sea) (Rare) |
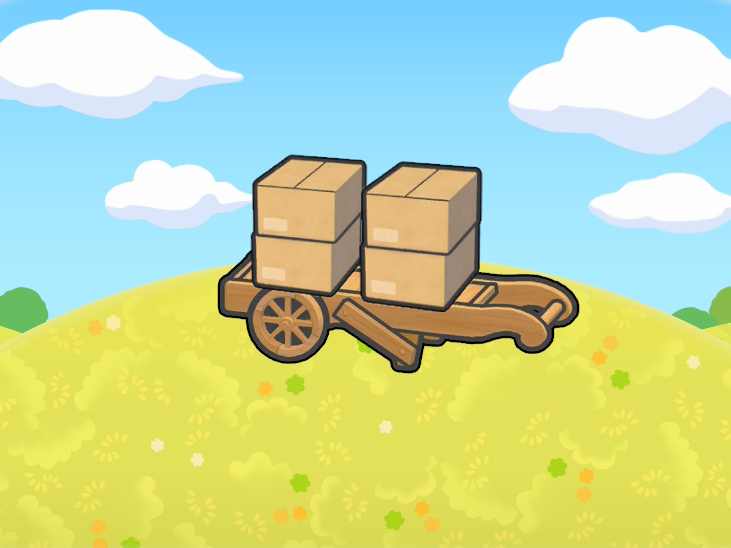
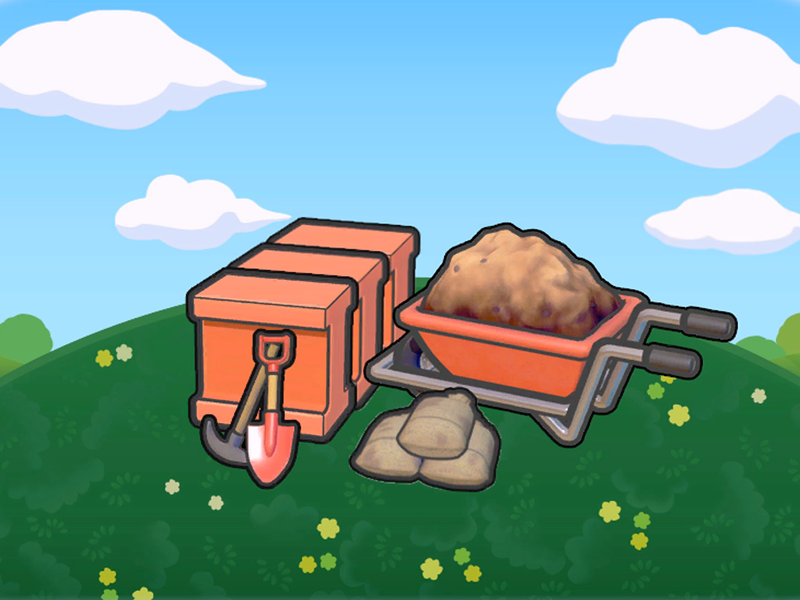
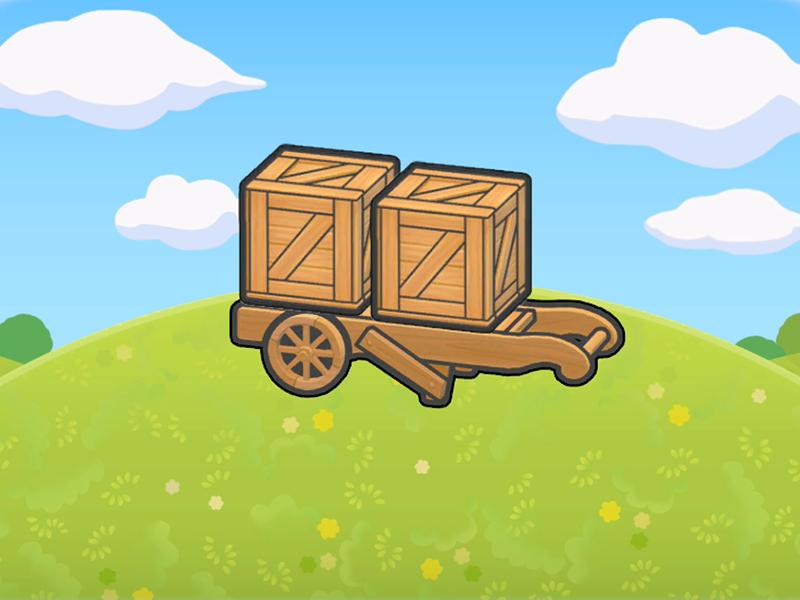 | #028 | Large Luggage Carrier | Cart x1, Wooden crate x2 | |
 | #029 | Lumberjack's Workplace | Log chair x1, Cart x1, Tree stump (any) x1, Log table x1 | |
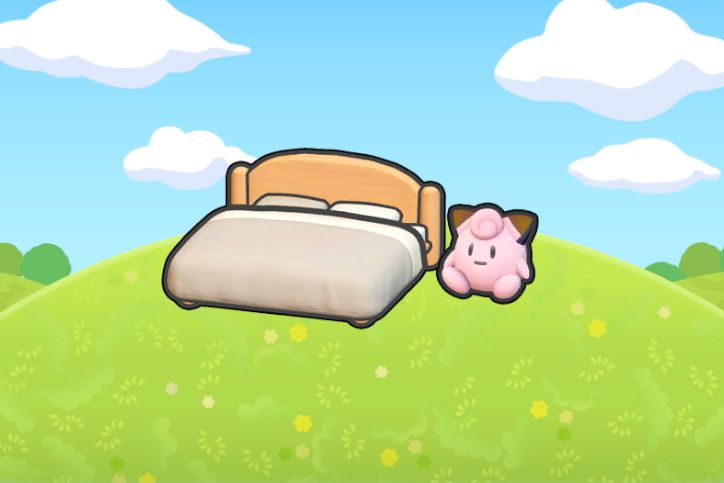 | #030 | Bed with a Plush | Bed (any) x1, Doll (any) x1 | Drifloon (Common), Slowbro (Rare), Slowking (Rare), Munchlax (Rare) |
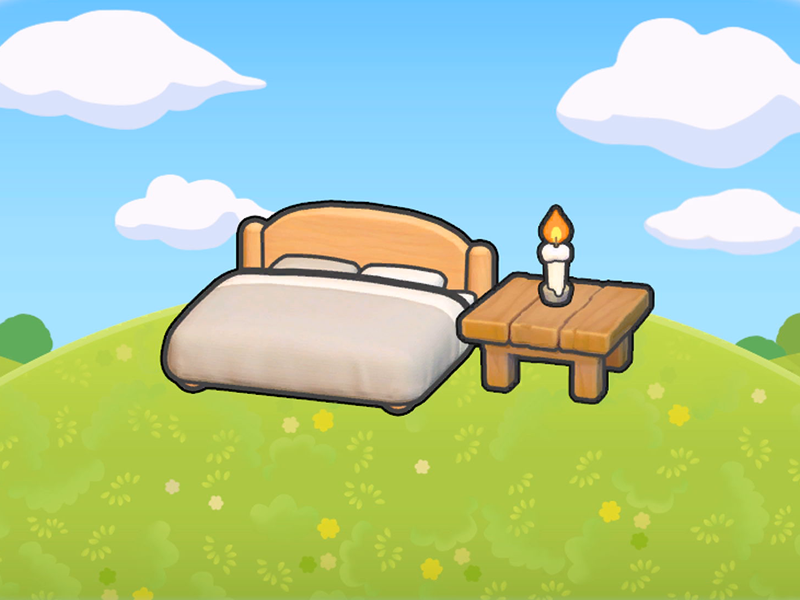 | #031 | Gently Lit Bed | Bed (any) x1, Table (any) x1, Slender candle x1 (lit) | |
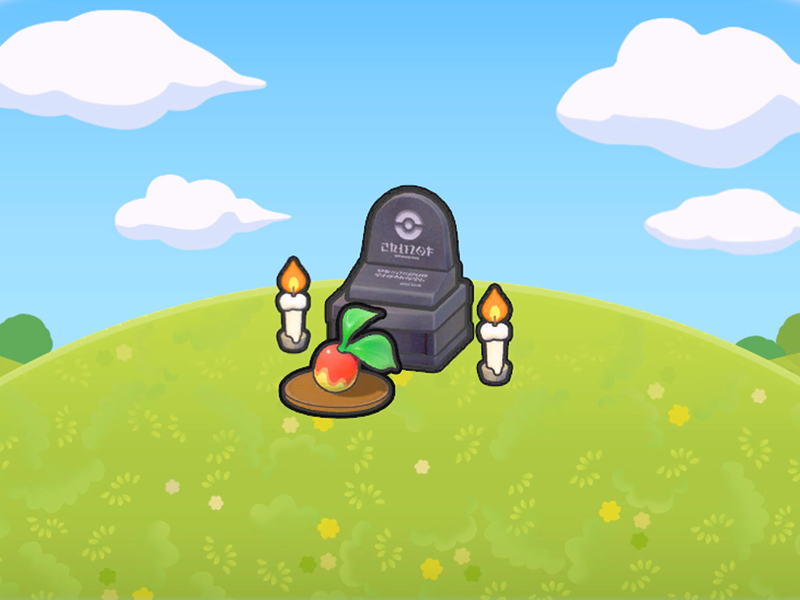 | #032 | Grave Offering | Gravestone x1, Slender candle x2 (lit), Plated food x1 | |
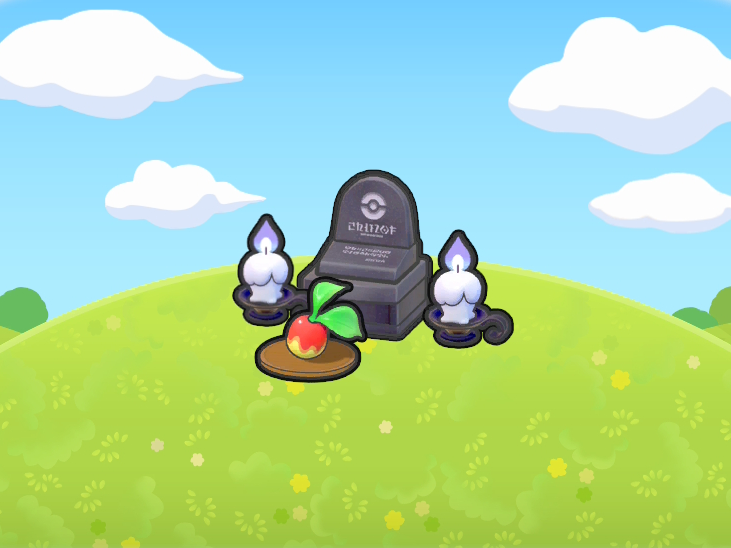 | #033 | Creepy Grave Offering | Eerie candle x2, Gravestone x1, Plated food x1 | Litwick (Common), Lampent (Common), Chandelure (Rare) |
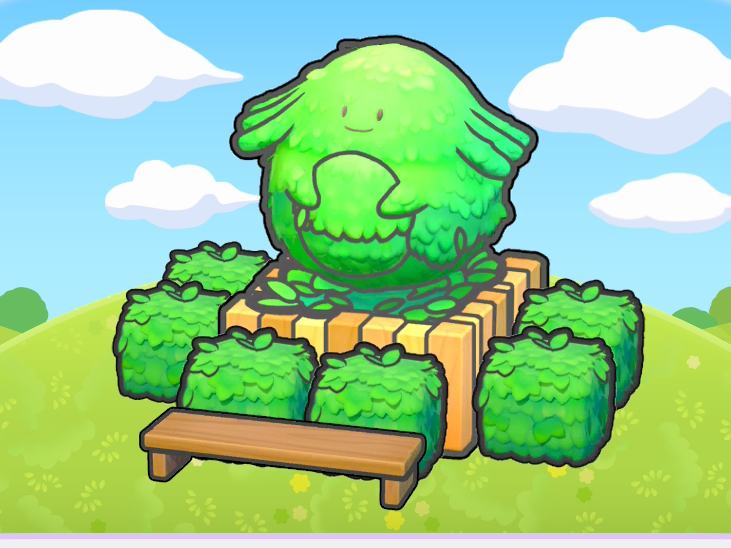 | #034 | Chansey Resting Area | Hedge (any) x6, Chansey plant x1, Seat (wide) x1 | |
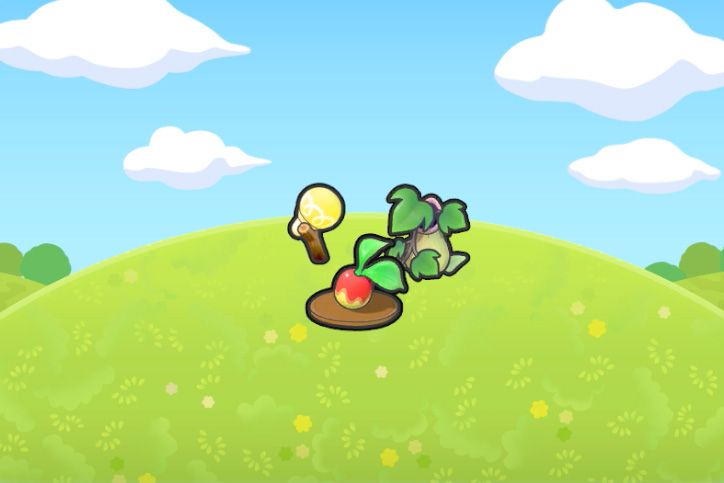 | #035 | Irresistible Scent and Glow | Pitcher-plant pot x1, Plated food x1, Mushroom lamp x1 | Weepinbell (Common), Victreebel (Rare) |
 | #036 | Floating in the Shade | Inflatable boat x1, Beach parasol x1, Water x2 | Blastoise (Rare) |
 | #037 | Smooth Tall Grass | Dry tall grass x4, Smooth rock x1 | Onix (Common) |
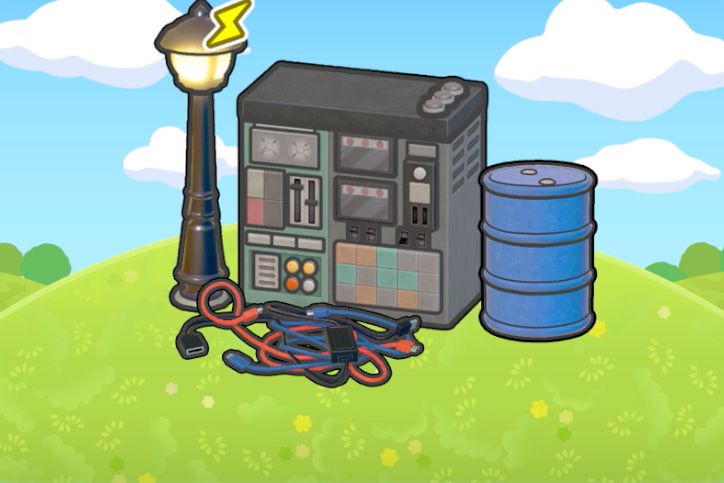 | #038 | Factory Storage | Streetlight (any) x1, Control unit x1, Metal drum x1, Jumbled cords x1 | Magnemite (Common) |
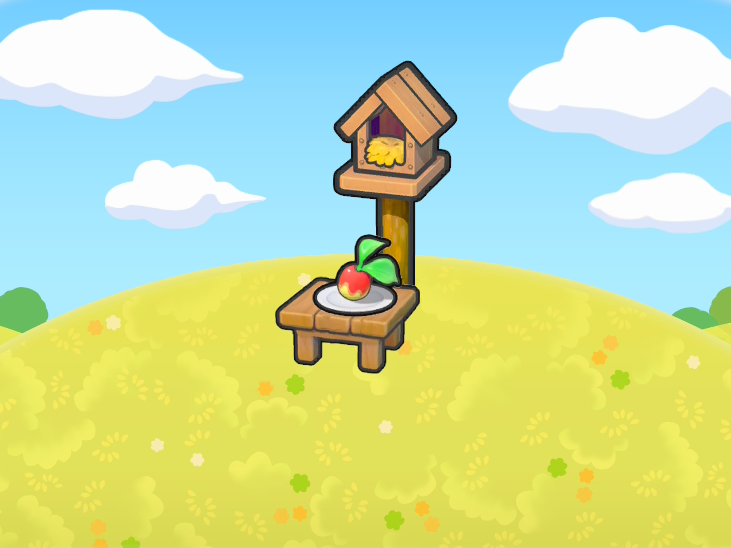
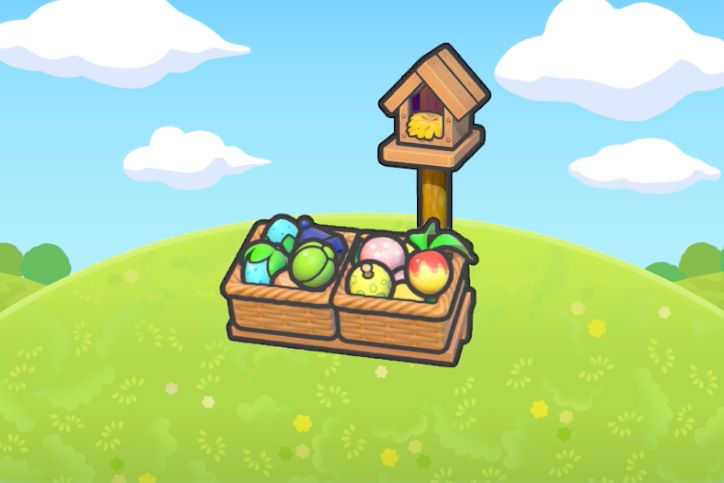 | #039 | Luxury Chirp-Chirp Meal | Wooden birdhouse x1, Berry basket x1 | Pidgeot (Common) |
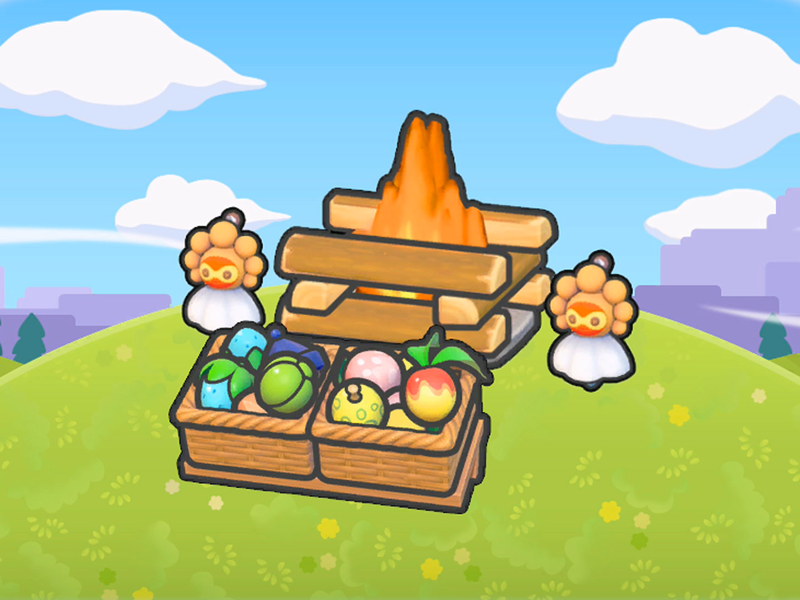 | #040 | Berry-Feast Campsite | Castform weather charm (sun) x2, Bonfire x1, Berry basket x1, High-up location x1 | Charizard (Rare) |
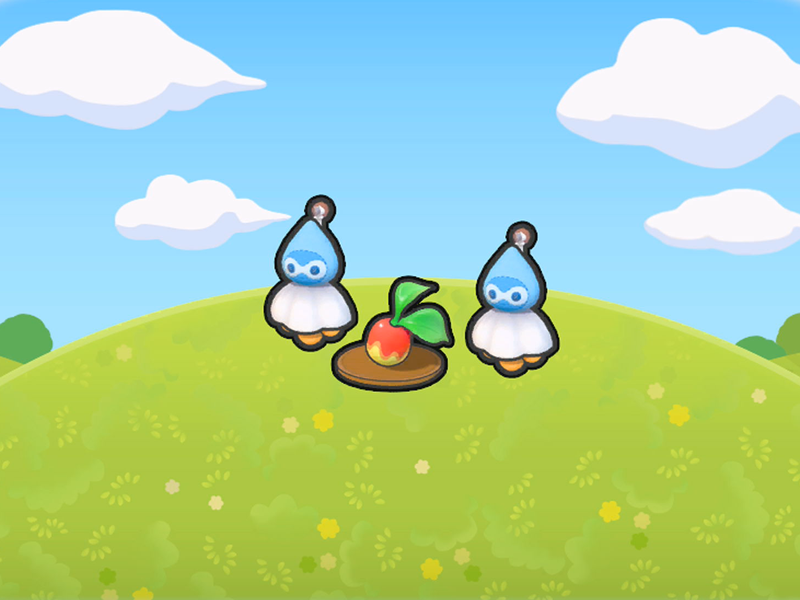 | #041 | Rain Dance Site | Castform weather charm (rain) x2, Plated food x1 | Goomy (Common) |
 | #042 | Sunny Day Site | Castform weather charm (sun) x2, Plated food x1 | Cacnea (Common) |
 | #043 | Professor's Treasure Trove | Professor's treasure trove x1, Lost relic (large) x4, Bed (any) x1 | Tangrowth (Common) |
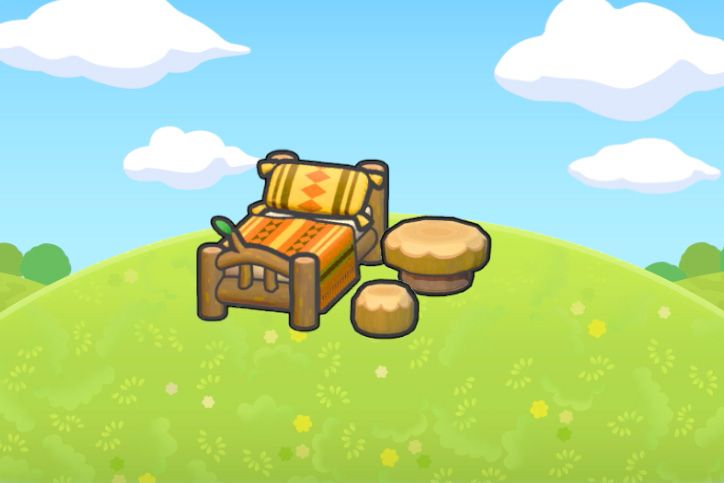 | #044 | Cozy Log Handicrafts | Log chair x1, Log bed x1, Log table x1 | |
 | #045 | Very-Berry Space | Berry chair x1, Berry bed x1, Berry table x1, Berry table lamp x1 | Goodra (Rare) |
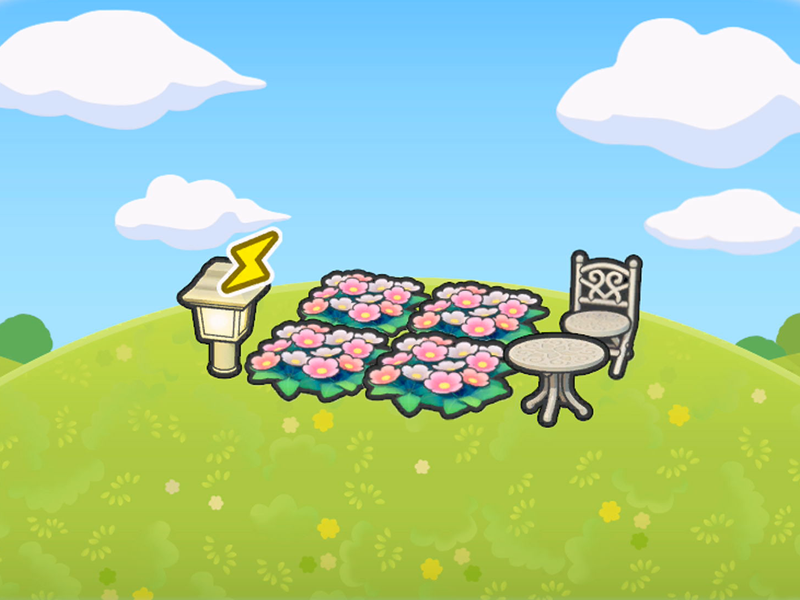 | #046 | Garden Terrace | Wildflowers x4, Garden chair x1, Garden light x1 (powered), Garden table x1 | Venusaur (Rare) |
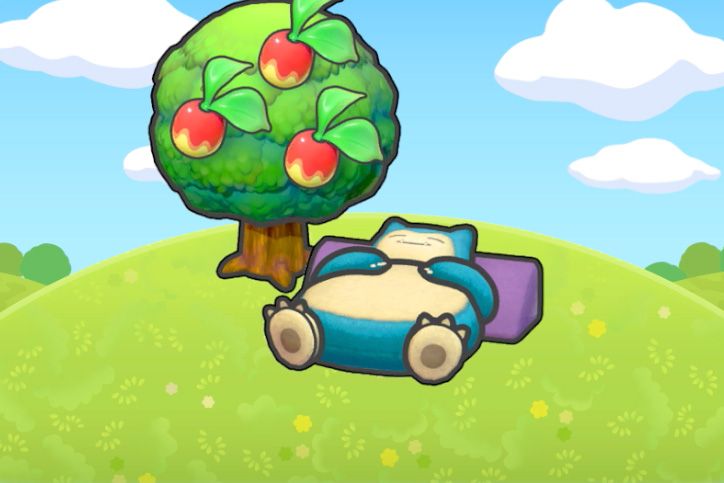 | #047 | Tree-Shaded Snoozing Snorlax | Naptime bed x1, Large tree (any) x1 | Munchlax (Common), Snorlax (Common) |
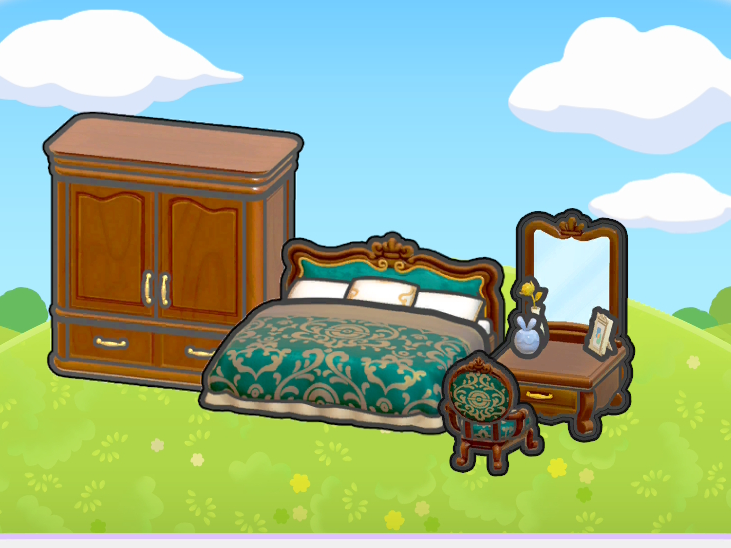 | #048 | Good Old-Fashioned Antiques | Antique closet x1, Antique bed x1, Antique dresser x1, Antique chair x1 | |
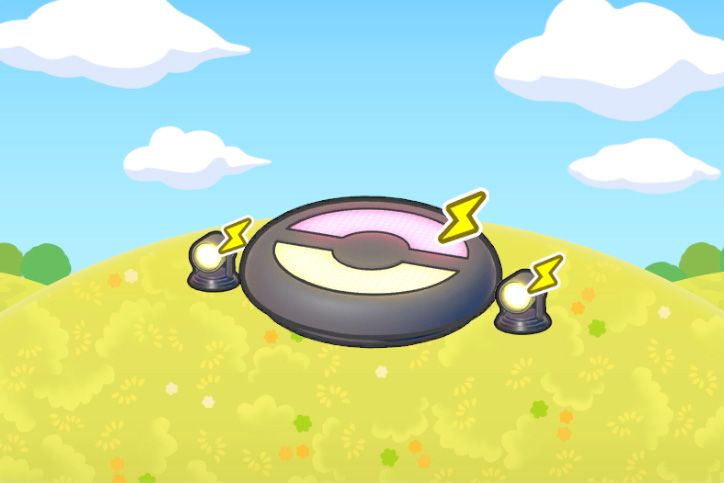
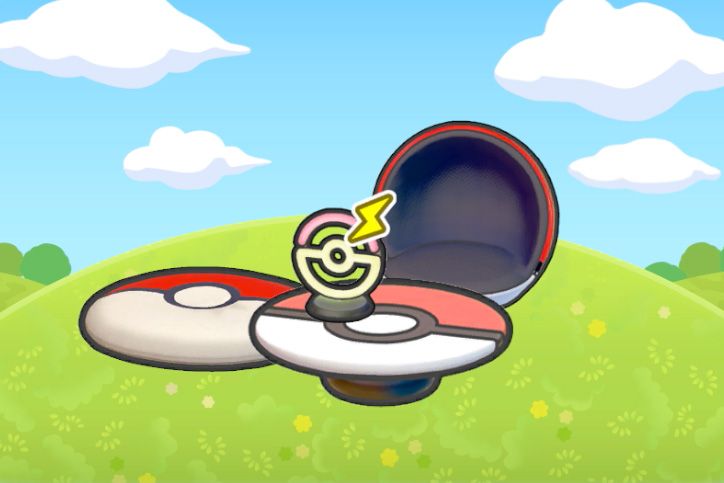 | #049 | Nothin' but Poke Balls | Poke Ball Sofa x1, Poke Ball Bed x1, Poke Ball table x1, Poke Ball Light x1 | Tangela (Common) |
Bleak Beach Habitats (#050-#097)
Bleak Beach has 48 habitats including yellow grass, urban, coastal, and themed locations.
Grass and Coastal Habitats (#050-#060)
Icon | # | Name | Requirements | Pokemon (Rarity) |
|---|---|---|---|---|
 | #050 | Yellow Tall Grass | Yellow tall grass x4 | |
 | #051 | Tree-Shaded Yellow Tall Grass | Large tree (any) x1, Yellow tall grass x4 | Makuhita (Common), Zubat (Common), Golbat (Rare), Hariyama (Rare) |
 | #052 | Elevated Yellow Tall Grass | Yellow tall grass x4, High-up location x1 | |
 | #053 | Hydrated Yellow Tall Grass | Yellow tall grass x4, Water x2 | Piplup (Common), Azurill (Common), Marill (Rare), Prinplup (Rare) |
 | #054 | Marshy Tall Grass | Yellow tall grass x4, Muddy water x2 | Paldean Wooper (Common), Clodsire (Rare) |
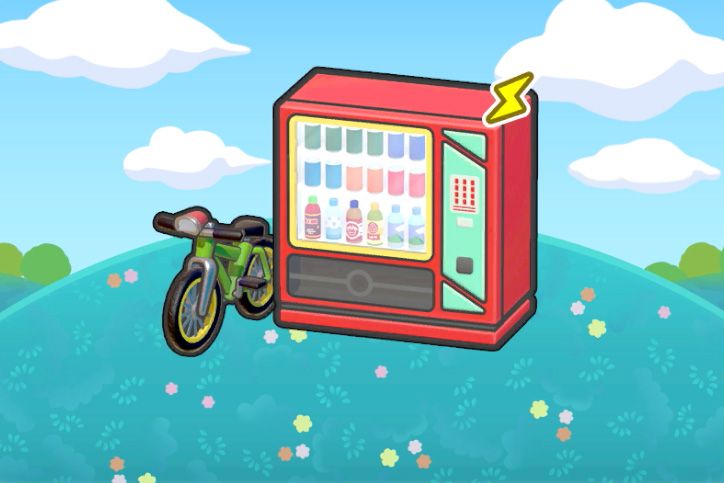
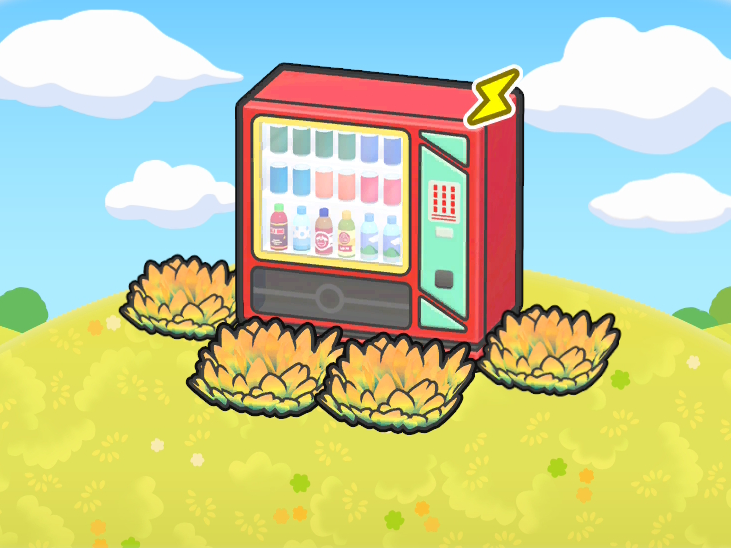 | #055 | Overgrowth Vending Machine | Yellow tall grass x4, Vending machine x1 | Mareep (Rare) |
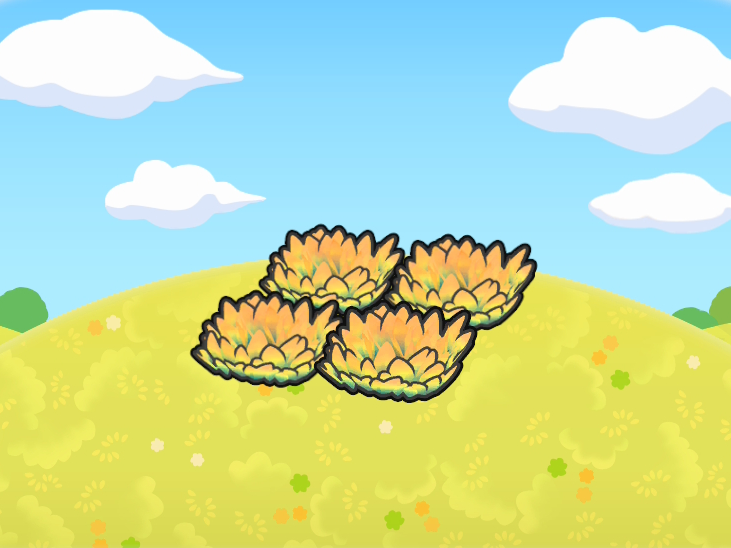
 | #056 | Breezy Flower Bed | Seashore flowers x4 | |
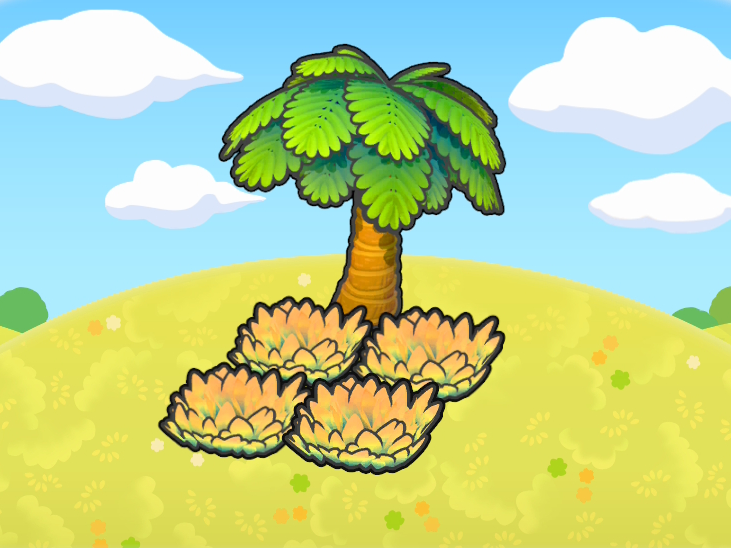
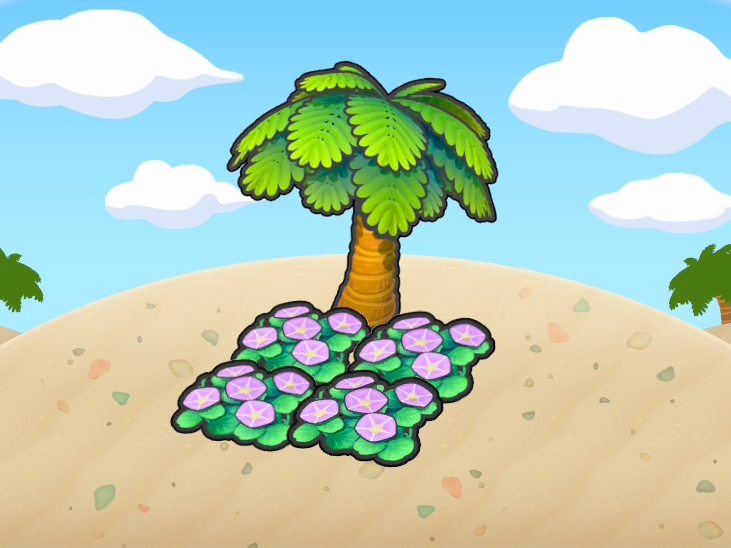 | #057 | Tropical Vibes | Large palm tree x1, Seashore flowers x4 | |
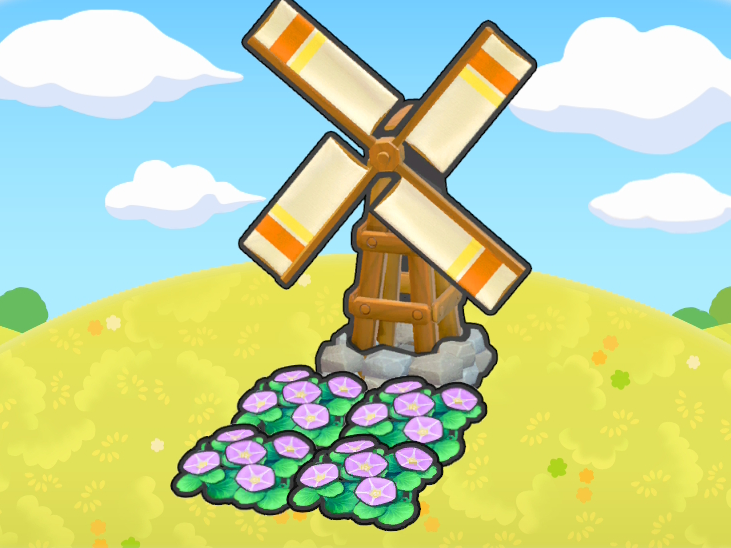 | #058 | Windy Flower Bed | Windmill x1, Seashore flowers x4 | |
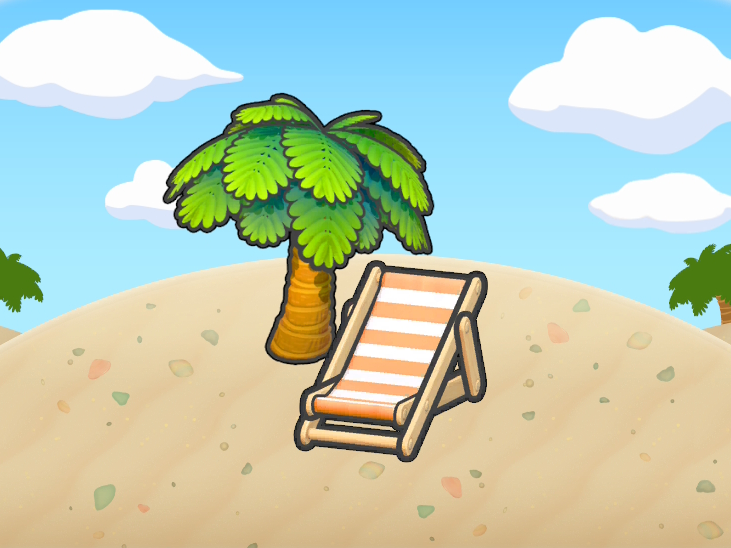 | #059 | Shaded Beach | Large palm tree x1, Beach chair x1 | |
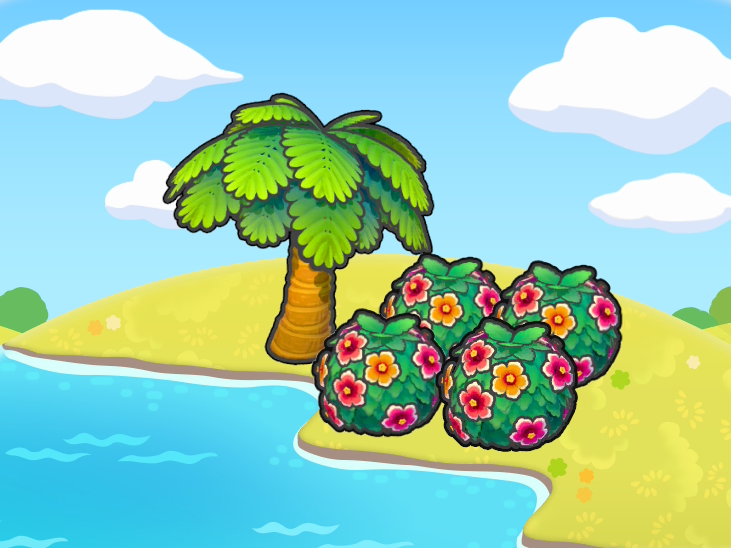 | #060 | Tropical Seaside | Large palm tree x1, Hedge (any) x4, Ocean water x2 | Lapras (Common) |
Urban and Themed Habitats (#061-#097)
Icon | # | Name | Requirements | Pokemon (Rarity) |
|---|---|---|---|---|
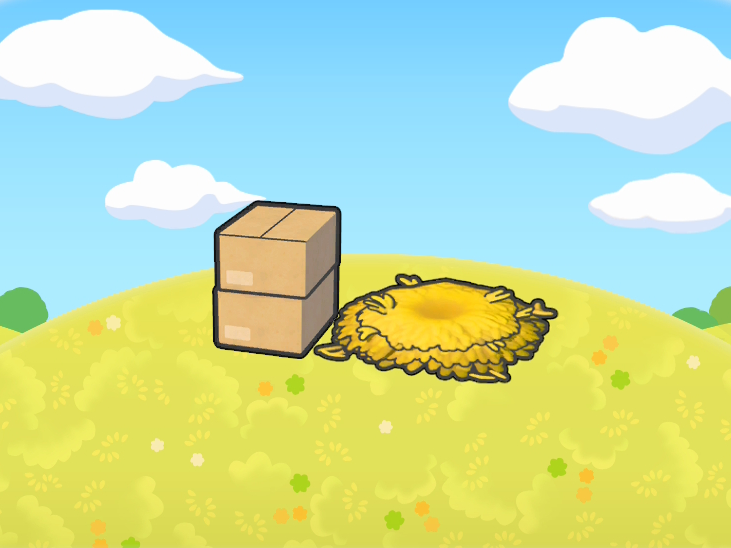 | #061 | Resting Spot | Cardboard boxes x1, Straw bed x1 | Meowth (Common) |
 | #062 | Perpetual Mess | Cardboard boxes x1, Toy (any) x2 | |
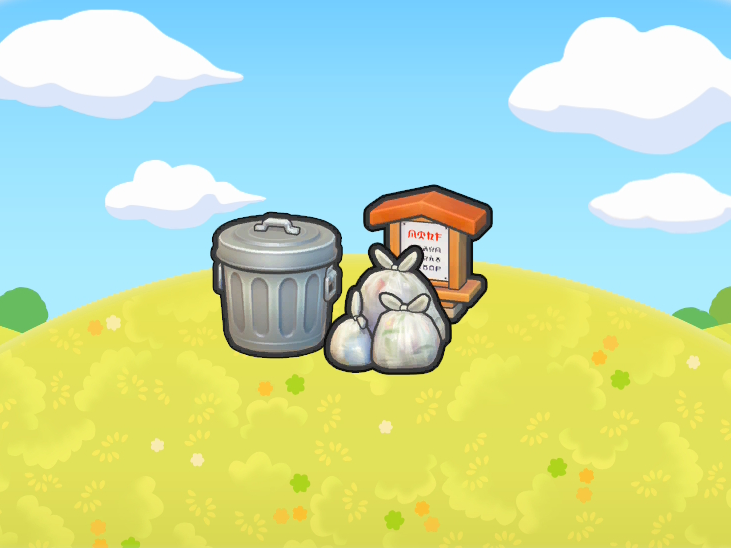 | #063 | Trash Collection Site | Waste bin (any) x1, Sign (any) x1, Garbage bags x1 | Trubbish (Common), Koffing (Common), Weezing (Rare), Garbodor (Rare) |
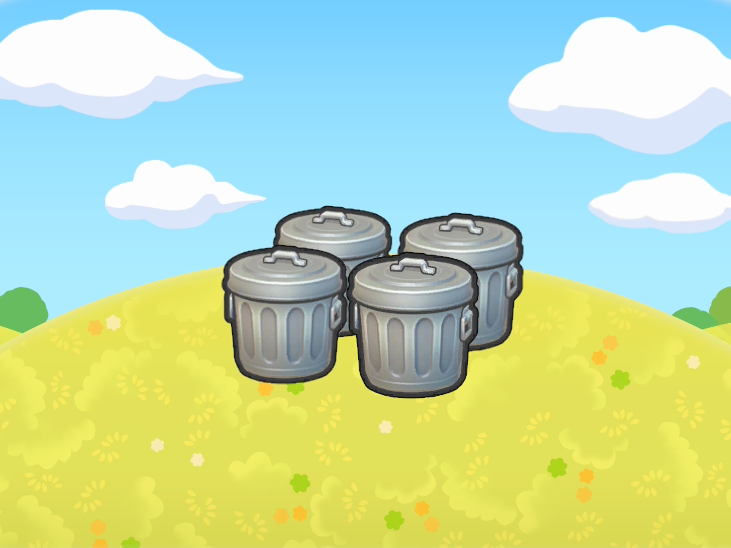 | #064 | Trash Can Central | Garbage bin x4 | Electabuzz (Rare), Magneton (Rare), Magnezone (Very Rare) |
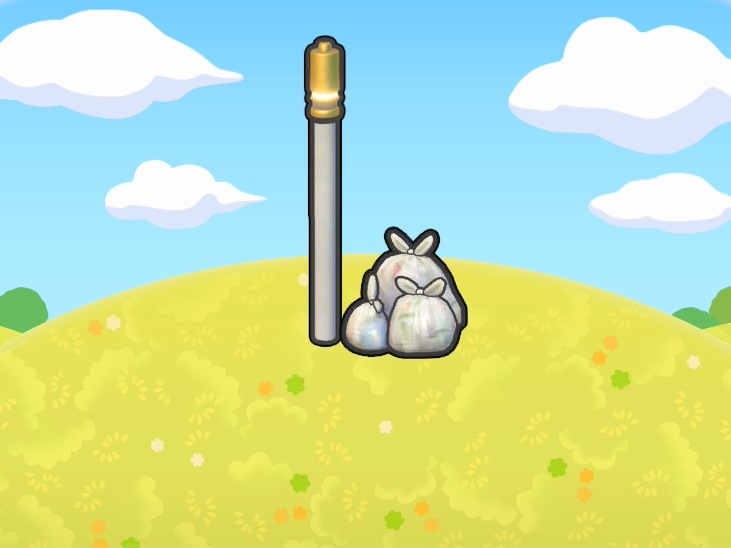 | #065 | Trash Disposal Site | Utility pole x1, Garbage bags x1 | Crobat (Rare) |
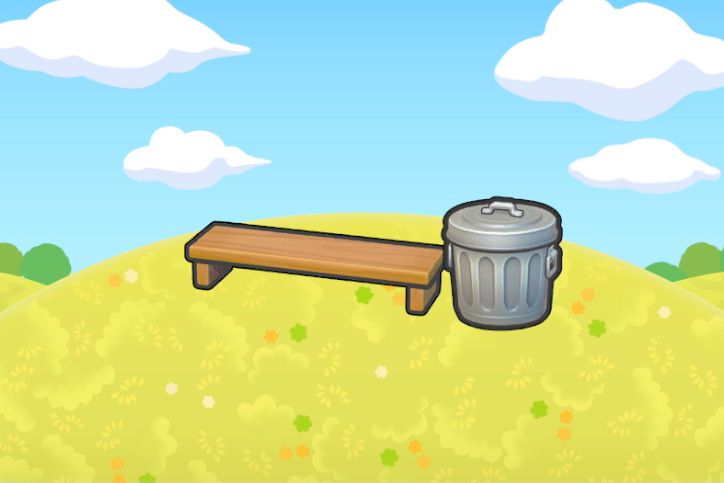 | #066 | Park Bench | Seat (wide) x1, Garbage bin x1 | |
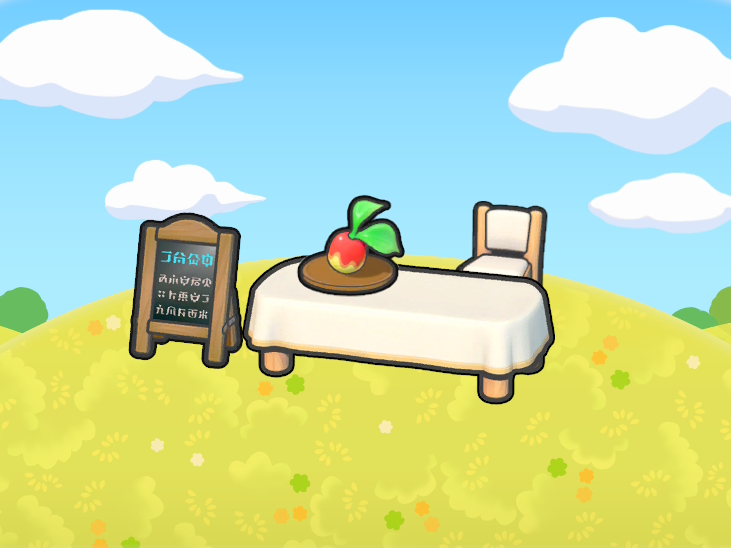 | #067 | Tantalizing Restaurant | Seat (any) x1, Menu board x1, Table (any) x1, Plated food x1 | |
 | #068 | Tableside Delivery Cart | Chic chair x2, Chic table x1, Small vase x1, Push cart x1, Plated food x1 | Empoleon (Common) |
 | #069 | Chirp-Chirp Meal | Wooden birdhouse x1, Table (any) x1, Plated food x1 | |
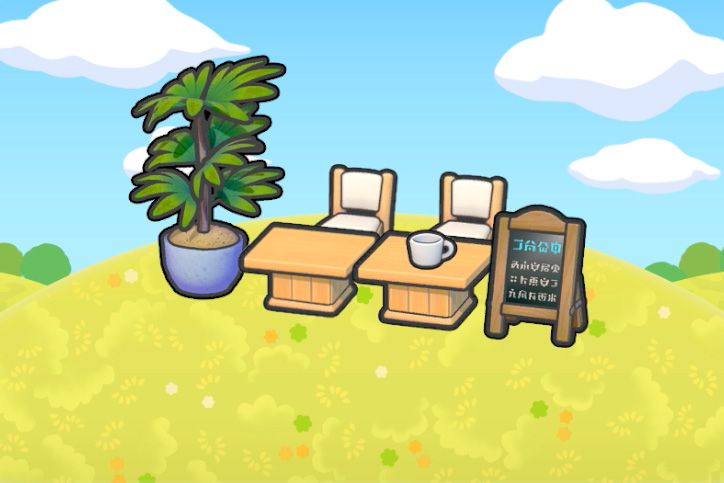 | #070 | Cafe Space | Seat (any) x2, Potted plant (any) x1, Counter x2, Mug x1, Menu board x1 | |
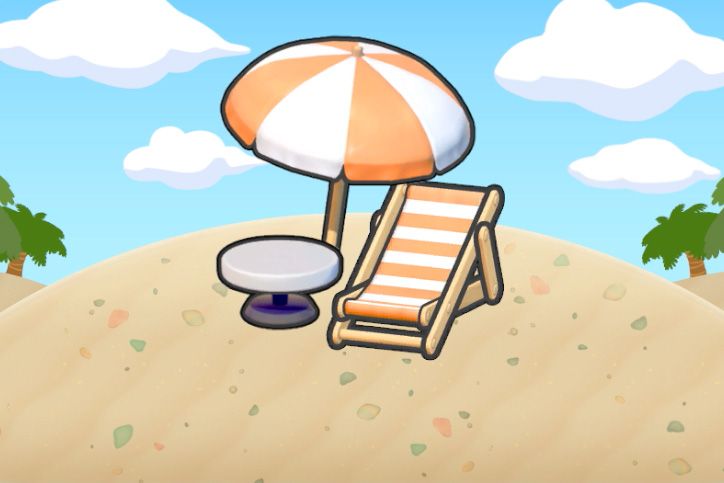 | #071 | Beach Set | Beach chair x1, Beach parasol x1, Side table x1 | Tatsugiri Curly Form (Rare), Tatsugiri Droopy Form (Rare), Tatsugiri Stretchy Form (Rare) |
 | #072 | Light-Up Stage | Spotlight x2, Small stage x1 | Electabuzz (Common), Electivire (Rare) |
 | #073 | Surprise in Store | Balloons x2, Boo-in-the-box x1 | |
 | #074 | Night Festival Venue | Balloons x2, Raichu sign x1 | Flaaffy (Common) |
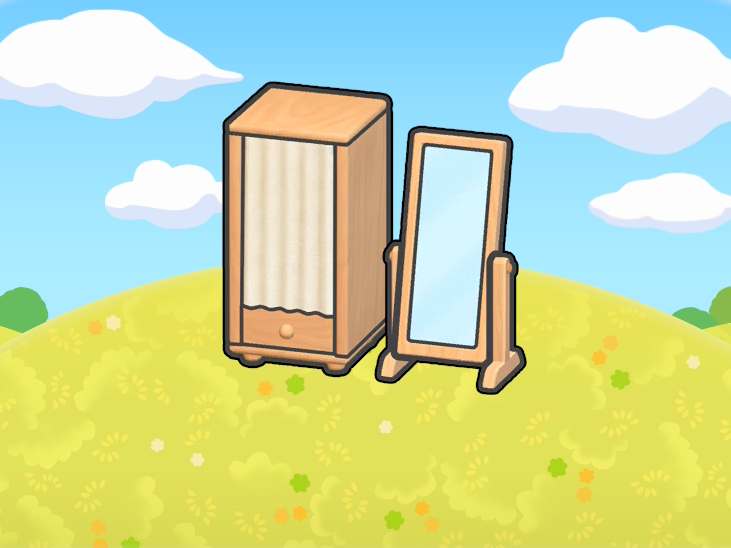 | #075 | Changing Area | Closet (any) x1, Mirror (large) x1 | Minccino (Common) |
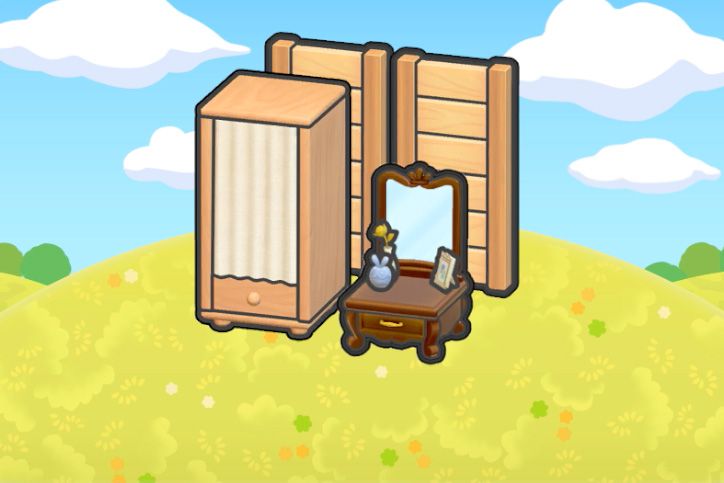 | #076 | Private Makeup Stand | Partition (any) x2, Closet (any) x1, Dresser (any) x1 | |
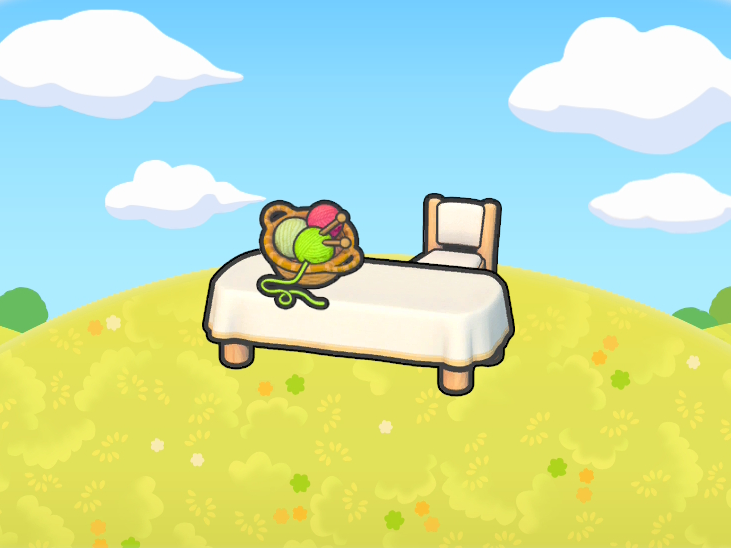 | #077 | Knitting Station | Seat (any) x1, Table (any) x1, Knitting supplies x1 | |
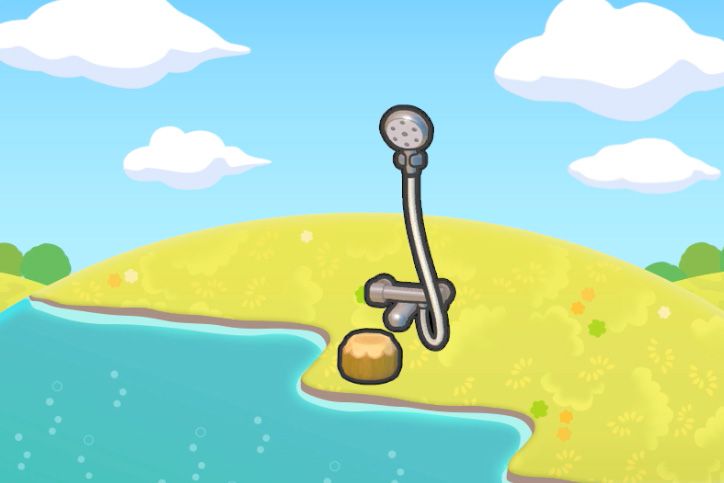 | #078 | Hot-Spring Shower | Shower x1, Seat (any) x1, Hot-spring water x2 | |
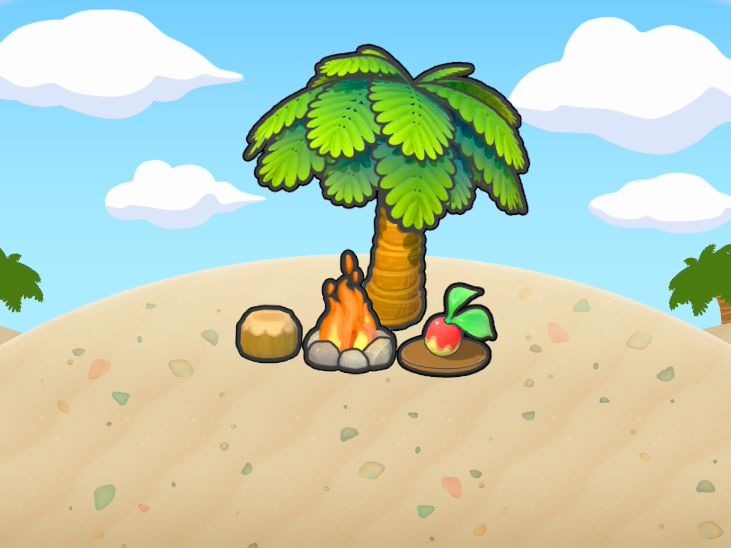 | #079 | Large palm tree x1, Seat (any) x1, Plated food x1, Campfire x1 | ||
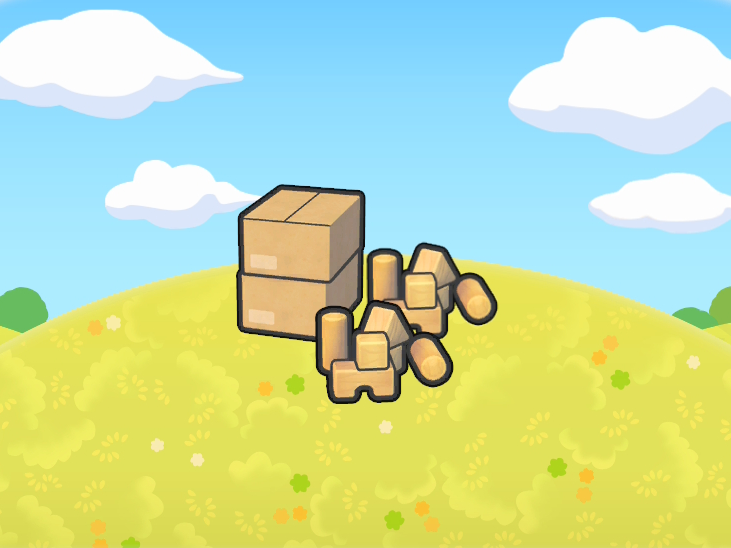
 | #080 | All Packed Up | Cart x1, Cardboard boxes x2 | Farfetch'd (Common), Makuhita (Common), Hariyama (Rare) |
 | #081 | Full Recovery | Bed (any) x1, Plain chest x1, First aid kit x1 | |
 | #082 | Alarm Clock Sleep Zone | Bed (any) x1, Table (any) x1, Alarm clock x1 | Happiny (Common) |
 | #083 | Vending Machine Break Area | Vending machine x1, Seat (wide) x1 | |
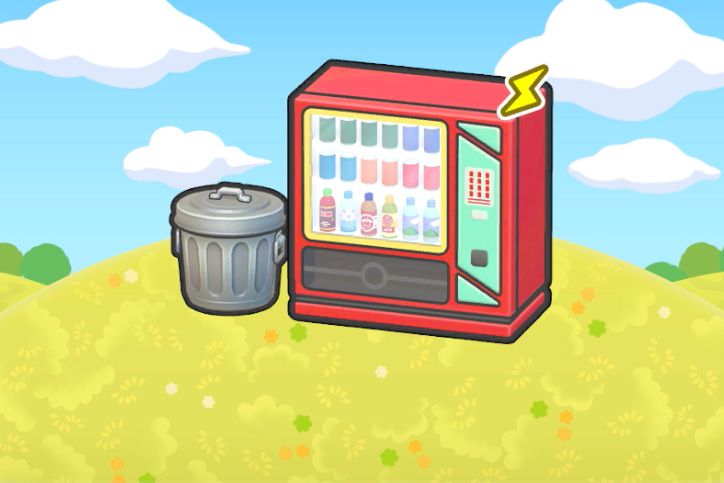
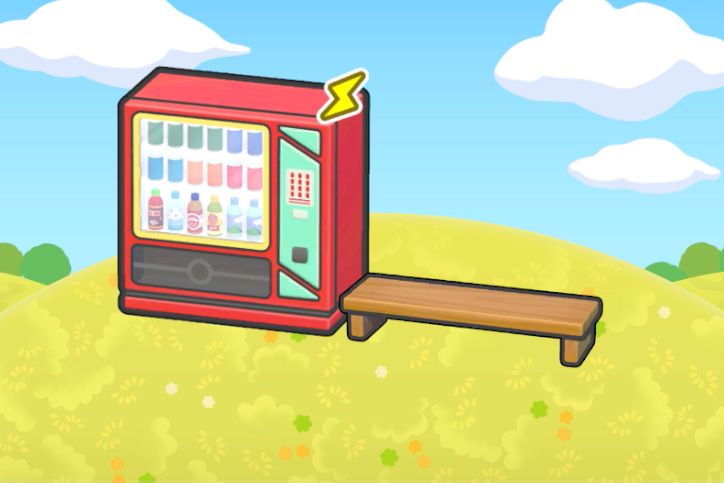 | #084 | Vending Machine Set | Waste bin (any) x1, Vending machine x1 | Elekid (Common), Electivire (Rare) |
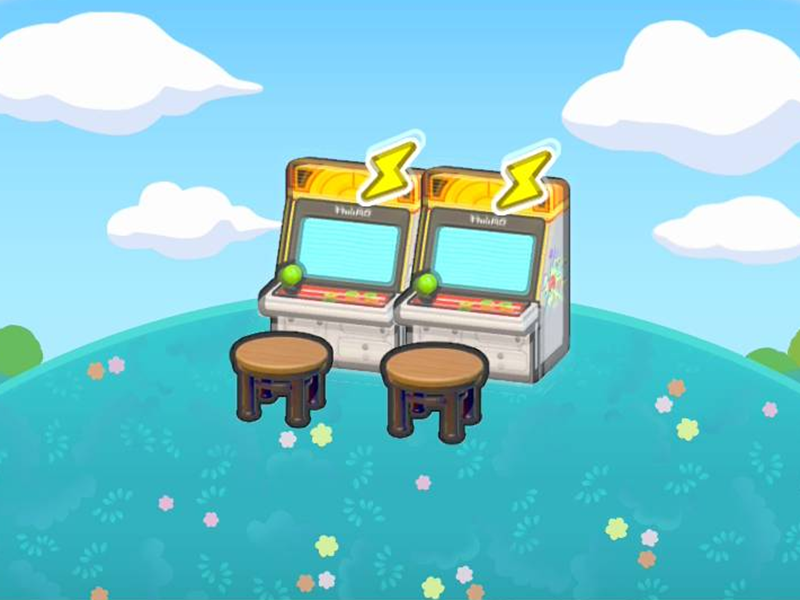
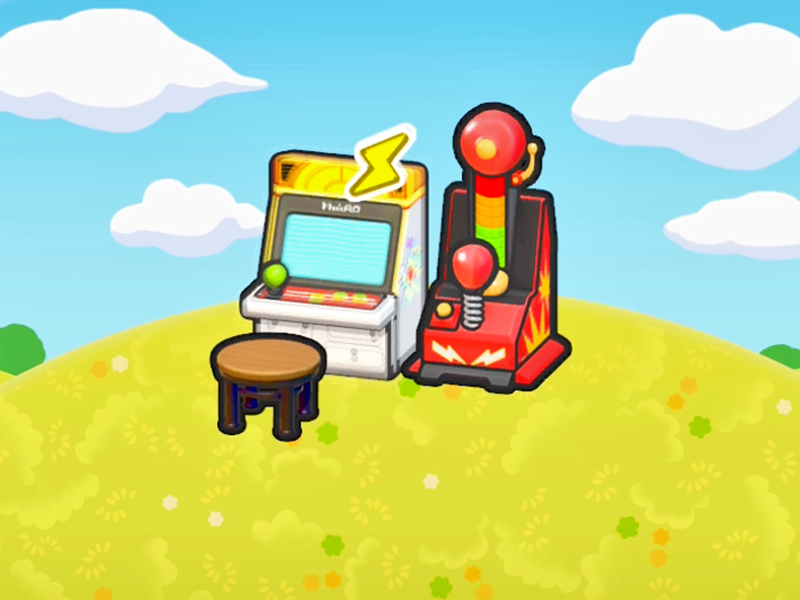 | #085 | Mini Game Corner | Arcade machine x1, Punching game x1, Seat (any) x1 | |
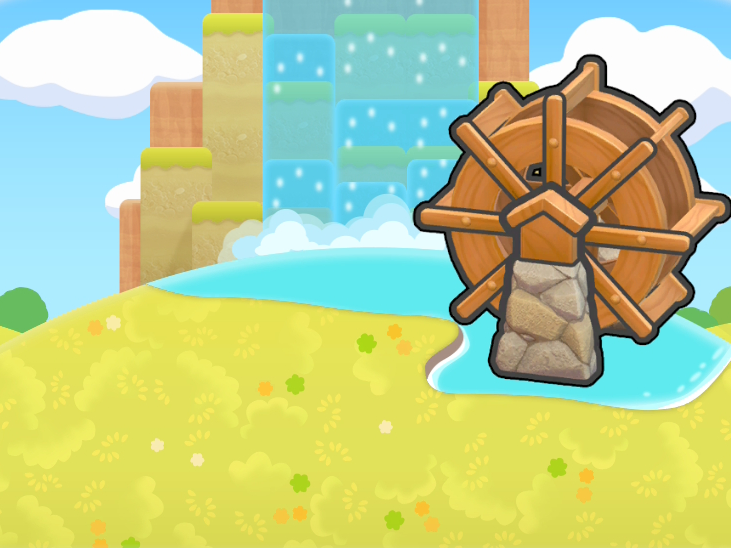 | #086 | Waterwheel Spot | Waterwheel x1, Water x1, Waterfall x1 | |
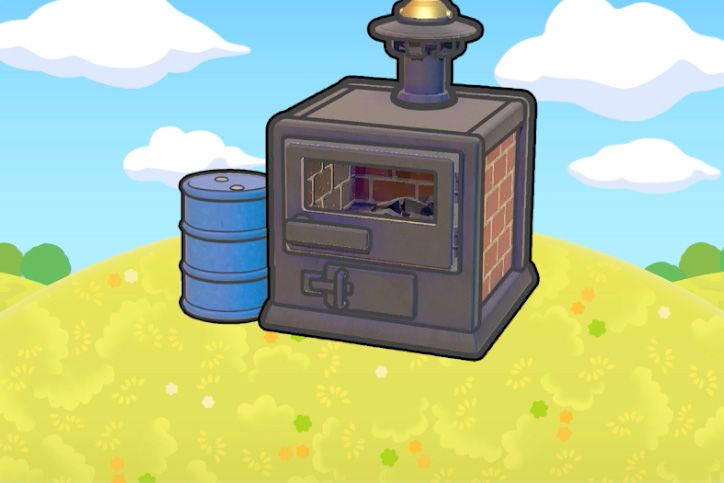 | #087 | Furnace Spot | Metal drum x1, Furnace x1 | |
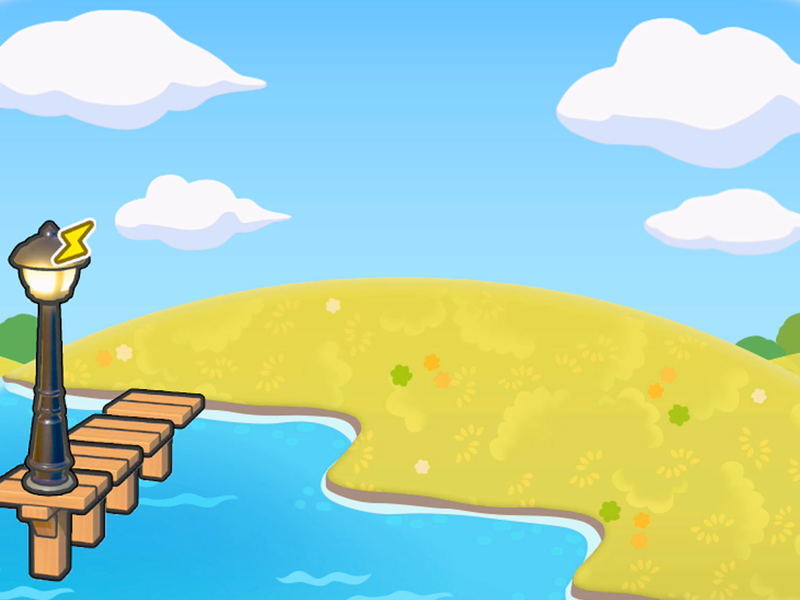 | #088 | Dock | Walkway x4, Streetlight (any) x1 (powered), Ocean water x2 | |
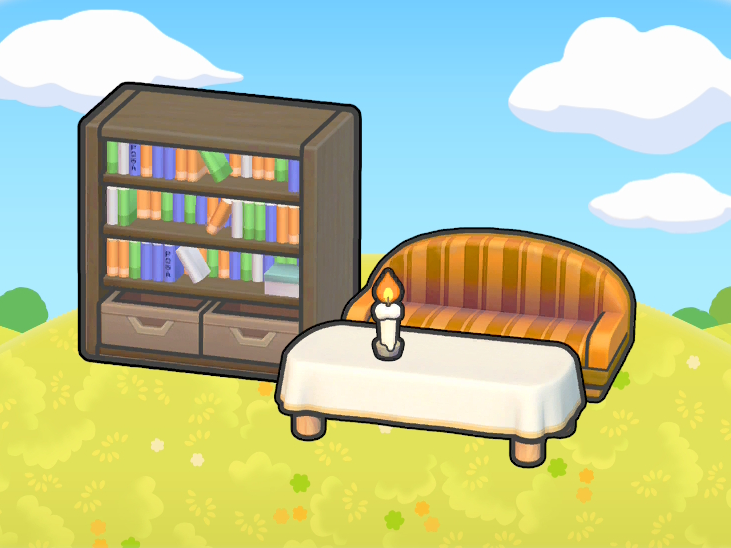 | #089 | Spooky Study | Bookcase x1, Chic sofa x1, Plain table x1, Slender candle x1 | |
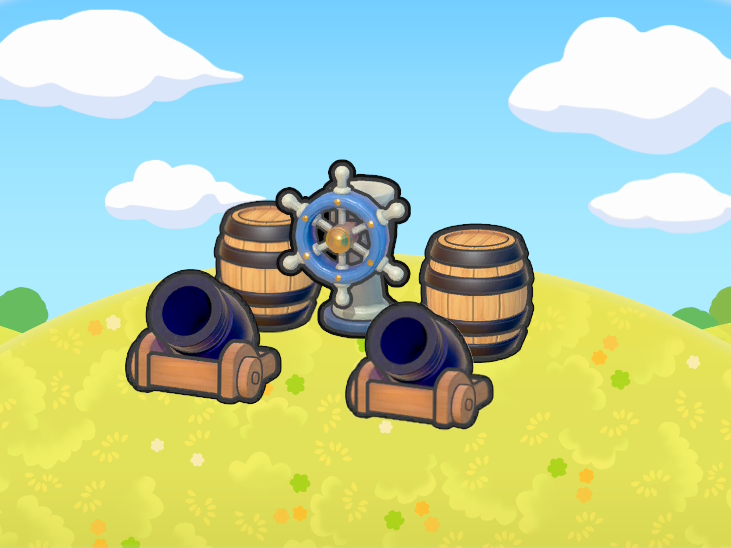 | #090 | Playing Pirate | Barrel x2, Ship's wheel x1, Cannon x2 | |
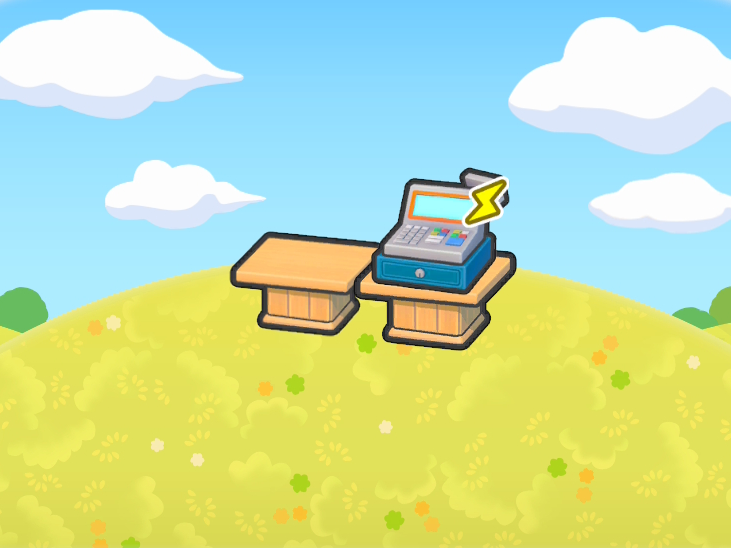 | #091 | Working the Register | Table (any) x2, Cash register x1 | Meowth (Common), Audino (Common), Happiny (Common), Mawile (Common) |
 | #092 | Tiny Atelier | Canvas (any) x1, Seat (any) x1 | Smeargle (Common) |
 | #093 | Gourmet's Altar | Offering dish x1 | Snorlax (Common) |
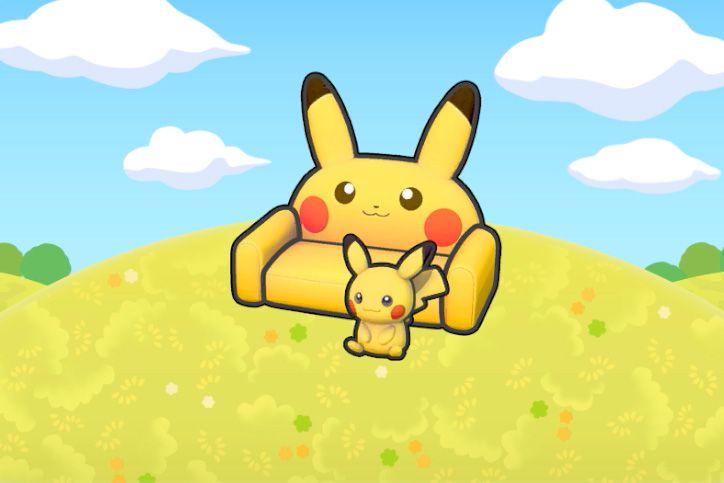 | #094 | Pikachu Space | Pikachu sofa x1, Pikachu doll x1 | Mimikyu (Common) |
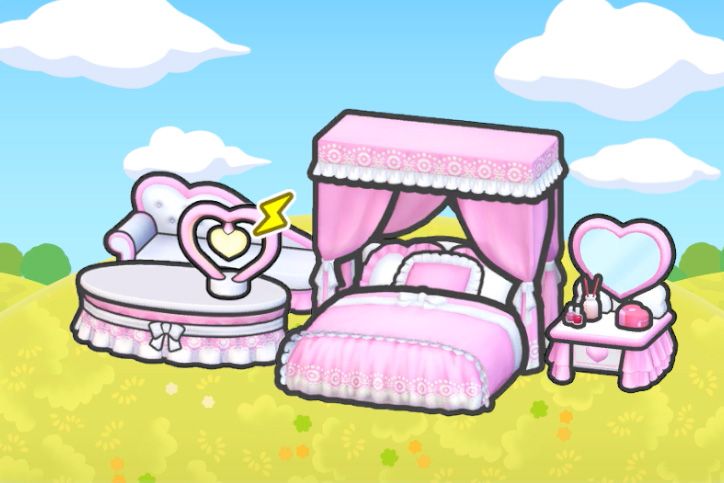 | #095 | Cuteness Overload | Cute sofa x1, Cute table x1, Cute lamp x1, Cute bed x1, Cute dresser x1 | Blissey (Rare) |
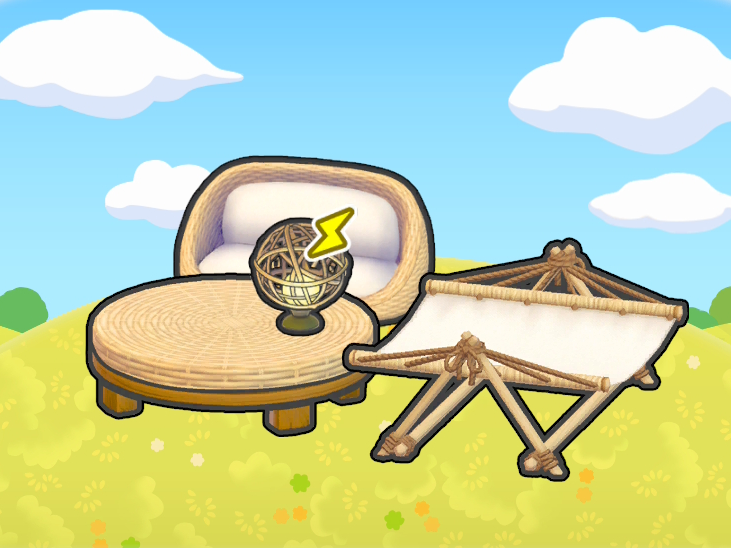 | #096 | Welcoming Resort | Resort sofa x1, Resort table x1, Resort hammock x1, Resort light x1 | Absol (Common) |
 | #097 | Plain Life | Plain bed x1, Plain sofa x1, Plain table x1, Plain lamp x1 | Ampharos (Rare) |
Rocky Ridges Habitats (#098-#136)
Rocky Ridges has 39 habitats featuring red grass, mountain flowers, volcanic, and industrial themes.
Grass and Flower Habitats (#098-#107)
Icon | # | Name | Requirements | Pokemon (Rarity) |
|---|---|---|---|---|
 | #098 | Red Tall Grass | Red tall grass x4 | Scorbunny (Common), Riolu (Common), Kricketot (Common), Kricketune (Rare), Cinderace (Very Rare) |
 | #099 | Tree-Shaded Red Tall Grass | Large tree (any) x1, Red tall grass x4 | Bonsly (Common), Diglett (Common), Dugtrio (Rare), Sudowoodo (Rare) |
 | #100 | Pointy Tree-Shaded Rocky Tall Grass | Pointy tree x1, Red tall grass x4, Large boulder x1 | |
 | #101 | Hydrated Red Tall Grass | Red tall grass x4, Water x2 | |
 | #102 | Elevated Red Tall Grass | Red tall grass x4, High-up location x2 | |
 | #103 | Sandbags x2, Red tall grass x4 | ||
 | #104 | Graceful Flower Bed | Mountain flowers x4 | Cleffa (Common), Clefairy (Common), Fidough (Common), Dachsbun (Rare), Clefable (Very Rare) |
 | #105 | Tree-Shaded Graceful Flower Bed | Pointy tree x1, Mountain flowers x4 | |
 | #106 | Hydrated Graceful Flower Bed | Mountain flowers x4, Water x2 | |
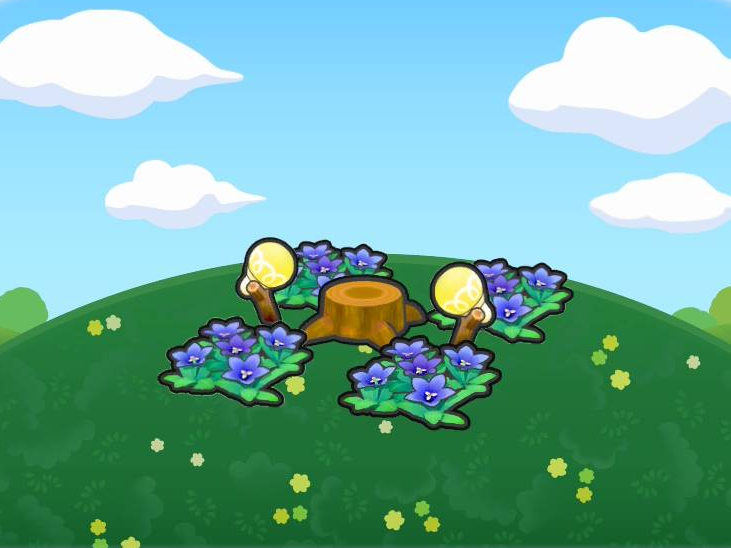 | #107 | Flower Garden Stump Stage | Mountain flowers x4, Tree stump (any) x1, Mushroom lamp x2 | Igglybuff (Common), Jigglypuff (Common), Politoed (Rare) |
Elemental and Industrial Habitats (#108-#136)
Icon | # | Name | Requirements | Pokemon (Rarity) |
|---|---|---|---|---|
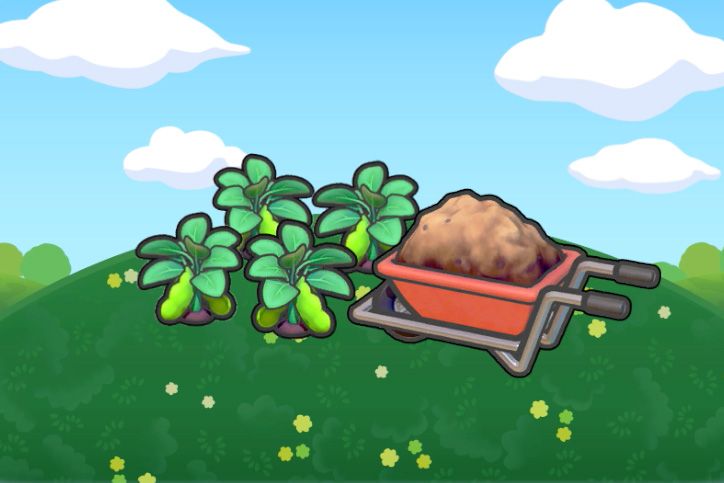 | #108 | Toil in the Soil | Vegetable field (any) x4, Wheelbarrow x1 | Tyranitar (Rare) |
 | #109 | Uplifting Duckweed | Duckweed x4, Water x2 | |
 | #110 | Mossy Rest Spot | Moss x4 | |
 | #111 | Mossy Boulder | Moss x4, Mossy boulder x1 | |
 | #112 | Mossy Hot Spring | Moss x4, Hot-spring water x2 | Torkoal (Common) |
 | #113 | Open-Air Bath | Hot-spring spout x1, Hot-spring water x2 | Raboot (Common) |
 | #114 | Harmonious Hot Spring | Hot-spring spout x1, Water basin x1, Hot-spring water x2 | Politoed (Common) |
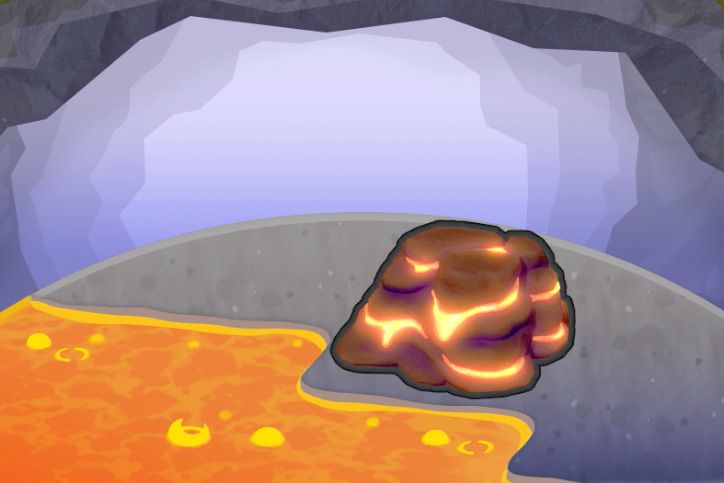 | #115 | Piping-Hot Lava | Molten rock x1, Lava x2 | |
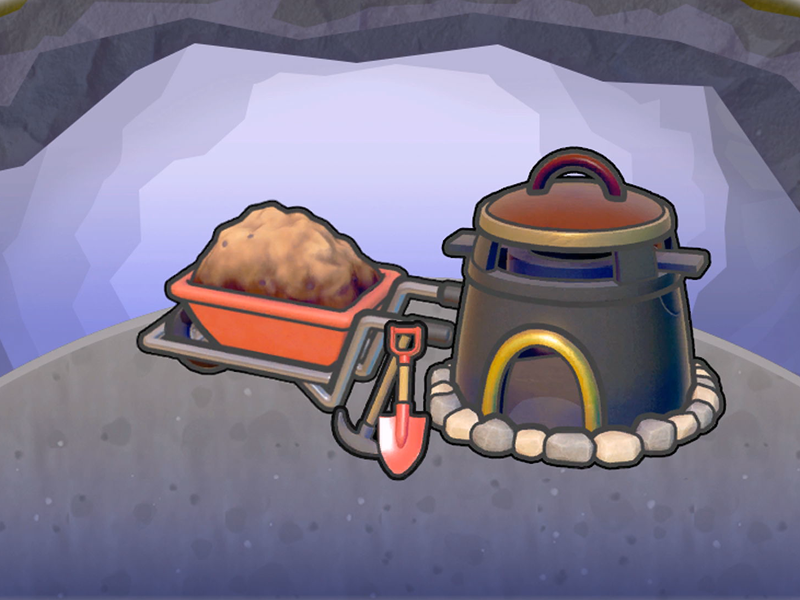 | #116 | Digging and Burning | Wheelbarrow x1, Smelting furnace x1, Excavation tools x1 | Magmar (Common) |
 | #117 | Clink-Clang Iron Construction | Iron beam or column x3, Wheelbarrow x1, Sandbags x1, Excavation tools x1 | |
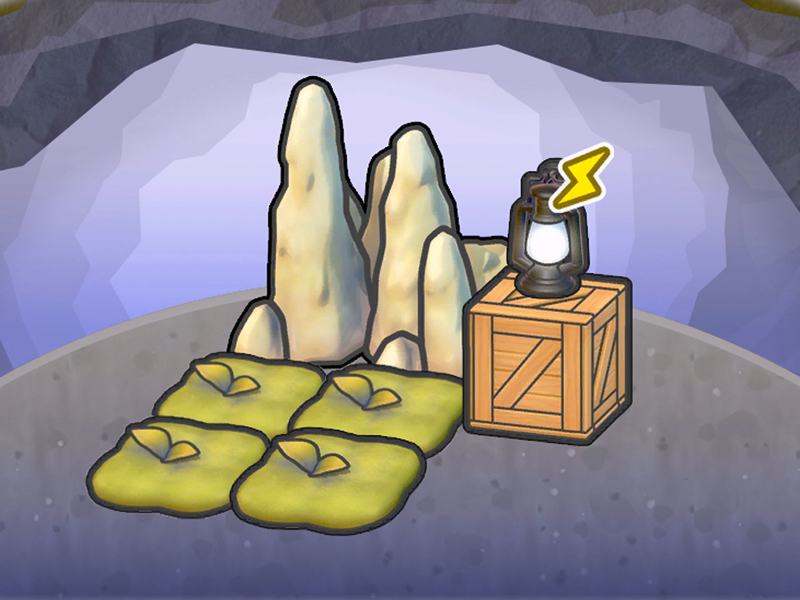 | #118 | Creepy White Rocks | Stalagmites x1, Moss x4, Wooden crate x1, Lantern x1 (powered) | |
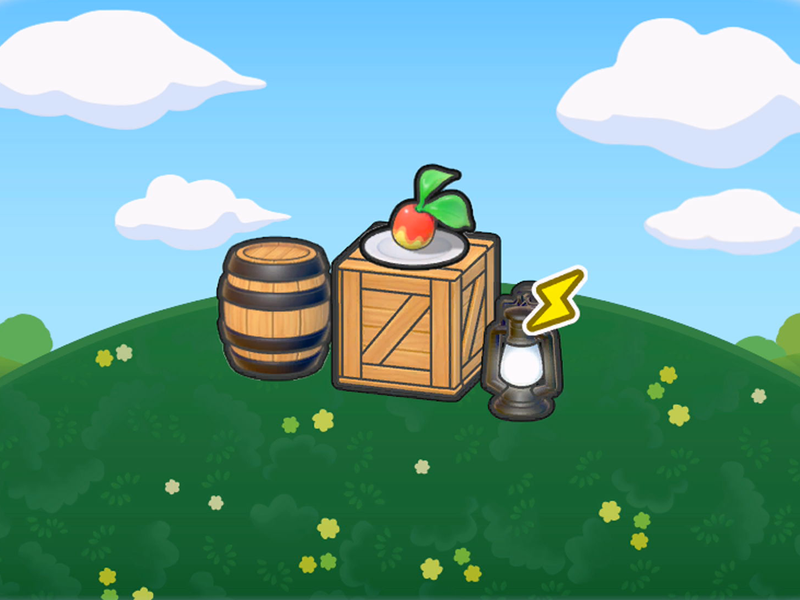 | #119 | Container Snacking | Barrel x1, Wooden crate x1, Lantern x1 (powered), Plated food x1 | |
 | #120 | Dinner Table Surprise | Seat (wide) x2, Table (large) x1, Party platter x4 | Swalot (Rare) |
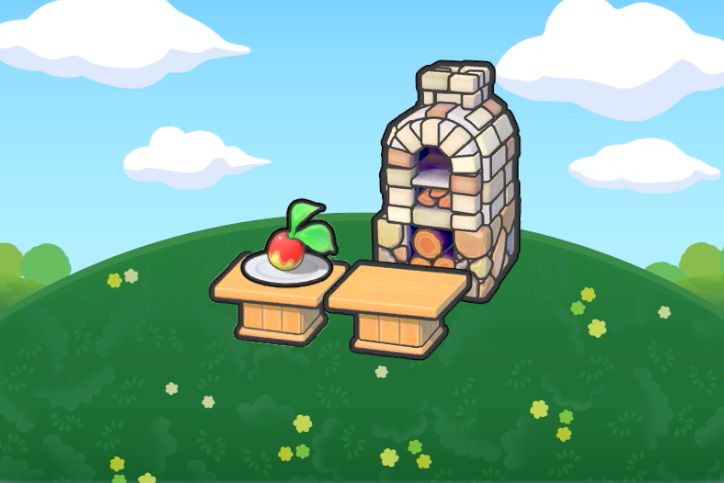 | #121 | Best Bread Bakery | Bread oven x1, Counter x2, Plated food x1 | |
 | #122 | Mini Kitchen | Kitchen table x1, Cooking stove x1, Frying pan x1, Modern sink x1 | Magmortar (Rare) |
 | #123 | House Party | Food counter x1, Paper party cups x1, Plated food x1 | |
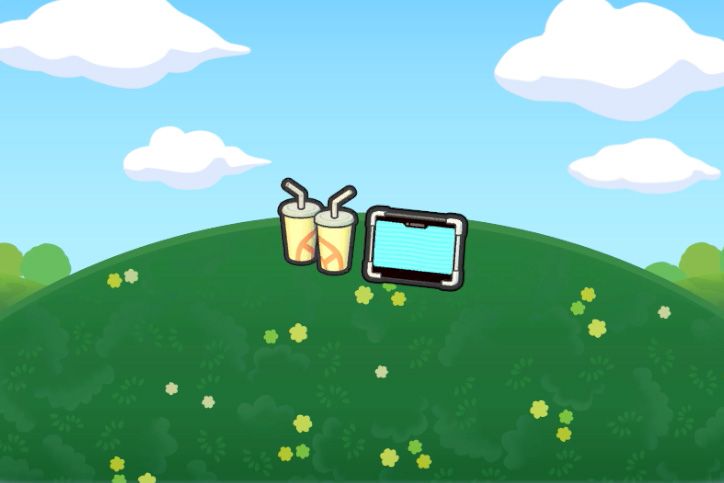 | #124 | Lazy Photo-Album Scrolling | Tablet x1, Paper party cups x1 | Toxel (Common) |
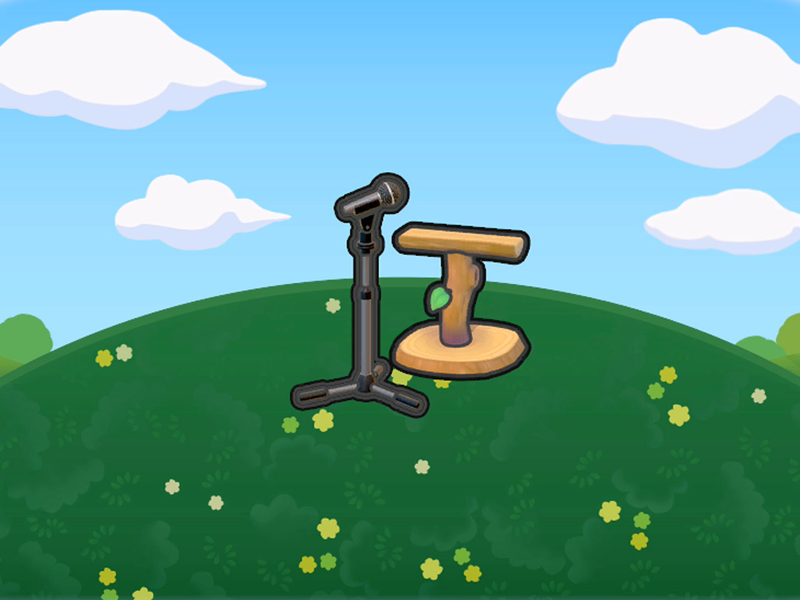 | #125 | Chirping Recital | Perch x1, Standing mic x1 | |
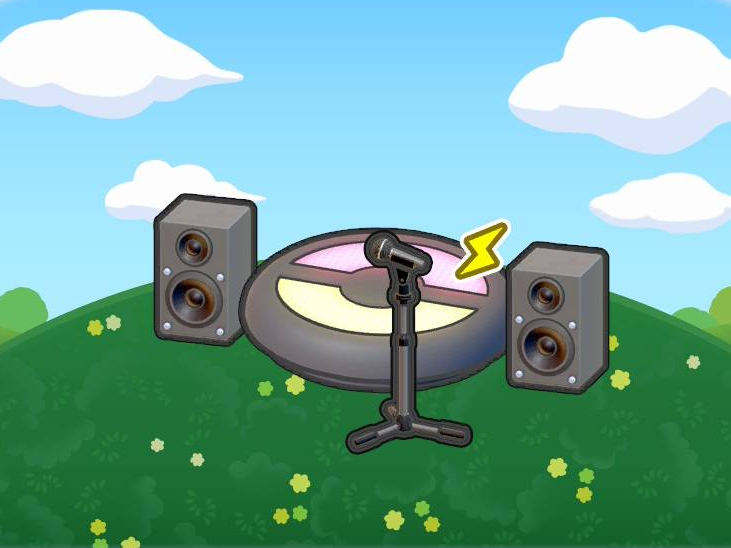 | #126 | Recital Stage | Speaker x2, Small stage x1, Standing mic x1 | Jigglypuff (Common), Wigglytuff (Rare) |
 | #127 | Box to the Rhythm | Punching bag x1, Table (any) x1, CD player x1 | |
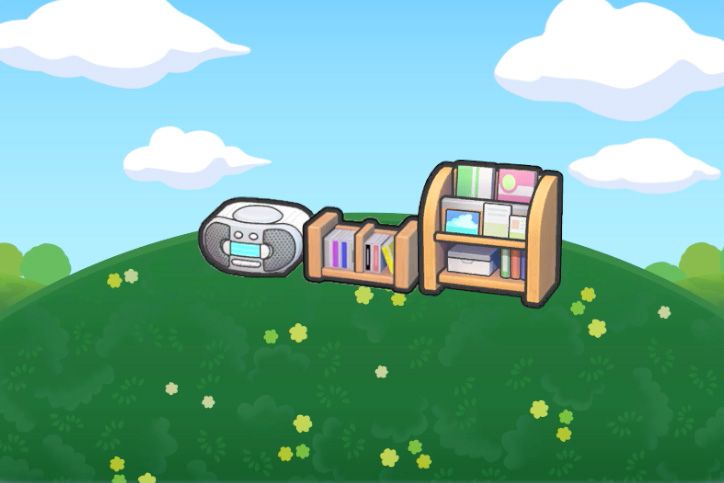 | #128 | Music and Magazines | CD player x1, CD rack x1, Magazine rack x1 | Kricketot (Common), Kricketune (Common), Rotom (Rare) |
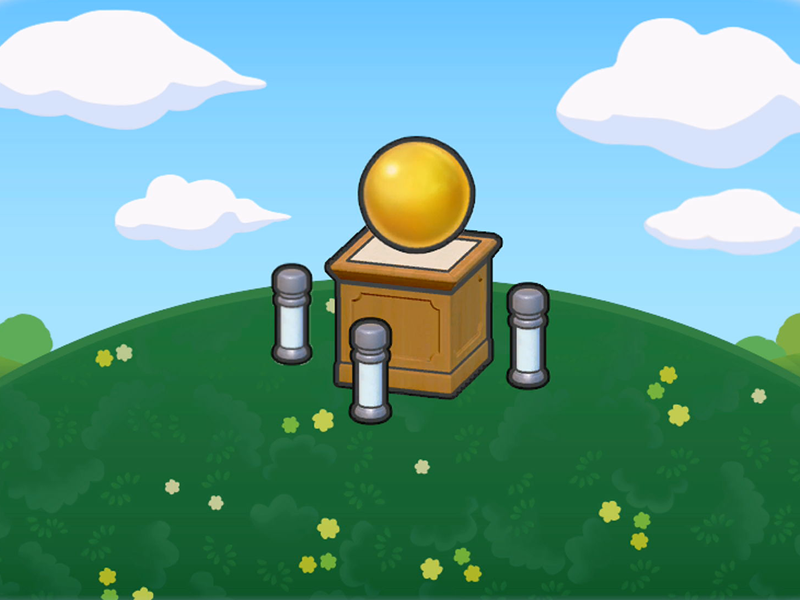 | #129 | Mini Museum | Post (any) x3, Pedestal/exhibition stand x1, Lost relic (large) x1 | Gimmighoul (Common), Arcanine (Rare) |
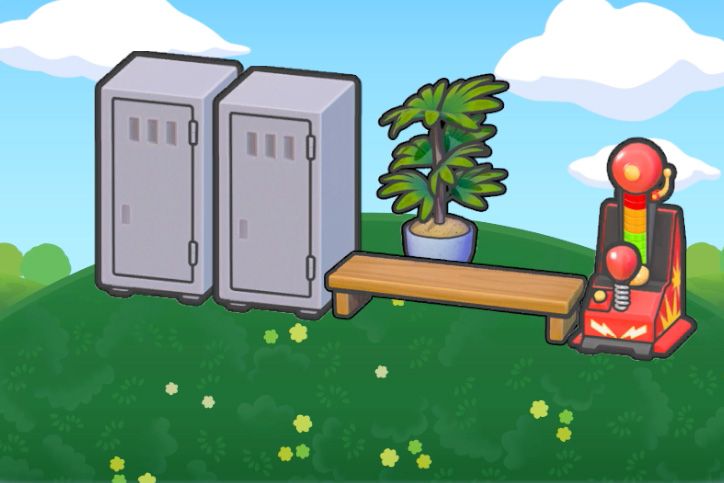 | #130 | Refreshing Locker Room | Office locker x2, Potted plant (any) x1, Seat (wide) x1, Punching game x1 | |
 | #131 | Bronze Landmark | Moonlight dance statue x1, Sign x1, Hedge (any) x4 | |
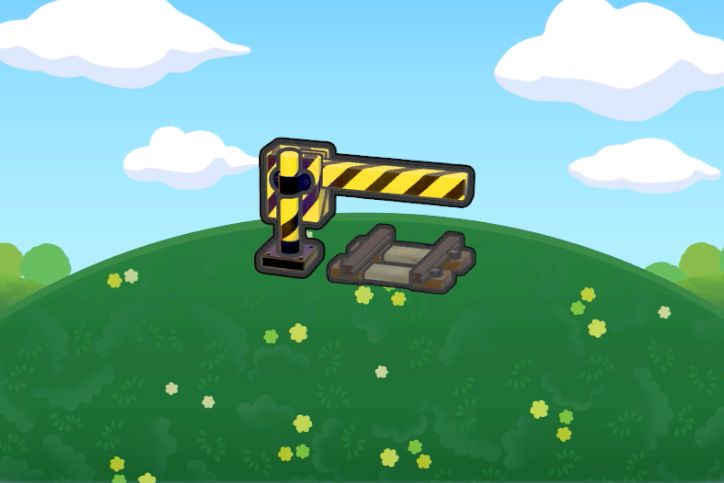 | #132 | Railroad Crossing | Railway track x1, Crossing gate x1 | |
 | #133 | Chef's Kitchen | Cooking stove x1, Modern sink x1, Plain table x1, Stylish cooking pot x1, Cutting board x1, Plated food x1 | Greedent (Common) |
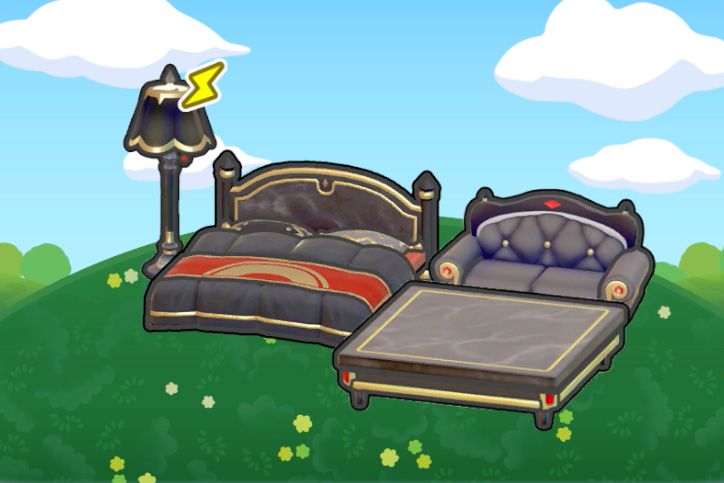 | #134 | Absolute Luxury | Luxury lamp x1, Luxury bed x1, Luxury sofa x1, Luxury table x1 | Gholdengo (Rare) |
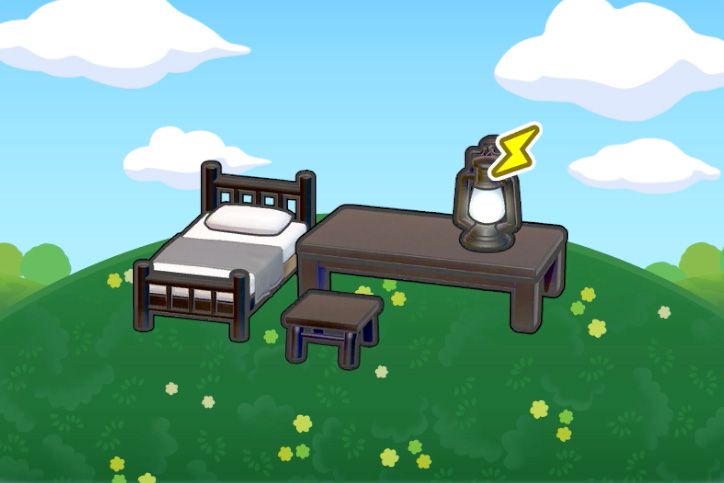 | #135 | Heavy Iron | Iron bed x1, Iron table x1, Iron chair x1, Lantern x1 | Coalossal (Rare) |
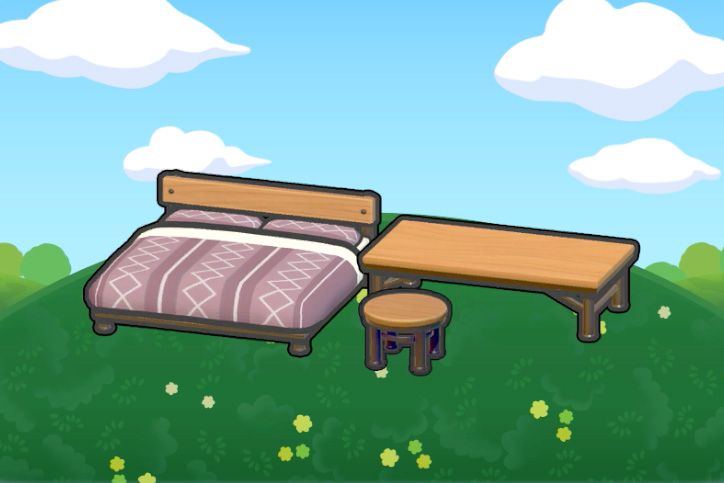 | #136 | Modern Living | Industrial bed x1, Industrial desk x1, Industrial chair x1 | Decidueye (Rare) |
Sparkling Skylands Habitats (#137-#183)
Sparkling Skylands has 47 habitats with pink grass, technology, psychic, and entertainment themes.
Grass and Garden Habitats (#137-#147)
Icon | # | Name | Requirements | Pokemon (Rarity) |
|---|---|---|---|---|
 | #137 | Pink Tall Grass | Pink tall grass x4 | Trapinch (Common), Swablu (Common), Duskull (Common), Vibrava (Rare), Flygon (Rare) |
 | #138 | Tree-Shaded Pink Tall Grass | Pink tall grass x4, Large tree (any) x1 | Sprigatito (Common), Pupitar (Common), Dreepy (Common), Drakloak (Rare) |
 | #139 | Hydrated Pink Tall Grass | Pink tall grass x4, Water x2 | |
 | #140 | Elevated Pink Tall Grass | Pink tall grass x4, High-up location x1 | Corvisquire (Common), Wattrel (Common), Kilowattrel (Rare), Corviknight (Very Rare) |
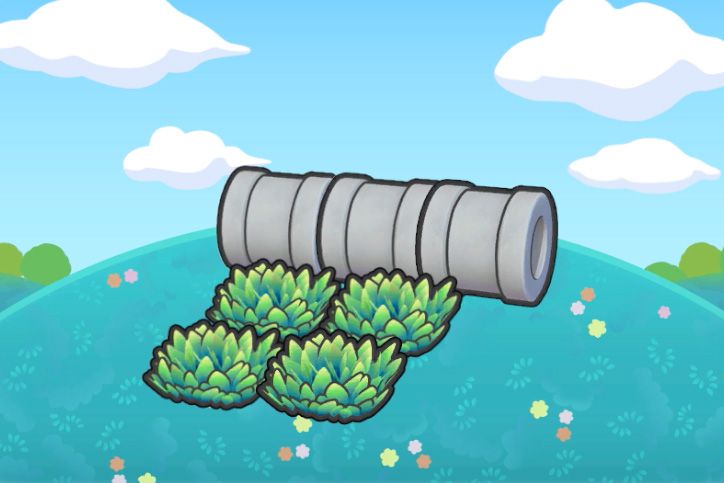 | #141 | Concrete Pipe Secret Base | Concrete pipe x3, Tall grass (any) x4 | |
 | #142 | Fluffy Flower Bed | Skyland flowers x4 | Vulpix (Common), Misdreavus (Common), Rookidee (Common), Ninetales (Rare), Mismagius (Very Rare) |
 | #143 | Tree-Shaded Fluffy Flower Bed | Large tree (any) x1, Skyland flowers x4 | Girafarig (Common), Farigiraf (Rare), Servine (Rare), Serperior (Very Rare) |
 | #144 | Hydrated Fluffy Flower Bed | Skyland Flowers x4, Water x2 | |
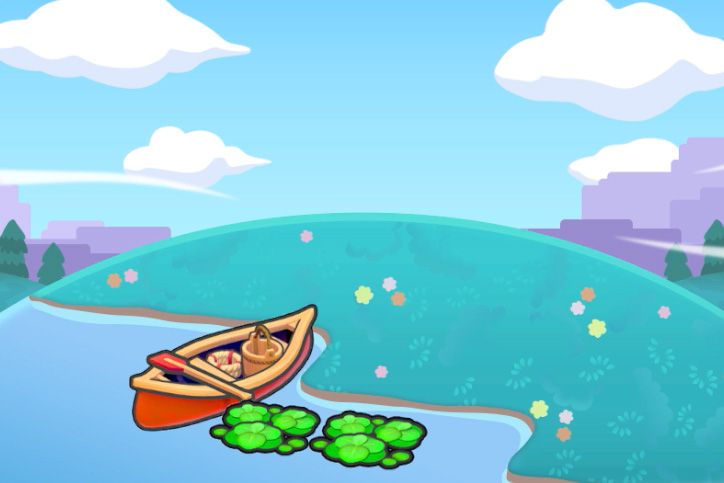 | #145 | Waterside Dinghy | Canoe x1, Duckweed x2, Water x2, High-up Location x1 | Dragonite (Common) |
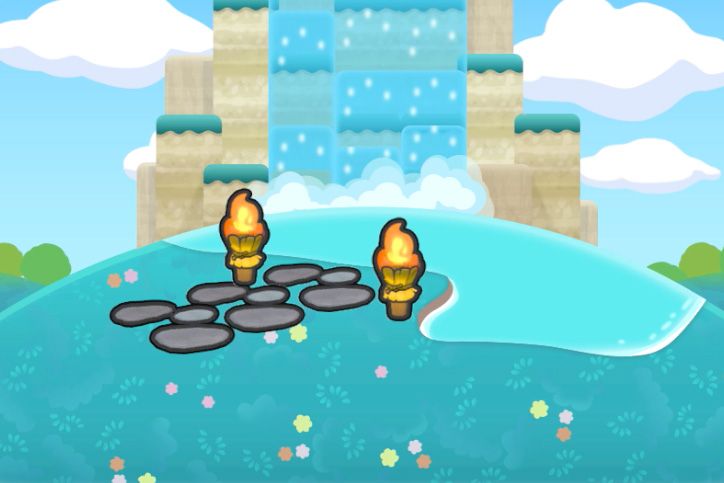 | #146 | Illuminated Waterfall | Stepping Stones x3, Torch x2, Water x3, Waterfall x1 | Gyarados (Common) |
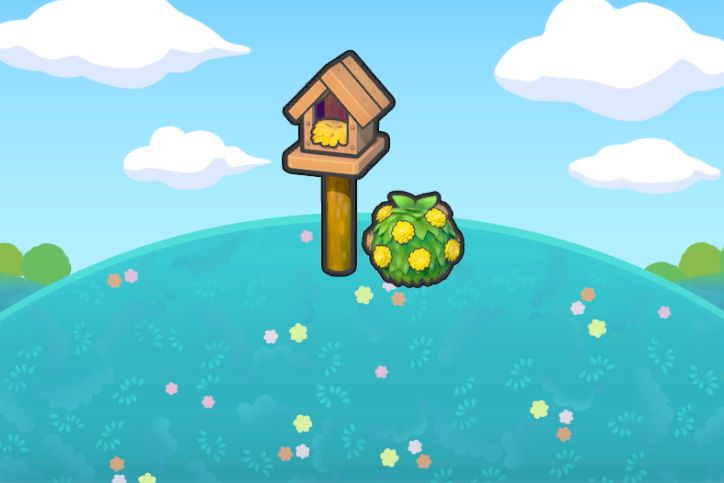 | #147 | Birdsong Garden | Stylish Hedge x1, Wooden Birdhouse x1 | Altaria (Common) |
Interior and Advanced Habitats (#148-#183)
Icon | # | Name | Requirements | Pokemon (Rarity) |
|---|---|---|---|---|
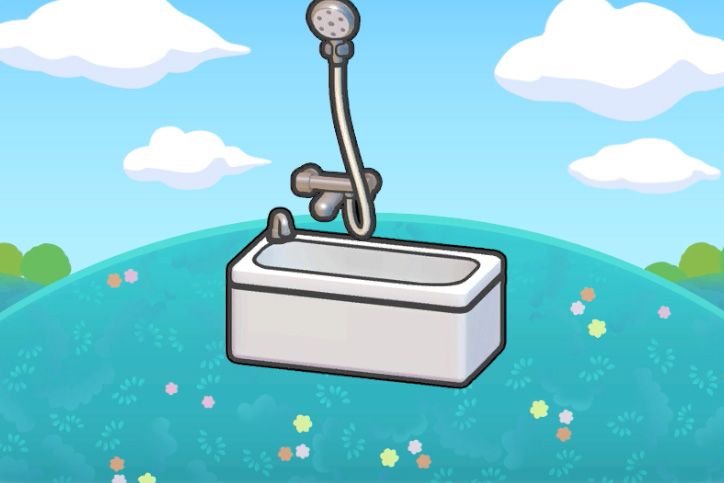 | #148 | Simple Bathroom | Shower x1, Bathtub x1 | |
 | #149 | Cycling Rest Stop | Bike x1, Vending Machine x1 | Beldum (Common) |
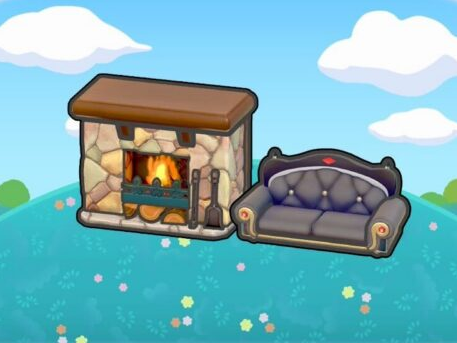 | #150 | Fireplace Nap Spot | Stone Fireplace x1, Seat (Wide) x1 | Quilava (Common), Typhlosion (Rare) |
 | #151 | Surging Psychic Power | Simple Cushion x1, Crystal Ball x1 | |
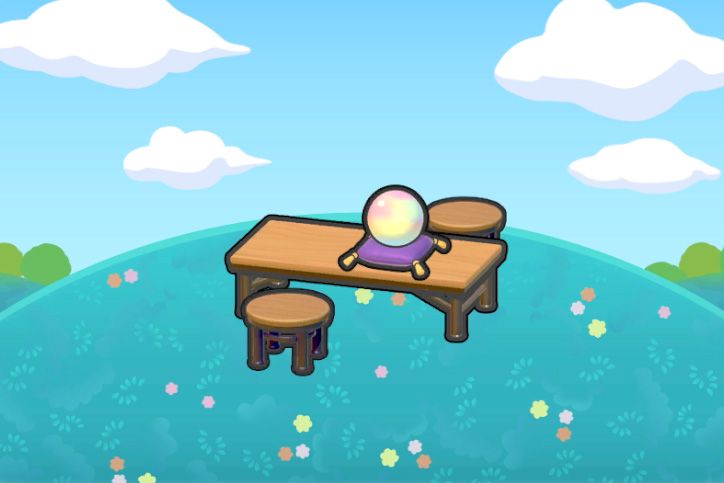 | #152 | Fortune-teller's Table | Seat (Any) x2, Table (Any) x1, Crystal Ball x1 | |
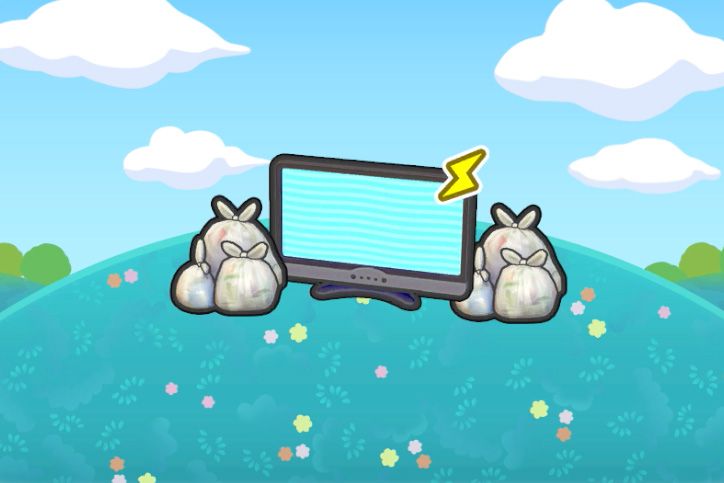 | #153 | Trash Site TV | Garbage Bags x2, Television x1 | |
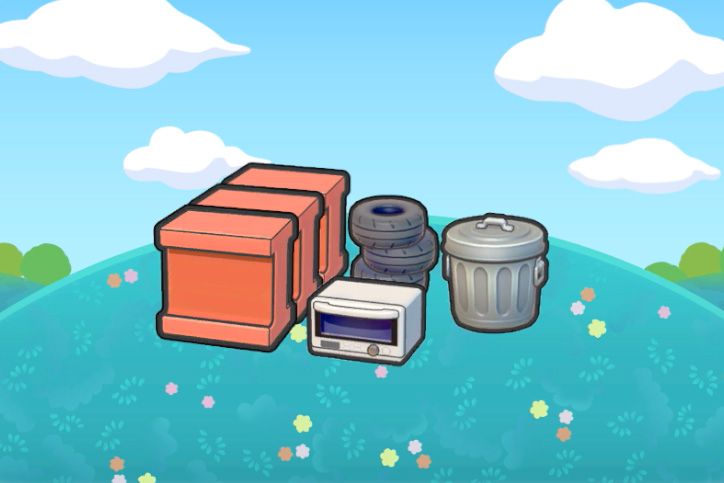 | #154 | Oversized Dumping Ground | Iron Beam or Column x3, Tires x1, Waste Bin (Any) x1, Microwave Oven x1 | |
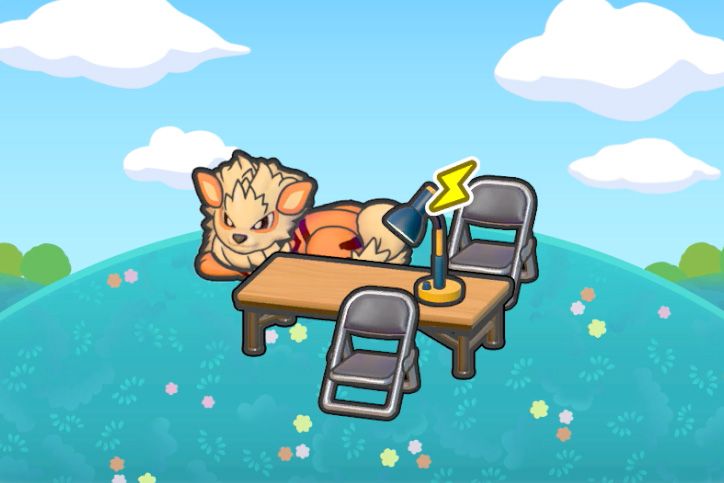 | #155 | Interrogation Desk | Arcanine Doll x1, Folding Chair x2, Industrial Desk x1, Desk Light x1 | Floragato (Common), Sprigatito (Common) |
 | #156 | Sewer-hole Inspection | Iron Pipes x1, Sewer-hole Cover x1, Excavation Tools x1, Traffic Cone x1 | Tinkatuff (Rare), Tinkatink (Rare), Poliwrath (Rare), Corviknight (Rare) |
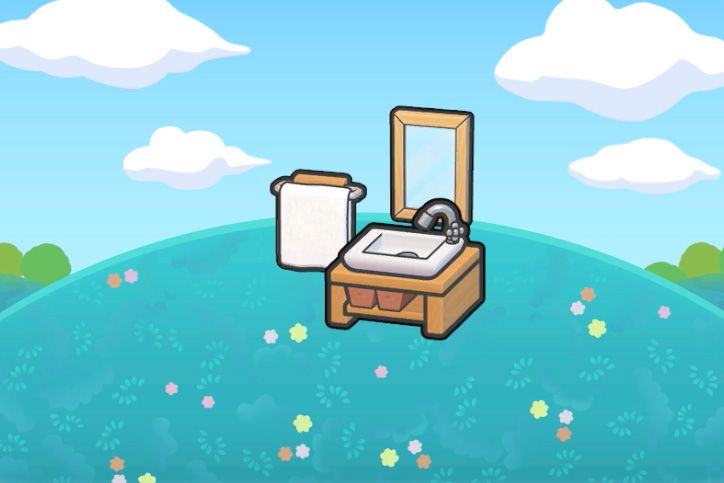 | #157 | Spotless Washing Station | Towel Rack x1, Wall Mirror x1, Sink x1 | Mime Jr. (Common), Mr. Mime (Common) |
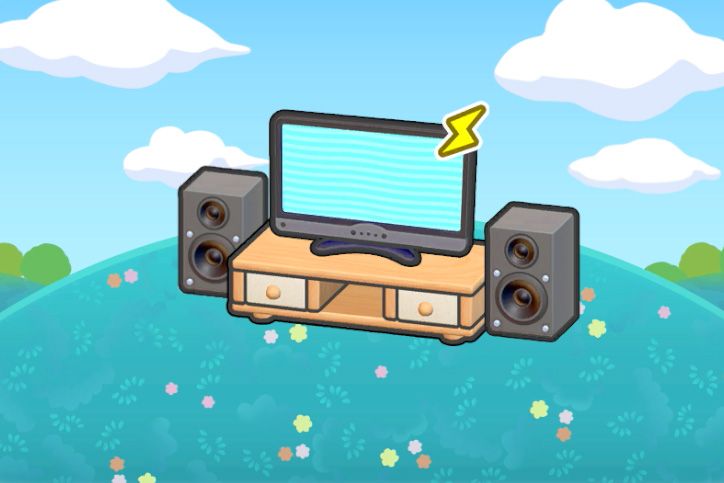 | #158 | Home Theater | Speaker x2, Stand (Any) x1, Television x1 | Mismagius (Rare) |
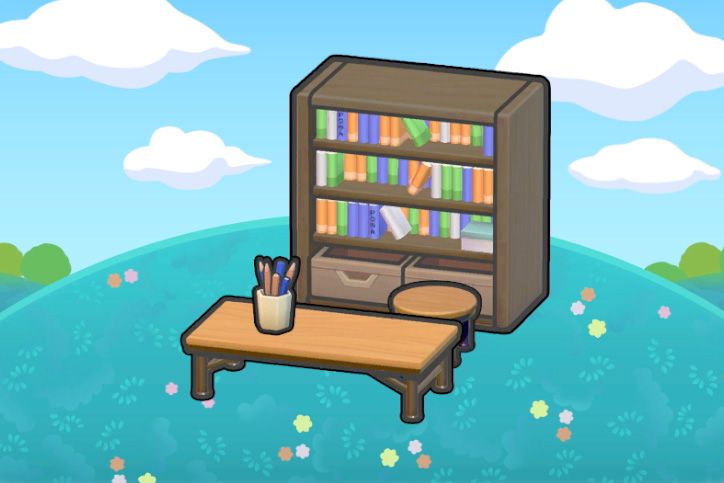 | #159 | Study Area | Bookcase x1, Seat (Any) x1, Table (Any) x1, Pencil Holder x1 | |
 | #160 | Rhythmic Living Room | Speaker x2, Music Mat (any) x4, Television x2 | |
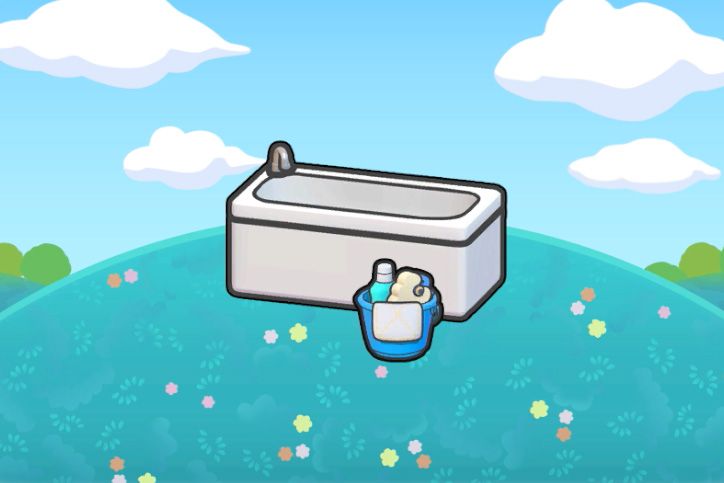 | #161 | Squeaky Clean | Bathtub x1, Cleaning Supplies x1 | Poliwag (Common) |
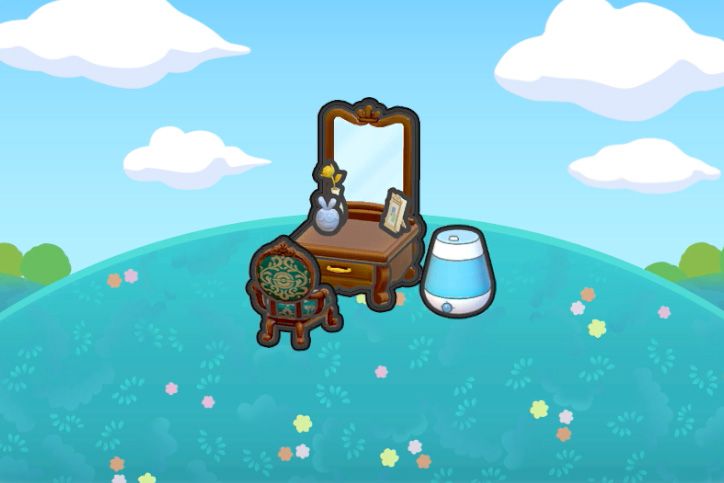 | #162 | Moisturizing Makeup Stand | Dresser (Any) x1, Seat (Any) x1, Humidifier x1 | |
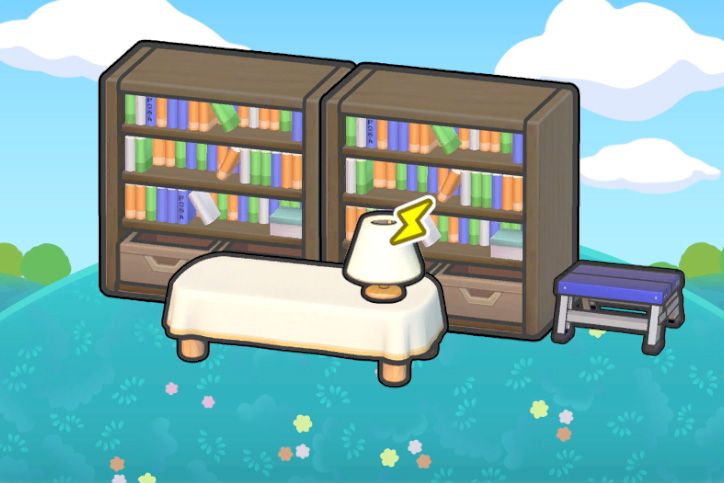 | #163 | Mini Library | Bookcase x1, Step stool x1, Table (any) x1, Lighting (any) x1 | Gardevoir (Rare) |
 | #164 | Game Corner Battle Zone | Arcade Machine x2, Seat (Any) x2 | Porygon-Z (Rare) |
 | #165 | Playland | Slide x1, Toy (Any) x1 | Snivy (Common) |
 | #166 | Work Desk | Office Desk x1, Laptop x1, Mug x1, Office Chair x1 | Porygon2 (Rare) |
 | #167 | Office Storeroom | Office Shelf x1, Step Stool x1, Cardboard Boxes x1 | Misdreavus (Common), Drakloak (Common), Mismagius (Rare), Dragapult (Rare) |
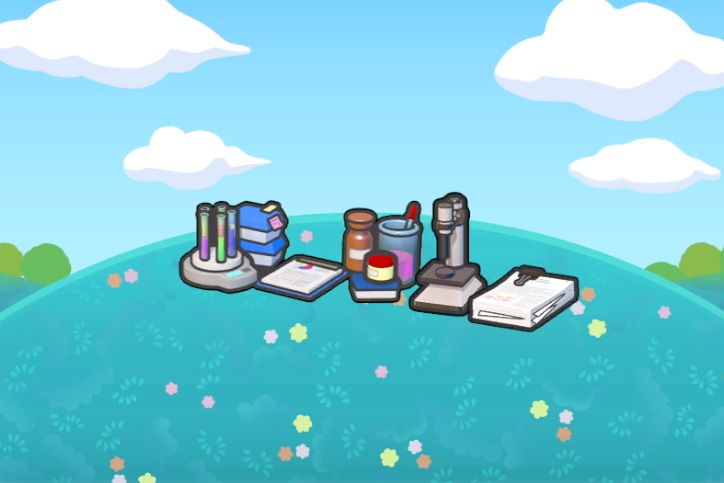 | #168 | Experiment Space | Science Experiment x1, Microscope x1, Paper x1 | Alakazam (Common) |
 | #169 | Professor's Apprentice Program | Whiteboard x1, Table (Any) x1, Jumbled Cords x1, Laptop x1 | Metang (Common) |
 | #170 | Researcher's Desk | Table (Any) x2, Computer x1, Science Experiment x1 | Porygon (Common) |
 | #171 | Public Reading Material | Magazine Rack x1, Newspaper x1 | Mime Jr. (Common), Serperior (Rare) |
 | #172 | Heart-pounding Surprise Box | Spotlight x2, Big Drum x1, Boo-in-the-box x1 | Meowscarada (Rare) |
 | #173 | Prank Button | Floor Switch x1, Boo-in-the-box x1 | |
 | #174 | Picturesque Photo Cutout Board | Photo Cutout Board x1, Spotlight x2, High-up Location x1 | |
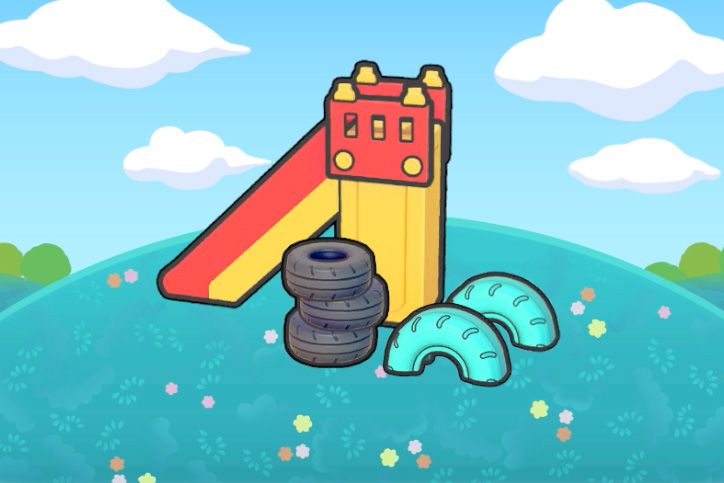 | #175 | Tire Park | Slide x1, Tires x1, Tire Toy x2 | Dedenne (Common) |
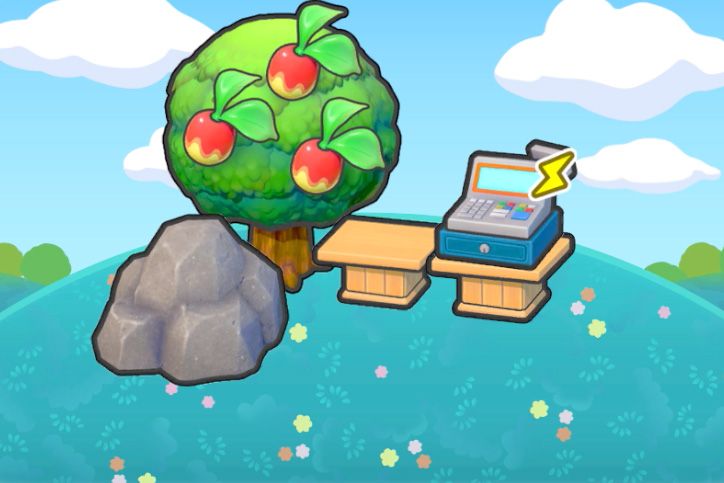 | #176 | Nature's Market | Large Tree (Any) x1, Large Boulder x1, Table (Any) x1, Cash Register x1 | Raichu (Common) |
 | #177 | Construction-site Generator | Furnace x1, Iron Scaffold x2, Iron Pipes x1 | Conkeldurr (Common) |
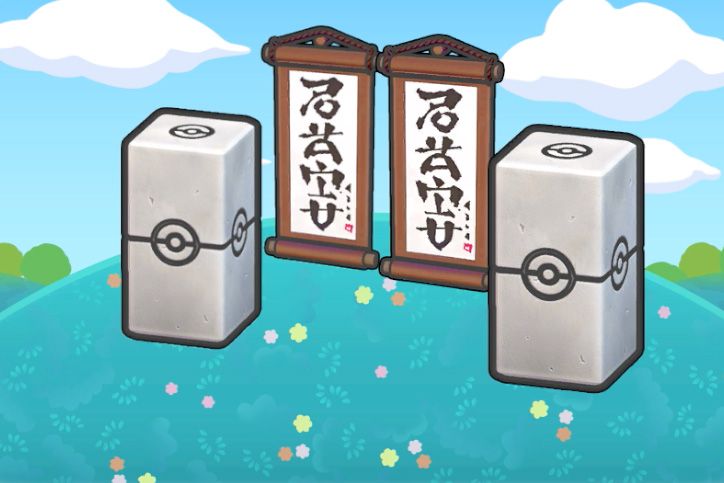 | #178 | Dojo Training | Hanging Scroll x2, Strength Rock x2 | |
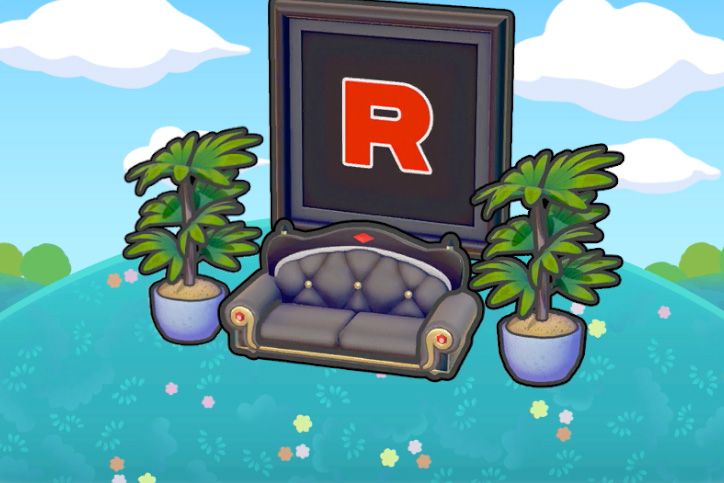 | #179 | Evil Organization HQ | Potted Plant (Any) x2, Team Rocket Wall Hanging x1, Luxury Sofa x1 | Persian (Common) |
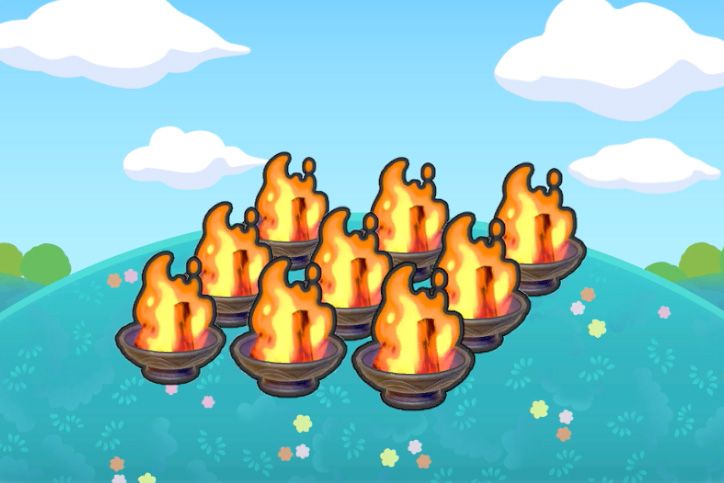 | #180 | Nine Flames | Firepit x9 | Ninetales (Common) |
 | #181 | Plush Central | Arcanine Doll x1, Pikachu Doll x1, Dragonite Doll x1, Eevee Doll x1 | |
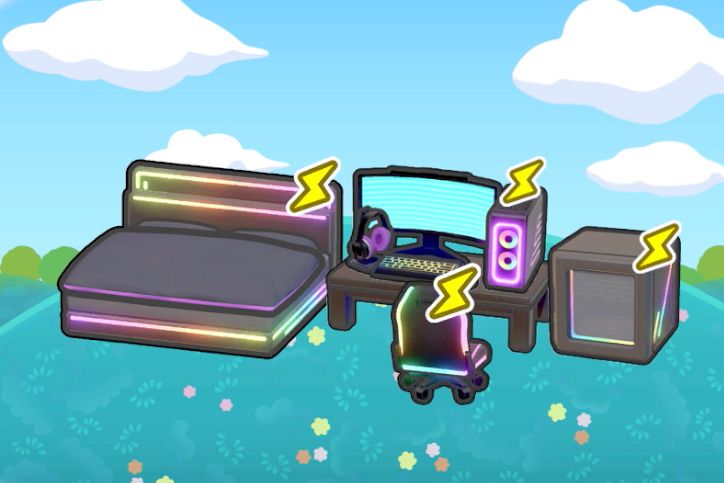 | #182 | Gamer's Paradise | Gaming Bed x1, Table (Any) x1, Gaming PC x1, Gaming Chair x1, Gaming Fridge x1 | Metagross (Rare) |
 | #183 | Top Pop | Pop Art Bed x1, Pop Art Sofa x1, Pop Art Table x1 | Typhlosion (Rare) |
Special Habitats (#184-#209)
Special habitats include fishing spots, rock stages, knight shrines, fossil displays, and the Eeveelution food habitats exclusive to Palette Town.
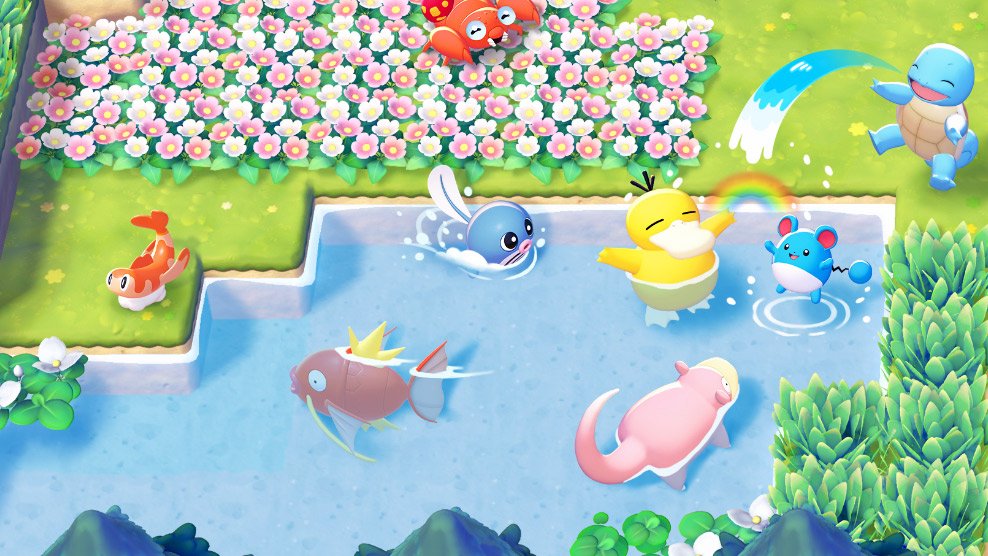
Fishing Habitats (#184-#188)
Icon | # | Name | Requirements | Pokemon (Rarity) |
|---|---|---|---|---|
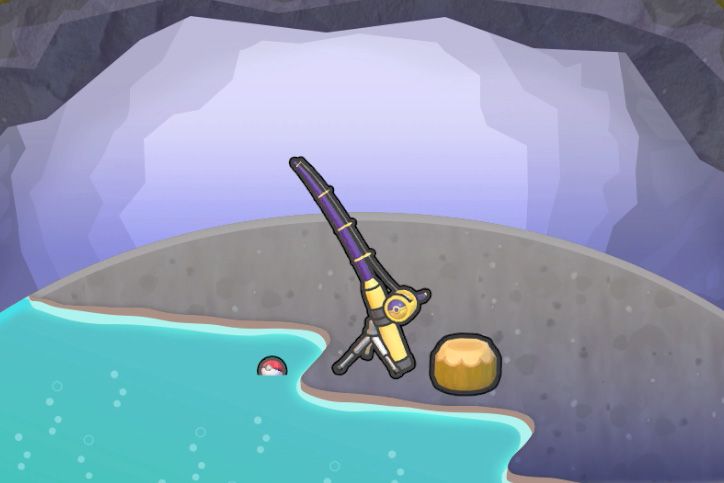
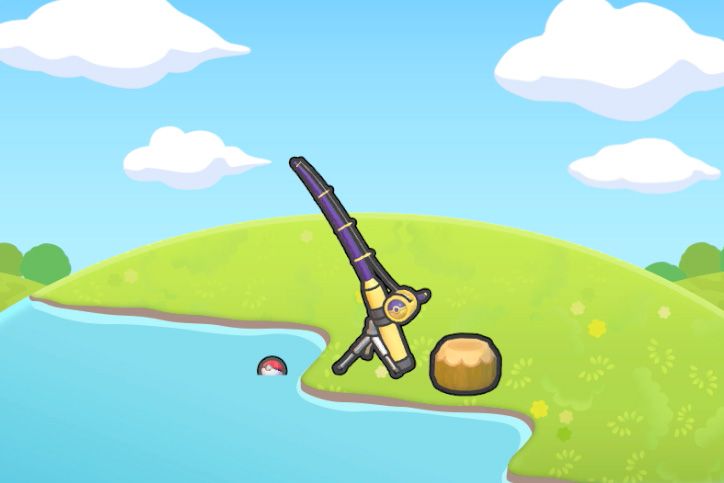 | #184 | Fishing Pond | Fishing Rod x1, Seat (Any) x1, Water x1 | |
 | #185 | Ocean Fishing Spot | Fishing Rod x1, Seat (Any) x1, Ocean Water x1 | Magikarp (Common), Gastrodon West Sea (Rare), Gastrodon East Sea (Rare) |
 | #186 | Marsh Fishing Spot | Fishing Rod x1, Seat (Any) x1, Muddy Water x1 | |
 | #187 | Hot-spring Fishing Spot | Fishing Rod x1, Seat (Any) x1 | |
 | #188 | Magma Fishing Spot | Fishing Rod x1, Seat (Any) x1, Lava x1 | Arcanine (Common) |
Fishing Habitat Details
Building a fishing habitat follows the same general rules as other habitats. Place the required items within a small radius of each other (roughly a 4x4 grid). Once the correct combination is assembled, a sparkle effect confirms the habitat is complete, and Professor Tangrowth will notify you. Wild Pokemon will then begin visiting the habitat.
All fishing habitats share two common requirements: one Fishing Rod and one Seat (any type of chair or bench works). The third requirement varies by habitat type and determines which water environment the habitat represents.
Fishing Rods are crafted at a Workbench. The basic Fishing Rod recipe becomes available through story progression. Seats can be any craftable chair, bench, or stool from the crafting system.
Fishing Pond (#184)
The Fishing Pond is the simplest fishing habitat. It requires one Fishing Rod, one Seat, and one Water source. The sole Pokemon attracted to this habitat is Slowking, which appears at Rare rarity. Slowking can appear during any time of day and in any weather condition.
Available regions: Withered Wasteland, Bleak Beach, Rocky Ridges, Sparkling Skylands, and Palette Town.
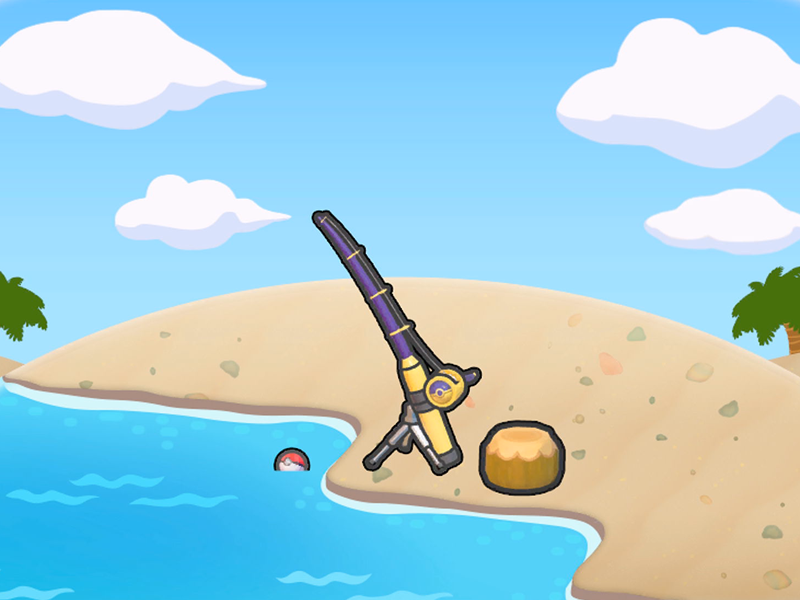
Ocean Fishing Spot (#185)
The Ocean Fishing Spot uses Ocean Water as its liquid component. It attracts Magikarp at Common rarity. This is the most reliable way to find Magikarp in Pokopia. Magikarp appears across all times of day and weather.
Available in all five regions. Ocean Water can be collected from coastal areas in Bleak Beach and other shoreline zones.
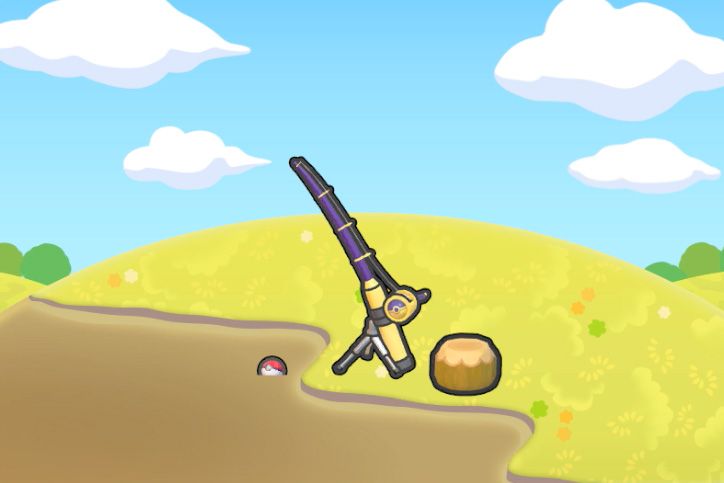
Marsh Fishing Spot (#186)
The Marsh Fishing Spot requires Muddy Water and attracts three different Pokemon: Grimer (Common), Muk (Rare), and Clodsire (Rare). This makes it one of the more productive fishing habitats since you can potentially befriend multiple species from a single habitat.
Available in all five regions. All three Pokemon appear regardless of time of day or weather. Muddy Water can be found in swampy areas.
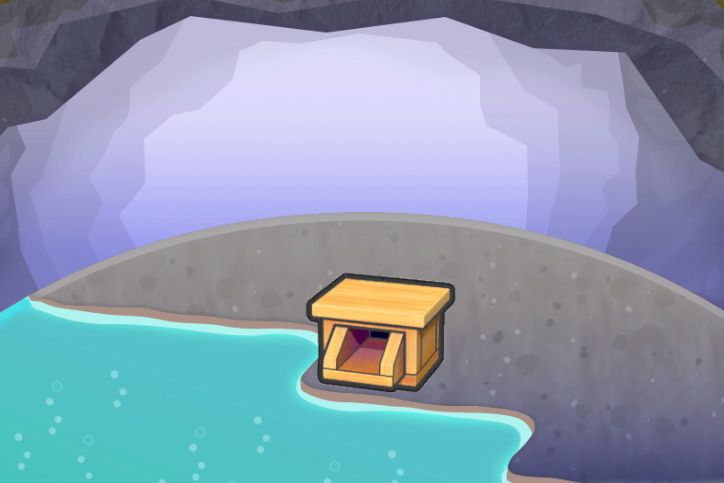
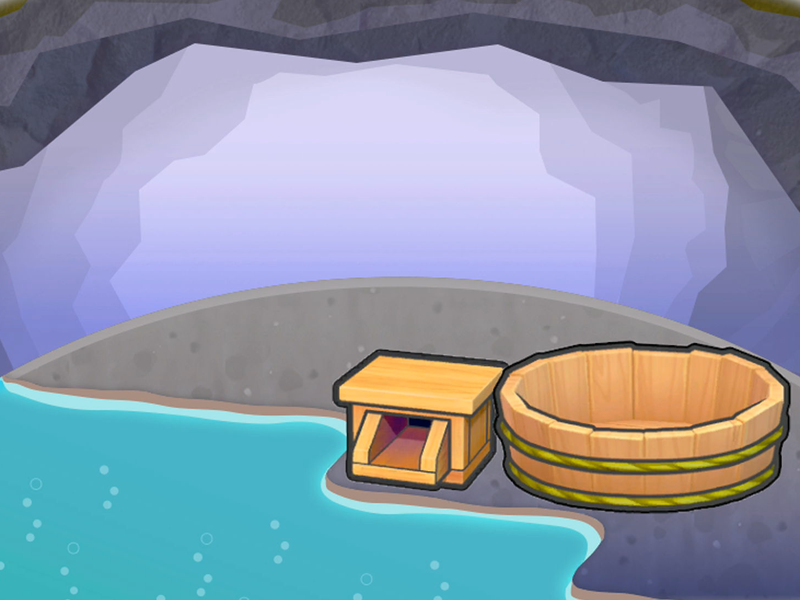
Hot-Spring Fishing Spot (#187)
The Hot-spring Fishing Spot uses Hot-Spring Water and attracts Lotad and Lombre, both at Common rarity. Hot-Spring Water can be collected in volcanic or geothermal areas.
Available in all five regions except the starting Withered Wasteland. Both Pokemon appear at all times and in all weather conditions.
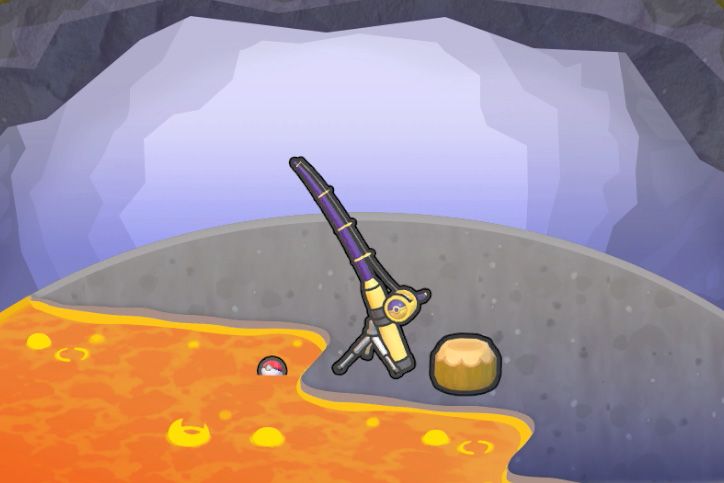
Magma Fishing Spot (#188)
The Magma Fishing Spot is the most unusual fishing habitat, using Lava as its liquid component. Despite being a fire-themed habitat, it still requires the standard Fishing Rod and Seat. It attracts Arcanine at Common rarity.
Available in all five regions. Lava can be sourced from volcanic areas, particularly around Rocky Ridges. Arcanine appears at all times and in all weather.
Rock Stages and Shrines (#189-#192)
Icon | # | Name | Requirements | Pokemon (Rarity) |
|---|---|---|---|---|
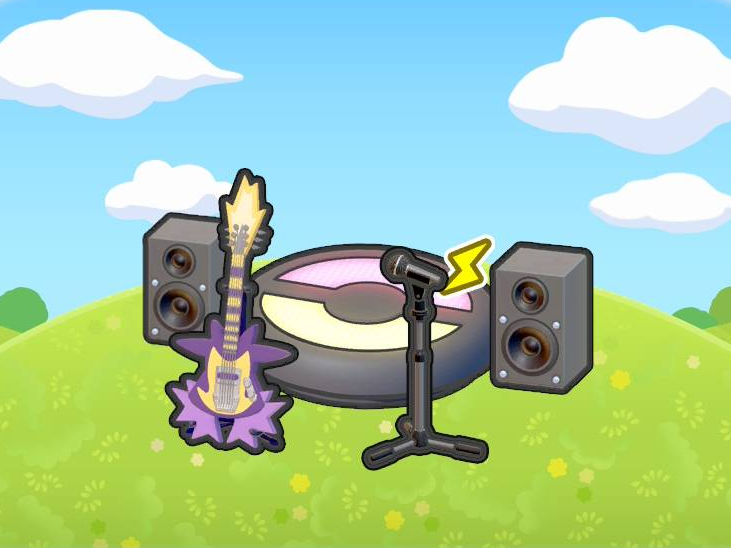 | #189 | Amped Rock Stage | Speaker x2, Small Stage x1, Cool Electric Guitar x1, Standing Mic x1 | Toxtricity Amped Form (Common) |
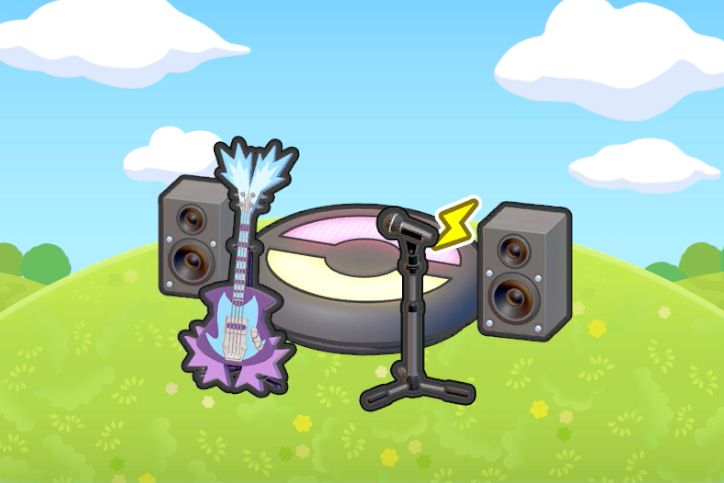 | #190 | Low-key Rock Stage | Speaker x2, Cool bass guitar x1, Small stage x1, Standing mic x1 | Toxtricity Low Key Form (Rare) |
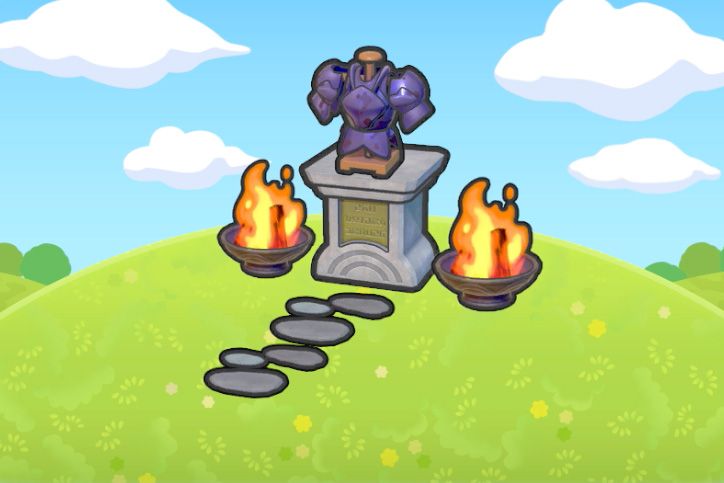 | #191 | Malicious Knight's Shrine | Pedestal / Exhibition Stand x1, Malicious Armor x1, Stepping Stones x2, Firepit x2 | Ceruledge (Common) |
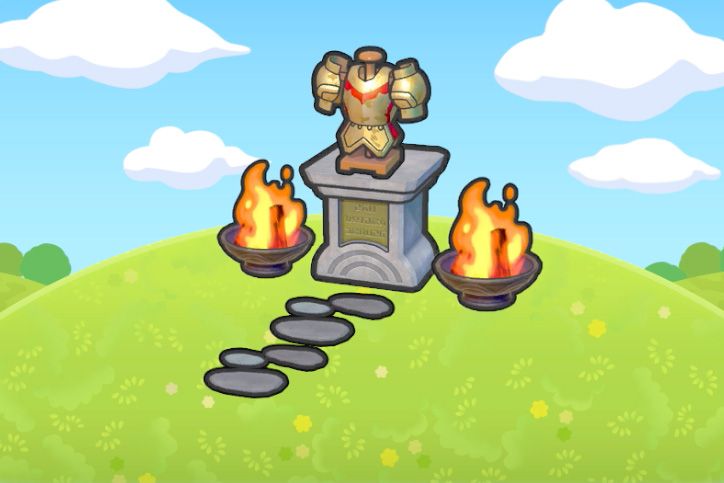 | #192 | Auspicious Knight's Shrine | Pedestal / Exhibition Stand x1, Auspicious Armor x1, Stepping Stones x2, Firepit x2 | Armarouge (Rare) |
Fossil Displays (#193-#201)
Icon | # | Name | Requirements | Pokemon (Rarity) |
|---|---|---|---|---|
 | #193 | Wing Fossil Display | Pedestal / Exhibition Stand x1, Wing Fossil (head) x1, Wing Fossil (right wing) x1, Wing Fossil (left wing) x1, Wing Fossil (body) x1, Wing Fossil (tail) x1 | Aerodactyl (Common) |
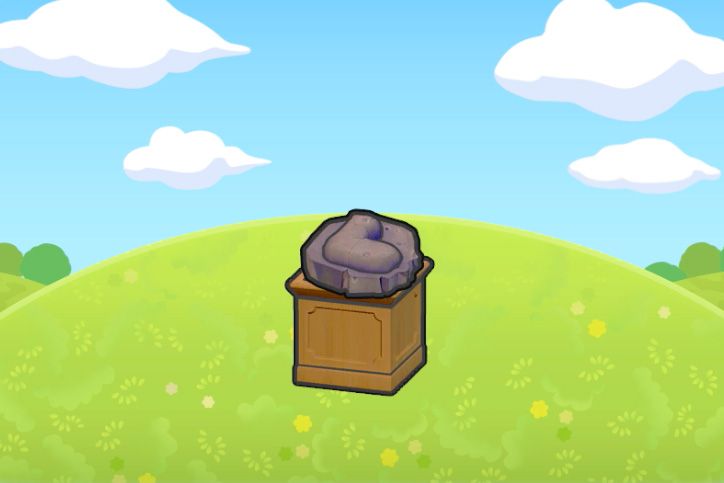
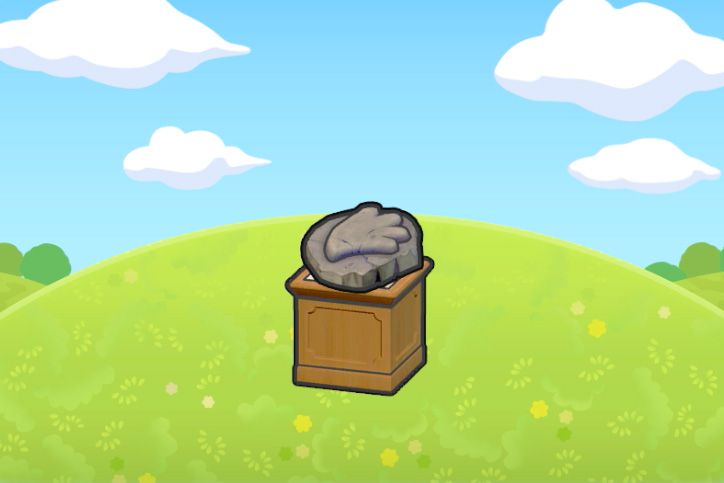
 | #194 | Skull Fossil Display | Pedestal / Exhibition Stand x1, Skull Fossil x1 | Cranidos (Common) |
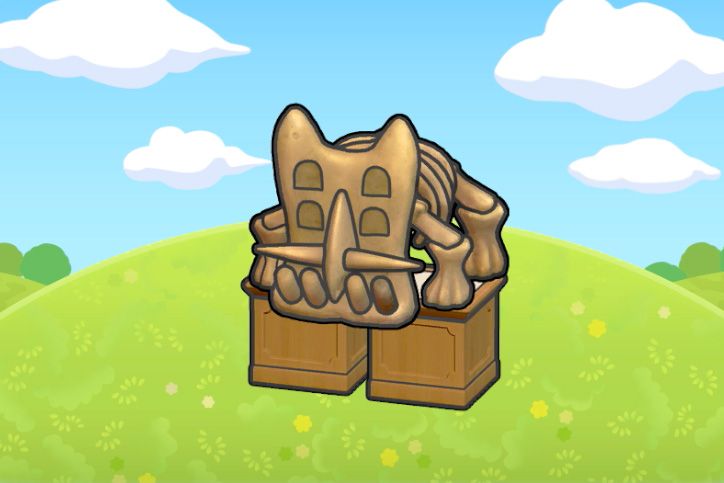
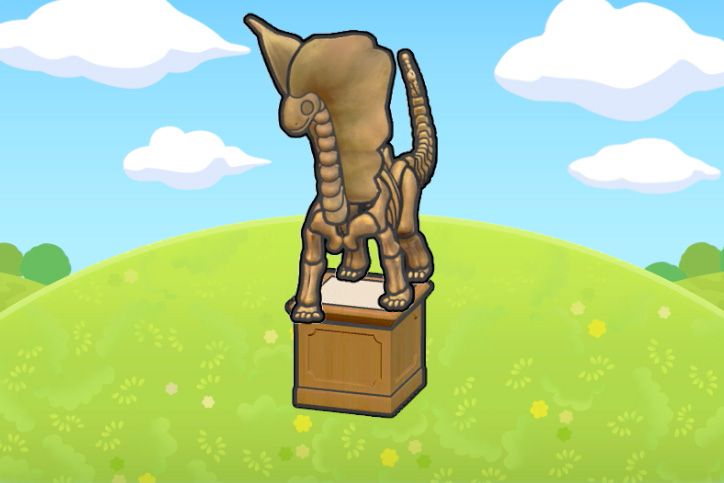
 | #195 | Headbutt Fossil Display | Pedestal / Exhibition Stand x1, Headbutt Fossil (Head) x1, Headbutt Fossil (Body) x1, Headbutt Fossil (Tail) x1 | Rampardos (Common) |
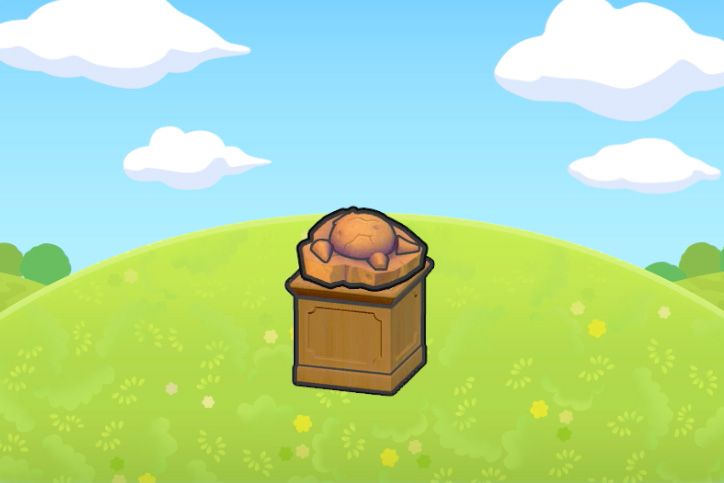
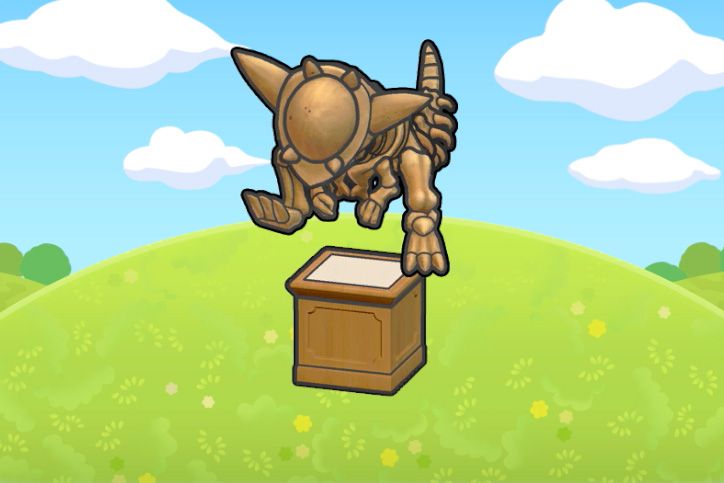
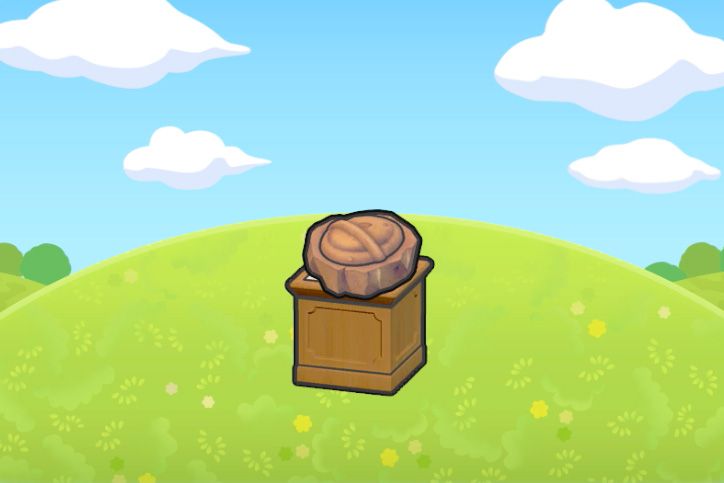 | #196 | Armor Fossil Display | Pedestal / Exhibition Stand x1, Armor Fossil x1 | Shieldon (Common) |
 | #197 | Shield Fossil Display | Pedestal / Exhibition Stand x2, Shield Fossil (Head) x1, Shield Fossil (Body) x1, Shield Fossil (Tail) x1 | Bastiodon (Common) |
 | #198 | Jaw Fossil Display | Pedestal / Exhibition Stand x1, Jaw Fossil x1 | Tyrunt (Common) |
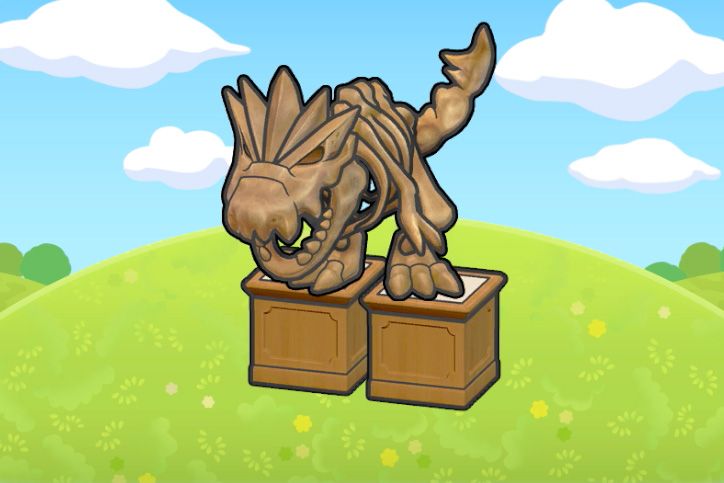 | #199 | Despot Fossil Display | Pedestal / Exhibition Stand x2, Despot Fossil (Head) x1, Despot Fossil (Body) x1, Despot Fossil (Legs) x1, Despot Fossil (Tail) x1 | Tyrantrum (Common) |
 | #200 | Sail Fossil Display | Pedestal / Exhibition Stand x1, Sail Fossil x1 | Amaura (Common) |
 | #201 | Tundra Fossil Display | Pedestal / Exhibition Stand x1, Tundra Fossil (head) x1, Tundra Fossil (body) x1, Tundra Fossil (tail) x1 | Aurorus (Common) |
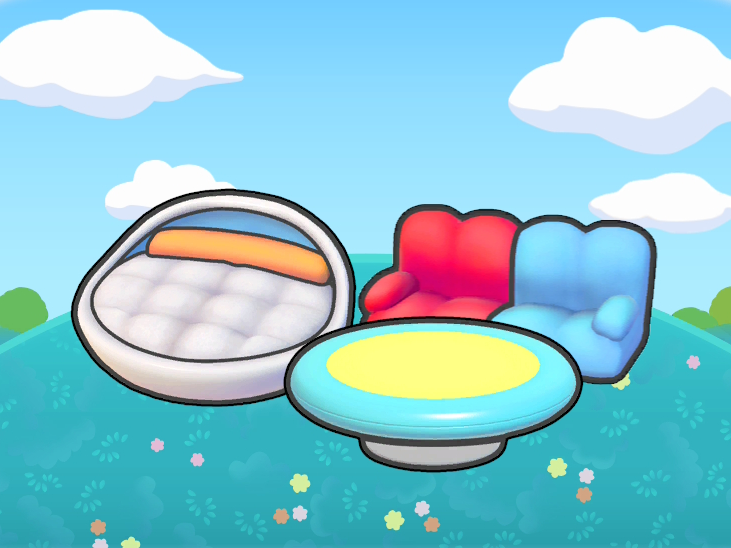
Eeveelution Habitats (#202-#209)
Exclusive to Palette Town. Each needs a Seat, Table, and a unique food item from Special Challenges.
Icon | # | Name | Requirements | Pokemon (Rarity) |
|---|---|---|---|---|
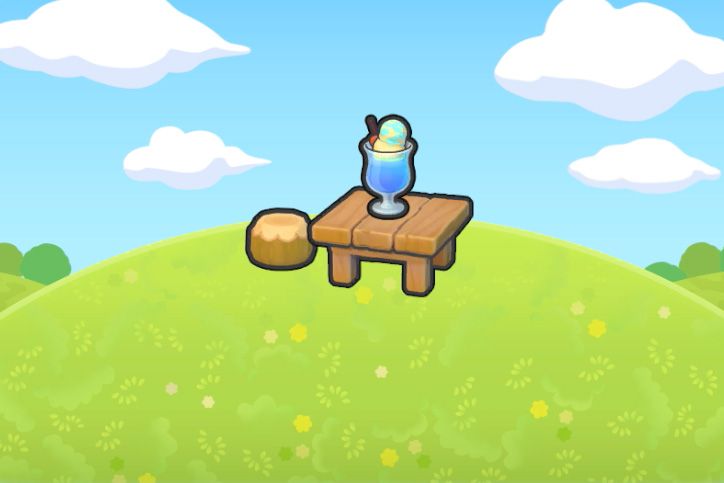 | #202 | Boundless Blue Beverage | Seat (Any) x1, Table (Any) x1, Soda Float x1 | Vaporeon (Common) |
 | #203 | Electrifying Potatoes | Seat (Any) x1, Table (Any) x1, Fried Potatoes x1 | Jolteon (Common) |
 | #204 | Burning-hot Spice | Seat (Any) x1, Table (Any) x1, Pizza x1 | Flareon (Common) |
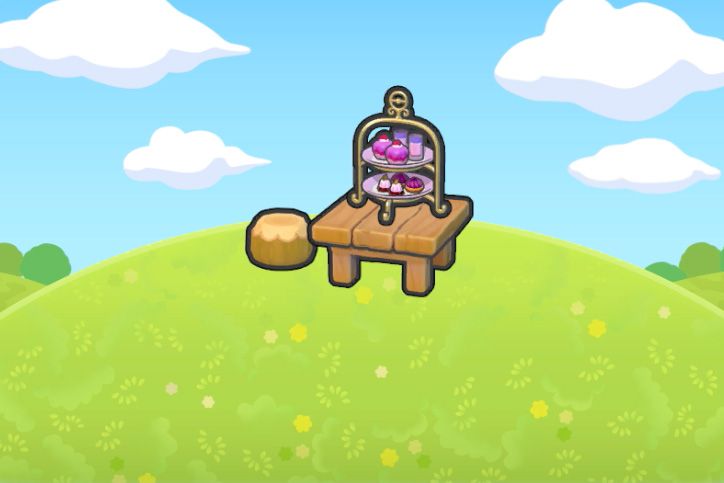 | #205 | Elegant Daytime Treats | Seat (Any) x1, Table (Any) x1, Afternoon Tea Set x1 | Espeon (Common) |
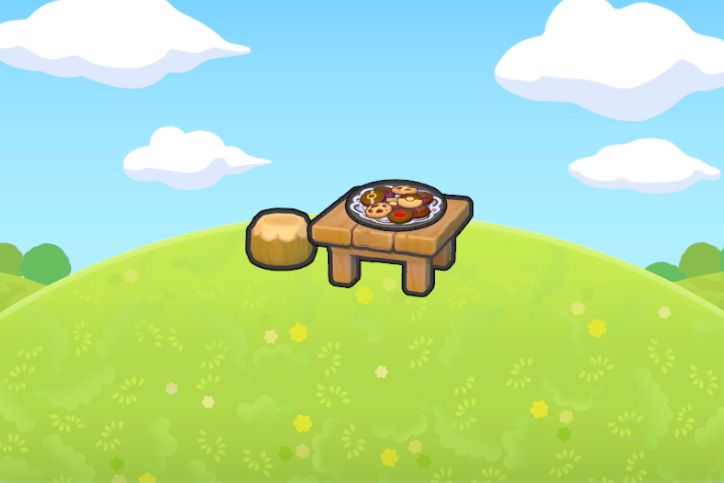 | #206 | Dark-chocolate Cookies | Seat (Any) x1, Table (Any) x1, Chocolate Cookies x1 | Umbreon (Common) |
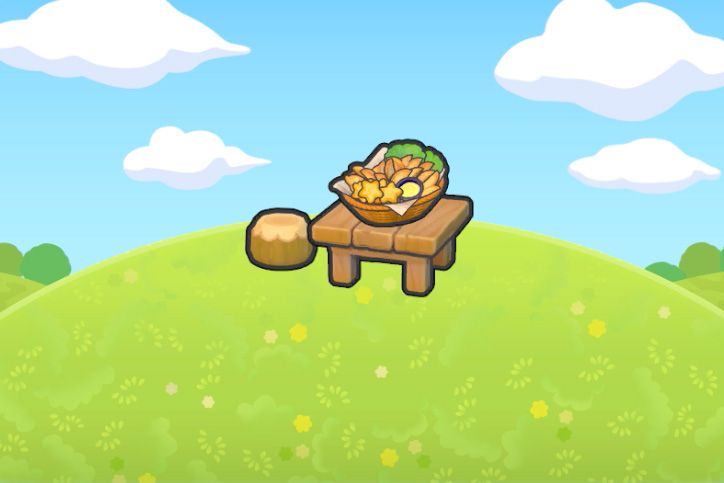
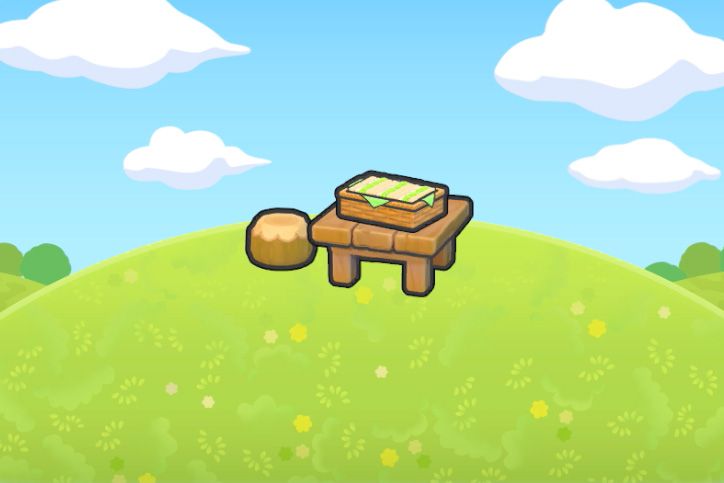 | #207 | Leafy Greens Sandwich | Seat (Any) x1, Table (Any) x1, Sandwiches x1 | Leafeon (Common) |
 | #208 | Chilly Shaved Ice | Seat (Any) x1, Table (Any) x1, Shaved Ice x1 | Glaceon (Common) |
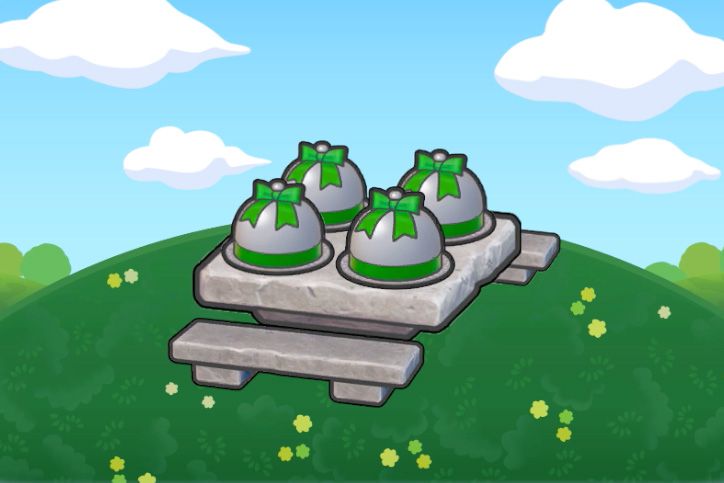
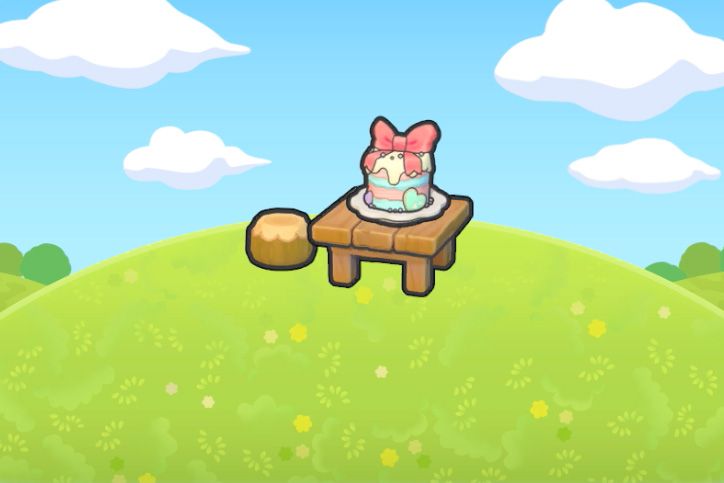 | #209 | Lovely Ribbon Cake | Seat (Any) x1, Table (Any) x1, Ribbon Cake x1 | Sylveon (Common) |
Event Habitats (#E-001-#E-004)
Event habitats use limited-time items obtained from Special Challenges and in-game events. These habitats are available in any region once you have the required items.
Icon | # | Name | Requirements | Pokemon (Rarity) |
|---|---|---|---|---|
#E-001 | ||||
#E-002 | Flower backpack x1, Lunch box x1, Hoppip water bottle x1 | Jumpluff (Common) | ||
#E-003 | Dandy flowers x1, Lunch box x1, Flower cushion x1, Flowery table setting x1 | Whimsicott (Common) | ||
#E-004 | Adventure kit x1, Treasure x1, Map and compass x1 | Gimmighoul (Common) |
Habitat Count by Region
Region | Range | Count |
|---|---|---|
#001-#049 | 49 | |
#050-#097 | 48 | |
#098-#136 | 39 | |
#137-#183 | 47 | |
Special | #184-#209 | 26 |
Event | #E-001-#E-004 | 4 |
Total | #001-#209 | 213 |
Habitat Count by Category
The 213 habitats span a wide range of categories. The following gives an approximate breakdown:
Category | Approximate Count | Examples |
|---|---|---|
Grass variants | ~25 | Tall Grass, Tree-Shaded, Boulder-Shaded, Hydrated, Elevated, Illuminated (x4 regions) |
Flower variants | ~18 | Pretty Flower Bed, Field of Flowers, Grave with Flowers (x4 regions) |
Dining and food | ~20 | Campsite, Restaurant, Chirp-Chirp Meal, Gourmet's Altar, Eeveelution food habitats |
Water and fishing | ~12 | Fishing Pond, Ocean Fishing Spot, Dock, Waterwheel, Training Waterfall |
Hot springs and lava | ~8 | Mossy Hot Spring, Piping-Hot Lava, Magma Fishing Spot |
Rest and living | ~15 | Resting Spot, Alarm Clock Sleep Zone, Changing Area, Locker Room |
Training and work | ~15 | Exercise Resting Point, Grassy Training Field, Construction Site |
Shops and displays | ~12 | Mini Museum, Nature's Market, Vending Machine, Bronze Landmark |
Fossil displays | ~7 | Amber, Cranium, Shield, Jaw, Fin Fossil Displays |
Shrines and special | ~10 | Valiant Knight's Shrine, Surging Psychic Power, Rain Dance Site |
Moss and duckweed | ~6 | Mossy Rest Spot, Mossy Boulder, Uplifting Duckweed |
Miscellaneous | ~61 | Road Sign, Railroad Crossing, Playland, Birdsong Garden, and many more |
Pokemon Nicknames
Several Pokemon in Pokopia go by unique nicknames rather than their standard species name. These nicknamed Pokemon behave like their normal counterparts but have special roles in the game world.
Pokemon | Nickname | Role |
|---|---|---|
Guides the player through habitat building and provides tutorials | ||
Found at the Gourmet's Altar (#093); feeding it spicy food boosts nearby spawn rates | ||
Appears at Full Recovery (#081); has a distinctive peaked cap | ||
Found at Tiny Atelier (#092); teaches painting-related Moves | ||
Appears at Music and Magazines (#128); plays background music | ||
Found at Chef's Kitchen (#133); teaches cooking recipes |
Palette Town Habitat Crafting
Palette Town is the multiplayer hub area where habitat crafting works differently from the four main biomes. In Palette Town, you can use grass, flower, and hedge types from all four regions. This means you can plant Tall Grass, Yellow Tall Grass, Red Tall Grass, and Pink Tall Grass side by side in a single area. The same applies to flower and hedge types.
This flexibility makes Palette Town the best location for completing the Habitat Dex if you are missing region-locked habitats. Since each biome's grass, flower, and hedge types are exclusive to their home region in single-player, Palette Town is the only place where you can build every habitat type without fast-traveling between regions.
Palette Town habitats follow the same spawning rules as other regions. Pokemon appear based on the habitat type and materials used, not the region itself. The one-per-species limit and rarity tiers still apply. You can also discover new habitat recipes by inspecting Pokemon traces that appear in Palette Town during multiplayer sessions.
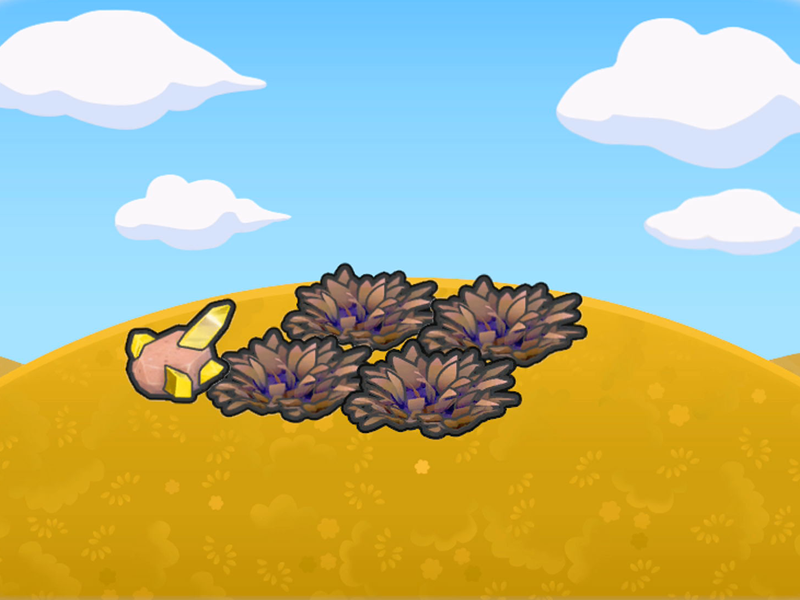
Fossil Habitat Strategy
The nine Fossil Display habitats (#193 through #201) each require specific fossil pieces that must be collected from Glowing Rocks across the five regions. Use Rock Smash on Glowing Rocks to break them open and collect fossil pieces. Some fossils consist of a single piece while others require multiple components (head, body, tail, wings, or legs) that must all be gathered before the habitat can be assembled.
Fossil drop rates are higher in certain regions. Rocky Ridges has the best overall fossil drop rates, while Sparkling Skylands is the best location for Skull Fossil and Headbutt Fossil pieces. Use the Dowsing Machine combined with a Pokemon that has the Search specialty to locate hidden Glowing Rocks more efficiently. Magnet Rise can also reveal surface-level Glowing Rocks that are not immediately visible.
Once all pieces of a fossil are collected, place them on a Pedestal or Exhibition Stand (available at the Museum in Rocky Ridges) to complete the display habitat. The fossil Pokemon will spawn immediately, regardless of weather or time of day. All nine fossil Pokemon spawn at Common rarity, making them relatively easy to recruit once the display is assembled.
Fossil Display | Pieces Needed | Best Region | Pokemon |
|---|---|---|---|
Wing Fossil | 5 (Head, Right Wing, Left Wing, Body, Tail) | ||
Skull Fossil | 1 | ||
Headbutt Fossil | 3 (Head, Body, Tail) | ||
Armor Fossil | 1 | ||
Shield Fossil | 3 (Head, Body, Tail) | ||
Jaw Fossil | 1 | ||
Despot Fossil | 4 (Head, Body, Legs, Tail) | ||
Sail Fossil | 1 | ||
Tundra Fossil | 3 (Head, Body, Tail) |
Eeveelution Habitat Strategy
The eight Eeveelution habitats (#202 through #209) all follow the same simple recipe pattern: one Seat, one Table, and a specific food or drink item. These habitats are among the easiest to build in the entire Habitat Dex because the food items can all be crafted at a Workbench or purchased from vendors in each region. The key challenge is unlocking the recipes for each food item.
Each Eeveelution habitat produces a different evolved form of Eevee. You do not need to evolve Eevee yourself; instead, each habitat directly spawns the corresponding Eeveelution at Common rarity. This is the only way to recruit most Eeveelutions in the game. Build all eight habitats to complete the Eevee family in your Pokedex. The Soda Float, Fried Potatoes, Pizza, Afternoon Tea Set, Chocolate Cookies, Sandwiches, Shaved Ice, and Ribbon Cake recipes become available progressively as you advance through the story and rebuild Pokemon Centers across the regions.
Rare Pokemon Hunting
Some of the most sought-after Pokemon in the game are locked behind specific habitats with Rare or Very Rare spawn rates. Since habitats follow a one-species-at-a-time rule, you must keep re-checking a habitat after each successful befriending to see if a rarer Pokemon appears next. The most efficient strategy is to build duplicate habitats of the same type so that you have multiple chances to see the rare spawn.
The following habitats contain especially desirable Pokemon at high rarity tiers. These are worth building multiple copies of to increase your chances of encountering the rare spawn.
Habitat | Rare Pokemon | Rarity | Region |
|---|---|---|---|
#001 Tall Grass | Very Rare | ||
#004 Hydrated Tall Grass | Very Rare | ||
#098 Red Tall Grass | Very Rare | ||
#100 Pointy Tree-Shaded Rocky Tall Grass | Very Rare | ||
#104 Graceful Flower Bed | Very Rare | ||
#105 Tree-Shaded Graceful Flower Bed | Very Rare | ||
#140 Elevated Pink Tall Grass | Very Rare | ||
#142 Fluffy Flower Bed | Very Rare | ||
#143 Tree-Shaded Fluffy Flower Bed | Very Rare | ||
#144 Hydrated Fluffy Flower Bed | Very Rare | ||
#134 Absolute Luxury | Rare | ||
#182 Gamer's Paradise | Rare |
Habitat Building Tips
One Pokemon per habitat. Each completed habitat can only house one Pokemon at a time. If you need to attract a different species from the same habitat, build a duplicate copy in another location or relocate the current resident.
Proximity matters, not exact positioning. Items just need to be within range of each other. You do not need to place them in a specific formation. A sparkle effect confirms the habitat is correctly assembled.
Location context changes the result. The same set of items placed near water, at high elevation, or in a different region may create a completely different habitat. Experiment with placement.
Duplicate habitats for rare spawns. Build multiple copies of the same habitat type to increase your chances of encountering rare Pokemon that require specific weather or time of day conditions.
Use Palette Town for flexibility. Palette Town accepts grass, flower, and hedge types from all four regions. It is the best location for building habitats that normally require region-specific materials.
Exhaust common spawns first. Since duplicate Pokemon cannot be recruited, befriending all common and uncommon species from a habitat guarantees the next spawn will be the rare Pokemon.
Check weather and time. Some Pokemon only appear in rain, sunshine, daytime, or nighttime. Set up Weather Charm sites (Rain Dance, Sunny Day) to control conditions.
Track progress with Poke Ball icons. A grey Poke Ball on a habitat entry means you still have undiscovered species. Build that habitat again and wait for new Pokemon to appear.
Focus on furniture set habitats for rare Pokemon. Themed furniture sets (Berry, Log, Cute, Luxury, Resort, Iron, Industrial, Pop Art, Gaming) each attract specific Pokemon. Craft complete sets at the Workbench to unlock habitats for Pokemon like Goodra, Haxorus, Blissey, Gholdengo, Absol, Coalossal, Decidueye, Typhlosion, and Metagross.
Build Eeveelution habitats early. All eight Eeveelution habitats (#202 through #209) use simple recipes: a Seat, a Table, and a specific food item. These are easy to build and give you eight evolved Eevee forms at Common rarity without needing to find and evolve Eevee yourself.
Complete fossil displays for guaranteed recruits. Fossil Pokemon all spawn at Common rarity from their display habitats, making them some of the easiest rare Pokemon to recruit. Prioritize collecting fossil pieces from Glowing Rocks as you explore each region.