Overview
Environment Level is a per-area progression score in Pokemon Pokopia that reflects how healthy and thriving each zone has become. It ranges from Level 1 through Level 10, and is calculated by combining the individual comfort scores of all Pokemon living in that area. As Environment Level rises, new shop items, recipes, building kits, rare Pokemon spawns, Challenges, and game features unlock. Progress is displayed as a meter on the Pokemon Center PC screen.
While each area's Environment Level goes up to 10, reaching Level 5 in all four story areas (Withered Wasteland, Bleak Beach, Rocky Ridges, and Sparkling Skylands) is one of the requirements to see the game's credits. Palette Town has its own Environment Level but it is not required for credits.
Comfort Levels
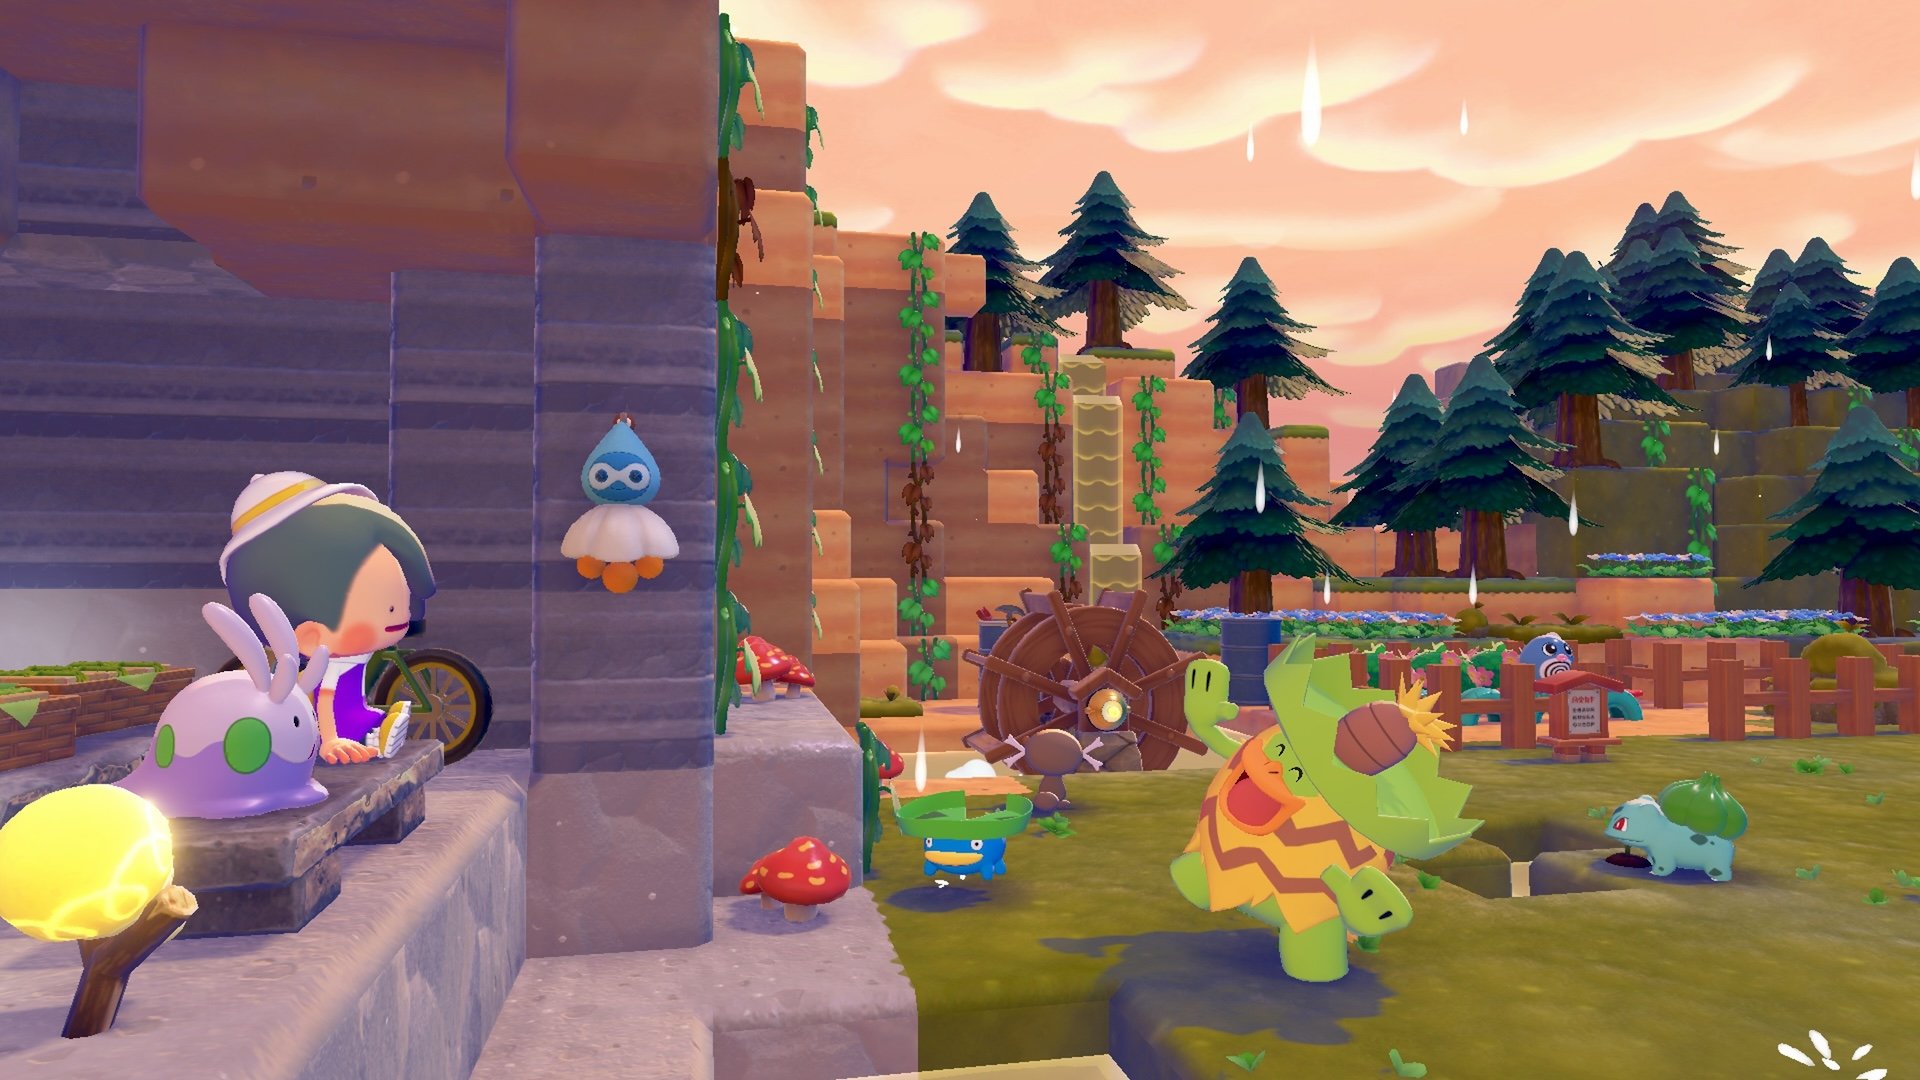
Every befriended Pokemon has a comfort score that represents how satisfied it is with its living conditions. The combined comfort of all Pokemon in an area determines that area's Environment Level. There are six comfort tiers, from lowest to highest:

Comfort Tier | Description |
|---|---|
No Home | The Pokemon has no habitat or house. Contributes nothing to Environment Level. |
Iffy | Basic shelter exists but preferences are not met. The Pokemon is uncomfortable. |
Average | Default starting tier for newly befriended Pokemon. Basic needs met, but the Pokemon is mainly hungry. |
Nice | One or two preferences satisfied. The Pokemon is happy but could be better. |
Great | Most preferences satisfied. The Pokemon is very happy, with small room for improvement. |
Awesome | The highest tier. All preferences met. The Pokemon is fully satisfied. |
Checking Comfort
You can check a Pokemon's comfort level in two ways:
Talk to the Pokemon directly: Select "How's your comfort level?" in conversation. The Pokemon responds with hints (highlighted in orange text) about what it wants.
Pokemon Center PC: Press Minus (-) on the Environment Level screen to view all residents' comfort levels grouped by tier. This gives a complete overview of which Pokemon need attention.
When a Pokemon reaches high comfort, it starts referring to you by your character's name rather than just "Ditto." Highly satisfied Pokemon also give random gifts, typically crafting materials.
What Affects Comfort
Every Pokemon has specific preferences listed in the far-right tab of its Pokedex entry. The key factors are:
Factor | Details |
|---|---|
Food | Each Pokemon has a preferred flavor (sweet, spicy, sour, bitter, dry). Place preferred food on a dish in their habitat or give it directly. This is the quickest fix for Pokemon at "Average" comfort. |
Furniture | Three categories: Decoration, Toys, and Relaxation. Check the Pokedex for each Pokemon's preferences. Placing a preferred item triggers an immediate boost. Placing disliked items may prevent the Pokemon from moving in. |
Environmental conditions | Humidity, brightness, and water proximity matter. Water/Grass types prefer high humidity; Fire types prefer dry conditions. Create separate climate zones for incompatible types. |
Weather | Some Pokemon prefer specific weather conditions. Use the Weather System to set rain or sun in areas where weather-preferring Pokemon live. |
Housing | Pokemon in houses gain comfort faster than those in natural habitats. Houses offer more decoration space for tailoring to preferences. |
Completing a Pokemon's request provides a massive, direct comfort boost that bypasses normal furniture limits. | |
Playing games | Some Pokemon offer mini-games when spoken to (e.g., Jump Rope with Bulbasaur). Playing these increases comfort. |
How to Raise Environment Level
The following methods increase Environment Level, listed in order of effectiveness:
1. Increase Pokemon Comfort (Most Effective)
Decorating habitats and houses to match each Pokemon's preferences is the single most impactful method. Focus on placing at least three furniture items each Pokemon likes, feeding them their preferred flavors, and completing their requests.
2. Move Pokemon Into Houses (Fastest Method)
A Pokemon living in a purpose-built house contributes significantly more to Environment Level than one in its original habitat. Houses provide more physical space for decorations, allowing much faster comfort progression. To assign a Pokemon to a house, lead it to the building and press Up on the D-pad. This is the single biggest step for pushing comfort from "Nice" to "Awesome."
3. Befriend New Pokemon
Each new Pokemon in an area adds its comfort score to the total. Build new habitats to attract more species. Even at "Average" comfort, more Pokemon means a higher aggregate score. Wild Pokemon found during exploration must have a habitat built for them before they count as befriended.
4. Complete Requests
Both main Important Requests and side requests from individual Pokemon increase the requester's comfort level. Completing requests provides a direct comfort boost that bypasses the normal furniture-based progression. Some requests also reward new moves, recipes, items, or decorations that help with further comfort improvements.
5. Terraform the Environment
Using Ditto's learned moves to restore the landscape adds small amounts to the Environment Level. Key terraforming moves include:
Move | Learned From | Effect on Environment |
|---|---|---|
Spray water to revitalize dried dirt and withered plants. Converts dried ground into livable terrain. | ||
Grows tall grass on dirt and blocks. Requires watered ground first; otherwise produces dry grass. | ||
Breaks rocks, dirt piles, and out-of-place terrain blocks. Clears debris from the area. | ||
Enriches soil for fertility, enabling planting seeds and growing crops. |
Terraforming is the least effective method on its own, but it contributes passively as you build and explore, and watered vegetation increases humidity which benefits Water and Grass type residents.
Unlocks by Level
Every time an area's Environment Level increases, new items, recipes, building kits, and features become purchasable at the Pokemon Center PC Shop. The specific items vary by area, but the general progression follows the same pattern across all five zones and Cloud Islands. The table below shows representative unlocks at each level. If you remove Pokemon from an area and the Environment Level drops, previously unlocked items become locked again until you raise the level back up.
Level | Notable Unlocks |
|---|---|
Level 1 | Starting level in each area. Basic habitats and exploration available. Cloud Islands get baseline items at this level: Workbench, Smelting Furnace, Concrete Mixer, Relocation Kit, Demolition Kit, Wildflower Seeds, Dowsing Machine, and starter dolls (Eevee, Pikachu, Clefairy, Arcanine, Dragonite). |
Level 2 | Multiplayer access unlocks for the area (Link Play on the PC). First den kits appear: Leaf Den Kit (Withered Wasteland), Sand Den Kit (Bleak Beach), Stone Den Kit (Rocky Ridges). Basic furniture (garden bench, log bed, mug, beach chair, standing mic) and early recipes (Workbench, Brick Steps, Stepping Stones). Mysterious Goggles available in Withered Wasteland. First Challenges unlock. |
Level 3 | Pokemon Center Rebuilding Kit available (1,000 Life Coins). PP Up available (300 Life Coins). Weather Charm (Castform) in Withered Wasteland. Second-tier den kits (Leaf Den, Sand Hut, Stone Den). Furniture includes Horsea Fountain, Toy Blocks, Water Basin, Wooden Bed. Recipes: Arched Tiling, Wooden Fencing, Wooden Gate, Harbor Streetlight, Plain Sofa. Additional Challenges unlock. |
Level 4 | Cottage kits unlock: Leaf Cottage Kit (Withered Wasteland), Sand Cottage Kit (Bleak Beach), Stone Cottage Kit (Rocky Ridges). Pikachu Fountain Kit at Bleak Beach. Mushroom Streetlight and Cart in Withered Wasteland. Furniture: Plain Closet, Plain Stand, Office Chair, Speakers, Paper Party Cups. Recipes: Berry Basket, Community Box, House Partition, Wooden Ladder, Brick Wall, Boat Railing, Grate Flooring, Iron Tiling, Dark Marble Flooring. Rare Pokemon spawn conditions activate. |
Level 5 | Required to reach the ending sequence. House kits unlock: Leaf House Kit (Withered Wasteland), Sand House Kit (Bleak Beach), Stone House Kit (Rocky Ridges). Special area-specific recipe gifts from Professor Tangrowth (see below). Sash Window and Mini Floodgate at Bleak Beach. Bonfire in Withered Wasteland. Game Boy System and Stone Fireplace in Sparkling Skylands. Recipes: various roof styles (Tiled, Brick, Iron), Party Popper, Underground Hatch, Magikarp Decoration, Modern Door, Plaster Wall, Glass Window, Simple Door. Eight paint colors unlock in Palette Town. |
Level 6 | Pokemetal becomes purchasable in all areas. Wall Mirror in Withered Wasteland. Laser Sensor in Rocky Ridges. Recipes: Diagonal Wooden Flooring, Floor Switch, Garden Light, Resort Hammock, Resort Stool, Soft Carpeting, Wall Switch, Industrial Chair, Lantern, Stylish Stone Flooring, Concrete Border patterns, Pop Art Bed, Pop Art Chair, Mini Generator. Antique Chest and Antique Sofa recipes in Palette Town. |
Level 7 | Rare Pokemetal becomes purchasable. Recipes: Ditto Rug, Garden Bench, Garden Chair, Painted Wall (Withered Wasteland). Cloth Wall, Poke Ball Mat, Resort Chair, Resort Sofa (Bleak Beach). Industrial Bench, Industrial Desk, Iron Wall, Poke Ball Doormat (Rocky Ridges). Pop Art Sofa, Pop Art Table, Rough Wall (Sparkling Skylands). Substitute Doll and Antique Chandelier/Dresser recipes in Palette Town. |
Level 8 | Premium structure kits unlock: Relaxing Park Kit (Withered Wasteland), Stylish Cafe Kit (Bleak Beach), Concert Stage Kit (Rocky Ridges), Small Office Kit (Sparkling Skylands). Recipes: Garden Flowers, Garden Table, Levee, Resort Bed, Resort Table, Cube Light, Luxury Sofa, Luxury Table, Pop Art Lamp, Shop Flooring. Ditto Doll and Fountain Plaza Kit in Palette Town. |
Level 9 | Pikachu Sofa and Inflatable Boat (Bleak Beach). Big Drum and Punching Game (Rocky Ridges). Photo Cutout Board (Palette Town). Recipes: Berry Chair, Berry Table Lamp, Modern Wall, Simple Flooring (Withered Wasteland). Cute Chair, Cute Lamp, Starry-Sky Wall (Bleak Beach). Cushy Wall, Luxury Chair, Luxury Lamp (Rocky Ridges). Gaming Chair, Gaming Light (Sparkling Skylands). Carved Rock and Poke Ball Light/Sofa recipes in Palette Town. |
Level 10 | All remaining PC Shop items unlock. Regional Pokemon Center Kits become available: Wasteland Pokemon Center Kit, Beach Pokemon Center Kit, Ridge Pokemon Center Kit, Skyland Pokemon Center Kit. These kits let you restyle any rebuilt Pokemon Center to match another region's design. Final recipes: Berry Bed, Berry Hanging Lamp, Berry Table, Berry Wall Decoration, Polka-Dot Print (Withered Wasteland). Cute Bed, Cute Dresser, Cute Sofa, Cute Table, Gingham Print (Bleak Beach). Luxury Bed, Luxury Dresser, Stylish Poke Ball Print (Rocky Ridges). Gaming Fridge, Gaming PC, Berry Print (Sparkling Skylands). Poke Ball Bed, Poke Ball Chest, Poke Ball Print, Poke Ball Table (Palette Town). |
Area-Specific Level 5 Unlocks
Reaching Level 5 in each story area unlocks a unique recipe required for the Team Initiation Challenge (Stage 7). Professor Tangrowth gives you the item when you speak to him in the respective zone:
Area | Level 5 Unlock |
|---|---|
Washing Machine recipe | |
Refrigerator recipe | |
Game Boy System recipe |
Each of these items also requires 1 Pokemetal to craft. After receiving the item from Professor Tangrowth, the recipe becomes purchasable at the PC Shop for 1,000 Life Coins.
Life Coins and Challenges
Life Coins are the primary currency earned from completing Challenges at rebuilt Pokemon Center PCs. These Challenges include tasks like building habitats, gathering resources, watering grass and trees, refilling water sources, finding new Pokemon, and collecting items. Daily Challenges refresh every day at 5:00 AM and are generally quicker than regular Challenges.
Life Coins are spent at the PC Shop on building kits, crafting recipes, PP Up (300 coins), Packing Tips (inventory expansions), Pokemon Center Rebuilding Kits (1,000 coins), seeds, and special items. New Challenges and shop items unlock as Environment Level increases, creating a feedback loop: higher levels provide more earning opportunities, which fund items that help raise the level further.
Coins must be manually claimed at the PC after completing challenges. They are not auto-deposited.
Rebuilding Pokemon Centers
Each area's Pokemon Center starts as ruins and must be rebuilt. Rebuilding requires reaching Environment Level 3 to unlock the Rebuilding Kit (1,000 Life Coins) from the PC Shop, plus gathering specific materials and recruiting 8 Pokemon with the right specialties.
Area | Materials Required | Pokemon Specialties Needed |
|---|---|---|
10 Twine, 30 Brick, 10 Sea Glass Fragments, 5 Iron Ore | Build, Bulldoze, Water + 5 any | |
25 Stone, 25 Copper Ingot, 25 Iron Ingot, 5 Crystal Fragments | Build, Bulldoze, Crush + 5 any | |
25 Pokemetal, 25 Concrete, 25 Glass, 25 Gold Ingot | Build, Bulldoze, Gather + 5 any | |
Build, Chop, Bulldoze + 5 any |
Construction completes by the next in-game day. Rebuilt Pokemon Centers provide PP recovery (once daily), a trading shop (requires a Trade specialty Pokemon), a 3D Printer for duplicating furniture, and the PC terminal with Challenges and the Shop.
Rebuilding all four story area Pokemon Centers (Withered Wasteland, Bleak Beach, Rocky Ridges, Sparkling Skylands) is required to see the game's credits. Palette Town's Pokemon Center is optional.
Connection to Credits
To see the game's ending credits, players must complete three requirements in each of the four story areas:
Complete the area's main Important Request (Yawn up a Storm, Brighten Things Up, etc.)
Rebuild the area's Pokemon Center
Raise the area's Environment Level to 5
The credits are triggered by completing the Team Initiation Challenge, an 8-stage quest centered at a sand-covered lighthouse tower in the Withered Wasteland. Stage 7 specifically requires the Washing Machine, Refrigerator, and Game Boy System from reaching Level 5 in three areas. After completing Stage 8 (1 Photo + 2 Party Poppers), Professor Tangrowth activates the Party Poppers and the lighthouse transforms into a rocket ship, triggering the credits.
Palette Town's Environment Level does not count toward credits. After the credits, a new area below the lighthouse unlocks containing Magnemite and unique resources for completing the Habitat Dex.
Tips
Move Pokemon into houses as early as possible. Houses provide far more decoration space than habitats, making it much easier to reach "Awesome" comfort.
Check the Pokedex before decorating. Every Pokemon's far-right tab lists its preferred food, furniture, and conditions. Placing items a Pokemon dislikes wastes resources.
Feed hungry Pokemon first. Most Pokemon at "Average" comfort are simply hungry. Place food on a dish or hand it to them directly for a quick boost.
Place at least three furniture items each Pokemon likes in their house. This covers Decoration, Toys, and Relaxation categories.
Create climate zones. Group Water and Grass types in humid areas, Fire types in dry areas. Use enclosed habitats like Leaf Dens to buffer Pokemon from the surrounding climate.
Complete side requests from Pokemon. They provide massive, direct comfort boosts that bypass normal furniture-based limits.
Play mini-games with Pokemon when they offer them. Jump Rope, hide-and-seek, and other activities all contribute small comfort gains.
Check the Pokemon Center PC regularly. The Environment Level screen shows all residents' comfort tiers, making it easy to identify which Pokemon need attention.
Water dried vegetation with Water Gun and grow grass with Leafage as you explore. Terraforming adds small but cumulative Environment Level gains and improves humidity for Water types.
Raise Environment Level 3 in each area as a priority. This unlocks the Pokemon Center Rebuilding Kit and PP Up purchases, which are essential for progression.
Do not stress about comfort in the early game. Focus on building habitats and befriending Pokemon first. Comfort optimization becomes more important when pushing toward Level 5.