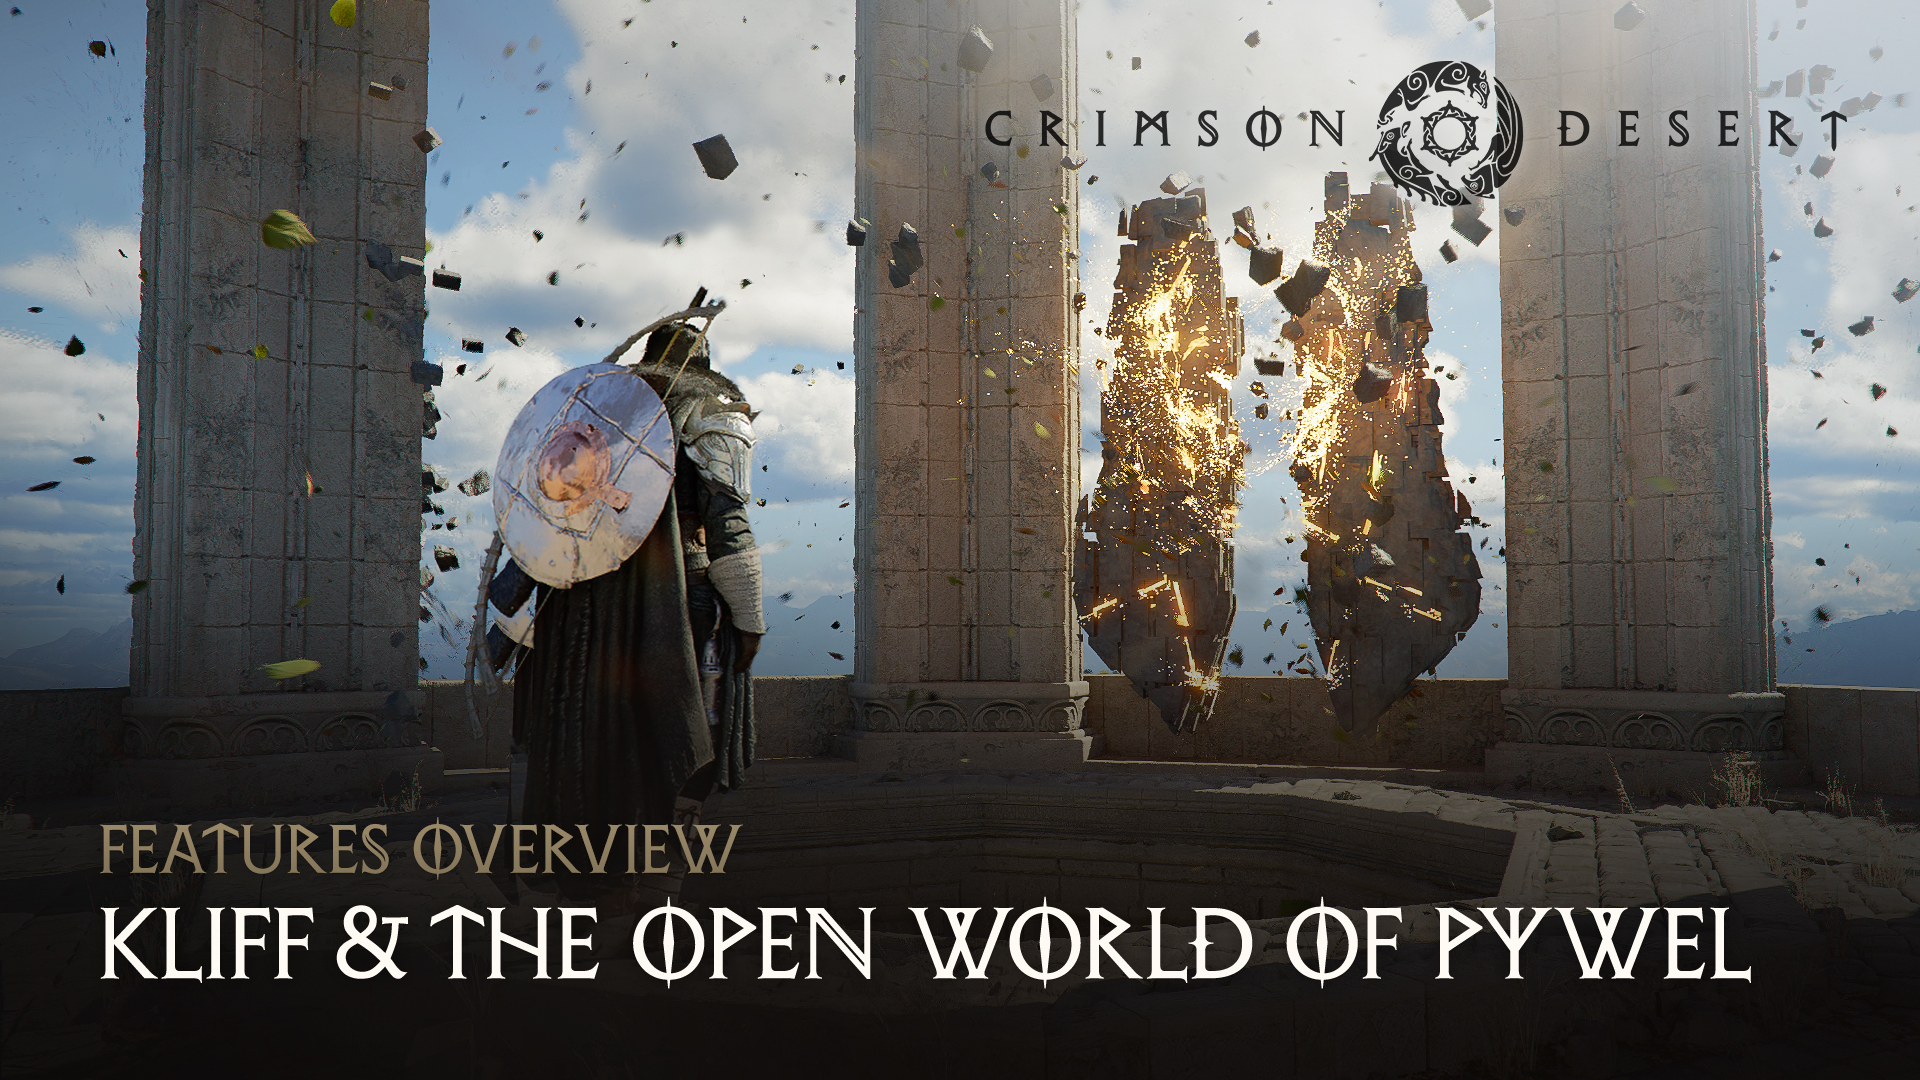
Overview
Pailune is the northernmost region of Pywel and the ancestral homeland of the Greymanes. Once a region unified under the great leader Gian, Pailune enjoyed a period of relative peace and stability before the Black Bears, led by Myurdin, shattered that peace in a devastating nighttime assault. The region is now occupied by the Black Bears, and reclaiming it is a central motivation for Kliff and the surviving Greymanes throughout the game.
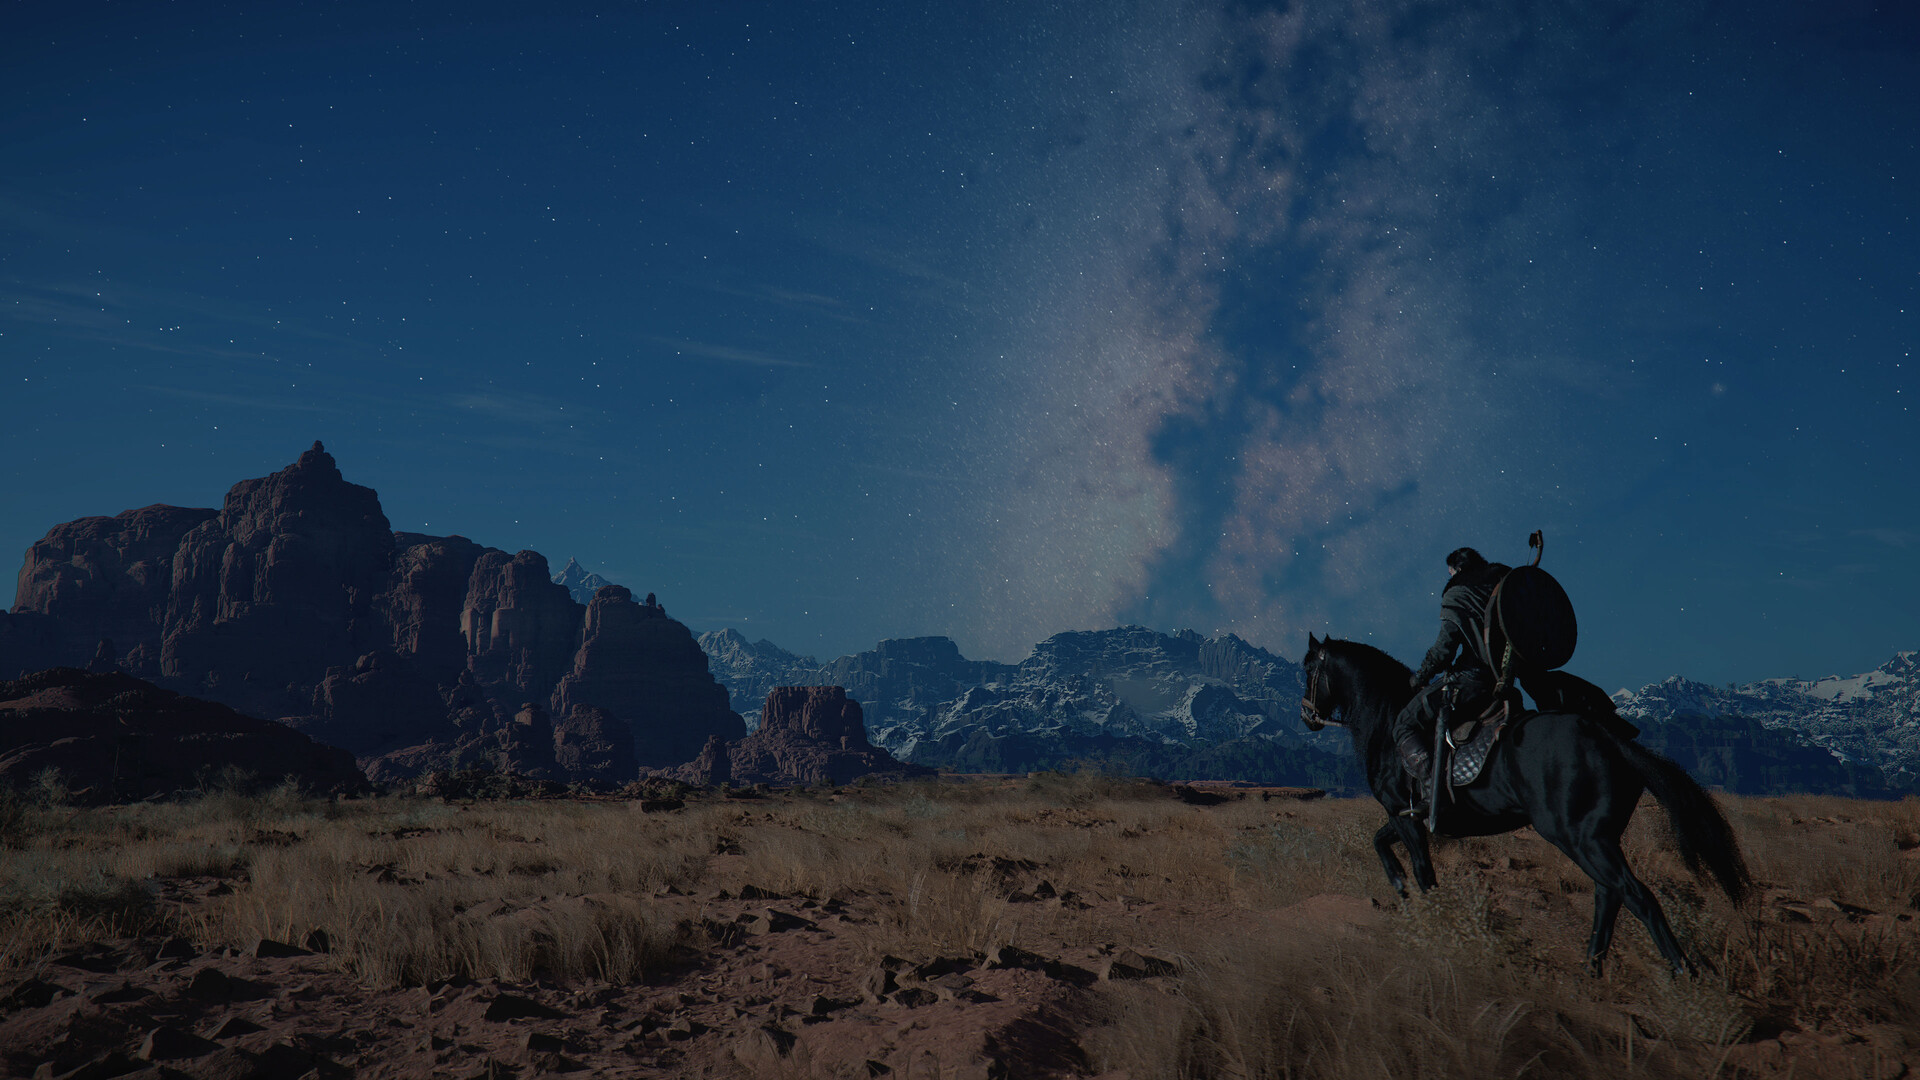
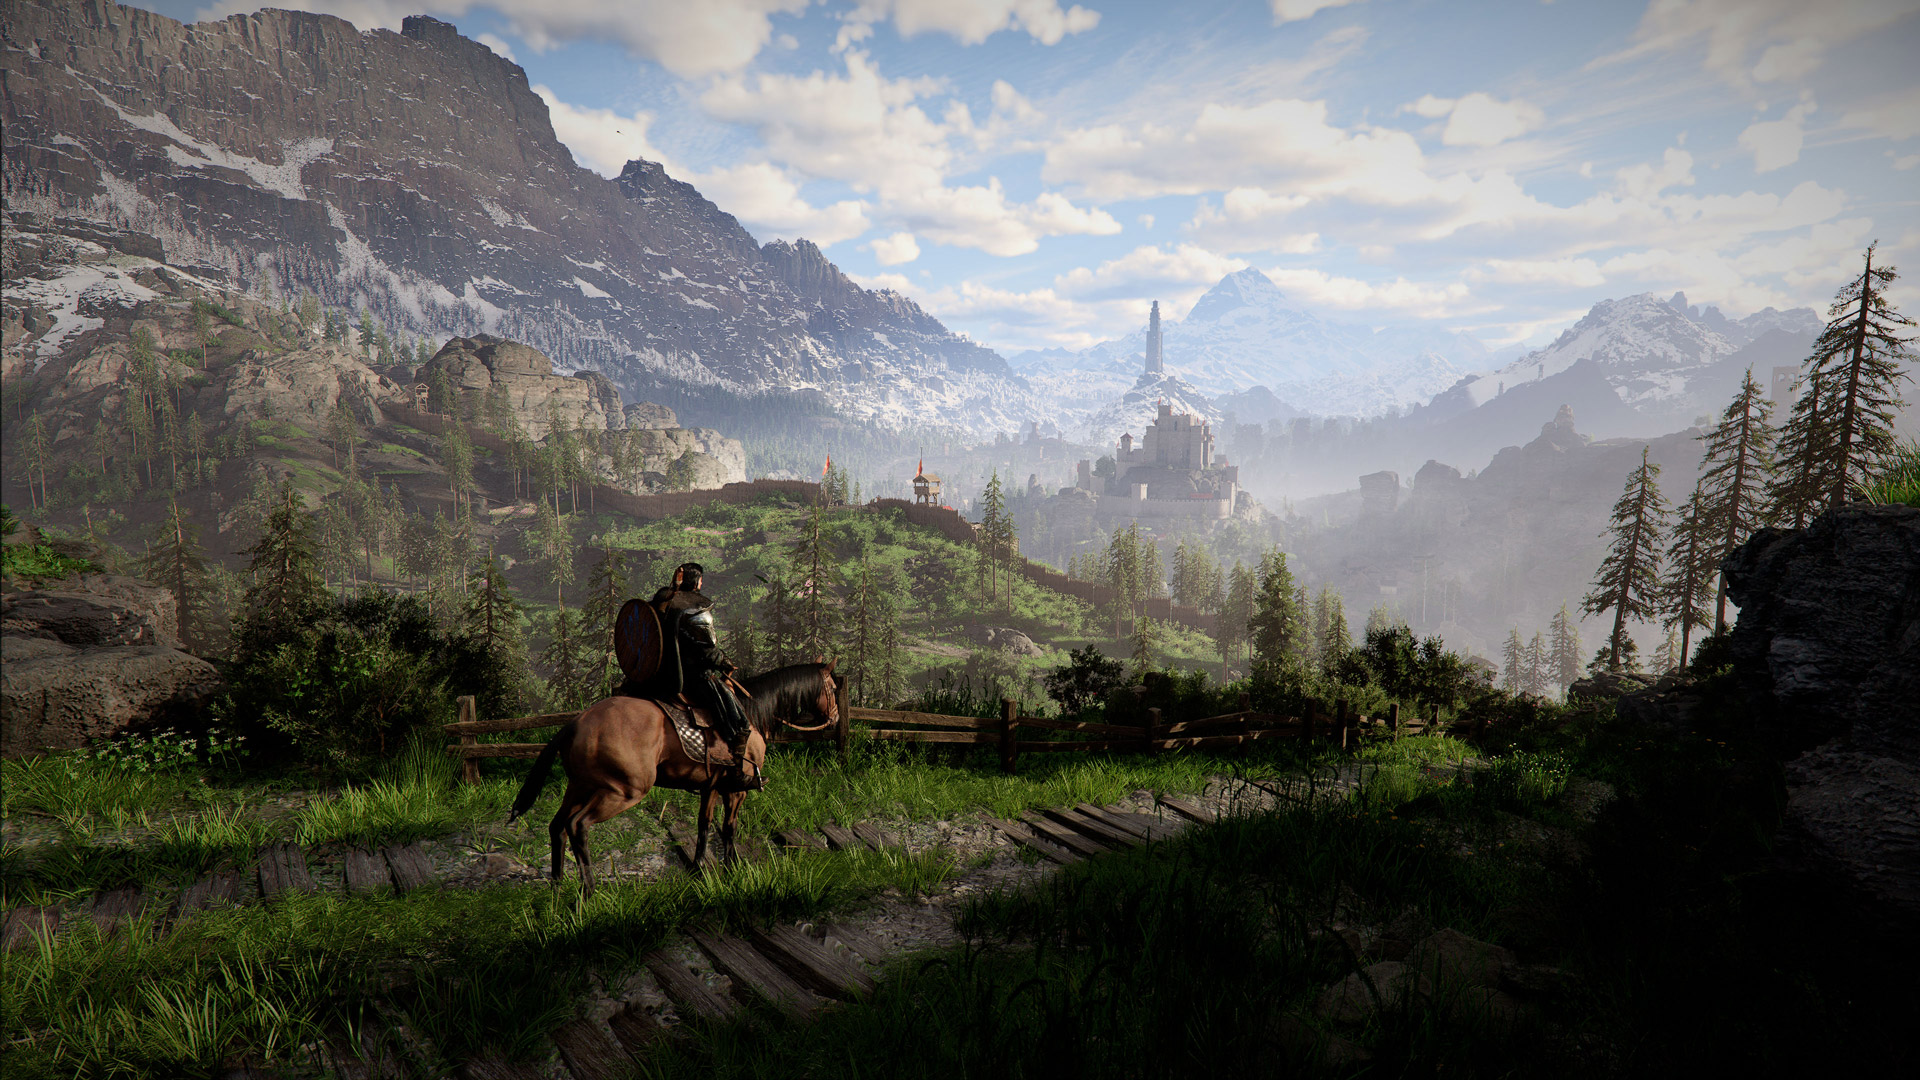
Pailune is the stark opposite of Hernand. Where the starting region offers temperate forests and gentle hills, Pailune presents deep snow, hard-to-traverse mountain areas, freezing temperatures, and enemies adapted to the harsh climate. The southern portions of the region feature green highlands and open grasslands, but the terrain transitions dramatically into snow-capped peaks and sub-zero conditions as you move north.
Access to most of Pailune is restricted until Chapter 7: Homecoming, when the Greymanes mount their campaign to liberate the region from the Black Bears. However, some southern areas bordering Hernand can be explored earlier in the game.
History
Under Gian's leadership, Pailune was a beacon of peace on a continent defined by factional conflict. Gian unified the region's disparate communities and maintained order through the strength of the Greymanes, a mercenary company committed to protecting the weak from oppression rather than fighting for the highest bidder.
Gian's death at the hands of Myurdin threw Pailune into chaos. The surviving Greymanes, including Kliff, Naira, Yann, and Oongka, were scattered across Pywel. Without the Greymanes to enforce peace, the region fell vulnerable to the Black Bears' influence and other opportunistic factions seeking to fill the power vacuum.
Black Bear Occupation
Following the ambush, the Black Bears established control over Pailune. The occupation represents more than a military takeover; it is a deliberate attempt to destroy Gian's legacy and prevent the Greymanes from ever reuniting. Myurdin's forces patrol the region, control key settlements, and suppress any resistance from the remaining population.
The occupation makes returning to Pailune a dangerous proposition. Areas that were once safe under Greymane protection are now hostile territory where Black Bear patrols can engage the player on sight. Liberation of occupied zones in Pailune follows the same mechanics as other regions: defeating enemy forces and their leaders causes residents to return, structures to rebuild, and new vendors to appear.
Role in the Story
Pailune is where Kliff's story begins. Though gameplay starts in Hernand after the Black Bear attack, the Greymanes' emotional connection to Pailune drives the entire narrative. The early chapters of the campaign focus on gathering allies, establishing a base of operations at the Greymane Camp, and building strength to eventually push back against Black Bear influence.
The main story takes players beyond Pailune into the other four regions of Pywel: Hernand, Demeniss, Delesyia, and the Crimson Desert. However, Pailune remains significant throughout the game as the Greymanes' emotional anchor and the symbol of what they are fighting to restore. Reclaiming Pailune from the Black Bears represents both a practical military objective and a deeply personal mission for Kliff and his companions.
Geography and Climate
Pailune's terrain varies dramatically from south to north. The southern lowlands feature green highlands, rugged terrain, and open grasslands where wild horses roam freely. Rolling fields stretch across the landscape, and the fertile soil supports both agriculture and ranching. Forests and rocky outcrops break up the grasslands, providing shelter for wildlife and cover for travelers. Rivers cut through the highlands, feeding into the broader waterways that connect Pailune to neighboring Hernand.
Further north, the terrain transitions into a freezing alpine environment. Snow-capped peaks dominate the skyline, blizzards reduce visibility to near zero, and sub-zero temperatures present a constant threat. The temperature gauge on the HUD drops well below freezing in these northern reaches, and players should prepare with appropriate gear and recovery items. The Five-Finger Mountain formation marks the rough boundary between Pailune's temperate lowlands and its frozen northern reaches.
The environmental contrast within Pailune mirrors the broader diversity across Pywel's five regions. Where other regions like Delesyia embrace technology or the Crimson Desert bakes under red sands, Pailune relies on traditional weapons and pastoral living, shaped by its harsh but beautiful landscape.
Map Discovery
Pailune's map is covered by fog of war that can only be fully revealed by ringing the Toll of Pailune bell, located in the settlement's northern area. Unlike the bells in Hernand, this bell is in a conflict area that is only resolved during Chapter 7: Homecoming. Players cannot ring the bell and clear the map until after liberating Pailune from the Black Bears.
Until the bell is rung, players must rely on natural exploration to gradually fill in the map. Discovered locations, roads, and points of interest appear as Kliff travels through them. Given the harsh terrain and hostile patrols, mapping Pailune manually is significantly more challenging than in Hernand.
Key Locations
Pailune contains a mix of tribal settlements, military encampments, mountain formations, and cave systems. Many locations are controlled by the Black Bears until liberation.
Settlements and Camps
Location | Type | Description |
|---|---|---|
Pailune Town | Settlement | The regional capital and former Greymane stronghold. Contains trade NPCs and a cooking pot. A road crossing in the middle of town is a trading hub. Occupied by the Black Bears until Chapter 7. |
Village | A village at the southeastern edge of Pailune, isolated by the Kingshield Mountains. Home to the Beighen Tribe who maintain ancestral spirit traditions and prepare ritual foods. has a cooking pot to the north and gambling minigames. | |
Encampment | A fortified camp in the Pailune highlands. is a staging area for operations in the region. Contains vendors, crafting stations, and an Abyss Nexus fast travel point nearby. | |
Encampment | A settlement in the lowland areas of Pailune. Contains cooking pots and supply merchants. A Sealed Abyss Artifact can be found at the intersection southwest of the camp. | |
Skoghorn | Tribal Settlement | Home to the Skoghorn Tribe, mountain dwellers who worship the snowy peaks' mountain spirit. A Sealed Abyss Artifact (Two-Handed Weapon 5) is found on the road leading south from here. |
Totemfelt | Village | One of two Stjar Clan villages, located on one side of a river. Focused on ancestor and forest spirit veneration. |
Skallcove | Village | The second Stjar Clan village across the river from Totemfelt. Devoted to lightning god worship. |
Mountains and Natural Landmarks
Location | Type | Description |
|---|---|---|
Mountain | A prominent formation in eastern Pailune with five distinct rocky peaks. is a natural landmark visible from across the region. Marks the border between Pailune's temperate lowlands and its frozen northern reaches. | |
Mountain | A snow-covered peak in northern Pailune known for harsh sub-zero conditions and dangerous wildlife. Two Abyss Nexus fast travel points are located here. Site of the climactic battle against Myurdin. | |
Mountain | A significant peak surrounded by open fields and reed marshes. Features challenging terrain and powerful enemies. | |
Dragon Ridge | Ridge | A mountainous ridge formation in the northern reaches of Pailune. Associated with ancient dragon legends. |
Wayward Woods | Forest | A dense woodland in central Pailune, home to the tree-dwelling Longleaf Tribe. An Abyss Nexus fast travel point is located here. The Longleaf are hostile to outsiders and use sacred lanterns. |
Caves
Location | Description |
|---|---|
A cave system accessible from the second peak of Five-Finger Mountain. Contains mineral deposits and provides shelter from harsh mountain weather. Enemy patrols may guard the entrance. | |
A deep cave network carved into Silver Wolf Mountain. Named after the predators inhabiting its passages. Contains challenging enemies adapted to freezing temperatures. |
Fast Travel Points
Pailune has approximately ten Abyss Nexus fast travel points scattered across the region. Most become accessible only after liberating the region during Chapter 7. The western teleporter near Pailune Town activates immediately upon victory.
Fast Travel Point | Approximate Location |
|---|---|
The Sage's Peak Nexus | Southern Pailune mountainous area |
Central Pailune Nexus (1) | Central zone |
Central Pailune Nexus (2) | Central zone |
Central Pailune Nexus (3) | Central zone |
Wayward Woods Nexus | Central woodland section |
Pailune West Nexus | Western region |
Silver Wolf Mountain Nexus (North) | Northern mountain, upper area |
Silver Wolf Mountain Nexus (South) | Northern mountain, lower area |
Pailune North Nexus | Northern zone |
Pailune Town Nexus | Near the main settlement (activates after liberation) |
Tribes and Factions
Pailune's population is organized into distinct tribal communities, each with their own traditions, territories, and relationships. The Black Bear occupation has disrupted these communities, and liberating the region restores their ability to function.
Faction/Tribe | Territory | Description |
|---|---|---|
Regional capital and surrounding areas | The organized fighting force of Pailune. Experienced significant turmoil after their leader Gian's death in the Black Bear raid. | |
Southeastern edge, near Beighen | An isolated community protected by the Kingshield Mountains. They maintain ancestral spirit traditions and are known for preparing ritual foods. | |
Northern Pailune | A once-powerful northern tribe, now weakened by conflict. Led by Chief Olvald. | |
Wayward Woods | Tree-dwelling inhabitants of the central forests. Hostile to outsiders and use sacred lanterns in their rituals. The Mistwood Hunters threaten their territory. | |
Mountain range settlements near Skoghorn | Mountain dwellers who worship the snowy peaks' mountain spirit. Their settlements are built into the high terrain. | |
Two villages divided by a river (Totemfelt and Skallcove) | A divided clan: Totemfelt focuses on ancestor and forest spirit worship, while Skallcove venerates the lightning god. | |
All of Pailune (occupying force) | Led by Myurdin. Murdered Gian and seized control of Pailune. Their patrols control key settlements and suppress resistance. | |
Wayward Woods | Poachers operating in the Wayward Woods who hunt woodland spirits for profit. A hostile faction that threatens the Longleaf Tribe. | |
Torstein's resistance force operating out of Beighen. They quietly prepare for the liberation of Pailune and form the backbone of the Chapter 7 assault. |
Quests
The bulk of Pailune's quest content is tied to Chapter 7: Homecoming, which encompasses four quest arcs: Dawn Mist (5 quests), Dawnrise (6 quests), Decisive Battle (6 quests), and Twisted Fate (2 quests). The chapter culminates in the liberation of the region from the Black Bears.
Chapter 7 Key Quests
Quest Arc | Notable Quests | Key Events |
|---|---|---|
Dawn Mist | Kliff reunites with Torstein at Beighen. Shane has gone missing during a scouting mission and must be rescued. | |
Dawnrise | Forces gather at the Pailune safe house (a red hut in the woodland) to coordinate the liberation strategy. | |
Decisive Battle | Full-scale military assault on Black Bear positions. Kliff joins forces with Torstein and the Blue Fangs. Culminates in the boss fight against Myurdin at Silver Wolf Mountain. | |
Twisted Fate | Final quests of Chapter 7 | Aftermath of the liberation. The region begins to transform as residents return. |
Post-Liberation Content
After liberating Pailune, the region transforms significantly. The Abyss Nexus teleporter to the west becomes available, residents begin to return to their homes, structures are rebuilt, and new vendors set up shop. Players can ring the Toll of Pailune bell to clear the map fog, and a major resource-intensive quest line for Reconstructing Pailune becomes available, serving as a long-term investment of materials and currency.
Bosses and Enemies
Pailune is home to some of the toughest boss encounters in Crimson Desert. Both major bosses inhabit the colder, more dangerous northern territory.
Type | Location | Details | |
|---|---|---|---|
World Boss | Northern Pailune | An imposing warrior clad in Celtic-style armor with ornate weaponry. Uses disciplined, measured attacks with sword and shield. Punishes players who overcommit to aggressive combos. Requires patience and careful timing of blocks and counters. | |
World Boss | Northern Pailune blizzard areas | A towering mountain spirit resembling a giant reindeer crossed with a yeti. Controls the environment during the fight, summoning swirling winds and raining blocks of ice. Multiple phases; players can climb onto its back to deal damage. Powerful but unrefined attacks including ground slams and massive paw swings. | |
Story Boss | Battle at Silver Wolf Mountain | The leader of the Black Bears. A 2-phase boss with full transformation after the first health bar. Uses fire and lava attacks in his second phase. One of the most difficult boss encounters in the game. | |
Story Boss | Time to Face Justice quest | Fought while controlling Oongka. A 1 health bar encounter during the Pailune liberation campaign. |
Standard Enemies
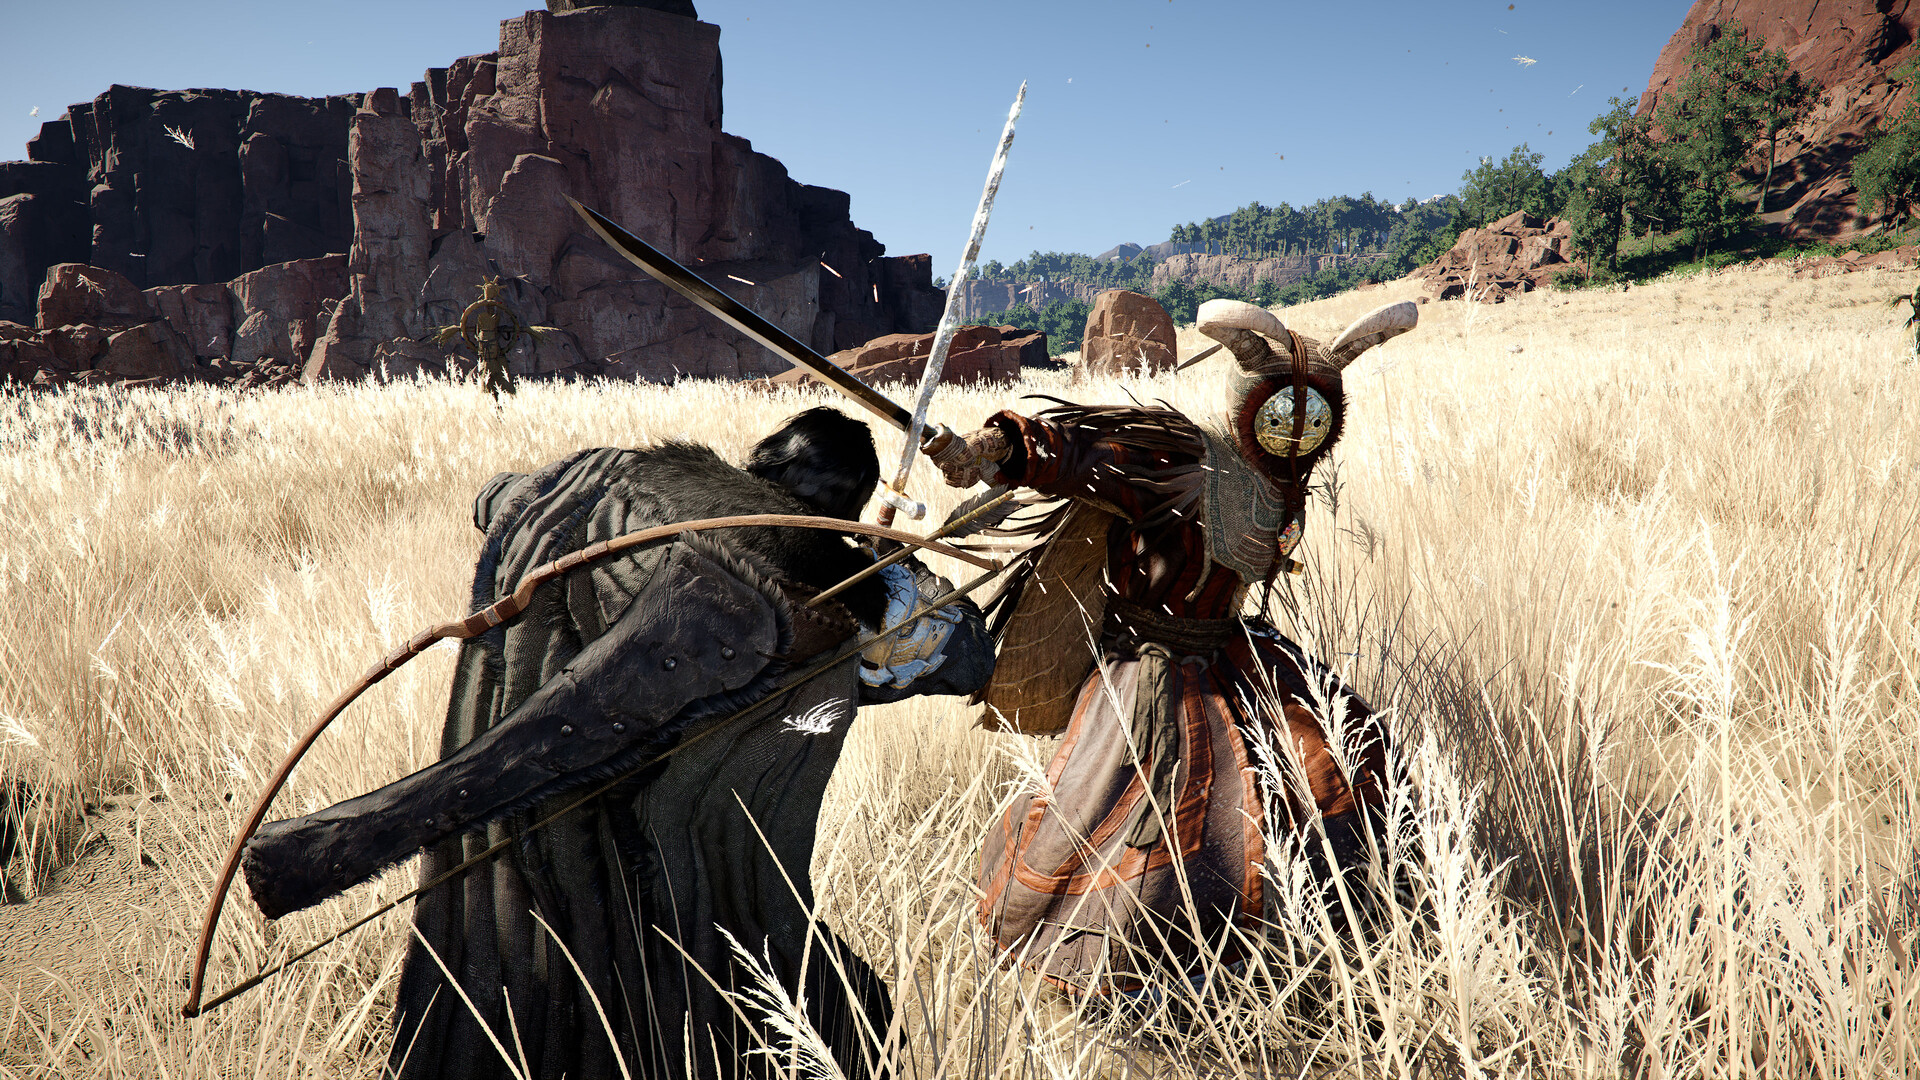
Pailune's varied terrain supports distinct enemy populations. The southern grasslands host standard predators and grazing animals, while the northern mountain zones are home to beasts specifically adapted to sub-zero temperatures. Cold-adapted creatures are significantly tougher than their lowland counterparts, with larger health pools and more aggressive behavior.
Black Bear Patrols: Human enemies that roam the region in force until liberation. They control key settlements and ambush travelers on sight.
Snow Wolves: Predatory pack animals found in the northern mountains. Hunt in groups and flank isolated players.
Mountain Beasts: Large creatures adapted to the freezing conditions. Significantly tougher than Hernand wildlife.
Mistwood Hunters: Hostile poachers in the Wayward Woods who attack on sight.
Resources and Gatherables
Pailune's natural resources differ from Hernand's due to the harsher climate and terrain. The region supports several life skill activities.
Activity | Details |
|---|---|
Wild horses roam the highlands and can be tamed for use as mounts. Pailune is one of the best regions for finding horses in the open world. The Greymane Warhorse mount can be obtained here. | |
The fertile soil in the southern lowlands supports crop cultivation. Post-liberation, farming opportunities expand around rebuilt settlements and the Greymane Camp. | |
Rivers and streams throughout the highlands provide fishing opportunities with region-specific catches not found in Hernand. | |
Wildlife populates both the lowland forests and northern mountains. Animals provide materials and ingredients. Northern fauna yield rarer materials. | |
Mineral deposits are found in caves such as Second-Finger Cave and Silverwolf Cave. Mountain areas contain ore veins not available in the lowlands. |
Mounts Available
Pailune offers several unique mounts suited to the harsh northern environment.
Mount | Type | Notes |
|---|---|---|
Greymane Warhorse | Horse | A sturdy mount bred by the Greymanes for the harsh Pailune climate. |
Pailune Snow Bear | A bear adapted to the frozen northern terrain. Slower but more durable than horses. | |
Frost Raptor | A swift, cold-adapted raptor for quick traversal of snowy terrain. | |
Frost Salamander | Salamander | An amphibious mount suited to Pailune's icy rivers and terrain. |
Highland Wyvern | Flying Mount | A wyvern capable of aerial travel over Pailune's mountainous terrain. |
Liberation of Pailune
Reclaiming Pailune from the Black Bears is a central story objective that unfolds during Chapter 7: Homecoming. The liberation campaign involves several main quests leading up to a decisive battle for control of the region.
Prior to the assault, Torstein and the Blue Fangs operate out of Beighen, quietly preparing forces for the liberation of their homeland. Torstein never gave up hope of retaking Pailune, and his preparations form the foundation of the liberation effort. During the "Bared Fang" quest, Kliff joins forces with Torstein and the Blue Fangs to coordinate the attack.
The liberation culminates in the "Resolution" quest, a large-scale battle for Pailune. Upon victory, the region transforms: the Abyss Nexus teleporter to the west becomes available, residents begin to return, structures are rebuilt, and new vendors set up shop. Players can also ring the bell in Pailune after liberation as part of the Toll of Pywel quest, which uncovers the region's map fog.
Relationship to Other Regions
Pailune connects directly to Hernand, the region rich with mountains and rivers where much of the early-to-mid game takes place. The transition between the two regions is seamless, with the green highlands of Pailune gradually giving way to Hernand's mountainous terrain. Each of the five regions of Pywel has its own distinct culture and technology level. Where Pailune relies on traditional weapons and pastoral living, regions like Delesyia have adopted steampunk technology with mechs and flying robots.
Tips for Exploration
Prepare for the cold. Pailune's northern areas have sub-zero temperatures that affect gameplay. Bring recovery items and warm gear before venturing into the mountains.
Wait for Chapter 7. Most of Pailune is locked behind the Chapter 7 liberation questline. Attempting to explore early means facing overwhelming Black Bear patrols with no fast travel support.
Ring the bell after liberation. Once Pailune is freed, ring the Toll of Pailune bell immediately to reveal the entire regional map. This makes finding remaining locations and resources much easier.
Tame horses in the southern grasslands. The open highlands of southern Pailune are one of the best areas in the game for finding and taming wild horses.
Explore caves for rare minerals. Second-Finger Cave and Silverwolf Cave contain mineral deposits not easily found elsewhere. Bring a Pickaxe.
Watch for Sealed Abyss Artifacts. Several artifacts are scattered across the region, including one at the intersection southwest of Trovak Camp and another on the road south of Skoghorn.
Visit Beighen for gambling. The village of Beighen features gambling minigames where players can win significant rewards.
Save before boss fights. The Staglord and White Horn are among the hardest bosses in the game. White Horn in particular uses environmental attacks that can catch unprepared players off guard.
Invest in Reconstructing Pailune. The post-liberation reconstruction quest is a long-term resource investment, but it restores the region's settlements and unlocks new vendors and services.
Patch 1.04: Riding Cloak at the Pailune Back-Alley Shop
Patch 1.04 reintroduced the missing chest-over piece of the player's dedicated horse-handling outfit by adding a new back-alley merchant inside Pailune town. The merchant runs a small curtained stall tucked off the main square, a short walk from the town fast-travel point, and behaves like the other trust-scaling vendors in the region: regular dialogue and small purchases raise their trust score, and unique stock opens up at higher trust tiers.
Unlock: trust level 100 with the back-alley vendor. The Riding Cloak only appears in the vendor's inventory once the player has fully maxed out their trust relationship with the merchant. This is the same trust scaling used by other town vendors in Crimson Desert, so players who have already been practicing the Companion Trust routine (daily greetings, small purchases, gifting preferred items) should be familiar with the grind. Once the score hits 100, the Riding Cloak slots into the vendor's stock and can be bought with silver.
Because the cloak was the missing piece prior to Patch 1.04, this vendor interaction is the recommended path to completing the full four-piece Riding Set post-patch. The other three pieces, Riding Attire (the chest piece), Riding Boots, and the Leather Riding Hat, have been obtainable through other routes for some time; the Pailune back alley closes the loop on the cloak slot.
Tooltip Changes and the Full Riding Set Bonus
Patch 1.04 also updated the tooltip on every Riding Set piece. Each entry in the set now shows two stats that were previously either hidden or only listed on a subset of pieces: Horse Taming Difficulty (how much easier the piece makes the pacification phase of How to Tame Horses) and Horse XP Gain (how much additional trust a horse companion accumulates per interaction when the player is wearing it). The stat is additive across the four set pieces, so wearing the full outfit stacks the bonuses rather than overwriting them.
The most significant change is that the Leather Riding Hat now grants +1 Horse XP Gain. Prior to Patch 1.04, the hat contributed nothing to the stat and the full set totaled +3 Horse XP Gain across the remaining three pieces. Post-patch the total is +4 Horse XP Gain across the full set, which roughly halves the number of interactions needed to reach full trust with any horse companion. Combined with the additive Horse Taming Difficulty reduction, the complete Riding Set has become the default outfit for any player working through Horse Leveling on multiple mounts.
Piece | Slot | Horse XP Gain |
|---|---|---|
Chest | +1 | |
Cloak / Back | +1 | |
Feet | +1 | |
Head | +1 (new in Patch 1.04) | |
Full Set Total | All four slots | +4 Horse XP Gain |
Players who unlocked the older three-piece version of the set before the patch do not need to re-acquire anything: the bonus update applied retroactively to existing items in inventory and storage, so any previously owned Leather Riding Hat now contributes its +1 automatically. The only piece that still requires a deliberate trip is the Riding Cloak from the Pailune back-alley merchant.
Getting to the Back-Alley Shop
The vendor sits along a side street branching off the main Pailune town loop. Approach from the town fast-travel point, cross the central market, then take the narrow side alley that runs behind the bakery and stalls rather than the main commercial road. The stall is easy to miss on a first visit because the entry point is shaded and the merchant does not stand in the open. Once discovered, the location can be pinned on the map for future returns.
Trust ramps the same way it does for other Pailune townsfolk: speak with the vendor daily, buy small baseline stock (the early-tier items in their inventory cost very little), and return across multiple in-game days. Players already routing through Pailune for the Greymane Camp relocation storyline will pass near the back alley on the way to the town-center delivery objectives, so stacking a daily visit to the merchant alongside camp errands is a common low-effort way to grow trust without burning travel time.
Golden Carp at the Lakeside
The lake that borders Pailune on the Pywel Hernand side is also where the Golden Carp spawns. The fish is the easiest legendary fish in Crimson Desert to catch: it swims close to the shore and is visible from land as a shimmering gold body under the surface, so no fishing rod is required. Wade or swim a short distance out, approach from above, and grab it with the standard interaction button.
Why this matters for pet taming. A legendary fish dropped in front of a wild cat triggers an instant tame with no trust grind. Dropping the Golden Carp near a Cat caught nearby, or carrying it back to any cat spawn point in the region, completes the tame in a single interaction without needing the usual repeat-feeding routine. This is the fastest route in the game to add a cat to the player's Companions roster, and it is entirely free aside from a minute or two of swimming. Full details on food preferences, preferred foods per cat variant, and alternative tame routes are covered on the Pet Taming Guide.
The carp respawns after a short cooldown and is not a limited pickup, so players can use the Pailune lake as a reliable source for cat taming across multiple save cycles. A sensible pattern is to take the carp, return to camp to drop it beside a desired cat, then swim back for another carp when a second cat catches the player's eye.
Related Articles
Topic | Article |
|---|---|
Detailed Region Overview | |
Game World | |
All Regions | |
The Greymanes Faction | |
The Black Bears Faction | |
Chapter 7 Walkthrough | |
Boss Guide | |
Fast Travel System |
Relocating the Greymane Camp to Pailune
Late in the game, Kliff can physically relocate the Greymane Camp from its Hernand home at Howling Hills back to Pailune, settling the survivors in the rebuilt town they originally came from. This is the fifth and final camp expansion, and it is entirely optional: the move is an endgame quality-of-life step, not a story beat. The early launch build made it difficult to recommend because the Pailune layout was sprawling and several facilities were half-broken, but the Patch 1.02 and Patch 1.03 updates fixed most of those issues and added benefits (Abyss Nexus, extra storage, bigger farm and ranch) that make the move a stronger choice than it was at launch.
Requirements to Trigger the Move
The move is gated behind a long list of completions. The in-game pop-up lists three headline conditions, but each of them expands into several sub-requirements:
Main story finished. The entire main story must be completed, including the Chapter 7 liberation of Pailune and the final epilogue. This is the condition most players trip on: they have met every other requirement but have not actually finished the game, and the relocation pop-up never appears.
All Scattered Embers faction quests completed. The Scattered Embers chain runs parallel to the main story and tracks camp-life content. The very last Scattered Embers quest is the Return Home faction quest, which is the specific quest that asks you to go talk to Macri and begin the physical move. That final quest only unlocks after every earlier Scattered Embers entry has been closed out.
Howling Hills fully upgraded. The camp at Howling Hills must be at its maximum level. Players can confirm they are on the correct track when the bridge between the camp proper and the player house has been built, and the camp dispatch menu lists the fourth upgrade as the next one. Upgrades progress through the Grounds of the Sunrise faction quests and through Dispatch Missions, so players who have neglected either chain need to loop back and clear them.
Pailune reconstruction dispatch started. A set of Pailune reconstruction dispatch missions appears in the camp dispatch menu after the region is liberated. Only the first of those reconstruction missions has to be completed to satisfy the relocation requirement. The rest are optional and mainly serve as a resource sink. Skipping the optional ones is the recommended approach for players who just want the move done without burning extra materials.
Two sub-quests that commonly block the chain. Two Scattered Embers entries catch more players than the rest. The Red Fox Merchant quest is the final recruitment step for the Greymane named Dedrich, who becomes the tannery vendor at the camp once recruited; skipping this quest leaves the Scattered Embers chain incomplete. Strength Held in the Fingertips is the arm-wrestling quest given by Oongka at Calphade Castle in northern Hernand; the quest marker does not appear on the camp quest board reliably, and the quest giver is not at camp, so players looking at their faction log often cannot see why the chain is stuck at 32 out of 34. Travel to Calphade Castle and speak with Oongka to unblock it.
Dispatch NPCs must be at camp when you hand in a request. If a Scattered Embers or Grounds of the Sunrise request needs a specific Greymane to be standing in the camp circle and they are not, the quest will not accept. The in-game map does not show where Greymanes are while they are on a dispatch. Two workarounds: cancel the relevant camp dispatch so the Greymane returns automatically, or physically travel to the dispatch location on the world map and interact with them there. Neither option is sign-posted in the UI.
What Moves, What Stays, What Resets
Before confirming the move, know exactly what is carried to Pailune and what is destroyed. This is the single most important planning step because the process is one-way and destroys progress on any uncompleted farming cycle.
Ranch animals come with you. Every animal currently in the Howling Hills ranch is transported to the new ranch at Pailune without loss. You do not need to sell anything off first.
Farm plants do not come with you. Any crops currently growing at Howling Hills, including endgame resources like Skyroot seeds or Abyss Cell seeds, are lost when the camp leaves. Harvest everything first. Seeds already in your inventory are safe because they are inventory items, not farm-plot state.
The player house resets. All furniture placed in the Howling Hills player house is reset when the camp moves, and the new Pailune player house starts empty. Because the earlier camp expansions also reset the house, many players wait until after the Pailune move before decorating at all. The legendary-animal unique furniture rewards do persist as inventory items and can be placed in the new house.
Howling Hills becomes an abandoned site. Returning to the old location after the move shows an empty clearing. The facilities, vendors, and Greymanes are all gone; the area cannot be toggled back on. This is a one-way commitment.
Patch 1.0402: Furniture Travels with the Camp
The behavior described earlier in the What Moves, What Stays, What Resets sub-section reflects the launch-era relocation experience. Patch 1.0402 changed the rule: furniture placed in the player's house at Howling Hill is no longer wiped when the camp relocates to Pailune. The placed items now travel with the camp and are retrievable inside the new Pailune player house. The same protection applies to every earlier camp-expansion tier: placed furniture persists through expansion events rather than being returned to storage.
This makes it safe to decorate the Howling Hill house before completing the move, and it also removes the old workaround of manually picking up every piece of furniture before speaking with Macri. If the new Pailune layout forces a specific piece to shift position (because a wall or room layout differs from Howling Hill), the affected item is moved to the house's placement storage instead of being deleted, so nothing is permanently lost. Full details on the camp relocation process and the rest of the 1.0402 camp changes are covered on the Greymane Camp article; the entry here is scoped to the Pailune-specific effect on placed decor.
Move-Day Bug Avoidance
The relocation cutscene plays after you speak with Macri and return to the camp. Two bugs are common on this step and both have straightforward workarounds:
Cancel every dispatch mission before talking to Macri. If a Greymane is out on a dispatch when the move cutscene triggers, the cutscene can hang on a black screen indefinitely. Load the auto-save from before the cutscene started, cancel all camp dispatches so every Greymane returns to camp, and then redo the Return Home quest step. The cutscene will play normally once every camp member is home.
Fast travel once if Carl does not appear. After the move, the camp quartermaster Carl (the donations NPC at Private Storage) can fail to spawn at the new Pailune layout. Fast travel back to the Pailune camp Abyss Nexus a single time and he reappears. The Private Storage chest functions normally once Carl is present.
Save before confirming. Save manually before speaking to Macri. If the move produces a layout you dislike, or if one of the bugs above does not resolve cleanly, you can roll back to the pre-move save rather than committing to the new camp.
What You Get at Pailune
The Pailune camp is the largest of the five camp layouts and carries several material upgrades on top of the achievement reward for completing the relocation.
+360 private storage slots (1,000 total). Patch 1.02 tied Private Storage capacity to camp expansion level. The first four Howling Hills expansions each add 100 slots for 640 total; the Pailune move adds a further 360 for the 1,000-slot cap. Players who hoard crafting materials or alternate armor sets benefit the most.
Pailune Abyss Nexus at the camp entrance. Patch 1.02 also added a dedicated Abyss Nexus inside Pailune, placed right by the new camp layout so that fast-travel access does not require a walk. This was the single biggest quality-of-life change to the Pailune camp and the main reason the move became viable for most players.
Roughly doubled farm plots. The Pailune farm layout has additional rows of planting beds compared to Howling Hills, with the patch-1-03 expansion described in the official notes as "roughly doubled" in size. The extra rows matter most for the infinite-loop crops like Skyroot and Abyss Cell seeds, where more plots means more simultaneous harvests per cycle.
Larger ranch. Ranch space expanded alongside the farm in patch 1.03, which gives room for additional cows, pigs, goats, and poultry. Milk, eggs, bones, hides, and meat all bottleneck less once there is space for a full complement of animals.
Special cooking stations near the camp. The Pailune layout places a set of the special cooking pots near the camp that would otherwise require travel to a world location. A future patch is planned to let the special stations pull ingredients directly from Private Storage, at which point they become the default cooking spot.
Walk-out access to a town with vendors. The camp sits at the edge of Pailune town itself rather than in an isolated clearing, so the additional Vendors inside the rebuilt town are a short walk from the camp rather than requiring a trip back to Hernand.
A water well inside the camp. The Pailune camp layout includes a well, which produces free water for cooking and crafting recipes that consume it. The Howling Hills layout does not have one. Water from vendors is faster in raw minutes-per-bucket, but the well removes the cost entirely if you are gathering other resources anyway.
Pailune Camp Layout Notes
Patch 1.03 condensed the NPC placement inside the Pailune camp, which removed a major early complaint that the original launch layout was sprawling and slow to navigate. The new layout puts the key facilities close together in the northwest part of the rebuilt town:
Private Storage and Carl are inside the main camp building at the entrance. This is also where camp-resource donations go.
Equipment vendor and the camp Blacksmith sit just outside that building, grouped together.
Connor (accessory vendor), Oliver (dye vendor), Dedrich (tannery and tailor equivalent), Conrad (furniture), and the hair stylist are clustered around the central square.
The farm and ranch are along the southern and eastern edges of the layout, with the player house next to them rather than across a bridge as in Howling Hills.
The fast travel point is right at the entrance, minimizing the distance between the Abyss Nexus and every other camp facility.
No camp cauldron yet. Neither the Howling Hills camp nor the Pailune camp places a cauldron inside the camp perimeter. Players who want a cauldron on site need to buy the cauldron furniture piece from the furniture vendor and drop it inside the player house. Because the Pailune house sits nearer the rest of the camp than the Howling Hills house does, this workaround is less disruptive after the move.
Is the Move Worth It?
The practical answer is: after patch 1.03, yes for most players who have reached the endgame, and no for players who have not maxed out storage or started farming endgame crops. The additional 360 private storage slots and the bigger farm are the two standout benefits, but both presuppose that the current 640-slot cap and standard farm plots are already limiting. Players who already sorted their inventory into alt-character storage, who are not farming Skyroot or Abyss Cell seeds, and who care about camp aesthetics over facility count may prefer to stay at Howling Hills. The move cannot be reversed, so the conservative choice is to finish the Scattered Embers chain first, confirm that Howling Hills feels cramped, and only then commit.