Quest Details
Detail | Info |
|---|---|
Chapter | 7: Homecoming |
Sub-Chapter | Decisive Battle |
Quest Number | 100 |
Region | |
Location | Silver Wolf Mountain Fortress |
Quest Type | Boss Fight |
Prerequisite | Complete Broken Claws |
Rewards
Reward | Type |
|---|---|
Sword |
Overview
Battle at Silver Wolf Mountain is the 100th main mission in Crimson Desert, part of Chapter 7: Homecoming under the Decisive Battle sub-chapter. This quest represents the climactic confrontation of the chapter, pitting Kliff against Myurdin in a fierce two-phase boss fight atop a mountain fortress. Myurdin's loathsome voice echoes through the carnage as Kliff fights to bring him to his knees.
Objectives
Find Myurdin's whereabouts
Defeat Myurdin
Walkthrough
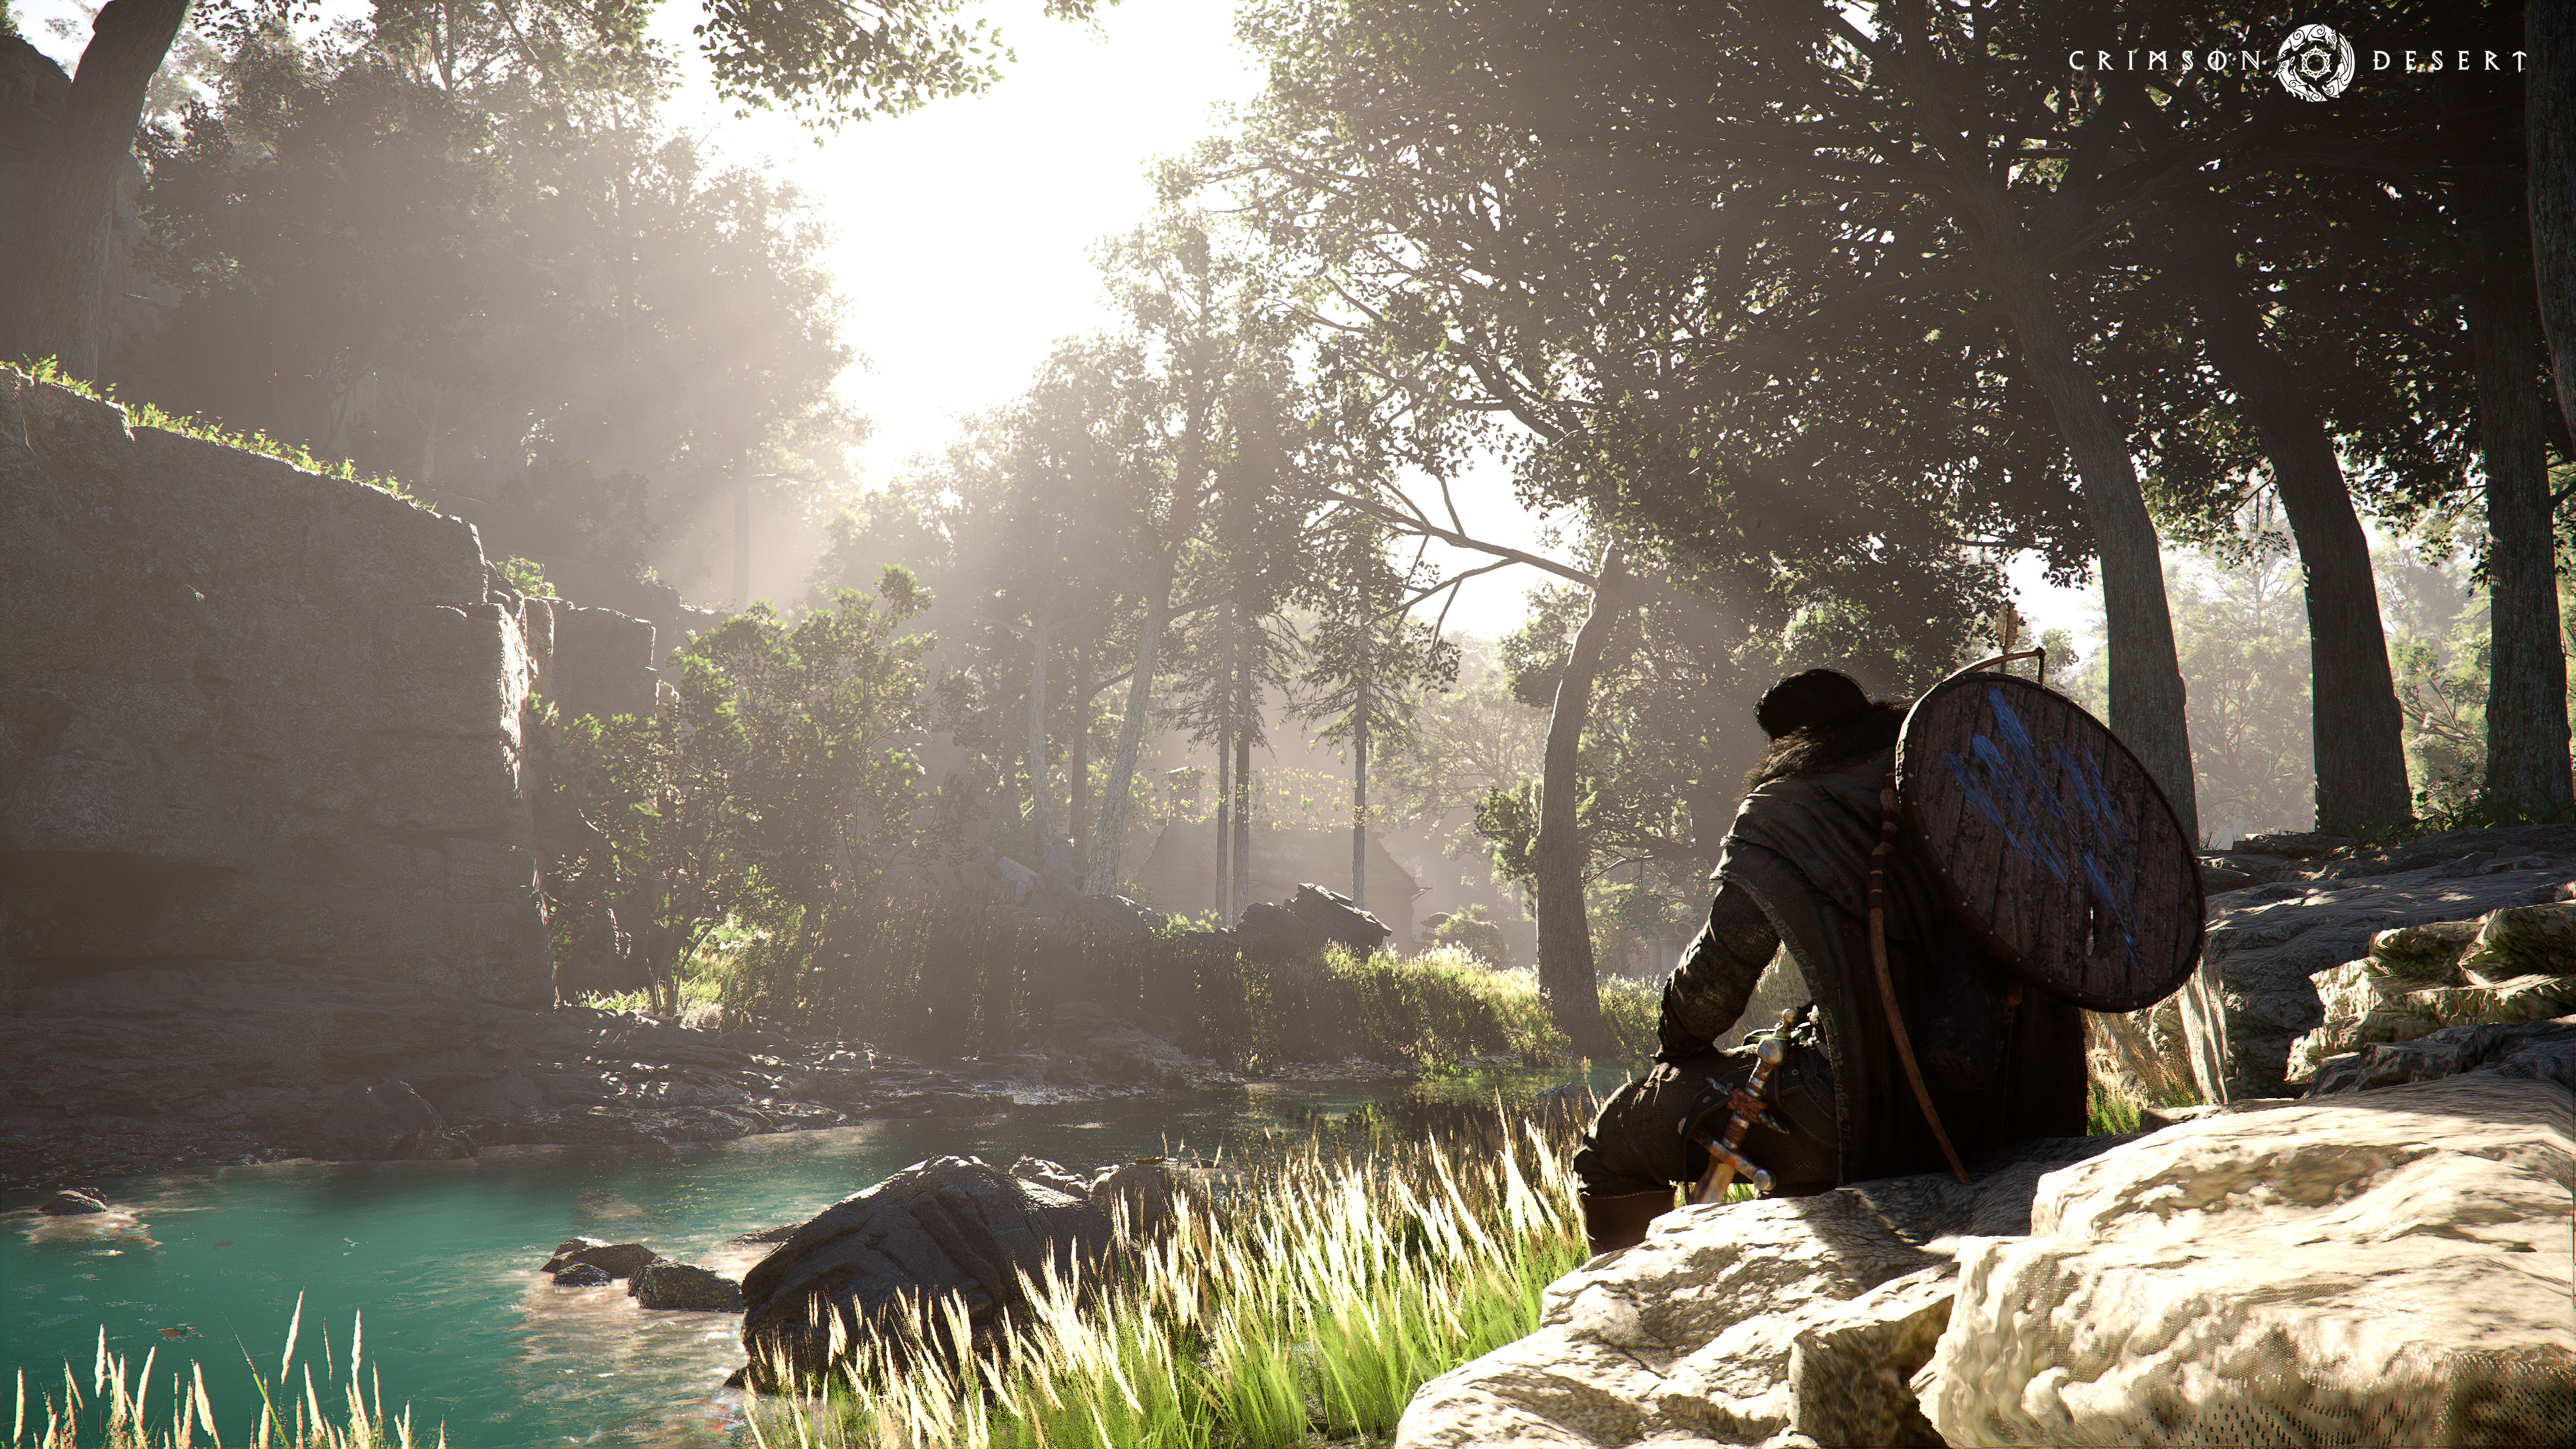
Ascending the Fortress
Follow the mountain path upward toward the fortress. The route is linear, but you will encounter a locked gate blocking your progress. Approach the gate and use Nature's Grasp (Square + Triangle on PlayStation, X + Y on Xbox) to lift it open.
Continue along the path deeper into the castle. A cutscene triggers showing Kliff meeting with his comrades, who are preparing for the final push. After the cutscene, climb the ladder directly in front of you to enter the boss arena and begin the fight with Myurdin.
Boss Fight: Myurdin
Myurdin is a two-phase boss with a full transformation between phases. Each phase has its own health bar, and the fight escalates significantly in the second phase.
Phase 1: Swordsman
In the first phase, Myurdin fights as a heavily armored swordsman with powerful overhead strikes and sweeping slashes. Focus on parrying his attacks to build stagger and create openings for counterattacks.
The Tauria Curved Sword works extremely well here thanks to the Crow's Pursuit skill obtained from the Crowcaller fight. Execute heavy attacks (R2/RT) when Myurdin is staggered. Stay patient and avoid trading blows, as his attacks deal heavy damage even through blocks.
Phase 2: Lava Transformation
After depleting his first health bar, Myurdin transforms and begins using lava-based attacks. The arena floor becomes dangerous in certain areas as pools of molten rock appear. Myurdin's attack patterns become faster and his strikes leave lingering fire trails.
Evasion is more important than blocking in this phase. Prioritize dodging over shielding, and only attack during brief windows when Myurdin pauses after completing a combo. Maintain your stamina reserves at all times, as running out of stamina during this phase leaves you extremely vulnerable to follow-up attacks.
Tips
The Tauria Curved Sword (reward from the Crowcaller boss) is one of the best weapons for this fight due to its speed and Crow's Pursuit ability.
Parrying is essential in Phase 1. Practice the timing on Myurdin's overhead strikes, which have a slow wind-up that makes them easy to read.
In Phase 2, watch the floor. Lava pools deal continuous damage if you stand in them, and Myurdin may try to push you into them with his combo finishers.
Keep at least 15 healing items in your inventory. Phase 2 can be a war of attrition if your damage output is low.
The Melted Ambition sword reward is a strong weapon for the remainder of Chapter 7 and early Chapter 8. Equip it immediately after the fight.
Find Myurdin's Whereabouts
Proceed along the mountain path until you reach a locked gate. Use Nature's Grasp to raise it:
PlayStation: Square + Triangle, then tap X
Xbox: X + Y, then tap A
Follow the linear castle path beyond the gate. A cutscene plays when you encounter your comrades. After the scene concludes, climb the ladder ahead to initiate the boss fight.
Phase 1
Myurdin fights in his human form with powerful melee attacks.
Strategy: Focus on parrying his strikes. Successful parries create large openings. Use heavy attacks with the Tauria Curved Sword (R2/RT) during these windows for maximum damage.
His attack patterns are relatively predictable in this phase. Two to three parries followed by heavy counters will deplete the first bar efficiently.
Phase 2: Transformed Myurdin
Myurdin transforms and gains lava-based attacks. The arena fills with magma pools and fire eruptions.
Strategy: Shift from parrying to dodging. His transformed attacks have wide area-of-effect ranges that make blocking dangerous. Prioritize stamina management so you always have enough to dodge when needed.
Watch for lava pools forming on the ground. Standing in them drains health rapidly.
Attack during the brief cooldowns after his lava eruption sequences. Two to three quick hits, then back off.
Preparation
Item | Recommendation |
|---|---|
100 or more. Phase 2 lava attacks deal heavy sustained damage. | |
Weapon | Tauria Curved Sword recommended. Its heavy attacks deal the most damage during parry windows. |
Palmer Pills | Bring some for emergency self-revival in Phase 2. |