Overview
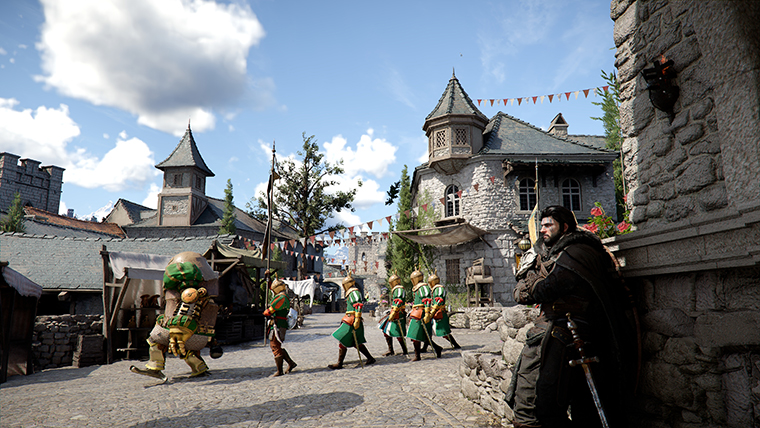
Karin Quarry is a large open-pit quarry in the northeastern part of the Hernand region. Long held by the Roberts family, the quarry served as both a mining operation and an archaeological excavation site after ancient relics were discovered beneath its stone. The Bleed Bandits seized the quarry and weaponized Marni's Excavatron, a massive drilling machine, to strip the site of its resources and enforce control over the workforce. Players must liberate the quarry as part of the House Roberts faction questline, and it is the first major occupied territory encounter in the game.
Location
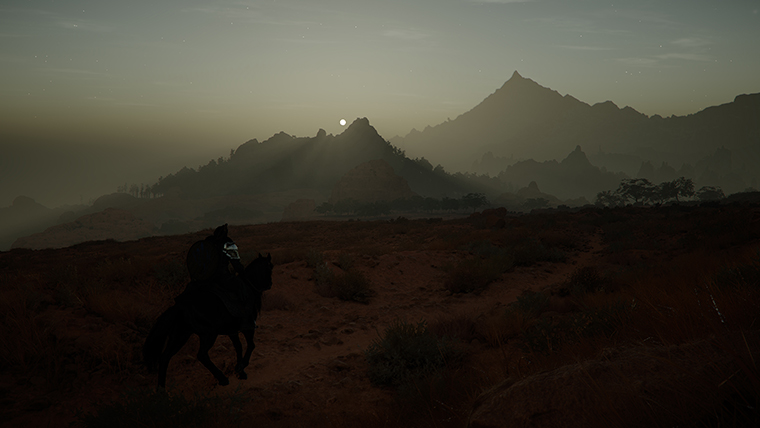
Karin Quarry sits north of the Goldleaf Trading Post, which is itself northeast of the City of Hernand. To reach the quarry, head north from the trading post and traverse the hill. The quarry occupies a wide open-pit area surrounded by rocky cliffs, with a large crane visible from a distance. An Abyss Nexus is positioned southwest of the Karin Quarry Rest Area, providing a fast travel point for return visits.
Karin Quarry is situated within the broader Rocca's Hill area, east of Hernand proper.
Recommended Preparation
Karin Quarry is a large facility filled with dozens of Bleed Bandits, making it one of the first genuinely challenging encounters in the game. Before heading north, take time to prepare with the following:
Preparation | Details |
|---|---|
A good set of armor with at least some levels of refinement. Visit the blacksmith in Hernand to upgrade before heading out. | |
Food | Stock up on cooked meals for healing. The extended fight will drain your supplies quickly. |
A few levels invested into Stamina helps with sustained combat and dodging. | |
Force Palm | Level 3 Force Palm is strongly recommended. It allows three consecutive blasts that stagger the Excavatron boss. |
Evasive Roll | The Evasive Roll skill helps dodge the Excavatron's burrow attacks. |
Spear | A spear is highly recommended for clearing groups of bandits. Not required, but very helpful. |
Armed Combat | Level 2 or 3 Armed Combat. Level 2 unlocks Counter Stance for the spear; Level 3 unlocks the Charge ability for sword and shield. |
Liberation Mechanics
Karin Quarry is the first occupied territory that introduces the liberation system. When you enter, four objectives appear on the left of your screen, along with a green bar showing the territory's occupation level at 100%. Defeating Bleed Bandits depletes this bar. Once it reaches 0%, the boss (Marni's Excavatron) becomes accessible. Liberation progress does not reset if you die, so you can return and continue from where you left off.
Sub-Objectives
Three destructible sub-objectives weaken the enemy forces when destroyed. Use Blinding Flash to spot them; each one is marked by a spinning red square icon above it. Turning Slash on nearby walls or load-bearing structures is an effective way to destroy them.
Sub-Objective | Location | Effect When Destroyed |
|---|---|---|
Infirmary | Near the quarry entrance | Wounded enemies no longer return to the fight, permanently reducing the number of active bandits. |
Barracks | Short walk east of the Infirmary | Reduces enemy attack power across the territory. |
Storage area near the far cliffs, with a crane attached | Reduces enemy HP across the territory. |
Environmental Hazards
Explosive Barrels
Karin Quarry is littered with explosive barrels marked by a white X (not the typical red paint of most video games). These are dangerously easy to clip with a wide weapon swing, particularly when using a spear. A single barrel detonation can trigger chain reactions with nearby barrels, potentially killing you along with the enemies. Clear barrels from your immediate area before engaging with wide-sweeping weapons, or use arrows from a safe distance to detonate them on enemy clusters.
If you must fight inside the tighter areas of the quarry, stick to your shield and rely on Forward Slashes rather than wide sweeps. This reduces the chance of accidentally clipping a nearby barrel during combat.
Bystanders
The enslaved quarry workers walking around the quarry are not affected by your attacks or explosions. You can fight freely without worrying about hitting them.
Combat Tactics
Fighting the Bandit Horde
The quarry contains a large number of Bleed Bandits, including both melee fighters and archers. You will have an easier time fighting enemies towards the outer edges of the quarry where the terrain is more open. The bandits include both melee combatants and ranged archers, so switching weapons based on the situation is key.
Spear for Groups
The spear is the best weapon for dealing with groups of melee enemies, especially when you have Level 2 Armed Combat. This unlocks Counter Stance, which lets you activate a counter just before an enemy strikes. Counter Stance attacks enemies around you and then your target, often taking out multiple bandits in a single use. Even better, getting hit by an arrow also triggers Counter Stance, keeping you safe from archers while you deal with melee threats up close.
Sword and Shield for Archers
Once the melee enemies are down, switch to your sword and shield to deal with the remaining archers. If you have Level 3 Armed Combat, you can use the Charge ability to close the distance quickly, knocking archers down when you reach them.
Quests
Stolen Quarry is the primary faction quest at Karin Quarry. Given by Leon Roberts as part of the House Roberts questline, the objective is to deplete the occupation bar by defeating Bleed Bandits, destroy the three sub-objectives for an easier fight, and then defeat the boss. The prerequisite quest "Troubled Count" must be completed first.
Sealed in Stone is the follow-up quest at Karin Quarry. After liberation, players must operate the quarry's crane to extract a buried relic (a large gray stone cube) from the pit. The crane is tricky to control and wobbles when moved. It expands its claws when pressed down against an object and closes them as it lifts. The camera will zoom in once you have successfully locked onto the relic, then pull it up from there. After extraction, you can return to Count Roberts to complete A Count's Honor, the final quest in the Estate in Dismay chain.
Hidden Ruins of the Quarry
After extracting the relic during Sealed in Stone, you can drop down into the hole where it was buried. Below lies the Hidden Ruins of the Quarry, a small dungeon area. Inside you will encounter a turret that automatically locks onto and shoots you. Past the turret is a small room containing 3 Palmar Pills. A Bismuth Barricade blocks a side passage; use a Focused Force Palm to break through it and access an additional room.
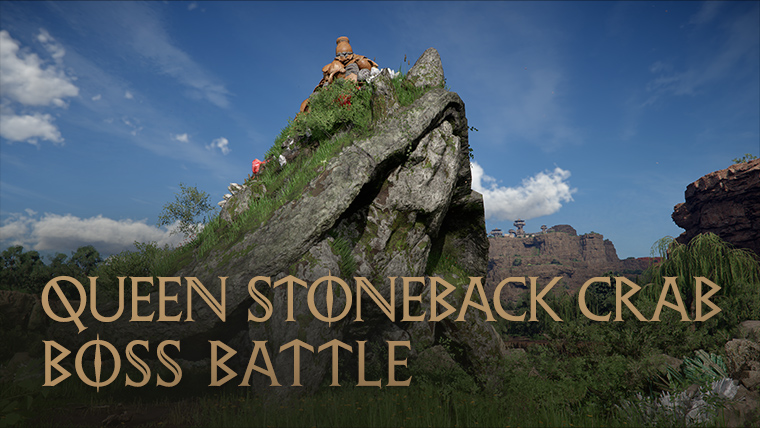
Boss: Marni's Excavatron
The Marni's Excavatron is a mechanical boss encountered at the far northeast end of the quarry, past a large stone barrier. This drilling machine, operated by the Bleed Bandits, attacks with its massive drills and can burrow underground for surprise attacks. Its attacks cannot be parried, but many can be blocked with a shield. The most effective strategy is using Level 3 Force Palm to chain three consecutive blasts, staggering the machine and creating large damage windows. See the full Marni's Excavatron article for a complete boss guide.
Key Attack Patterns
Drill Slams: The Excavatron plunges one or both drills into the ground in front of it. These attacks deal heavy damage and stagger you. Do your best to dodge or block rather than tanking the hits.
Charge Attack: The boss places both drills on the ground and charges directly at you. Despite looking dangerous, this attack can be blocked with a shield.
Burrow Attack: The Excavatron digs underground and tracks your position from below. When the area dims, the machine will pop up and dive back underground a total of three times. Sprint away from it rather than dodge-rolling for the first two passes, then dodge-roll just before the final emergence to avoid both the stab and resurface damage.
Blinding Flash Interrupt: You can prevent the burrow attack entirely by using Blinding Flash when the Excavatron begins its digging animation. The machine gets interrupted and stunned, giving you a free damage window.
Force Palm Strategy
The Level 3 Force Palm Expertise node allows three consecutive Force Palms. Use them between the Excavatron's attacks to fill its yellow stagger bar. The third blast fills a large portion of the bar, often causing a full stagger. While the boss is staggered, hit it with everything you have, then return to a defensive stance once it recovers.
Notable NPCs
NPC | Role |
|---|---|
Quest giver for the Stolen Quarry faction quest | |
NPC found at the quarry; guides you to the crane controls during Sealed in Stone |
Items and Rewards
Item | Description |
|---|---|
Unique secondary weapon obtained from the Excavatron. Functions as both a combat weapon and mining tool with a 10% ore bonus (upgradable to 20%, then 30%). Replaces the pickaxe for mining, and can be used while climbing cliff faces to mine ores on walls. Holding the basic attack creates a drilling combo with a knockback finisher. | |
Reveals 10 gold ore deposit locations. Access them via Journal > Knowledge > Adventure > Caves. | |
Palmar Pills (x3) | Found in the Hidden Ruins of the Quarry beneath the relic excavation site. |
Enemies
The quarry is crawling with Bleed Bandits who patrol both the perimeter and the interior of the mining pit. These enemies respawn while the Infirmary stands, making the quarry a potential farming location for Abyss Artifacts (though not the most efficient one). The bandits include both melee fighters and archers. Using a spear with Counter Stance handles the melee groups well, while sword and shield is better for chasing down archers.
Abyss Artifact Farming
If you want to farm Abyss Artifacts, you can intentionally leave the Infirmary standing so enemies keep respawning. Defeating them fills the yellow bar on your mini-map, which grants additional Abyss Artifacts. This is not the most efficient farming method, but it is an option if you have food to spare. Looking for Abyss Cressets around Hernand is generally a safer and more recommended approach.
Tips
Complete the Troubled Count quest before attempting Stolen Quarry, as it is a prerequisite.
Destroy the Infirmary first (it is closest to the entrance) to stop wounded bandits from returning to the fight.
Fight near the outer edges of the quarry to avoid accidentally detonating explosive barrels in the tighter interior areas.
Use Force Palm to stagger the Excavatron when its drills glow. This cancels the Dig attack and opens a large damage window.
Consider switching to Damiane for the boss fight if you struggle with Kliff. Her agility and AoE skills work well in the arena.
The Abyss Nexus southwest of the quarry rest area allows quick fast travel back if needed.
Shield blocking drains stamina quickly against the Excavatron. Keep an eye on your stamina bar and dodge when it runs low rather than trying to block every attack.
After liberating the quarry and completing Sealed in Stone, check the Hidden Ruins beneath the relic site for bonus loot before returning to Count Roberts.