Companions
Complete guide to companions in Crimson Desert covering the three playable characters (Kliff, Damiane, Oongka), how to unlock and summon them, companion restrictions including Damiane's Chapter 5-8 absence, the Greymane comrade recruitment system, pet companion adoption with the fast dog trust method, the dispatch mission system, camp facilities, free skills through observation, and Abyss Artifact saving tips.
On This Page
Overview
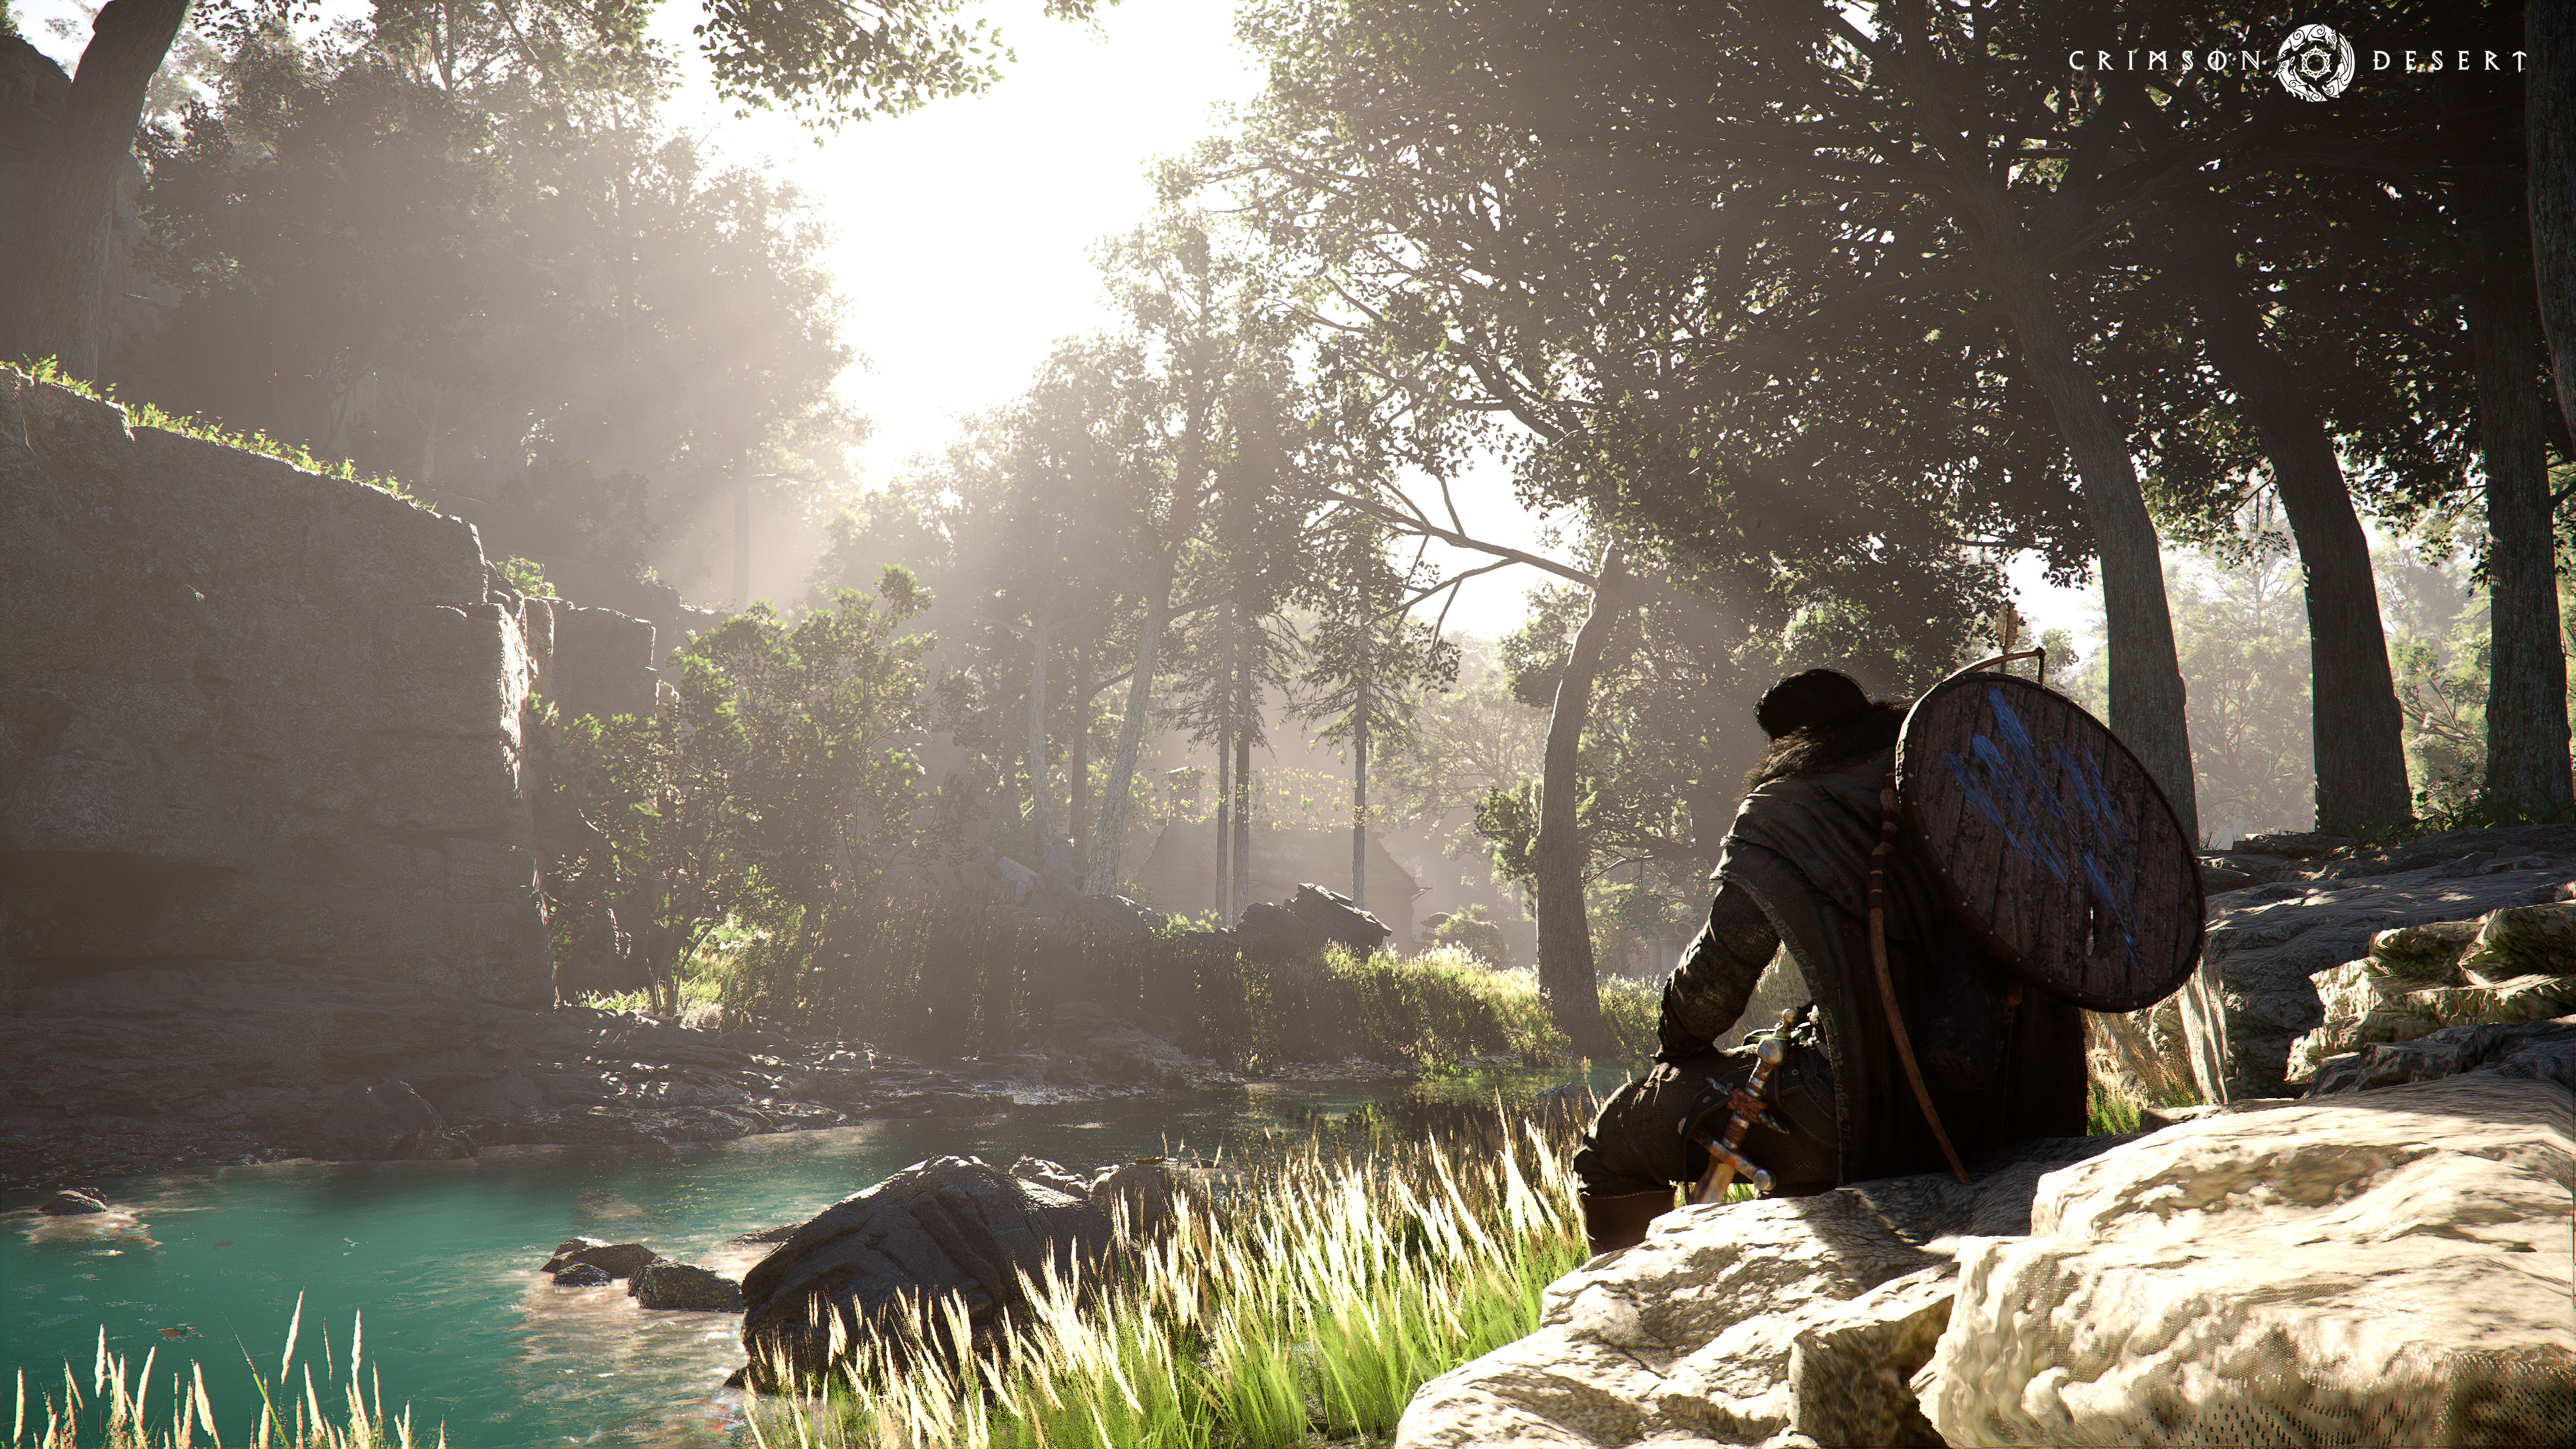
Companions are members of the Greymanes who fight alongside Kliff during story missions and open-world activities. After the Black Bears shatter the mercenary band during the prologue, Kliff's early journey involves tracking down his scattered comrades across Pywel. Each companion found returns to the Greymane Camp at Howling Hill and becomes available for combat support, dispatch missions, and camp facility assignments.
The companion system in Crimson Desert operates on two levels. At the narrative level, two companions (Damiane and Oongka) become fully playable characters that players can swap to at any time in the open world. At the management level, all recruited comrades serve as the workforce for the dispatch mission system, where they can be sent on off-screen resource-gathering and combat missions.
Playable Characters
There are three playable characters in Crimson Desert. Kliff is available from the start, while Damiane and Oongka unlock as the main story progresses.
Character | Unlock Timing | How to Unlock |
|---|---|---|
Prologue | Available from the start of the game as the main protagonist. | |
Chapter 3 | Unlocks when the Greymane Camp is established at Howling Hill. Barden Middler introduces Damiane, who joins the group and becomes playable immediately. | |
Chapter 7 | Unlocks during the Myurdin boss fight inside Ashclaw Keep. Kliff is incapacitated and control transfers to Oongka. After this event, complete the side quest "Gentle Sound of Flowing River" to make him permanently available. |
Kliff is by far the most versatile of the three and is recommended for general play, since the other two have limited abilities that prevent them from solving Abyss puzzles. Damiane starts with a White Wind Rapier and Absolute Justice Greatsword. Oongka starts with a Dekarr Greataxe and Orc Blaster.
Summoning and Swapping Companions
Once Damiane and Oongka are unlocked, players can summon them to fight alongside the active character, or swap to play as them directly.
How to Summon
Press and hold F1 on keyboard (or Up on D-Pad on controller) to open the Character Wheel.
Use the mouse or right stick to highlight the companion you want to summon.
Press Space on keyboard (or X/A on controller) to summon them.
The screen briefly fades to black, then the summoned companion appears at your location and follows you.
Summoned companions automatically engage enemies in combat. You can have both Damiane and Oongka fighting alongside you simultaneously. If you are playing as Damiane or Oongka, you can also summon Kliff as a companion.
How to Swap Characters
To switch which character you are controlling, open the Character Wheel and highlight a different playable character, then release the stick. The game loads you into that character at their current location. This effectively works as a fast-travel mechanic, since switching teleports you to wherever that character was last standing.
Standby and Gather
You can put a summoned companion on standby by interacting with them, which makes them stop following you. To call them back, open the menu and select Gather to respawn all companions next to you.
Restrictions
Companions cannot be used during Main Story Quests. If a companion is currently following Kliff and you attempt to trigger a story mission, the game displays a notification that you cannot proceed with a companion by your side. Companions also cannot participate in boss battles. This system is designed primarily for open-world exploration, faction base clearing, and side content.
There is also a story-driven restriction on Damiane. She becomes unavailable for summoning starting in Chapter 5 and does not return until the end of Chapter 8. During these chapters, only Kliff and Oongka (once unlocked) can be used. Before Chapter 5 and after Chapter 8, Damiane is fully available again.
Both Damiane and Oongka also lack certain exploration abilities. Neither can use Abyss powers like force push or the Axiom claw, so puzzles and mechanisms that require these tools cannot be solved while playing as them. Switch back to Kliff for these encounters.
Pet Companions
In addition to playable characters and Greymane comrades, players can adopt dogs and cats found throughout Pywel. Adopted pets follow the active character and automatically loot items from defeated enemies during combat. Pets do not fight, but their looting ability saves a lot of time by collecting drops across the battlefield while you keep fighting.
You can own up to 30 pets total, though only one pet can be summoned at a time. Pets can be dressed with hats, body armor, and full outfits through the Pet Shop. For a full list of adoptable animals and their locations, see the Pet Taming Guide.
Trust System
Every stray animal starts at zero trust. You need to raise trust to 100 before you can adopt it. Trust increases through two actions: petting and feeding. Both have daily limits tied to the in-game day cycle.
Tip | Details |
|---|---|
Petting: | Each petting action gives +5 trust. You can pet an animal up to five times per in-game day, for a maximum of +25 trust per day from petting alone. |
Feeding dogs: | Dogs respond well to meat. Feeding a dog Fine Meat grants +35 trust per feeding. You can feed an animal up to three times per in-game day. Three Fine Meat feedings plus five pettings totals +130 trust in a single day, enough to adopt any dog immediately. |
Feeding cats: Cat | s are pickier. They only accept bird meat, fish, and milk, and each feeding gives just +10 trust. Cats take longer to adopt than dogs. |
Once trust reaches 100, hold the interaction button and select Take In to adopt the animal.
Fast Dog Adoption Method
There is a faster way to adopt dogs that skips the day-by-day feeding cycle. Instead of relying solely on Fine Meat, you can use Small Bones dropped on the ground. Each bone a dog picks up grants trust, and dropping bones does not count against the daily feeding limit.
Approach a stray dog and pet it five times for +25 trust.
If you already have a pet dog summoned, unsummon it first. Your current companion dog will pick up dropped items before the stray can reach them.
Drop one Small Bone on the ground from your inventory. Wait for the stray dog to grab it. This grants +25 trust.
Drop a second Small Bone for another +25 trust.
Drop a third Small Bone to reach 100 trust total.
The adoption prompt appears immediately. Hold the button to adopt the dog on the spot.
This method lets you adopt a dog companion within seconds instead of waiting multiple in-game days. Small Bones are common drops from wolves and other wildlife, so keeping a few in your inventory makes it easy to grab any stray dog you come across.
Pet System Update
A recent update triples the number of tameable companions available in the game. Prior to the update the pet database contained roughly 18 entries, all of them cats or dogs. After the update the database lists approximately 60 pets, including five new cat variations and a full family of birds. Existing pet outfits and gear still apply to the old roster, and new equipment slots have been added for bird-specific accessories.
The trust, feeding, and daily interaction rules described above still apply to every pet type. The faster routes, such as feeding a preferred food for maximum trust in a single in-game day, now extend to birds as well, with a dedicated feeder item replacing the old drop-food-on-the-ground workflow.
Autonomous Item Collection
Every active companion, whether a cat, dog, or bird, will autonomously collect dropped items near the player during normal exploration and during combat. When enemies fall and leave loot on the ground, the pet walks or flies to each drop and picks it up without any input. This frees the player to keep attacking, dodging, or running for position without having to stop and loot each body.
Only one pet can be active at a time, but the summoned pet covers the entire loot radius of an average engagement. Bird companions are particularly efficient at this role because they fly directly to each drop and bypass terrain navigation entirely, clearing loot from cliffs, rooftops, and irregular ground that a cat or dog would have to path around.
Items collected by the pet are deposited into the player's inventory automatically. See the Pet Taming Guide for specific pickup quirks and range differences between pet types.
Bird Companions
Birds are the newest companion class and use a taming workflow that differs from cats and dogs. Instead of approaching the animal directly, the player places a feeder on the ground and waits for the target bird to land on it and feed. Trust rises per feeding just as it does for ground pets, and the bird can be taken in directly once trust reaches 100.
Sigil of Bond
Bird taming requires the Sigil of Bond, a placeable feeder item. The Sigil is awarded for completing the Authorized Access side quest, which sends the player to Pororin Village to collect the item. Players who completed the quest before the pet update receive the Sigil retroactively, with a popup delivered at the next login and the item deposited in the private storage box. If the Sigil is ever misplaced, it can be reclaimed from the Greymane Camp provisioner's recover-items tab.
To use the Sigil, open the inventory, bring the item out, and drop it on the ground. Placement matters: higher ground such as cliff tops and hill summits produces faster landings, and placing the Sigil along a bird's circling flight path cuts wait time significantly. Birds typically take two to six in-game minutes to land after the feeder is stocked, and some species, particularly owls, will only feed during specific in-game hours. To recover the Sigil, walk up to it and hold the interact button.
Bird Categories and Food
Birds split into two broad feeding groups. Small birds prefer bugs, vegetables, and grains; predator birds prefer meat. Feeding the right category speeds up trust gain in the same way preferred foods do for cats and dogs.
Category | Species | Preferred Food | Example High-Trust Item |
|---|---|---|---|
Small birds | Bugs, vegetables, grains | Barley grants around 25 trust per feed. | |
Predator birds | Eagles, hawks, owls, falcons | Meat | Lean Meat grants roughly 35 trust per feed. |
Stocking the Sigil with a mix of bait (bugs, meat, and fish) is a safe general-purpose loadout if the player is uncertain which species will visit. The Kuku Insect Gatherer's Pack is the fastest way to harvest bugs for small-bird feeding, clearing an area's insects at the press of a button. Meat can be purchased in bulk from town butchers or obtained by skinning animals, and fish can be bought from dedicated fish merchants in major towns.
Efficiency as Pets
Once tamed, bird companions gather items for the player in the same way ground pets do, but with a notable advantage. Because birds fly directly from the player to each drop, they bypass terrain navigation that would otherwise slow a Cat or a Husky on rocky or vertically broken ground. In practice this means a crow or eagle will clear the loot field of a combat encounter faster than most ground companions, especially in mountainous regions or ruins.
Pet Management
All tamed pets are stored in the pet menu, accessed from the inventory tab. From there, a single pet can be summoned or dismissed at will, and the active pet can be swapped out at any time for another one from the collection. There is no cooldown on swapping, so the player can pick the best companion for the current area (for example, a bird for mountaintop exploration and a dog for town work).
Pets can also be renamed from the pet menu. The custom name replaces the default species label and persists through saves and session changes. See the Pet Shop for outfits and the Pet Equipment article for the full gear list.
Camp Wandering
Tamed pets that are not currently summoned now passively wander the Greymane Camp at Howling Hill. Each pet keeps the equipment it last wore, so a husky dressed in armor continues to appear around camp in that armor even while another pet is the active companion. The effect is purely cosmetic and does not produce loot or combat behavior, but it turns the camp into a visible reflection of the player's full collection.
Pets also react to camp weather. Cats in particular will reposition to a sheltered spot when rain starts, tucking under roof overhangs or against covered walls until the weather clears. Dogs and birds are less affected but still shift positions based on time of day and weather. This means the camp scene looks slightly different each visit, depending on which pets are collected and what the weather is doing.
Player-Worn Items Affecting Companion Behavior
Two items equipped or held by the player change where companions rest and how tightly they stick to the player during movement. Both are worth acquiring for any build that has a small flying or shoulder-riding companion.
Item | Affected Companions | Effect | How to Acquire |
|---|---|---|---|
Small flying companions such as the Crow and similar light-frame birds | When the hat is worn, smaller birds land on the hat's floral crown instead of the player's shoulder or hand. Larger flying companions like the Phoenix continue to perch on the arm. | Obtained through quest rewards in the Pororin Village area. | |
Cats, including Kitten variants | Equipping the Sigil of Bonding on a tamed cat keeps the cat permanently on the player's shoulder. The cat no longer flinches off during running, sprinting, or combat, and only briefly hops down to grab loot before returning to the shoulder. | Sold by Lacey, a roaming vendor who circles the main road of Pororin Village with a backpack. She also stocks Palmar Pill. |
The two items stack. A player wearing the Pororin Petal Hat while running with a Sigil-equipped cat on the shoulder will have a bird on the hat and a cat on the shoulder at the same time. Neither item changes trust mechanics, item-collection range, or combat behavior. They are purely positioning and presentation tools.
Note that the Sigil of Bonding is not the same item as the Sigil of Bond. The Sigil of Bond is the bird feeder placed on the ground to attract and tame birds. The Sigil of Bonding is a cat-specific shoulder-grip equipment piece. The two items have overlapping names but completely different functions.
Instant Cat Tame with Legendary Fish
Any legendary-quality fish placed near a cat will fully tame that cat in a single interaction, bypassing the daily trust grind entirely. The easiest legendary to acquire is the Golden Carp, which swims in plain view in the lake beside Pailune. No fishing rod is required: the fish can be spotted from the shore, and the player can swim out and grab it directly. Carrying one in the inventory makes it possible to instantly collect any rare cat encountered out in the world without returning the next day for the next round of feedings.
How the Roster Grows
The Greymane roster grows through several channels as you progress through the game. The primary method is completing Faction Quests under the Greymanes tab in the Journal.
Method | Description |
|---|---|
"A rumor..." quests | Navigate to Journal > Faction Quests > Greymanes > Grounds of the Sunrise. Quests that start with "A rumor..." (such as "A rumor in Goldleaf Trading Post") lead you to old Greymane comrades. Completing these quests can bring multiple recruits at once; for example, the Goldleaf quest brings six people to camp. |
Story reunions | Core Greymane members like Oongka and Damiane rejoin through main quest progression. |
Found under Journal > Faction Quests > Greymanes > Greymane Commissions. These are material delivery requests from comrades. Completing them rewards Medium Bags that each grant +3 inventory slots. There are 27 commissions total, providing up to +81 slots. | |
Upgrading Howling Hill through dispatch missions unlocks new recruitment opportunities and opens new quest lines from NPCs like Marius. | |
Side quests and world events | Helping attacked soldiers, completing bounty boards, or aiding travelers on the road can result in new recruits arriving at camp. |
Some recruits unlock specific camp features beyond just serving as dispatch workers. Certain comrades establish shops, ranches, and farms at Howling Hill when they join.
Core Companions
Yann
Yann is the Greymanes' diplomat and strategist. He is described as resourceful and cunning, with a talent for reading people and working political angles. Where Kliff leads through loyalty and combat, Yann keeps the Greymanes alive through negotiation.
Pywel has dozens of factions. Yann provides strategic counsel on which to approach, which to avoid, and how to play them against each other. His work ties directly into the faction reputation system, the kind of maneuvering that opens access to better vendors, supply lines, and allied support.
Naira
Naira is the group's most versatile fighter and an exceptional archer who has earned the title "Empress of the Bow." She adapts to any situation rather than relying on a single weapon style. Naira also carries authority within the group.
The wizard Alustin delivers a critical instruction directly to her: "Gather all of the Greymanes." Alustin addresses this to Naira rather than Kliff, which suggests she has the trust and leadership ability to rally the scattered members on her own.
Oongka
Oongka is the group's heavy hitter and one of the three playable characters. His combat style is beginner-friendly with straightforward combos. He carries multiple weapons:
Weapon | Description |
|---|---|
Greataxe | His primary weapon. Devastating ground slams and wide spinning attacks that clear groups of enemies. |
A large blunt weapon that can knock enemies into each other, turning crowds against themselves. | |
A hand cannon that fires explosive area-of-effect projectiles at range, giving Oongka a ranged option without switching to a separate bow. | |
Arm-mounted Cannon | A heavy ranged weapon mounted on Oongka's arm for sustained ranged attacks. |
Doubles as both a mining tool and a combat weapon. |
Oongka unlocks as a playable character during Chapter 7 when Kliff is incapacitated during the Myurdin boss fight inside Ashclaw Keep. After this event, complete the side quest "Gentle Sound of Flowing River" to make him permanently available. See the full Oongka article and Oongka build guide for details.
Damiane
Damiane is recruited in Chapter 3 and becomes the second playable character. She is not originally a Greymane member but rather a guest of the Marquis. When the Greymane Camp is established at Howling Hill, Barden Middler insists she remain with the group for safety, and she is eager to assist Kliff in rebuilding.
Damiane fights with a claymore, rapier and buckler, flintlock pistol, and musket. Her Parasol Machine allows powered flight rather than just gliding, making her traversal unique among the three playable characters. She starts with a White Wind Rapier and Absolute Justice Greatsword. See the full Damiane article and Damiane build guide.
Marius
Marius is an old comrade that Kliff reconnects with during the story. At camp, Marius assigns camp expansion objectives as the settlement grows, directing the larger strategic goals for Howling Hill's development.
Additional Members
Beyond the named core companions, additional fighters, scouts, and support members appear in camp scenes and group combat encounters. The full companion roster is not fixed from the start; it expands continuously through story progression, "A rumor..." faction quests, Greymane Commissions, and world events. The camp population at Howling Hill grows as more comrades are recruited.
Key Camp NPCs
Several NPCs at the Greymane Camp manage different aspects of the companion and dispatch systems.
NPC | Role | Location Note |
|---|---|---|
Dispatch Coordinator. Manages the comrade roster and initiates dispatch missions. Unlocks after the camp reaches level 2. | Marked by a helmet icon on the camp map. | |
Handles dispatch assignments and recruit skill matching. One of the first recruits available for dispatch. | Near the dispatch board. | |
Manages provisions and the Supply Chest. Completed dispatch missions deposit their rewards in the Supply Chest behind Carl. Also handles currency donations. | Marked by a treasure chest icon. | |
Assigns camp expansion objectives. Opens new recruitment quests as camp level increases. | Central camp area. |
Companion Dispatch System
The dispatch system is accessed through Ross at the Greymane Camp. It lets players send teams of comrades on off-screen missions while Kliff handles other business. Dispatch missions are one of the most important systems in the game, acting as the gateway to craft technologies, farm resources, and improve every other element of progression.
Unlocking Dispatch
The dispatch system unlocks during Chapter 3 as part of the Bustling Hill quest line. The first mission is the Howling Hill Expansion, which requires assigning two recruits (Luke and Ronald are provided for this). After upgrading the camp to level 2, Ross opens his Dispatch Coordinator station, and the full dispatch system becomes available.
Comrade Skills
Each recruited comrade has individual skills that affect their effectiveness on dispatch missions. Skills fall into two functional groups:
Skill Category | Function | |
|---|---|---|
Efficiency boosters | Escort, Farmer, Rancher, Fisherman, Smith, Logger, Miner | Increase yields when matched to the correct mission type. Optional but provide percentage bonuses. |
Required skills | Craftsman, Jeweler, Engineer, Cook, Explorer, Painter, Weaver | At least one comrade with the required skill must be assigned for certain specialized missions (e.g., an Engineer is needed for construction missions). |
Skill Levels and Bonuses
Comrade skills have three levels, each providing a progressively larger bonus to mission yields:
Skill Level | Yield Bonus |
|---|---|
Level 1 | 10% increase |
Level 2 | 30% increase |
Level 3 | 60% increase |
All 3 levels combined | 100% total Skill Bonus |
Upgrading Howling Hill through the camp expansion dispatch missions increases skill levels for all comrades, or unlocks the next skill they have available. The Skill Bonus caps at 100%.
Dispatch Bonuses
Three types of bonuses can increase dispatch mission rewards:
Bonus Type | Maximum | How to Increase |
|---|---|---|
Skill Bonus | 100% | Assign comrades with skills that match the mission type. Higher skill levels give bigger bonuses. |
Comrade Bonus | 40% | Send more comrades than the minimum required for a mission. Exceeding the minimum headcount earns bonus rewards. |
Conversion Bonus | Uncapped (100%+ observed) | Donate silver at church donation boxes in each region. Each church only boosts dispatch missions within its own region (e.g., donating at the Hernand church boosts Hernand-area missions). Donating around 100,000 silver reaches approximately 100% Conversion Bonus. |
Mission Types
Mission Type | Rewards | Costs | Notes |
|---|---|---|---|
Escort | Food | Steady income source. | |
Harvesting/Farming | Food, trade goods | Farmer skill boosts yields. | |
Stone, ore | Silver, food | Miner skill boosts yields. | |
Silver, food | Logger skill boosts yields. | ||
Recapture Stronghold | Reduces enemy presence in that area | Armaments, food, silver | Softens enemy-held locations before direct assault. |
Production | Crafted items | Armaments, food, silver | Requires at least one Engineer. |
Varies | Requires a matching required skill (Craftsman, Jeweler, Cook, etc.). | ||
Camp level upgrade, new facilities | Upgrades unlock new skills and recruitment options. |
Completed missions deposit their rewards in the Supply Chest behind Carl. A Mission List tab in the dispatch interface shows countdown timers for active missions.
Camp Management
Camp Resources
The Greymane Camp tracks five categories of resources, all of which feed into camp upgrades and dispatch mission costs:
Category | Examples | Main Source |
|---|---|---|
Armaments | Production missions, Recapture missions | |
Stones, ores | Mining missions | |
All timber varieties | Logging missions | |
Food | Cooked meals, raw ingredients | Harvesting and ranching missions |
Currency | Escort missions |
Armaments become a bottleneck in later upgrades. The fourth camp expansion alone requires 1,500 armaments alongside 2,500 stone, 2,500 timber, 4,000 food, and 100,000 silver. Prioritize production missions early to avoid shortages.
Camp Expansion
The Greymane Camp at Howling Hill is expanded through dispatch missions. Each expansion requires a minimum number of recruits and increasing amounts of resources.
Expansion | Recruits Required | Key Costs | Duration |
|---|---|---|---|
First (Bustling Hill) | 2 | 100 food, 250 silver | 18 in-game hours |
Second | More than 2 | Longer | |
Third | Scales up | All five resource categories | Longer |
Fourth | 10 | 1,500 armaments, 2,500 stone, 2,500 timber, 4,000 food, 100,000 silver | Multiple in-game days |
Each expansion unlocks new camp facilities, raises comrade skill levels, and opens new recruitment opportunities. After Chapter 7, players also unlock Pailune reconstruction, including the Pailune Council and Institute.
Camp Facilities
As the camp grows, new facilities become available. Comrades can be assigned to camp roles that improve facility output.
Facility | Function |
|---|---|
Farm | Plant and harvest crops for food resources. |
Ranch | Raise chickens, cows, and goats for food and materials. |
Build trade wagons for transporting goods. | |
Craft Cloudcarts (hot air balloons) for aerial transport. | |
Klinden Workshop | Produce Kuku Pots for storing puzzle pieces and machinery. |
The roster available for camp roles expands as the camp is upgraded. More companions means more productive facilities and more dispatch options.
Recommended Dispatch Locations
Certain dispatch locations provide better returns depending on what resources you need:
Phase | Location | Best For |
|---|---|---|
Early game | Silver (Escort missions) | |
Early game | Food (Harvest/Ranching) | |
Early/mid game | Armaments | |
Mid game | Thornbriar Food Storage | Food (large quantities) |
Mid game | Sungrove Manor, Azerian Manor | Mixed resources (Demeniss region) |
Post-Chapter 10 | Armaments (thousands per run) |
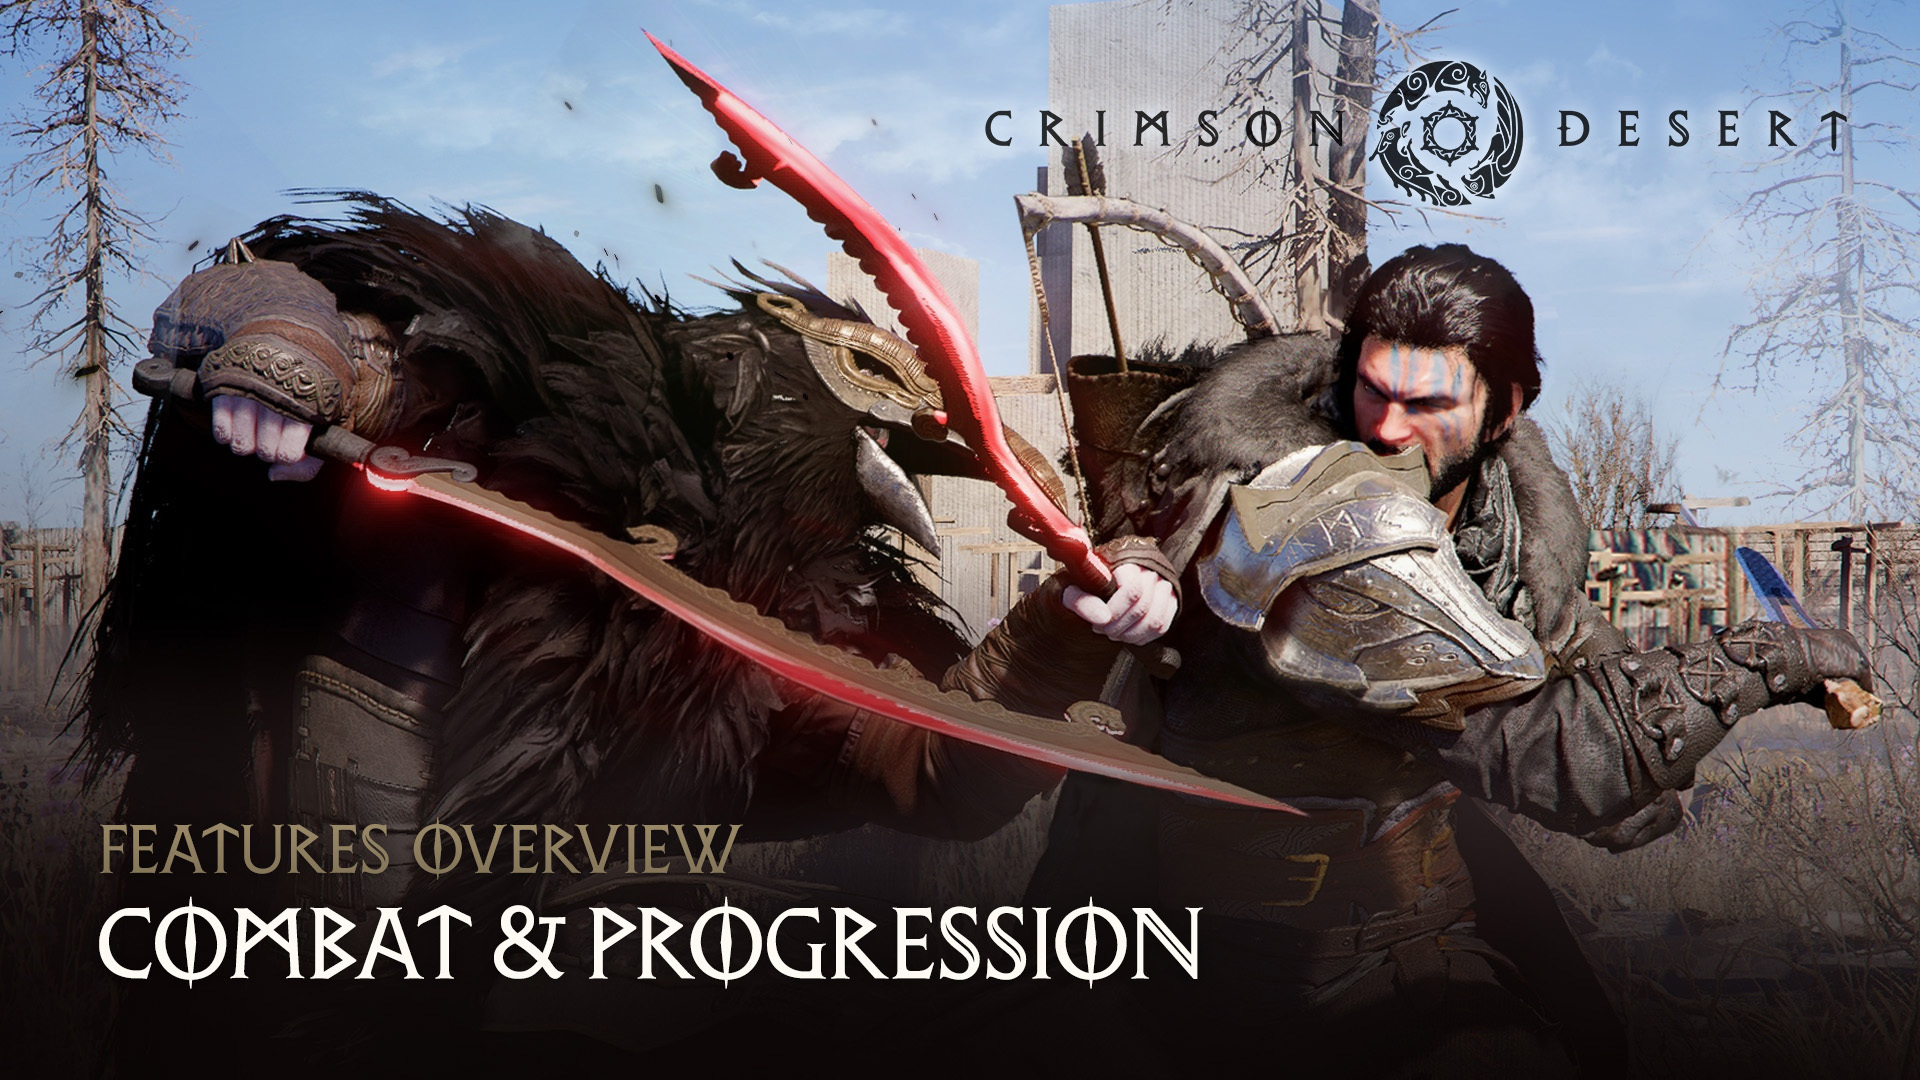
Combat
Companions are not directly controllable during joint missions. They fight independently using their own weapons and abilities, making combat decisions through AI. Players can issue basic tactical commands, but companions choose their own attack patterns and targets. Defeated companions recover after the encounter; they cannot permanently die.
Each companion has unique abilities that trigger during combat based on conditions rather than player input. Oongka hits hard and slow with ground slams and spinning axe sweeps. Naira adapts to the situation with versatile weapon switching.
Boss Gear Rewards
Defeating bosses throughout Pywel yields exclusive equipment. Equipping a defeated boss's gear grants access to that boss's signature skill. For example, defeating Fortain the Cursed Knight grants the player his shield, which summons two spectral beings. This system applies to many of the game's 76 total bosses.
See Boss Battles and World Boss Locations and Drops for detailed information on boss equipment rewards.
Relationships
Interactions outside combat build relationship levels with companions. Campfire conversations, dialogue choices during quests, and time spent at camp all contribute. Higher relationship levels unlock additional dialogue, backstory, and companion-specific side quests.
Each core companion has their own story about what happened between the Black Bears' ambush and their reunion with Kliff. Uncovering these stories is part of the relationship progression system.
Gian's Legacy
The alchemist Alustin reveals that stopping the chaos threatening the Abyss was once Gian's mission. This burden now falls on the surviving Greymanes. For many companions, reuniting is not just about rebuilding the mercenary band; it is about finishing what Gian started.
Many of the skills Gian's companions can learn are available through observation rather than spending Abyss Artifacts. See the Tips and Tricks section below for specific free skill locations and a respec strategy that stretches your Artifacts further.
Tips and Tricks
Free Skills Through Observation
Some skills on the skill tree include a note: "observe this skill in action to learn it." These can be unlocked for free by watching specific NPCs or enemies perform the move, without spending any Abyss Artifacts. When you observe the move, time slows and Kliff absorbs the technique. Skills learned this way stay with you permanently, even through a respec.
Several free skills are available at locations near Hernand:
Skill | Effect |
|---|---|
training ground: Watch the knight practicing in the training yard to learn a proficiency skill for free. If the knight is not present when you arrive, leave the area and come back. | |
: Find the Wandering Freesword archer in the Archer Contest area. Observe him training to learn Charged Shot at no cost. | |
backyard: Two spear-wielding guards practice behind the manor. Watch them to learn Counter (normally Keen Senses Level 3) for free. |
How to Observe Skills
To observe a skill, approach the NPC and wait for the Observe prompt to appear in the bottom right of the screen. Hold the observe button (Ctrl on keyboard, LB on Xbox, L1 on PlayStation) and watch the move a few times. Avoid getting hit during observation, as taking damage interrupts the learning progress.
Saving Abyss Artifacts with Respec
Faded Abyss Artifacts reset your entire skill tree and refund all spent Abyss Artifacts. You can combine this with the free observation skills above to stretch your Artifacts further:
Use a Faded Abyss Artifact to reset all your skills. Every Abyss Artifact you previously spent is refunded.
Before re-spending your Artifacts, visit the locations listed above and learn the free observation skills (Charged Shot, Counter, and the Hernand Castle training ground skill). Because these are learned through observation, they cost zero Artifacts and persist through every reset.
Spend your refunded Artifacts on the remaining skills you need. The observation skills are already unlocked for free, so you now have extra Artifacts left over for stamina and health upgrades instead.
The Faded Abyss Artifact recipe becomes available in Chapter 4 at Scholastone. They can also be purchased from Witch vendors across Pywel and found in treasure chests on floating Abyss islands.
One important caveat: resetting any character's skill tree resets all three playable characters at once. Save your game before respeccing to avoid accidentally losing a build you were happy with on another character.
See Also
Article | Description |
|---|---|
Base where companions gather and the dispatch system operates. | |
Full faction history and lore. | |
Detailed guide to the dispatch mission system. | |
How dispatch softens fortress targets. | |
Quest lines for recruiting comrades and earning rewards. | |
Church donation boxes and Conversion Bonus for dispatch. | |
Greymane Commissions and Medium Bag rewards. | |
How to adopt dogs and cats, trust levels, and feeding tips. | |
Trust mechanics for animal companions. | |
Recommended skill unlocks including free observation skills. | |
How to obtain and use skill reset items. |