Chapter 7: Homecoming Walkthrough
Complete walkthrough for Chapter 7 of Crimson Desert's main story. Covers all 19 quests across the Dawn Mist, Dawnrise, Decisive Battle, and Twisted Fate sub-chapters, including the siege of Pailune, Ludvig boss fights, and the Myurdin encounter at Silverwolf Mountain.
On This Page
Overview
Chapter 7, "Homecoming," is the longest chapter in Crimson Desert and marks the turning point of the war against the Black Bears. Kliff returns to the Pailune region to reclaim his homeland, working with Torstein and the Blue Fangs resistance movement. The chapter spans 19 quests across four sub-chapters: Dawn Mist, Dawnrise, Decisive Battle, and Twisted Fate.
This chapter features infiltration missions, a full-scale siege of Pailune, the climactic battle up Silverwolf Mountain against Myurdin, and a section where you play as Oongka for the first time. It ends with a boss fight against Ludvig using Oongka's unique dual-wielding combat style.
Preparation: Chapter 7 begins immediately after speaking with your comrades in the previous chapter's Return Home quest. Bring at least 200 Grilled Meat. You will be away from Hernand shops for a long stretch. The chapter contains multiple boss fights that drain healing supplies quickly.
Story Context
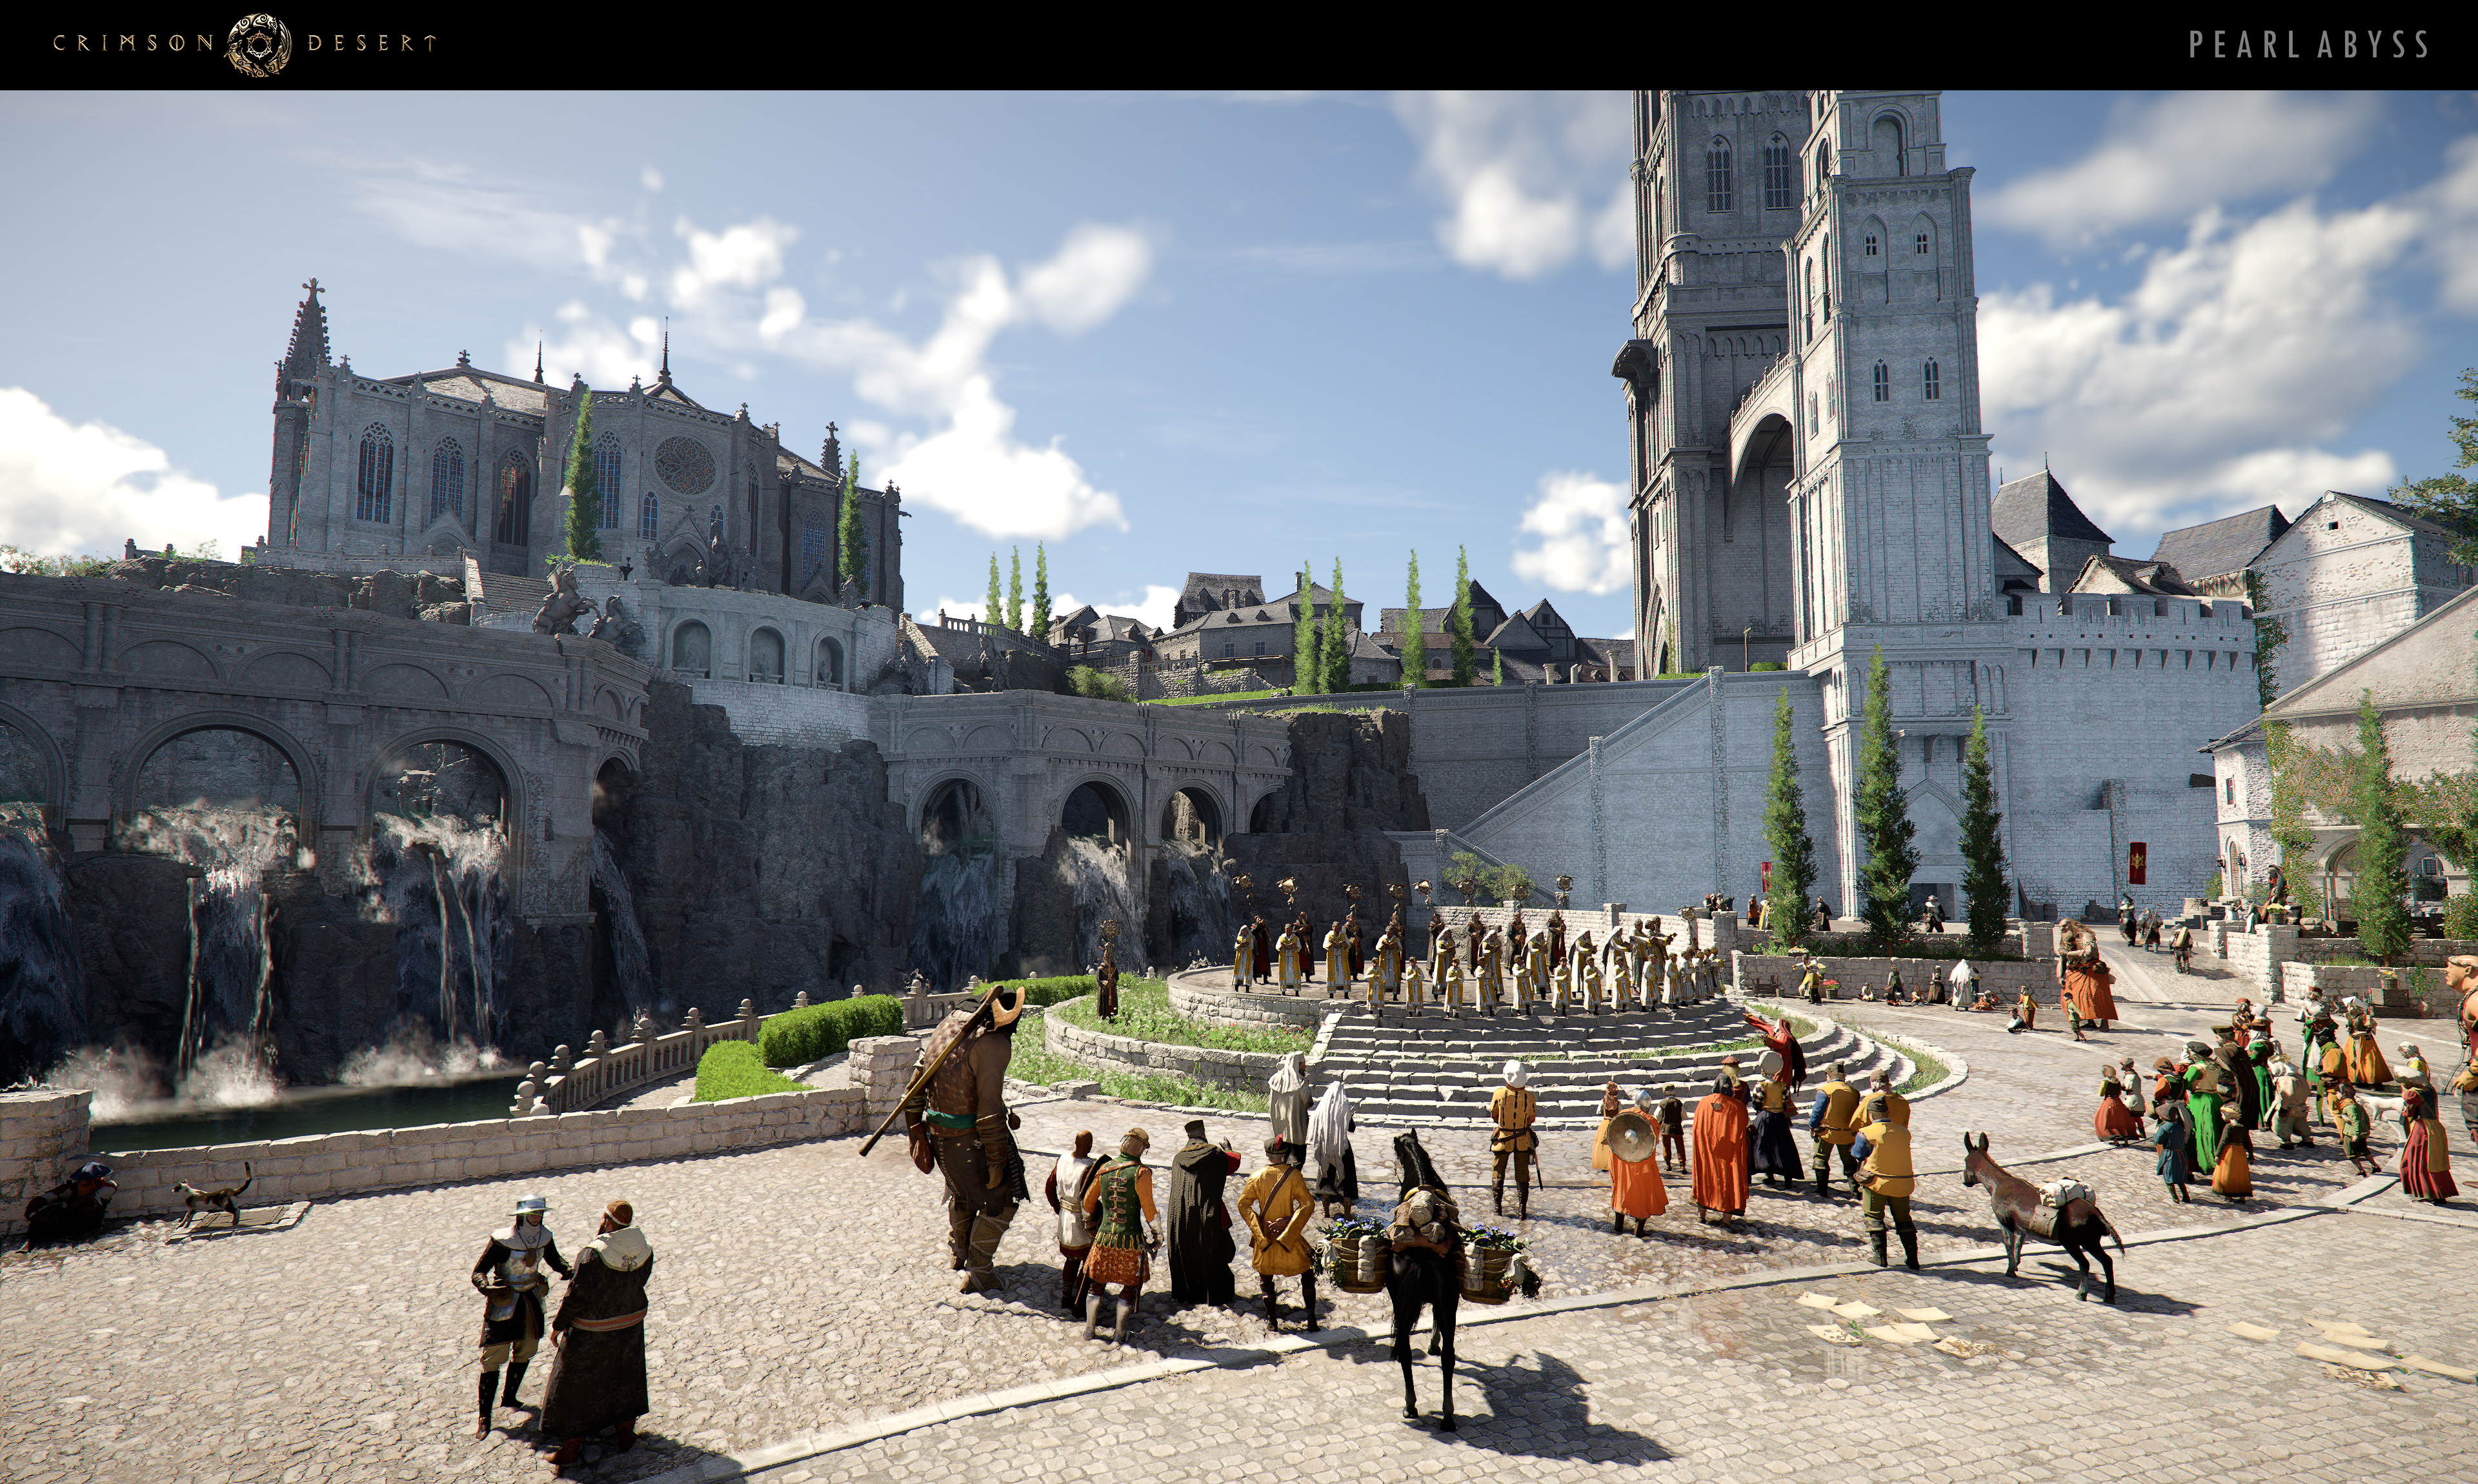
Chapter 7 is the Greymane homecoming. With the Black Bears pushed back at Calphade and Unkar reunited with the band, Kliff can finally turn toward retaking Pailune itself. The region had been turned into a savage hellscape after the prologue, with Pailune refugees scattered into bandit camps across Hernand and the local power vacuum filled by a gang of opportunists called the Jackals under one-armed Ludvig.
Tone-wise this chapter is more espionage than open war. The Greymanes are working with much smaller numbers than either the Jackals or the Black Bears, so the missions revolve around setting traps, sabotaging weak points, and pulling refugees out of harm's way. The one faction still loyal to the original Pailune are the Blue Fangs under Torstein, and they become Kliff's main local ally for the duration.
The chapter ends in Myurdin's lava fortress, with Kliff finally settling personal accounts with the Black Bear leader who began the entire campaign by slitting his throat. Unkar lands the final blow against the one-armed Ludvig in a separate fight that pays off Ludvig's role in betraying Gian and the Greymanes at the start of the game.
Key Story Beats
On returning to Pailune, the Greymanes are not welcomed back as heroes. Some locals openly accuse them of having abandoned the region rather than being driven out. Trust has to be rebuilt before the Blue Fangs will work with them openly.
Kliff allies with Torstein and the Blue Fangs, the only Pailune faction not in league with either the Black Bears or the Jackals. Together they target strategic weak points to thin enemy strength before the assault.
Torstein theorizes during a quiet moment that Gian's death was not a clean kill at Myurdin's hands; he suspects Ludvig of having helped engineer the trap that took the Greymanes' leader down. The accusation is later confirmed by Ludvig himself.
Setting several traps and mounting rescue missions for Pailune slaves held by the Black Bears and Jackals, the joint force eventually launches a coordinated assault on Pailune's capital and seizes it back.
Inside the capital Kliff confronts Ludvig, who has been granted abyssal powers of his own, including a lightning attack and a life-draining ultimate. Kliff defeats him in a difficult fight, but Damiane allows him to escape after losing his arm to her sword. He returns later as one-armed Ludvig.
The Blue Fangs lead a frontal assault on Myurdin's lava fortress while Kliff and the inner circle fight their way to Myurdin himself. The push doubles as a showcase for the Greymane band, finally fighting together as a unit.
Kliff defeats Myurdin and uses the same finishing move Myurdin used on him at the start of the game, throwing the Black Bear leader to what looks like his death. Myurdin has clearly been augmented by abyssal power.
Myurdin's last gasp is salvaged by a returning one-armed Ludvig, who lands a stealth strike. Kliff is knocked into a pit. Unkar takes over the fight against Ludvig and finishes him personally.
Dying, Ludvig confesses everything: Myurdin promised the Jackals all of Pailune in exchange for removing Gian as an obstacle, and Ludvig was the one who arranged the leader's death. He is then cut down by Unkar.
With Pailune reclaimed, the Greymanes finally gather to give Gian a proper farewell, which serves as the bridge into Chapter 8.
Named Characters
Character | Role in Chapter | Notes |
|---|---|---|
Protagonist | Leads the retaking of Pailune and personally defeats Myurdin in his lava fortress. | |
Greymane combatant | Lands the killing blow on Ludvig and forces a confession out of him. Steps fully back into Kliff's inner circle from this chapter on. | |
Greymane combatant | Severs Ludvig's arm in the initial fight. Her decision to attempt extraction rather than execution lets Ludvig escape to fight again later. | |
Blue Fang leader and ally | Coordinates the espionage phase of the retaking. First voices the theory that Gian's death was set up by Ludvig in collusion with Myurdin. | |
Antagonist and boss | Leader of the Jackals. Confirmed in his dying words to have helped engineer Gian's death in exchange for the right to rule Pailune. | |
Antagonist and boss | Black Bear leader. Has been augmented by abyssal power since the prologue. Apparently killed in his fortress but assimilated by Umbra and re-encountered in Chapter 12. | |
Gian (off-screen) | Greymane founder (mentioned) | The Greymanes' leader killed in the prologue. The farewell at the end of this chapter is the canonical farewell. His death is now confirmed to have been engineered by Demenissian conspirators using Ludvig as the instrument. |
Bosses
Boss | Location | Notes |
|---|---|---|
Ludvig (first fight) | Pailune capital | Defeated and disarmed by Damiane. Escapes after the loss of his arm. |
Awakened Ludvig (rematch) | Myurdin's lava fortress | Fought by Unkar after Ludvig stealth-strikes Kliff into a pit. Killed at the end of his confession. |
Lava fortress | Augmented by abyssal power. Kliff finishes him with the same move Myurdin used on him in the prologue. His body falls into the lava but his essence is later assimilated by Umbra. |
Key Locations Visited
Pailune capital and surrounding ranches
Black Bear and Jackal slave camps across Hernand and Pailune
Myurdin's lava fortress
Lore Reveals
Ludvig's confession is the chapter's biggest piece of past-tense lore. It confirms that the prologue raid on Pailune was not opportunism: it was a coordinated takedown engineered by Demenissian planners, using the Jackals as the inside knife and the Black Bears as the headline attacker. The chain of betrayal runs from Demeniss to Ludvig to Myurdin, with the Greymanes scattered as the intended outcome.
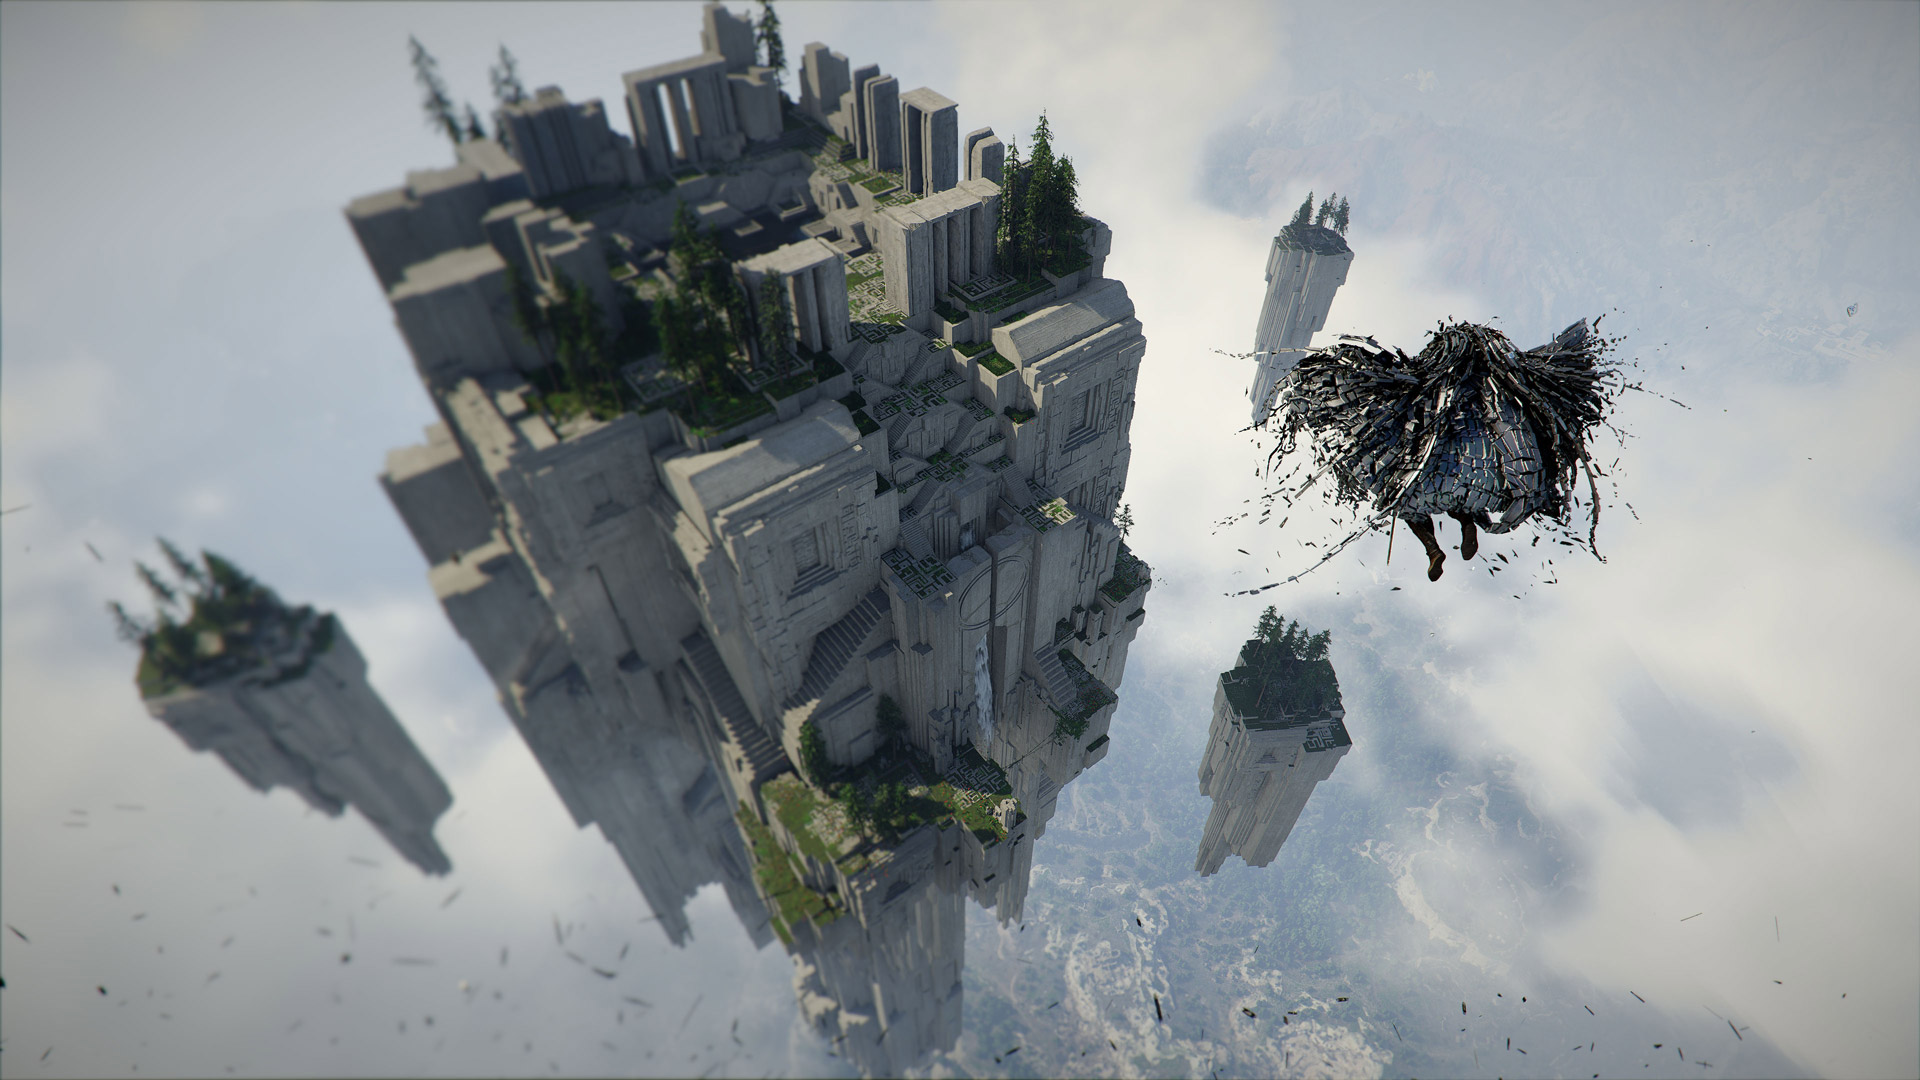
Myurdin's augmentation by abyssal power, and his apparent death by lava only to be later reused by Umbra in Chapter 12, foreshadows the Umbra-avatar mechanic that drives the endgame. Any sufficiently powerful champion of the Abyss can be kept in reserve as a backup body for Umbra's consciousness; Caliburn and Myurdin both end up in that role.
Quest List
Quest | Sub-Chapter | Type |
|---|---|---|
Dawn Mist | Exploration / Combat | |
Dawn Mist | Dialogue | |
Dawn Mist | ||
Dawn Mist | Combat / Objective | |
Dawn Mist | Exploration / Cutscene | |
Dawnrise | Exploration | |
Dawnrise | Stealth / Objective | |
Dawnrise | Cutscene | |
Dawnrise | Combat | |
Dawnrise | Boss Fight | |
Dawnrise | Cutscene | |
Decisive Battle | Cutscene | |
Decisive Battle | Combat | |
Decisive Battle | Exploration / Combat | |
Decisive Battle | Combat | |
Decisive Battle | Boss Fight | |
Decisive Battle | Cutscene | |
Twisted Fate | Dialogue | |
Twisted Fate | Boss Fight |
Dawn Mist
Ashes of Treachery
Chapter 7 begins with the discovery that Ludvig has betrayed Pailune. A fire has consumed the shrine, leaving it burnt beyond recognition.
Move with your comrades. Follow your companion on horseback until you reach a burned house. Eliminate the enemies at this location.
Investigate the burning shrine. Find the statue in front of the burned structure and search its mouth to retrieve a letter.
Read the letter. Open your inventory and find the purple letter titled "Beighen Situation Report." Use the examination option to view all details.
Travel to Beighen. Head north following the objective marker. The quest completes upon arrival.
Trust Lost
You arrive in Beighen to find a tense atmosphere. The villagers show open hostility toward the Greymanes and refuse to cooperate.
Speak with the comrades who arrived first at the village entrance.
Meet Naira and Andrew. Head north into the village and find them near a red fence. Speak with them to complete the quest.
Bared Fang
Torstein and the Blue Fangs have been operating out of Beighen, preparing to retake Pailune. This quest involves an eavesdropping mechanic and a series of lies to gain access to the underground resistance.
Eavesdrop on Beighen villagers. Travel to the quest marker on the east edge of the village. Behind a red hut, you receive a tutorial on eavesdropping. You must lean against an outer wall using L3, then hold L1/LB to aim. Position yourself outside the barn wall without openings; looking through windows does not work.
Find a way to contact the secret organization. Head west and speak with the guard at the door. Choose the lie options: "Lie: Secret Society's Base" and "Lie: Beighen Tribe." If you lack required information, quit the dialogue and new objectives appear.
Find a clue about the mysterious faction. Go to the new marker in the village center. Enter the empty shop and lean against the interior wall to eavesdrop. Return to the guard and choose: "Lie: Black Bears" and "Lie: Jian."
Find a clue about the Blue Fangs leader. Lean against the exterior wall of a nearby red hut to eavesdrop. Speak with the guard again and select: "Lie: Torstein."
Enter the underground base. Proceed past guards to a trapdoor in the ground and climb down for the final cutscene.
Rekindled Hope
Torstein confirms reports of hostages at a mountaintop beacon. You must rescue them and light the beacon.
Speak with Torstein (happens automatically in the opening cutscene).
Follow the soldier. Climb the ladder and track the Blue Fangs soldier. They will mount a horse; accompany them on horseback.
Defeat the commander. Travel independently to the beacon tower. The commander is a tough enemy with high health (no visible health bar). He frequently teleports; wait for the teleporting to stop before attacking. Dodge his strikes and land combos during openings.
Light the beacon. Enter the tower, climb to the top, and use Concentrating Light (L1 + R1, then hold LB) to ignite the brazier.
There is a cooking pot and an activatable fast travel point near Beighen village. Use both before continuing.
Podium of Resolve
Torstein lays out the plan: his team will infiltrate Pailune with explosives while the main army breaches the walls.
Wait for the right time. Return to Beighen Village and find the Blue Fangs guard. If you get the "Wait for the right time" objective, hold the Options button and select "Wait" to advance to 10:00 PM.
Listen to Torstein's speech. Proceed to where Torstein stands with his assembled soldiers in the yard.
Obtain Jian's Sword. Descend into the underground tunnel via the trapdoor on the hut's floor. Navigate to the tunnel's end, pass through the door, and enter the crypt. Approach the altar for the final cutscene.
Dawnrise
Shadows Over Pailune
Shane went to scout Pailune but has not made contact. You meet Torstein at the bridge in Beighen and travel together.

Move with Torstein. Travel alongside him until a cutscene triggers.
Secure the Pailune safe house. After parting ways, head north through the woods to a red hut. Enter it to trigger a cutscene and complete the quest.
Rewards: Jackal's Leather Helm, Jackal's Leather Armor, Jackal's Cloth Cloak.
Driving Out the Shadows
You rescue Shane from the enemy camp and set explosive charges.
Search for Shane's whereabouts. Enter the marked house to trigger a cutscene.
Find the hidden explosive. Navigate to a door, remove the two barrels and body near it. This reveals a red trapdoor underneath. Open it and collect the explosive device.
Install the explosive device. Travel to the harbor and locate the final dock. Hold the designated button to plant the explosive on the small boat. Stealth is not required; you can run past enemies without penalty.
The quest concludes immediately upon planting the explosive.
Lurking Wolves
At the designated time, you fire a flaming arrow into the sky. The charges detonate, bringing the walls crashing down.
Wait for the right moment. Navigate to a house in the center of Pailune. Enemy detection is irrelevant; run past guards without consequence.
Send a signal to comrades. The objective completes automatically during a cutscene that launches you into a battle sequence.
Reclamation
Note: This is a separate quest from the Chapter 6 "Reclamation." Pailune's walls are breached and fighting begins inside the city. Defeat the enemies to reclaim the area. This leads directly into the Ludvig boss encounter.
Lonely Jackals
You had the traitor Ludvig in your grasp, but he escaped during Duane's interrogation.
Boss Fight: Ludvig and Awakened Ludvig
Navigate through the fortress and proceed up the stairs into the building where the boss fight begins. This is a two-phase battle with distinct health bars; Ludvig transforms dramatically after the first phase.
Enemy | Details |
|---|---|
Lightning attacks | Ludvig uses lightning-based damage throughout both phases. |
Phase 1 | Prioritize evasion over blocking or parrying. The boss frequently teleports. Wait for him to stop teleporting before engaging, then land quick combos. |
Phase 2 (Awakened) | Ludvig attacks and teleports constantly, giving very few openings. Continue dodging while landing light attack combos when possible. Heal simultaneously during combat. |
Supplies | Bring 100 or more Grilled Meat. |
Rewards: Hungering Fang Leather Cloak, Hungering Fang Leather Boots.
Resolution
After reclaiming Pailune, return to the house where the Ludvig boss fight took place. Approach your comrades to trigger a cutscene.
Post-quest activities: Ring the bell in Pailune to reveal the region on the map. A fast travel point becomes available north of town. Before continuing, hunt animals in the surrounding woodlands and cook at the pot in Pailune's southern soldier encampment. Stock up on 100 or more Grilled Meat for the upcoming bosses.
Decisive Battle
The Counterattack
Note: This shares its name with the Chapter 6 quest but is a separate mission. The assault on Silverwolf Mountain begins.
Join your comrades. Travel north from Pailune to a red house and enter it.
Wait for the right moment. A cutscene plays, completing the quest and launching the battle sequence.
Unleashed Fury
A single wooden bridge lies between you and the Black Bears. Advance to the front line where your army is positioned on a bridge, engage and defeat enemy forces, and a cutscene plays to conclude the quest.
The Final Bridge
A progressive journey up the battlefield where you regroup with six allies in sequence: Andrew, Naira, Duane, Oongka, Yann, and Shane. At each location, a brief cutscene plays and you assist them in combat.
Tip: You can bypass enemies along the path; running past them works. Preserve healing items for the upcoming Myurdin boss fight.
Broken Claws
A short combat quest. Travel up the mountain road to the Ashclaw Slave Camp marked in red on your map. Defeat all enemies in the camp, then continue up the mountain to the next quest.
Battle at Silverwolf Mountain
The 100th main mission. This is the showdown with Myurdin, the leader of the Black Bears.

Find Myurdin's whereabouts. Reach the top of the mountain path and use Nature's Grasp to lift the locked gate. Follow the path deeper into the castle. A cutscene plays with your comrades. Climb the ladder afterward to begin the boss fight.
Boss Fight: Myurdin
Two phases with separate health bars and a full transformation between phases.
Phase 1: Focus on parrying Myurdin's attacks. Use heavy attacks with the Tauria Curved Sword for maximum damage during openings.
Phase 2: Myurdin transforms and employs lava-based attacks. Prioritize dodging during this phase and maintain stamina reserves so you can consistently evade incoming attacks.
Reward: Sword (Melted Ambition).
Incomplete Victory
Kliff survives the battle but is severely injured. Oongka takes over command. This quest completes automatically after the post-battle cutscene, and gameplay transitions to controlling Oongka for the first time.
Twisted Fate
Ludvig's Whereabouts
The Jackals and Black Bears are now operating independently. Since the main force cannot be spared, you pursue Ludvig with a small elite group.
Meet Duane and Shane. Travel to the town southeast of Pailune. Approach your waiting comrades and a cutscene completes the quest.
Time to Face Justice
The final quest of Chapter 7, played entirely as Oongka.
Investigate Ludvig's last known location. Travel to the quest marker and speak with a man near a broken tree trunk in an open field.
Track Ludvig. Oongka does not have a lantern. Press L1 + R1 / LB + RB to reveal a yellow trail leading to Ludvig's position. Follow it to a small enclosure. Hold L1/LB and inspect the blood on the ground with Square/X to trigger a cutscene and initiate the fight.
Boss Fight: One-Armed Ludvig
You are forced to play as Oongka for this encounter. Ludvig has a single health bar and uses lightning attacks.
Enemy | Details |
|---|---|
Oongka's combat style | Oongka cannot equip shields but can block and parry with L1/LB. He dual-wields one-handed weapons. |
Weapon tip | The default double-handed axe is slow. Equipping two swords dramatically improves speed and damage output. The "Sword of the Lord" (dropped by Kailok) enables wave attacks. Two purple axes are also available as alternatives. |
Strategy | Parry Ludvig's attacks, then follow up with light attack combinations. Stock 100 or more Grilled Meat beforehand by hunting animals and cooking at Beighen village. |
Critical warning: Before completing this quest, unequip any valuable weapons given to Oongka that you want to keep. Oongka becomes unavailable shortly after this quest, and equipped items become inaccessible until later. Return his starting axe only.
Return to your comrades. Travel back to Pailune and approach your allies at the graveyard. This scene concludes Chapter 7.
Rewards: Sword (Ignir), Solas Plate Armor, Solas Plate Boots.
Tips for Chapter 7
The Bared Fang quest's eavesdropping mechanic requires leaning against walls (L3), not looking through windows. Pay attention to wall positioning.
During the Pailune infiltration quests (Driving Out the Shadows and Lurking Wolves), stealth is optional. You can run past enemies without failing the mission.
The Ludvig boss fight in Lonely Jackals is much harder than Awakened Ludvig in Time to Face Justice. Save your best healing supplies for the first encounter.
Remember to unequip valuable items from Oongka before completing Time to Face Justice, or you will lose access to them temporarily.
Ring the bell in Pailune after the Resolution quest to reveal the surrounding map and unlock a fast travel point.
The Silverwolf Mountain sequence (Unleashed Fury through Battle at Silverwolf Mountain) plays out as a continuous gauntlet. Conserve healing items during the earlier quests to have enough for Myurdin.