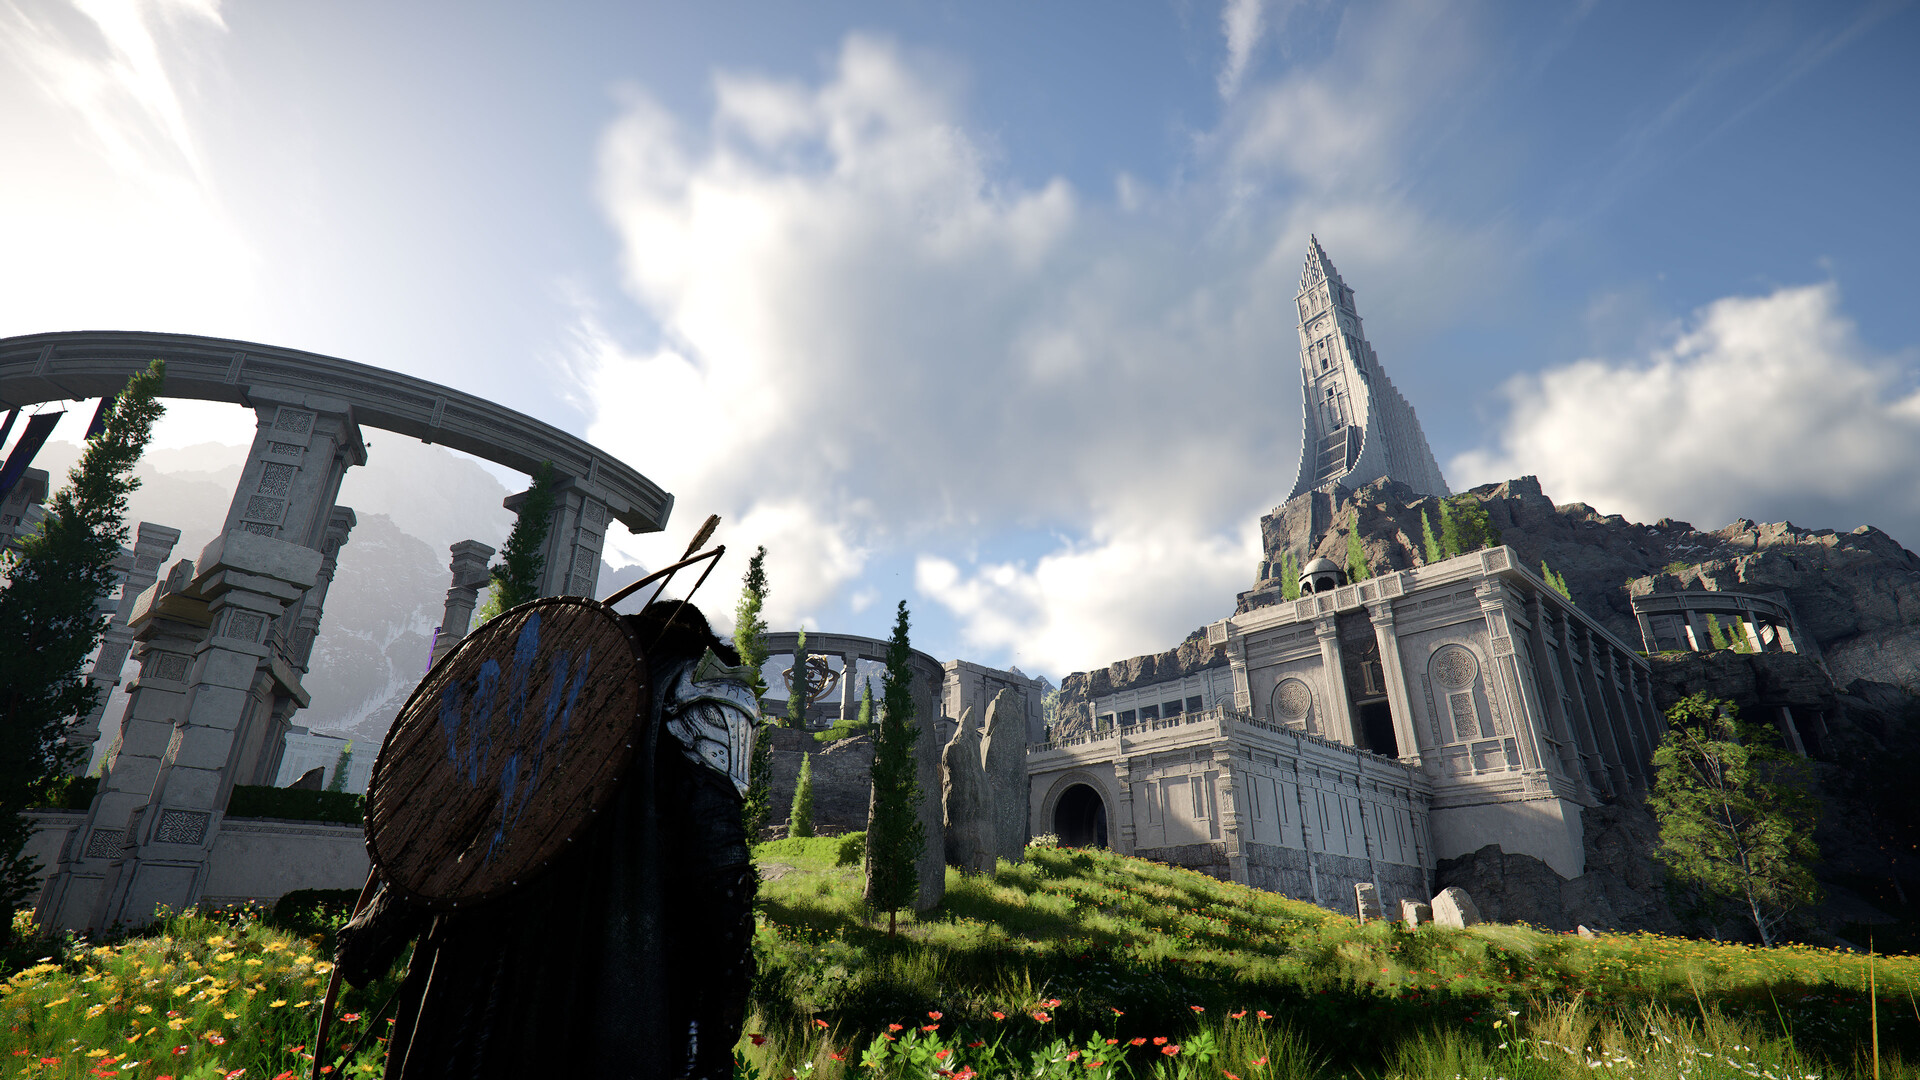
Chapter 2 takes place across the Hernand region and significantly expands the open world compared to Chapter 1. Across three sub-chapters (Unexpected Gift, Hernand in Chaos, and The End of Greed), Kliff learns new Abyss abilities, investigates bandit activity plaguing the countryside, and confronts the Hornsplitter boss. This chapter introduces the Visione memory system, Nature's Grasp, and the Focus technique. The story also reveals the extent of the Goldleaf Merchant Guild's influence over Hernand and sets up the conflict that carries into later chapters.
Story Context
Chapter 2 picks up immediately after Kliff dives from the Abyss on the wings gifted by White Crow. The shy pendant Kliff received from the child in Chapter 1 now glows faintly to guide him. From the perspective of the four ancient guardians, this is the early-cycle stretch where they nudge Kliff toward more tests of small kindness and into his first major confrontation with someone whose mind has been corrupted by an abyssal artifact.
Across this region Kliff first encounters the Visione, a helmet developed by the Delesyian inventor Marni that allows the wearer to witness echoes of past memories. The helmet will become one of the most important tools in the story, returning across the rest of the chapters and underpinning many of the Visione memory fragments that fill out the world's lore.
Chapter 2 also frames the recurring motif of the Abyss artifact corruption arc. Kailok the Hornsplitter is the first major boss who has been transformed by holding such an artifact, and his rise from bullied outcast to feared tyrant mirrors what will later happen to villains on a much larger scale, ending with Umbra's avatar in Chapter 12.
Key Story Beats
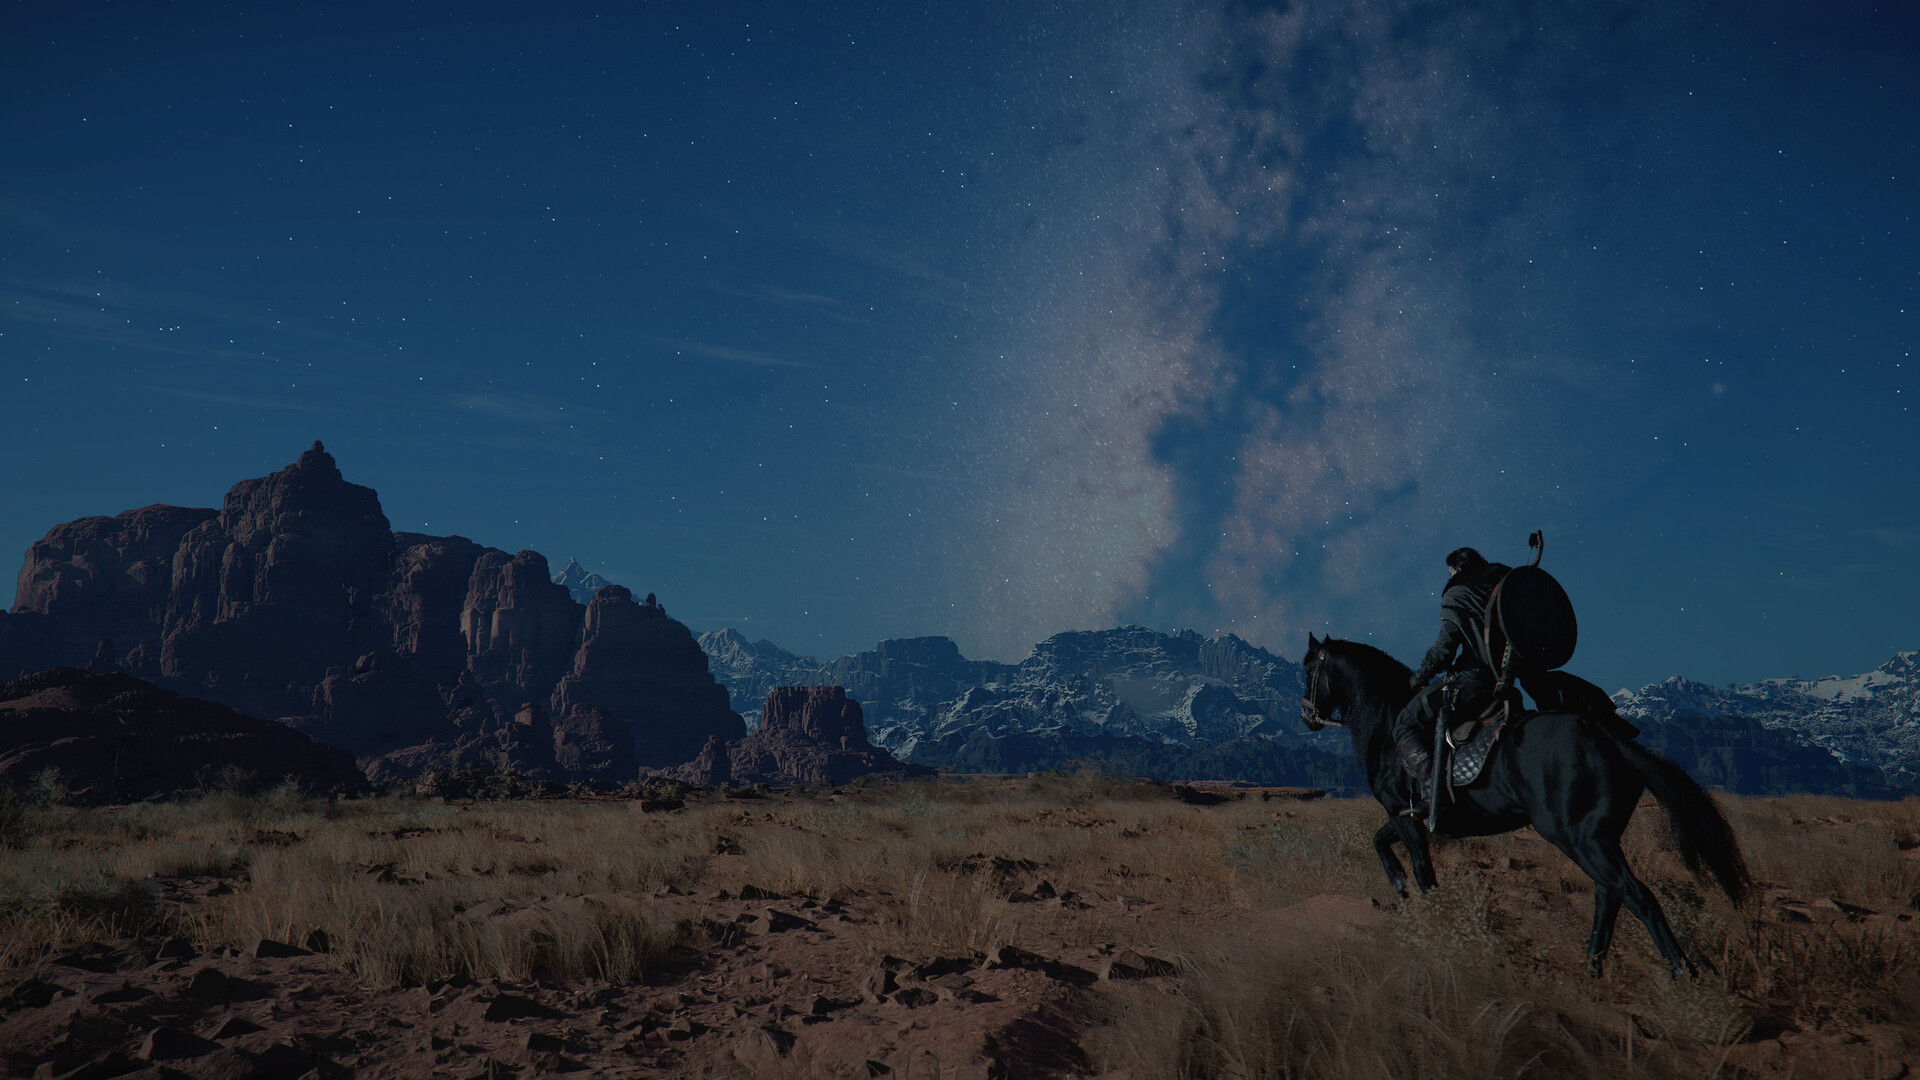
Kliff lands back in the Hernand countryside and is guided by the faint light of the shy pendant. The route loops through ranches, a series of animal-rescue side stories, and small acts of help that gradually expand the open world.
Kliff is introduced to the Visione helmet, allowing him to read memory fragments left in the world. The chapter teaches him that the helmet was originally devised by the eccentric Delesyian inventor Marni, a name that will return repeatedly in later chapters.
The Goldleaf Merchant Guild seek Kliff's help against the bandit warlord Kailok the Hornsplitter, a goblin who became inhumanly strong after coming into contact with a fallen abyssal artifact.
After tracking Kailok through Hernand, Kliff defeats him in single combat. As soon as the Hornsplitter is weakened, the people he had coerced into his service finish him off themselves, proving that he ruled by fear, not loyalty.
With the bandit threat ended and Kliff established as a recognized friend of the Goldleaf merchants, the gate to Howling Hill is opened and the surviving Greymane mercenaries are granted a place to start rebuilding.
Named Characters
Character | Role in Chapter | Notes |
|---|---|---|
Protagonist | Continues the cycle's opening arc. Begins to use abyssal abilities openly in the world. Receives the Visione helmet and learns to read memory fragments. | |
Inventor of the Visione (mentioned) | Not seen in person here. Visione memory fragments mention him as the Delesyian genius who first devised the helmet. He will become central in Chapters 10 and 11. | |
Goldleaf Merchant Guild leaders | Allies | The trade collective that controls overland commerce in Hernand. Their support is what eventually opens the Howling Hill region to the Greymanes. |
Antagonist and boss | A frail goblin who became powerful after touching a fallen abyssal artifact. Collaborated with corrupt officials and bandit gangs to force innocents into terrible misdeeds on his behalf. |
Bosses
Boss | Location | Notes |
|---|---|---|
Hernand region | First major boss of the campaign. Empowered by an abyssal artifact. After his defeat, the very thugs he had pressed into service kill him themselves, marking the chapter's central theme of fear versus respect. |
Lore Reveals
The Hornsplitter arc introduces the recurring abyss-artifact corruption pattern: a weak or wronged individual touches a fragment of the Abyss and is transformed into something far more dangerous. The artifacts themselves are described as shards of abyssal power that occasionally fall from the sky, with the consciousness inside the Abyss feeding on the worldly desires of those who handle them. This is also the mechanism that allows Kliff to grow stronger over time as he collects Sealed Abyss Artifacts.
Memory fragments unlocked in this chapter also begin to reference the Greymane band's earlier life in Pailune, planting the threads that will be picked up at Howling Hill in Chapter 3 when the survivors reunite. The Visione helmet, in particular, will be reused throughout the rest of the campaign as a way of revealing scenes Kliff did not witness directly.
Location Route
Chapter 2 moves through the Hernand region from west to east. The following table shows the main locations you visit in order, along with the quests that take place at each stop.
Order | Location | |
|---|---|---|
1 | ||
2 | Reunion (continued) | |
3 | ||
4 | ||
5 | ||
6 | ||
7 | ||
8 | ||
9 | Kidnapped Healer, Rebellion or Revolution, Cheers Echoing From the Edge | |
10 |
Chapter 2 Quest List
Sub-Chapter | Quest | Location | |
|---|---|---|---|
Clear bandits, ascend watchtower, obtain Visione Helmet | |||
Visione tutorial, learn to replay stored memories | |||
Learn Nature's Grasp and Focus, Force Palm disc puzzle (2-3-1) | |||
Speak with Barden Middler, meet Marquis Serkis | |||
Bandit battle, liberation system introduction, hostile force % | |||
Notice board, four investigation quests branch out | |||
Ibano's stolen goat horns, bandits seeking light-radiating rocks | |||
Cave investigation with Boris, Kailock and Goldleaf Guild revealed | |||
Visit Goldleaf Merchant Guild, meet Shakatu | |||
Timed rescue from burning building using Nature's Grasp | |||
Rescue Hubert from bandit camp | |||
Confrontation with Shakatu, defeat soldiers | |||
Boss fight: Kailock the Hornsplitter |
Unexpected Gift
Where the Light Leads
Rulupee's lost pendant begins to shine after Kliff's return from the Abyss. This quest sends you to Lioncrest Watchtower, your first significant combat challenge in the open world. The watchtower sits southwest of the City of Hernand and is occupied by roughly a dozen bandits.
Go to Lioncrest Watchtower. Follow the marker on your compass. The area may be fogged on the map, so ride toward the waypoint rather than looking for a visible icon. Shai's Pendant will glow brighter as you approach.
Defeat the bandits. About 10 enemies occupy the courtyard. Take out the archers first since they deal damage at range and can interrupt your combos. Use light attacks (R1/RB, costs no stamina) for regular enemies and heavy attacks (R2/RT) for shielded ones. If you die, you respawn at a checkpoint right in front of the tower.
Ascend the watchtower. The entrance is blocked by dry shrubbery, and multiple routes work:
Fire Arrow: Hold L2/LT to nock an arrow, dip the tip in a nearby brazier to ignite it, then shoot the shrubbery blocking the door. One flaming arrow is enough to clear the vines.
Blinding Flash: Use Blinding Flash (L1 + R1, then hold both bumpers) to set the shrubbery on fire from a distance.
Climbing: Skip the door entirely by climbing the tower exterior. Use three consecutive Force Palm jumps (press R3 three times mid-air) to boost upward. Rest on window sills between jumps to recover stamina.
At the top, collect the Visione Helmet from the pedestal. This triggers the next quest automatically.
Rewards
Item | Quantity |
|---|---|
Arrows | 10 |
Memory Fragment
The Visione helmet contains a stored memory. This quest teaches you how to access and replay memory fragments, which are used throughout the rest of the game to uncover past events and hidden lore.
Check the suspicious helm. The quest begins automatically at the top of the watchtower. Interact with the golden helmet and equip it.
Read the memory. You have two methods:
Quick method: Hold the Options button and select the bottom icon to view the fragment directly.
Detailed method: Press D-pad Left, select armor with R1, highlight the helmet, press X/A, choose "Play," select Delysia, and scroll to the "Visione" memory. This menu is also where you can replay any memories you have collected.
After viewing the memory, the Visione system unlocks permanently. From this point forward, you can equip the Visione Helmet at any time to scan for memory fragments in the world. Look for blue ghost-like wisps when using the lantern to identify nearby fragments.
Reunion
The familiar figure of Rulupee, the Shai who lost their cat in Chapter 1, appears near the watchtower alongside Bilwise. This quest teaches Nature's Grasp and Focus, two abilities used frequently in later chapters. Rulupee also introduces Jiji, a black cat companion who leads you toward a nearby Abyss Cresset in the Meandering Hills.
Speak with the child. Exit the watchtower toward the archway. A cutscene introduces Rulupee and the cat.
Follow the cat. Hold the action button to auto-follow Jiji. You may need to manually navigate across the river and rock ledges where the auto-follow loses track. The cat leads you to ancient ruins in the Meandering Hills.
Learn Nature's Grasp. At the ruins, observe a hologram of the child using the Observation Learning system. Target the hologram and wait for "Learning in Progress" to complete. Nature's Grasp allows you to lift or move heavy objects, and it becomes essential for solving puzzles and clearing obstacles throughout the rest of the game.
Learning Focus and Solving the Puzzle
Learn Focus. Use Nature's Grasp on the rock wall ahead (rapidly tap the action button to lift it). Inside the newly revealed chamber, target the meditating child hologram to learn Focus. Focus enhances your perception and is used for precise aiming and environmental scanning.
Solve the ancient ruins puzzle. Three round disc platforms sit on the cave wall. Use Force Palm (R3) to hit them in this specific order: Middle (2), Left (3), Right (1). Hitting them in any other order resets the puzzle. When all three slot into place, energy flows through the mechanism and unlocks the exit.
Collect the artifact. Exit the cave, speak with the child, and grab the Abyss Artifact from the pillar in front of the entrance.
Rewards
Item | Quantity |
|---|---|
1 | |
1 |
Hernand in Chaos
For Honor
In City of Hernand Square, Kliff overhears a group talking about the Greymanes. This leads to a duel with Matthias, the first proper boss fight in the game. Approach the knight sitting down surrounded by three NPCs in the square. The conversation escalates into combat.
Boss Fight: Matthias
Matthias has two health bars but is considered the easiest boss in the game. His attacks are slow sword swings and kicks that deal low damage. This fight also introduces the Observation Learning mechanic for skills: during the duel, Matthias will perform a Pump Kick (a leaping double-kick attack). When you see him use it, keep the camera trained on Matthias and hold the Interact button when "Learning in Progress" appears. Learning Pump Kick mid-fight is highly recommended because it deals heavy stagger damage and can knock Matthias flat, opening him up for follow-up combos.
Strategy
Use a 3x light attack combo followed by 3x heavy attacks. Light attacks cost no stamina; heavy attacks do. Keep your stamina full before starting combos.
Dodge away frequently to let stamina regenerate. You can heal with grilled meat (80 HP per serving) by holding the directional button.
If you learned Pump Kick mid-fight, use it when Matthias recovers from a stagger. The double-kick sends him flying and creates a long opening.
Preparation: Buy meat from the Hernand vendor and cook it at a nearby pot if you need healing items. Stock at least 20 servings to be safe.
After the duel, Kliff earns the respect of the crowd. Marquis Serkis from House Serkis takes notice and will later request Kliff's help with the bandit problem in the region.
Awestruck
After the Matthias duel, a man named Barden Middler approaches Kliff. He dresses like a knight but wears no helm. Find him in the crowd near the fight venue and speak with him. This is a pure dialogue quest with no combat. Barden explains the political situation in Hernand and hints at the tension between House Serkis and the Goldleaf Merchant Guild. Marquis Serkis formally requests Kliff's help clearing the bandits plaguing the countryside.
Shadow Cast Over the River
Bandits have seized the floodgate and bridge at Springtide Mill, cutting off water to Hernand. Kliff must clear them out. This quest introduces the liberation system, which displays a green bar tracking your progress (shown as hostile force percentage on the left of the screen).
Defeat the enemies around Springtide Mill. Travel to the bridge. A group of Bleed Bandits waits. Use arrows to take out the mounted bandit first. Avoid hitting the horse, or you receive a bounty penalty. Watch the enemy percentage counter on the left of the screen. If any enemies remain after clearing the bridge, check the nearby encampment on the opposite bank. The hostile force percentage must reach 0% to complete the liberation.
Rewards
Item | Quantity |
|---|---|
1 | |
10 | |
5 |
Where Misery Gathers
The mood around Springtide Mill is tense. Kliff visits the notice board and picks up four posters, each leading to a separate investigation quest. These four quests (Trial After Trial, The Man Trapped in the Mire, Missing Companion, and Secrets Hidden in the Dark) can be completed in any order. Each one investigates a different type of bandit activity in the area and all four connect together in the final investigation quest.
Trial After Trial
A farmer named Bremer has lost his cattle to bandits. This quest takes place at the Hernand Farmhouse area south of Springtide Mill.
Speak with Bremer. Find him at the marked farm wearing a blue shirt. He explains that bandits have been stealing livestock from local farmers.
Speak with the witness. A herbalist nearby has information about the bandit trails. She charges one copper coin for the tip.
Follow the herbalist on horseback. Mount up and hold X/A to auto-follow. She leads you to a bandit camp hidden in the hills.
Clear the bandit camp and read the memory. Defeat all bandits at the camp, then pull out your lantern and aim at the blue ghost fragments. Watching them unlocks "The Missing Cow" Visione memory.
Return to Bremer. Ride back to the farm for the concluding cutscene.
Tip: The bandit camp has an anvil for equipment repairs and a campfire you can mark for fast travel. Always activate campfire travel points when you encounter them to save time later.
Rewards
Item | Quantity |
|---|---|
Coins | Varies |
1 | |
5 |
The Man Trapped in the Mire
A rancher named Ibano at Capra Pasture reports that bandits have cut the horns off his goats. The investigation reveals that the bandits are not just stealing livestock but are specifically seeking "light-radiating rocks," which connects to the broader Abyss plotline. memory fragments at this location hint at the bandits' connection to Kailock the Hornsplitter and the Goldleaf Merchant Guild.
Speak with Ibano. Travel to the marker at Capra Pasture and talk to the enraged rancher. He explains that the bandits took the horns for unknown reasons.
Read the memory. Head east to the marked location. Defeat three bandits guarding the site, then use your lantern to find memory fragments and unlock "Hornless Goat."
Find the stolen item. Collect the "Mysterious Elixir" from a rock in the bandit campsite. This item connects to later story revelations about Abyss experiments.
Return to Ibano. Head back to the farm for a concluding cutscene.
Rewards
Item | Quantity |
|---|---|
Coins | Varies |
1 | |
5 |
Missing Companion
A child's sheep named Wooly has been taken by bandits. This quest takes place around Bloomwood Ranch and involves crossing the Nas River to reach a bandit camp. During the combat at the camp, watch the bandits carefully because one of them performs a Dropkick attack. You can learn this skill through Observation Learning by keeping the camera on the bandit when they use it and holding the Interact button.
Speak with the crying child. At Bloomwood Ranch, two children argue and depart. Talk to Willian, who stays behind leaning against a tree.
Gather information. Speak to children at the three-way intersection south of the ranch, then talk to herders across the street. They point you toward a bandit hideout south of the Nas River.
Find Wooly. Follow the marker south across the river to a bandit camp. Defeat the guards (keep your eyes open for the Dropkick opportunity), then find the single sheep in a pen and pick it up with Square/X.
Return to Willian. Carry the sheep all the way back to Bloomwood Ranch. Willian is waiting near the road by a tree at the mission marker.
Rewards
Item | Quantity |
|---|---|
1 | |
5 |
Secrets Hidden in the Dark
This quest ties the other three investigations together and reveals the identity behind the bandit operations. Kliff tracks down a drunk Greymanes member named Boris near Bloomwood Ranch. Boris leads Kliff to Spencer's Cave, where the investigation uncovers the involvement of Kailock the Hornsplitter and the Goldleaf Merchant Guild in the region's bandit problems.
Find the Greymane. Travel to the marker near Bloomwood Ranch. Two people are harassing a drunk man; this is Boris.
Follow Boris. Mount your horse and follow him as he stumbles toward Spencer's Cave, a bandit-occupied cavern in the hills.
Investigate the cave. Clear enemies at the entrance, then proceed deeper into the cave system. Use your lantern on the blue ghost wisps to unlock the "Lair of the Animal Thieves" Visione memory. This memory reveals that the bandits have been operating under orders from someone connected to the Goldleaf Merchant Guild.
Go to the guards. Exit the cave (a cutscene plays), then head northeast to the guards. Report your findings to trigger the next phase of the story.
Rewards
Item | Quantity |
|---|---|
1 | |
5 | |
5 |
The End of Greed
The Dark Veil
A guard mentions the Goldleaf Merchant Guild. Kliff visits the Goldleaf Tradepost at the edge of town and meets Shakatu, the guild's leader. This is a brief dialogue quest where Shakatu explains his perspective on the region's troubles and offers resources. Pay attention to the conversation because the information here foreshadows the confrontation later in the chapter.
The Flames of Greed
A nun calls for help on the road. Bandits have set fire to a healer's home, and someone is trapped inside. This leads to a timed rescue that puts your Nature's Grasp skill to the test.
Speak with the nun. Talk to the distressed nun at the marker. She explains that the healer's house near the Nas River has been attacked.
Go to the healer's house. Ride to the building, which is engulfed in flames.
Rescue Marten (2-minute time limit). Use Nature's Grasp to remove two large logs blocking the doorway. Enter the building, navigate through the burning interior, and find Marten on the floor in the back-right section. Pick him up with Square/X and carry him outside before the timer expires. If the timer runs out, the quest fails and you must retry from the checkpoint.
After the rescue, you learn that the man you saved is not the main healer. The actual healer, Hubert, was kidnapped by the bandits who set the fire. This directly leads into the next quest.
Rewards
Item | Quantity |
|---|---|
Coins | Varies |
1 |
Kidnapped Healer
Bandits have kidnapped Hubert the healer. Kliff must ride to the bandit camp in the Hernand Highlands and free him.
Rescue Hubert. Travel to the marked camp. You can bypass most patrolling enemies by riding past on horseback at full gallop. At the camp itself, defeat the bandit holding Hubert, then interact with him to untie the ropes. Hubert provides key information about the Goldleaf Guild's operations and the identity of the person pulling the strings.
Rewards
Item | Quantity |
|---|---|
1 |
Rebellion or Revolution
Kliff must confirm details of the Hernand incidents with Shakatu. This quest reveals the full extent of the Goldleaf Merchant Guild's corruption and sets up the chapter's climactic boss fight.
Go to Shakatu. Ride to the marked location in the Hernand Highlands.
Defeat the enemies. Soldiers are present at the location. Clear them all to proceed.
Speak with Shakatu. Once combat ends, follow Shakatu as he walks and talks with Kliff. The conversation reveals that Kailock the Hornsplitter has been orchestrating the bandit attacks to destabilize the region and strengthen the guild's grip on trade routes.
Cheers Echoing From the Edge
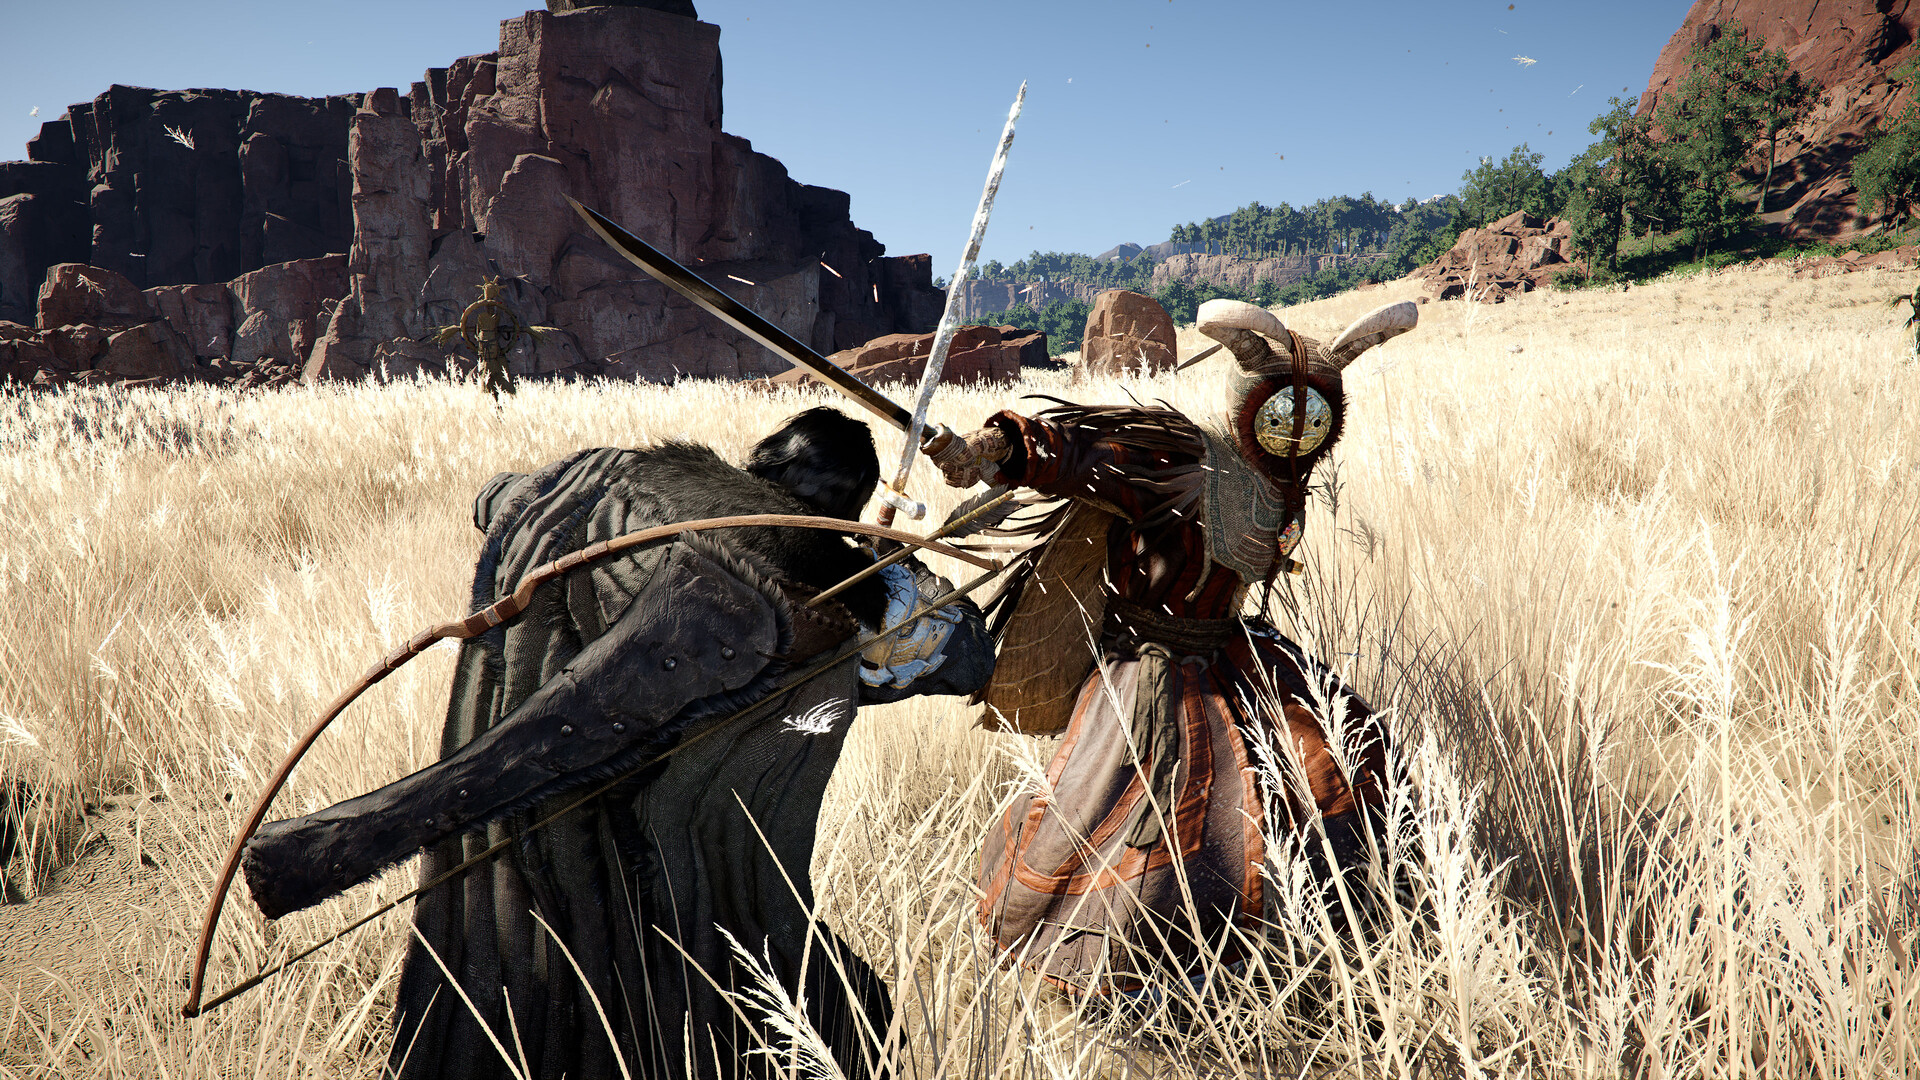
The chapter finale. Kliff must defeat Kailock the Hornsplitter, a goblin boss in the Hernand Highlands. This fight is a significant difficulty jump from Matthias and will test everything you have learned about the combat system up to this point.
Boss Fight: Kailock the Hornsplitter
Kailock the Hornsplitter has a single health bar but hits hard and fast. He wields a massive sword that generates wide-area energy waves covering a significant portion of the arena.
Key Mechanics
Mechanic | Description |
|---|---|
Press L1/LB precisely when Hornsplitter attacks. A green glow indicates success, interrupting his attack and opening him up for a full combo. This is the most effective way to deal damage. | |
Prioritize keeping stamina for blocking and dodging rather than spamming heavy attacks. His combos are punishing if you run dry on stamina mid-sequence. | |
Sword Waves | His sword generates wide-area energy waves. Block them (costs stamina) or dodge through them with good timing. Always keep stamina in reserve for these ranged attacks. |
When he glows blue, he is invulnerable to all damage and stagger. Stop attacking immediately and prepare to defend. Hitting him during super armor wastes your stamina. |
Preparation and Strategy
Healing: Bring at least 40 cooked meat, ideally 100 or more. Buy raw meat from the Hernand vendor and cook it at any cooking pot. Grilled meat restores 80 HP per serving. You can eat while performing light attacks, so weave healing into your attack rhythm.
Weapon choice: Consider equipping dual swords if you have unlocked them. Dual swords attack faster and actually deal more total damage per combo window than a single sword. Alternatively, sword and shield gives better blocking stamina efficiency.
Recommended loop: Attack with R1 (light attack), heal with D-pad right when HP drops, and counter with L1 when he swings. Be patient and play defensively. The fight becomes manageable once you learn his attack patterns.
If you learned Pump Kick from the Matthias fight earlier, use it after a successful Perfect Counter for massive damage and extended stagger time.
Rewards
Item | Quantity |
|---|---|
1 | |
7 | |
2 |
Defeating Kailock the Hornsplitter wraps up Chapter 2 and transitions into Chapter 3, where Kliff begins rebuilding the Greymanes at Howling Hill.
Skills Learned in Chapter 2
Chapter 2 introduces several important skills through story events and the Observation Learning system. The following table summarizes each skill and how to obtain it.
Skill | Source | How to Learn |
|---|---|---|
Reunion quest | Observe the hologram of the child at the Meandering Hills ruins | |
Reunion quest | Observe the meditating child inside the cave after using Nature's Grasp | |
For Honor quest | Observe Matthias during the boss duel (watch for his leaping double-kick) | |
Missing Companion quest | Observe a bandit at the camp south of Bloomwood Ranch |
Tips and Preparation
Stock up on healing items. Before heading into the Hernand in Chaos quests, buy raw meat from vendors in the City of Hernand and cook it at nearby pots. You want at least 40 servings of grilled meat for the Hornsplitter fight. The more you bring, the easier every encounter becomes.
Activate every campfire. Each campfire you interact with becomes a fast travel point. The investigation quests send you back and forth across the map, so having multiple travel points saves significant riding time.
Repair equipment regularly. Several bandit camps have anvils. Use them to repair your weapons and armor between fights, especially before the Hornsplitter encounter.
Watch for Observation opportunities. Both the Pump Kick (from Matthias) and the Dropkick (from a bandit at Bloomwood) can be learned for free through Observation Learning. Keep your camera on enemies when they perform special moves and hold Interact when "Learning in Progress" appears.
Liberation system. The liberation system at Springtide Mill is your first encounter with this mechanic. Clear every enemy in the area (check buildings and encampments) to bring the hostile force percentage to 0%.
Do not hit horses. During the Shadow Cast Over the River quest, avoid hitting the mounted bandit's horse. Killing civilian or neutral animals incurs a bounty penalty.
Memory fragments. Use your lantern frequently after equipping the Visione Helmet. Blue wisps indicate nearby memory fragments that provide additional lore and sometimes unlock Visione memories required for quest progression.
See Also
Chapter 1
Chapter 3
Kailock the Hornsplitter
Matthias
Visione
liberation system
City of Hernand
Goldleaf Merchant Guild