Chapter 4 shifts focus to the Abyss and the pursuit of forbidden knowledge. Across three sub-chapters (Mysterious Iron Pot, Daily Life, and Forbidden Knowledge), Kliff works with a dwarven craftsman named Grimnir, participates in arena and archery minigames, and infiltrates the secretive Scholastone Institute. The chapter culminates in an aerial boss fight against Tenebrum.
Story Context
Chapter 4 begins with an apparent coincidence. Kliff hears an explosion and sees a plume of smoke rising over Howling Hill, which draws him to the Klindin Workshop just as it most needs help. From the perspective of the in-game cycle, this is no accident. The four ancient guardians have rehearsed events many times, and arranging convenient catalysts at the right moment is part of how they steer Kliff into the places he needs to be.
The workshop arc introduces the player to Kuku Gear crafting, which is what eventually lets Kliff hold and channel larger abyssal artifacts. A substantial middle stretch of the chapter is built around side activities at the workshop, which serve the lore double-duty of grounding Kliff in everyday work before the gates of the Abyss are opened more violently in the second half.
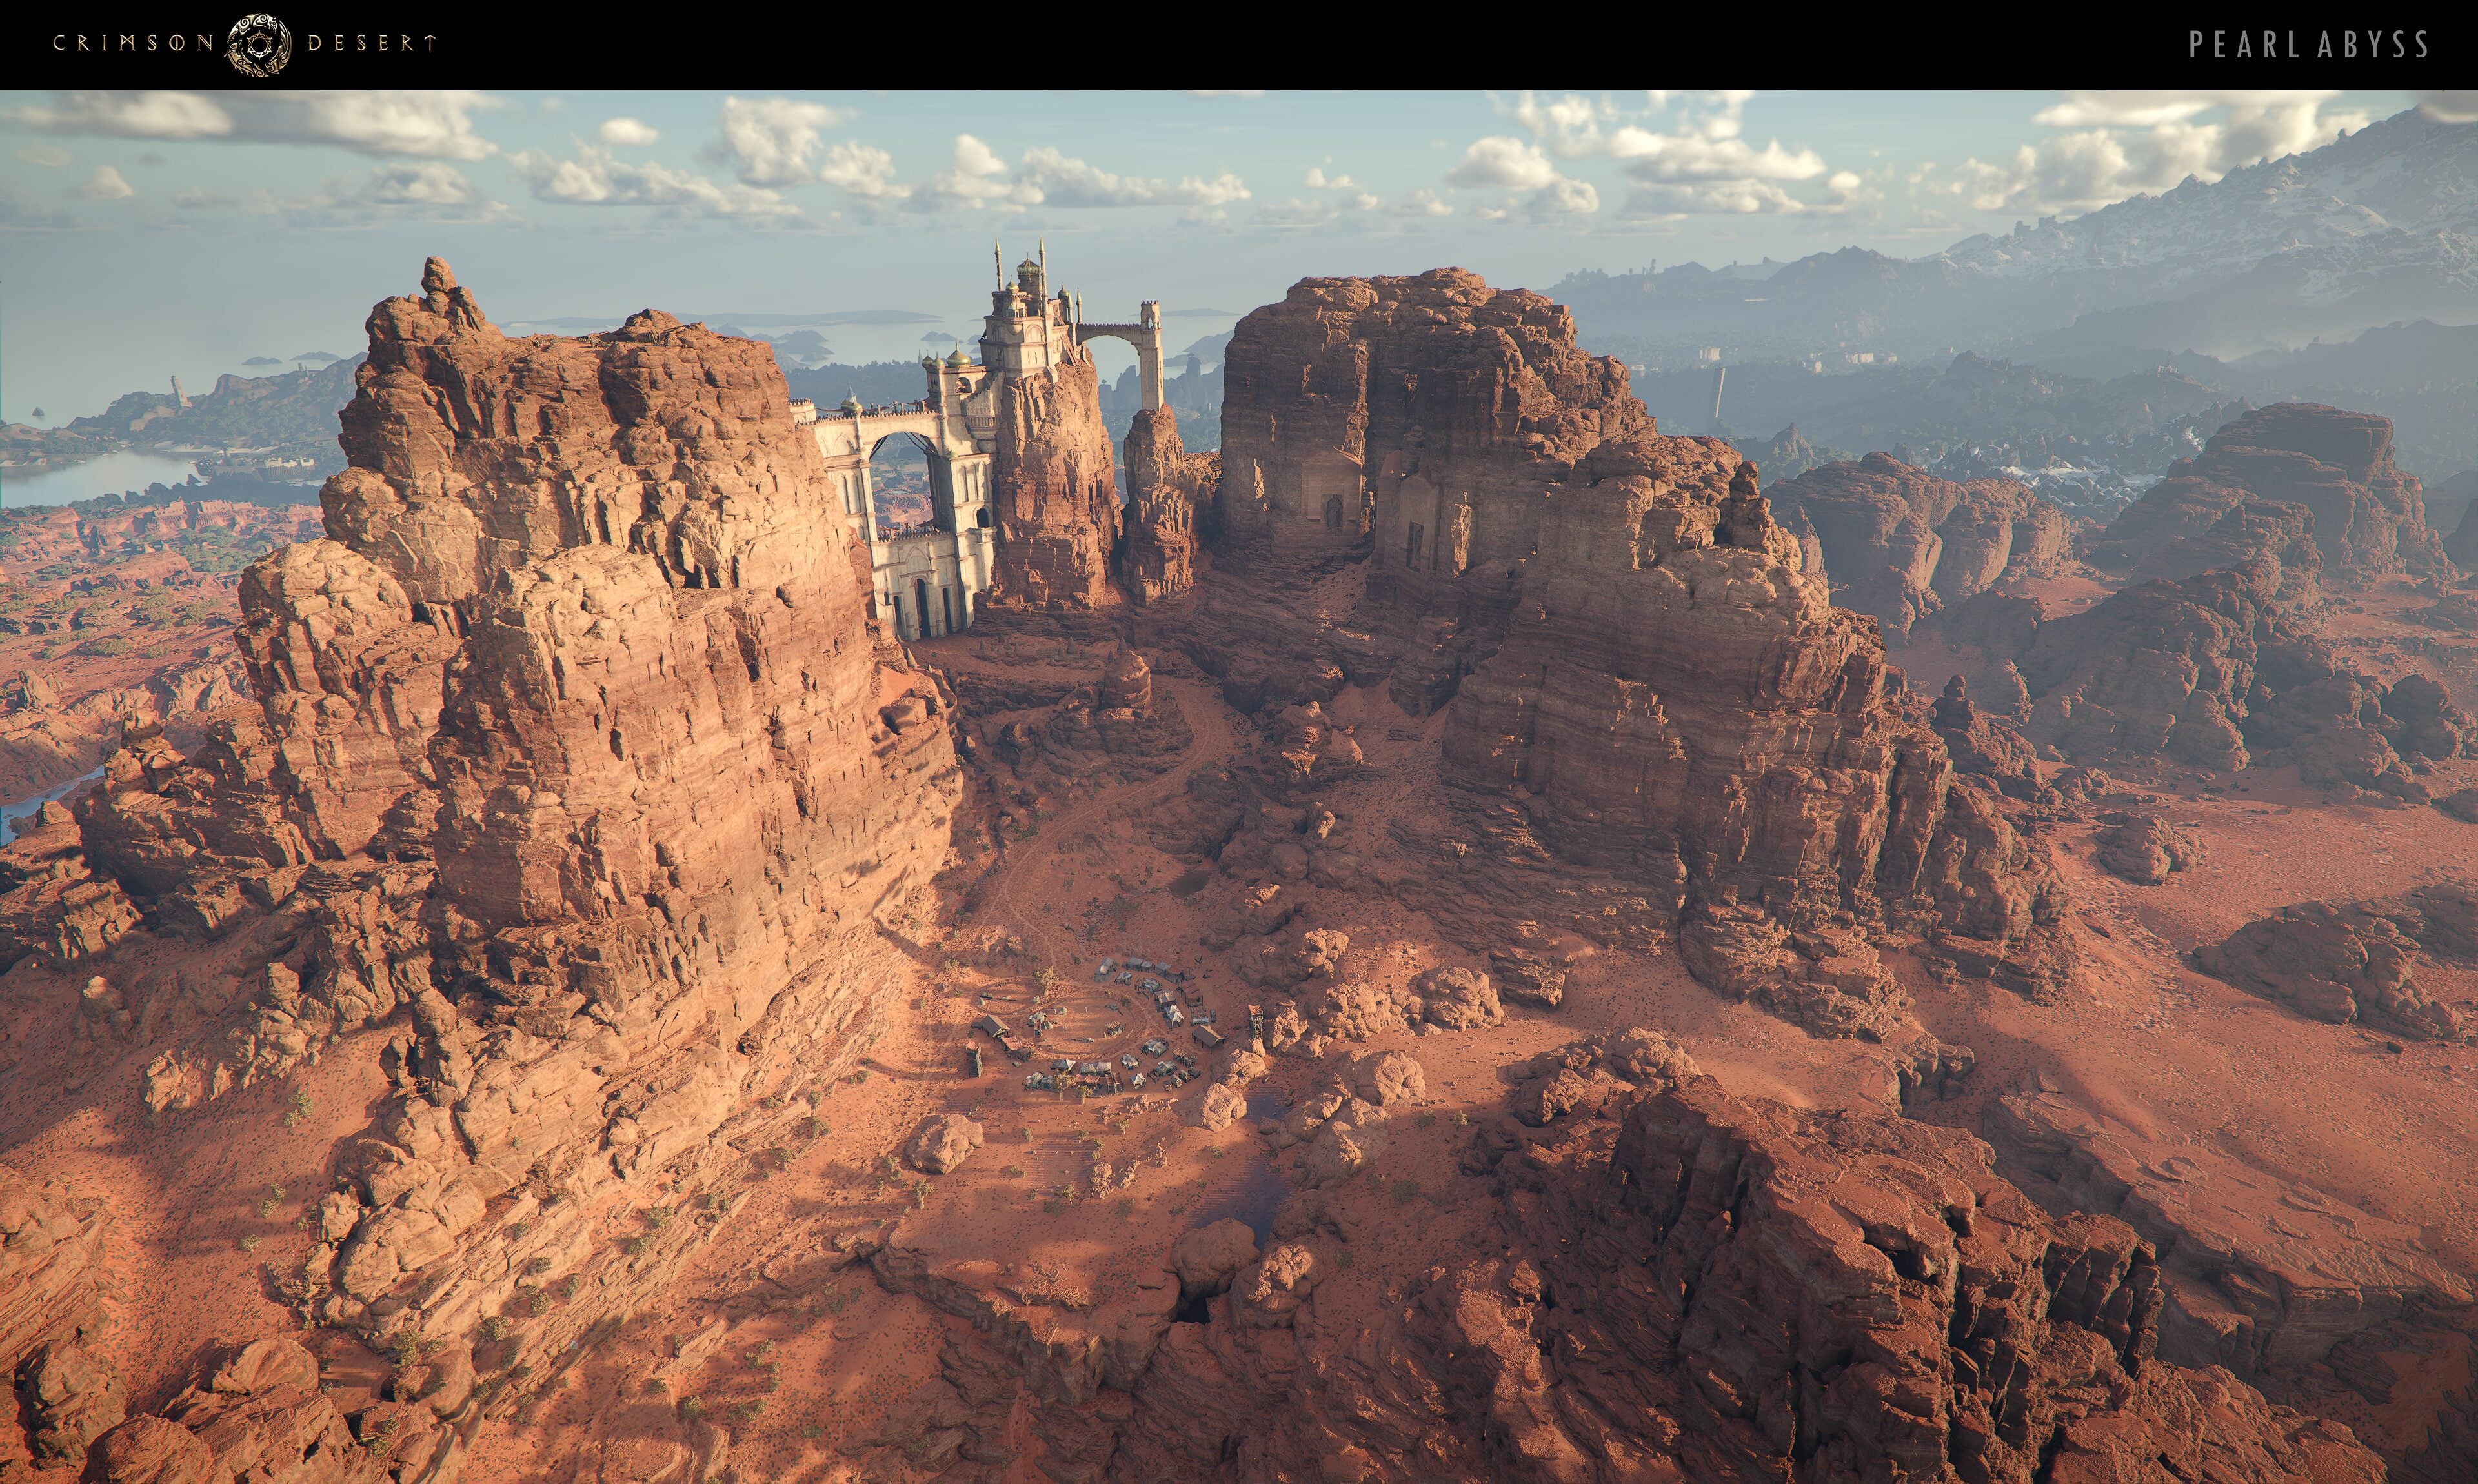
The chapter's second half pivots to the Scholar's Stone Institute and the village of Karunzo, where the trolls have spent generations studying the Abyss in isolation. The scholar Octavius has built a crude abyssal gate of his own design, and his refusal to abort the experiment leads to the only major boss fight of the chapter, the void creature called Tenebrom. The aftermath of that fight is the first time Kliff sees the antagonist who will dominate the rest of the campaign: Duke Caliburn.
Key Story Beats
Drawn by smoke to the Klindin Workshop, Kliff repairs the damaged kilns and begins practicing Kuku Gear construction. This unlocks the gear category that allows him to slot and stabilize the more powerful sealed abyss artifacts he has been collecting.
A long mid-chapter sequence introduces the small day-to-day systems of life around the workshop: cooking, mining, gathering, light combat training. The framing is in-character: the guardians designed this stretch to instill humility and patience in Kliff.
A letter from Alustin is pressed into Kliff's hand on the streets of Hernand and points him toward the Scholar's Stone Institute. This is the first time the guardians have contacted Kliff in writing rather than through staged events.
The path to the institute is blocked by a bismuth barrier. The spectre of a goblin appears and teaches Kliff the Focused Force Palm ability, which lets him blast through. The spectre is later identified as Master Du (or an echo of him), one of the four guardians of the Abyss.
At the Scholar's Stone Institute and the village of Karunzo, Kliff learns that the troll scholars have lived in deliberate isolation for generations in order to study the Abyss without corruption. Octavius, a scholar who has spent his life on the topic without ever stepping inside the Abyss itself, has built an unstable gate on the institute grounds.
Octavius's experiment opens not a normal abyssal puzzle area but a portal into a dark void called Tenebrom. Despite Kliff's efforts the scholar refuses to abort the test in time. Kliff defeats the void creature that emerges, but cannot save Octavius from being pulled through.
Defeating Tenebrom triggers something atop the institute's Spire of Stars. Riding the spire opens an actual abyssal gate. There Kliff finds an aged Octavius one last time, time having been warped on him by his passage through the void.
Inside the abyssal space Kliff catches his first glimpse of Duke Caliburn, a man already deeply corrupted by abyssal power, who speaks as though he recognizes Kliff and is confused by him. Caliburn's exact line, 'while all else changes, you alone remain unchanged,' will only make sense in Chapters 8 and 12.
Kliff returns to Pailune and reports what happened to the scholars. They promise to investigate Caliburn, not yet realizing how central he is to the wider plot.
Named Characters
Character | Role in Chapter | Notes |
|---|---|---|
Protagonist | Picks up Kuku Gear crafting and gains the Focused Force Palm ability. Sees Caliburn in the Abyss for the first time. | |
Guardian (off-screen) | Sends Kliff toward the Scholar's Stone Institute by letter, suggesting he has begun trusting direct communication during this cycle. | |
Guardian | Appears as a goblin spectre at the bismuth barrier and teaches the Focused Force Palm. This is also the chapter where Kliff first interacts with him directly, although they will not properly meet until Chapter 9. | |
Antagonist (tragic) | A scholar who spent his life studying the Abyss without ever stepping inside it. His refusal to abort his unstable gate experiment kills him and unleashes Tenebrom. | |
Antagonist (first sighting) | Already corrupted by abyssal power. Speaks to Kliff as if from prior encounters and notes Kliff's apparent agelessness, foreshadowing the time-loop reveal much later in the campaign. |
Bosses
Boss | Location | Notes |
|---|---|---|
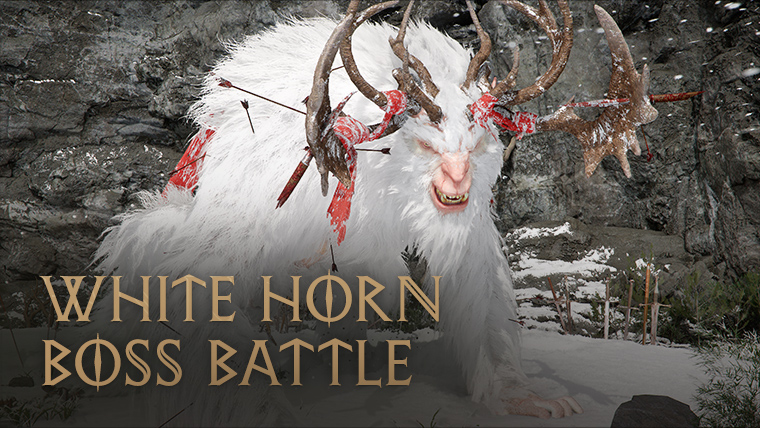
Tenebrom | Scholar's Stone Institute grounds | Void creature pulled through Octavius's experimental gate. Defeated by direct attack. Defeating it unlocks the institute's Spire of Stars. |
Key Locations Visited
Klindin Workshop
Scholar's Stone Institute and Karunzo village
Spire of Stars
The Abyss (first extended visit since Chapter 1)
Lore Reveals
This is the chapter where the player gets confirmation that the Abyss is not a single place but a network of gates and pocket spaces. Octavius's crude gate opens onto Tenebrom, a void that is unmistakably different in tone from the puzzle chambers Kliff has visited so far. The institute's official abyssal study has been theoretical for generations, which positions Kliff (who has been physically inside the Abyss) as more knowledgeable than any of the scholars studying it.
Caliburn's first appearance is also a first hint that someone other than Kliff has been entering the Abyss and absorbing power from it. His ageless-Kliff remark is the kind of line that only resolves once the player learns about the in-universe cycles, but it puts a flag in the ground that the antagonist is operating on the same plane as the protagonist.
Master Du's appearance as a goblin spectre suggests that the guardians are not strictly external observers. They can intervene in person when the need is great, though their interventions are constrained. The Focused Force Palm taught here is one of several powers Kliff is granted across the campaign by the four guardians.
Chapter 4 Quest List
Sub-Chapter | Quest | |
|---|---|---|
Mysterious Iron Pot | Meet dwarf craftsman | |
Mysterious Iron Pot | Puzzle: repair three kilns | |
Mysterious Iron Pot | Obtain Kuku Iron Pot | |
Mysterious Iron Pot | Axiom Force absorption tutorial | |
Boxing arena minigame | ||
Archery contest minigame | ||
Receive Alustin's letter | ||
Navigate to the Institute | ||
Meet the Dean, Octavius | ||
Elevator puzzle | ||
Abyss platforming | ||
Chapter conclusion |
Mysterious Iron Pot
Kilnden Workshop
Kliff finds a dwarven craftsman named Grimnir sighing over a broken kiln. The dwarf wears a Visione and acts dismissive but secretly hopes for help.
Check the cause of the explosion - Travel west of Hernand Castle to find Grimnir on a hill near a tower. The fastest route is to fast travel to the Abyss via the sky map (R3) and skydive down. Speak with Grimnir to complete the quest.
If a time-wait prompt appears, hold the Options button and select the bottom icon to advance to daytime.
Kiln Repair at the Kilnden Workshop
This is the most puzzle-heavy quest in Chapter 4. Four objectives can be tackled in any order, though the generator must be activated first.
1. Activate the Ancient Generator
The generator tower has four rings with glowing symbols. A yellow switch controls which ring moves, and a wooden lever adjusts each ring's position.
Push the yellow lever right (activates the 2nd ring).
Push the wooden lever right to align the 2nd symbol.
Push the yellow lever to the middle (activates the 3rd ring).
Push the wooden lever left to align the 3rd symbol.
The bottom and top symbols are already in the correct positions. If you misalign something, you can either readjust or reload your last autosave.
2. Put Fuel Into the Kiln
Located at the northernmost objective. Collect five blue glowing balls and insert them into round openings around the kiln.
Item | Description |
|---|---|
Balls 1 and 2 | On the ground floor beside the kiln. |
Ball 3 | In a cave entrance in the flooded area toward the generator's hill. (Note: this ball sometimes does not spawn due to a bug. Reboot or reload if this happens.) |
Ball 4 | Inside the eye of a bird statue with a glowing head in the flooded area left of the kiln. Use Axiom Force and pull with L2/LT. |
Ball 5 | On the ground in the water near the bird statue. |
After inserting all five balls, push the wooden lever around the kiln to activate it.
3. Fix the Dismantled Kiln
Located at the middle objective.
Use Axiom Force to lift the first broken piece (right of kiln, the most destroyed-looking part) and stack it on top. It auto-rotates into position.
Grab the second broken part (behind the kiln, the chimney section).
Climb on top of both pieces, jump, and use Force Palm (R3) mid-air to connect them.
Push the wooden lever to power on the kiln.
4. Fix the Disconnected Kiln
Located at the southernmost objective.
Find the loose power cable near the wooden lever behind the kiln.
Interact with the cable connection point to reconnect it.
Push the wooden lever to activate the kiln.
After powering all three kilns, a cutscene plays. Return to Grimnir at the ancient generator and speak with him to complete the quest.
The Mysterious Pot
Grimnir's masterpiece is ready. Kliff collects the Kuku Iron Pot.
Speak with Grimnir - He appears during daytime. If prompted to wait, hold Options and select the bottom icon to advance time.
Obtain the Iron Pot - Next to Grimnir, find a lever and rotate it clockwise. The Kuku Iron Pot drops onto a circular stone platform below. Pick it up.
The Iron Pot's Usage
A massive boulder has somehow squeezed into the pot, yet the vessel feels weightless. Togrum the dwarf teaches Kliff how to use it.
Travel to the quest marker and interact with Togrum.
Learn absorption - Find the stone ball to the left of Togrum. Hold L3 to activate Axiom Force on it, then hold Triangle/Y to absorb the object into the pot.
Enhancing the Kuku Pot allows crafting of better equipment. Enhancement recipes come from main quests and faction quests (such as Ironflame Orcs or Witches). Some recipes require rare Abyss Cores, so store those carefully.
Daily Life
Disturbance at the Arena
Duane leads Kliff to the fighting pits where Yann is being held. This quest introduces the boxing arena minigame.
Return to Howling Hill - Approach the main tent for a conversation with your comrades, then follow Duane to the fighting pits.
Speak with the host - Pay 30 Copper to enter. You must be unarmed: use D-pad Left to open equipment, and switch to "Plain Gloves."
Win three arena bouts - Use only unarmed attacks (weapons cause disqualification). Maintain offensive pressure and use L1/LB to block counterattacks.
Return to Howling Hill with Yann - Exit the pits, speak with Duane, and ride back to camp with Yann.
Optional: If you defeat three opponents in a row without losing, you face the champion. Beating the champion completes the "Steel Fist" challenge and awards 1 Artifact.
Skilled in Archery
Naira has been teasing Duane about his poor archery. Kliff must compete on his behalf.
Speak with Naira - Meet her southwest of Hernand Castle, then travel with Duane to the archery grounds.
Win the archery contest - Shoot 10 targets faster than your opponent. Targets appear randomly on the left or right. Keep your aim centered and quickly adjust when each target appears. You have unlimited arrows.
Speak with Duane - Find him waiting outside the archery grounds by the road.
Forbidden Knowledge
The Words of Alustin
A man deliberately bumps into Kliff in southern Hernand, leaving a note from Alustin. The letter contains an urgent plea to investigate dark emanations at Scholastone Institute.
Head to Hernand - Walk through the southern part of town. A character collides with you and passes a letter. If it does not trigger, save manually, reload, and respawn in Hernand.
Read Alustin's Letter - Open your inventory, find the purple letter, and zoom in to read it.
Scholastone
The secret Scholastone Institute is hidden behind treacherous terrain southwest of Hernand.
Visit the fence - A goblin merchant in Hernand, located upstairs in a building. Speak with him.
Head to Scholastone - Travel southwest to the marker. You must climb over a mountain; use three consecutive Force Palm jumps (press R3 three times mid-air) to scale cliffs quickly.
Find out Scholastone's location - Speak with a man at the stone pyramid. Follow him until he stops at the cliffs.
Find the path - Continue independently toward the tall tower on the mountain. The next quest starts automatically when you arrive.
Reward: Scholastone Uniform.
On the Right Path
At Scholastone, the Dean speaks in riddles (much like Alustin). He explains that experiments in the plaza are defenses against impending chaos. Follow the Dean through the Institute as he introduces you to Octavius. This is a dialogue-only quest.
Gate to the Otherworld
This is the signature quest of Chapter 4, featuring puzzles and the aerial boss fight against Tenebrum.
Underground Lock Device
Head to the northeast corner of the plaza where lanterns mark a path downward.
Follow the route underground to find a wall panel with buttons.
Press the buttons in this order: top-left, bottom-right, bottom-left, top-right, then the middle button. All buttons illuminate when correct.
Interact with the handle on the wall to activate the machine.
Battery Insertion
Back at the circular plaza, four pillars with cubes surround the central device (marked orange on the minimap).
Hold L3 to grab each cube with Axiom Force.
Push it toward the pillar opening with R2.
Position the cube in front of the pillar and release with L3.
Use Force Palm (R3) to drive it into place.
Repeat for all four batteries. Each emits a power beam toward the center.
Remove the Unstable Core
After a cutscene, aim at the blue orb in the device's center with L3. Hold L2 and push the right stick upward for several seconds to extract the core.
Boss Fight: Tenebrum
Tenebrum is an aerial enemy that flies around the plaza. This fight has unique mechanics compared to previous bosses.
Reveal the weakness - Hold L1 + R1 to activate Blinding Flash. Press R1 to target Tenebrum and reveal a square weak spot. You only need to do this once.
Take flight - Move to the center of the plaza where the floor is missing. Double-press Square/X to jump and activate wings. Wind currents propel you upward toward Tenebrum.
Attack with Force Palm - Press R3 mid-air to strike Tenebrum when he pauses to charge attacks. These stationary moments are your safest attack windows.
Dodge projectiles - Tenebrum fires projectiles that deal damage and knock you down. Stay behind pillars while recharging Spirit.
Regenerate Spirit - When Spirit depletes, hold L3 + R3 to regenerate. Use pillars as cover during this process.
Repeat the cycle of flying up, hitting Tenebrum with Force Palm during his charge-up pauses, and retreating to regenerate. After enough hits, a cutscene plays and the boss is defeated.
Reward: 1x Abyss Artifact.
Spire of the Stars
Following Octavius's disappearance, Grundir reports a strange phenomenon at the Institute's spire. Kliff investigates.
Go to the Spire of the Stars - Head northeast from Scholastone, past the banquet hall. Climb the staircase, proceed through a cave, and ascend more stairs to reach a large stone door.
Solve the elevator puzzle
Elevator Puzzle Solution
Step 1: Collect three cubes by using Force Palm (R3) on three yellow walls marked with purple icons on the minimap (one to the left of the elevator, two to the right). Insert all three cubes into the wall sockets in front of the elevator.
Step 2: Hit the activated sockets with Force Palm to push them upward. Climb to each symbol and hang on until it slides into position. The correct alignment is:
Item | Description |
|---|---|
Left symbol | top slot |
2nd from left | 2nd slot from top |
3rd from left | bottom slot |
Right symbol | 3rd slot from top |
Once the symbols stop glowing yellow and the floor turns blue, board the elevator. Exit quickly at the top before it descends.
Move to the Abyss - Run upstairs and enter the Abyss on the top floor.
Obsession and Madness
Inside the Abyss Rift, Kliff searches for Octavius. The main challenge is vertical platforming.
Stand on the fast travel plate directly ahead of your entry point.
Ascend the pillars - Jump and execute Force Palm three times consecutively mid-air (R3, R3, R3) to catapult upward, then glide to the next pillar. This triple Force Palm technique is the key mechanic for this quest.
Activate the mechanism - On the central platform, find a yellow glowing mechanism on the floor. Jump over it and use Force Palm mid-air to trigger a cutscene that ends the quest.
If you fall, press R3 on the map to access the sky map and return. Force Palm consumes Spirit; regenerate it by holding L3 + R3. The Double Jump skill from Kliff's green skill tree also helps with the platforming.
Reward: +8 Contribution Levels to the Hernandian faction.
Casted Shadow
Dean Grundir reflects on the encounter with the Abyss. A cutscene plays automatically after the previous quest. Kliff must return to Howling Hill to address the situation.
Speak with Grundir - This happens automatically via cutscene.
Return to Howling Hill - Fast travel via the sky map and skydive down to camp. Enter the black main tent for a cutscene that concludes Chapter 4.
Reward: 10x Honey Tea.
Chapter 4 closes with the Greymanes' growing understanding of the Abyss and its dangers. Chapter 5, "Guest Unbidden," picks up with political intrigue as uninvited guests arrive at Howling Hill.