Chapter 5: Guest Unbidden Walkthrough
Complete walkthrough for Chapter 5 of Crimson Desert's main story. Covers all 10 quests across the Uninvited Guest and Black and White sub-chapters, including the Kearush boss fight and Crowcaller encounters.
Loading...
Chapter 5, titled "Guest Unbidden," is the fifth major chapter of Crimson Desert's main story. It picks up immediately after the events of Chapter 4 and centers on the arrival of a Demeniss delegation in Hernand. The chapter introduces one of the game's toughest boss fights in Kearush, the Slayer, and follows Kliff as he investigates the connection between Demeniss and the Black Bears. The chapter spans 10 quests divided into two sub-chapters: Uninvited Guest and Black and White.
Before starting this chapter, make sure you have stocked up on healing items. Kearush appears early and can easily overwhelm underprepared players. Aim for at least 100 to 200 Grilled Meat, and upgrade your armor and weapons to refinement level 4 or higher.
Chapter 5 opens with an invitation to a banquet in Hernand hosted by Marquis Sarcus, with a large delegation arriving from neighboring Demeniss. This is also the chapter where Damiane finally divulges some of her own backstory: her swordmaster, Lady Beatrice of House Azerian, is missing, and she has fled to Hernand to try to track down what happened to her.
The banquet sequence is engineered to look like diplomacy and is in fact an attempt to weaken Hernand's nobility. Grand General Lucian Bastier unveils a captured monster named Kearush, the Slayer in chains as a 'gift,' fully expecting it to maul guests in the hall when provoked. The fight that follows is one of the campaign's earliest difficulty spikes.
Once the banquet is broken up, the chapter pivots to its second arc, the hunt for the witch Hexe Marie and her servant Crowcaller. Crowcaller has slipped into Hernand Castle, almost killed Alustin, and abducted White Crow. Restoring her becomes the most urgent goal of the entire chapter.
Damiane intercepts Kliff outside the castle walls, calming her startled horse. She tells him about her swordmaster Beatrice of House Azerian, who has been missing since the so-called bloody coronation in Demeniss, and asks him to keep an eye on the Demenissian delegation.
At the banquet Kliff first hears about the Blood Coronation, described as a violent slaughter of Demenissian nobles staged by Duke Caliburn as a power play.
Grand General Lucian Bastier presents the chained Kearush as a monument to Demeniss's strength. The beast breaks free, devastates part of the hall, and forces Kliff to drive it off in combat. Kearush eventually flees back to the Pale Mountains.
A letter from White Crow warns that an unauthorized presence has crossed from the Abyss into the world and that the boundary between the two realms is failing. This introduces the chapter's main task: cleansing corrupted abyssal sanctums to keep that boundary intact.
Returning to Hernand Castle, Kliff finds Alustin badly wounded. Crowcaller and his disciples have stormed the alchemist's chamber and dragged White Crow away to be used as a sacrifice.
Kliff pursues Crowcaller across multiple locations in Hernand and into Demeniss, taking him down in two separate skirmishes before driving him back into the Abyss.
Riding another spire into the Abyss, Kliff reaches Crowcaller's nest, where multiple priests of Solomon are caged as planned offerings to his mother. In a three-stage final fight, Crowcaller dies still seeking the approval Hexe Marie never gave him.
With Crowcaller defeated, White Crow is released from her cage. The chapter closes with the boundary between the worlds steadied for now, but both halves of the witches' lineage (White Crow and Hexe Marie) are now exposed to Kliff for the larger conflicts ahead.
Character | Role in Chapter | Notes |
|---|---|---|
Protagonist | Hunts Crowcaller and rescues White Crow. First clash with the Demenissian delegation's leadership. | |
Ally | Reveals that her missing swordmaster Beatrice of House Azerian is the reason she fled Demeniss. Splits off later to pursue leads of her own. | |
Marquis Sarcus | Host | Hosts the banquet in Hernand. The same noble who granted Howling Hill to the Greymanes in Chapter 3. |
Antagonist (revealed) | Grand General of Demeniss. Unveils Kearush as a 'gift' fully expecting the beast to harm Hernand's nobility. The chapter is his introduction; his arc continues across Chapters 6 to 8. | |
Guardian (wounded) | Almost killed during the raid on Hernand Castle. Survives long enough to direct Kliff after Crowcaller and warn that the black witch must not get her hands on White Crow. | |
Guardian (captured then rescued) | Taken by Crowcaller as a sacrifice intended to restore Hexe Marie to her full strength. Returned safely by the end of the chapter. | |
Antagonist and boss | A loyalist of Hexe Marie who walked the path of corruption to win his mother's approval. Hexe Marie scarcely acknowledges him even at the end. | |
Antagonist (off-screen) | Dark reflection of White Crow. Birthed when a fragment of White Crow was devoured by Umbra in cycle two. Mentioned only by reputation here; first fought directly in Chapter 9. | |
Antagonist and boss | Captured beast displayed in chains at the banquet. Was meant to be made an ally in earlier cycles before despair from imprisonment turned him savage. |
Boss | Location | Notes |
|---|---|---|
Hernand banquet hall | Difficult early-chapter fight. Killing him is not required; he flees to the Pale Mountains. Can return later as a temporary ally during the White Thorn side quest. | |
Three-stage final fight inside the Abyss. Dies still trying to prove himself worthy of Hexe Marie's love. |
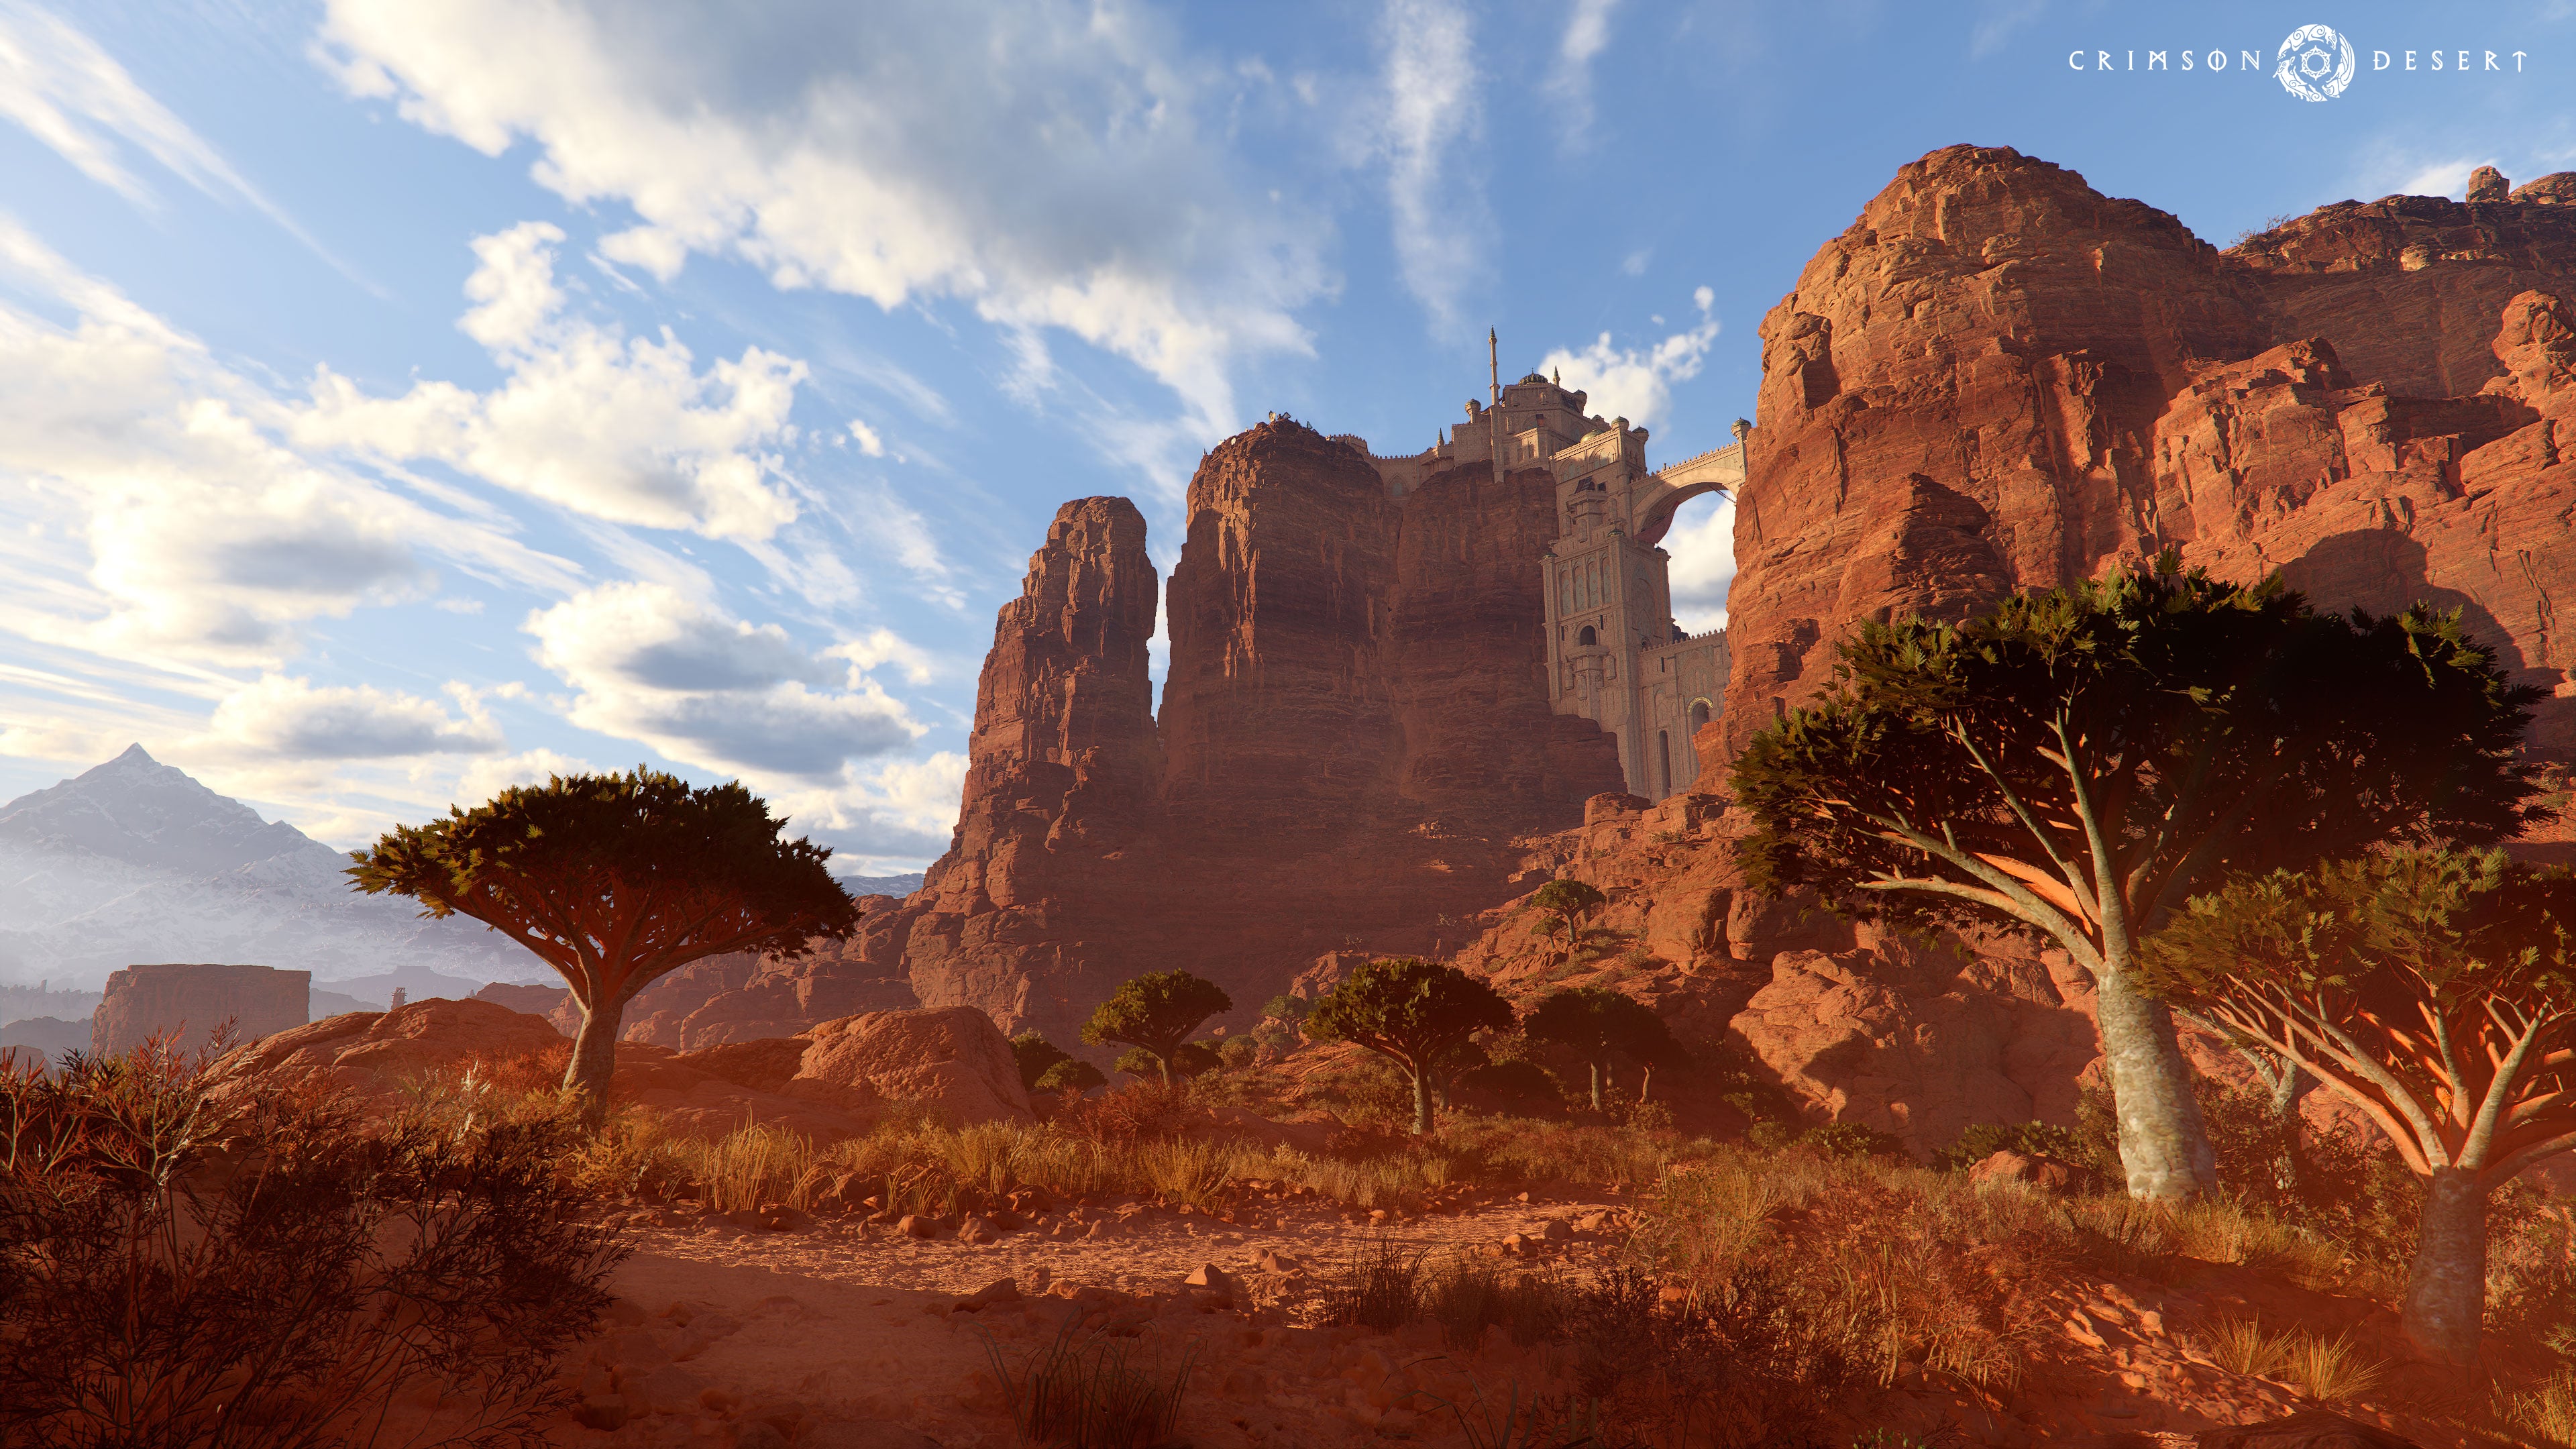
Hernand castle and surrounding city
Hernand Castle alchemist's chamber
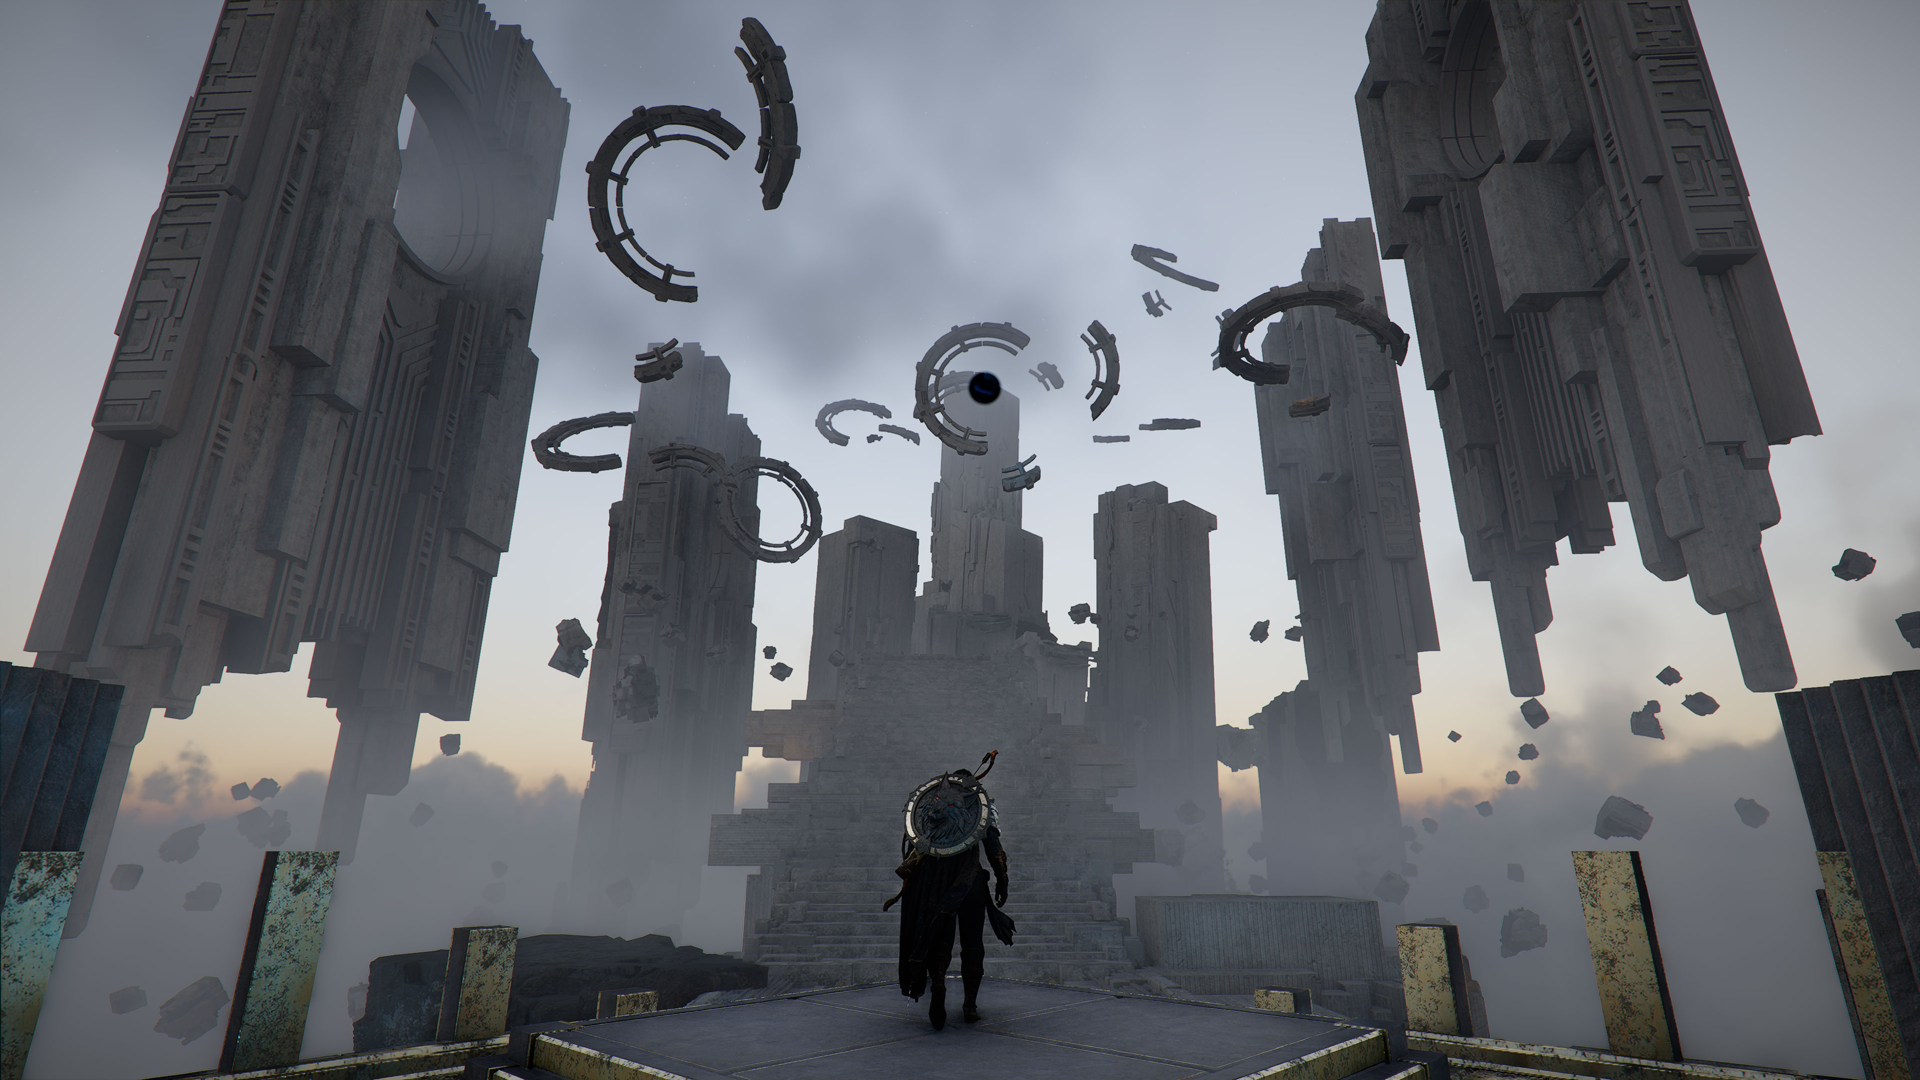
Crowcaller's nest in the Abyss (via a Hernand-area spire)
Multiple cleansed sanctums across Hernand and Demeniss
The abyssal sanctum mechanic introduced here is more than a collectible loop. Sanctums were first established in a much earlier cycle to slow the rise of Umbra from the ground, and the followers of the Crowcaller faction have been actively corrupting them. Kliff's sanctum cleansings are one of the few things the player can do that directly weakens Umbra's hold on the world before the climax.
Hexe Marie's existence as a 'dark reflection' of White Crow is the cleanest in-game explanation of how the Abyss reuses guardian-tier beings against itself. Because the Abyss exists outside of time, fragments lost there can re-emerge as new antagonists across cycles, while the rest of the original keeps functioning. This is also why Kearush is described in the archives as someone the guardians have repeatedly tried to recruit, with mixed results, across many prior cycles.
Crowcaller's motivation is the chapter's quietest reveal. The transcript-relevant takeaway is that his obsession with surpassing Kliff (whom he calls 'the Greymane') is fueled by a maternal favoritism that was never going to be reciprocated. Kliff cannot reach that obsession with words and so has to end it with a fight.
Quest | Sub-Chapter | Type |
|---|---|---|
Cutscene | ||
Boss Fight | ||
Cutscene | ||
Exploration / Faction Quest | ||
Exploration / Combat | ||
Combat | ||
Boss Fight | ||
Puzzle | ||
Toward the Nest (Spire of Soaring) | Boss Fight / Puzzle |
This is the 60th main mission and is the opening of Chapter 5. Marquis Serkis announces that a Demenissian delegation has arrived and extends a banquet invitation to the Greymanes. The news is troubling because Damiane, who is secretly Demenissian, has gone missing from camp.
The entire quest plays out as a cutscene. Speak with Marius to trigger the opening cinematic of Chapter 5. No gameplay actions or combat are needed; the quest resolves through story progression alone.
Fast travel back to Hernand to begin this quest. Head north toward the field near Hernand Castle, where soldiers have gathered around a carriage and a panicked horse.
Check the commotion at the castle gate. A cutscene shows soldiers trying to tame a wild white horse. The horse's owner turns out to be Damiane, who reveals that her swordmaster disappeared during a dark conspiracy and she has been framed as a fugitive.
Tame the horse. Locate the white horse running in circles near the soldiers and mount it. Pull the left stick in the opposite direction the horse moves: if it pushes forward, press down; if it veers left, push right. A yellow progress circle fills as you succeed. You can retry unlimited times if you get knocked off.
Take the horse to the stable. After taming the horse, ride it northward to the stables where Damiane is waiting. Speaking with her completes the quest.
Navigate to Hernand Castle's courtyard, where you will find Barden Middler and Alan Serkis conversing with others. Wait for their discussion to finish, then use L1/LB to zoom in and interact with the prompt to trigger dialogue. The cutscene leads directly into one of the hardest boss fights in the game.
Kearush is a monster that broke free from the Demenissian delegation's display of military power, turning the banquet hall into carnage. This fight has three full health bars and is considered one of the most difficult encounters in the entire game.
Preparation is everything. Before triggering this fight, purchase at least 4 health and stamina skill upgrades. Upgrade your armor and weapons to refinement level 4 or higher. Buy high-defense plate armor from Hernand merchants. Bring 100 to 200 Grilled Meat for sustained healing. You can farm deer groups (which yield 3 to 4 meat each) to stock up.
Enemy | Details |
|---|---|
Phase 1 | Kearush uses shorter attack combos. Dodge forward-right to position yourself behind the boss, land 3 quick attacks with R1/RB, then reset for the next dodge. Combine healing with quick combos. |
Phase 2 | The boss becomes more aggressive with extended combos and frequent super-armor activation (indicated by a blue glow showing invulnerability). When you see the blue glow, sprint to the opposite end of the arena and hide behind a corner wall. The boss often gets stuck and cannot reach you during these phases. |
Phase 3 | The most aggressive stage with very few openings to attack. Focus on dodging through longer combos before landing your strikes. Keep healing constantly and consider carrying Palmer Pills for emergency self-revival. |
Rewards: One-Handed Mace (The Grove's Thorn), Gale I, Howling of Chaos.
After defeating Kearush at the church, exit through the back right corner of the building. In the courtyard behind the church, locate Damiane and approach her to trigger a cutscene. The conversation reveals that suspicious individuals crossed into Hernand alongside the Demeniss delegation, and that Demeniss is the hidden hand providing supplies to the Black Bears. This is a brief, story-driven quest with no combat.
This quest introduces a new mechanic: faction quests are sometimes required to advance the main story. This is the first time side content is mandatory for main story progression.
Read the Unsealed Letter. Open your inventory and find the "Unsealed Letter" (purple key item). Examine it to receive a notification about faction quests.
Go meet the Witch. There is no map marker initially. Open your Journal, navigate to Faction Quests, select the Witches section (Hernand, red icon), and track "Witch of Wisdom" to reveal the location on your map.
Travel to the Witch. The destination is slightly east of the Scholarship Institute. If you have activated the sky fast travel point from the "Obsession and Madness" quest, you can fast travel and skydive directly there.
Clear the hut. Defeat the enemies outside the witch's hut, then climb through the open roof window. Untie the witch using the button prompts and loot the Abyss Artifact from the table.
Visit the Witch's House. The marker updates to a location in The Witchwoods, slightly north of the hut. Travel there and select "Listen to Request" when speaking with the witch.
Reward: Core Blueprint: Haste. Note that Witches are NPCs who can engrave Abyss Cores into your equipment. The witch also sells Abyss Artifacts.
Dark premonitions come true as unidentified assailants raid the Axiom Archive and abduct White Crow. Fast travel back to Hernand and locate soldiers in the inner courtyard of Hernand Castle near the church entrance.
Speak with the soldiers. They mention ghosts roaming the castle.
Track the invader. Enter Hernand Castle, go upstairs, and turn right to find the staircase. Ascend to the second floor and enter the wooden door on the left.
Enter the Abyss. Interact with the Abyss Gate (a yellow wall) to teleport to the Abyss sky realm. If the interaction fails, open your map and use fast travel.
Reach the Axiom Archive. In the Abyss sky island, travel straight forward toward the tall tower building. Defeat the enemies that appear along the way. A cutscene triggers upon arrival, completing the quest.
On the outskirts of Hernand, a man resembling a crow appears. He seems unusually knowledgeable about the Greymanes. Travel to the quest marker slightly south of Hernand town and approach the house at the marked location. A cutscene triggers automatically. After it concludes, defeat the ambushing enemies to complete the quest.
The trail of the feathered man ends at the west church, already a scene of carnage. A battle ensues, but the Crowcaller flees, promising to wait at a better location for a final stand.
Stock up on healing items before starting. Purchase meat from the vendor in Hernand and cook it at the nearby pot. Travel to the quest marker in the Demeniss region, directly north of the "M" in "DEMENISS" on your map.

Approach the dead bodies in the courtyard to trigger a cutscene.
Defeat the initial enemy waves.
Fight the Crowcaller (mini-boss). He has a single health bar. Parry his attacks with L1/LB, then land a light attack combo. Repeat this pattern until he falls.
This quest involves two investigation objectives and a pair of puzzles.
Gather information at the Orphanage. Navigate to the orphanage in the search area. Find the house door in the northern section of the courtyard and interact with it. A cutscene provides story information.
Obtain the Church's Relic. Travel south to the church. Behind the building, find a crypt and descend via the ladder. Interact with the puzzle box on the altar.
Puzzle Box Solution: Press the four corner buttons in this order: top left, bottom right, bottom left, top right. This illuminates all symbols and reveals the "Dagger of Radiance."
Activate the Pillar of Radiance. Return to the pillar between the church and orphanage. Target it with L1/LB and interact. A second puzzle requires you to rotate discs to form an "eye" symbol. Use Down to select ring sections and Left/Right to spin them.
This is the climactic quest of Chapter 5, combining platforming puzzles, a skybridge activation sequence, and a major boss fight against the Crowcaller. The Spire of Soaring is located in northern Demeniss.
Drop down the cliffs to the right of the tower and enter a cave leading to the basement interior.
Item | Description |
|---|---|
Basement | Jump and glide over blue wind platforms using double jump. Do not remove the two blue balls powering the wind turbine. |
Top Floor | Reroute power by rotating wall panels using Axiom Force (hold L3, push right stick). Arrange panels so power flows from left to right without damaging the battery below. |
Upper Level | Spin the large round wall panel twice to align power lines in a left-bottom-right configuration. Stand on the platform and let it ascend to the tower top. Stay still during the roughly 2-minute elevator ride to the sky abyss. |
Activate the fast travel point on arrival (highly recommended). Navigate to the right side and boost upward using triple Force Palm mid-air. Direct orb light beams at the corresponding wall panels using Axiom Force; all four orbs must shine at the blue-glowing panels. Follow the yellow-glowing broken cables on the opposite side and reconnect two broken cable sections. Climb to the middle of the round wall panel at the end of the area and strike with Force Palm while hanging. Cross the activated Skybridge and rotate the pillar until it glows blue.
The Crowcaller has three full health bars with increasing aggression per phase. Before engaging, activate the fast travel point near the tree objective marker.
Enemy | Details |
|---|---|
Strategy | Counter attacks using L1, then execute quick combos. Heal continuously using the right directional button. |
Supplies | Bring 100 or more Grilled Meat. Purchase from the vendor in Hernand and cook at the nearby pot. The vendor restocks daily after resting at a campfire. |
Preparation | Upgrade your gear at the blacksmith before this fight. |
Rewards: Blackwing Leather Armor, Blackwing Mask, Tauria Curved Sword. The Tauria Curved Sword is particularly noteworthy because its heavy attack fires homing crows that are effective against groups of enemies, and it remains useful well into the later chapters.
The Kearush fight is a major difficulty spike. If you are struggling, return to the open world and farm skill upgrades, better gear, and healing supplies before reattempting.
The Tauria Curved Sword from the Crowcaller fight is one of the best weapons in the mid-game. Pair it with the Nature's Echo green skill to duplicate heavy attacks.
This chapter introduces mandatory faction quests. Check your journal regularly for Witches and other faction content in the Hernand region.
The Spire of Soaring platforming section has no combat checkpoints. If you fall, you respawn at the last wind platform, so take your time with the jumps.