Chapter 8: Blood Coronation Walkthrough
Complete walkthrough for Chapter 8 of Crimson Desert's main story. Covers all 14 quests across the Ashen Steps, To Demeniss, and Traitor sub-chapters, including the Gregor boss fight, Cursed Knight encounter, and the Blood Coronation memory sequence.
On This Page
Overview
Chapter 8, "Blood Coronation," shifts the action to the Demeniss region as Kliff pursues Myurdin, who fled across the border after his defeat at Silverwolf Mountain. The chapter spans 14 quests across three sub-chapters: Ashen Steps, To Demeniss, and Traitor.
Ashen Steps focuses on helping a witch named Maegu and retrieving ritual components. To Demeniss is a multi-part infiltration arc where you uncover Demenissian noble conspiracies, assassinate Count Byron, and fight the Cursed Knight in a siege battle. The Traitor sub-chapter concludes with a memory sequence involving Gabriel Caliburn.
Preparation: Bring at least 200 Grilled Meat before starting. The chapter features two boss fights (Gregor and the Cursed Knight) plus a major siege battle. Ensure your weapons and armor are fully upgraded.
Story Context
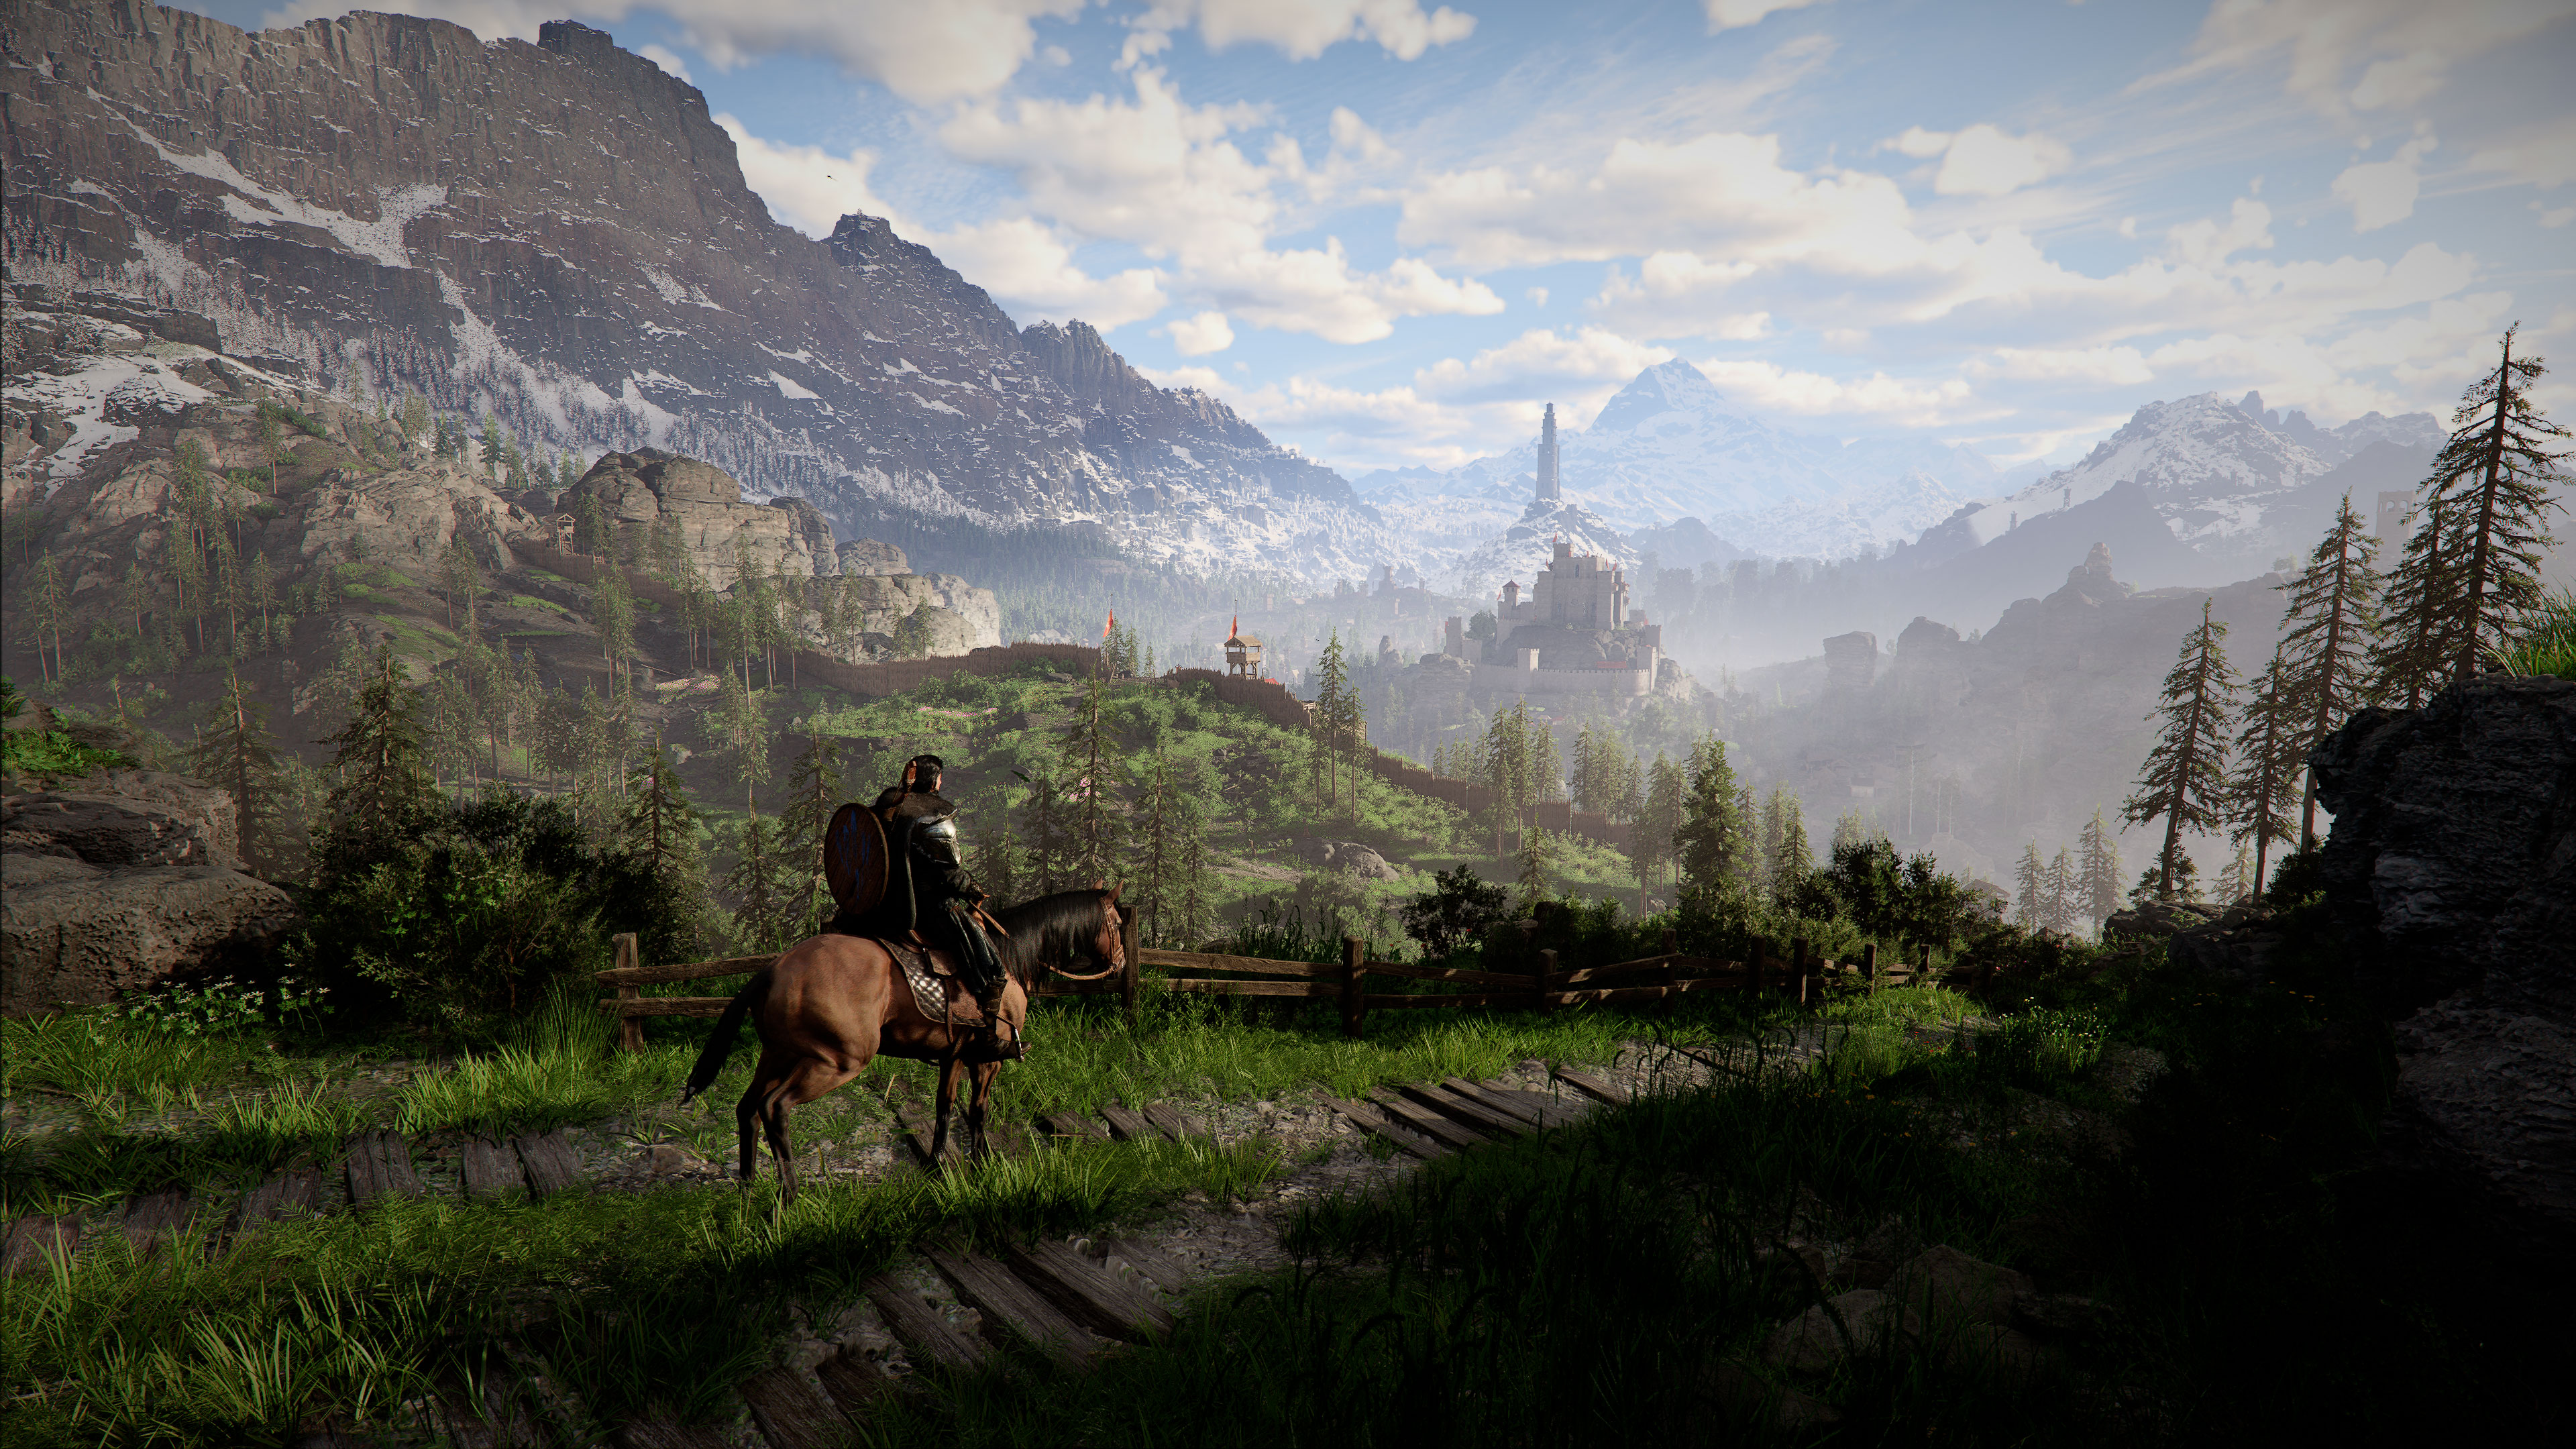
Chapter 8 is the political-conspiracy chapter. Pailune has just been retaken, Myurdin is presumed dead, and Torstein informs the Greymanes that the surviving Black Bears have fled to Demeniss to regroup. The chapter pulls Kliff and the band onto Demenissian soil for the first time, where the full shape of the conspiracy that began the campaign finally becomes visible.
Two parallel threads run through the chapter. The first is the conspiracy itself, traced through Visione memories at Windmere Manor and other Demenissian sites, which lay out a multi-step Demenissian plan to subjugate Pailune, Hernand, and Calphade. The second is the recovery of the Blood Coronation memory itself, witnessed using the Visione, which pulls Kliff briefly into the past and reveals how Duke Caliburn seized the Demenissian throne.
Two new allies, the witch sisters Mygu and Wusa, arrive partway through. The sisters' unique ability is to peer into the past and gently affect time, which is how Kliff escapes the Demenissian cells after Caliburn pulls him through the Visione vision. Damiane's personal arc closes here with her own confrontation against Lucian Bastier.
Key Story Beats
A letter from White Crow arrives on behalf of Mygu from the Eastern continents, asking for help rescuing her sister Wusa.
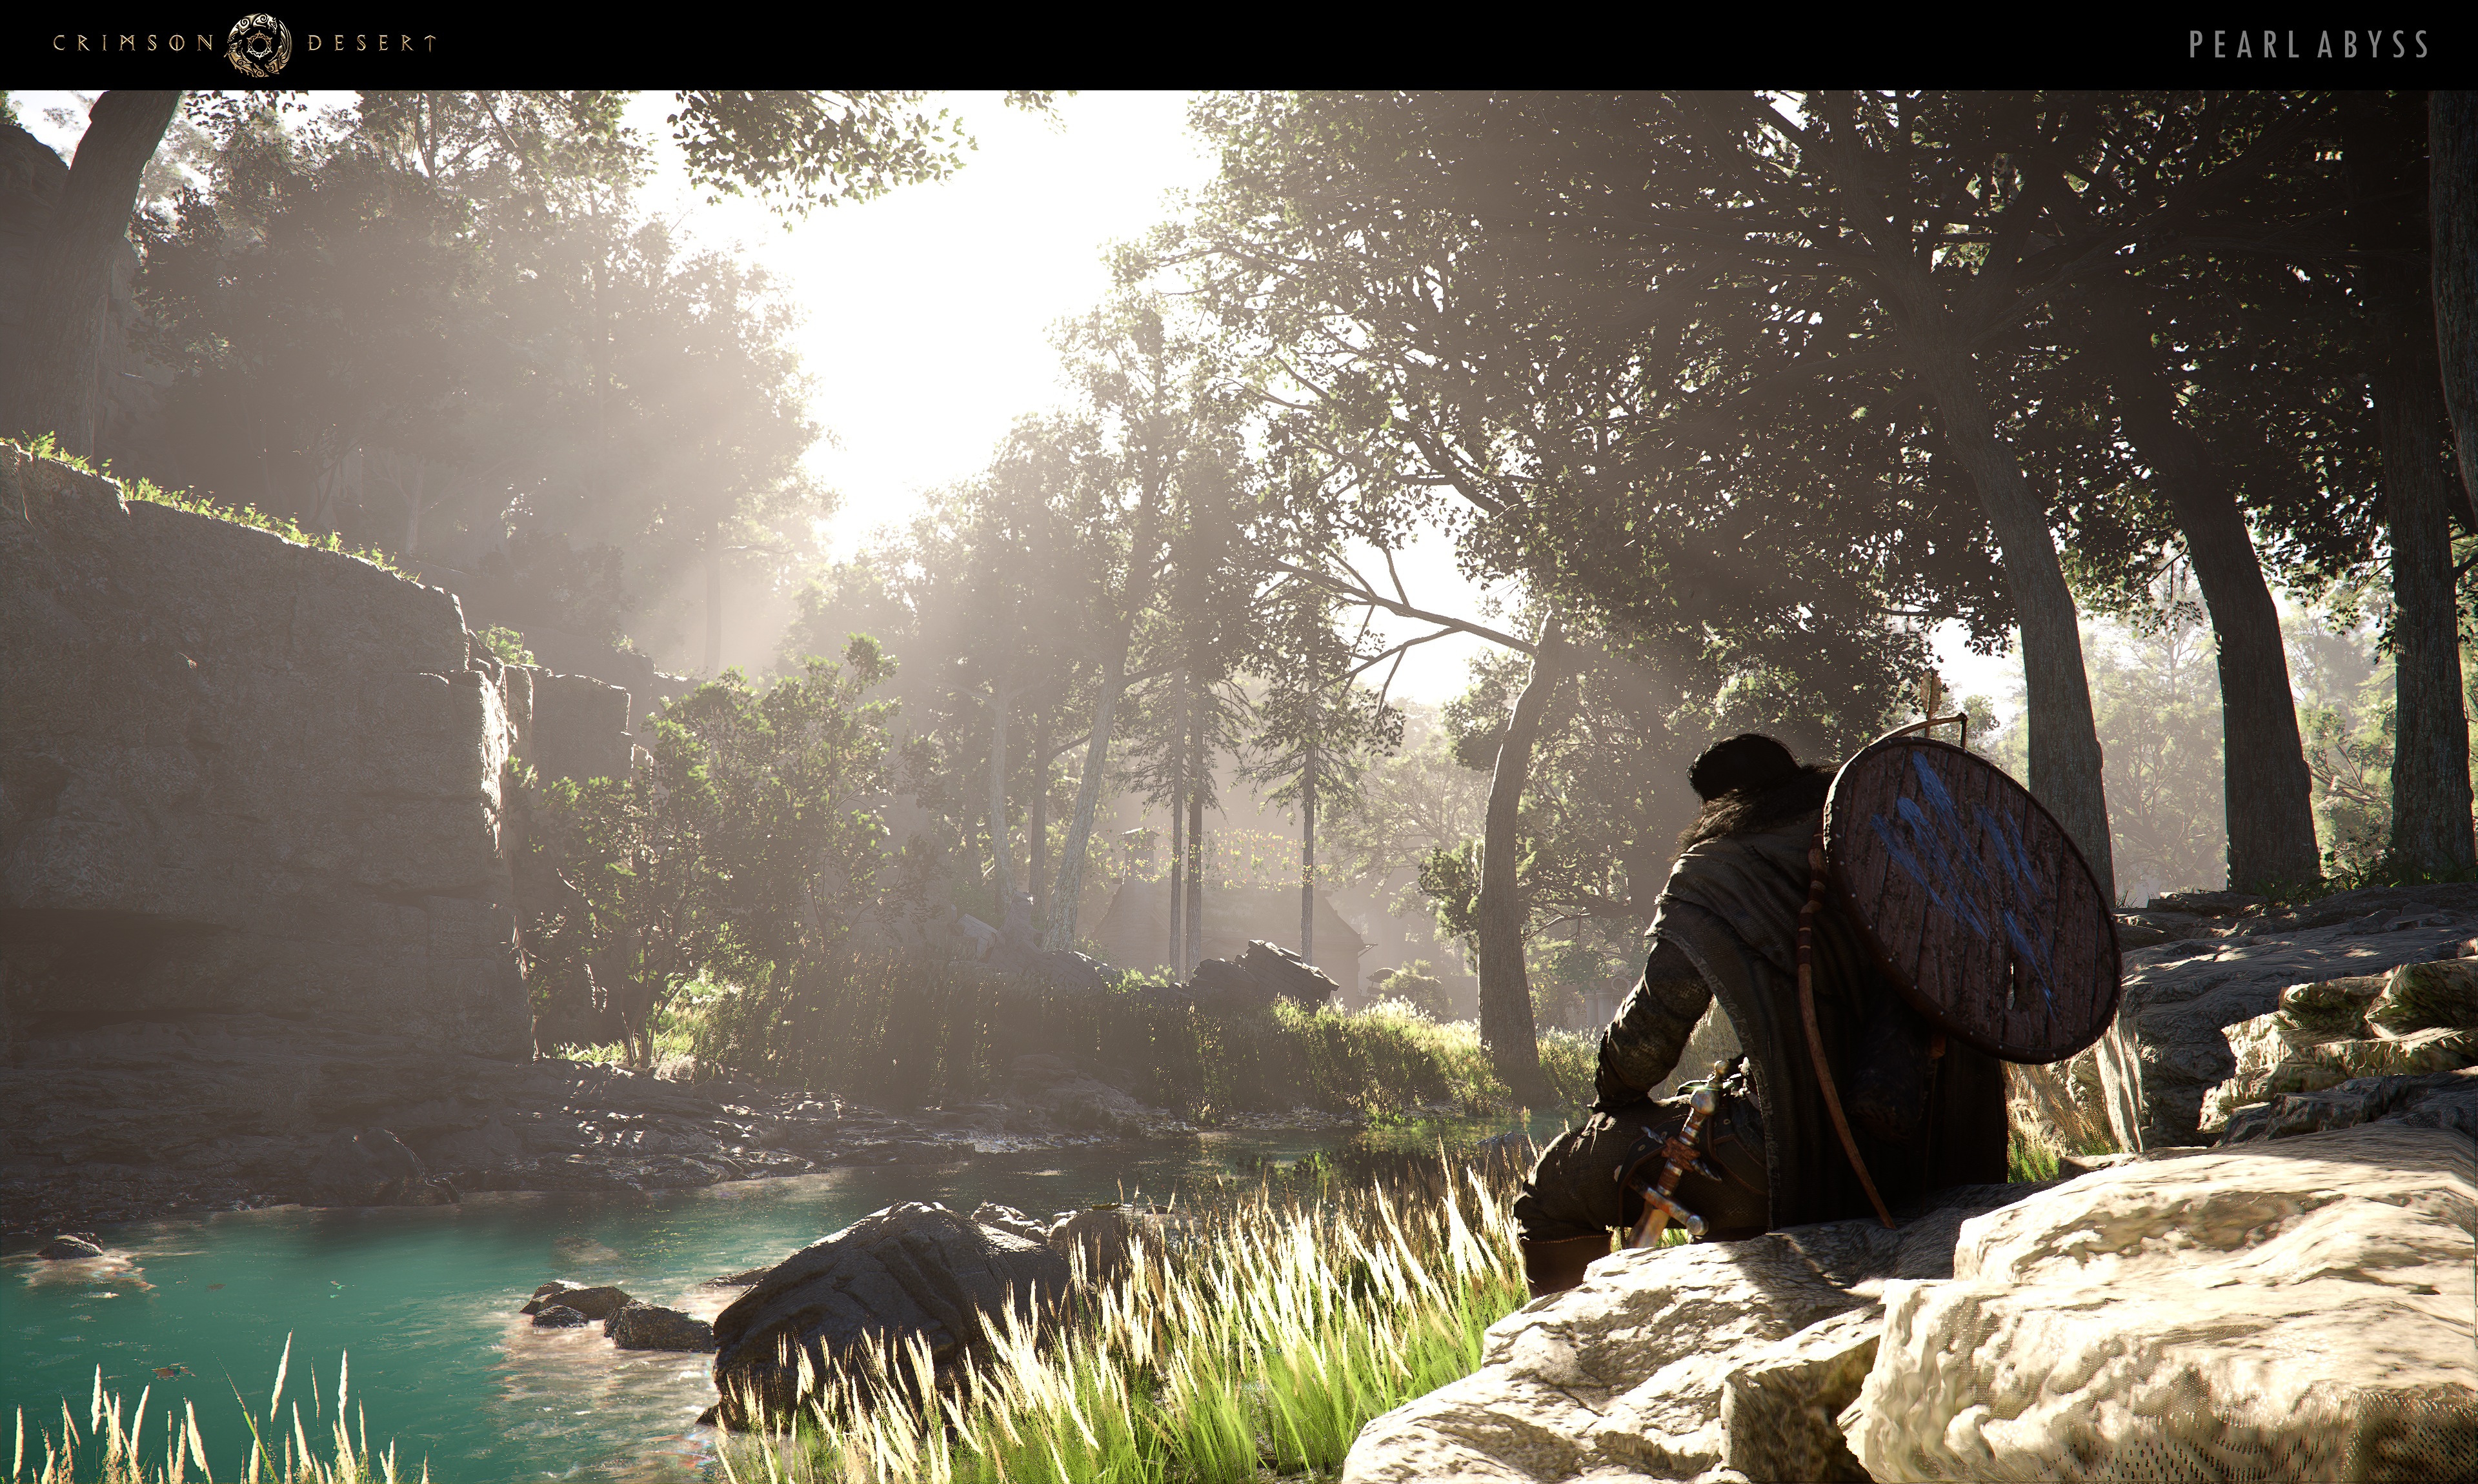
Mygu meets Kliff in a bamboo forest filled with foxes. She explains that Wusa was captured by Bastier's loyal aide Gregor the Halberd of Carnage and imprisoned at the nearby Fort Ironclad.
Kliff fights through Fort Ironclad, defeats Gregor the Halberd of Carnage (struck down with the line 'this is the price of the path you chose'), and frees Wusa. The sisters now owe a debt that pays out in the chapter's climax.
The Greymanes and Blue Fangs gather more intelligence on Myurdin and confirm that he had been working under Grand General Lucian Bastier. Demeniss is divided into smaller noble houses, including Beatrice Azerian's sister Countess Azerian, who agrees to host Kliff and points him at Duke Caliburn.
Visione memories from across Demeniss reveal the full picture. The conspirators are Bastier and his allies in Houses Byron and Marcello. The plan was a three-step operation: secure Pailune via the Jackals, sow chaos in Hernand using bandit cells, and turn Calphade by corrupting Cassius Morten. A separate alliance with Delesyia is mentioned and pays off in Chapters 10 and 11.
Kliff infiltrates Windmere Manor and assassinates George Byron, one of the men responsible for so much of his pain. A memory inside the room confirms it was Byron who gave Myurdin the direct order for the prologue raid on Pailune.
Damiane goes off to investigate Bastier directly. With the Countess's information she eventually traces Beatrice to a Demenissian cell, where she finds her swordmaster already dead.
At the Wells estate the cursed knight Fortain, the Cursed Knight is using Pailune refugees as human shields. He has been gifted a soul-splitting power by Hexe Marie. Defeating him triggers the curse: his dark double executes him at the end of the fight.
As thanks, Duke Wells reveals that he was a survivor of the Blood Coronation and saw a man he believes was Myurdin there. Kliff uses the Visione to step back into that memory.
Inside the recovered Blood Coronation memory, Kliff witnesses Duke Caliburn's power play: King Edward Theron was rumored to be returning to active rule, the dissatisfied nobles gathered to support him, and Caliburn slaughtered them in the hall. Caliburn senses Kliff's presence across time, pulls him bodily into the past, defeats him, and has him taken to the cells.
Mygu and Wusa rescue Kliff from the cells using their time-bending powers, repaying the debt from Fort Ironclad.
Damiane finally confronts Lucian Bastier at the foot of the Spire of Clockwork. He has abyssal power of his own. Damiane defeats him; he refuses capture and is struck down with his last breath of defiance. Just after his death, Damiane looks up and sees a flying fortress appear in the sky, setting up Chapter 9 and 10.
Cliffhanger: with Caliburn now openly massing forces at Fort Musket to crack open the gates of the Abyss, Kliff is nowhere near strong enough to face him. The chapter ends with Kliff's recovery in the Forest of Pailune, where Master Du finally makes direct contact and the campaign pivots toward Chapter 9's trials.
Named Characters
Character | Role in Chapter | Notes |
|---|---|---|
Protagonist | Briefly pulled into the past by Caliburn during the Visione vision and then rescued. Begins the chapter as the Greymanes' field commander and ends it broken and seeking out Master Du. | |
Greymane combatant | Closes her personal arc by killing Bastier. Beatrice is already dead by the time she reaches her. | |
Allied witches | Time-bending witches from the Eastern continents. Their rescue of Kliff from Caliburn's cell is the chapter's central moment of time travel. | |
Antagonist and boss | Grand General of Demeniss. Augmented by abyssal power and confirms his role in 'his chosen one' loyalty to Caliburn (in service ultimately of Umbra). | |
Antagonist and boss | Bastier's loyal aide. Defeated at Fort Ironclad while freeing Wusa. | |
Antagonist and boss | Once a Wells estate warrior. Took Hexe Marie's gift of a soul-double; defeated by Kliff and then executed by his own double. | |
Primary antagonist | Pulls Kliff into the past during the Blood Coronation memory. Defeats him there and has him imprisoned, ending Kliff's confidence going into Chapter 9. | |
Antagonist (assassinated) | Demenissian conspirator. Killed at Windmere Manor. Confirmed to have given Myurdin the direct order for the prologue raid on Pailune. | |
Beatrice Azerian (off-screen) | Damiane's swordmaster | Already dead when Damiane reaches her cell. Imprisoned and executed personally by Bastier. |
Duke Wells | Ally | Survivor of the Blood Coronation. His testimony and Visione access enable the recovered memory of Caliburn's coup. |
Bosses
Boss | Location | Notes |
|---|---|---|
Fort Ironclad | Bastier's right hand. Holding Wusa captive. | |
Wells estate | Soul-double gimmick fight. The double executes Fortain after the player defeats his primary form. | |
Foot of the Spire of Clockwork | Personally fought by Damiane. Second phase is Bastier's awakened abyssal form. He refuses capture and dies defiant. |
Key Locations Visited
Eastern bamboo forest (meeting with Mygu)
Fort Ironclad (Gregor fight, Wusa rescue)
Azerian Manor and Demenissian noble houses
Windmere Manor (Byron assassination, Visione memories)
Wells estate (Fortain fight, Blood Coronation memory)
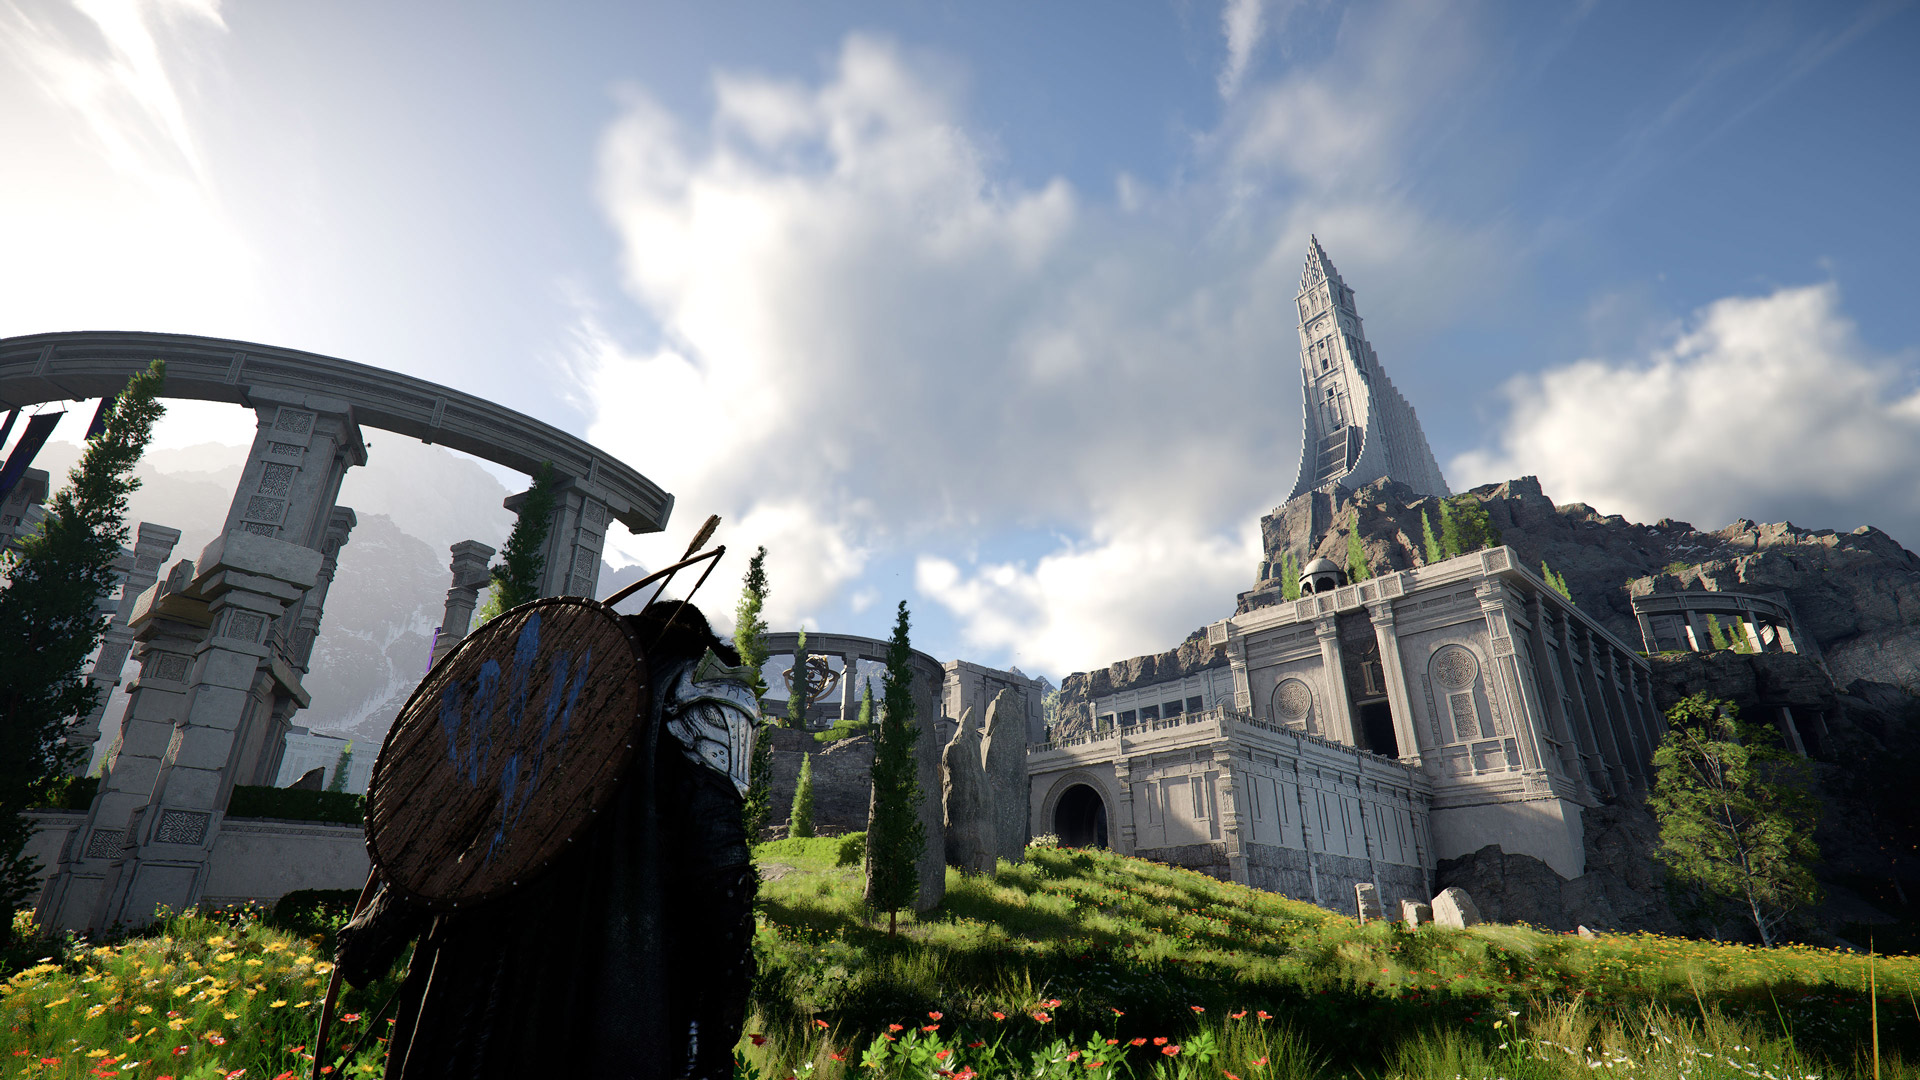
Spire of Clockwork (Damiane vs Bastier)
Forest of Pailune (Kliff recovers, Master Du contact)
Lore Reveals
The full Demenissian plan is finally legible. Step one was securing Pailune through the Jackals and Black Bears; step two was sowing chaos in Hernand by manipulating Walter Lanford into forming the Bleed Bandits; step three was seizing Calphade by corrupting Cassius Morten. The same conspiracy also established a separate alliance with Delesyia that pays out across the next two chapters.
The recovered Blood Coronation memory explains how Caliburn came to power. The plan against him was to assist a returning King Edward Theron and a Prince Price (named only in the archives) in reclaiming Demeniss. The conspirators trapped and slaughtered the nobles who were positioning themselves to support that restoration. Caliburn's later willingness to draw Kliff bodily into a Visione memory shows that his abyssal corruption is already advanced enough to bend the rules other characters operate under.
The chapter also formalizes the rule that any sufficiently powerful Umbra-aligned servant can be recycled as a future avatar. Lucian Bastier's 'I am his chosen one' line points to Caliburn on the surface, but the lore framing throughout the campaign makes clear that Umbra is the ultimate beneficiary.
Quest List
Quest | Sub-Chapter | Type |
|---|---|---|
Dialogue | ||
Exploration / Puzzle | ||
Boss Fight | ||
To Demeniss | Exploration | |
To Demeniss | Stealth / Infiltration | |
To Demeniss | ||
To Demeniss | Stealth / Assassination | |
To Demeniss | Dialogue | |
To Demeniss | Dialogue | |
To Demeniss | Siege / Combat | |
To Demeniss | Boss Fight | |
To Demeniss | Investigation / Memory | |
Cutscene |
Ashen Steps
Healing Pailune
Chapter 8 begins in Pailune. Myurdin has fled to Demeniss, while Naira and Andrew follow the Black Bears' trail to hunt him down.
Travel to the camp in the northern area of Pailune.
Meet Torstein and walk with him toward the docks.
Receive a letter from Torstein at the docks. The next quest begins immediately.
A Bond
Maegu, a witch from the far-off East, has suffered a series of trials: an injury and the abduction of her sister.
Read the letter. Open your inventory and find "Maegu's Letter" (purple key item).
Head to the altar in the Misty Forest. Travel southeast of your former Greymane camp in the Demeniss region. If you lack fast travel points here, teleport to the Abyss above your camp, descend, and ride to the remote location.
Light the stone lanterns. Interact with the two stone lanterns in front of the bamboo forest altar to ignite them. This completes the quest.
Ritual Preparations
Maegu needs three items retrieved from a shipwreck-strewn beach for a ritual.
Reading the Memory
Travel to the beach area and defeat the enemies present.
Use the lantern (L1/LB) in the center of the search area and focus on the ground until blue ghost outlines appear with a "Learning in Progress" notification.
Equip the Visione Helmet via the Options menu (bottom icon). Select "Demeniss > Memory of the Kidnapped Witches" to view the memory sequence.
Retrieving the Three Items
Item | Description |
|---|---|
Located in the sand in front of the northern shipwreck at the edge of the search zone. | |
Found beneath a large wooden shipwreck with a locked door. Use Nature's Grasp (Triangle + Circle / Y + B) on the wreck, then press Square/X to freeze it temporarily. Quickly grab the Censer from underneath. You can also position yourself under a hole to enter the ship when the wreck falls. | |
Located in the sand at the southern edge of the search area along the beach. |
Where the Wind Guides You
The wind leads you to Woosa's whereabouts. You must rescue her from a fortress held by Gregor, the Halberd of Carnage.
Return to the altar. At the bamboo forest altar, look at the ground with L1/LB and select "Examine" with Square/X to perform the ritual.
Find the fortress on the hill. Head northeast toward the objective. You can bypass enemies and use triple Force Palm jumps (press jump, then R3/RS mid-air) to boost over fortress walls.
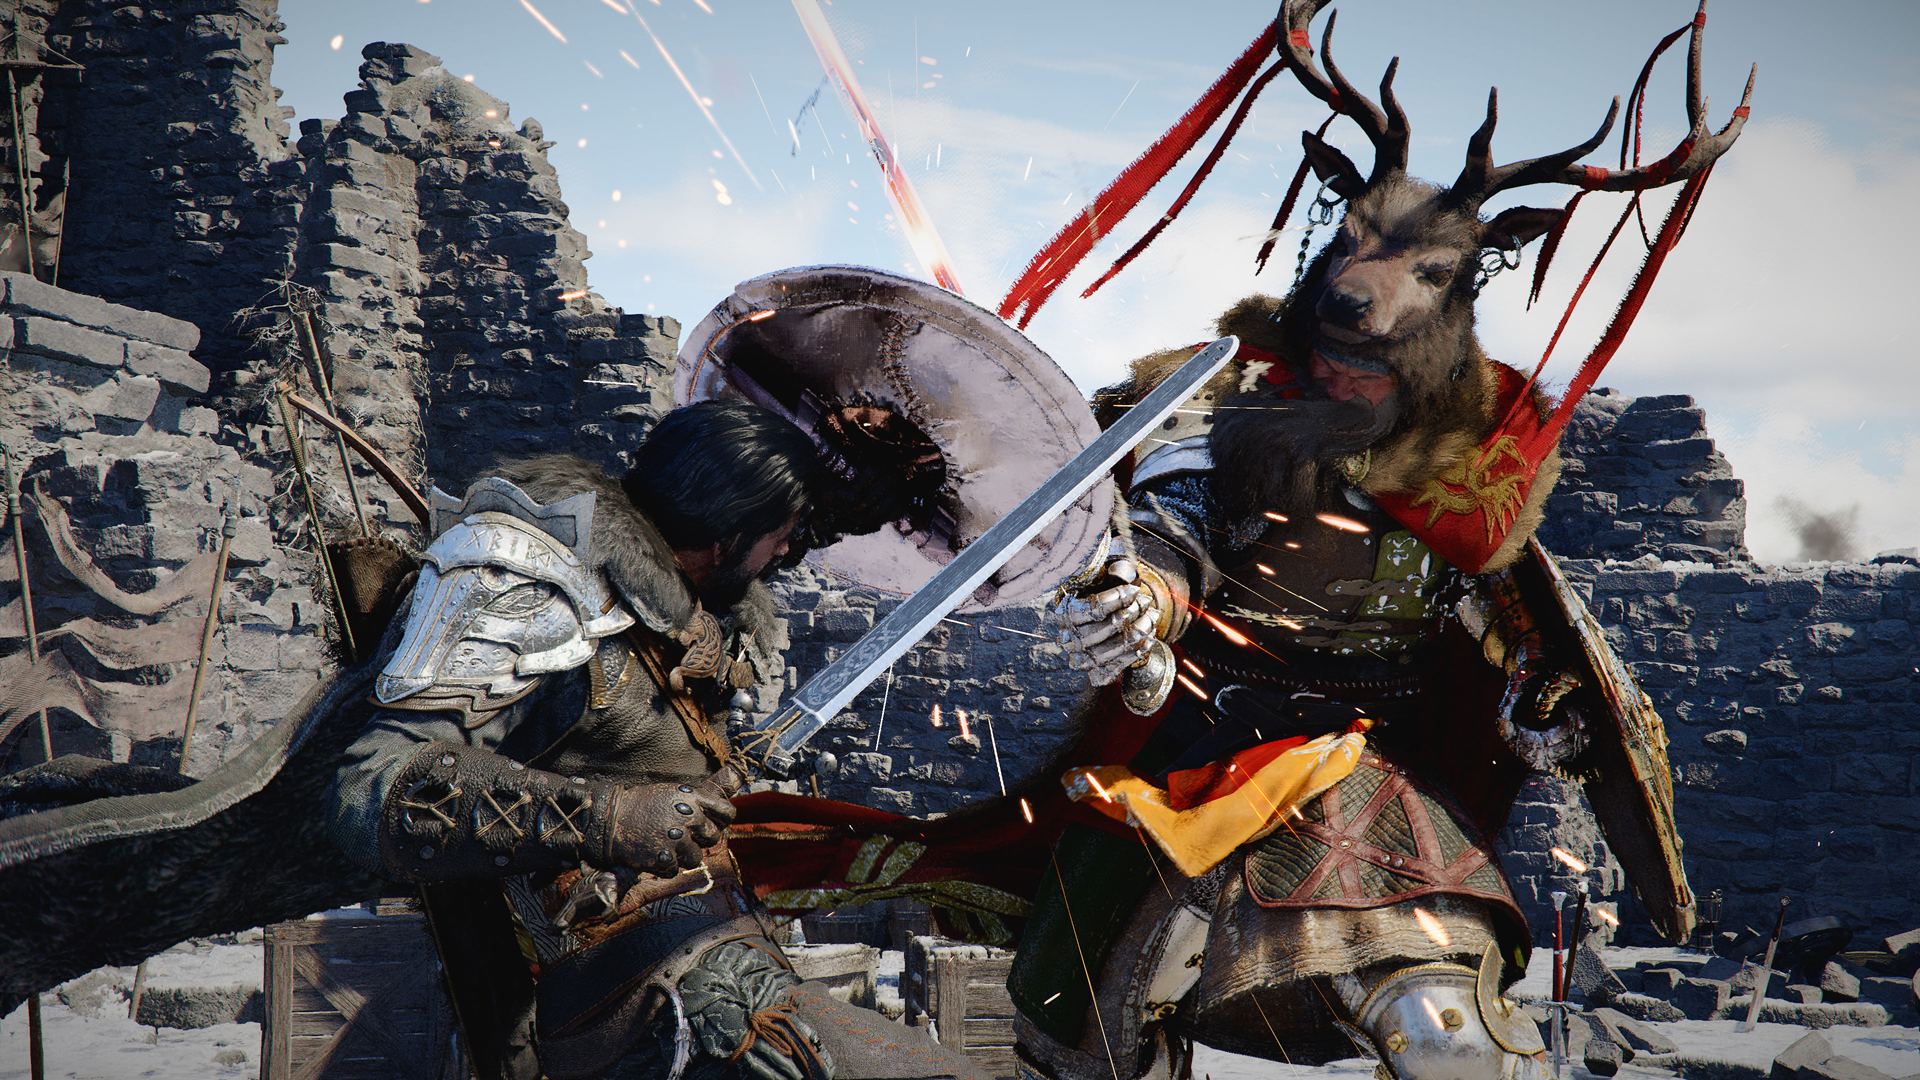
Boss Fight: Gregor
Gregor is a spear-wielding human boss with one health bar. Environmental arrows fire from the walls throughout the fight.
Enemy | Details |
|---|---|
Greatest threat | |
Strategy | Prioritize dodging over blocking during his attack chains. Land combos between his attacks and heal to sustain through damage. |
Positioning | Maintain evasive movement rather than defensive positioning to avoid both Gregor's attacks and the wall arrows. |
Move with Woosa. After defeating Gregor, interact with Woosa (the purple-dressed witch) outside the arena.
Take Woosa to Maegu. Mount your horse, let Woosa climb aboard, and ride back to the bamboo forest altar.
Rewards: Golden Vanguard Lance, 1 Abyss Artifact.
To Demeniss
Chasing a Shadow
Andrew and Naira left a secret message at the Greymane shrine. Their report identifies Count Azerian's manor as the center of the Demeniss intelligence network.
Return to Howling Hill. Travel to the old Greymane camp in Hernand.
Examine the dragon totem at the shrine. Find the dragon totem next to the wooden shrine and interact with it to retrieve a hidden letter.
Read the letter. Open "Report on Myurdin's Whereabouts" from your inventory.
Blazing Fire
All Demeniss intelligence flows through Count Azerian's manor. You must infiltrate it.
Travel to Rustleaf Farm in central Demeniss.
Infiltrate Azerian Manor. The optimal approach is climbing onto the roof and dropping to a balcony, then accessing the upper floor. The objective mentions avoiding guards, but you can fight them if detected; guards will not permanently fail the mission.
Find the secret room. On the upper floor hallway, walk against a visually distinct wall. It triggers a rotation mechanism revealing a hidden chamber.
Collect the evidence. Pick up the "Investigate Report" from the bedside table and read it through your inventory.
Escape. Exit through the same entrance. A cutscene triggers, establishing an alliance with House Azerian.
Whispering Shadows
Investigation into Countess Marshell reveals she knows what happened to Colette Azerian's missing sister.
Infiltrate Sungrove Manor. Combat with guards is required. When guards try to grapple you, quickly complete the QTE with Triangle/Y to avoid being thrown out.
Read the memory on Azerian's whereabouts. Head upstairs to the main office. Use L1/LB to examine blue ghost figures until the "Learning in Progress" bar completes. Then hold Options and select "Memory Fragment" to view the memory via the Visione Helmet.
Read the memory on Bastier's whereabouts. Go downstairs to the hallway and repeat the same procedure: observe blue ghosts, then view the Memory Fragment.
Bloodied Invitation
Count Byron burned Pailune and allowed innocent people to suffer. Now it is time to hold him accountable.
Infiltrate Windmere Manor. Climb across the roof and drop onto the front balcony. Enter through the balcony door while maintaining stealth.
Assassinate Count Byron. Byron is upstairs in his office. Stay undetected and use the assassination button (Square/X) when you reach him. If guards spot you, they will expel you from the manor, but you can reattempt.
Resolve Amidst a Storm
Damiane rushes out upon hearing the fate of her swordmaster. Countess Azerian explains that to secure allies, you must first aid Duke Wells. Return to Azerian's manor and speak with the Countess upstairs to trigger a cutscene that completes the quest.
Preparations for Advance
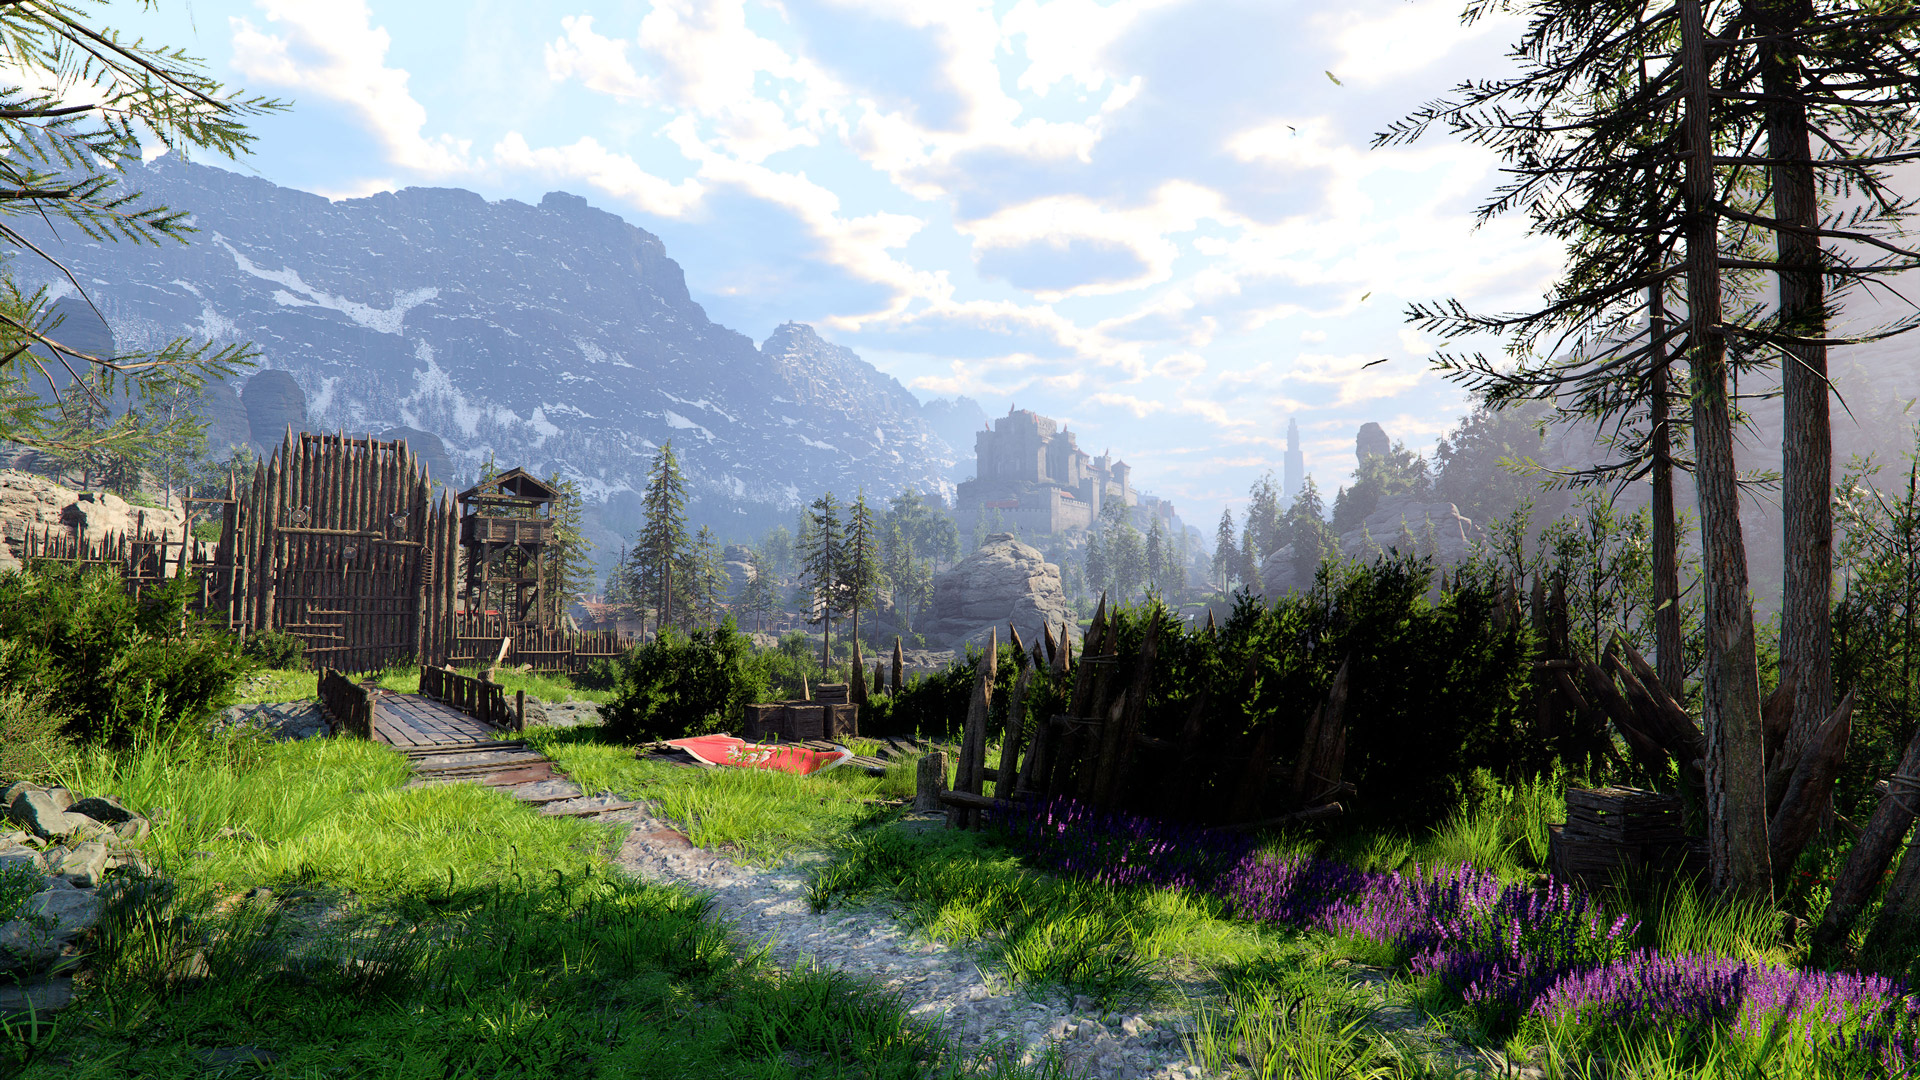
Turncoats have taken control of Thornbriar Fortress. Travel to the soldier camp at the quest marker and approach the white tent for a cutscene.
Critical preparation: Before triggering this cutscene, gather 200 or more Grilled Meat. The upcoming Rebel Suppression and Cursed Knight boss fight will drain your supplies. Hunt animals and purchase meat from vendors in Hernand and Pailune, then cook at available pots.

Rebel Suppression
A large-scale siege battle. Your goal is reducing the enemy percentage bar on the left side of the screen to zero.
Destroy the 3 siege towers (optional). Each tower contributes roughly 5% to the progress bar. These tall wooden structures can be destroyed by shooting nearby cannons at them multiple times.
Defeat the rebels. Clear enemies across the castle to reduce the percentage. You do not need to reach the upper castle marker first.
The Cursed Knight appears at the first siege tower as a preview encounter. He carries a shield and disappears when damaged, respawning at other siege tower locations. Avoid dying to preserve progress.
Mounted enemies deal dangerous kicks from behind. Position yourself to their side or front.
Grappling enemies trigger QTE counters requiring Triangle/Y. Maintain above 50% health to survive their attacks.
Alternative strategy: Instead of targeting siege towers, farm enemy kills by running through castle sections. Enemies respawn in later areas, allowing repeated kills that reduce the percentage.
The Cursed Knight
After suppressing the rebels, you meet with Duke Wells, who confirms the mysterious figure matches Myurdin. The Cursed Knight stands between you and the answers you seek.
Boss Fight: The Cursed Knight
Located in the castle courtyard at the top. This encounter has a dual-threat mechanic: the main boss repeatedly summons a ghost knight companion, creating a partial two-boss fight. Despite the two opponents, only one health bar exists.
Enemy | Details |
|---|---|
Ghost knight | A blue ghost that attacks with ground strikes and arrows. The main boss continues attacking while the ghost is present. |
Limited openings | You must dodge constantly due to attacks from both enemies simultaneously. |
Recommended weapon | The Tauria Curved Sword with heavy attacks, combined with the Nature's Echo green skill that duplicates heavy strikes. |
Strategy | Execute heavy attack combos followed by light attacks to break defenses. When the ghost appears, dodge away immediately and wait for an opening. |
Rewards: Shackle of Might (Sword), 1 Abyss Artifact.
The Blood Coronation
This quest gives the chapter its name and involves investigating Duke Caliburn's old office through memory fragments.
Reach the old office. Enter the large palace in the Demeniss capital. Hostile enemies will try to stop you; defeat them without reputation consequences. Avoid being grappled, as this causes you to respawn on rooftops. The office is on the second floor and resembles a banquet hall.
Examine memory fragments. Interact with the blue ghost figures using L1/LB until "Learning in Progress" completes. Equip the Visione Helmet via Options, then select "Memory Fragment."
Follow the ghosts to the audience chamber. Stay in Visione mode (do not press Circle/B). Follow the ghosts downstairs to the main audience chamber. If you accidentally exit Visione mode, return upstairs and reactivate the memory fragment.
Listen to the nobles' conversation. While still in Visione mode, examine the three brighter blue ghost figures in the audience chamber. They display Examine prompts when targeted.
Battle cutscene. A memory sequence depicts a slaughter. Gabriel Caliburn then attacks you. Allow him to defeat you; victory is not required. A cutscene follows, transitioning gameplay to Damiane.
Traitor
Clue
The final quest of Chapter 8 is a transitional narrative moment. After the events at the palace, a cutscene plays that sets up the next chapter. Details on this quest's full content will be expanded as more information becomes available.
Tips for Chapter 8
The stealth infiltration quests (Blazing Fire, Whispering Shadows, Bloodied Invitation) do not require perfect stealth. Being detected leads to combat or expulsion from the manor, but you can always reattempt.
Stock up heavily before Preparations for Advance. The Rebel Suppression quest and Cursed Knight boss fight form a long combat sequence with limited opportunities to heal between encounters.
The Visione Helmet is used extensively in this chapter. Remember that you must stay in Visione mode while following ghosts; pressing Circle/B exits the mode.
During The Blood Coronation, you are meant to lose the fight against Gabriel Caliburn. Do not waste healing items trying to win.
Nature's Grasp remains useful for the Ritual Preparations quest at the shipwreck beach. Use it to freeze the shipwreck temporarily while grabbing the Censer underneath.
The Gregor boss fight in Where the Wind Guides You can be trivialized by dodging forward-right through his stab combos and counterattacking from behind.