Complete walkthrough for Chapter 12 of Crimson Desert's main story. Covers all 6 quests across The Final Battle and The Void sub-chapters, including the siege preparation, the Forbidden Gate sequence, and the climactic battle against the forces of the Abyss.
Chapter 12, "The Abyss," is the final chapter of Crimson Desert's main story campaign. Following the destruction of the Flying Fortress Orbian in Chapter 11, Kliff and the Greymanes face the ultimate threat: the Abyss itself. The balance between the physical world of Pywel and the Abyss realm has been shattered, and gates are opening across the continent, unleashing corrupted creatures and destabilizing reality. The chapter spans 6 quests divided into two sub-chapters: The Final Battle and The Void.
The Final Battle sub-chapter focuses on the Greymanes' coordinated military operation to reach the primary Abyss gate, while The Void takes Kliff into the Abyss realm itself for the campaign's climactic encounters. This is the most combat-intensive chapter in the game, with multiple back-to-back fights and minimal exploration downtime.
Preparation: This is the endgame. Bring every resource you have. Stock at least 200 Grilled Meat (300 is safer, given the extended combat sequences). Carry Palmar Pills for emergency revival. Ensure all weapons and armor are at maximum refinement. Slot your best Abyss Cores into your equipment. The recommended setup includes Crow's Pursuit, Crimson Rose of Sin, and Wind Slash in your primary sword. Equip fire-resistant armor for the later fights, and bring a full stack of arrows for ranged damage during specific encounters.
Story Context
Chapter 12 is the campaign's finale. The Greymanes, Marquis Stefan Lanford's coalition, and the remaining Demenissian lords march on Fort Musket while Kliff heads for Duke Caliburn personally. Caliburn has captured the Dean of the Scholar's Stone Institute and is forcing him to open the abyssal gates that will let Umbra spill fully into the world.
The chapter has three movements: the final confrontation against Caliburn at Fort Musket; the avatar-swap fight against Caliburn-then-Myurdin inside Dimensional Bonds; and the closing arc against Umbra's true archangel form. Cycle 108 succeeds where 107 prior cycles failed, with Unkar landing a decisive saving blow at the moment when Kliff has finally been worn down by Umbra's true form.
After the fight Kliff is dramatically aged by the temporal collapse at the heart of the Abyss. The epilogue walks him through every major ally to confirm that this cycle held, and ends with Sebastian inviting him to walk the desert. Completing all 40 abyssal sections after the credits lets Kliff reclaim his stolen years.
Kliff reaches Duke Caliburn inside Fort Musket too late to stop him from opening the abyssal gates. The Dean of the Scholar's Stone Institute is being forced to perform the openings. A brief cutscene confrontation establishes the duel.
Kliff follows Caliburn out of any of the abyssal routes, all of which converge on Dimensional Bonds, the abyss that connects space to space, and from there to the central abyssal gate.
Caliburn at this stage is no longer himself. His body has been fused with the consciousness of Umbra. He addresses Kliff as 'another stone that stands in my path' and accuses prior Kliffs of greed, vanity, and weather-vane will, an echo of the personality experiments documented in the Axiom Archive.
Kliff defeats the Caliburn body. Umbra then resorts to its backup avatar: the assimilated body of Myurdin, which was preserved when Myurdin fell in his lava fortress at the end of Chapter 7. Kliff defeats this avatar too.
Umbra unleashes its true form, an archangel bird-thing whose iconography has been foreshadowed since the prologue (the eye of Umbra around Gwyn's neck, the Caliburn and Myurdin fight designs). Even at this scale, prior cycles lost: every previous attempt that reached this stage was 'swallowed by that same darkness once more.'
In the final stretch the in-universe explanation for victory is the player themselves. Kliff cannot resist Umbra alone because he is fundamentally of the same source. The player is the outside intervention that gives him the resolve to push through.
Falling through the darkness at the heart of the Abyss, Kliff ages dramatically in seconds. Unkar lands the saving blow at the moment Kliff cannot continue, and Umbra finally falls.
Kliff awakens in a house in Pailune as an old man. The guardians of the Abyss confirm balance is restored. He revisits Barden Middler (now ennobled at Hernand), Marquis Sarcus at Pailune, Marquis Stefan Lanford at Calphade, Countess Azerian at Azerian Manor, Valgash at the rebuilt Gorthak Ironworks, Marni (still speaking only through the Visione), Duke Wells at Fort Musket, and finally Sebastian at the northernmost Wycliffe Mappery.
Multiple loose threads are intentionally left open: Hall's voice through the Visione in Marni's wing of Delesyia (hinting it is not fully gone), Countess Azerian's prediction that another Demenissian bloodbath looms once King Theron wakes, and Duke Wells's warning about desert tribes massing at Fort Musket's borders.
Completing all 40 abyssal sections after the credits routes all abyssal power back to Dimensional Bonds. Activating its power buttons opens a final door to a giant spinning abyssal cube, which is implied to be what Umbra has been reduced to. Inside, Kliff reclaims the life force and personality the guardians stripped from him, restoring his age and emotions.
Defeats Caliburn's avatar, then Myurdin's avatar, then Umbra's true form. Ages dramatically in the closing fall, and can be restored to his prime through post-game completion.
Marni once again refuses to meet in person. Hall's voice through the Visione closes the epilogue with a confession that the Visione was always also designed to harvest user emotion, implying he has surpassed his creator.
Final boss. Two prior cycles also reached this moment and were absorbed. Cycle 108 is the first to push through, partly because of player intervention as in-universe lore.
The chapter confirms in dialogue what the Axiom Archive describes in fragments: Caliburn was once a virtuous man, and Umbra deliberately sought him out as a powerful enough host to serve as its avatar, just as the four guardians chose Kliff for the same role on the opposite side. Both endgame antagonists Kliff fights are bodies, not minds: the mind is Umbra throughout.
The final cycle 107 archive entry is also explicit. The guardians ran out of refinements that could close the gap, and the final cycle bet was to bring in something completely new: a being from outside the Abyss entirely, capable of using Kliff as their avatar. The player is that being, in lore. This is why Kliff's ability to push through Umbra's eye in cycle 108 is framed as 'only intervention' rather than another personality tweak.
The epilogue makes the world's future explicitly uncertain. The political conspiracies that Umbra used as a wedge in earlier chapters are not all dead. Houses Byron and Marcello have lost their leaders but not their bloodlines. King Edward Theron remains in his sickbed but is expected to wake. Hall is still alive in some form inside the Visione network. The campaign closes on a successful save followed by a deliberate setup for what could come next.
The Final Battle sub-chapter opens with the Greymanes marshalling their forces for the decisive push toward the primary Abyss gate. Allies gathered throughout the campaign rally to Kliff's side as the full weight of the conflict comes to bear. This sub-chapter contains four quests that escalate from tactical planning to an all-out military assault.
The chapter opens with a war council at the Greymane Camp. Kliff gathers the surviving Greymanes and allied forces to plan the assault on the Abyss gate. The intelligence gathered during the events in Delesyia has revealed the gate's location, and the operation requires precise coordination to succeed.
Attend the war council. Travel to the command tent at Greymane Camp. A cutscene plays in which Kliff, along with allies including Yann, Naira, and other key characters, discusses the battle plan. The Abyss gate is protected by multiple defensive positions that must be neutralized simultaneously.
Assign roles to your allies. After the cutscene, interact with the tactical map on the table. You must assign different allied groups to assault different defensive positions. The assignments affect dialogue but not the overall outcome of the battle.
Prepare your equipment. After the briefing, you have a window to visit the camp's vendors, upgrade your gear, and stock up on supplies. This is the last opportunity to shop before an extended combat sequence. Purchase everything you need.
Move to the staging area. When ready, speak with the lieutenant at the camp's exit to begin the march. A cinematic shows the allied army moving into position across the battlefield.
Clear the forward outpost. The first combat encounter of the chapter begins here. Lead the charge against the enemy fortification. Defeat all hostiles in the area, including two shielded officers who require parrying to break their guard. Raising the allied banner at the outpost triggers reinforcements.
Precise Execution sets the tone for the entire chapter. The combat encounters are more difficult than anything in previous chapters, with enemies dealing increased damage and appearing in larger numbers. Prioritize targets with ranged attacks first, as they can chip away at your health while you engage melee fighters.
The advance toward the Abyss gate stalls when a massive enemy force counterattacks. The Greymanes must hold their ground while awaiting reinforcements from allied factions. This is a defensive combat quest with wave-based enemy spawns.
Defend the forward position. Enemies attack from two directions. Position yourself at the chokepoint between the two approach routes to maximize your area coverage. Allies fight alongside you but can be overwhelmed without your support.
Protect the siege equipment. A large ballista is being assembled behind your position. If enemies reach it and deal enough damage, it is destroyed and must be rebuilt (adding time to the encounter). Prioritize intercepting enemies that break past your frontline.
Survive the elite wave. The third wave includes an elite enemy that uses heavy two-handed weapons and super armor. Parry its attacks or use Force Palm to stagger it, then follow up with combos. Do not try to trade blows, as its damage output is significantly higher than standard enemies.
Signal the advance. Once all waves are defeated, interact with the signal fire to call for the main force to resume its march. A cutscene shows the army pushing forward toward the gate.
Note: If the ballista (referred to as the "Ultimate Weapon" in some quest logs) is destroyed and you retry the encounter, its health may not fully recover. This is a known issue. If this happens, focus on protecting it more aggressively during the initial waves.
With the path cleared, the Greymanes and their allies prepare for the final push. This quest is heavily cinematic, with several characters delivering speeches and moments of reflection before the climactic assault. It is one of the most emotionally charged sequences in the game.
Walk through the allied camp. Follow the quest marker through the forward camp. Speak with individual allies along the way. Each conversation is optional but adds depth to the characters' motivations and relationships. Long-standing companions share personal stories and express their hopes for what comes after the battle.
Witness the rally speech. Approach the central platform where Kliff addresses the assembled forces. A cinematic plays in which Kliff delivers a speech rallying the troops for the final fight. The tone is solemn but determined.
March to the Abyss gate. After the speech, the army begins its march. This segment is semi-interactive: you walk alongside your companions as the army moves forward. Occasional dialogue triggers provide additional story context.
Engage the gate defenders. The march culminates in a large-scale battle at the base of the Abyss gate. Fight alongside your allies against waves of Abyss-corrupted enemies. The scale of this encounter is larger than any previous battle in the game, with dozens of combatants on both sides.
Departure of the Brave is both a narrative climax and a transition into the Abyss itself. The combat at the gate's base is challenging but manageable with proper gear and healing supplies. After the battle, the gate opens and Kliff steps through into the Abyss realm.
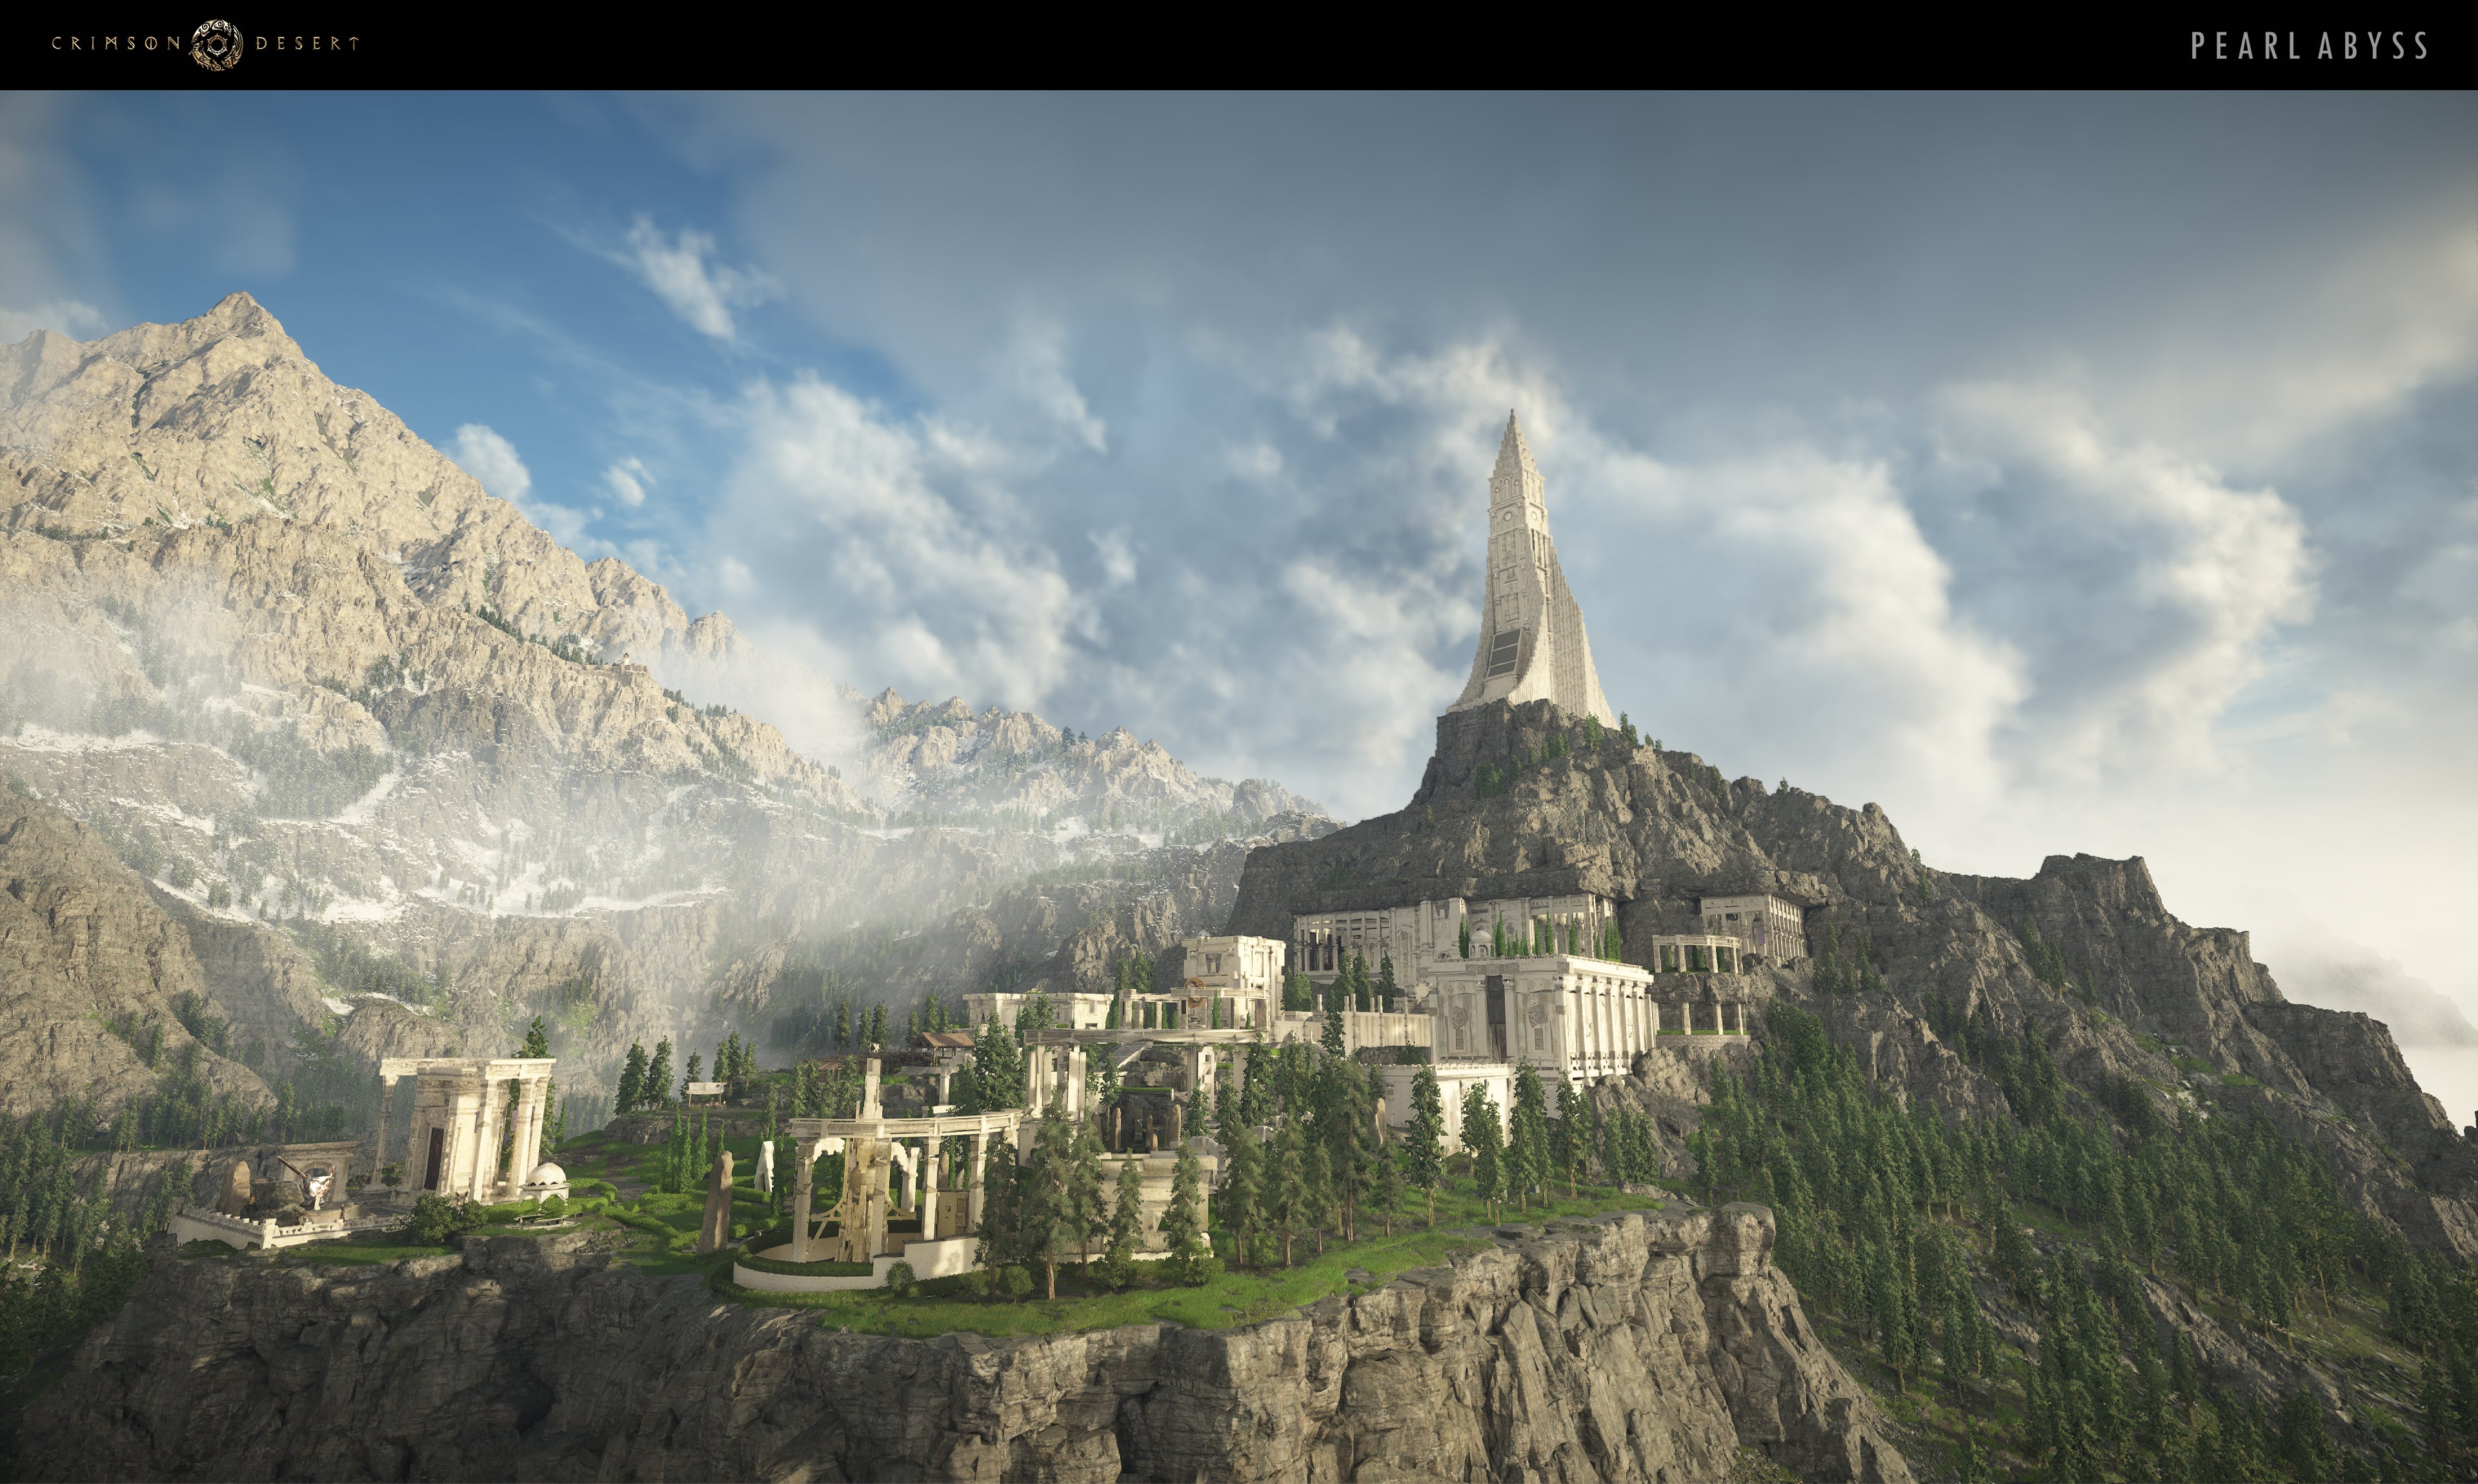
Kliff passes through the Abyss gate and enters a transitional zone between the physical world and the Abyss realm. The Forbidden Gate is a massive structure that is the threshold between the two planes. This quest combines puzzle mechanics with a significant boss encounter.
Navigate the threshold chamber. The interior of the gate is a surreal space where gravity shifts and platforms float at irregular angles. Use Axiom Force to manipulate floating platforms and create pathways forward.
Activate the Abyss totems. Three totems must be activated to unlock the inner gate. Each totem requires you to use Axiom Force to grapple the blue glowing center of the totem structure. Enemies spawn around each totem and must be cleared before activation is possible.
Solve the power routing puzzle. After activating all three totems, a central mechanism appears. Climb out of the pit, position yourself on top of the large circular mechanism, hang in the middle of it, and use Force Palm to activate it. This requires precise positioning: you must be suspended directly in the center.
Defeat the Gate Guardian. The activation triggers a boss encounter with a Gate Guardian, a large corrupted entity that guards the passage into the Void. This boss has two health bars. In the first phase, it uses sweeping melee attacks and ground slams. In the second phase, it gains Abyss-powered ranged attacks that leave lingering damage zones on the ground. Avoid standing in the glowing areas and focus on dodging behind the boss for counterattacks.
Defeating the Gate Guardian opens the passage into the Void, the deepest layer of the Abyss. A cutscene plays showing Kliff stepping through as reality distorts around him. The Void stretches endlessly in all directions, a realm of floating islands and swirling darkness.
Rewards: Abyss Artifact, Gate Guardian's Seal (accessory with dark resistance bonus).
The Void
The Void is the deepest layer of the Abyss, a realm of floating islands suspended in infinite darkness. The rules of the physical world do not apply here: gravity is inconsistent, distances are deceptive, and the landscape shifts without warning. Only two quests remain, but they represent the most challenging encounters in the entire game.
Inside the Void, Kliff must navigate a series of floating islands while battling shadowy creatures that emerge from the darkness. This quest makes heavy use of the game's aerial movement mechanics, including gliding, Force Palm propulsion, and wing abilities.
Traverse the first island chain. Glide from the entry platform to the nearest floating island. The gap is too wide for a normal jump; use double jump followed by glide to reach it. On the island, defeat the shadowy creatures that materialize.
Activate the Abyss beacon. Each island has an Abyss beacon that must be activated to create a bridge to the next island. Use Axiom Force on the beacon's core. The activation process takes several seconds, during which more creatures attack. Clear them while waiting for the beacon to charge.
Cross the void bridges. The activated beacons generate translucent bridges between islands. These bridges are temporary and begin to fade after approximately 30 seconds. Cross quickly and activate the next beacon to maintain your path.
Defeat the shadowy apparitions. The creatures in the Void differ from standard enemies. They phase in and out of visibility, making them difficult to target. When a creature becomes visible, use Blinding Flash to lock it in place, then glide toward it and use Force Palm (R3 mid-air) to strike. Three Force Palm hits are sufficient to destroy each apparition.
Reach the central platform. After traversing multiple island chains, you arrive at a large central platform where the fabric of the Void is most unstable. Meditate at the Abyss node to restore your Spirit, then prepare for the final confrontation.
Spirit management is critical during this quest. Force Palm, gliding, and Axiom Force all consume Spirit. When your Spirit is depleted, take cover behind pillars or stone formations on the islands and hold the meditation button to recharge. Do not attempt to chain multiple Force Palm strikes without checking your Spirit reserves.
Blinding Darkness is the final quest of Crimson Desert's main story campaign. At the center of the Void, Kliff faces the source of the Abyss corruption, a manifestation of pure darkness that threatens to consume all of Pywel. This is a multi-phase boss fight that tests every skill the player has acquired throughout the campaign.
Phase 1: The Darkness Awakens
The boss manifests as a towering figure of shadow and corrupted Abyss energy. In this phase, it primarily uses sweeping melee attacks with long reach and ground-pound shockwaves.
Attack pattern: The boss alternates between three-hit combo sweeps and ground pound shockwaves. The sweeps can be dodged by rolling forward and to the right. The shockwaves are telegraphed by a brief wind-up animation where the boss raises both arms; jump to avoid the wave.
Damage windows: After each ground pound, the boss pauses for approximately 3 to 4 seconds. Use this window to land heavy attack combos. Blinding Flash followed by Force Palm creates a brief stagger that extends the window by an additional 2 seconds.
Healing: Heal between attack combos, not during them. The boss's sweeps cover a wide area and will interrupt healing animations.
Phase 2: Abyssal Form
At roughly 50% health, the boss transforms and gains new abilities. The arena becomes partially obscured by darkness, reducing visibility.
New attacks: The boss adds ranged dark energy projectiles and a charging attack where it warps across the arena. The projectiles can be blocked but not parried. The charge attack must be dodged sideways.
Environmental hazards: Patches of the arena floor become corrupted, dealing damage over time if you stand on them. Keep moving and avoid the glowing dark patches.
Strategy shift: Force Palm becomes the primary tool for creating openings. The boss dodges standard attacks more frequently in this phase, but cannot evade Force Palm staggers. Chain Force Palm into heavy attack combos for consistent damage.
Phase 3: Blinding Light
In the final phase, the boss becomes fully enraged and the arena is plunged into near-total darkness. Only the boss itself and the player character emit light.
Visibility: Use Blinding Flash frequently to illuminate the arena and reveal the boss's position. Without it, you are fighting blind and will be hit by unseen attacks.
Accelerated attacks: All of the boss's attacks are faster in this phase. The three-hit combo becomes a five-hit combo, and the recovery windows between attacks are shorter. Do not commit to more than 2 to 3 hits per opening.
Final stand: At approximately 10% health, the boss enters a desperation state with continuous attacks. Survive the onslaught by blocking and dodging without counterattacking. After roughly 15 seconds, the boss exhausts itself, creating a large window for the killing blow.
Defeating the Blinding Darkness triggers an extended cinematic. Kliff uses the accumulated power of the Abyss Artifacts collected throughout the campaign to seal the Void and restore the balance between the Abyss and the physical world. The Greymanes escape the collapsing Void realm as reality reasserts itself. The chapter concludes with Kliff reuniting with his companions on the surface, exhausted but victorious.
Rewards: Voidbreaker (two-handed sword), Abyss Walker's Cloak, completion of the main story campaign.
Tips for Chapter 12
This chapter has no vendor access after the Precise Execution quest. Stock up on everything before starting the march.
The Deferred Advance quest has a known bug where the ballista health does not fully reset on retry. Protect it aggressively during the first attempt.
In the Void, Spirit management is more important than raw damage output. Running out of Spirit mid-air over the void results in death by falling.
The final boss fight (Blinding Darkness) has three phases with no checkpoints between them. If you die, you restart from Phase 1. Conserve healing items and play defensively in the early phases.
Blinding Flash is essential for Phase 3 of the final boss. Without it, you cannot see the boss's attack telegraphs in the darkened arena.
If you are struggling with the final boss, consider returning to the open world (via Chapter Select after your first attempt) to farm additional Abyss Artifacts and upgrade your Abyss Cores.
After completing Chapter 12, the Epilogue begins automatically. The open world remains fully accessible, and all side content can still be completed.