Complete walkthrough for Chapter 6 of Crimson Desert's main story. Covers all 15 quests across the Blazing Beacon, Under the Banner Pike Again, Turning Tides, and The Undying Shields sub-chapters, including the Calphade siege and Cassius Morten boss fight.
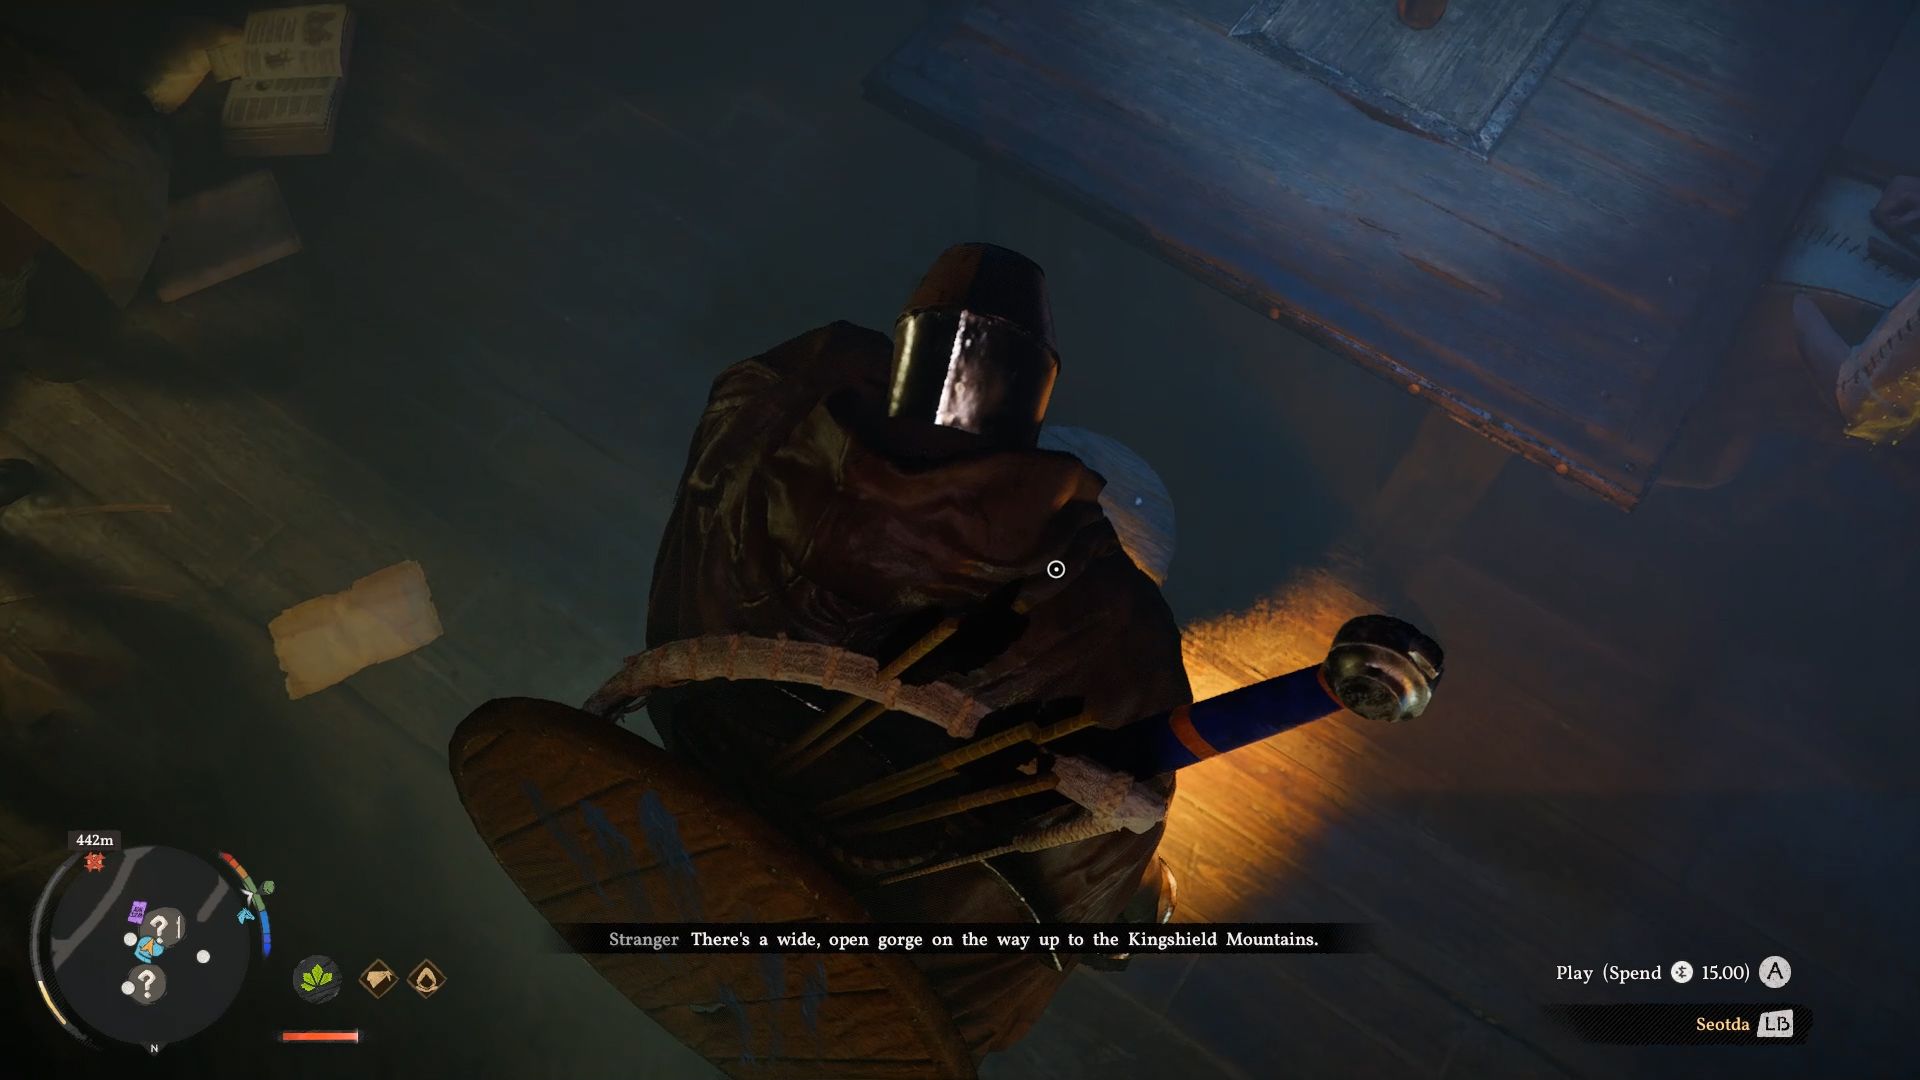
Chapter 6, "Cracks in the Shield," is the longest sustained battle sequence in Crimson Desert. The entire chapter takes place across the Calphade region as Kliff and allied forces fight to reclaim the territory from the Black Bears. The chapter introduces battlefield mechanics including banner raising, cannon operation, Whistling Arrows for calling in bombardments, and siege warfare against enemy battle tanks.
This chapter spans 15 quests divided into four sub-chapters: Blazing Beacon, Under the Banner Pike Again, Turning Tides, and The Undying Shields. Several quests flow directly into one another without returning to the open world, so stock up on supplies before starting.
Preparation: Before entering Chapter 6, purchase and cook at least 100 Grilled Meat (200 is safer). Ensure your weapons and armor are at refinement level 4 or higher. The Tauria Curved Sword from the Crowcaller boss in Chapter 5 is highly effective throughout this chapter.
Story Context
Chapter 6 takes Kliff out of Hernand for the first time in a major way. The war for Calphade is the first time the Greymanes fight Black Bears on the field since the prologue, and it is the chapter that brings Unkar back into Kliff's company after the long opening.
Charles Celeste, the Duke of Lan and head of House Celeste, summons Kliff for an audience and asks him to take command on the Calphade front. The conflict is the product of a wider Demenissian conspiracy: Cassius Morten, Calphade's own commander, has been turned, and the Black Bears have been allowed to march on the city as a result.
The chapter leans more on military tactics than on intimate story beats, but it lays critical groundwork. Marquis Stefan Lanford stands as the strong-headed leader who first refuses to fold to Demenissian pressure, and his alliance with the Greymanes (formalized over the course of these missions) becomes the backbone of the later joint counterattack in Chapter 10.
Charles Celeste, Duke of Lan and head of House Celeste, asks Kliff to take the field at Calphade. The Black Bears have advanced into the region by arrangement with Demeniss's conspirators.
Kliff fights through a series of strategic points around Calphade. The Black Bears reveal a secret weapon, siege engines of obviously foreign design, proving they are backed by a faction with far greater wealth and engineering reach than they have on their own.
Inside the keep Kliff is reunited with Unkar for the first time since the prologue. The reunion is brief and physical, in keeping with Unkar's temperament. He immediately attaches himself to Kliff's effort and stays through to the endgame.
In the courtyard Marquis Stefan Lanford coordinates the retaking. He becomes one of the campaign's reliable allied commanders from this point on.
Kliff confronts the betrayer Cassius Morten in a single-stage boss fight in the keep. A nearby memory hints at his weakness: heavy blunt strikes from a great club force him to stagger.
With Calphade retaken, the Black Bears are pushed back. Unkar is once again in the company, which lets the Greymanes plan a much more ambitious operation: the reclamation of their homeland of Pailune in Chapter 7.
Long-time friend of the Greymanes and Pailune's nearest noble neighbor. His support is what holds the Hernand-side coalition together through Chapters 6 to 10.
Multi-step set-piece. The siege engines themselves are flagged in lore as obviously beyond Black Bear engineering, foreshadowing the Demenissian backing revealed later.
Chapter 6 is the first chapter where the player can confirm that the Black Bears are not acting alone. The advanced siege engines, the bought-and-paid betrayal of Cassius Morten, and the fact that the war was timed to draw forces away from Pailune all point to Demeniss as the unseen architect. The Calphade campaign is the first crack in the Demenissian shield.
The chapter also re-establishes Unkar as a load-bearing character. Archive entries elsewhere in the campaign note that in earlier cycles he was sometimes left out or sidelined, and that those cycles ended badly. The reunion at Calphade is the canonical reunion, and it positions Unkar to play his much larger role at the very end of Chapter 12.
The 70th main mission opens Chapter 6. This quest is a brief narrative transition that plays as a cutscene, informing you of the Black Bears' assault on the road to Calphade. No combat or exploration is required.
Travel north of Hernand town to a hilltop tower where a scout on horseback is waiting.
Meet and follow the guide at the beacon. Mount your horse and ride after the soldier as they lead you forward.
Investigate the scene of the attack. Follow the soldier on foot until he examines a body on the ground. An ambush triggers; defeat all the enemies to continue.
Move to the Calphade Gate. Resume riding on horseback behind the soldier toward the Calphade camp.
Speak with Barden Middler. Walk through the camp with Barden and complete the conversation to finish the quest.
With the watchtower disabled, you arrive at a field strewn with allied banners. To restore morale, you must raise the fallen Calphadean Banner Pike.
Go to the battlefield. Travel to the marked soldier camp and ride after a scout on horseback.
Raise the Calphadean Banner Pike. Locate the red banner on the ground. Use Nature's Grasp (Triangle + Circle / Y + B) to lift it. Carry it up the wooden stairs to the platform, then press L1 + Square / LB + X to place it in the slot.
Important: If your Nature's Grasp ability depletes during transport, you will drop the banner and need to retrieve it.
This quest requires raising three banners at different locations across the battlefield. The approach order is flexible.
Raise the banner at the siege armory. Use Nature's Grasp to lift banners, carry them up wooden platforms, and place them in slots. Placing each banner clears enemies from that area.
Raise the banner at the gunpowder mill. Follow the same banner mechanics at this second location.
Raise the banner at Thalwynd. Artillery towers in this area shoot at you. Using Nature's Grasp slows time, which helps you place the banner despite incoming fire.
Combat tip: Equip the Tauria Curved Sword from the Crowcaller boss. Its heavy attack fires homing crows that are effective against large enemy groups. Pair it with the Nature's Echo skill (green skill tree) for duplicated heavy attacks. Watch for grappling enemies and complete the Triangle/Y QTE promptly to avoid taking ground damage.
Speak with the soldier at the Southern Guard Post. The soldiers provide a health booster and 10 Whistling Arrows. These special arrows call in bombardments to destroy artillery towers. Equip them by holding left on the d-pad and pressing R2/RT in the arrow slot.
Find the soldier in need of help. Travel to the marked enemy camp, eliminate all hostiles, and locate the wounded soldier on the ground at the camp's end. Pick him up with Square/X.
Rescue the injured soldier. Carry the soldier back to your starting camp. You can transport him while mounted on horseback for faster travel.
Whistling Arrows recharge by revisiting friendly camps, so keep this in mind for later quests in the chapter.
Your goal is to destroy the enemy's supply wagons inside a church.
Defeat all enemies positioned outside the church.
Enter the church and locate the wooden wagon in front of the altar.
Use Concentrating Light (hold L1 + R1 / LB + RB, then aim and hold L1/LB) to fire a beam at the wagon's wooden sections. Maintain the beam for several seconds until flames begin spreading.
Let the wagon burn for roughly 30 seconds, then follow up with melee attacks against the charred remains if needed.
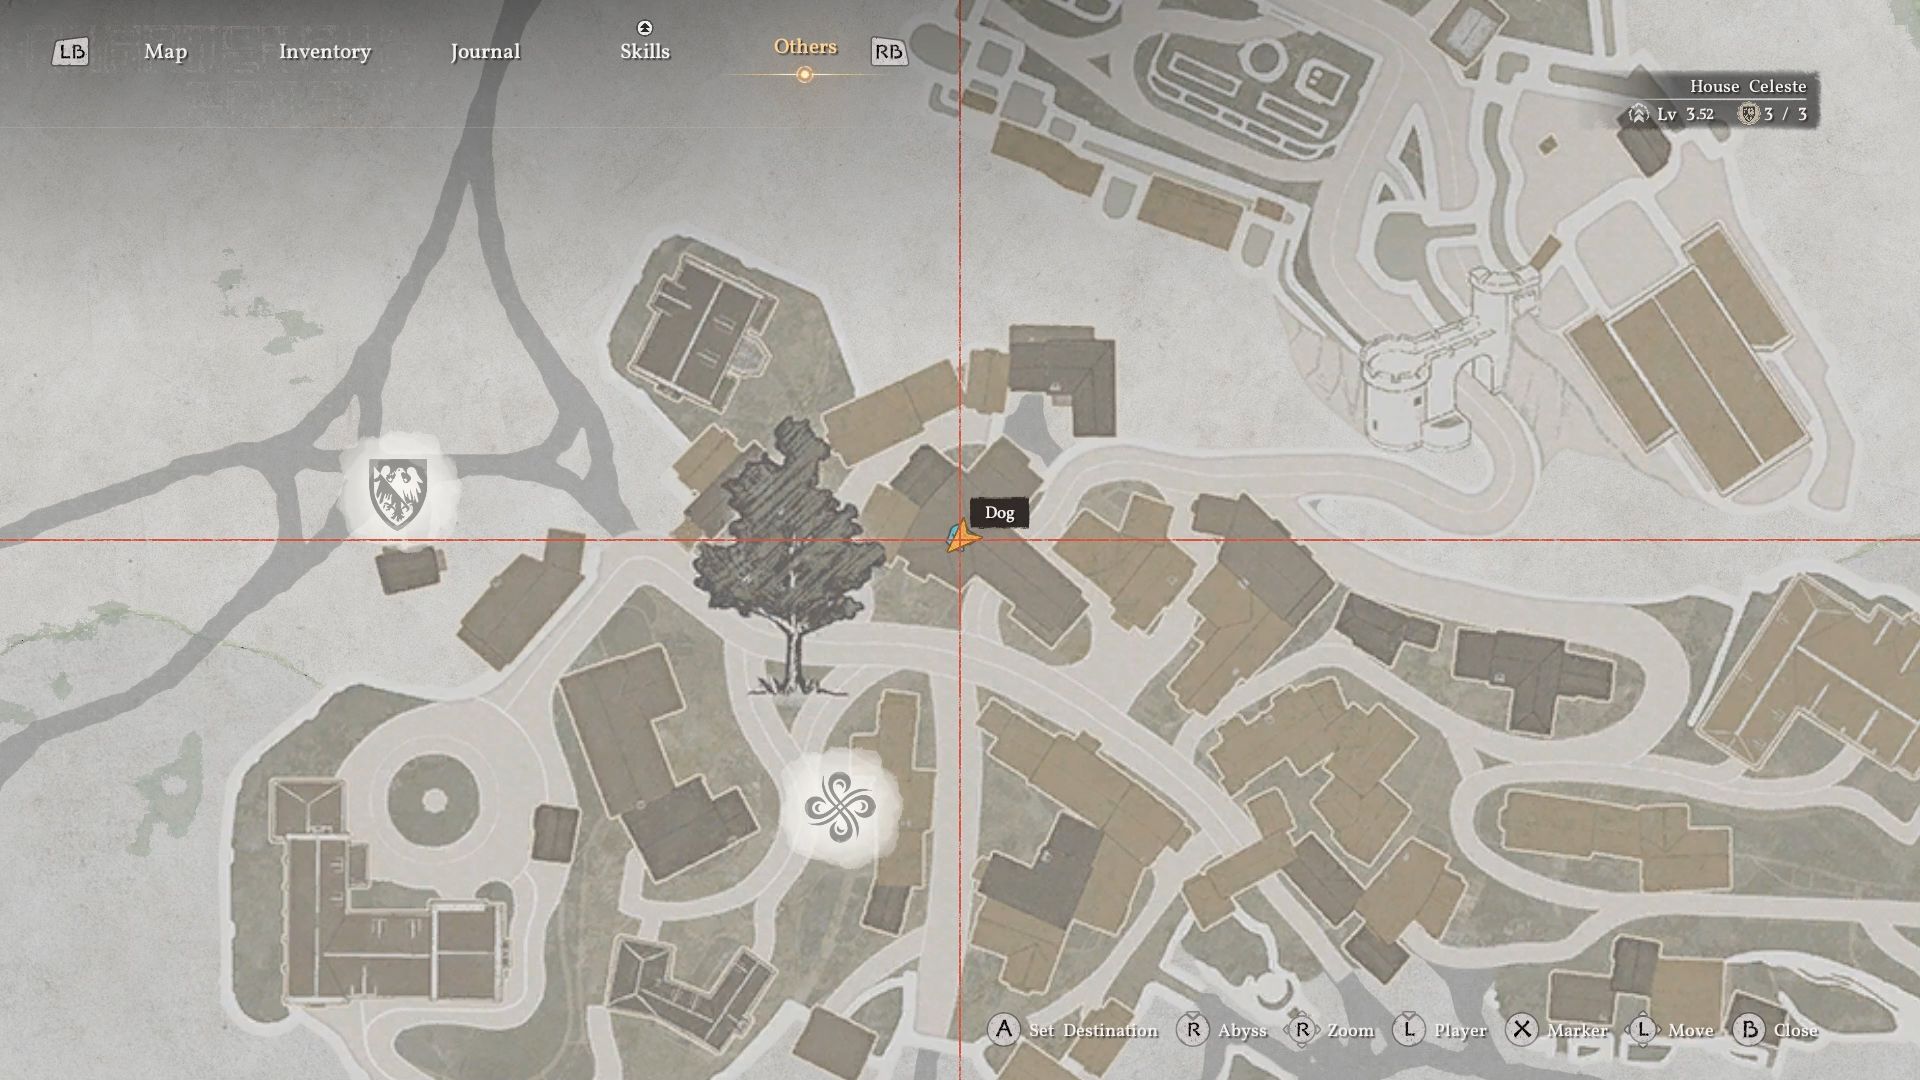
Post-chapter tip: After completing Chapter 6, return to the church and ring the bell on top of the building. This reveals additional map locations in northern Hernand.
Allied cannons now provide support from a nearby artillery battery. Your job is to use them to destroy enemy watchtowers.
Speak with the soldier at the gunsite. Travel north to the artillery tower and find the soldier with a yellow exclamation point.
Repair the cannon. Interact with the cannon to fix its wheel mechanism.
Destroy the Black Bears' watchtowers. Use the repaired cannon to target four watchtowers marked by black smoke. A single hit usually collapses each tower, though a side hit may require a second shot.
Note: This is the Chapter 6 version of "In Ashes," not the prologue mission of the same name.
Speak with the soldier at the base outskirts. Head north down the hill to the friendly camp.
Infiltrate the Black Bears' base. Travel to the central camp surrounded by palisades and enter through the open front entrance. Use Whistling Arrows to call bombardments that can clear large groups of enemies for you.
Rescue the captive. After clearing all enemies, a cutscene triggers automatically, completing the objective.
You discover why the Black Bears have been so bold: devastating battle tanks that shelled their own camp. You must destroy all 5 tanks.
Equip Whistling Arrows. Hold the left directional pad, then press R2/RT to select them.
Locate the tanks. Track the quest for a red search area. The tanks are round wooden structures with cannons. Tanks 1 and 2 drive together in the southern area; the remaining three are spread across separate locations.
Fire Whistling Arrows at each tank. Hold and release L2/LT to shoot. Each arrow triggers an air bombardment that destroys the target.
Use your horse to navigate between tanks quickly and avoid ground enemies.
Restock Whistling Arrows at the friendly encampment in the southwest. This area is also excellent for farming Abyss Artifacts; enemies respawn upon death, allowing roughly one skill point every 5 minutes using area-damage tactics.
After destroying all five battle tanks in Hidden Fangs, this quest completes automatically during the subsequent cutscene. Allied banners fly over Calphade once more. No additional combat or objectives are required.
At Calphade Castle, you reunite with Oongka, who wields his massive axe like old times. Enter the castle and proceed forward. Two consecutive cutscenes play featuring Stefan Lanford, and the quest completes automatically afterward.
You suppress the rebellions in Calphade by confronting Cassius Morten, whose loyalty extends to Bastier, the Grand General of Demeniss.
Boss Fight: Cassius Morten
This is the first boss encounter that introduces shield mechanics. Morten blocks your attacks and has a single health bar.
Equip the Tauria Curved Swordand purchase the Nature's Echo green skill to duplicate heavy strikes.
Use heavy attacks (R2/RT) repeatedly. These damage Morten even when he blocks. After three consecutive hits, the boss staggers, giving you an opening for light attacks.
Stock healing supplies beforehand. Fast travel to Hernand, purchase meat, and cook 50 or more Grilled Meat.
Marquis Lanford secures the surrounding territory and returns to the castle. This quest completes automatically as a cutscene after defeating Cassius Morten. No player action is needed.
Follow the soldier out of the boss arena and ride on horseback uphill to the beacon structure.
Climb the beacon tower via the interior staircase.
Light the beacon. Use Concentrating Light (hold L1 + R1, press L1/LB + RB, then hold LB) to focus a beam on the brazier for several seconds. An alternative method is to aim an arrow at a wall torch to light it, then use the flaming arrow on the brazier, though this is less efficient.
The blazing beacon sends a message of hope that Calphade will rise once more.
Return to the Greymane camp and speak with your comrades at the tent. A cutscene plays, completing Chapter 6.
Critical warning: Before speaking with your comrades, stock up substantially on healing items. Aim for 100 Grilled Meat at minimum (200 or more is better). This conversation immediately launches Chapter 7, which moves to a new region for an extended period. You will not be able to return to Hernand shops until much later.
Tips for Chapter 6
Whistling Arrows are your best tool for the battlefield sections. Always restock at friendly camps between objectives.
The Tauria Curved Sword's homing crow heavy attack is excellent for crowd control in the siege sections.
Nature's Grasp slows time and is essential for the banner-placement objectives, especially at Thalwynd where artillery targets you.
After finishing the chapter, return to the church from Fire on the Frontlines to ring the bell and reveal map locations in northern Hernand.