Overview
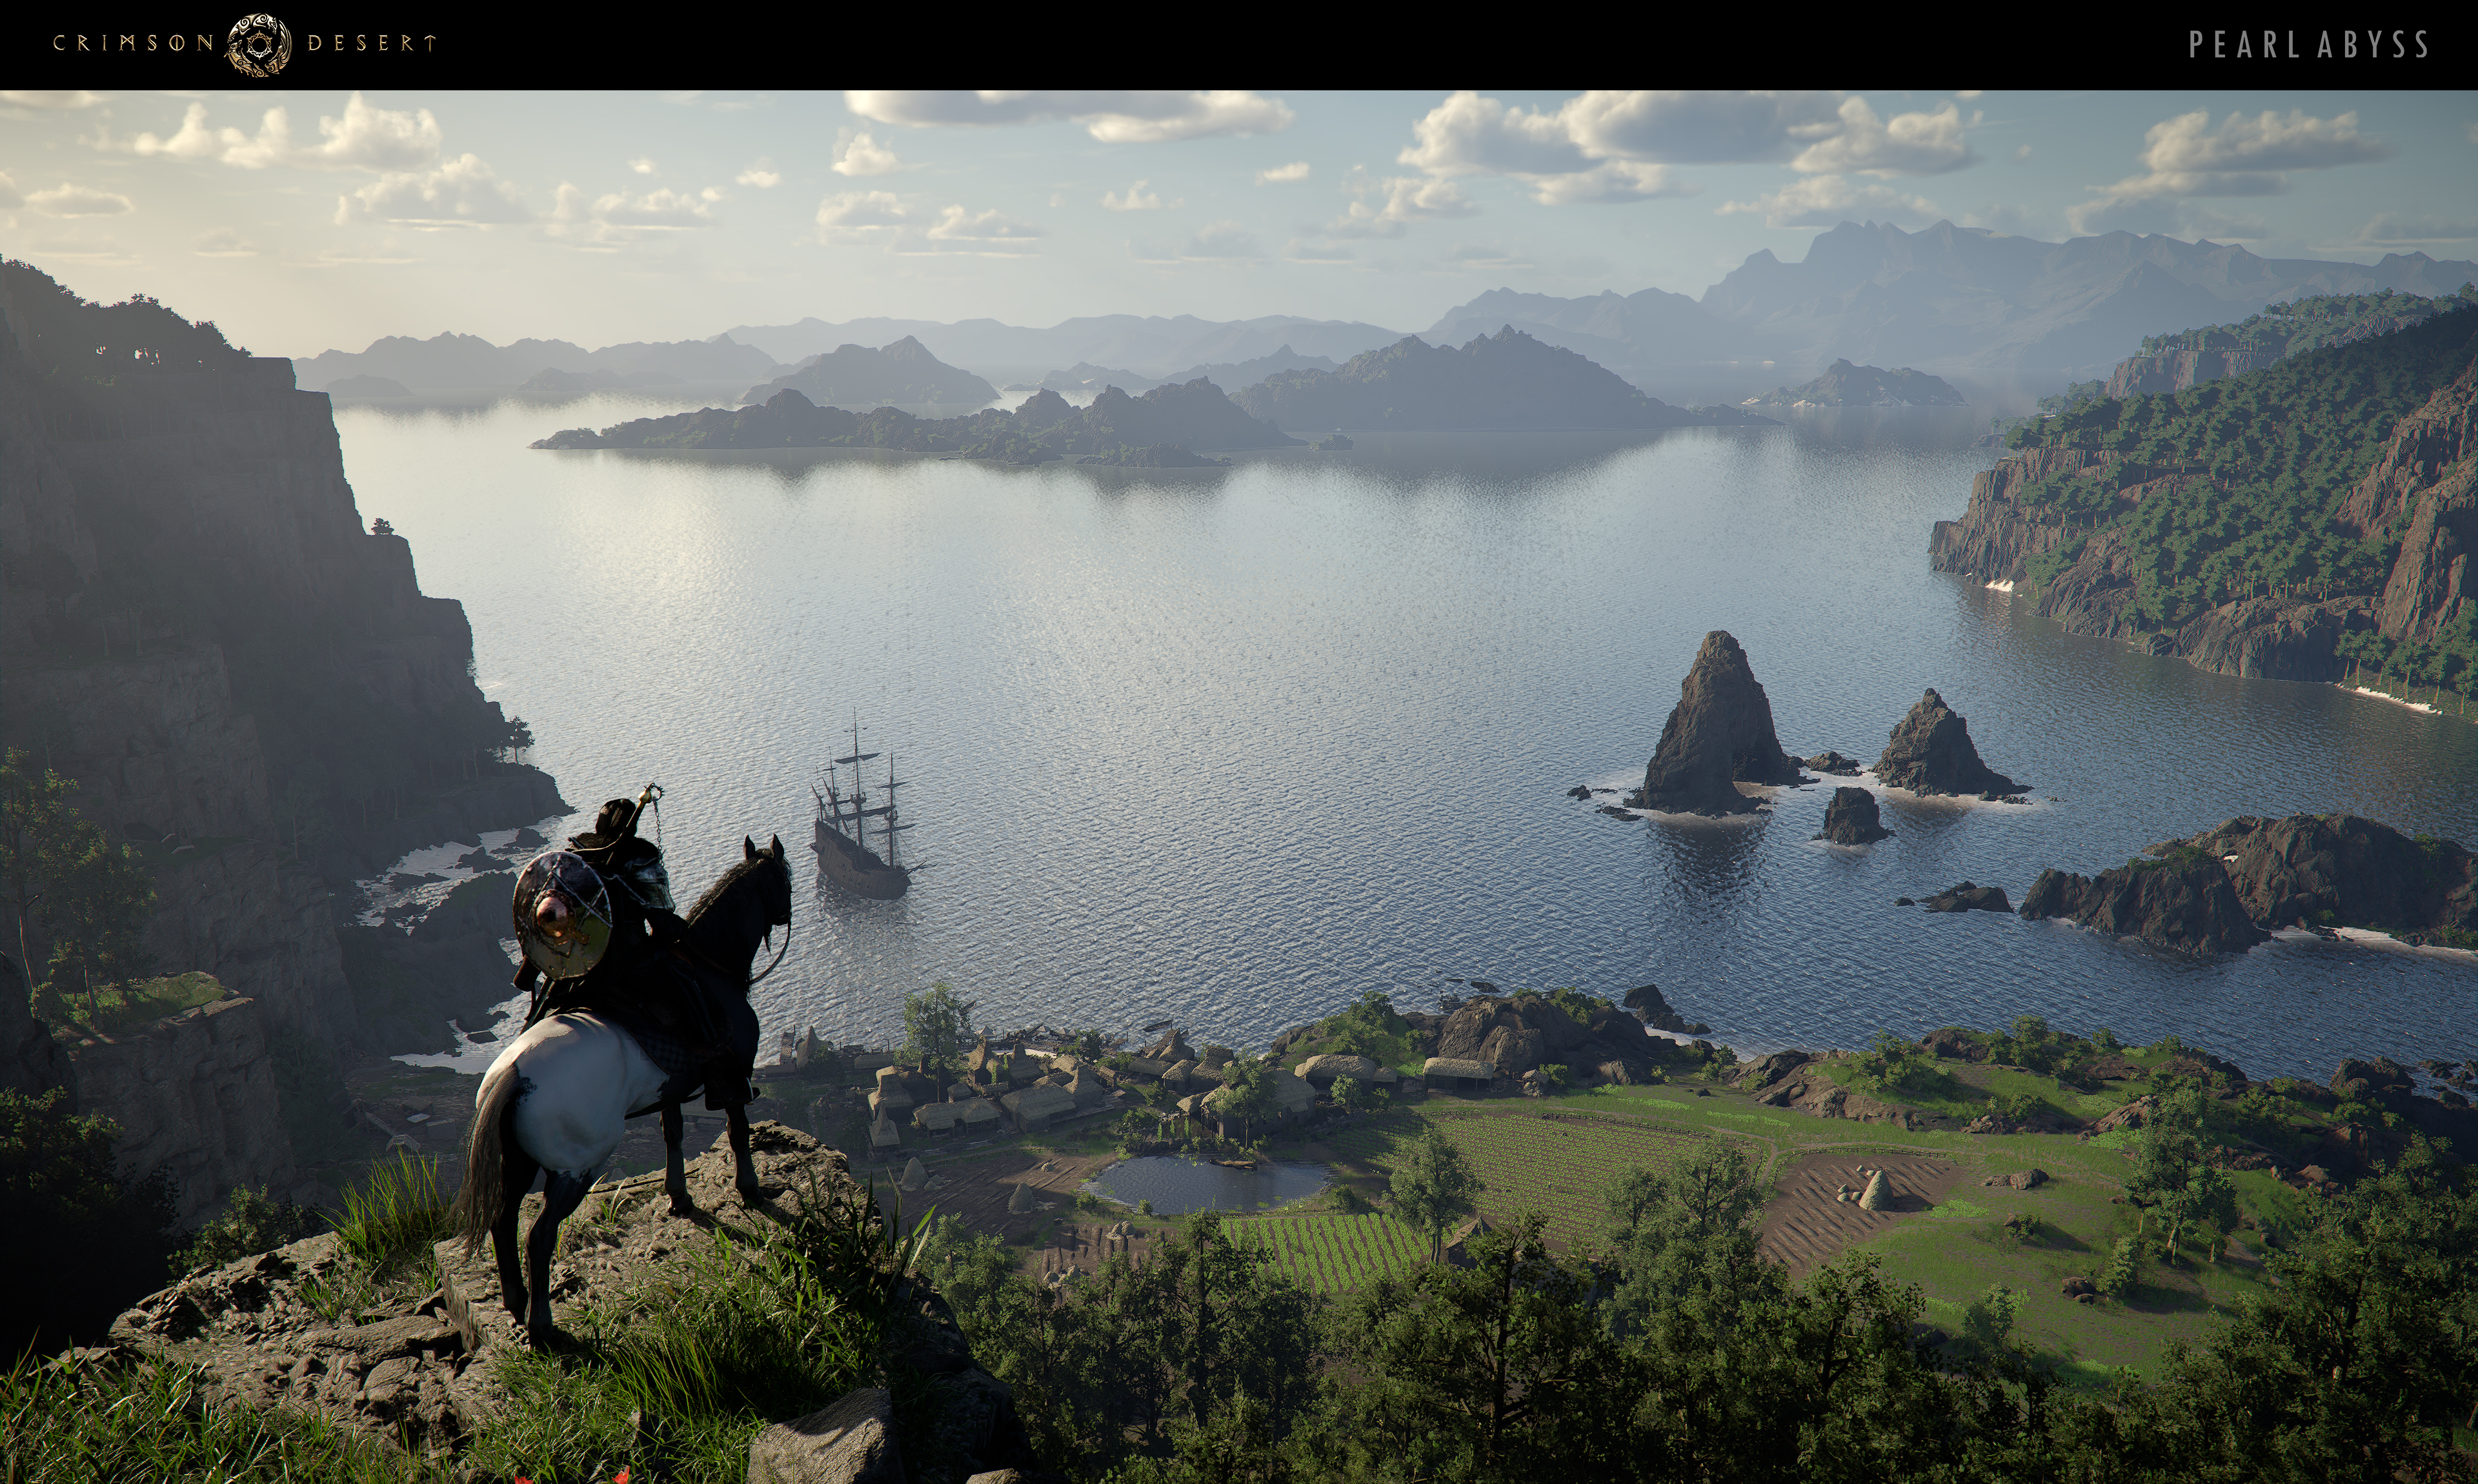
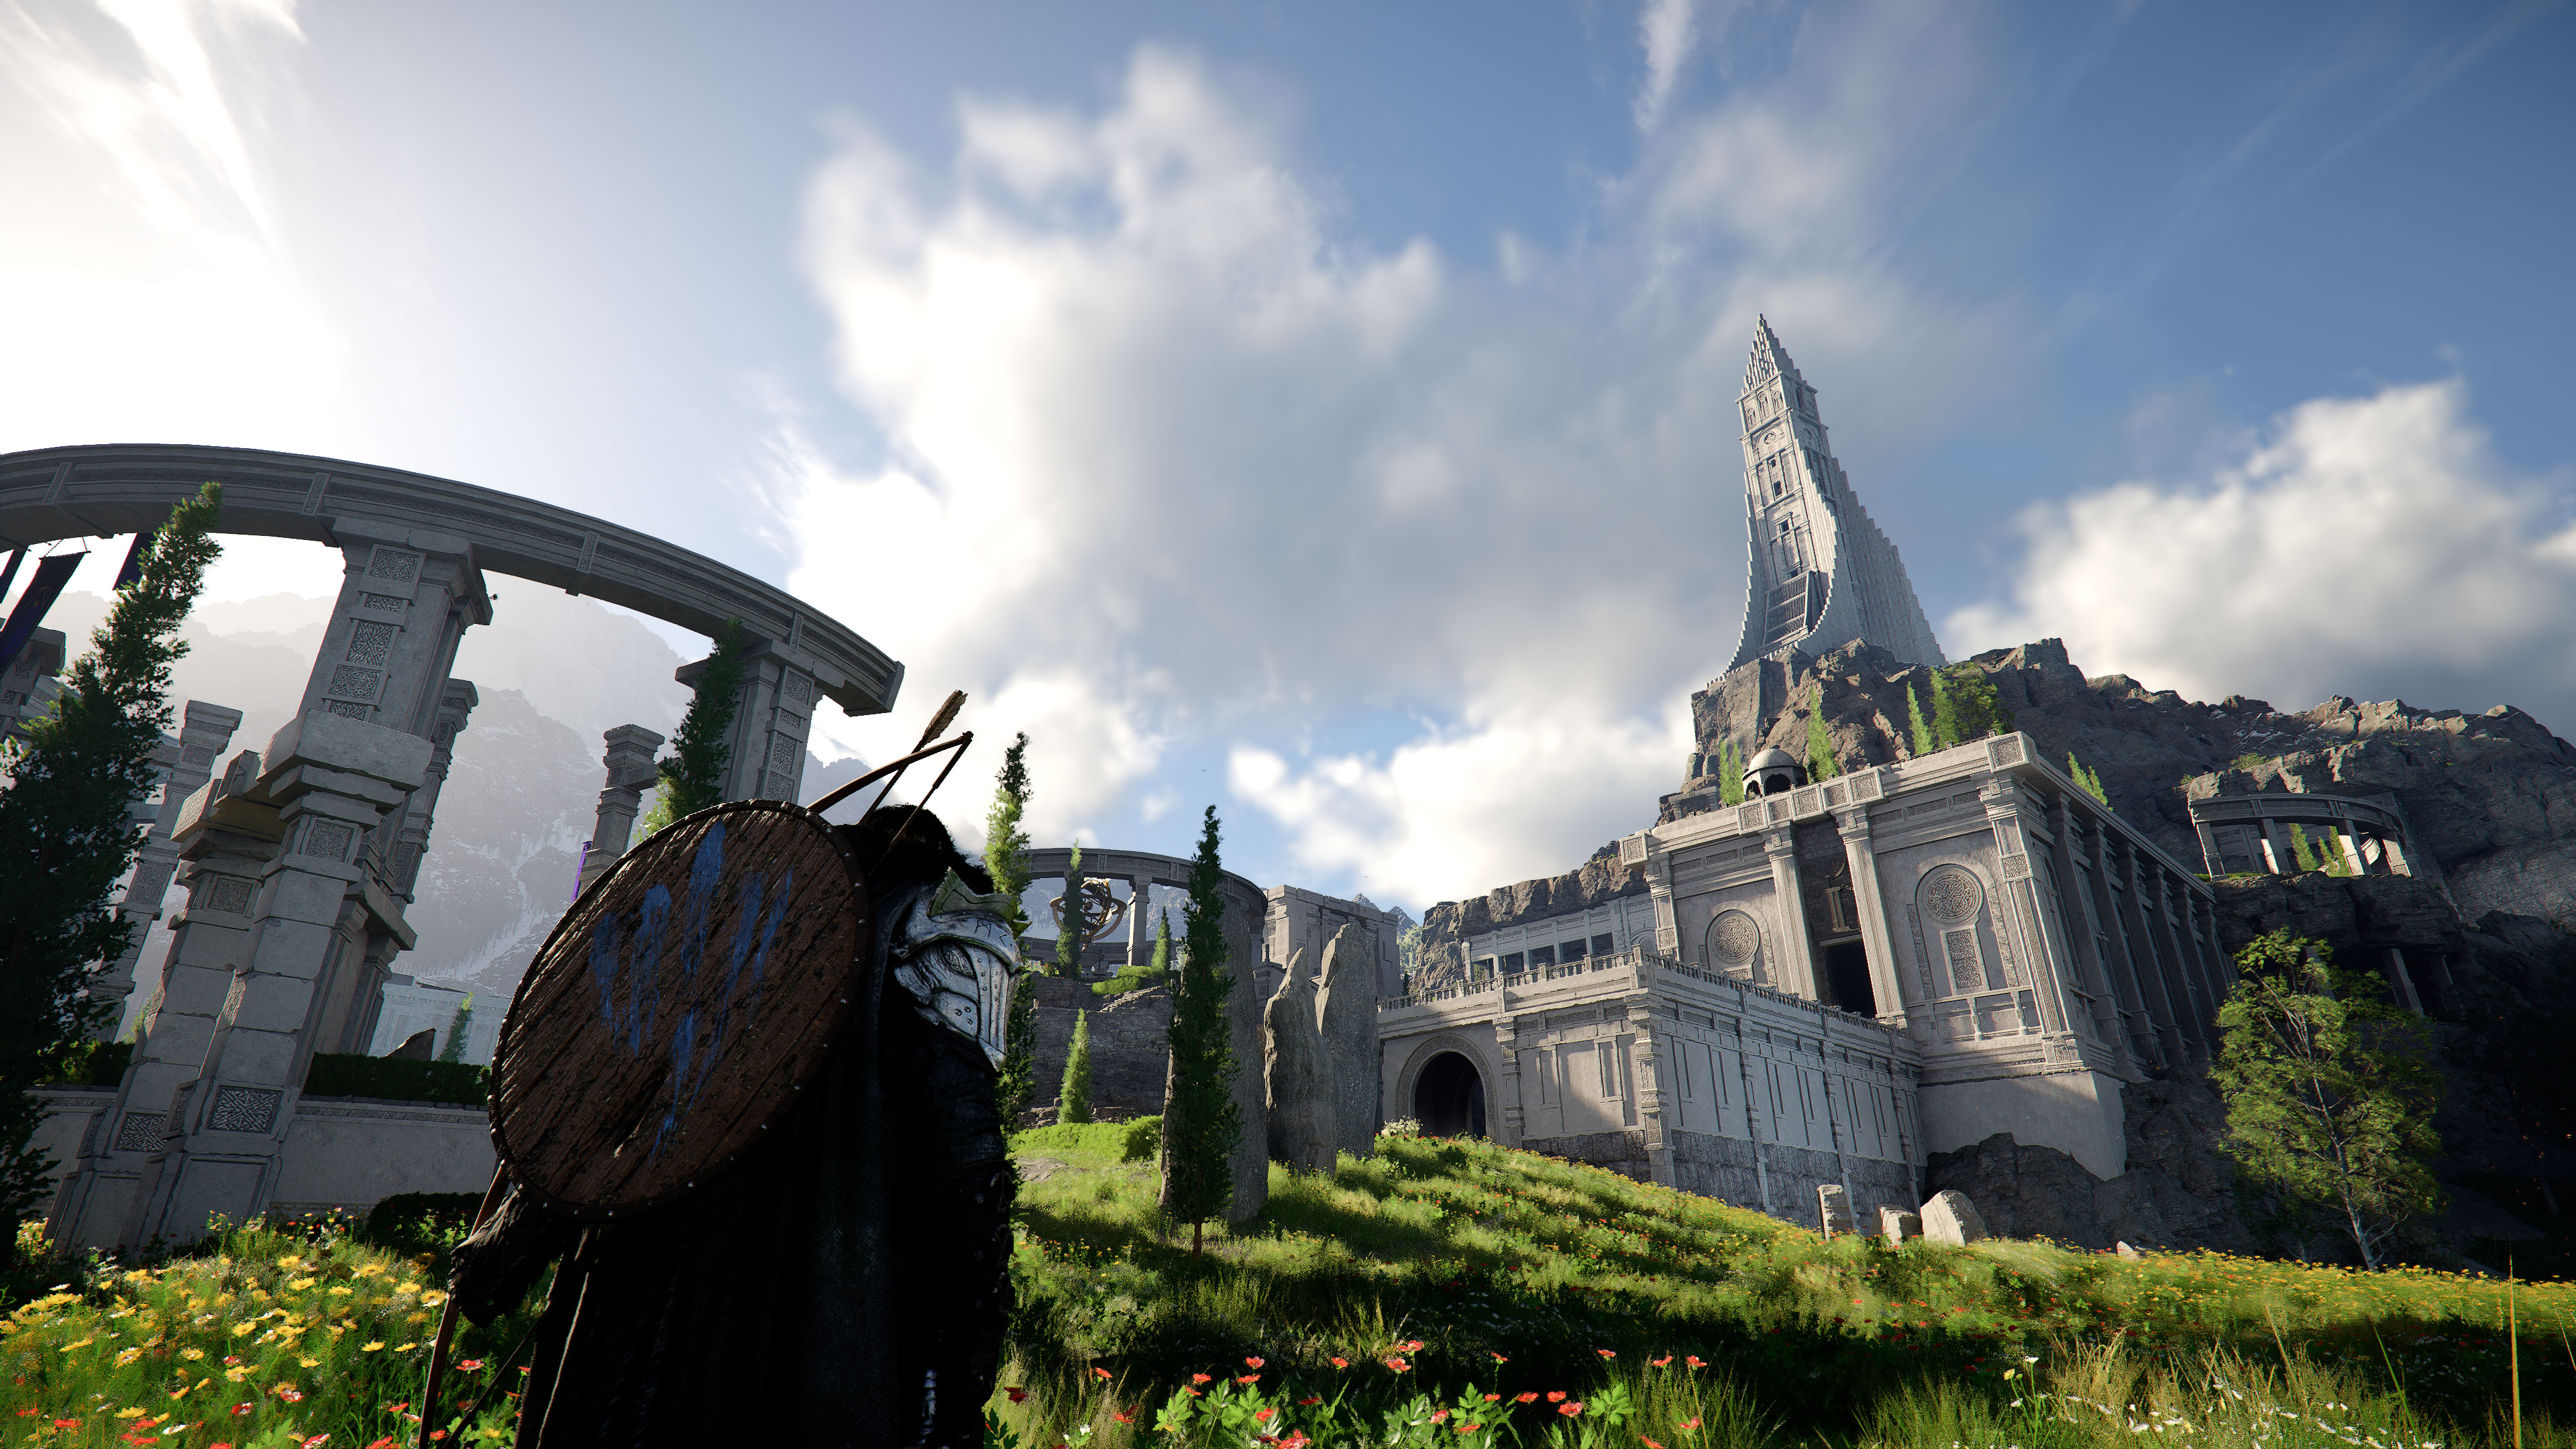
Obsession and Madness is the 58th main quest in Crimson Desert, taking place entirely inside an Abyss Rift above the Scholastone Institute in the Hernand region. After Octavius is swallowed by the Abyss Rift at the top of the Spire of the Stars, Kliff follows him into a surreal floating dimension in the sky to find out who opened the rift and what happened to Octavius.
The quest is described in the journal as: "This place appears to be connected to the rift that swallowed Octavius. He may still be alive..." It combines two gameplay systems that the player must master in sequence. The first half involves a puzzle built around Axiom Force, where Kliff manipulates floating platforms by activating conductor slots on tall pillars. The second half shifts to vertical platforming, where the triple Force Palm jump technique is needed to ascend the final pillar and reach the central platform above.
For a standalone guide focused specifically on the platforming objective, see the dedicated article for the second objective below.
Quest Details
Detail | Info |
|---|---|
Quest Number | 58 |
Chapter | 4: The Price of Knowledge |
Sub-Chapter | |
Region | |
Location | |
Prerequisite | |
Next Quest | |
Reward | +8 Contribution Levels (Hernandian faction) |
Objectives
Walkthrough
Entering the Abyss
This quest begins automatically when Kliff steps through the Abyss Rift at the top of the Spire of the Stars, right after completing the previous quest. The screen transitions and Kliff arrives in an open sky realm with floating stone pillars stretching upward. Directly ahead of the entry point there is a fast travel plate on the floor. Stand on this plate immediately; it is your checkpoint for the rest of the quest. If you fall at any point during the puzzle or platforming sections, you can fast travel back here without losing progress.
The first objective, "Investigate the Abyss," completes automatically once you arrive in this floating dimension. The quest then shifts to the second and main objective: finding the one responsible for the rift.
Axiom Force Pillar Puzzle
The first half of the quest is a puzzle built around Axiom Force. Several tall stone pillars rise from the floating islands, each with a glowing yellow conductor slot on its back. When Kliff activates a conductor slot with Axiom Force, the pillar releases a magnetic ball that attracts nearby floating platforms toward it. By riding these moving platforms, Kliff crosses the gaps between pillars. The goal is to navigate from the starting platform all the way to the base of the final pillar, where the platforming section begins.
The controls for the Axiom Force puzzle work as follows. Hold L3 (on PlayStation) to enter Axiom Force targeting mode. Press L2 or R2 to cycle between available pillar targets. When the pillar you want glows blue, press Square (PlayStation) or X (Xbox) to operate it. This sends the magnetic ball to that pillar, which pulls the platform you are standing on toward it.
Step-by-Step Pillar Sequence
Starting platform to middle pillar: From the starting platform, face the pillars and use Axiom Force (hold L3) on the yellow light visible on the back left pillar. Cycle with L2 until the middle pillar glows blue, then press Square/X to operate. The magnetic ball pulls your platform to the middle pillar. Wait for it to dock before stepping off.
Middle pillar to left pillar: Step onto the left platform attached to the middle pillar. Activate Axiom Force again, cycle with L2 until the left pillar glows blue, and operate. Ride the platform as it slides toward the left pillar.
Left pillar to far-left pillar: From the left pillar, step onto the right-side platform. Use Axiom Force one more time, cycle until the furthest left pillar glows blue, and operate. This brings you to the base of the final tall pillar.
The puzzle follows a left-to-right-to-left pattern as you cycle through pillar targets. If you activate the wrong pillar, simply wait for the platform to finish moving, then reactivate Axiom Force and send it to the correct target. There is no penalty for mistakes.
The Triple Force Palm Technique
Once you reach the base of the final pillar, there are no more platforms to ride. Instead, you need vertical height to reach the top. This is where the triple Force Palm jump comes in. This technique chains three consecutive mid-air Force Palm activations to catapult Kliff upward. It is the only reliable way to gain enough height to reach the upper platforms; standard jumping and climbing alone will not get you there.
The technique works as follows:
Jump from the pillar or platform edge.
While airborne, press R3 to activate Force Palm. This gives Kliff a burst of upward momentum (first burst).
Immediately press R3 again for the second Force Palm burst, gaining more height.
Press R3 a third time for the final burst, reaching maximum altitude.
At the peak, glide or fly toward the next platform above you.
Each Force Palm activation consumes Spirit. If your Spirit runs out mid-sequence, the remaining bursts will fail. Before each jump attempt, make sure your Spirit bar is full. You can regenerate Spirit quickly by holding L3 + R3 simultaneously while standing on a platform. Wait for the bar to refill before jumping again.
Controls Reference
Action | PlayStation | Xbox |
|---|---|---|
Axiom Force (activate) | Hold L3 | Hold L3 |
Cycle pillar target | L2 / R2 | LT / RT |
Operate pillar | Square | X |
Force Palm (mid-air) | R3 | R3 |
Hold L3 + R3 | Hold L3 + R3 | |
Jump | X | A |
Ascending to the Central Platform
After performing the triple Force Palm at the final pillar, glide to the upper platform. If the pillar has climbable walls, you can also grab onto them after gaining height and climb the rest of the way. Once you reach the top of the final pillar, look across toward the large central platform. Jump and glide over to it.
On the central platform, look for the golden mechanical device on the floor. It glows yellow and is easy to spot. To activate it, jump directly above the mechanism and press R3 to strike it with Force Palm from mid-air. Hitting it from the ground does not work; you must be airborne when you use Force Palm on it. Successfully activating the mechanism triggers a cutscene that resolves the quest.
Falling Recovery
Falling off a pillar or platform in the Abyss is common, especially during early attempts at the Force Palm triple jump. If you fall, do not panic. The game provides a quick recovery system.
Sky map fast travel: Press R3 to open the sky map and fast travel back to the entry point checkpoint. You can also fast travel to any pillar you have already visited.
Fast travel plate: The fast travel plate at the starting point resets your position. The Axiom Force puzzle platforms reset when you return, so you may need to redo some pillar activations.
No death penalty: Falling does not kill Kliff or cost any resources. It simply returns you to a safe position.
Story Revelations
The cutscene triggered by activating the golden mechanism reveals that Dean Grundir is the one responsible for the Abyss Rift and for what happened to Octavius. This is a major moment in Chapter 4's narrative, as it identifies the source of the dangerous rifts that have been destabilizing the Scholastone Institute and the broader Hernand region. The revelation sets up the events of the next quest, Casted Shadow, and drives the remainder of the Forbidden Knowledge storyline.
Reward
Completing this quest awards +8 Contribution Levels toward the Hernandian faction's Contribution track. This is one of the largest single contribution gains in Chapter 4, making it a significant milestone for players building reputation with the Hernandian faction.
Tips and Strategy
Force Palm consumes Spirit. Always regenerate to full (hold L3 + R3) before each triple jump attempt. Running out of Spirit mid-sequence will cause the jump to fail.
The Double Jump skill from Kliff's green skill tree adds extra height before you begin the Force Palm chain. If you have not unlocked it yet, consider doing so before this quest.
Stamina investment is not mandatory for this quest. The Force Palm triple jump technique bypasses the need for extended climbing. However, food buffs that boost stamina can make the platforming feel more forgiving.
When riding Axiom Force platforms between pillars, wait for the platform to come to a complete stop before stepping off. Jumping too early can cause you to miss the pillar.
The mechanism at the top must be activated with Force Palm from above, not from the ground. Jump directly over it and press R3 while airborne.
You do not need to land perfectly on each pillar during the platforming section. Aim for the general platform area and adjust your position after landing.
If you get disoriented in the Abyss, look for the yellow glow of conductor slots on pillar backs. They indicate the direction you need to go.
Related Quests
Previous quest: Spire of the Stars
Next quest: Casted Shadow
Objective guide: Find the One Responsible for the Rift
Sub-chapter: Forbidden Knowledge
Chapter walkthrough: Chapter 4: The Price of Knowledge Walkthrough