Controls and Quality of Life
Control | Effect |
|---|---|
Hold Y to vacuum | Bulk-pick up items in a wide area. This is the single biggest time-saver in the game. After learning Suck up Liquids from Paldean Wooper in Bleak Beach, Y also works on liquids. |
Hold ZL to strafe | Locks your facing direction while moving. Essential for precise block placement and directing Water Gun. |
Hold A to place blocks continuously | Instead of pressing A for every block, hold it down to rapidly place an entire row. |
Swap run and jump | In Settings, change sprint to R instead of B. This frees your right thumb to control the camera while running. |
Enable in Settings to use the Joy-Con as a pointer. More precise than analog sticks for breaking specific blocks and placing items. | |
Use the system screenshot button inPhoto Mode | For easier sharing, press the Nintendo Switch 2's native screenshot button instead of the in-game shutter. Only use the in-game shutter when a quest specifically requires a photo. |
Inventory Management
Your bag starts small. Buy the Packing Tips upgrades from the Pokemon Center PC Shop as soon as you can afford them:
Upgrade | Slots Added | Cost |
|---|---|---|
Packing Tips: Rookie | +10 slots | 100 Life Coins |
Packing Tips: Intermediate | +30 slots | 500 Life Coins |
Packing Tips: Pro | +30 slots | 1,000 Life Coins |
Packing Tips: Expert | +30 slots | 1,200 Life Coins |
+10 slots + quick toolbar | 500 Life Coins (Env Lvl 3 WW) |
Tip | Details |
|---|---|
Link storage to workbenches | Place up to 4 Large Storage Boxes adjacent to a Workbench. Crafting will automatically pull from all connected storage. |
Gulpin as portable storage | Have Gulpin follow you for extra inventory space while exploring. No need to return to a chest mid-gathering trip. |
Quick item transfer | To move items between chests fast, break the chest with Rock Smash, vacuum up the scattered items with Y, then deposit them into the new chest. |
PP Management
Rest on Beds or Seats to recover PP gradually. Beds restore faster than chairs.
Eat Berries for instant partial PP recovery. Always keep a stack in your bag.
Cooked food fully restores PP and provides a move power-up. Cook before big building sessions.
Vending machine drinks restore PP and fill Ditto's mouth with a specific liquid type.
Resource Efficiency
Technique | Details |
|---|---|
Collect everything | Even seemingly worthless items like rocks and sticks have crafting uses. Pick up everything you walk past. |
Water dry grass for rewards | Using Water Gun on soil and dead grass counts toward daily challenges that award Life Coins. |
UseRollout for terraforming | Rollout destroys blocks faster than Rock Smash and covers a wider area. Unlock it early from Graveler in Rocky Ridges. |
Powered-up Rock Smash | Eat a Hamburger Steak to temporarily punch through granite and steel, not just soft terrain. |
Pokemon and Comfort
Tip | Details |
|---|---|
Ask about comfort | Talk to any Pokemon and select "How's your comfort level?" to see what they need. They will give specific hints. |
Feed favorite flavors | Every Pokemon has a preferred flavor. Feeding them matching food gives a bigger comfort boost than generic items. |
Fly to missing Pokemon | When Pokemon exceed 20 per area and some despawn, open your Pokedex, press + on the missing Pokemon, and show the entry to a Pokemon with the Fly or Teleport specialty. They will carry you directly to it. |
Honey summons specific Pokemon | Use Honey near a habitat to immediately summon its resident Pokemon, skipping the normal wait time. |
Cooking Tips
Cook with Chef Dente: When Chef Dente is present while you cook, there is a random chance she will double the amount of food produced, saving ingredients.
Match flavors to moves: Salads power up Leafage, Soups power up Water Gun, Bread powers up Cut, and Hamburger Steaks power up Rock Smash.
Daily Activities
Log in daily to collect Stamp Rally stamps for Life Coins.
Check the Pokemon Center PC terminal for daily challenges.
Feed Mosslax once per day for a powerful buff lasting until 5:00 AM.
Sundays are Lucky Days with more Glowing Blocks and Sparkling Ripples.
Building and Habitat Tricks
Trick | Details |
|---|---|
Place workbench near Ditto's house | You can fast-travel home from the pause menu. Put your main crafting setup there for instant access. |
Floating decorations | Build a temporary pillar, place an item on top, then destroy the pillar. The item stays floating in midair. Great for elevated cameras and lights. |
Wall vines | Use Leafage on walls to create climbable vines for decoration and vertical traversal. |
Time-skip construction | Disable internet time sync in Switch 2 settings and advance the clock to skip building wait times. Re-enable sync afterward. |
Lesser-Known Mechanics
Mechanic | Details |
|---|---|
Ditto blob form | When Ditto gets stuck in tight spaces, it automatically reverts to pink blob form and can squeeze through gaps. |
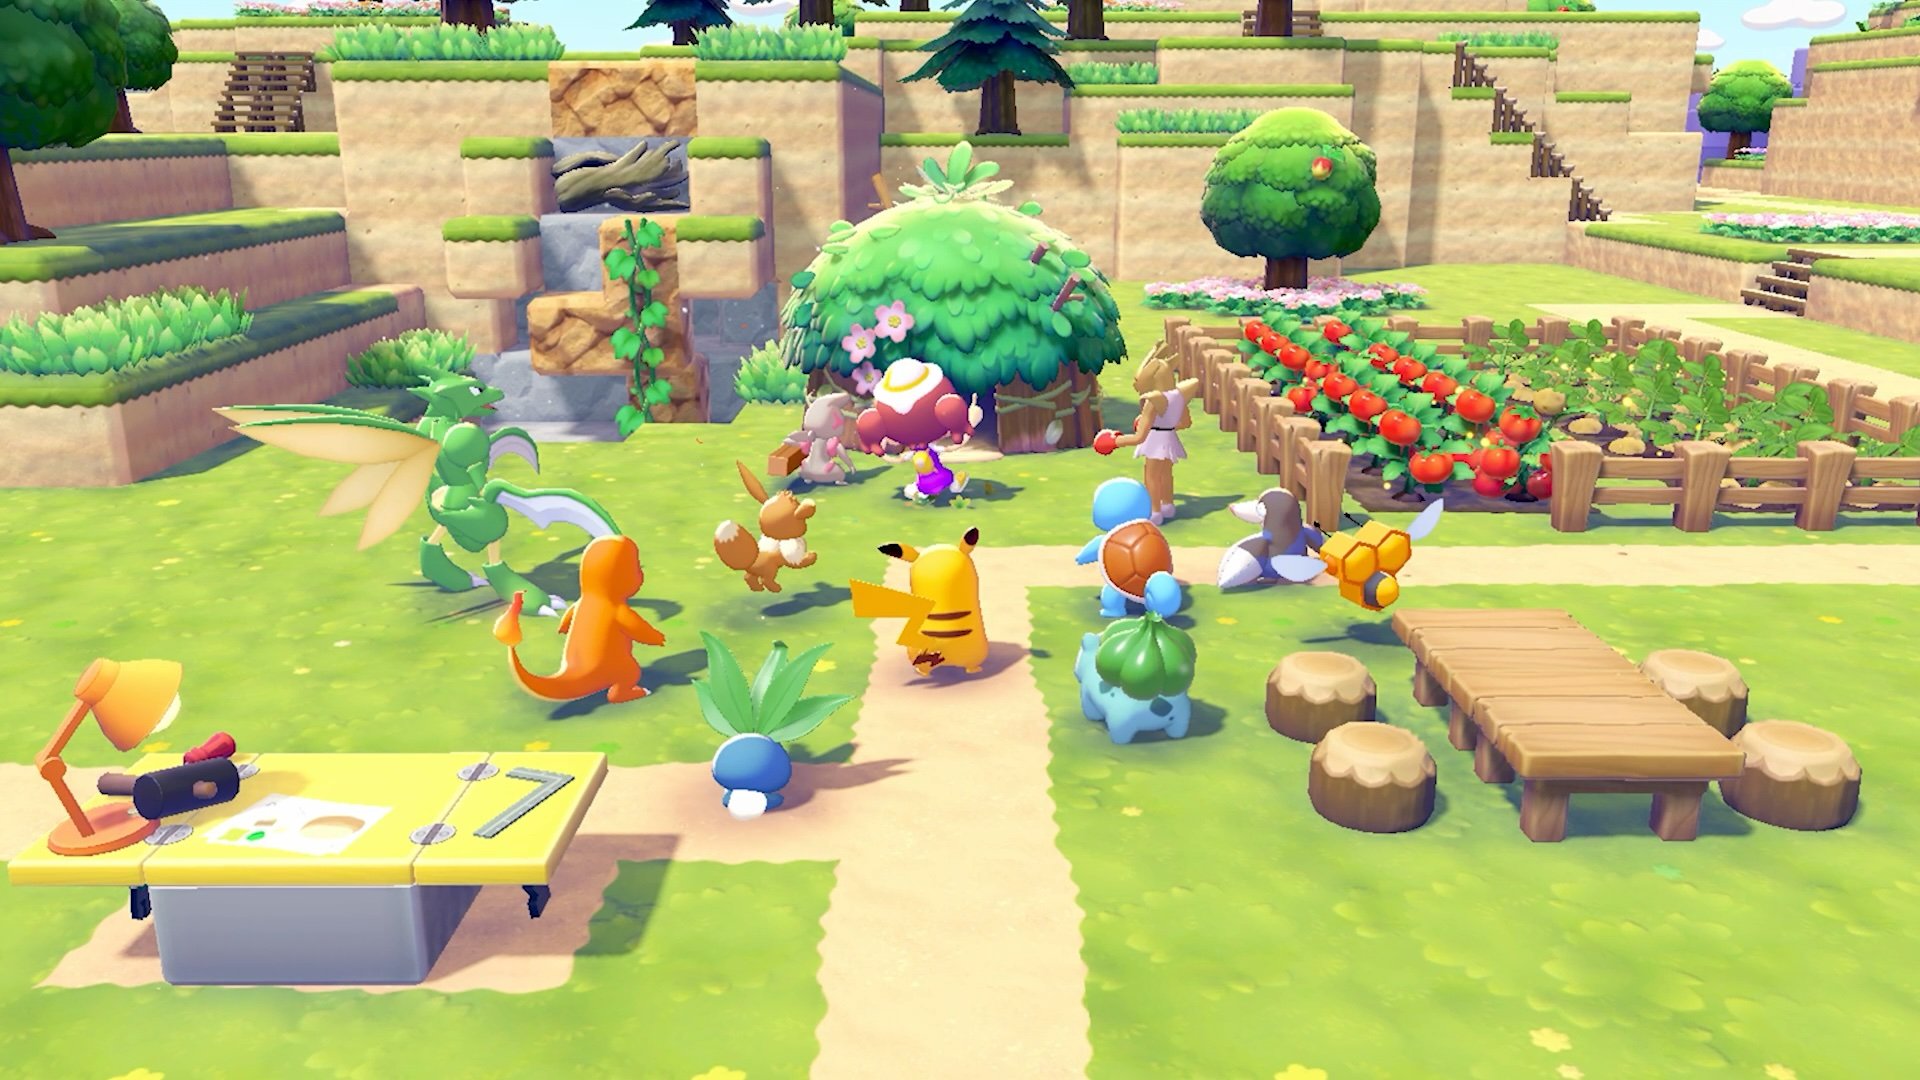
Five followers at once | You can have up to five Pokemon following you simultaneously. Press Up on the D-Pad while facing a Pokemon to instantly recruit it as a follower. |
Habitat Dex shortcut | Press + to open the Habitat Dex and check how many Pokemon remain undiscovered per habitat. Press X on any habitat to see its building requirements. |
Advanced Movement Tips
Unlock Rollout from Graveler in Rocky Ridges as soon as possible. It is the fastest terraforming move and doubles as the fastest way to travel across large areas.
Hold Y while spinning your character to vacuum items in a wide radius around you. The game does not explicitly tell you that you can turn while vacuuming.
After unlocking Magnet Rise from Magnemite in the post-game, you can fly freely and place or destroy blocks mid-air, including placing 9 blocks at once in a 3x3 pattern.
Building and Power Tips
Tip | Details |
|---|---|
Bury power infrastructure | Place Mini Generators and Utility Poles underground. Power transmits through blocks, keeping your settlement clean. |
Water wheels work in ponds | Water wheels do not require flowing water. Even a small, still pond generates power. |
Use Wireless Transmitters late-game | Unlocked from Porygon in Sparkling Skylands. Transmit power through walls with no visible wires. |
Blueprint your best builds | Save structures as Blueprints (X in Build Mode) before experimenting. Rebuild them anywhere with materials on hand. |
Tinkmaster halves build time | Having Tinkmaster participate in a Building Kit project reduces "next day" completion to approximately 1 hour. |
Resource Farming Tips
Tip | Details |
|---|---|
3D Print Berry Trees | Photograph Berry Trees on Developer Island, then duplicate them at the 3D Printer. Copies bear fruit after just 1 day. |
Haxorus auto-farms Lumber | Haxorus has Litter + Chop specialties; it drops Small Logs and processes them into Lumber automatically. |
Garbodor creates Iron Ore | Garbodor litters Nonburnable Garbage, then recycles it into Iron Ore with its Recycle specialty. |
Farm Pokemetal on Dream Islands | Use Rock Smash and Rollout on mineral veins in Dream Islands caves. Yields approximately 1,200 Pokemetal per session. |
Place Storage next to Workbenches | Up to 4 Large Storage Boxes adjacent to a Workbench let you craft from storage automatically. |