

Overview
Starsand Island has five professions that define the player's progression. Each profession is mentored by a specific NPC and follows a five-tier certification system. Advancing through tiers unlocks new tools, blueprints, recipes, and gameplay mechanics. All five professions can be completed in a single playthrough, and they interlock: Crafting supplies tools for every other activity, Farming and Ranching produce resources, Exploration provides rare ores, and Fishing generates reliable income.
All Professions
Profession | Mentor | Shop / Location | Hours | Focus |
|---|---|---|---|---|
Crafter | Zerine's General Store (northeast of home) | Open 24 hours | ||
Farmer | Happiness Seed Shop (plaza area) | 08:00-22:00 | Crops, seeds, sprinklers, artisan goods | |
Angler | AquaBlue Outpost (Half-Moon Bay docks) | 08:00-22:00 | Fishing rods, fish traps, fish ponds, breeding | |
Rancher | Green Pasture Ranch (northwest of home) | 06:00-22:00 | Livestock, breeding, animal products, mounts | |
Explorer | Exploration Club (north of Green Pasture Ranch) | 08:00-22:00 | Combat, Moonlit Forest, bosses, rare materials |
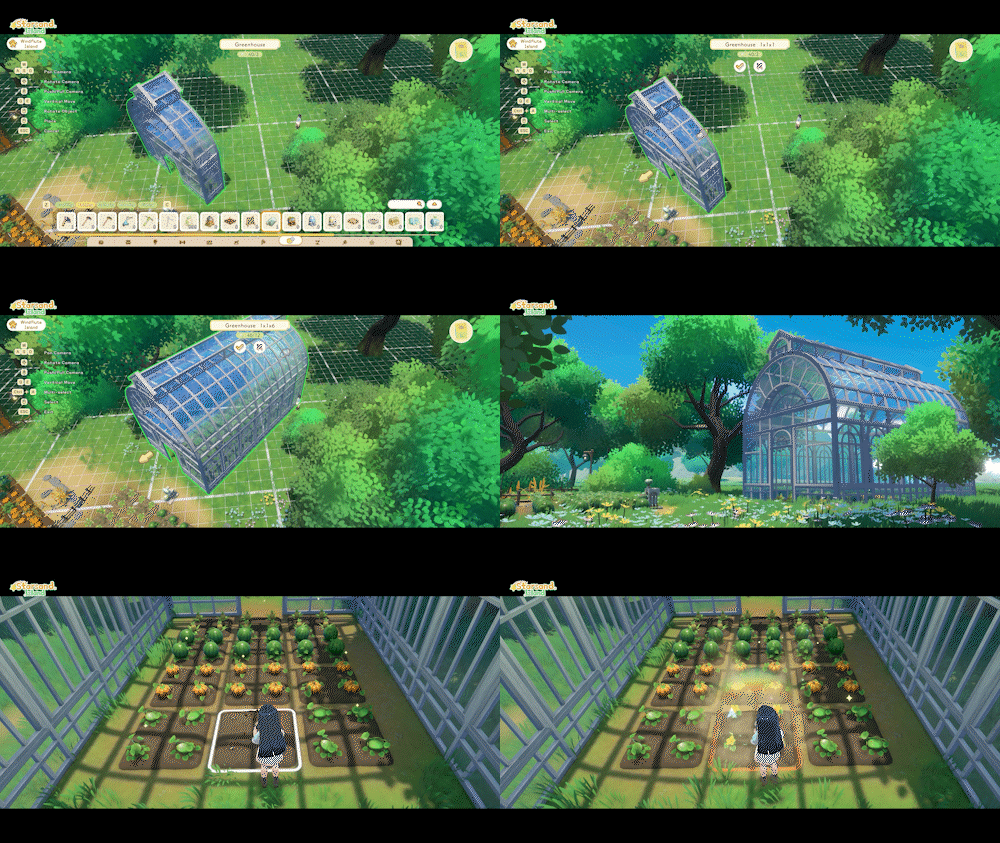
Tier System
Every profession follows the same five-tier structure. Each tier requires completing a certification quest (called a trial) given by the profession's mentor NPC.
Tier | Name | Typical Unlock |
|---|---|---|
1 | Apprentice | Entry-level quest; basic tools and mechanics |
2 | Junior | Intermediate quest; upgraded tools and new systems |
3 | Intermediate | Mid-game quest; advanced machines and techniques |
4 | Senior | Late-game quest; specialized equipment and mastery tasks |
5 | Expert | Endgame quest; final tools, automation, and prestige rewards |
After completing each trial, you receive a certificate. Visit Solara at the Community Center to claim a recruitment bonus reward for each certificate earned. Each new tier also unlocks additional blueprints at the mentor's shop and new skills in the Workpedia phone app.
Important: The Crafter profession must be completed to Apprentice level before any other profession can be started. After that, the remaining four professions can be pursued in any order.
Crafter
Mentor: Zerine at Zerine's General Store. The backbone profession that provides tools, machines, and vehicles used by every other activity.
Tier | Trial Summary | Key Unlocks |
|---|---|---|
Apprentice | Pick up Equipment Blueprint Pack, craft Cutter I / Charcoal Kiln / Furnace I / Separator, then build a Skateboard | Axe, Stone Pickaxe, Stone Hoe, Watering Can, Bug Net, Wooden Rod, Slingshot, Skateboard, Workpedia app |
Junior | Craft Verdant Breeze Rollerblades using Bronze, Radiant Core, and Ancient Gear Parts from Moonlit Forest ores | Impact Axe, Impact Pickaxe, Impact Hammer, Machete, Rollerblades, Cutter II |
Intermediate | Purchase and craft an Energy Converter, deliver to Delphin at the AquaBlue Outpost | Blast Hammer, Sharp Machete, Mechanical Tiller, Pressurized Sprinkler, Electric Shearer |
Senior | Craft a Waverider vehicle from Skateboard + Spirit Cube II + Flamecore Ingot + Solid-State Battery | Electric Drill, Chainsaw, Powered Hoe, Fishing Net, Realm Summoner |
Expert | Craft a Robot Terminal, deploy a Mining Robot, build a Teleporter, craft all three Worktable tiers | Teleporter blueprint, Spirit Cube III, Hydraulic Powered Hoe, endgame fishing rods, automation stations |
Many crafting recipes consume previous-tier tools as ingredients. Hold on to old equipment instead of selling it, since you will need lower-tier items as components for higher-tier upgrades.
Farmer
Main article: Farmer Profession
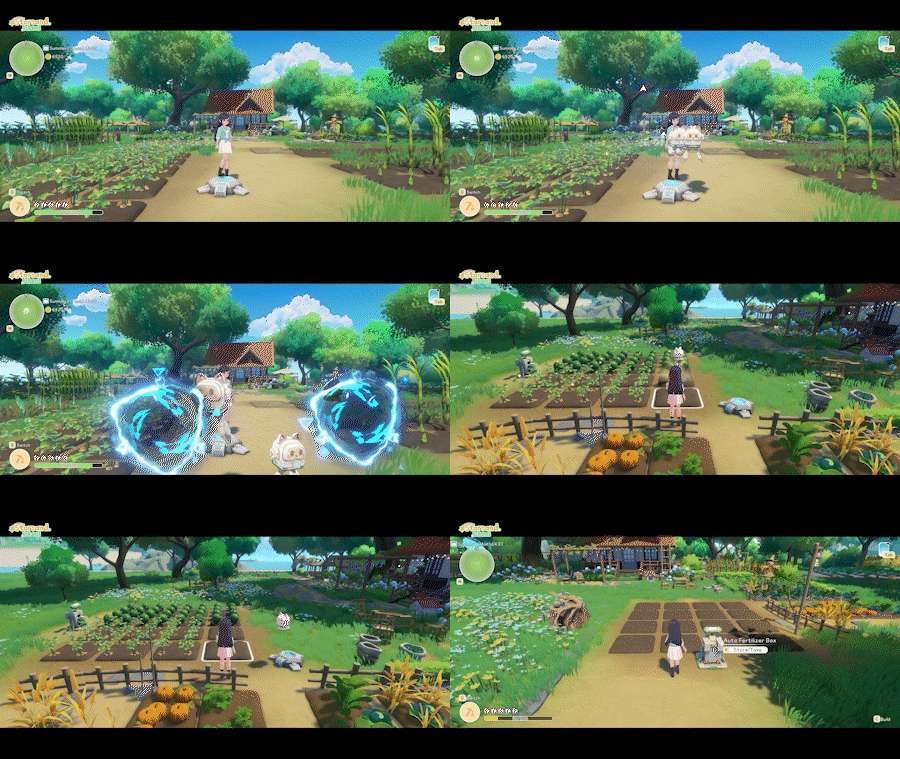
Mentor: Graminova at the Happiness Seed Shop. Covers crops, seeds, soil, sprinklers, and artisan processing machines.
Tier | Trial Summary | Key Unlocks |
|---|---|---|
Apprentice | Grow wheat, harvest it, craft flour using a Separator, complete the Flour Purchase Bulletin Board request | Stone Hoe, Wooden Watering Can, basic seeds, farming Workpedia skills |
Junior | Purchase Cucumber Seeds, craft Trellis structures, grow cucumbers on trellises | Planting Box, Wide Hoe, Bronze Watering Can, Sprinkler, Brush |
Intermediate | Create a Gmax Crop (giant crop) by planting in a 3x3 plot | Mechanical Tiller, Pressurized Sprinkler, higher-tier seeds |
Senior | Cross-breed flowers to produce specific hybrid colors | Grinder (converts crops back to seeds), Eternal Blessing skill, Powered Hoe |
Expert | Final certification objectives | Greenhouse Building Manual (season-independent growing), Hydraulic Powered Hoe, artisan machines (Jam Maker, Brewing Barrel, Pickling Jar, Starsand Grinder) |
Key farming mechanics: only hoe-clearing and refilling watering cans cost stamina, while planting, watering, and harvesting do not. Growing time starts from the moment seeds are placed, not at day rollover. Everlasting Seeds produce infinite harvests; removing the plant refunds the seed.
Angler
Main article: Angler Profession
Mentor: Delphin at the AquaBlue Outpost. Covers fishing rods, fish traps, fish ponds, and fish breeding.
Tier | Trial Summary | Key Unlocks |
|---|---|---|
Apprentice | Catch 10 fish, deliver 3 to Delphin, complete the New Finny Roommates Bulletin Board request | Wooden Rod, Chrono Rod |
Junior | Help Marston rebuild the port, rent a boat, sail to a marked spot, catch ocean fish, deliver to Zerine | Boat access, Silent Rod, Cloud Rod, Noble Rod |
Intermediate | Build a Fish Pond and Chopper II, learn fish breeding, catch a Glowfish in the Moonlit Forest and deliver to Bruce | Fish Pond, Incubator, Chopper II, Fish Trap blueprint (5,000 coins), fish breeding |
Senior | Fill the AquaBlue Outpost aquarium with 20 different fish species (3 of each type) | Lost Angler's Rod, Divine Rod, Dawnbreak Rod, Titanium Rod, Fishing Net |
Expert | Produce Giant Barb Fish Eggs via fish pond breeding, deliver to Hattie, then catch 2 Kingfish from deep-sea zones | Astra Rod, Wanderer's Rod, Solar Rod (endgame rods) |
Deep-sea fishing zones (Coral Sea, Celestwave, Luminwave) become accessible from Starsand Port after the Junior Angler quest. The Expert trial requires a Golden Rod or better to catch the region-specific Kingfish: Swordfish King (Coral Sea), Long-barbled Dragonfish (Celestwave), or Mega Mouth Shark (Luminwave).
Rancher
Main article: Rancher Profession
Mentor: Pastelle at Green Pasture Ranch. Covers livestock, animal products, breeding, and mounts.
Tier | Trial Summary | Key Unlocks |
|---|---|---|
Apprentice | Build Rabbit Hutch, raise rabbits, collect wool, craft Flannel on a Loom, deliver Flannel to Alex | |
Junior | Raise rabbits to adulthood, purchase Chicken Coop and chickens or ducks | |
Intermediate | Breed a Lop-eared Rabbit by housing male and female rabbits with an unoccupied space | Breeding House, Sheep (13 variants), Cows, Pigs, Bumblebees, Horses |
Senior | Breed a White Horse (rare mutation, typically 15-25 attempts), mount and ride it to Zephyria at the Exploration Club. After delivering the horse, return to Pastelle to complete the certification | Mounts (ride animals), Deer (10 variants), Selective Breeding House, DNA viewing |
Expert | Final rancher certification | Alpacas, Ostriches (8 variants), Auto Milker, Electric Shearer, Selective Breeding |
Ranch animals provide farm help: rabbits eat weeds (up to 15 per day), chickens clear bugs, and ducks eat snails. Higher-tier feed recipes require lower-tier animal products (for example, sheep feed requires eggs), creating a chain where earlier animals support later ones. The Senior Rancher White Horse trial can take significant resources (3+ barns and 20,000 to 30,000 coins) due to the random genetic mutation required.
Explorer
Main article: Explorer Profession
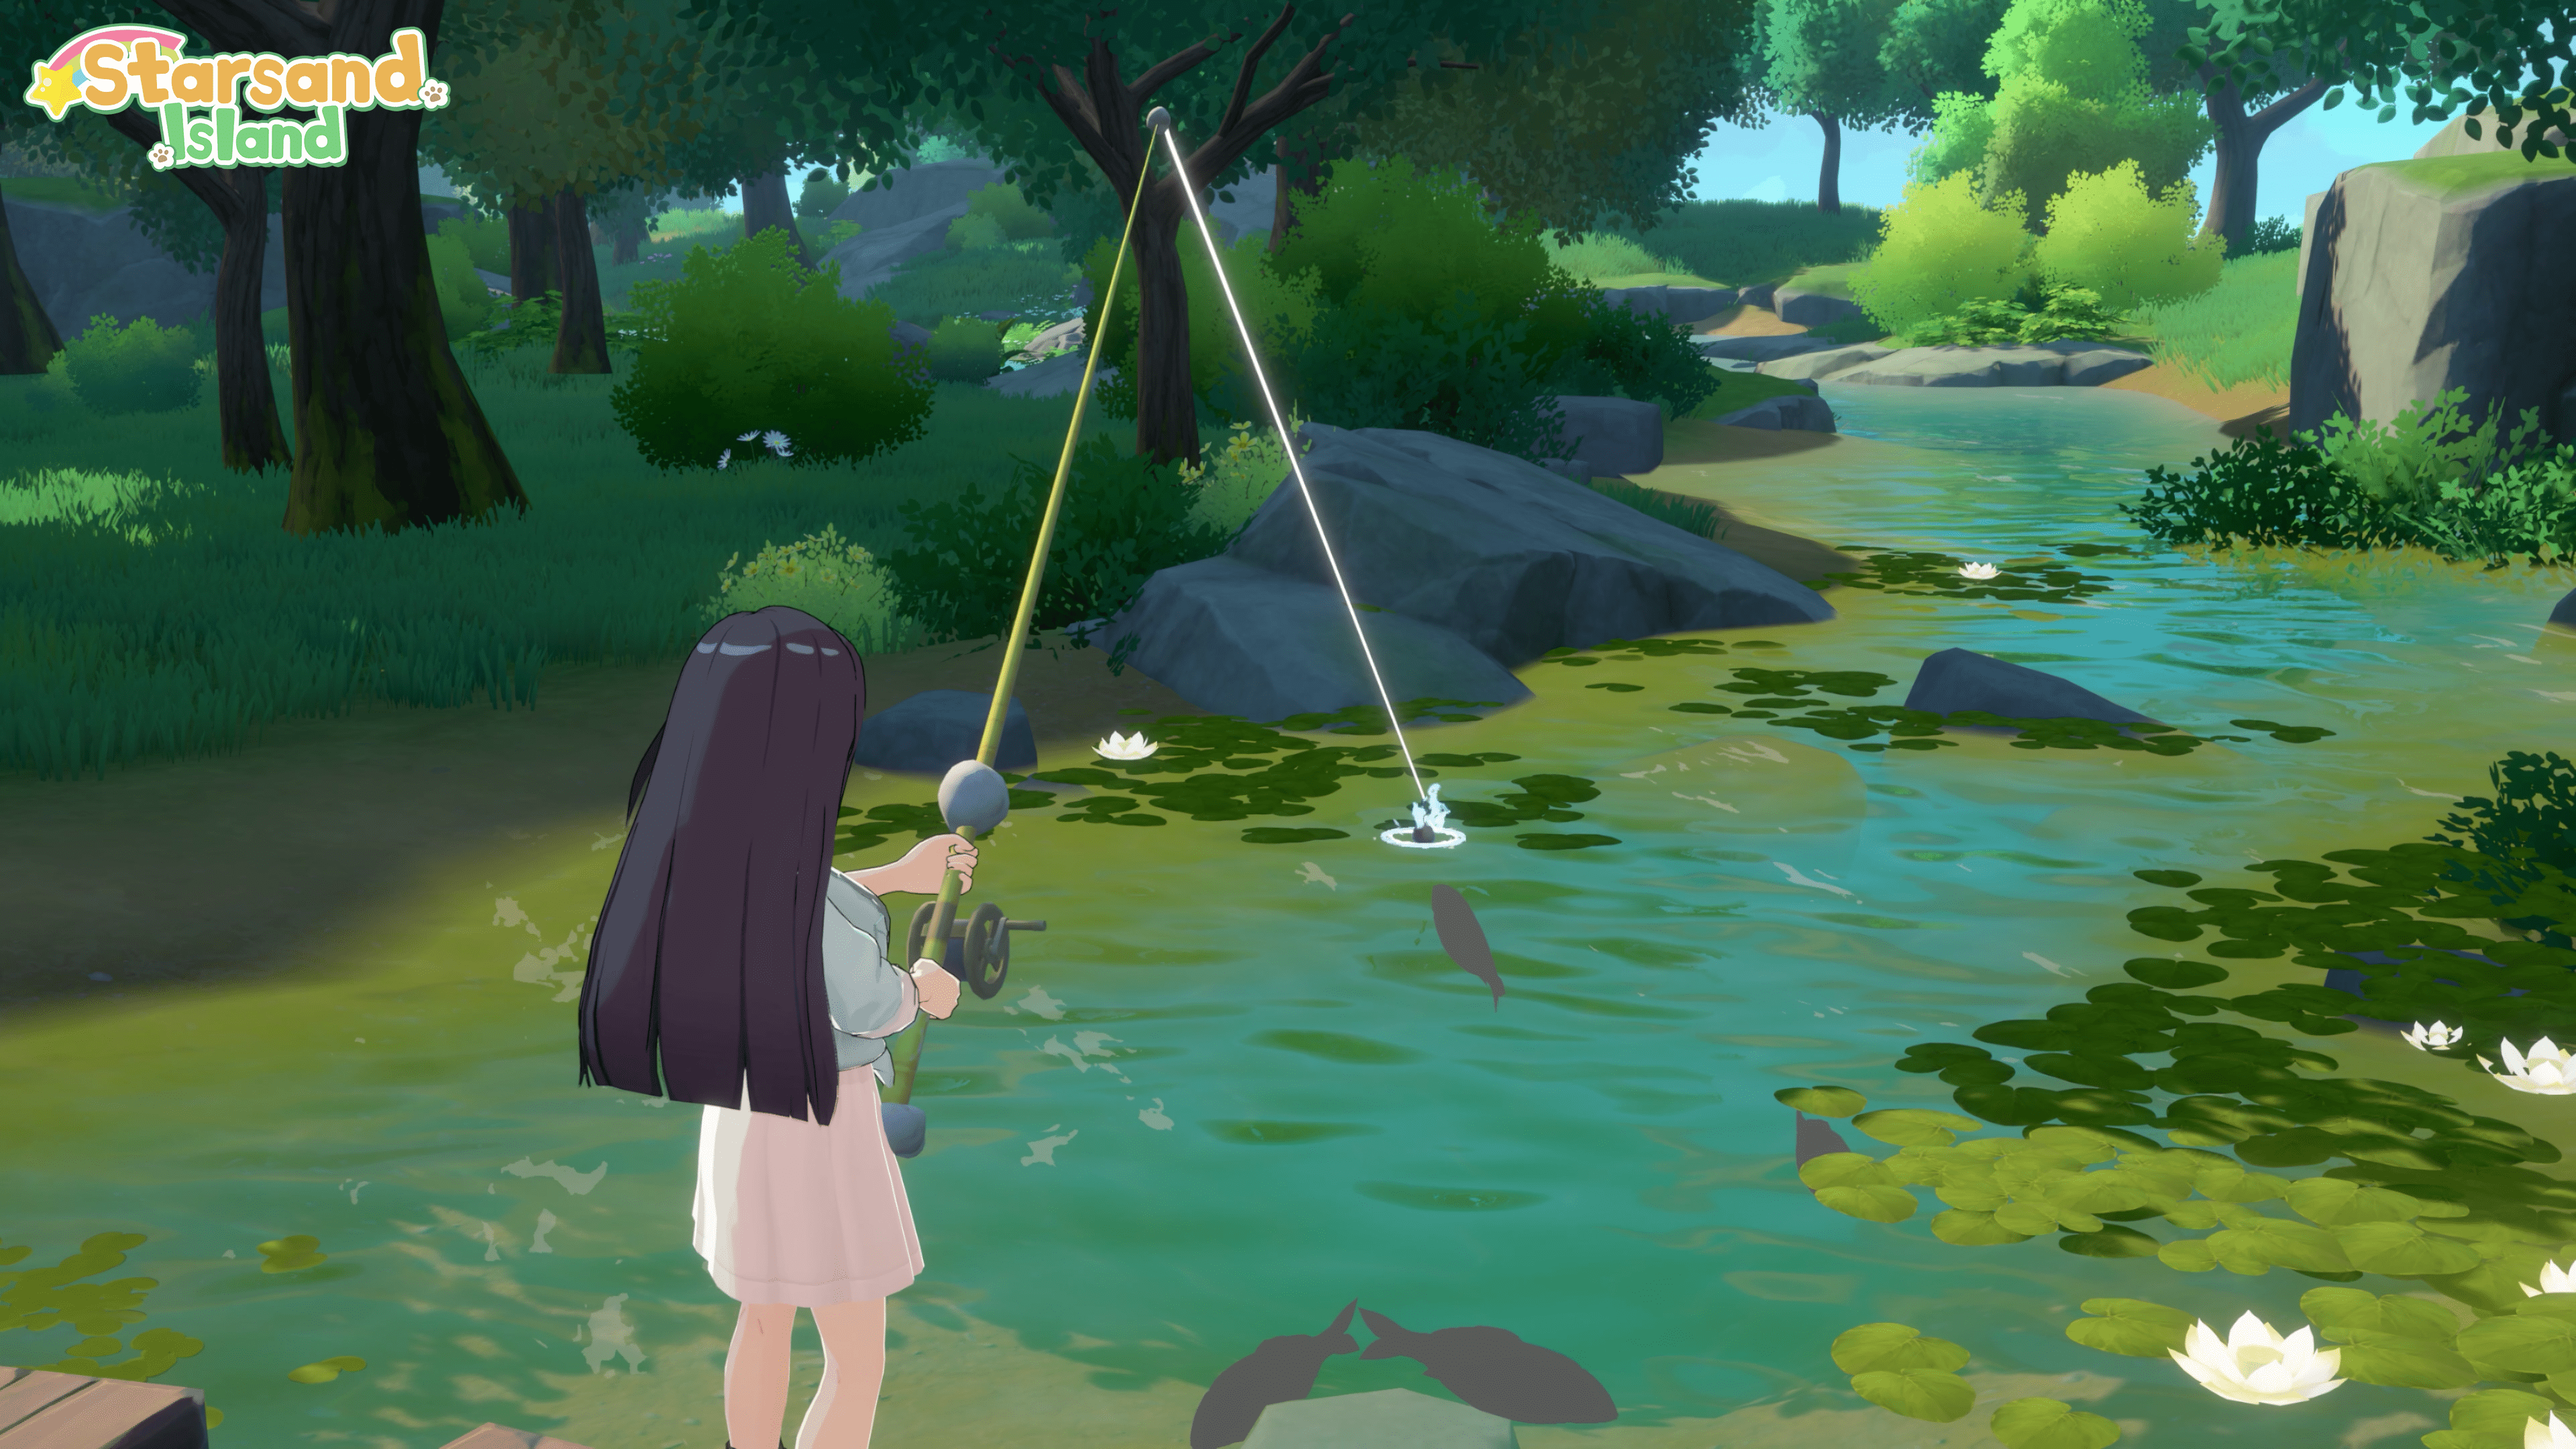
Mentor: Zephyria at the Exploration Club. Covers combat, the Moonlit Forest, boss fights, and rare material gathering.
Tier | Trial Summary | Key Unlocks |
|---|---|---|
Apprentice | Craft a Slingshot, break the Damaged Door behind your home, enter the Moonlit Forest, defeat a Runebird, collect fragments | Slingshot, Ammo Maker, Simple Pellet ammo, Moonlit Forest access |
Junior | Defeat the Crystalith boss (giant golem in Dreamfall Garden area); aim at the orange weakspot | Plume Bow, Golden Bow, Golden Slingshot, Right Ruins Key, new forest areas |
Intermediate | Prepare materials for Bruce's Sharpshooter Stall (Alloy + Starflare Core), craft a Bow and Bomb Arrows, defeat the Glintortle boss (aim Bomb Arrows at crystal on its back) | Bow, Bomb Arrows, Water Arrows, Fire Arrows, Harvest Yard access |
Senior | Repair the ancient Waterwheel (Primorite, Magnetite, Gold, Waterwheel Bearing from Zephyria), progress through the Ancient Ruins to Moonlit Meadow | Wood Arrow, Realm Summoner, Left Ruins Key, access to deepest forest |
Expert | Defeat the Ruin Guard (final boss, target weak point on head during attack phases), repair the altar with Moonstone + Spirit Berry + Prayer | Luna Deer mount, Crossbow (quest reward, strongest ranged weapon) |
Special arrow types are central to Explorer progression. Water Arrows grow branches to create bridges across gaps. Fire Arrows burn obstacles blocking paths. Bomb Arrows deal heavy damage against bosses. The Crossbow earned from the Expert trial is a quest reward weapon that cannot be obtained any other way.
Workpedia Skills
After becoming an Apprentice in any profession, the Workpedia app unlocks on your phone. Players spend Starsand Points to unlock profession-specific perks within each profession's skill page. Starsand Points are earned from completing Bulletin Board quests (up to 1,500 points per quest), Star Note achievements, and Island Life titles. You must complete the profession trial for a tier before that tier's skills become available.
Profession | Notable Skills |
|---|---|
Crafter | Recuperate (increased stamina recovery when sitting), Supply Boost (easier restocking), Golden Crafter (daily General Store inventory refresh) |
Farmer | Effortless Tilling (reduced hoe stamina cost), Harvest Season (doubled harvest yield), Eternal Blessing (Everlasting Seed drop chance, upgradeable to Lv.3), Chain Harvest |
Angler | Focus skills (easier reeling after successful catch), Luck skills (higher rare fish chance), each upgradeable to 3 levels |
Rancher | Skills related to animal care, breeding success, and product quality (specific skills vary by tier) |
Explorer | Ammo Recycle (free ammo recovery), Victory Siphon (double chest rewards), Beast Tracker (prevents knockouts), Bounty Hunter (increased coin drops), Shattering Blow (faster defeats) |
Island Life Connection
Profession progression feeds into the broader Island Life rank system, which tracks overall progress across five ranks: Returning Resident, Island Pro, Home Builder, Bright Star, and Starsand Legend. Ranks must be completed sequentially. The Island Pro rank unlocks land ownership and is required before the bus system quest becomes available. Profession certificates, combined with housing milestones, economic thresholds, and NPC relationships, contribute toward rank advancement.
Recommended Progression Order
Crafter (mandatory first; required before any other profession can start; provides tools for everything else)
Explorer (second; grants access to the Moonlit Forest and essential crafting materials like Spirit Cube Fragments and rare ores)
Farmer (third; reliable passive income, low stress, provides crops for cooking and feed chains)
Angler (third or fourth; quick active income from fishing, funds blueprint purchases at shops)
Rancher (last; high maintenance, expensive infrastructure, and requires an established farm for feed production)
This order reflects the consensus across community guides. Crafter and Explorer build the foundation, while Farmer and Angler generate income. Ranching is left for last because it demands the most investment and benefits from having other systems already running.