Overview
All bosses in Starsand Island are found in the Moonlit Forest, tied to the Explorer Profession quest line given by Zephyria. The fights progress in difficulty as you advance through Explorer ranks. There is no dodge roll in combat; rely on strafing, sprinting (hold Shift), and jumping to avoid attacks. Always bring healing food.
Weapons and Ammo
Combat uses ranged weapons that unlock through Explorer tiers:
Item | Details |
|---|---|
Slingshot (Apprentice) | Starting weapon. Uses Stone Ammo, Simple Pellets, and Blast Pellets. Charge shots by holding left mouse button. |
Plume Bow (Junior) | Uses Arrows, Bomb Arrows, Water Arrows, and Fire Arrows. Essential from Glintortle onward. |
Crossbow (Expert) | Highest damage. Uses the same arrow types. |
Sentry Bots are purchasable from the Exploration Club (10 in stock at a time). Deploy them during fights for passive chip damage and to draw aggro. They will not solo a boss, but they buy breathing room.
Runebird
Location: Gate of Life. Rank: Apprentice Explorer trial. Weapon: Slingshot.
The first boss and the easiest. Circle-strafe around the Runebird and fire your slingshot between its attacks. It has a weak point on its head that briefly glows during certain animations. A few charged shots brings it down.
Rewards: Runebird Fragments (needed to complete the Apprentice Explorer trial), access to the next area.
Luminfrog
Location: Dreamfall Garden (appears twice; also in Azure Bay upper area). Weapon: Slingshot.
Takes about five shots to defeat, but the tight spaces make dodging harder than expected. Move constantly to avoid its water projectiles. Bring healing food. Lamb Skewers (buy the recipe from the Exploration Club, craft with Meat Bites + ingredients) restore both Stamina and HP.
Rewards: Luminfrog Fragment, Sparkling Pigment.
Crystalith
Location: Crystalith Hideout, top of the Dreamfall Garden stairs. Rank: Required for Junior Explorer. Weapon: Slingshot.
Weak point: The bright yellow glowing abdomen/core in the center of its body. Aim here for maximum damage.
Ammo required: Approximately 50 to 60 rounds minimum. Charged Blast Pellets are most effective. Explosive/Bomb Arrows can finish it in as few as 2 shots if you have the Plume Bow.
Attack patterns:
Item | Description |
|---|---|
Boulder Throw | Hurls a boulder from range. Sprint sideways to dodge. |
Ground Slam / Shockwave | Slams the ground, sending ripple waves outward. Jump over the shockwaves. |
Power Drain Phase | The abdomen glows brightly as the Crystalith channels energy from the central Moonweaver crystal. During this phase it takes double damage. Unload your ammo here. It does not regain health from the crystal. |
Strategy: Deploy Sentry Bots for passive damage and aggro distraction. Keep strafing constantly. Exploit the Power Drain phase for double damage. An alternative approach: use the rocks at the top of the stairs as cover, since the Crystalith cannot descend stairs.
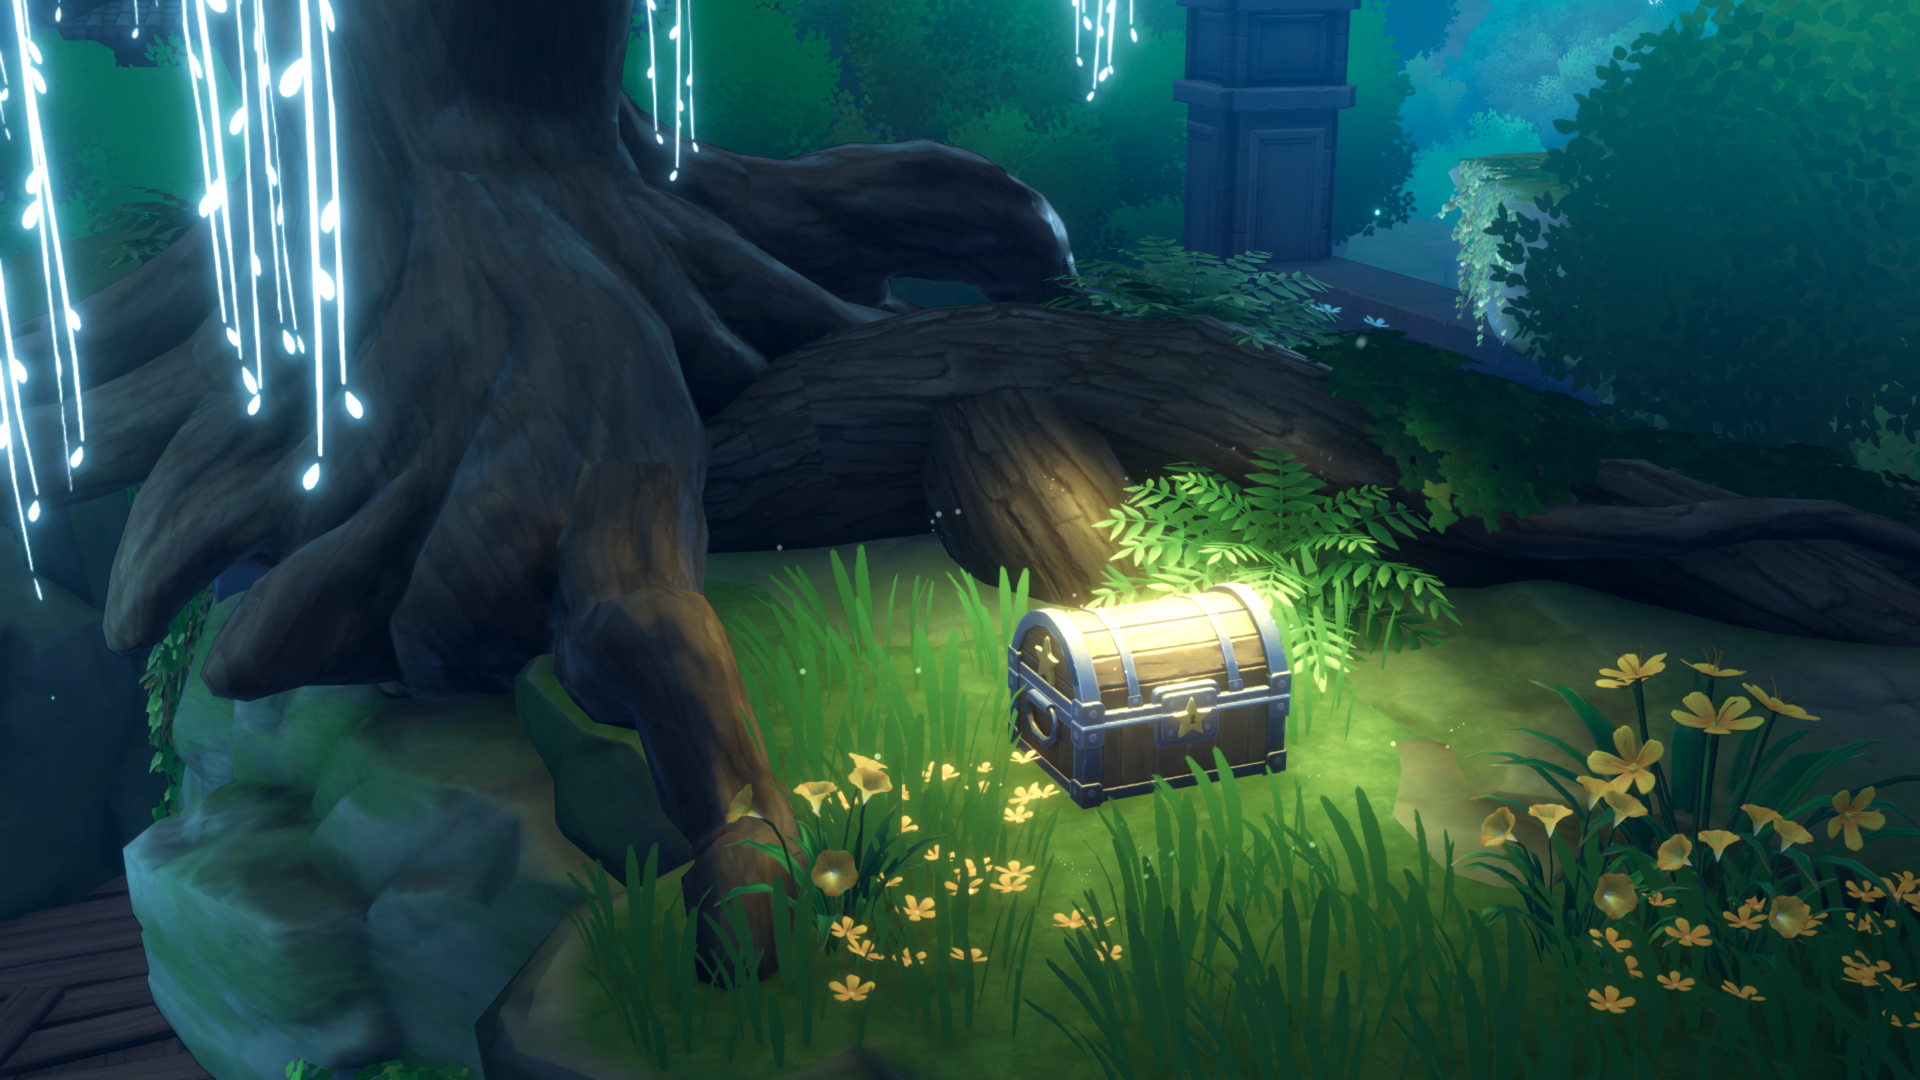
Rewards: Treasure chest (Glass Brick, Hardwood Plank, Pristine Orb blueprint). Opens the path forward.
Glintortle
Location: Mural Valley, beyond the Bronze Gate. Requires two Ruin Keys to access (one from Zephyria, one from an Azure Bay treasure chest). Weapon: Bow with Bomb Arrows (the slingshot is ineffective against this boss).

Weak point: The glowing crystal on top of its shell. Only visible during vulnerability windows after major attacks or when the Glintortle becomes dizzy.
Ammo required: 20 to 30 Bomb Arrows plus 50+ standard arrows as backup. Prioritize Bomb Arrows and Bomb Pellets when the crystal is glowing.
Attack patterns:
Item | Description |
|---|---|
Water Beam | Fires a tracking beam of water from its mouth. Strafe to the side. |
Homing Bubble | Retreats into its shell and hurls a homing bubble. |
Shockwave Spin | Hides in shell and unleashes consecutive shockwaves. Jump over them. |
Shell Charge | Charges toward you while inside its shell, leaving puddles that spawn additional homing bubbles. |
Massive Water Waves | Creates large waves that require jumping to clear. |
Strategy: Deploy Sentry Bots for continuous DPS and aggro. Stay at range. Wait for daze periods after spinning attacks, then hit the glowing shell crystal with Bomb Arrows for maximum effect.
Rewards: Water Arrow blueprint, Pristine Orb blueprint, treasure chest with resources. Unlocks the Harvest Yard area. Water Arrows and Fire Arrows are needed to clear vine barriers for further progression.
Ruin Guard
Location: Moonlight Meadow, the final area of the Moonlit Forest. Rank: Expert Explorer trial (final boss). Weapon: Bow or Crossbow with a large stockpile of Bomb Arrows.
Weak point: The top of its head. Only exposed during specific attack animations. Shooting its body wastes ammo.
The Ruin Guard has five distinct attack patterns. Three create safe windows to attack; two require immediate evasion:
Safe windows (attack during these):
Item | Description |
|---|---|
Green Charge Vines | Pulls green energy into both hands and charges for a long time. Weak spot glows the entire animation. Pump arrows into its head. Move immediately when the animation ends, because vines spawn under your feet. |
Flying Ore | Hits the ground and floats a rock above its head. Weak spot glows for a few seconds before it launches the rock at you. |
Flame Beam | Red charge appears over its head (weak spot exposed). Fires a sustained laser and slowly rotates toward you. Stay far back, keep strafing, and fire arrows while staying outside the beam's arc. |
Unsafe (dodge these):
Boss | Details |
|---|---|
Green Charge Slice | Pulls green energy into one hand and fires a slicing projectile. Back off and strafe. |
Spin Slice | Spins its body and lunges with barely any warning. Run as far away as possible. |
Dazed State: If you deal enough damage during vulnerable windows, the Ruin Guard becomes temporarily immobilized with its head dropped to arena level. Dump Charged Bomb Arrows directly into its skull for double damage.
Strategy: Maintain distance to give yourself time to aim. Deploy Sentry Bots for chip damage. Focus on the three safe windows and dodge the two unsafe ones. This is an extended fight that demands careful ammo management.
Rewards: After defeating the Ruin Guard, repair a broken altar using Moonstones, Spirit Berries, and a prayer item to unlock the Luna Deer permanent mount.
The Corrupted
Location: Astral Gate, accessible by progressing through the Deep Forest and collecting Gravestars.
Weak points: Glowing eyes and shoulders. Recommended ammo: Fire Arrows.
Details on this encounter are limited. The boss's health resets if you retreat from the arena, so stay engaged. Maintaining mobility with the skateboard is recommended. Fire Arrows are the most effective damage source.
General Tips
Stun-lock rotation: All three large bosses (Crystalith, Glintortle, Ruin Guard) can be stun-locked by alternating one explosive projectile (Blast Pellet or Bomb Arrow) to trigger a stagger, then rapid-firing standard ammo during the immobilization window, and repeating. This conserves expensive ammo while keeping the boss locked down. See the Ruin Guard article for the full rotation breakdown.
Always craft more ammo than you think you need: 50-60 for Crystalith, 20-30 Bomb Arrows for Glintortle, even more for Ruin Guard.
Bring Grilled Chicken Wings or Lamb Skewers for HP restoration.
Rocks and pebbles mined in the Moonlit Forest serve as emergency slingshot ammo.
Save Water and Fire Arrows for progression puzzles after boss fights, not during them.
Sentry Bots are restocked at the Exploration Club in batches of 10. Buy them before heading into a boss fight.