Your First Day
You arrive on Starsand Island and meet Solara, the mayor's granddaughter and your childhood friend. She walks you through the basics: how to clear your land, plant your first crops, use tools, and navigate the island. You inherit a small house and a patch of overgrown farmland.
The tutorial is not long. Solara teaches you to clear weeds and rocks, till soil, plant seeds, and water crops. After that, the game opens up and you are free to explore at your own pace.
First-Day Checklist
Complete the tutorial. Follow Solara's instructions to clear your farm, craft an Axe, and craft a Matcha Double Bed.
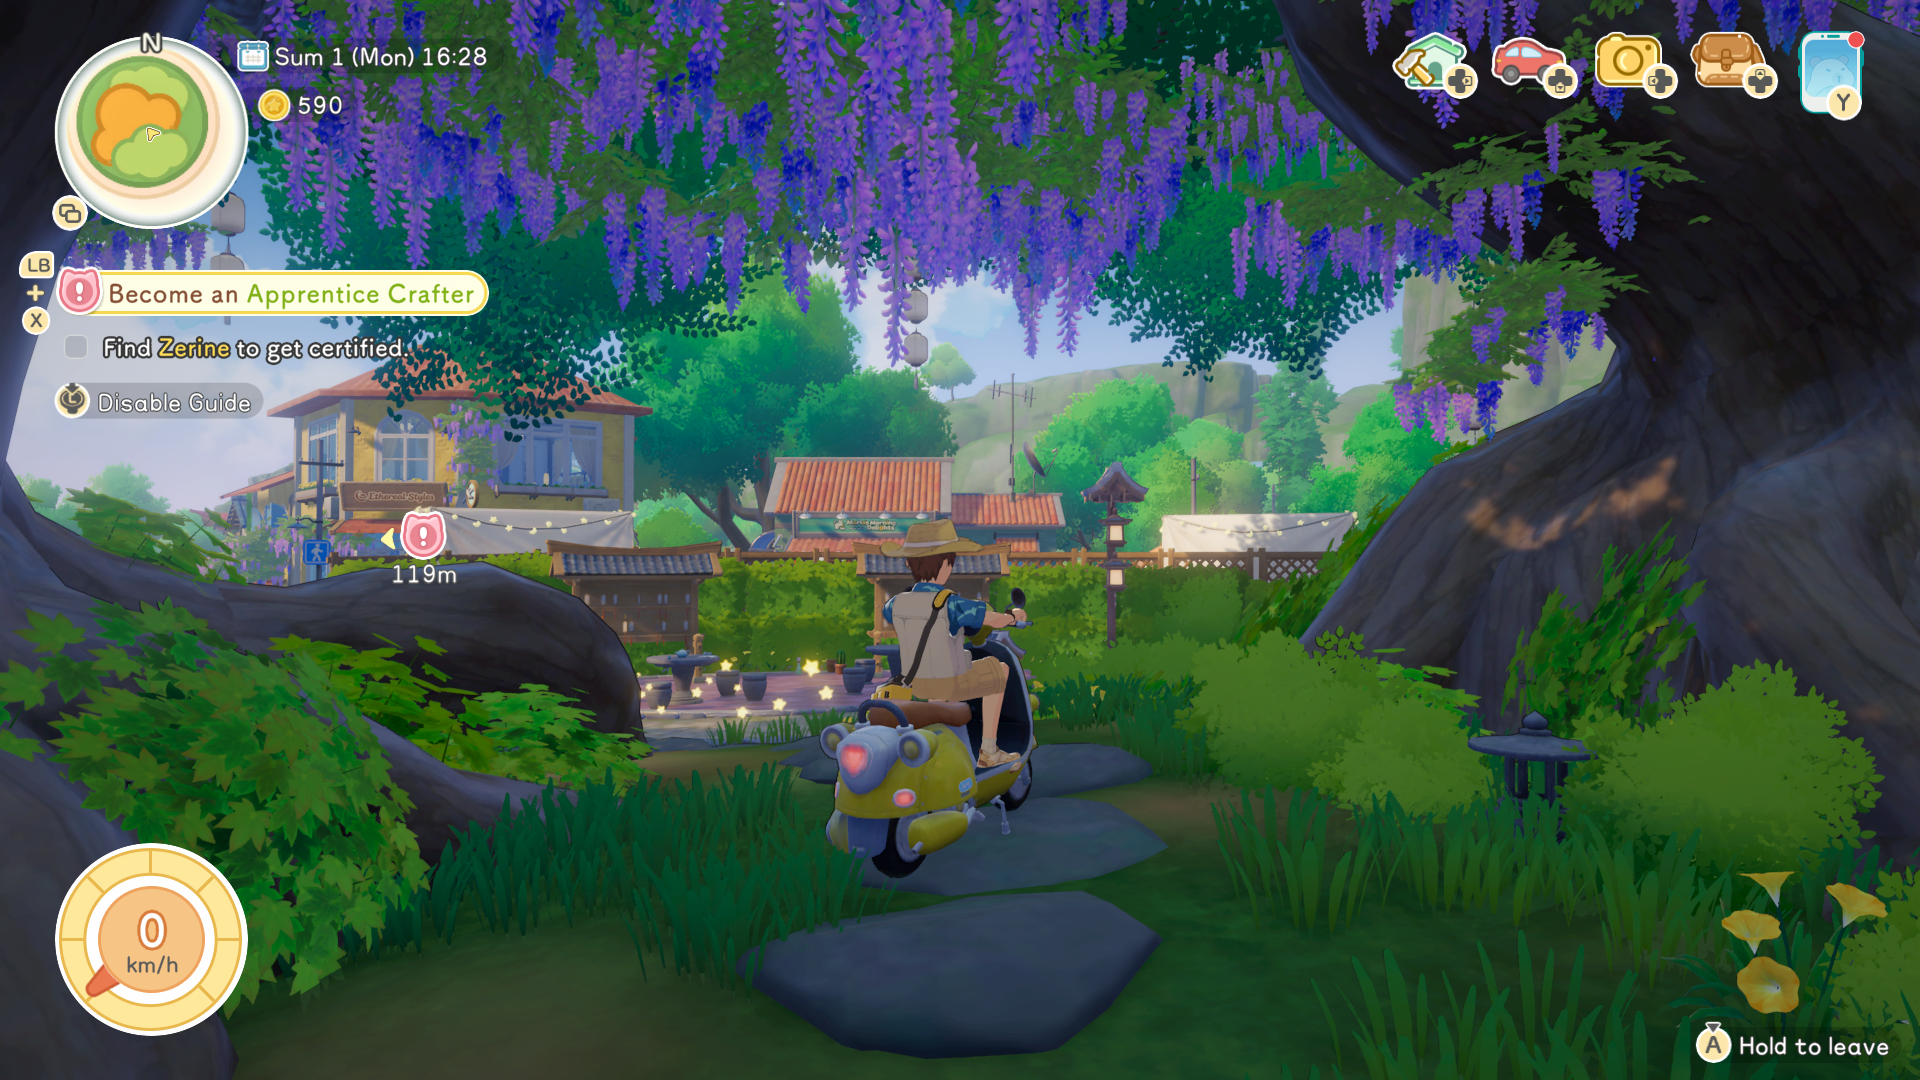
Visit Zerine's General Store. Pick up the free Equipment Blueprint Pack, which contains blueprints for the Furnace, Charcoal Kiln, Cutter, and Separator.
Start the Crafter profession. Talk to Zerine and accept her first quest. Crafting is mandatory before you can unlock any other profession.
Plant your first crops. Visit Graminova at the Happiness Seed Shop. You get 3 free Wheat Seeds; buy 3 more (Wheat grows in all seasons). Till 6 plots near your house and plant them.
Upgrade your bag. Open your Inventory and select Expand. The first upgrade costs 5 Fiber, 5 Stone, and 5 Softwood and increases capacity from 30 to 35 slots.
Talk to all five mentors. Starting each profession's introductory quest early lets you progress multiple tracks at once.
Craft a Stump Stool. Requires Softwood. Place it on your farm for free stamina recovery at any time.
Build Storage Boxes. Each Storage Box costs 8 Softwood. Build at least two near your farm and one inside your house to manage inventory.

First-Day Priority Order
If you only have time for a few things, focus on this order: complete the tutorial, pick up the Equipment Blueprint Pack from Zerine, plant Wheat, craft a Stump Stool, and build 2 Storage Boxes. Everything else can wait until Day 2.
Saving
The game autosaves at the start of each day. You can manually save at any time via the Escape menu. The game also has configurable autosave intervals (3, 5, 10, or 20 minutes). Set it to 3 minutes if you want the safest experience. If something goes wrong, you can roll back to a previous save. The rollback feature restores to the morning of the same in-game day.
Stamina
Almost everything costs stamina: farming, mining, fishing, fighting. When it runs out, you cannot work.
Stamina Recovery Methods
Method | Details |
|---|---|
Eat food | Cook raw ingredients for better stamina recovery. Foraged mushrooms are a free, reliable early source. |
Located in Maple Reed. Buy a Hot Spring Ticket from the General Store or a vending machine (100 Coins). Recovers roughly 2 to 3 stamina per in-game minute. | |
Craft from Softwood. Sit on it for passive stamina recovery. Costs nothing and can be placed anywhere. Also works on Stump Stools found throughout the island and Moonlit Forest. | |
Recuperate perk | Unlock in the Workpedia (Apprentice Crafter). Increases stamina recovery speed while sitting. |
Benches and chairs | Sitting on any bench or chair restores stamina steadily without consuming food. Your starting plot has a broken bench you can repair cheaply. |
Sleep | Sleeping in your bed restores stamina to full. Get to bed before 2:00 AM to avoid the pass-out penalty. |
Charged Strikes
Hold the action button instead of tapping it. Charged strikes deal significantly more damage to rocks, trees, and stumps while costing only one extra stamina point. Chaining charged strikes clears resources much faster and saves time overall.
Pass-Out Rules
If you are not in bed by 2:00 AM, you pass out and wake up with only 50% energy.
Three consecutive pass-outs trigger an exhaustion penalty. You sleep through an entire day, losing a full day of farming and progression.
Head home around midnight during early gameplay to avoid this.
The Phone
Your in-game phone manages most systems. Key apps include:
App | Function |
|---|---|
Island Life | Tasks and milestones. Complete these for Starsand Points and app unlocks (like the Buy Land app). |
World Map | Map of the island with discovered locations. Shows mentor locations via the graduation-cap icon. |
Spend Starsand Points to unlock skills across all professions. | |
Social | Track NPC locations and Affection levels. Use the Residents icon to place waypoints to any NPC's current position. |
Encyclopedia of everything you have found. Over 1,320 collectibles, with Stamp Collection rewards for hitting milestones. | |
Achievement-style reward tracks that grant 50 to 1,500 Starsand Points. |
Bag Expansion
Inventory space is limited at the start. You expand your bag through the Expand option in the Inventory menu. Each upgrade requires specific materials.
Level | Slots | Materials |
|---|---|---|
Starting | 30 | None |
Level 1 | 35 | |
Level 2 | 40 | 5 Carbon Line, 5 Stone Brick, 5 Softwood Plank |
Prioritize the first bag upgrade on Day 1. The materials are easy to gather from clearing your farm.
Mailbox
Check your mailbox regularly. You get event reminders, random gifts from islanders, and important quest notifications there. NPCs at higher friendship levels send gifts in the mail, sometimes including rare recipes.
The Five Professions
You are never locked into one career. All five professions are available from the start and progress independently through certification tiers (Apprentice, Junior, Intermediate, Senior, Expert):
Profession | Description | Mentor |
|---|---|---|
Build items, furniture, vehicles, and crafting stations. The foundational profession that all others depend on. | ||
Grow crops, cross-breed plants, and manage seasonal harvests. | ||
Fish the coast and seas with rods, bait, and traps. | ||
Raise and breed livestock including cows, pigs, sheep, and chickens. | ||
Explore the Moonlit Forest dungeon. Fight bosses with slingshots and bows. |
Recommended Profession Order
Crafter (mandatory first). All other professions depend on crafting tools and stations. Completing Apprentice Crafter also unlocks a Skateboard for faster travel.
Explorer (second). Unlocks the Moonlit Forest and new materials like Copper, Tin, and Quartz needed for tool upgrades.
Farmer and Angler (third). Both generate consistent income through crop sales and fish sales.
Rancher (last). Ranching requires crafted stations and feed, so it benefits from having the other professions leveled first.
Do not spend all your Starsand Points on one profession. Other mentors gate progress behind their own unlockables, so spread your investment across the Workpedia.
Unlocking the Moonlit Forest
The Moonlit Forest is the primary source of ores, combat, and exploration content. To unlock it:
Visit Zephyria at the Exploration Club (located between Green Meadow and the Flower Corridor).
She gives you a Slingshot and a stack of Simple Pellets.
Head south from your home to find the forest entrance blocked by a rock barrier.
Use the Slingshot to break the rock barrier and enter the portal.
On early visits, focus on gathering Copper, Tin, and Quartz from ore nodes. Bring a Storage Box to place at the camp inside the forest so you can store materials without running home. The forest has camp sites with Stump Stools for stamina recovery.
Seasons
Starsand Island has four seasons: Spring, Summer, Autumn, and Winter. Each season lasts 28 in-game days. Different crops grow in different seasons. Crops planted out of season wither immediately when the season ends. Rain automatically waters your crops, so rainy days free you from manual watering.
The game starts in Summer (Day 1). Summer is one of the most profitable farming seasons thanks to Watermelon (104 Coins each at Junior Farmer). Plan your crop rotation before Autumn arrives on Day 29.
Free Resources and Hidden Items
The island has multiple entries of free items that refresh daily:
Source | Details |
|---|---|
Yellow containers found around town. They often contain fish, crops, or dishes. Check them daily. | |
Shake vending machines for a chance at free items. | |
Trash cans | Search trash cans in town for random items and materials. |
Loren gives 20 free arcade tokens every day at the Chrono Arcade. | |
Free feed bags | Pastelle offers two random feed bags per day at Green Pasture Ranch. |
Shell collecting | Pick up every shell, flower, and random item on the ground. These count toward Stamp Collection milestones and sell for small amounts. |
Early Money-Making
For a full breakdown of income strategies, see How to Make Money Fast. The short version:
Farming is the most reliable income source. Cook raw crops into dishes for higher sell prices.
Fishing provides strong early payouts with no setup required. Even basic river fish sell for 50 to 150 Coins each.
Bulletin Board requests pay premium prices for common items. Complete up to 4 per day for 1,500 to 2,000 Coins.
Stamp Collection milestones in the Islandpedia reward 1,500 to 25,000 Coins with no extra grinding.
The Merchant Ship (unlocked via Starsand Port) buys items at 200% value.
Important: you cannot sell items from your inventory menu. You must visit a shop and use the sell function, or use the Shipping Box.
Farm Optimization Tips
Plant seeds in planters rather than directly in the ground. You can reposition planters later using Build mode.
Rush towards sprinklers for quality-of-life farming. Sprinklers automate watering and unlock at Intermediate Farmer tier.
Build multiple Furnaces early. You will need several once the ores start coming in.
Place farm animals near your crops. Rabbits clear weeds, chickens handle flying pests, and ducks eat snails.
Work toward Everlasting Seeds at Senior Farmer. These crops regrow indefinitely after each harvest and ignore season restrictions.
Daily Routine Guide
Once you settle into a rhythm, a productive day follows this pattern:
Morning (6:00 AM): Wake up. Water crops (skip if raining or you have sprinklers). Harvest anything ready.
Mid-morning: Check the Bulletin Board at the Community Center. Accept 4 requests.
Late morning: Visit shops. Buy seeds, check for rotating blueprints, pick up free items from Charity Bins.
Afternoon: Main activity time. Go to the Moonlit Forest for mining and combat, or fish at the coast.
Evening: Cook meals (eat some for stamina, save the rest for selling). Process ores in Furnaces.
Night: Complete Bulletin Board requests if possible. Talk to NPCs and give gifts for Affection points.
Before midnight: Head home and get to bed. Do not risk the 2:00 AM pass-out penalty.
Stuck?
If your character gets stuck on terrain, there is an unstuck button in the main menu. It will advance the day when used, so only use it as a last resort.
Related Articles
Article | Description |
|---|---|
All five profession tracks and tier progression | |
Full stamina mechanics and recovery guide | |
All tools and how to craft them | |
Dungeon exploration, ores, and bosses | |
Complete money-making strategy guide | |
Advanced gameplay tips | |
Optimized daily schedule |