Quick Reference
The table below summarizes the most impactful tips across every system in the game. Each entry links to the relevant section further down this page for full details.
Category | Tip | Why It Matters |
|---|---|---|
Time | Be in bed by 2:00 AM | Fainting halves your stamina the next day. Fainting three days in a row causes you to sleep for an entire day. |
Saves | Autosave triggers at the start of each day; manual save via Escape menu | You can reload to undo mistakes or bad RNG results. |
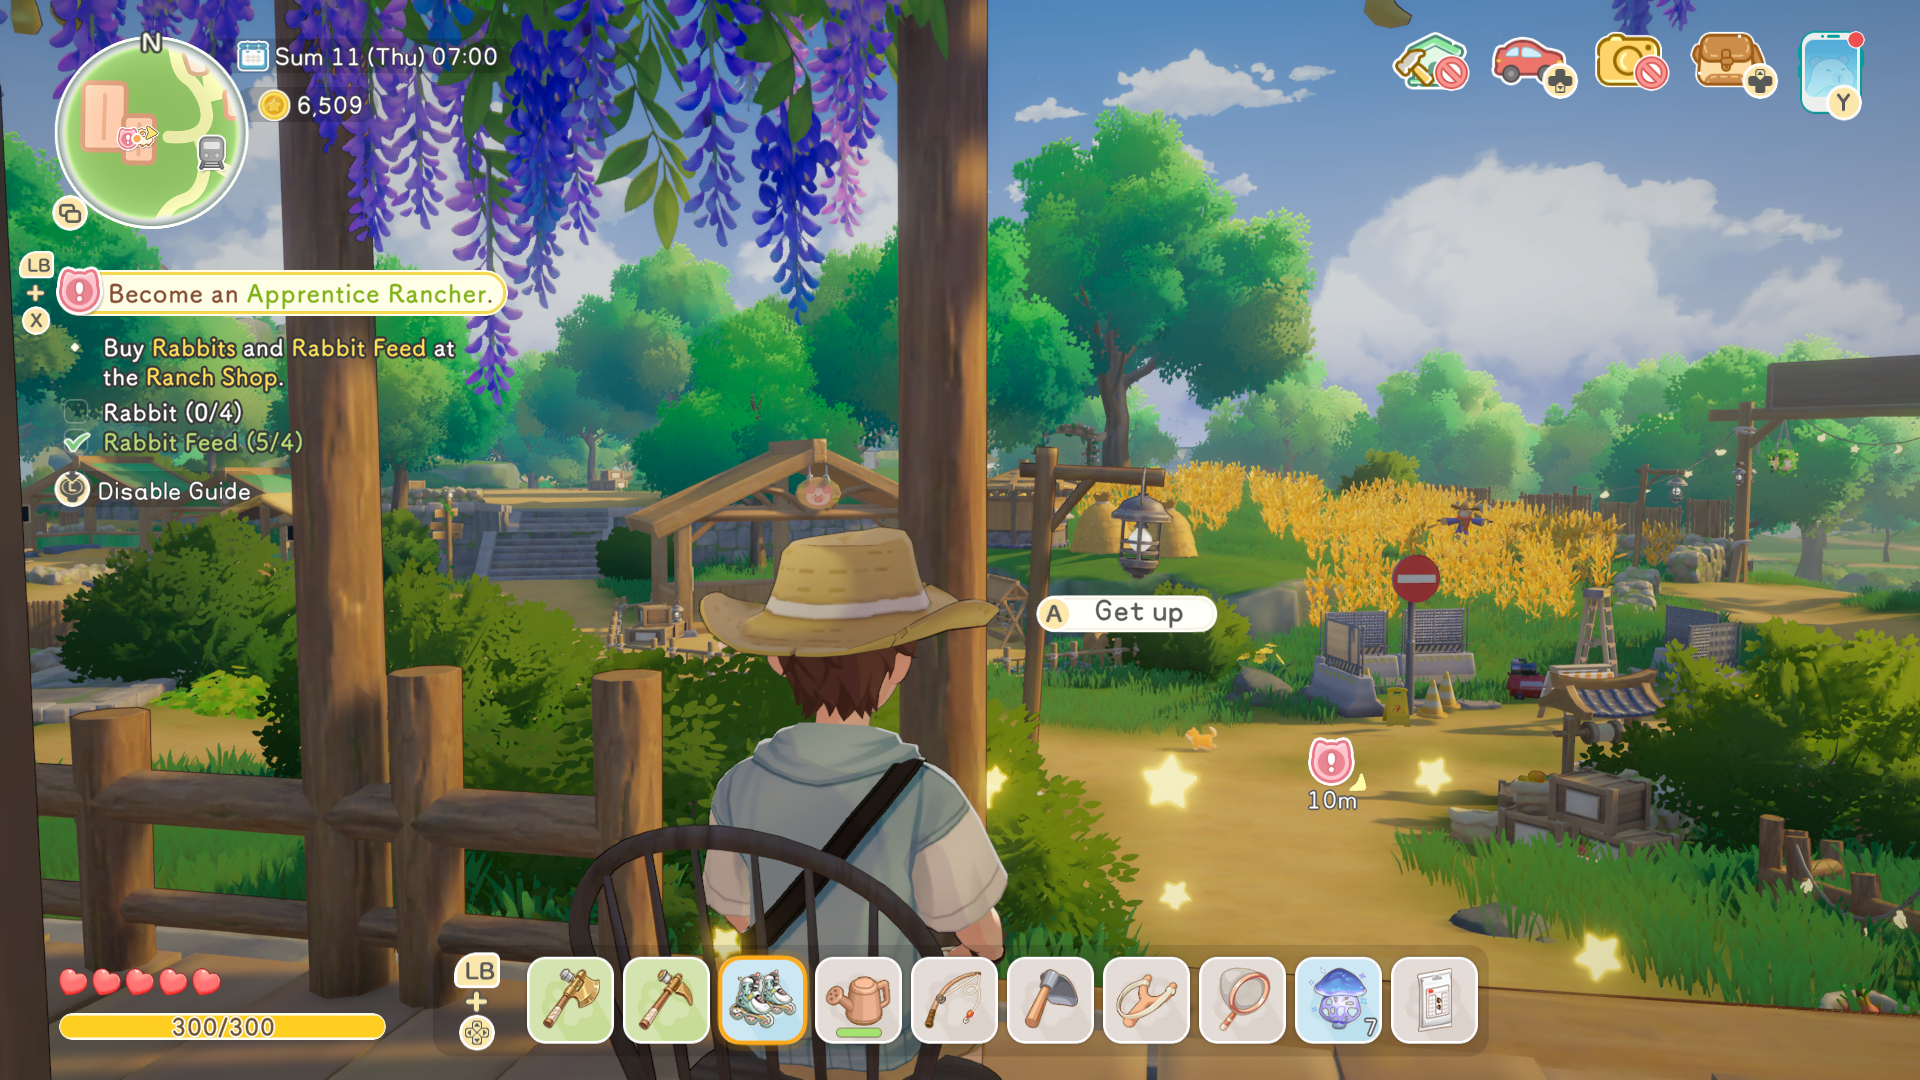
Accept all five starter profession quests right after the tutorial | Lets you multitask and progress all professions simultaneously instead of one at a time. | |
Prioritize the Crafting profession questline with Zerine first | Unlocks the Skateboard, your first vehicle, which drastically speeds up daily routines. | |
Use charged strikes (hold the attack button) when gathering resources | Charged hits deal far more damage than regular taps for only one extra stamina point. | |
Inventory | Buy storage chest blueprints from the General Store early | Bag upgrades are expensive (5 slots each). Chests give much more storage per coin spent. |
Rush towards unlocking sprinklers at Intermediate Farmer tier | The single best quality-of-life upgrade. Eliminates daily watering and saves large amounts of stamina. | |
Feed animals by hand instead of loading food into housing | Hand-feeding increases affection faster, leading to better quality drops and faster profession progress. | |
Money | Sell items to the Merchant Ship whenever it docks | The Merchant Ship pays 200% of regular shop value for your goods. |
Social | Talk to every NPC you pass each day | Each conversation gives +5 free affection. Over a few weeks, this adds up to full heart levels without gifts. |
Quests | Complete daily tasks every day for Starsand Points | Starsand Points are the primary currency for unlocking profession tiers and abilities. |
Check your Islandpedia regularly and fill it out as you explore | Each collectible milestone rewards Coins and items. Over 1,320 entries to discover. |
General
The game autosaves at the start of each day, and you can also make a manual save from the Escape menu.
If your character gets stuck on terrain, use the unstuck button in the main menu. It advances the day, so only use it when genuinely stuck.
Check your mailbox regularly for event reminders, random gifts, and rewards from islanders.
Chat with islanders every day for free Affection Points. It adds up to full heart levels over time without spending anything.
The Islandpedia has over 1,320 collectibles. Each milestone rewards Coins and items, so fill it out as you explore.
Hold the attack button for a charged strike. Charged attacks deal increased damage and hit a wider area, making them useful for clearing groups of enemies.
The Realm Box (unlocked at a later progression stage) lets you access stored items from multiple locations across the island, making inventory management much more convenient.
Farming
You do not need to water every plot every day. Skipping some saves stamina until you have sprinklers.
Rush towards unlocking sprinklers. It is the single best quality-of-life upgrade for farming. Sprinklers unlock at Intermediate Farmer tier.
Pay attention to seed types. Some only grow in planter boxes, farmland, paddy fields, or on trellises.
Crops planted out of season wither immediately when the season changes. Harvest everything before the last day of a season.
Strike crops with an axe instead of using the interact key to harvest. It is faster, costs no energy, and clears weeds at the same time.
Place farm plots near Rabbit Hutches so rabbits clear weeds automatically.
Rainy days water plants for free, but animals take a break from clearing weeds. Use the saved stamina for mining, fishing, or exploring.
Gmax Crops: Plant 9 of the same crop in a 3x3 grid for a chance at a giant mutation. Use an Axe to harvest. To prevent Gmax, keep plots 2 tiles wide or narrower.
Use GMAX Fertilizer on the center plot of a 3x3 grid to significantly increase the chance of a giant crop mutation (15% boost with Gmax Fertilizer III), though it is still not guaranteed. This removes the RNG entirely.
Cross-breed flowers by planting different colored varieties in adjacent plots. After a few growth cycles, hybrid seeds may appear in the nearby soil for new flower colors.
Ranching
Buy the Brush Blueprint from Pastelle's shop early (150 Coins). Cleaning animals is essential for breeding and production. See Animal Cleaning.
Chickens provide pest control, ducks control snails, and rabbits clear weeds. Place the right animals near your farm for passive maintenance.
Raise Bumblebees at Intermediate Rancher tier. They produce Honey and help pollinate flowers for cross-breeding.
Love Feed resets an animal's breeding cooldown immediately, letting you breed the same animal again without waiting for the normal timer to expire.
The Fish Separator machine breaks caught fish into useful components like Fish Oil and Fish Bones. These components are needed for certain cooking recipes and crafting materials.
Animal Farm Roles at a Glance
Each farm animal serves a specific maintenance role. Place them strategically near your farming plots to automate upkeep.
Animal | Farm Role | Bonus Tip |
|---|---|---|
Pest control (clear insects from crops) | Place chicken coops adjacent to farm plots for passive pest removal. | |
Snail control | Especially useful during rainy seasons when snail populations increase. | |
Weed clearing | Place Rabbit Hutches near farm plots so rabbits clear weeds automatically. | |
Bumblebees | Honey production and flower pollination | Unlocked at Intermediate Rancher tier. Helps with cross-breeding flowers. |
Exploration and Combat
Falling out of bounds in the Moonlit Forest does not advance the day. You respawn near where you fell.
You can ignore the rabbits in the early Moonlit Forest sections. They are not worth fighting and waste stamina.
Resources in the Moonlit Forest respawn every day at 8:00 PM. Plan your runs accordingly.
Use Fluorite to repair camps in the Moonlit Forest (5 per camp). It is abundant in there.
The Slingshot can use minerals and ores as emergency ammo, but do not waste good materials unless desperate.
Primorite requires a pickaxe better than the Impulsive Pickaxe to mine. Upgrade your tools before going after it.
In boss fights, look for glowing weak points and dodge pattern attacks. Each boss has distinct telegraphed moves you can learn over repeated attempts.
Crafting and Building
Build multiple Furnaces early. You will need several running at once for smelting. See the Mining Guide.
Keep crafting and equipment benches close together for easier workflow.
Crafting stations automatically pull materials from adjacent storage chests. Place your chests right next to your workbenches so you do not have to move items manually.
The Blueprint Library lets you save and paste building layouts. Design your farm buildings once, then replicate them easily.
Money and Progression
Always finish your daily tasks for Starsand Points.
Do not spend all your Starsand Points on one profession. Spread the investment across farming, ranching, and crafting. See Getting Started.
Even bug catching is needed to progress through certain quest lines. Do not ignore it.
Random animals roaming the island sometimes lead you to hidden treasure. Follow them if they seem to be heading somewhere specific.
The Merchant Ship buys items at 200% value compared to regular shops. Check it whenever it docks. See the money-making guide.
Donate to the Charity Bins found around town for community reputation. This does not give direct profit but unlocks rewards over time.

Social and NPCs
NPCs appear on your minimap after you reach enough friendship hearts with them, making it much easier to track them down for daily gifts and conversations.
Loren gives 20 free Arcade Tokens every day at the Arcade. Visit daily for free entertainment and prize redemption.
Sugar Paintings give +30 affection when gifted to an NPC, separate from the regular daily gift limit. See the All NPC Gift Chart for full details.
If you find a lost item on the ground, check the name on it and return it to its owner for +20 affection points. Lost items do not count against your daily gift limit.
Talk to every NPC you pass for the free +5 daily affection bonus. Even without gifts, daily conversations accumulate into full heart levels over a few weeks.
Transportation
Bus stations provide fast travel across the island for 15 gold per trip. There are 10 stations covering all major areas, so you rarely need to walk long distances.
The Bamboo Raft is the cheapest water vehicle, requiring only Bamboo to craft. Build one early for reaching offshore fishing spots and exploring coastal areas.
Cooking
Cooked food sells for much more than raw ingredients. Even basic recipes turn a profit.
Golden Fried Rice (1x Egg + 1x Rice) sells for 246 Coins: the best return for two common ingredients.
Cooking provides stamina recovery and combat buffs. Always bring cooked food into the Moonlit Forest. See the Cooking Recipes article and Cooking Buffs guide for full details.
Quick-Profit Recipes
Cooking is one of the easiest ways to increase your income. Check the Cooking Recipes page for the full recipe list.
Recipe | Ingredients | Sell Price | Note |
|---|---|---|---|
246 Coins | Best return for two common ingredients. Eggs from chickens, rice from paddy fields. | ||
Cooked food (general) | Varies | Higher than raw ingredients | Even basic recipes turn a profit compared to selling raw crops. |
Stamina
The Hot Springs in Maple Reed recover about 1 stamina per second. Buy Hot Spring Tickets for 100 Coins from the General Store or vending machines.
Later in the game, eating cooked food is faster and more convenient than traveling to the Hot Springs.
Sit on Stump Stools placed throughout the island for free passive recovery. Unlock the Recuperate perk in the Workpedia for faster sitting recovery.
Place a bed outdoors near your main work area. You can sleep anywhere a bed is placed, saving you the walk home when it gets late.
Stamina Recovery Methods Compared
Use the table below to decide which recovery method fits your current situation. Early on, the Hot Springs are your best option, but cooked food becomes more convenient as your cooking skill improves.
Method | Recovery Rate | Cost | Best For |
|---|---|---|---|
~1 stamina per second | 100 Coins per Hot Spring Ticket | Early game when food is scarce; large stamina refills | |
Cooked Food | Varies by recipe (instant) | Ingredient cost only | Mid to late game; portable, no travel required |
Stump Stools | Passive recovery while sitting | Free | Quick top-offs between tasks; improved by Recuperate perk |
Sleeping | Full recovery | Free (ends the day) | End of day; place an outdoor bed near your work area to save walking time |
Common Mistakes to Avoid
New islanders tend to make the same handful of errors during their first week. The table below covers the most frequent pitfalls and how to sidestep them.
Mistake | Consequence | What to Do Instead |
|---|---|---|
Selling softwood early | Cannot craft your first bed, storage chests, or Skateboard. | Hoard softwood during the first week. It is the primary bottleneck for early blueprints. |
Ignoring the Crafting profession | No access to the Skateboard, Furnace, or Separator. | Talk to Zerine at the General Store and start the Apprentice Crafter quest immediately after the tutorial. |
Doing actions before accepting the quest | Actions performed before a quest is activated do not count toward that quest's objectives. | Always accept the quest first, then complete the required actions. Check your quest log before starting any task. |
Staying up past 2:00 AM | Your character faints and wakes up with half stamina. Three consecutive faints lose an entire day. | Head home around midnight. Keep an eye on the clock near the minimap. |
Planting crops out of season | Crops wither immediately when the season changes. | Harvest everything before the last day of a season. Check growth times before planting late in a season. |
Spending all Starsand Points on one profession | Other professions stall and you miss crucial unlocks like sprinklers or the Brush. | Spread investment across farming, ranching, crafting, and exploration evenly. |
Skipping bug catching | Certain quest lines require bug catching progress to advance. | Keep a net handy and catch insects as you encounter them, even if it feels unimportant. |
Ignoring planter box restrictions | Some seeds only grow in specific plot types and will not sprout in the wrong one. | Read seed descriptions carefully. Some require planter boxes, farmland, paddy fields, or trellises. |
Early Game Priority Checklist
If you are unsure what to focus on during your first few days, follow this order of priorities:
Complete the tutorial and accept all five profession starter quests from each mentor.
Start the Crafting questline with Zerine to unlock the Skateboard. This is your first vehicle and speeds up everything.
Buy storage chest blueprints from the General Store and place them near your workbenches.
Build multiple Furnaces and keep all crafting stations close together for efficient workflow.
Start farming and work toward unlocking sprinklers at Intermediate Farmer tier.
Buy the Brush Blueprint from Pastelle's shop (150 Coins) for animal care.
Unlock the Recuperate perk in the Workpedia (Apprentice Crafter section) for faster stamina recovery while sitting.