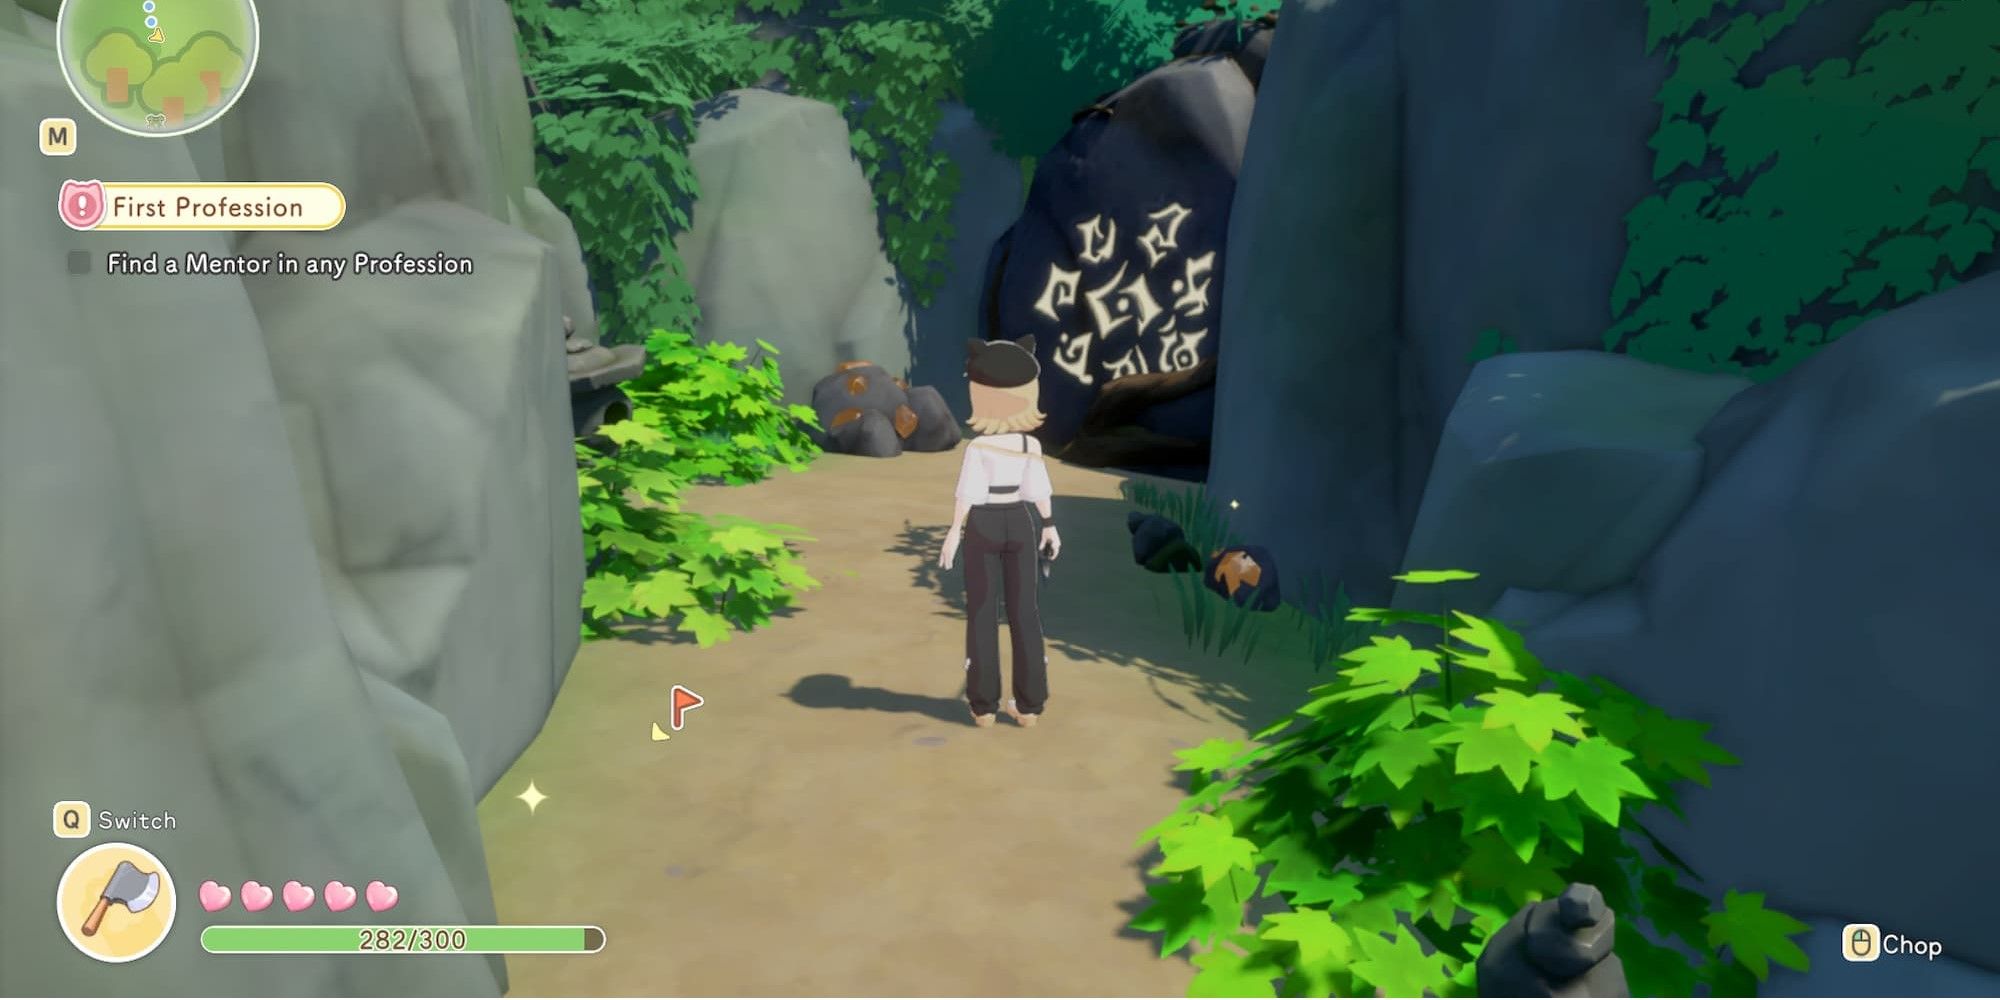
The Moonlit Forest is the primary underground dungeon in Starsand Island, accessible through an entrance on the northwest side of the island. The dungeon consists of 12 interconnected zones, each with unique resources, enemies, and challenges. Players need to bring proper equipment, food for stamina recovery, and crafting materials for setting up camps. This guide covers every zone in order, detailing what to find and how to prepare.
Preparation
Before entering the Moonlit Forest, make sure you have the following items and equipment ready. The dungeon is long, and returning to the surface means traveling back through all previously cleared zones.
Item | Purpose |
|---|---|
Pickaxe (Iron or higher) | Mining ore nodes throughout all zones. Higher-tier pickaxes mine faster and access rarer nodes. |
Cutting mushroom trees and gathering wood-type resources in the early zones. | |
Weapon + Shield | Combat against enemies and bosses. Ranged weapons are helpful for certain encounters. |
Bow + Arrows | Standard arrows for ranged combat. Fire Arrows and Water Arrows are needed in later zones. |
Food | Stamina and health recovery. Bring cooked meals with high stamina restoration values. |
Fluorite (25+) | Each camp costs 5 Fluorite to build. There are multiple camp spots throughout the dungeon. |
Torch | Visibility in dark zones. Required for a specific puzzle in Homeward Trail. |
Gravestars / Gravecrystals | Puzzle items found and used throughout the dungeon to unlock gates and paths. |
Zone 1: Evernight Forest
The first zone is an introduction to the underground environment. The area is dimly lit with bioluminescent mushrooms and contains the most basic resources.
Resource | Details |
|---|---|
Common mineral. Mine from glowing blue nodes on cave walls. | |
Found in orange-tinted rock deposits. | |
Found alongside Copper in mixed deposits. | |
Quartz | White crystalline nodes scattered through the zone. |
Mushrooms | Various edible mushrooms growing on the forest floor and tree trunks. |
Fireflies | Catchable insects that glow in the dark. Used in certain crafting recipes. |
Enemies in this zone are minimal. Focus on gathering Fluorite for camps and familiarizing yourself with the dungeon's layout. The first camp spot is located near the exit to Zone 2.
Zone 2: Gate of Life
The second zone is similar in difficulty to Evernight Forest but introduces a few new resource types. The path forward requires interacting with a gate mechanism.
Resource | Details |
|---|---|
Still available in this zone. | |
Continued availability from Zone 1. | |
More deposits than in Evernight Forest. | |
A rare mushroom type unique to this zone. Used in cooking and crafting. | |
Quartz | Additional deposits along the cave walls. |
The gate mechanism in this zone uses Gravestars. Collect them from defeated enemies or find them in breakable containers. Insert Gravestars into the gate pedestal to open the path to the next zone.
Zone 3: Dreamfall Garden
Dreamfall Garden marks a noticeable increase in difficulty. The zone is more open, with larger caverns and the first real combat challenges. This is where players encounter the first boss.
Resource | Details |
|---|---|
Coal | Dark deposits used as fuel and in metal smelting. |
First appears here. Gray-colored rock deposits requiring an Iron Pickaxe or better. | |
Salt | White crystalline deposits. Used in cooking recipes for preservation. |
Glowing insects unique to this zone. Catchable for crafting or collection. |
Enemies: Luminfrogs are the primary threat in this zone. These aggressive creatures attack with leaping strikes and can poison the player. Use ranged attacks or time your dodges carefully.
Boss: Crystalith is the first boss encounter. This crystalline creature has high defense and uses area-of-effect slam attacks. Target its glowing weak points when they pulse. Defeating Crystalith drops rare minerals and unlocks the path deeper into the dungeon.
Zone 4: Crystalith Hideout
A smaller transitional zone behind the Crystalith arena. This area contains high-value mineral deposits as a reward for defeating the first boss.
Resource | Details |
|---|---|
First available here. Rare yellow-tinted deposits on cavern walls. | |
A rare mineral used in advanced crafting and upgrades. |
There are no significant enemies in this zone. Take the opportunity to mine everything and set up a camp before proceeding.
Zone 5: Azure Bay
Azure Bay is an underground lake zone with water features and unique aquatic resources. The area has a blue-tinted atmosphere from bioluminescent algae.
Resource | Details |
|---|---|
Continued availability from Zone 4. | |
Sleep Lilies | Aquatic plants growing near the water's edge. Used in potion crafting. |
Left Ruins Key | Found in this zone. One of two keys needed for the Bronze Gate in Mural Valley. |
Explore thoroughly to find the Left Ruins Key, as it is required to progress past the Bronze Gate in Zone 6. The key is typically found in a chest or on a pedestal near the water.
Zone 6: Mural Valley
Mural Valley features ancient wall paintings and a major progression gate. The Bronze Gate here requires both the Left Ruins Key (from Azure Bay) and the Right Ruins Key (found within this zone).
Resource | Details |
|---|---|
A magnetic mineral first found in this zone. Used in advanced equipment crafting. | |
Right Ruins Key | The second key needed for the Bronze Gate. Found within Mural Valley itself. |
Boss: Glintortle guards the area near the Bronze Gate. This turtle-like creature has a hard shell that deflects frontal attacks. Circle around to strike its exposed sides and tail. When it retreats into its shell, back away to avoid the spinning shell attack.
Once both keys are collected, use them on the Bronze Gate to unlock access to the deeper zones of the Moonlit Forest.
Zone 7: Harvest Yard
Harvest Yard is one of the richest resource zones in the dungeon. The area contains high-tier minerals and unique materials, but also requires special arrows to progress.
Resource | Details |
|---|---|
Fluffweave | A soft fiber material used in clothing and furniture crafting. |
Diamond | Rare gemstone found in sparkling deposits. One of the most valuable resources. |
Dark, smooth stone used in weapon sharpening and tool maintenance recipes. | |
Flamecore | A fiery mineral that glows orange. Used in advanced weapon and tool crafting. |
Certain barriers in this zone require Fire Arrows or Water Arrows to clear. Fire Arrows burn through vine barriers, while Water Arrows extinguish flame obstacles. Craft these special arrows before entering the dungeon, or bring the materials to craft them at a camp.
Zone 8: Grain Haven
Grain Haven continues the high-value resource deposits from Harvest Yard. The zone is relatively calm compared to surrounding areas, making it a good spot for extended mining.
Resource | Details |
|---|---|
Diamond | Continued availability from Harvest Yard. |
Flamecore | Additional deposits. |
More deposits throughout the zone. | |
Reappears in this zone with larger deposits. |
Set up a camp here if you have remaining Fluorite. This is a safe zone to smelt ores and organize your inventory before the more challenging zones ahead.
Zone 9: Darkwater Shore
Darkwater Shore introduces unique farming resources not available anywhere else in the dungeon. The zone features dark pools of water and underground crop-like plants.
Resource | Details |
|---|---|
Echo Bean | A rare crop that only grows in the Moonlit Forest underground. |
Another exclusive underground crop. Used in high-tier cooking recipes. | |
Rare Fish | Dark pools contain fish species not found on the surface. Bring a fishing rod if you want to catch them. |
This zone is worth visiting even after clearing the dungeon, as Echo Beans and Eldergrain are valuable cooking ingredients that can only be harvested here.
Zone 10: Homeward Trail
Homeward Trail is a puzzle-heavy zone with less emphasis on resources and more on navigation challenges.
The main puzzle involves torches. Players must light specific torches in the correct order to open the path forward. Equip your torch and interact with the unlit braziers in the zone. The correct sequence is indicated by markings on the cave walls near each brazier.
Enemies: Aggressive Runebirds patrol this zone. These flying enemies dive-bomb the player and are difficult to hit with melee weapons. Use a bow for these encounters, and keep moving to avoid their swooping attacks.
Zone 11: Serenity's Rest
Serenity's Rest is a relatively peaceful zone with a bridge puzzle. The area offers a brief respite between the challenging Homeward Trail and the final zone.
The bridge puzzle requires placing Gravecrystals into pedestals on both sides of a broken bridge. Once the correct crystals are placed, the bridge reforms and allows passage to the final zone. Check your inventory for Gravecrystals collected throughout the dungeon.
Zone 12: Moonlight Meadow
Moonlight Meadow is the final and deepest zone of the Moonlit Forest. It contains the rarest resources in the entire dungeon and the most challenging boss encounter.
Resource | Details |
|---|---|
The rarest mineral in Starsand Island. Only found in this zone. Used in the highest-tier crafting recipes. | |
Aurorite | An iridescent mineral with a shifting color. Used in endgame equipment and decorative items. |
Boss: Ruin Guard is the final boss of the Moonlit Forest. This massive stone construct attacks with wide sweeping strikes, ground slams that create shockwaves, and occasionally charges across the arena. It has two phases: in the first phase, attack its limbs to stagger it and expose the core; in the second phase (below 50% health), its attacks become faster and it gains a ranged projectile ability. Keep your health high, dodge the shockwaves by jumping, and strike the core whenever it is exposed.
Defeating the Ruin Guard rewards endgame crafting materials and completes the Moonlit Forest dungeon. A portal appears after the fight that teleports you back to the dungeon entrance.
Camp Locations and Tips
Camps are rest points that you build throughout the dungeon. Each camp costs 5 Fluorite and provides a crafting station, storage access, and a respawn point.
Camp spots are marked by glowing blue circles on the ground. Look for them near zone transitions.
You can build up to 5 camps total in the Moonlit Forest. Choose locations strategically.
Camps persist between visits, so you do not need to rebuild them each time you enter the dungeon.
Use camps to smelt ores, cook food, repair equipment, and manage your inventory.
The most useful camp locations are after Zone 1 (Evernight Forest), before the Crystalith fight (Zone 3), after the Bronze Gate (Zone 6), in Grain Haven (Zone 8), and before Moonlight Meadow (Zone 12).
General Tips
Bring more Fluorite than you think you need. Running out of camp materials deep in the dungeon is frustrating.
Craft Fire Arrows and Water Arrows before entering. The materials are surface-world items that are unavailable underground.
The dungeon does not reset between visits. Cleared enemies stay cleared, mined nodes do regenerate over time.
Prioritize mining Moonstone and Aurorite in Zone 12, as these are the most valuable and rarest materials in the game.
Gravestars and Gravecrystals are used in multiple puzzles. Do not discard them until you have cleared all gates and bridges.
Bring a fishing rod to Darkwater Shore (Zone 9) for exclusive fish species.
The Ruin Guard boss fight is significantly easier with ranged weapons. Consider bringing extra arrows.