Overview
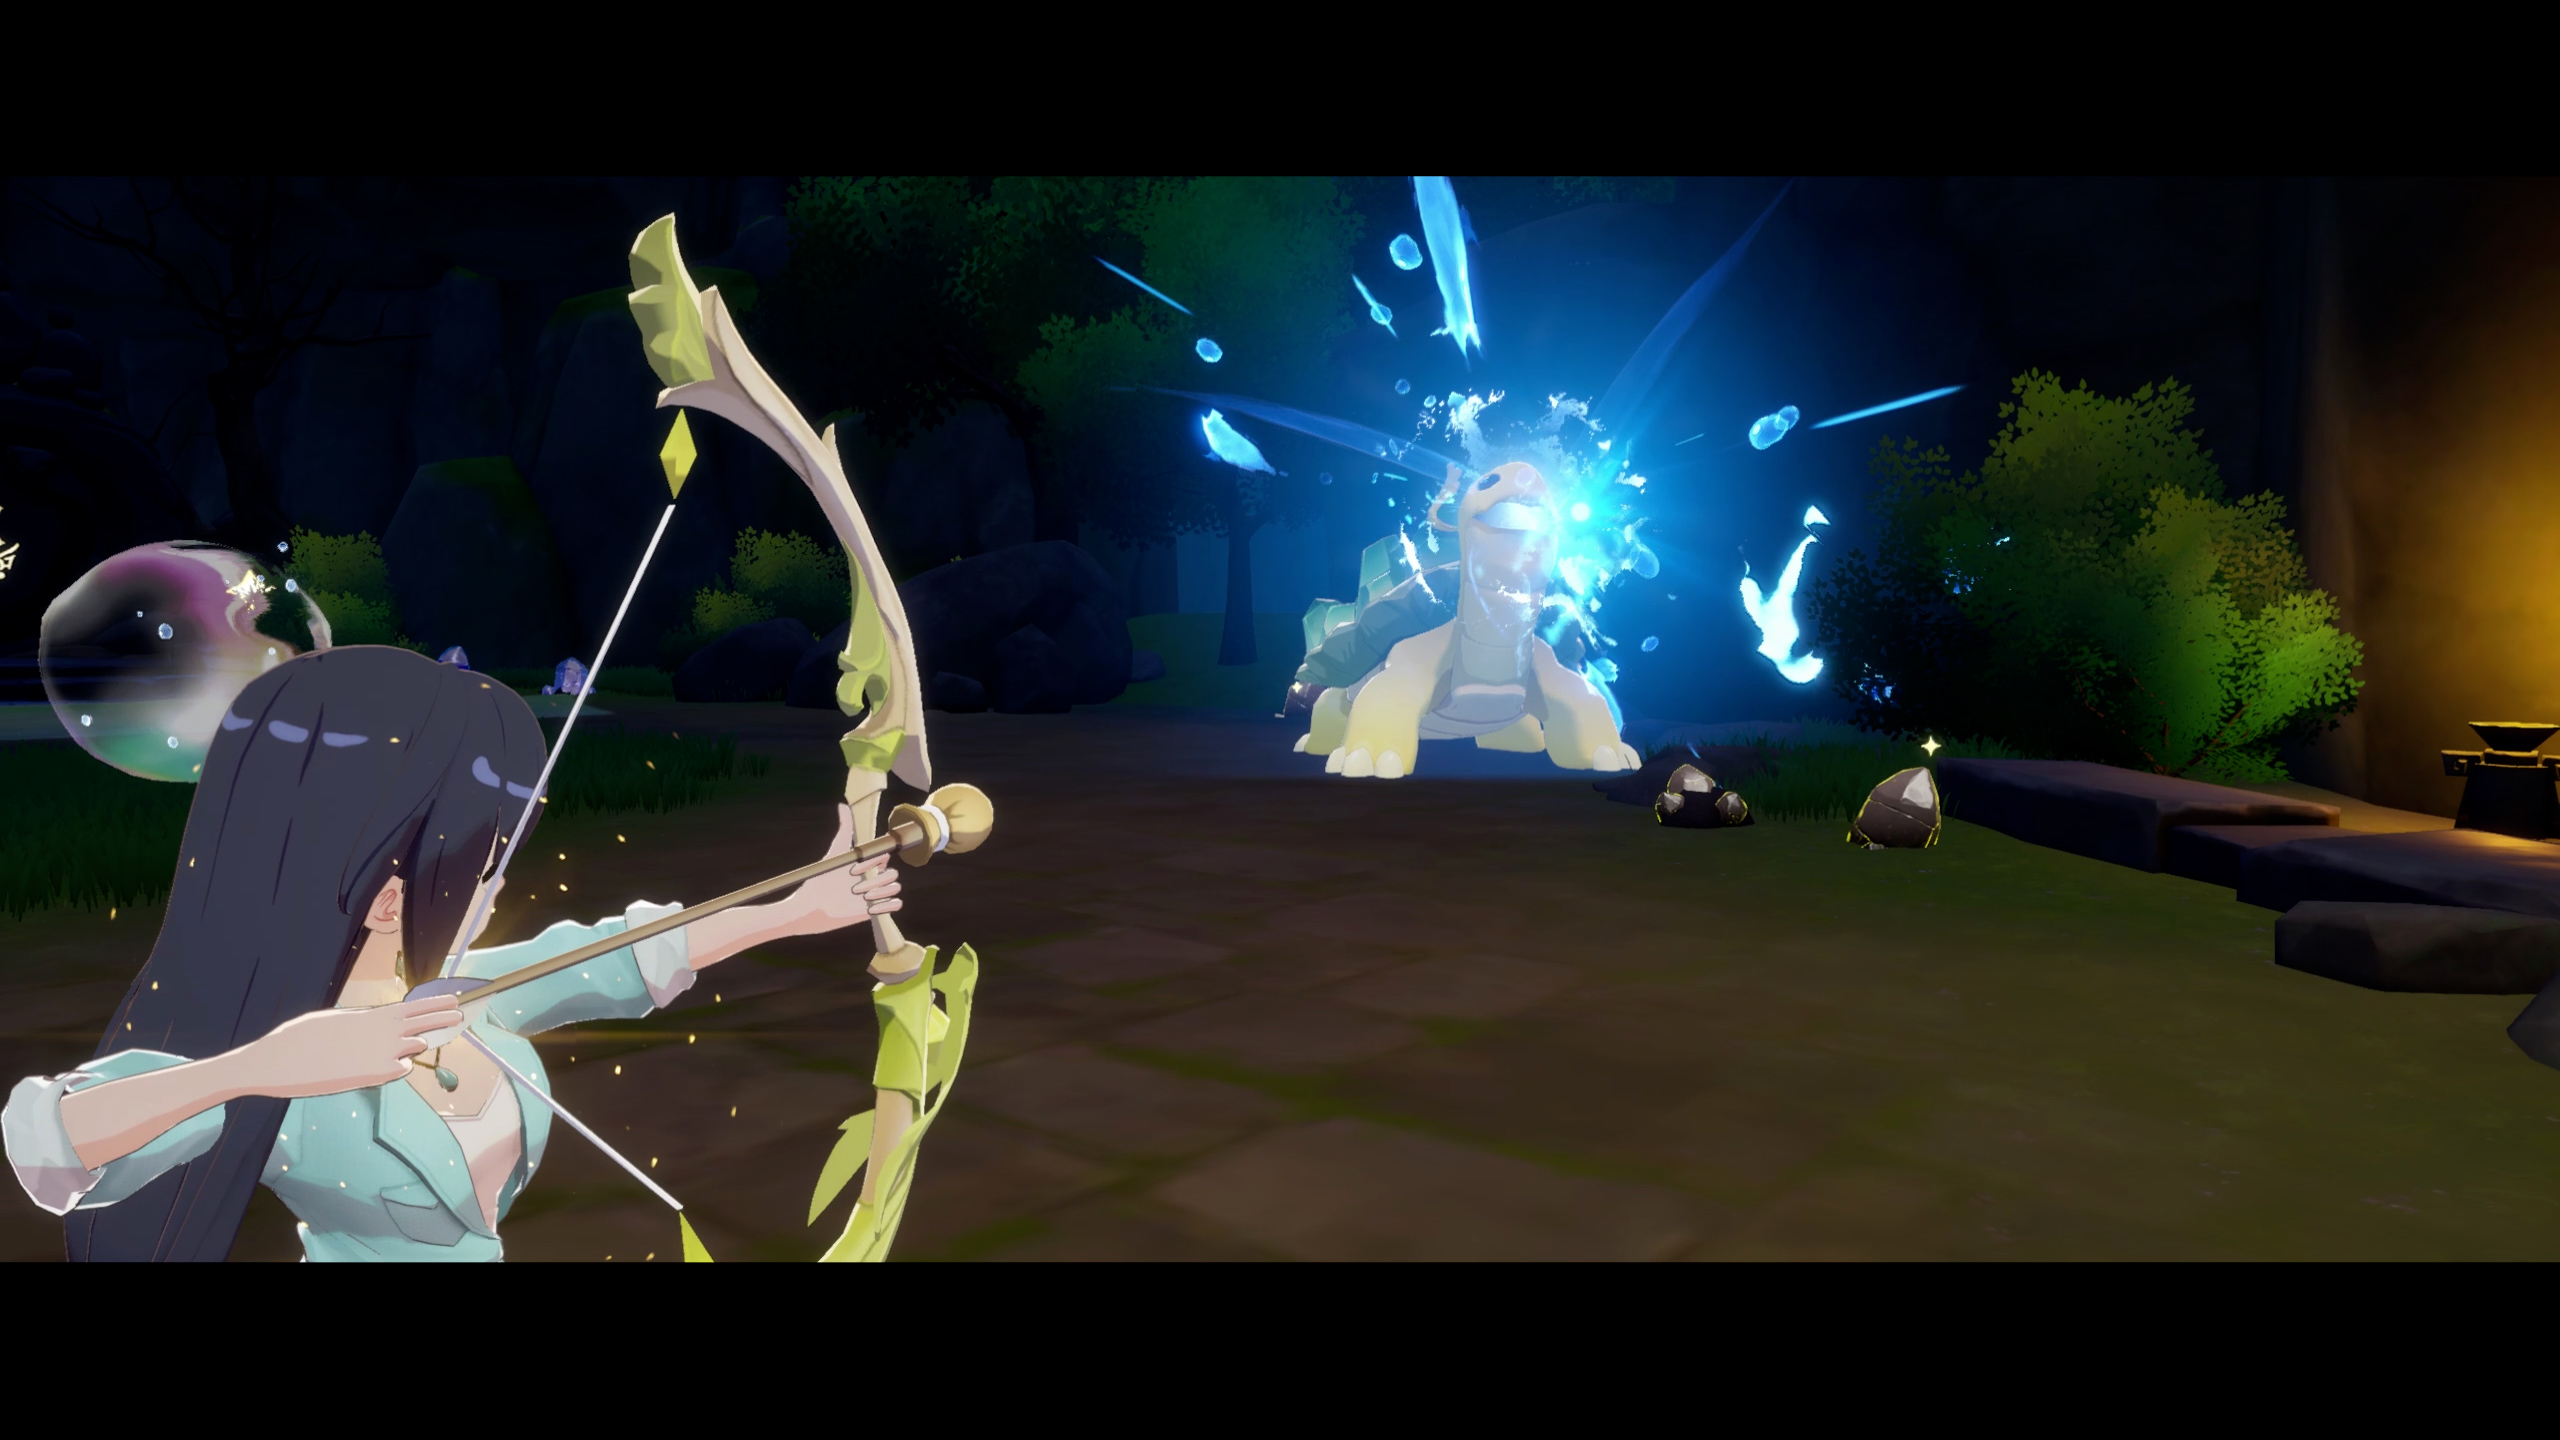
The Glintortle is the second major boss in the Moonlit Forest. Despite its appearance as an adorable giant turtle, it deals serious damage with a variety of water-based attacks. The fight takes place in Mural Valley, beyond the Bronze Gate that requires two Ruin Keys to open.
Defeating the Glintortle is required for the Intermediate Explorer trial. This fight marks a major difficulty spike: the slingshot is ineffective against this boss. You need a Bow with Bomb Arrows. The fight is a marathon of patient dodging, waiting for the crystal on the Glintortle's shell to glow blue, then punishing with Bomb Arrows during those vulnerability windows.
Quick Reference
Detail | Info |
|---|---|
Location | Mural Valley, beyond the Bronze Gate |
Explorer rank | Intermediate Explorer trial |
Weak point | Glowing crystal on top of its shell (glows blue during vulnerability) |
Recommended weapon | Plume Bow with Bomb Arrows |
Ammo needed | 20-30 Bomb Arrows + 50+ standard arrows |
Key mechanic | Crystal glows blue after certain attacks, only damage window |
Difficulty | Hard (significant step up from Crystalith) |
Repeatable | Yes (respawns when you leave and re-enter the Moonlit Forest) |
Prerequisite | 2 Ruin Keys (Right from Zephyria, Left from Azure Bay treasure chest) |
How to Reach the Glintortle
Complete the Junior Explorer trial by defeating the Crystalith.
Accept the "Become an Intermediate Explorer" quest from Zephyria.
Receive the Ruins Key (Right) from Zephyria.
Find the Ruins Key (Left) in a treasure chest in the Azure Bay area. Ride the elevator down and open the round wooden chest at the bottom.
Use both keys on the Bronze Gate in Mural Valley to open it.
Walk through to the Glintortle's boss arena.
Attack Patterns
The Glintortle has five distinct attacks, all water-themed. The universal telegraph is the shell retraction (the turtle tucks into its shell), what happens next determines the specific attack:
Attack | Description | Telegraph | How to dodge |
|---|---|---|---|
Water Beam | Fires a sustained beam of water that tracks your position for several seconds. | Faces you and visibly charges before firing. | Strafe laterally. Keep running to one side. Do not stand still, the beam tracks you. |
Homing Bubble | Tucks into shell, jumps and spins, then shoots a single water bubble that homes in on you. | Shell retraction followed by a jump and spin. | Keep running in a consistent line. The bubble chases you but eventually dissipates. |
Shockwave Slam | Tucks into shell, jumps, and slams the ground repeatedly. Each slam sends a shockwave radiating outward. | Shell retraction followed by a visible jump into the air. | Jump over each shockwave. Time your jumps as the waves reach you. Multiple consecutive waves, stay alert. |
Shell Charge | Tucks into shell and spins directly toward you like a projectile, leaving a trail of bubbles. | Shell retraction followed by rapid spinning toward your position. | Sprint to the side. Focus only on running. Do not attack during this move. Avoid the bubble trail. |
Puddle + Homing Bubbles | Tucks into shell (shell glows), creates water puddles on the ground that release multiple homing bubbles. | Shell retraction + shell glows. Water pools form on the ground. | Keep moving to avoid bubbles. This is also a DAMAGE WINDOW: the crystal is vulnerable while the shell glows. |
Vulnerability Windows
The crystal on the Glintortle's shell glows bright blue after certain attacks, specifically after the Shell Charge (when the Glintortle becomes dizzy) and during the Puddle + Homing Bubbles attack. These are your only windows to deal meaningful damage.
During the blue glow, hit the crystal with Bomb Arrows for maximum damage. You deal extra damage when hitting the weak spot, and double damage when the Glintortle is dazed. Outside of these windows, chip away with standard arrows but save Bomb Arrows for the glow phases.
Dizzy State After Failed Charges
When the Glintortle performs its Shell Charge attack and misses you, it becomes temporarily dizzy upon coming to a stop. During the dizzy state, the Glintortle is stationary and its shell crystal glows blue for several seconds. This is one of your most reliable damage windows because the boss is completely immobile and cannot retaliate.
To trigger this state consistently, bait the Shell Charge by standing at medium range, then sprint sideways at the last moment. Once the Glintortle skids to a halt and wobbles, immediately turn and fire Bomb Arrows at the glowing crystal. You can typically land 3 to 4 charged Bomb Arrow shots before the dizzy state wears off.
Important: do NOT use a Slingshot against the Glintortle. The Slingshot's damage output is far too low for this boss. You need the Plume Bow at minimum (Astra Rod tier or above). The damage difference is significant enough that the fight becomes nearly impossible with lower-tier weapons.
Recommended Gear
Item | Details |
|---|---|
Weapon | Plume Bow (mandatory: the slingshot is ineffective against this boss) |
Primary ammo | Bomb Arrows, 20-30 minimum. Save these for blue glow vulnerability windows. |
Backup ammo | 50+ standard arrows for chip damage between vulnerability windows. |
Mini Sentry Bots (190 Coins each from Exploration Club). Deploy at the start for passive DPS and aggro redirection. | |
Healing food | Lamb Skewers, Grilled Chicken Wings (68 HP), or any HP-restoring food. Keep multiple on your hotbar. |
Step-By-Step Strategy
Deploy Sentry Bots immediately. They draw aggro and deal passive damage, giving you time to line up Bomb Arrow shots.
Stay at range. This is a ranged fight. Keep maximum distance to give yourself reaction time for dodges.
Prioritise dodging. Spend most of the fight evading. Only attack during clear openings.
Wait for the crystal to glow blue. After the Shell Charge (when it becomes dizzy) and during the Puddle attack, the crystal glows. This is your damage window.
Hit the crystal with Bomb Arrows. Fire charged Bomb Arrow shots directly at the blue-glowing crystal for maximum damage.
Chip with standard arrows between windows. Use standard arrows to whittle health between vulnerability phases. Save Bomb Arrows for the glow.
Repeat until defeated. This is a marathon. Do not get greedy, one extra shot is not worth taking a hit.
Rewards
Reward | Details |
|---|---|
Water Arrow blueprint | unlocks crafting of Water Arrows, needed to grow vine bridges for further progression |
Pristine Orb blueprint | unlocks crafting of Pristine Orbs |
Treasure chest | contains resources and materials (Magnet, Salt, Iron Ingot confirmed) |
Opens the Harvest Yard area | deeper into the Moonlit Forest with new resources and enemies (requires burning the tree root with a Fire Arrow) |
Glintortle Fragments | Crafting material dropped on defeat. Used for advanced gear crafting. |
Intermediate Explorer rank | complete the trial by returning to Zephyria |
Note: Water Arrows and Fire Arrows are puzzle tools, not combat weapons. Save them for clearing vine barriers and lighting torches in the areas beyond the Glintortle, do not waste them during boss fights.
Sentry Bot Deployment Strategy
Deploy Sentry Bots at the start of the fight and immediately after each one expires (they last about 30 seconds). Sentry Bots serve two critical roles in this fight: they deal passive chip damage to the Glintortle and, more importantly, they draw aggro. When the Glintortle targets a Sentry Bot instead of you, it gives you free time to line up precise Bomb Arrow shots at the shell crystal without needing to dodge.
Buy all 10 available Mini Sentry Bots from the Exploration Club before the fight (190 Coins each). Stagger their deployment throughout the encounter rather than dropping them all at once. One active Sentry Bot at a time is sufficient for aggro management.
Tips
Tip | Details |
|---|---|
Do not bring a slingshot | It is completely ineffective against the Glintortle. You need the Plume Bow. |
The Shell Charge is the most dangerous attack | It has minimal telegraph. The moment you see the shell start spinning toward you, sprint away. Do not try to attack during this move. |
Jump over shockwaves, do not try to outrun them | The waves radiate outward faster than you can run. Jumping is the only reliable dodge. |
Sentry Bots are critical | They draw the Glintortle's attention, giving you free windows to line up shots. Buy all 10 from the Exploration Club before the fight. |
The Glintortle respawns | Unlike the Crystalith, the Glintortle returns every time you leave and re-enter the Moonlit Forest. Once you activate the camp past its arena, you can fast-travel beyond it and never fight it again. |
You can mine the arena during the fight | If you need resources, equip Roller Skates and zip between mining nodes while dodging the Glintortle's attacks. The boss can lose aggro if you move far enough away. |
Bring extra healing food | The Glintortle's water attacks cover large areas and are hard to dodge perfectly. Expect to take a few hits. |
The Puddle + Homing Bubbles attack is both danger and opportunity | Keep moving to dodge the bubbles, but also fire at the crystal, it is vulnerable during this attack. |