Automation
Complete guide to automation in Starsand Island. Covers all sprinkler tiers with costs, Mining/Logging/Gathering Robots with crafting recipes, Robot Terminal (12 robot capacity), Realm Box processing pipelines, ranching automation (Auto Milker, Auto Shearer), Fertilizer Boxes, and late-game money-making setups.
On This Page
Overview
Automation in Starsand Island allows players to reduce manual labor through sprinklers, robots, automated processing devices, and ranching equipment. As you advance through the Crafter and Farmer profession tiers, progressively powerful automation tools become available. A well-automated farm saves significant daily time, letting you focus on exploration, fishing, and relationship building.
Sprinkler System
Sprinklers are the first automation tool most players encounter. They automatically water nearby crops each morning, eliminating the daily watering chore. Sprinklers are placed between crop tiles rather than on top of them, so they do not consume farmland space. Higher-tier sprinklers cover more tiles, meaning fewer are needed to cover your fields.
Sprinkler | Unlock | Cost | Coverage | Key Materials |
|---|---|---|---|---|
Sprinkler | Intermediate Farmer | 1,500 Coins | Small area | 5 Hardwood Plank, 4 Iron Nail, 4 Bronze, 1 Bronze Watering Can |
Sprinkler I | Intermediate Farmer | 3,500 Coins | 4 tiles | 1 Alloy, 1 Solid-State Battery, 1 Gear |
Pressurized Sprinkler | Intermediate Farmer | 4,500 Coins | Larger than base | |
Sprinkler II | Senior Farmer | 10,000 Coins | 20 tiles | 1 Alloy, 1 Mini Reactor, 1 Spring, 1 Rubber |
Sprinkler III | Expert Farmer | 25,000 Coins | 60 tiles (8x8 minus corners) | 1 Eternal Alloy, 1 Perpetual Reactor, 1 Chip, 2 Meteor Plank |
Sprinklers are placed between crop tiles and do not occupy farmland space. Sprinkler I covers 4 adjacent tiles, Sprinkler II covers up to 20 tiles, and Sprinkler III covers 60 fields in an 8x8 grid minus the four corner patches. The Pressurized Sprinkler is an upgraded variant of the base Sprinkler rather than part of the numbered tier chain. Plan your field layout around sprinkler coverage to maximize efficiency.
Note that sprinklers can be accidentally toggled off while harvesting nearby crops. If your sprinklers stop working, interact with them (F key on PC) to reactivate. Higher-tier sprinklers require materials from the Crafter profession. Items like Alloy, Solid-State Batteries, and Mini Reactors are processed at crafting stations unlocked through the Crafter advancement chain. Progress both the Farmer and Crafter professions in parallel to unlock the full sprinkler lineup.
Robots
Robots are advanced automation devices unlocked at Expert Crafter tier. They autonomously gather resources from designated areas and deposit their inventory once a day. All three robot types share the same crafting recipe and cost.
Robot | Function | Blueprint Cost |
|---|---|---|
Automatically mines ore nodes in its assigned area. Gathers minerals, flame cores, diamonds, oil stones, and primarite. | 55,000 Coins | |
Automatically chops trees in its assigned area. Gathers wood and tree products. | 55,000 Coins | |
Harvests crops and collects from livestock at the Homestead. Does NOT work in Moonlit Forest. | 55,000 Coins |
Upon completing the Expert Crafter certification quest (building the Robot Terminal), Zerine rewards you with one of each robot type for free. Additional robots can be purchased and crafted at Worktable III. All three types use the same materials:
3 Eternal Alloy
2 Chips
5 High-Performance Wire Sets
3 Springs
1 Spirit Cube III
Robot Limitations
Robots have several restrictions to keep in mind. Mining and Logging Robots are generally reliable, but the Gathering Robot has known issues:
Gathering Robots can ruin Gmax crops because individual crops in a 3x3 grid mature at staggered intervals, and the robot harvests them before mutation triggers.
Gathering Robots lack item filtering. They may harvest flowers you want bees to pollinate or collect items you intended to leave.
Robots cannot retrieve ammo, collect treasure maps, gather zero-stamina plants, open chests, or obtain enhanced seed drops.
Robots occasionally get stuck on terrain objects. Moving away from the area lets them unstick. If they remain unresponsive, recall them through the Robot Terminal.
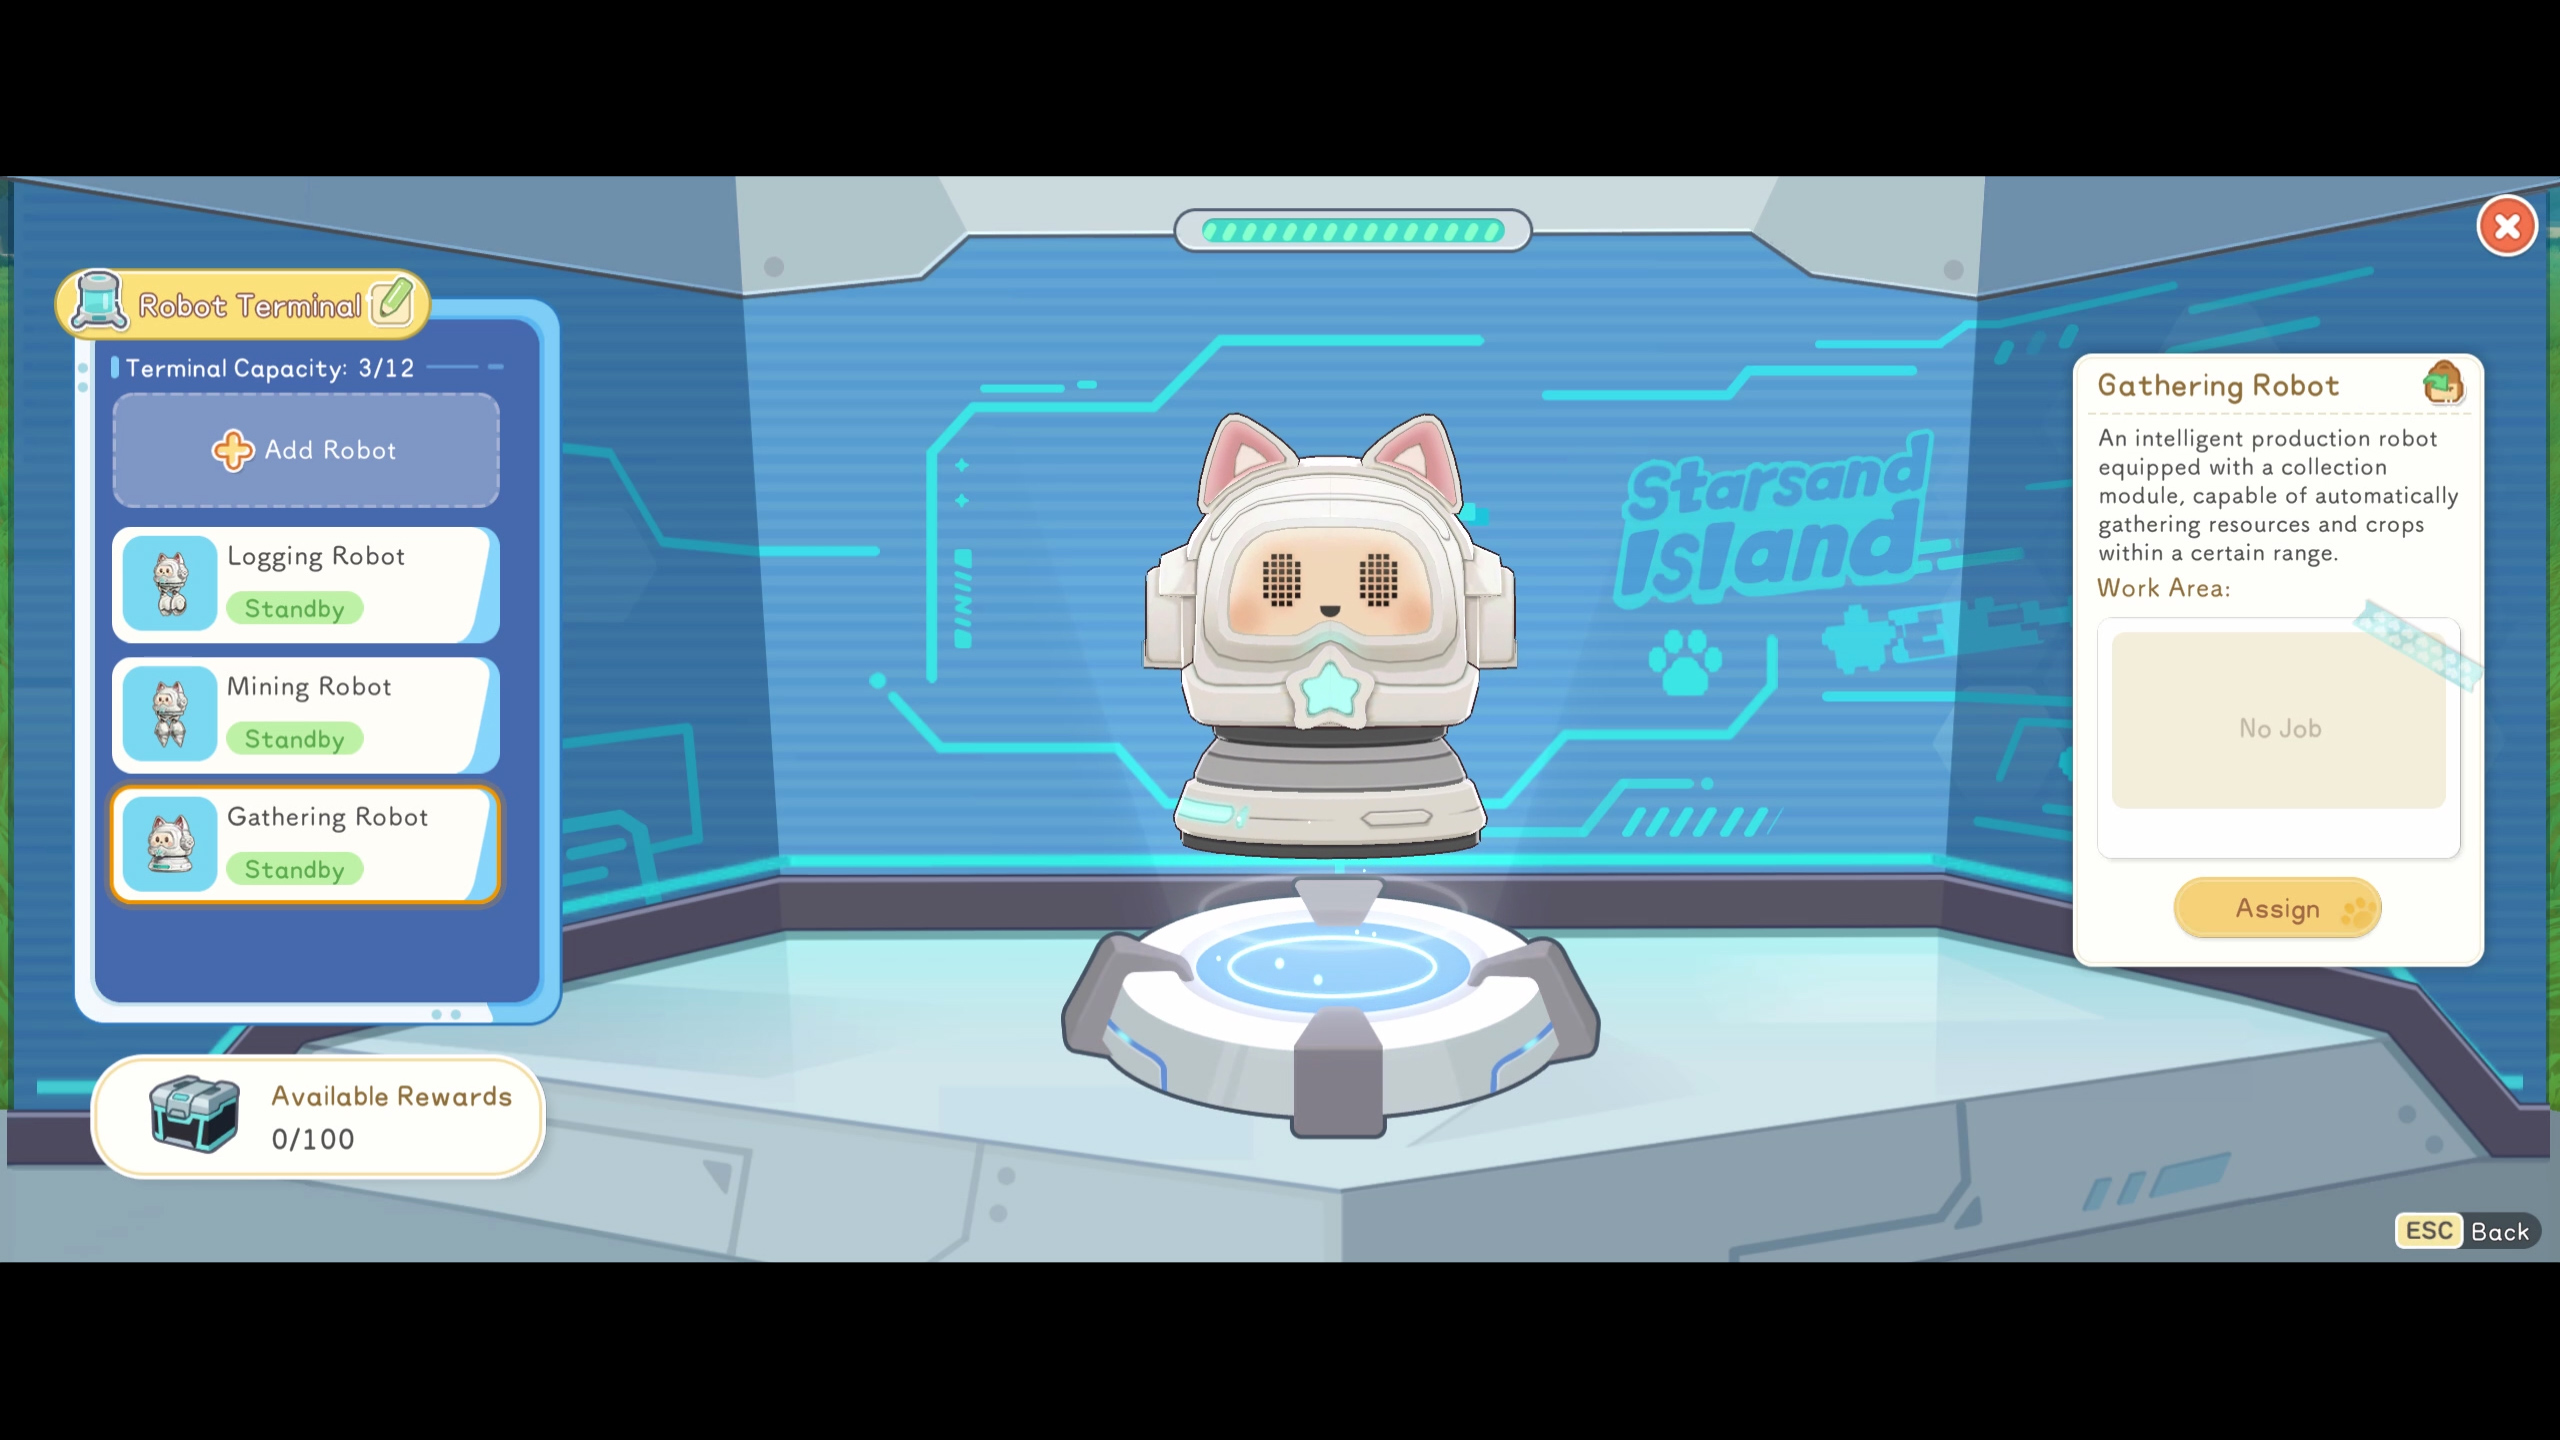
Robot Terminal
The Robot Terminal is the control hub for all automation robots. You receive it as a reward for completing the Expert Crafter questline. Place the terminal down, then interact with it to access the workforce menu where you can add or remove robots and designate what you want them to collect.
Robot Terminal Crafting
The Robot Terminal is crafted at Worktable III using:
5 Meteor Plank (Cutter III with Lunar Crystals and Premium Wood)
4 Eternal Alloy (Flamecore Ingots, Alloys, and Coal)
2 Perpetual Reactor (Energy Converter)
3 Spirit Cube II
Feature | Details |
|---|---|
Maximum capacity | Up to 12 robots per terminal |
Storage | Holds up to 100 stacks of collected resources |
Placement | Homestead and Moonlit Forest campsites (campsite placement fixed in v0.2.1515, camps fixed in v0.3.2537) |
Robot deployment | Interact with terminal to assign robots to specific zones. Robots default to Standby when first added. |
Loot retrieval | Robots deposit collected resources automatically once per in-game day |
Moving the terminal | Enter Build Mode (C key), interact with terminal, choose Remove |
Place the terminal near resource-rich areas for best results. The Moonlit Forest is the most popular location for robot deployment, as mining robots there passively farm valuable ores like primarite and salt bricks without manual effort. If robots appear stuck or unresponsive, try recalling them through the terminal menu to force them to unload their inventories.
Automated Processing
Processing stations run automatically once loaded with raw materials. You do not need to stand next to them or interact while they work. The following stations support automated processing:
Station | Function | Processing Time |
|---|---|---|
Produces flour, fillets, pulps, powders, and steak bites from raw ingredients | Instant | |
Smelts ores into ingots and alloys (3 upgrade tiers) | Varies by recipe | |
Crafts different types of fishing bait (3 upgrade tiers) | Instant | |
Ferments ingredients into oil, vinegar, sauces, and sugar | Half a day to several days | |
Converts 2 fruits + 3 sugar into jam (1.4x to 1.5x value multiplier) | Half a day | |
Converts 2 vegetables + salt into pickled goods (1.85x to 2.78x value multiplier) | 1 to 2 days | |
Produces leather, linen, velvet, and other fabrics | Varies by recipe | |
Grinds crops back into seeds (Senior Farmer unlock) | Instant |
Realm Box Integration
The Realm Box is a shared storage system (similar to an Ender Chest) where all Realm Boxes share the same inventory. Since patch v0.2.0909, processing stations can pull raw materials directly from a nearby Realm Box instead of requiring manual loading. This is one of the most powerful automation features in the game.
The Realm Box is crafted at Worktable II (Intermediate Crafter tier) using 5 Alloy, 5 Starflare Core, 3 Spirit Cube I, and 6 Hardwood Plank. It can be upgraded to hold more slots: Tier 1 holds 48 slots (costs 5 Spirit Cube I and 3 Starflare Crystal), and Tier 2 holds 72 slots (costs 5 Spirit Cube II and 6 Starflare Crystal).
To set up a processing pipeline: place a Realm Box in your crafting area, stock it with raw materials, then position your processing stations nearby. The stations draw from the Realm Box automatically, letting you run batch processing without constant inventory management.
Late-Game Processing Setups
The most profitable automated setups combine robot-gathered resources with mass processing:
Setup | Details |
|---|---|
Jam production | Run 10+ Jam Makers simultaneously with fruit from Gmax crops and sugar processed from beets. Each cycle uses 2 fruits and 3 sugar. At scale, this can generate over 100,000 Coins daily. |
Pickle production | Run 20+ Pickling Jars with vegetables and salt gathered by Mining Robots in the Moonlit Forest. Each cycle uses 2 vegetables plus salt. Production at scale can exceed 200,000 Coins daily. |
Merchant Ship sales | Sell processed goods via the Merchant Ship for a 200% value multiplier, dramatically increasing profits. |
Ranching Automation
Animal product collection can be automated with equipment unlocked through the Rancher profession and crafted at Worktable III:
Device | Function | Blueprint Source |
|---|---|---|
Automatically collects milk from cows without manual interaction | ||
Automatically shears wool from sheep and alpacas | ||
Love Feeder | Automatically feeds animals, boosting happiness | Worktable III crafting |
Enables riding mounts (Senior Rancher requirement) | Green Pasture Ranch shop |
Place the Auto Milker and Auto Shearer inside your barns near the animals. These devices work passively, collecting products without player interaction. Combined with the Love Feeder for automated feeding, a fully automated barn requires almost no daily attention.
Fertilizer Automation
Standard Fertilizer Boxes (tiers I through V) are available from the Happiness Seed Shop at various Farming levels from Apprentice through Expert. They convert animal manure and organic waste into usable fertilizer, with higher tiers producing stronger output.
The Auto Fertilizer Box, unlocked at Senior Farmer tier, is a separate device that automatically applies fertilizer to nearby crops without player interaction. It is distinct from the standard Fertilizer Boxes and is required for the Expert Farmer certification quest (along with 3 Sprinkler IIs and 15 Immortal Seeds). Place the Auto Fertilizer Box near your crop fields and keep it stocked with fertilizer for fully hands-off crop treatment.
Automation Bug History
Automation devices had some bugs during early Early Access. Key fixes include:
Patch | Fix |
|---|---|
v0.2.0909 | Added Realm Box integration with processing devices |
v0.2.1515 | Enabled Robot Terminal placement in Moonlit Forest campsites |
v0.2.1598 | Fixed automation devices failing under certain conditions |
v0.3.2537 | Fixed Robot Terminal robots blocking each other during pathfinding; fixed robots stopping frequently when collecting outputs |
Fiber Automation with Logging Robots
The Logging Robot is not only useful for wood collection; it also provides a reliable source of fiber. Each robot produces approximately 400 fiber per in-game day when placed in a vegetation-dense area. Plants regrow automatically between harvest cycles, so the supply is effectively unlimited. Deploying multiple robots in separate, non-overlapping zones scales production linearly (2 robots produce ~800 fiber/day, 3 robots produce ~1,200 fiber/day, and so on).
Fiber is consumed in large quantities for rope, fabric, and various crafting recipes throughout the game. Automating fiber collection early in the Expert Crafter tier frees up significant daily time that would otherwise be spent manually harvesting grass and bushes.
Building an Automated Farm
A recommended progression for building a fully automated farm:
Step | Details |
|---|---|
Step 1 | Sprinklers. Reach Intermediate Farmer and deploy sprinklers. This is the single biggest time saver in the game. |
Step 2 | Processing pipeline. Set up a Realm Box with Separator, Furnace, Brewing Barrel, Jam Maker, and Pickling Jar nearby for automated material processing. |
Step 3 | Fertilizer Boxes. Automate fertilizer application alongside sprinklers for fully hands-off crop growth. |
Step 4 | Robots. At Expert Crafter, deploy Mining and Logging Robots with a Robot Terminal in the Moonlit Forest for passive resource gathering. |
Step 5 | Ranching automation. Install Auto Milkers, Auto Shearers, and Love Feeders in your barns to automate animal care. |
Step 6 | Scale processing. Build 10+ Jam Makers and 20+ Pickling Jars. Sell via the Merchant Ship for maximum profit. |
Tips
Sprinklers are the highest-priority automation investment. Build them as soon as you hit Intermediate Farmer.
Place the Robot Terminal in a Moonlit Forest campsite for passive ore farming while you do other activities on the surface.
Each Robot Terminal supports up to 12 robots. One well-placed terminal is usually enough for a full resource zone.
Load processing stations before bed. Timed stations like the Brewing Barrel and Jam Maker work overnight.
Plan crop field layouts around sprinkler coverage. A grid pattern with sprinklers at regular intervals wastes the least farmland space.
The Realm Box eliminates manual loading of processing stations. Place one near your crafting area and keep it stocked.
If robots seem stuck or unproductive, recall them through the Robot Terminal menu to force them to deposit their inventory.
Progress both Farmer and Crafter professions in parallel. Higher-tier sprinklers require Crafter-processed materials like Alloy and Mini Reactors.