
Loading...
Loading...
Tips and Tricks
April 5, 2026 at 01:40 AM
Add new combat, exploration, equipment, hidden mechanics, and easter egg tips from community discoveries
This page collects the most useful tips, hidden mechanics, and practical advice for Crimson Desert. Whether you are just starting out in Hernand or deep into the later chapters, these tips will help you fight smarter, explore more efficiently, manage your inventory, and avoid common mistakes. Many of these mechanics are never explained by the game itself, so reading through this guide before diving in can save hours of frustration and missed opportunities.
There are no healing potions in Crimson Desert. All healing comes from eating food during combat. You can eat one piece of food roughly every 2 seconds with no limit, so the difficulty of any fight depends largely on how much food you bring. For tough bosses from Chapter 5 onward, bring at least 100 pieces of Grilled Meat. You can eat while attacking with quick strikes, or dodge while recovering to full health.
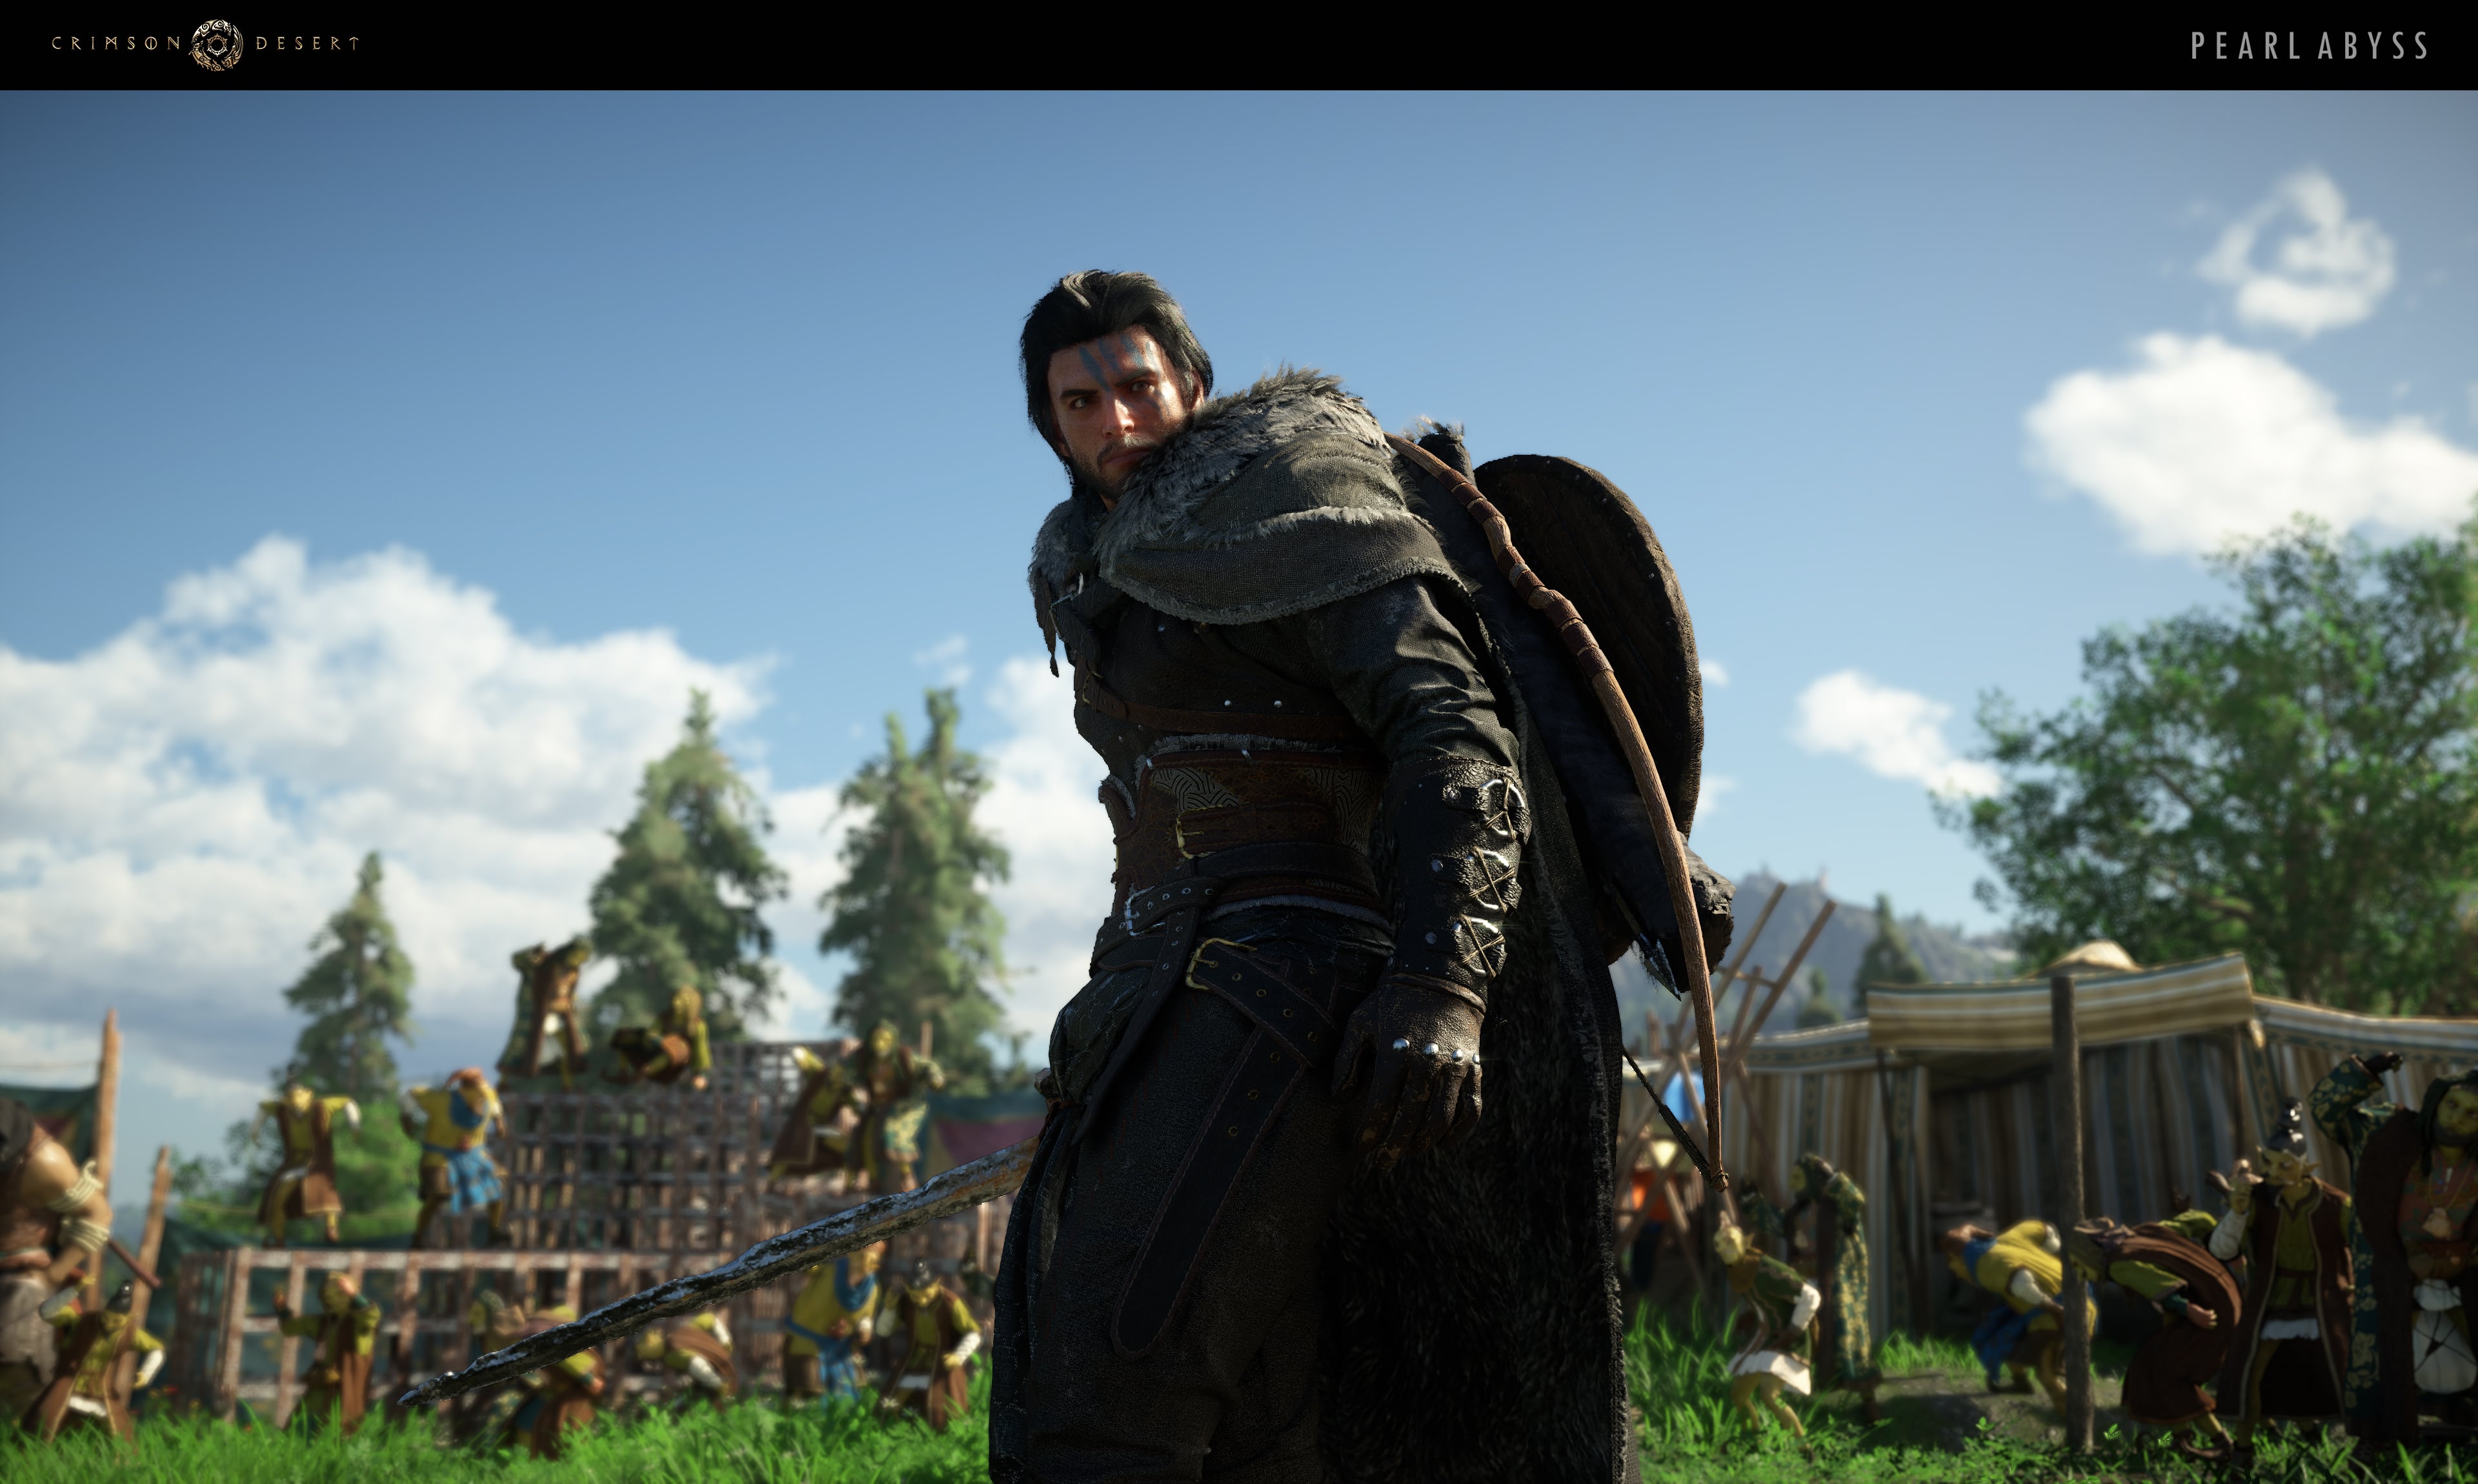
Basic Grilled Meat (1 raw meat per serving, 80 HP restored) is the most efficient healing item. With 10 raw meat you get 10 Grilled Meat for a total of 800 HP. By contrast, the more expensive Hearty Grilled Meat consumes far more raw meat for only marginally better healing per piece. Stock up on cheap "Tough Meat" from the butcher in Hernand (restocks nightly at midnight) and cook it at any campfire or cooking pot. You can also cook food on the ground using Blinding Flash's focused light ability. Simply place raw food on the ground and aim your focused light at it to cook it. Make sure to desummon your pet first, because pets will eat raw food off the ground before you get a chance to cook it.
If you have a Palmar Pill in your inventory when you die, it automatically triggers and revives you with 30% of your total health. The game does not notify you when one is consumed, so keep track of how many you have. Never sell or discard them. The refined version of the Palmar Pill is even more valuable: it revives you to 100% health instead of 30%. You can find refined Palmar Pills inside hidden caves behind waterfalls throughout Pywel.
If you spot a Grindstone near a boss arena entrance, the game is giving you a localized advantage. Always sharpen your weapon at a Grindstone and repair your armor at an Anvil before entering a boss fight. Grindstones give a temporary +5 attack boost and Anvils give a temporary +5 defense boost. These temporary buffs stack with permanent Refinement levels. Grindstones and Anvils are also found scattered throughout the open world, not just near boss arenas. Make a habit of using any you pass.
When you kill an enemy in a group, those around the fallen enemy are briefly stunned. Be aggressive, focus one target down quickly, and the chain reaction makes mopping up the rest much easier.
Sprint at an enemy and press the interact button (F on keyboard, Y on Xbox, Triangle on PlayStation) to deliver a powerful kick that knocks them down. This is a great way to initiate combat against groups.
Human bosses: parry with L1/LB to interrupt their attacks, then follow up with quick R1/RB combos.
Shield/blocking enemies: use R2/RT heavy attacks to break their guard. Light attacks do not drain their stamina.
Monster bosses: dodge their attacks and strike during the recovery window after their combo finishes. Most monster attacks cannot be blocked.
The Blinding Flash ability (Lantern button + Light Attack) does far more than just reveal hidden objects. The focused light version can set vines and wooden structures on fire, destroy flying enemies that are otherwise hard to reach, and cook food placed on the ground. When the game tells you to "light an arrow on fire" for a puzzle, you can often skip the arrow entirely and just aim your focused light at the target instead. The Blinding Flash finisher is also one of the strongest combat skills in the game: it stuns all nearby enemies, leaving them open for free follow-up damage.
Wooden barricades found throughout enemy camps are not just obstacles. If you knock or push an enemy into a barricade's spikes, they will be impaled on the wooden stakes. This counts as an instant kill regardless of the enemy's remaining health. During siege battles and camp liberation encounters, look for opportunities to kick or use Giant Swing to throw enemies directly into nearby barricades for efficient crowd control.
The Giant Swing ability (unlocked at Grappling Level 3) can be extended far beyond a single rotation. After grabbing an enemy with Triangle + Circle during a Pump Kick or Dropkick, hold both buttons down instead of releasing them. Kliff will continue spinning the enemy around for as long as you have stamina, dealing damage to any nearby enemies caught in the swing arc. This is especially effective when surrounded by groups, since each rotation hits every enemy in range. Release the buttons to throw the grabbed enemy when your stamina runs low.
Turning Slash has a long wind-up animation that leaves you vulnerable. You can skip most of that wind-up by jump-canceling: jump first, then immediately input Turning Slash while airborne. Your character skips the preparation frames and goes straight into the spinning attack. The spin portion of Turning Slash carries hyper armor, meaning you cannot be knocked out of the animation during the spin itself. By jump-canceling the wind-up, you transition into that hyper-armored phase much faster, which drastically reduces your vulnerability window in fights against multiple enemies.
The Stab attack (R1 + Triangle) can be charged by holding the input rather than tapping it. A held Stab extends the thrust animation and increases both the damage and the distance Kliff lunges forward. The charged version is especially useful for closing the gap against retreating enemies or for piercing through the water tension at waterfall cave entrances. Combine this with the Stab's innate bleed effect for significantly higher sustained damage against tough targets.
The tackle move used to capture bounties alive has additional hidden inputs beyond the basic grab. After initiating a tackle during a roll (press Circle + Triangle together mid-roll), you can follow up with different commands depending on timing. If you press Triangle immediately after the tackle connects, Kliff performs a ground slam that deals heavy damage. Pressing Circle instead lets you hold the enemy in place longer, which is useful for carrying bounties. Pressing R1 after a successful tackle transitions directly into a Stab on the grounded enemy. These follow-ups are never explained in any tutorial but work consistently once you learn the timing.
The Disarm Mechanic extends beyond the Shield Bash technique covered elsewhere. Certain heavy attacks and grappling moves can also knock weapons out of enemy hands. When you successfully disarm an enemy using any method, the dropped weapon becomes a lootable item on the ground. Your pet can pick these up automatically. This is one of the best ways to farm Abyss Gear from armed soldiers, since their swords and shields each carry separate Abyss Gear attachments. See the Disarm I through Disarm III skills for more details.
Porcupines are one of the few wildlife creatures in Pywel that can actually inflict bleed damage on the player. If you step on or attack a porcupine at close range, its quills deal damage and apply a bleed status effect. This can catch you off guard during exploration, especially in wooded areas. Keep healing food ready when moving through forests where porcupines roam. On the other hand, you can use this to your advantage: lure enemies near porcupines and the quills will bleed them too.
Your Lantern detects nearby Memory Fragments (blue glow) and points of interest (orange glow). Blinding Flash (Lantern button + Light Attack) emits a burst of light that reveals Sealed Abyss Artifacts, fast travel points, and other secrets with blue glints in the distance.
Use your sword's Guiding Light ability (L1 + R1 on PlayStation, LB + RB on Xbox, Ctrl + Left Click on PC) to mark nearby fast travel platforms and Abyss Artifacts with a blue glimmer. This is especially useful from elevated positions where you can survey a wide area.
Every major city in Pywel has a Bell Tower that you can climb. Ringing the bell at the top clears the fog of war on the world map for the surrounding area and marks major locations on your map. However, hidden locations will not appear just from ringing a bell. For the best results, explore an area thoroughly on foot first, then ring the bell. That way you can compare what you have already found against the newly revealed map markers to identify anything you missed. If you prefer the completionist approach, ringing all eight Bells scattered across Pywel will remove all fog from the entire world map at once.
The large white question mark circles on the map either hide Abyss Nexus fast travel points or puzzles that unlock Abyss Cressets. Both types serve as fast travel destinations, but Abyss Cressets also reward an Abyss Artifact when activated. Look for a circular platform carved into the ground. Stand in the center and hold your lantern to activate it.
Almost every waterfall in Pywel hides a cave behind it. Look for stacked rock pillars along the edge of the waterfall, which indicate a hidden entrance. Use the Stab ability to push through the rushing water and enter the cave. These caves typically contain unique gear, refined Palmar Pills (which revive you to 100% health instead of the standard 30%), and other valuable items. Make a habit of checking every waterfall you encounter during exploration.
Press R3 on the world map to access the sky view. From sky island fast travel points, you can dive directly down to ground locations, often faster than riding on horseback. You can also use the Abyss fast travel network to get around more efficiently. Even if you have not visited the area below a sky island, you can fast travel up to the island and jump off to reach the ground below quickly.
You will return to Hernand constantly. Make activating the town's fast travel point one of your first priorities. Before you gain access to your camp, there is a bed and private storage available in the temporary lodgings at the top of Hernand. Use this early-game storage to free up inventory space.
Crates and barrels can be broken throughout the world, and they almost always contain items. In the wild, this is free loot with no consequences. In towns, breaking crates counts as stealing and will affect your reputation. Your pet may automatically pick up items from broken containers, so keep your pet summoned while clearing areas.
The Abyss sky islands above the world contain far more than just the story objectives. Stay and explore each island fully before moving on. You will find tons of Abyss Artifacts, unique equipment, and elemental attack unlocks scattered across the islands. Completing the puzzles and challenges on each island is one of the most efficient ways to power up. If you fall off an island, press the left analog stick to cling to the Abyss energy, then use the escape option to respawn on the island rather than plummeting to the ground.
The Spire of Insight functions as a viewpoint mechanic. Climbing one and activating it gives you a panoramic view of the surrounding region, which can help you plan your exploration route.
You can pole vault by pressing the jump button twice while holding a Banner Pike. Banner pikes are found in major towns like Hernand and in hostile bandit camps. In friendly towns, you need to equip a mask and steal them. Pole vaulting launches you up and forward, making it a great way to clear gaps, jump over spiked palisades, and reach areas without spending Spirit on Force Palm. Unlike combat use, pole jumping does not consume the pike's durability, so you can keep vaulting indefinitely. It is also quieter than using magical abilities, making it useful during stealth infiltrations.
A recent patch updated the fast travel system so you can now activate Abyss Nexus points while moving, without needing to stop and dismount first. Previously, activating a fast travel point required you to dismount your horse, walk to the platform, and hold your lantern. Now, simply riding close to an Abyss Nexus while mounted is enough to trigger the activation. This saves considerable time when exploring new areas, since you no longer have to break your momentum every time you pass a travel point.
Fountains found in towns throughout Pywel are interactive objects that most players walk past without noticing. Approach a fountain and press the interact button to drink from it. Drinking restores a small amount of health and stamina at no cost. This is a free way to top off your resources while wandering through towns between quests, especially useful in the early game when food is scarce.
Wells scattered across towns and villages let you draw water for free. Walk up to a well and interact with it to pull up a bucket of water. Each pull yields 5 water, and you can repeat the process as many times as you want, though each pull takes about 10 seconds. Water is a key ingredient in alchemy recipes, particularly for crafting Palmar Pills (which require 2 water per pill). Instead of buying water from vendors, check for wells in every town you visit. There are wells in Hernand, Deinus, and most other major settlements.
When you catch fish through the fishing system, some species can be placed into bodies of water near your Greymane Camp. Approach a pond, pool, or water trough at the camp and use a live fish from your inventory to release it into the water. The fish will remain there permanently, adding a decorative element to your camp. This is a purely cosmetic feature but one of the many environmental details that showcase the level of simulation in the game.
The environmental simulation in Crimson Desert extends down to the smallest details. When water freezes during cold weather, you can see the ice forming outward from the edges of puddles and mud patches. Mud itself behaves realistically: characters leave footprints, and during rainfall the mud becomes visibly wetter and more reflective. These are cosmetic details, but they serve as visual indicators of temperature and weather changes that affect gameplay. Cold weather drains stamina faster, and frozen water surfaces can be walked across to access shortcuts.
When browsing shops, use Ctrl (PC) or LB (Xbox) / L1 (PlayStation) to examine objects on shelves and tables. Some items are not listed in the vendor's regular inventory and can only be purchased this way. Hold the button long enough for the game to register the inspection.
Buy a Mask from any Back Alley Shop (10 Bronze) and a Key from the masked merchant near the windmill outside Hernand (30 Copper). Equip the mask, walk into the bank, turn left, and approach the locked side door. The key is consumed automatically. Inside you will find chests and strongboxes loaded with silver. Each stolen item is worth 40+ silver. Your Contribution Rank with Hernand drops slightly for each theft, but this is easily recovered by completing requests and defeating enemies.
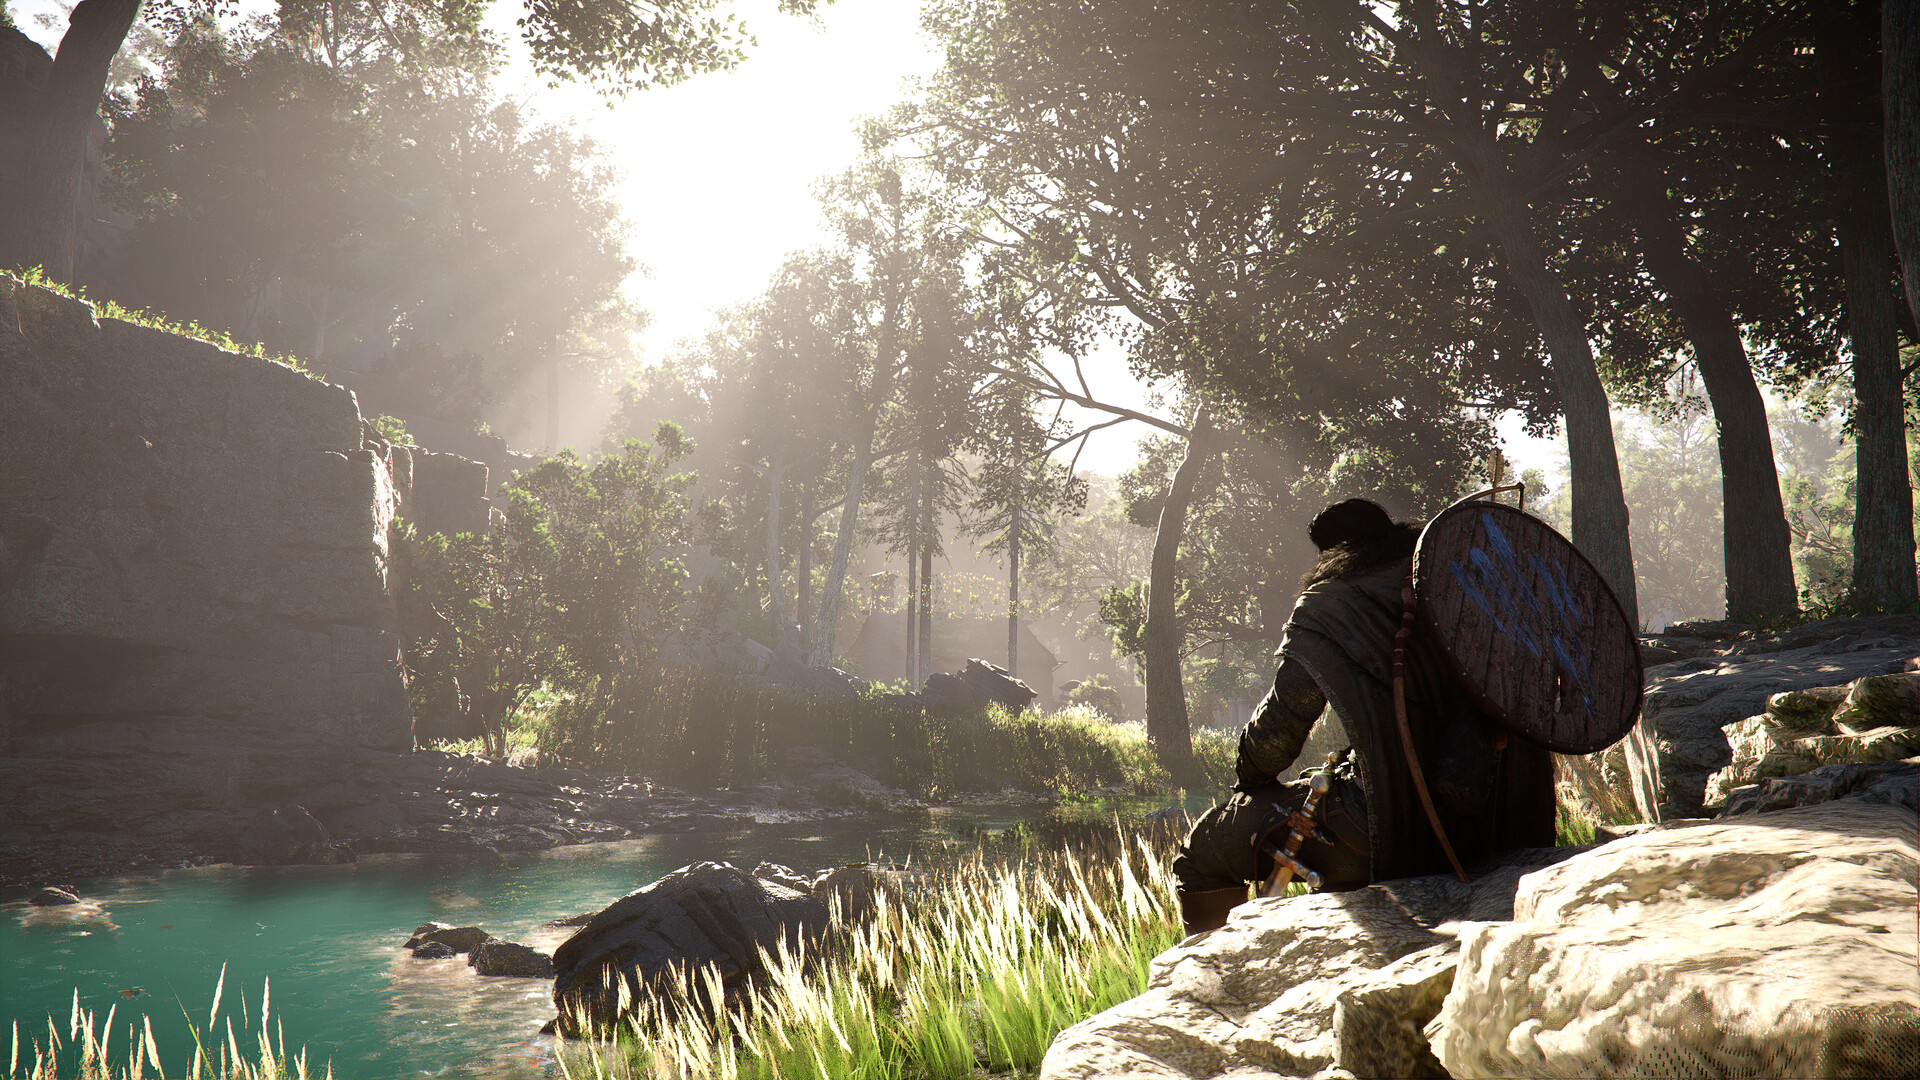
Unique weapons dropped by bosses have special effects. Do not sell them. Notable examples include the Sword of the Lord (Boss #2) for quick strikes and the Tauria Curved Sword (Boss #6) for heavy attacks and crowd control.
Many merchants in Hernand sell Small Bags for 50 Copper each. These expand your inventory capacity. Pick them up early since inventory space fills up fast once you start gathering materials, food, and loot.
Vendor inventories reset every in-game day at midnight (0:00). If a shop is sold out of something you need, rest at a nearby cooking pot or campfire to skip time.
Once you read a recipe or letter, it is permanently learned. The physical item is no longer needed and can be sold for a small amount of silver.
Mining high-priced ores: sell Iron and Copper Ore to merchants for steady income.
Archery Contest: located at Lioncrest Manor (House Alfonso). Each round pays 80 coins and can be repeated as often as you like.
Bounty missions: collect notices from House Celeste, track targets, subdue them, and return to the Guard Station for silver rewards.
Flower picking: flowers sell for decent prices and grow everywhere. Pick hundreds during exploration for passive income.
Gambling: gambling minigames in towns can yield quick silver if you understand the mechanics, though the risk of loss is real.
Some of the most valuable ores in Pywel are embedded in cliff faces and rock walls, well out of melee reach. You have two options for harvesting them. The first is to use Charged Shot (hold the ranged attack button to charge, then release) to shoot the ore node from the ground. The projectile impact dislodges the materials and they drop to your feet. The second option is to climb the wall using the Force Palm triple-jump technique (see the Movement Tips section below), position yourself next to the ore deposit, and mine it directly. Both approaches work, but Charged Shot is faster and does not cost Spirit. Keep an eye out for glowing ore veins on canyon walls and mountain sides; these high-altitude deposits often contain rarer minerals that ground-level nodes do not.
Inside Lioncrest Manor, head to the ground floor and approach the fireplace. Equip a mask first, then hold out your lantern. You will see a steal prompt appear near the fireplace. Interact with it to pull out a hidden Gold Bar worth 500 silver when exchanged at a bank. The gold bar respawns every three in-game days, making this a renewable source of income. Visit during daytime when fewer guards patrol the interior. To enter the manor, climb the back wall and open a window on the upper floor.
Beyond standard pickpocketing, you can steal from nobles who carry gold bars by bumping into them with the steal button held down. The best farming location is the Demeniss Wildlife Park, south of Demeniss City. The park is filled with noblemen wearing distinctive bunny hats, and because there are no guards patrolling the area, any alert from a failed steal dissipates quickly. Before attempting to pickpocket, hold out your lantern to scan nearby NPCs and see what they carry. Most visitors carry ordinary goods bags, but some carry gold bars. Only target NPCs whose pockets show the outline of a Gold Bar.
Gold bars are hidden throughout the world in places you might not expect. Check fireplaces, locked cabinets, and noble residences. Every gold bar you find should be deposited at a bank for 500 silver rather than sold to a merchant for only 190 silver. Beyond gold bars, certain rare artifacts can be stolen from display cases and shelves in wealthy homes. Use your lantern to highlight stealable objects in any building you enter. Always equip a mask before attempting theft to protect your reputation. See the Stealing and Theft Guide and All Gold Bar Locations for full details.
Your Supply Chest functions as private storage with 230 slots. A recent patch updated the Supply Chest to allow both withdrawals and deposits, so you can freely move items in and out. Store weapons and Abyss gear that you want to keep but do not need to carry. Crafting materials need to stay in your personal inventory for crafting, but everything else can go into the chest. Check your Supply Chest regularly after clearing encounters, because items your pet does not pick up are automatically sent there.
Open your inventory and use the group function to sort like items together. You can group food, elixirs, insects, crafting materials, and other categories into organized clusters. This makes it much easier to find what you need in the heat of combat. A recent patch also removed key item status from certain items, freeing up additional inventory slots that were previously locked.
Your Supply Chest storage capacity was expanded significantly in a recent patch, growing from 230 slots to up to 1,000 slots as you upgrade your Greymane Camp. Each camp expansion tier adds more storage slots. Make upgrading your camp a priority, since additional storage space lets you hoard crafting materials, rare items, and excess gear without worrying about bag space. Note that a separate trick lets you remotely stash items by dropping them near a bed and sleeping: when you wake, the dropped items are automatically transferred to your Supply Chest.
Concentrate your resources and upgrades on Kliff since he is the character you control for the vast majority of the story. The other playable characters (Damiane and Oongka) have their own separate progression but limited playtime.
There is no level system in Crimson Desert. Your stats come entirely from gear upgrades and spending Abyss Artifacts on passive bonuses. Prioritize Health Level 4 and Stamina Level 4 first. Stamina determines your ability to block, attack, and sprint, while health keeps you alive through unavoidable damage.
Unlock Nature's Echo from the green (Spirit) skill tree to duplicate your heavy attacks. This synergizes powerfully with the Tauria Curved Sword (dropped by Boss #6). To reach it, you need to purchase three Forward Slash skills (blue) and three Keen Senses skills (green) first.
Some inventory items grant permanent stat boosts when consumed rather than temporary effects. These are easy to overlook because they look similar to regular consumables. Notable examples include "Fighting Spirit" which grants +20 max spirit permanently, and "Dark Red Goblet" which grants +40 max stamina permanently. Check your inventory regularly for any items with permanent buff descriptions and use them immediately. There is no reason to save them.
Collecting Sealed Abyss Artifacts unlocks challenges that grant additional skill points. Important: progress toward these challenges only counts after you collect the artifact. Prior kills, discoveries, or actions do not count retroactively for most challenges.
Tap Left on the D-Pad (T on keyboard) to sheathe your weapon. Many actions (interacting, mounting, talking) require your weapon to be put away. If an NPC is not responding or you cannot mount your horse, check that your weapon is sheathed.
Hold L1/LB while approaching your horse to pet it. This builds trust over time and eventually unlocks special mounted moves like drifting.
Beyond regular horses, you can ride exotic mounts including bears, lions, and other animals. Bears spawn near Greymane Camp (south of the camp). To tame a bear, attack it until it becomes stunned and a ride prompt appears. While riding a bear, you can attack enemies with its claws. Lions are available at the circus in Demisin Castle. All exotic mounts are temporary: you cannot summon them like your regular horse. Once you dismount, they leave. You can also knock enemies off their mounts during combat and take those mounts for yourself.
When carrying a bounty target back to the Guard Station, you do not have to carry them on foot the entire way. Press L1 (the lantern button) to load the bounty onto your horse, then travel at your own pace. One important caveat: do not summon your horse from too far away while holding a bounty. If the horse has to travel a long distance to reach you, the bounty can be lost during the process. Call your horse when it is nearby.
Use Force Palm (R3 / Mouse Wheel) three consecutive times mid-air to gain significant height and scale walls that seem impossible to climb. Combine with Double Jump for even more height. If you run out of Spirit, press L3 + R3 (X on keyboard) to instantly recharge. This costs Spirit itself, so make sure you time your recharges between wall-climbing bursts.
Once you unlock the third level of Axiom Force, you gain the ability to vault up cliffs and ledges that would otherwise be unreachable. This costs 200 stamina per use. For massive height without spending stamina, use the jump + Force Palm down technique three times in succession. This launches you high into the air, after which you can glide or attach to a cliff face. This combination makes nearly every surface in the game climbable.
Transform Healing Palm into a horse-targeted heal by holding R3 and then pressing L3 while near your horse. This restores your mount's health. You can check your horse's health in the inventory screen when standing nearby.
The fastest way to cross Pywel through the air uses a combination of three skills: Aerial Roll (from the red/Health skill tree), Focus (unlocked early in the story), and Focused Insight (unlocked at Focus Level 3). To perform it: launch into the air and activate Flight. Press R1 + L1 to activate Focus. While time is slowed, press Circle to trigger an Aerial Roll. As the roll animation ends, press R1 to activate Insight. This sequence catapults your character forward at roughly double the standard glide speed, covering enormous distances on a single stamina bar. The community calls this the "Focus-Boost" technique, and while Pearl Abyss may not have intended it, it has not been patched out as of the latest version.
Reach 100 Trust with an animal and it will follow you around, automatically looting defeated enemies. Pet animals you find in towns for trust (5 trust per interaction, capping at roughly 25 per in-game day). You can also drop food near animals for extra trust points. You need to befriend 30 unique pets to complete a Life Challenge. Your pet will pick up items as you explore, and anything they do not grab goes into your Supply Chest automatically. You can dress up your pets at the pet vendor in Poran Village.
The party system lets you team up with companions for certain quests and activities. Building relationships with party members through gifts, conversations, and shared combat experiences improves their effectiveness. Pay attention to each companion's preferences when choosing gifts.
Your trust with NPCs and towns affects shop prices, available quests, and NPC behavior. Completing requests, defeating nearby enemies, and positive interactions all build trust. Stealing, breaking town property, and getting caught pickpocketing reduce trust. Each town tracks its own reputation independently.
The yellow bar to the left of the minimap fills as you defeat enemies. Once full, it awards 1 free Abyss Artifact. This can be farmed infinitely by fighting enemies repeatedly, giving you a renewable source of skill points. Clearing sanctums is especially efficient for filling this gauge. Every sanctum also contains a hidden chest somewhere inside it, so explore thoroughly before leaving.
If you have a key in your inventory and walk near a locked door, your character will automatically use the key. Be careful around locked doors if you are saving a key for a specific location.
You can pickpocket NPCs by approaching them from behind when undetected. This can yield small amounts of silver and occasionally useful items. Be careful in towns, as getting caught will damage your reputation.
A Star Wars reference has been discovered hidden in the game world. While exploring certain locations in Pywel, players have found environmental details that pay homage to the iconic film franchise. This joins other confirmed easter eggs in the game including the Elden Ring "Let Me Solo Her" bounty poster in Hernand and the Squid Game "Red Light, Green Light" statue puzzle in the Drakesfall Gorge Ruins. Check the Easter Eggs and Secrets article for the full list of references found so far.
A training dummy is hidden at the Greymane Camp in Howling Hill, but it only appears after your fourth camp upgrade (roughly when you unlock the Ranch and Farm). The training yard is located just behind the Ranch, in a fenced area with a wooden dummy standing in the center. The dummy has unlimited health, so you can spend all day practicing combos, testing weapon movesets, and experimenting with ability chains without any risk. If you knock the dummy out of the yard, it teleports back to the center instantly. This makes it perfect for testing new builds after resetting your skills with Faded Abyss Artifacts. Note that Axiom Force has no effect on the training dummy.
Master Du's Circlet is a special headpiece obtained after defeating Master Du at the Cloister of Enlightenment. The circlet contains the inner power Master Du accumulated through long years of ascetic training. Most players equip it without realizing it has an active ability. To use it, open the Function Wheel (D-pad Right), navigate to the special equipment tab, and select Kliff Glasses. A button prompt (L2 + R2 or LT + RT) appears on screen. Pressing and releasing these buttons fires a burst of concentrated light that incinerates everything in front of you. After a recent patch, the circlet's ability can be triggered immediately with the item use prompt keys once equipped, without needing the Function Wheel. The damage output is surprisingly high, making it one of the strongest special equipment abilities in the game.
During the Rebel Suppression quest and similar siege battles, you need to destroy wooden siege towers. The game gives you several options. First, you can dip arrows in brazier flames to create fire arrows, then shoot the wooden supports to set them ablaze. Second, you can use stationary cannons positioned on castle walls to bombard the towers with cannonballs. Third, and least obvious, you can use your Blinding Flash ability with Focus Light (L1 hold) to aim a sustained beam of concentrated light at the wooden tower. The beam sets the wood on fire, and the burning status effect gradually destroys the structure. Each method works, but the Blinding Flash approach lets you destroy towers from a safe distance without needing to find braziers or cannons.
Nature's Snare (unlocked from the Spirit skill tree) creates a wind barrier that blocks projectiles. A lesser-known secondary effect is that the swirling vortex also pulls nearby smoke, fog, and airborne particles toward your character. In encounters where enemies use smoke bombs or where environmental fog obscures your vision, activating Nature's Snare draws the smoke into the vortex and clears the area around you. This makes it a surprisingly effective utility skill outside of its primary defensive purpose.
The direction you input while activating Nature's Snare changes its behavior. Rotating the right stick clockwise creates a standard barrier that blocks incoming projectiles. Rotating counterclockwise instead causes the vortex to push outward, deflecting projectiles away and knocking back nearby enemies. The outward variant is useful for creating breathing room when surrounded, while the inward variant is better for holding a position against ranged attackers. Experiment with both to find the right approach for each combat situation. See also Nature's Retribution and Nature's Veil for the upgraded versions of this skill.
When you accept Hernand Commissions that involve constructing or repairing structures, the NPCs you recruit actually build the structures in real time. You can stand back and watch your camp workers hammer away at buildings from dawn until dusk, after which they take a break at night and resume in the morning. The construction process is not instant; it takes several in-game days depending on the project. During this time, you can speed things up by donating additional materials to Carl at the Greymane Camp. Completed commissions reward inventory slots, camp upgrades, and sometimes unique items.
When you drop items on the ground near NPCs, they will pick them up, and different NPCs have different preferences for which items they take. Food items left near hungry NPCs will be eaten. Valuable items dropped in crowded areas may be scooped up by passersby. This applies to your pet as well: your companion animal will eat raw food off the ground before you get a chance to cook it, so always desummon your pet before attempting to cook food on the ground using Blinding Flash. When looting, be aware that NPCs walking over dropped loot may take items before you pick them up.
NPCs in Crimson Desert display dynamic physical states based on their condition. Injured NPCs will visibly limp, hunch over, or favor one side as they walk. This is not just a visual detail; it serves as a contextual cue. Limping NPCs near battlefields may offer quests related to the conflict, or they may be bounty targets who have been weakened and are easier to capture. Pay attention to how NPCs move, because their physical condition can reveal quest opportunities and world events that are otherwise easy to miss.
The Shadowleaf Outfit (crafted from the Shadowleaf Disguise Blueprint) does more than just change your appearance. When wearing the full set, your silhouette transforms to resemble a tree or bush, and wildlife no longer flees from you on approach. This is valuable for hunting animals that normally run the moment they spot you. The set bonus "Wildlife Disguise" reduces the detection range of animals significantly, making it far easier to approach deer, boars, and other skittish creatures. Craft the set by researching the "Getting Closer to Nature" node at the Pororin research institute.
In certain buildings and manors throughout Pywel, painted portraits on the walls have eyes that track your character's position as you move through the room. This is a subtle environmental detail that most players miss on their first visit. While purely cosmetic, it contributes to the atmosphere of specific locations and may hint at the presence of hidden rooms or secret passages nearby. If you notice a portrait watching you, search the area thoroughly for interactable objects, hidden doors, or Blinding Flash-revealable secrets.
In Settings > Input, you will find a Camera Acceleration slider. The default value is 70. Setting this to 100 makes the camera feel significantly snappier and more responsive. Values near zero feel sluggish and can actually cause motion sickness during fast combat. Experiment with values between 80 and 100 to find what feels best for your play style.
The game uses three autosave slots that rotate automatically. When saving manually, scroll down past the three autosaves to an open save slot. This ensures you always have recent autosaves and a separate manual save to fall back on. Save before attempting difficult boss fights, risky thefts, or when you are about to enter a new chapter.