Loading...
Loading...
Builds
April 11, 2026 at 07:55 AM
Added 3 image(s) to article
Builds in Crimson Desert are shaped by three interconnected systems: the skill tree, weapon loadouts, and Abyss Cores. Unlike many RPGs, Crimson Desert does not use a fixed class system. Instead, each playable character has a shared skill tree with three branches, and players customize their playstyle by choosing which skills to unlock, which weapons to equip, and which Abyss Cores to slot into their gear.
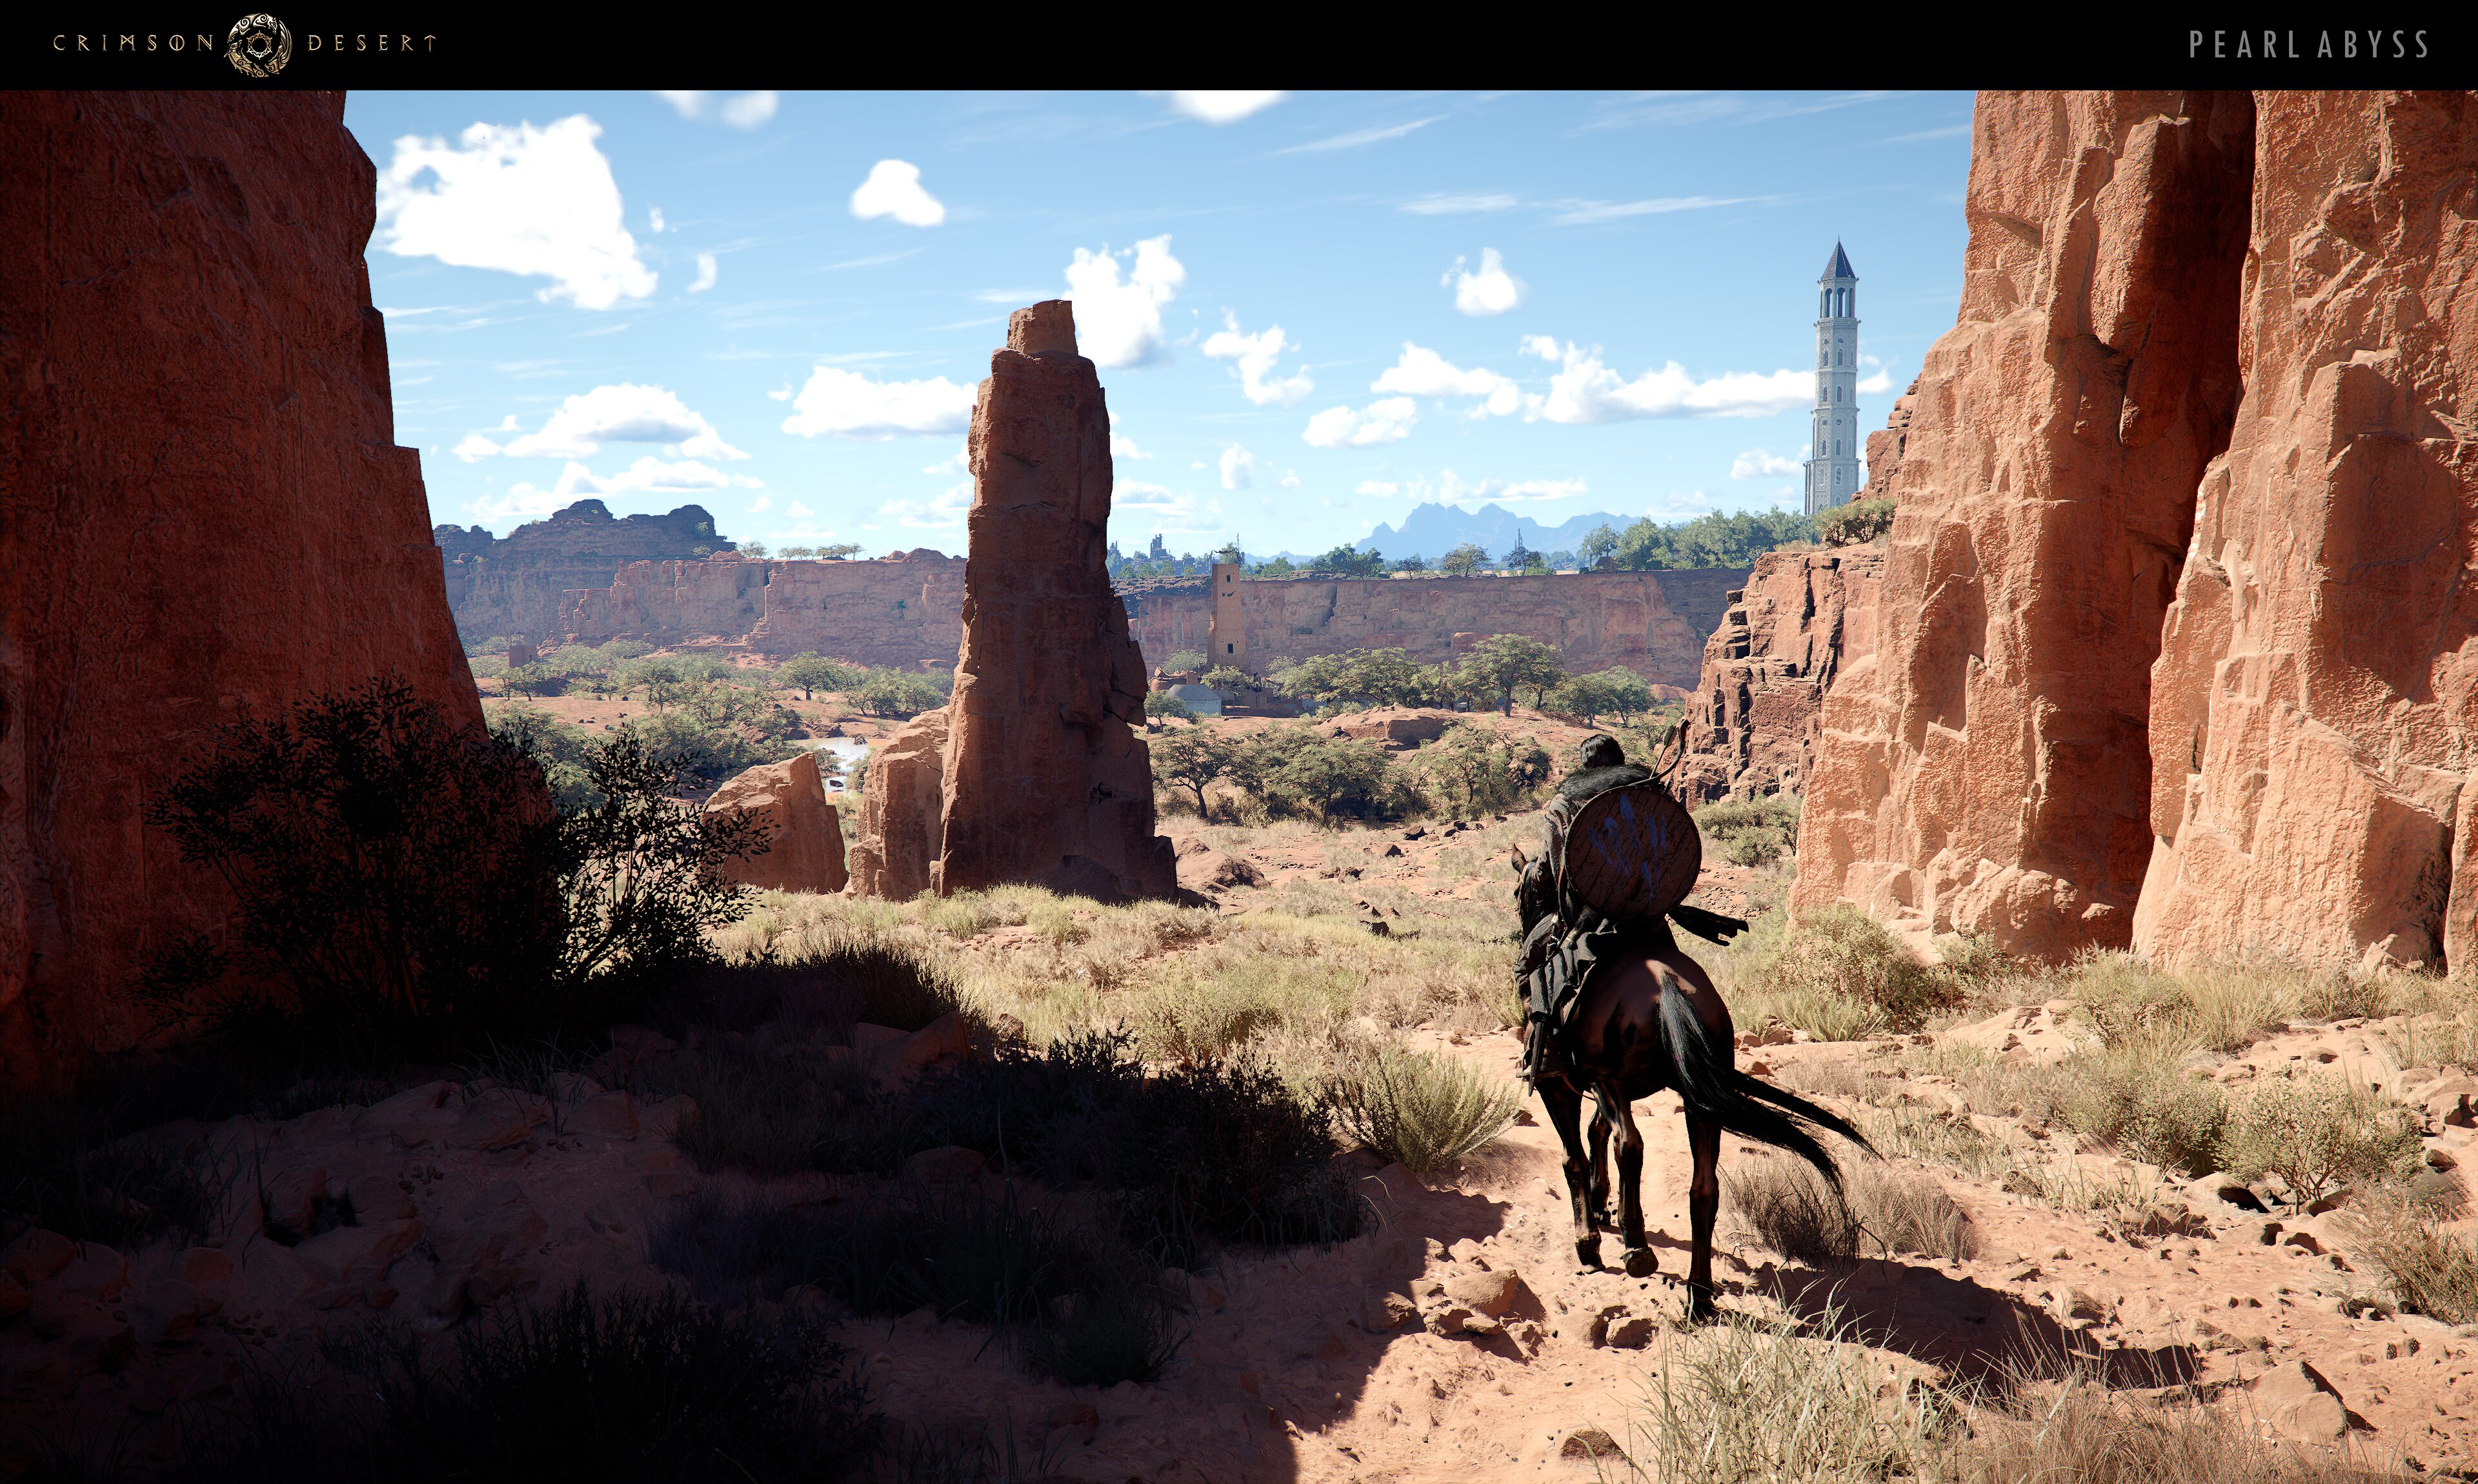
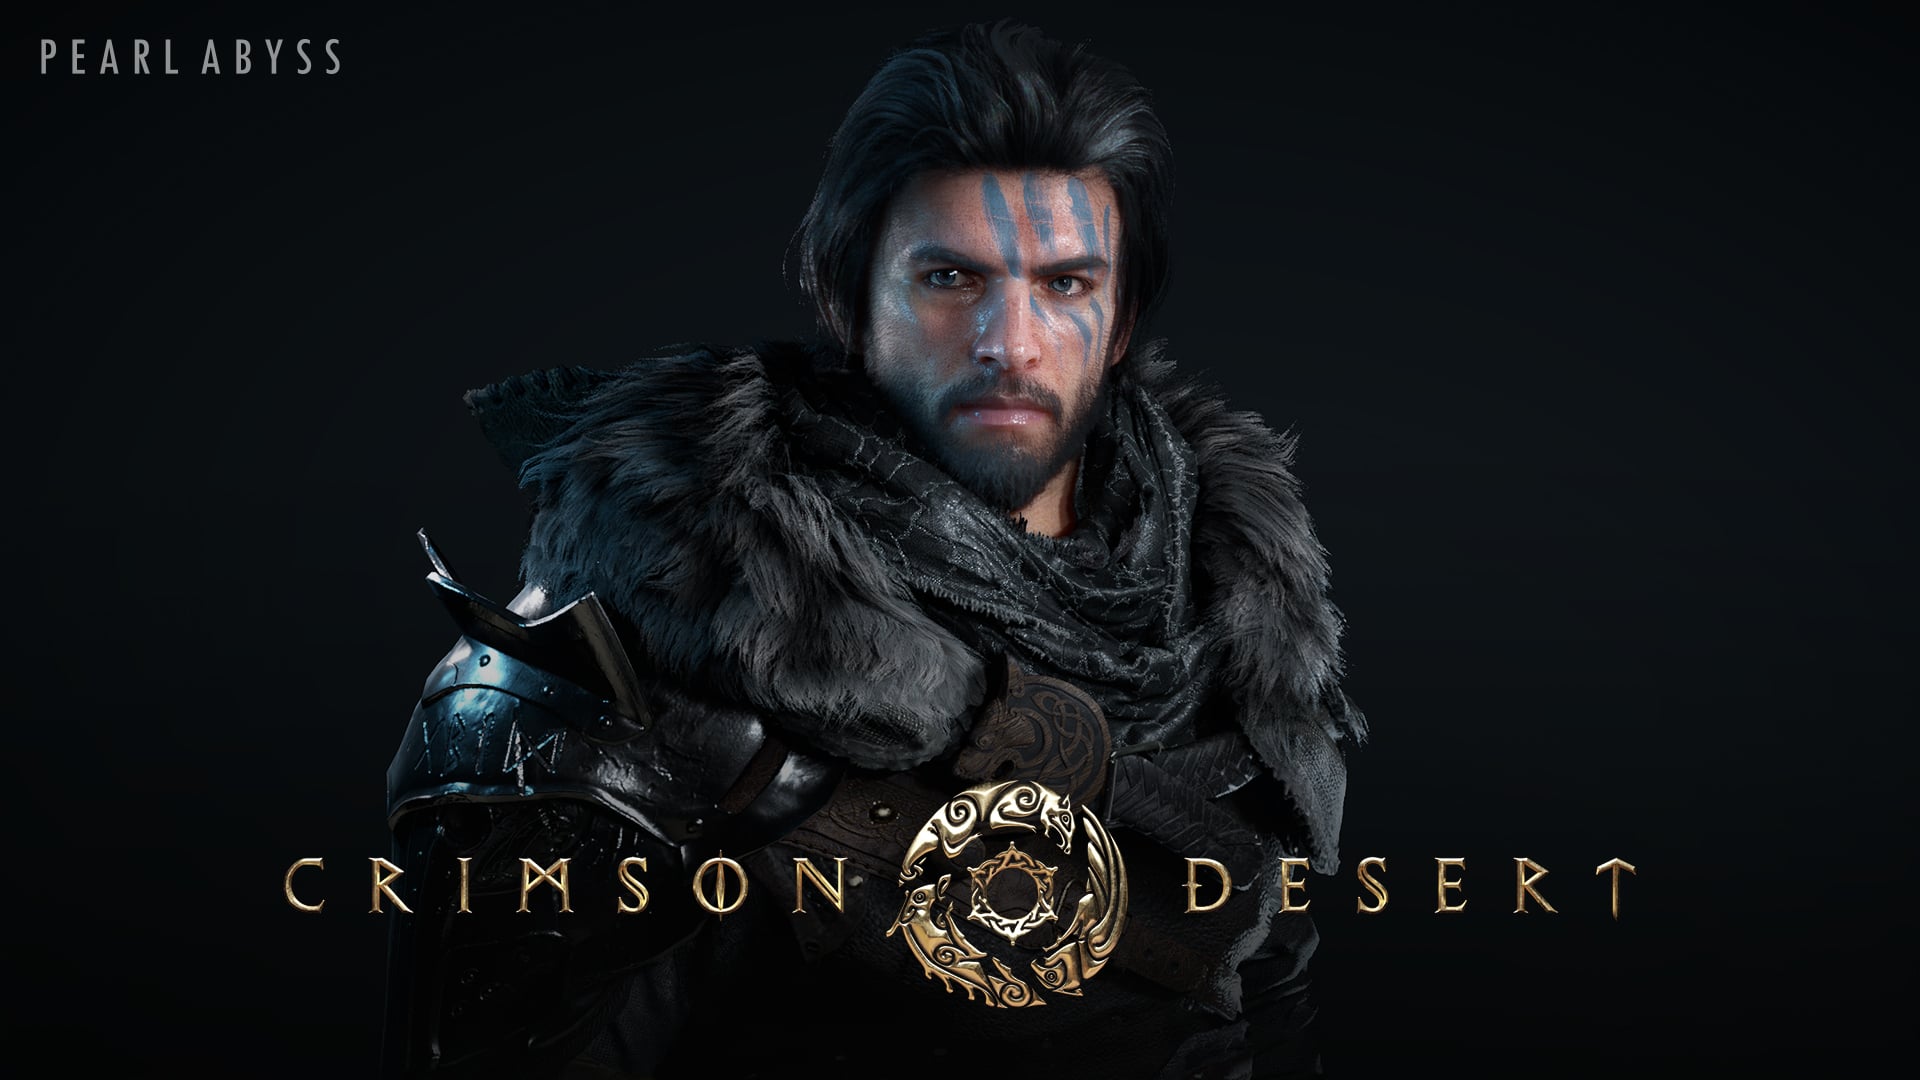
There are three playable characters: Kliff, Damiane, and Oongka. Kliff is available from the start, while Damiane and Oongka are unlocked through story progression. All three share the same skill tree structure but favor different weapons and combat styles.
Stats can be refunded and redistributed at any time, so experimentation is encouraged. There is no penalty for respeccing, and players can freely switch between different builds as the situation demands.
Each playable character has a dedicated build guide covering recommended weapons, skills, armor, and Abyss Cores for that character.
Character | Build Guide | Playstyle |
|---|---|---|
Versatile all-rounder. Sword and shield as primary, with greatsword or ranged secondary options. Strong defense through blocking and countering. | ||
Glass cannon. Rapier and pistol for fast, high-damage output. Relies on agility and evasion rather than blocking. | ||
Heavy power fighter. Favors raw strength with slower, harder-hitting attacks and high health investment. |
Additionally, the Swordsman guide focuses specifically on the sword-and-shield combat style that any character can use.
Guide | |
|---|---|
Sword and shield techniques, parrying, blocking, defensive play, and counter-based combat. |
The skill tree is divided into three branches, each tied to a core stat. All three branches converge at a central skill called Falling Palm, which unlocks after completing one full branch.
Branch | Color | Core Stat | |
|---|---|---|---|
Blue | Stamina | Physical combat techniques: Armed Combat, Unarmed Combat, Archery, grappling moves (Giant Swing, Throw, Lariat), kicks (Dropkick, Meteor Kick). | |
Spirit | Green | Defensive and utility abilities: Keen Senses (Parry, Counter, Backstep), Force Palm, Nature's Echo, Evasive Roll, Double Jump, Focus (slows time). | |
Red | Health | Survivability and elemental powers: Elemental Imbue (fire, frost, lightning), Fist of Flame, Mantle of Frost, Surge of Sparks, Flight, Axiom Force. |
Falling Palm is unlocked after completing one full branch. It lets you unleash a powerful strike that channels all Stamina into a ground-pound attack from the air.
Skills are unlocked through three main methods:
Observation: Watch enemies or Axioms perform specific moves in combat. Once you have observed a skill enough times, it becomes available in your skill tree. This is the primary way to learn new skills.
Abyss Artifacts: These function as skill points. You earn them by defeating bosses, completing quests, killing enemies, and purchasing from vendors. Spend them to unlock and upgrade skills in the tree.
Story Progression: Certain story missions automatically grant specific abilities as rewards, such as the Evasive Roll from the Kailok the Hornsplitter fight.
These skills provide the strongest foundation during the first several hours of the game.
Skill | Branch | Why It Matters |
|---|---|---|
Spirit (Green) | Unlocks Dodge, Parry, Counter, and Perfect Dodge. Essential for surviving boss fights. Get this to at least level 2 as early as possible. | |
Stamina (Blue) | Increases base weapon damage with each level and unlocks Evasive Slash. Directly improves all melee output. | |
Stamina (Blue) | Potentially the highest single-target DPS basic skill. At max level, the Rend Armor perk bypasses boss super armor. | |
Spirit (Green) | Stuns enemies, allowing free heavy attack follow-ups. The Finisher variant deals massive damage without consuming stamina. | |
Spirit (Green) | Creates an illusion that replicates your attacks, effectively doubling damage output during its duration. | |
Spirit (Green) | At level 3, the three-hit combo knocks enemies off their feet and opens a damage window. Also enables Aerial Force Palm for triple jumps. | |
Health (Red) | The best traversal skill in the game. Allows gliding from heights. Upgrade to reduce stamina cost. Swift Flight variant increases glide speed. |
When spending Abyss Artifacts, the three core stats should be upgraded periodically. General priority for most builds:
Health (highest priority): Bosses hit extremely hard, and a larger health pool is the most reliable way to survive. Invest in this consistently throughout the game.
Stamina: Governs blocking, dodging, heavy attacks, and sprinting. Running out of stamina in a boss fight often means death.
Spirit: Powers many defensive and support skills. Important for builds that rely on Force Palm, Nature's Echo, or Focus.
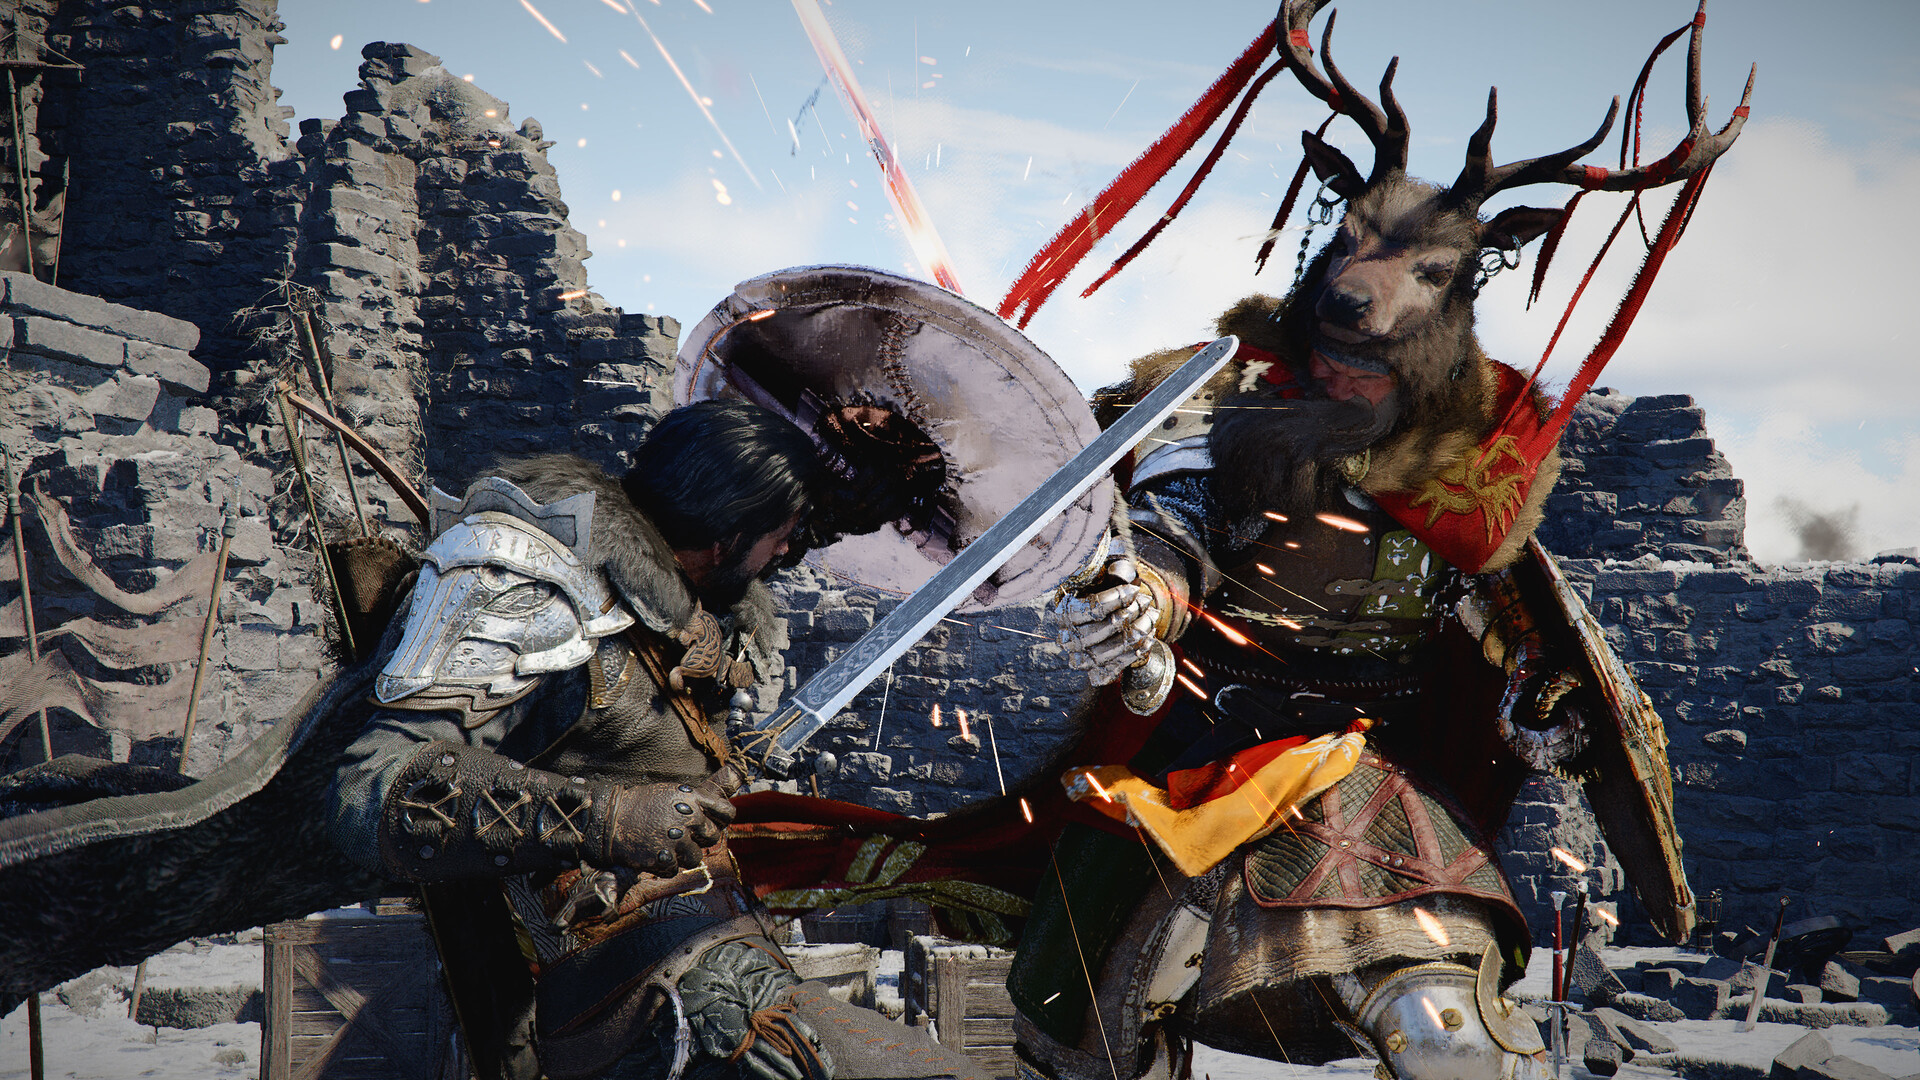
Players can equip two weapons at a time and switch between them mid-combo. Boss weapons are the strongest in the game and often come with unique attack patterns.
Weapon Type | Style | Notes |
|---|---|---|
Sword and Shield | Melee (one-handed) | Default starting weapon. Allows blocking and parrying. Strong defensive option for all encounters. |
Greatsword | Melee (two-handed) | Wide sweeping attacks with high damage per hit. Usable by both Kliff and Damiane. |
Spear | Melee (two-handed) | Long reach for keeping enemies at distance. Includes pitchfork variants. |
Axe | Melee (two-handed) | Shorter range than greatswords but staggers enemies quickly. |
Hammer/Mace | Melee (blunt) | Deals heavy blunt damage. Strong stagger potential against armored enemies. |
Dagger | Melee (one-handed) | Fast attacks useful for assassinations and targeting weak points. |
Bow | Ranged | Starting ranged weapon. Supports Multishot and Charged Shot skills. |
Pistol | Ranged (one-handed) | Allows fluid melee-to-ranged transitions without aiming. Damiane's signature ranged weapon. |
Rifle | Ranged (two-handed) | Higher damage than bows with longer reload times. |
Hand Cannon | Ranged (heavy) | Very high damage per shot. Staggers enemies easily. |
For detailed boss weapon locations and stats, see the Weapons page.
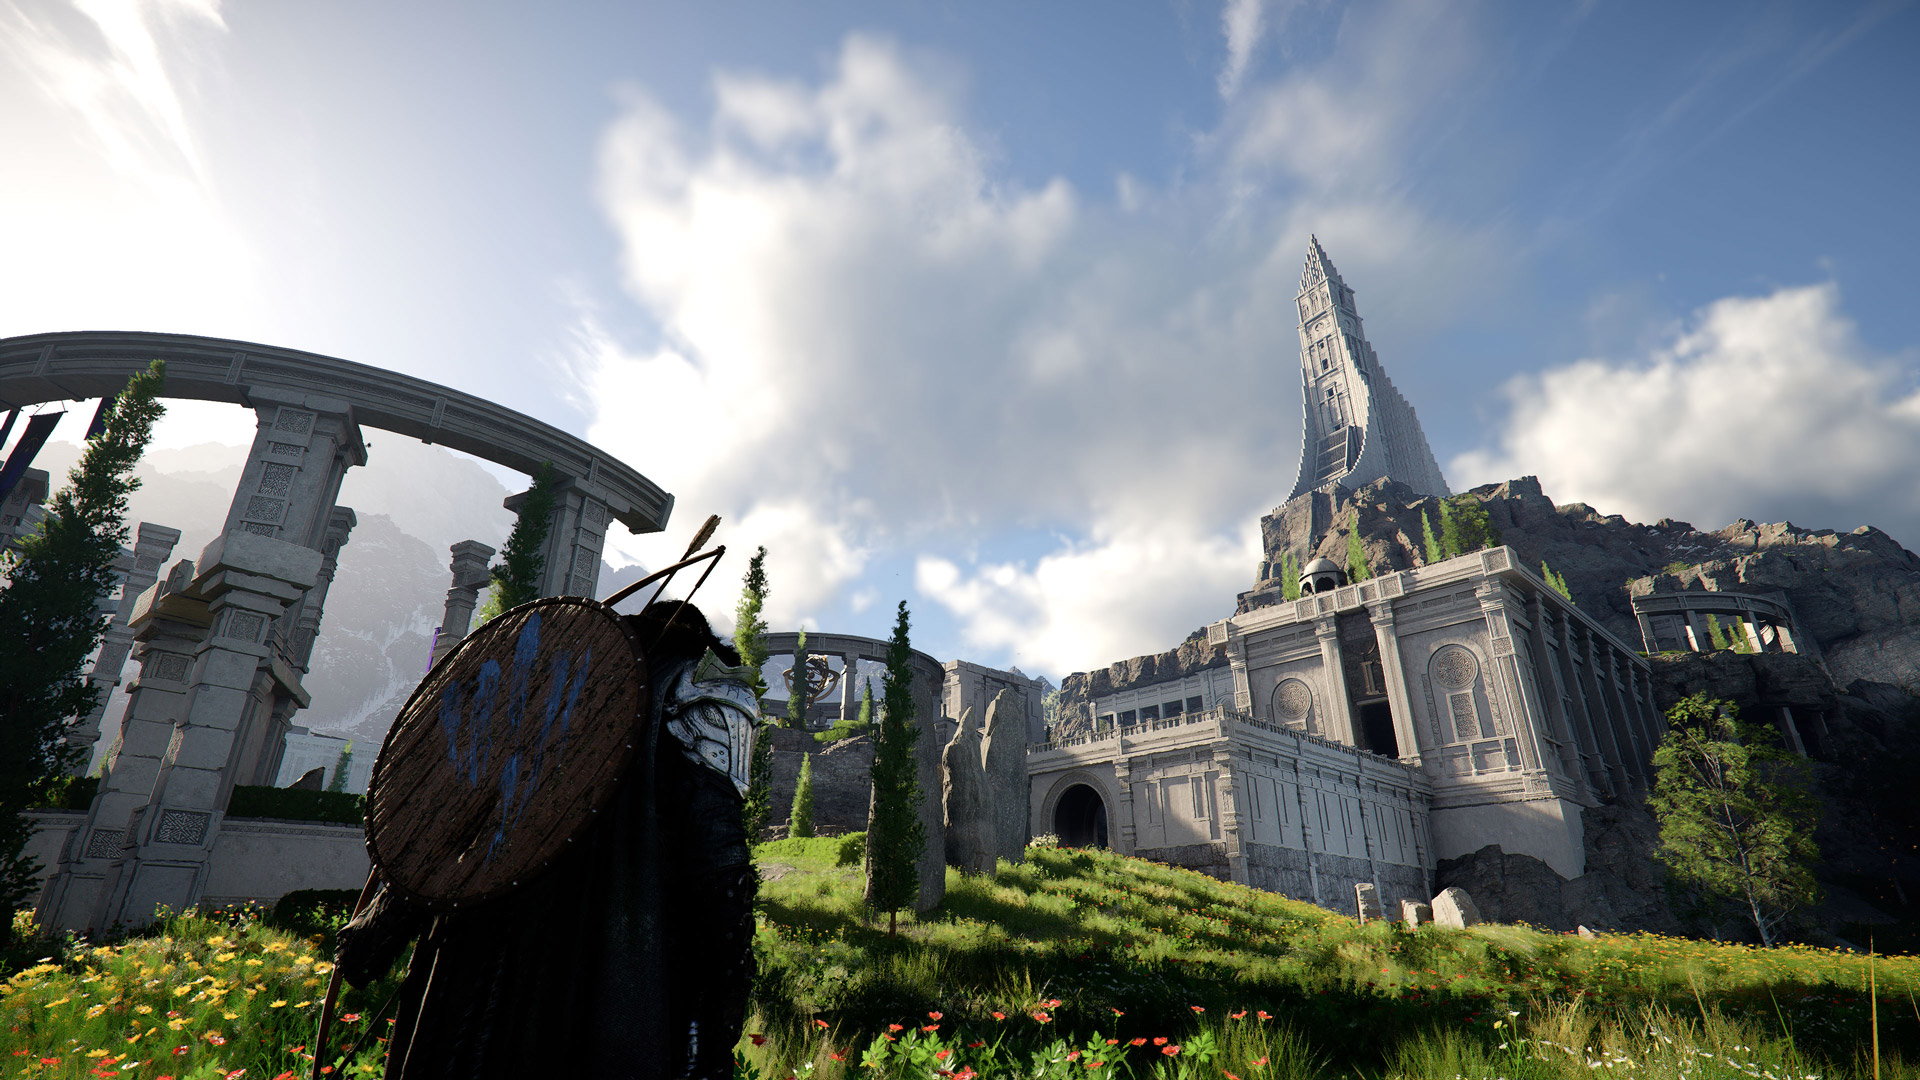
Armor sets provide defense, elemental resistances, and additional Abyss Core sockets. Strong late-game armor pieces include:
Bolton Plate Helm and Canta Plate Armor: Available through the Contribution shop. Solid all-around defense.
Lifsoth Large Shield: 12 base defense, upgradeable to 35. Pairs well with sword builds.
Paulenese Cloak: Provides Ice Resistance level 3, useful in cold regions.
Plate Gloves of Cursed Soul: High defense gloves for melee-focused builds.
Odeck's Protector Plate Boots: Solid defensive boots for heavy armor sets.
Visit the Equipment and Crafting pages for full details on how to obtain and upgrade armor.
Abyss Cores are slotted into weapons and armor to provide passive stat bonuses. Weapons have between one and five Abyss Core sockets depending on their tier. The most important core types for combat builds are:
Core Type | Effect | Priority |
|---|---|---|
Swift | Increases movement speed. | Medium |
Destruction | Increases attack power. | High |
Fortification | Increases defense. | High |
Sends crows toward the target with every swing, dealing passive damage. Dropped by the Crowcaller boss. | Very high | |
Creates crowd-control effects with rocks and lava around the impact area. | High for AoE |
Haste cores increase attack speed but are generally considered less impactful than Destruction or Fortification cores for most build styles.
Abyss gear forms the foundation of builds in Crimson Desert. Every piece of equipment can hold abyss gear modifiers that grant passive effects, triggered abilities, and stat bonuses. The most powerful abyss gear comes from defeating bosses, and each boss weapon carries a unique effect tied to that encounter.
The critical detail that makes the build system flexible is effect extraction. Players can pull the unique boss effect out of the original weapon and transfer it into a different weapon type entirely. For example, the Vessel of Dark Pursuit dropped by Antumbra carries the wound of darkness effect. That effect is not locked to the Vessel of Dark Pursuit itself. You can extract it and slot it into a one-handed sword, a two-handed weapon, or whatever weapon type fits your preferred playstyle.
This means you pick weapons based on the type you enjoy playing and the visual look you want, not because a specific boss drop forces you into a weapon category. The boss provides the effect; you choose where it goes.
One of the most common early decisions is whether to run a one-handed weapon with a shield or a two-handed weapon. Two-handed weapons have higher base damage and more abyss gear slots (five versus three for one-handed weapons), but one-handed weapons paired with a shield unlock parrying. Since parrying is crucial for many boss fights, particularly in the mid-to-late game, many players opt for a one-handed setup on their primary weapon slot despite the lower slot count. The shield itself carries two additional abyss gear slots, partially offsetting the difference.
Each equipment piece has a maximum number of abyss gear slots. These slots determine how many modifiers you can stack on a single item. Higher-tier weapons acquired later in the game tend to have more slots unlocked by default, and additional slots can be opened through the refining system.
5 | |
3 | |
2 | |
Helmet | 1 |
3 | |
2 | |
Boots | 2 |
A full loadout with a two-handed weapon gives a total of 15 abyss gear slots across all equipment (5 weapon + 1 helmet + 3 chest + 2 gloves + 2 boots + 2 if using a secondary shield). A one-handed weapon plus shield loadout provides the same total of 15 slots (3 weapon + 2 shield + 1 helmet + 3 chest + 2 gloves + 2 boots + 2 secondary shield), but the distribution is different. See the Abyss Gear Guide for a full breakdown of how to obtain and upgrade these modifiers.
The following build examples demonstrate how abyss gear effects, elemental imbues, and skill investments stack together to create powerful synergies. These are not the only viable builds, but they illustrate the depth of the system.
This build stacks three separate triggered effects onto a single attack, producing massive burst damage. It requires investment in turning slash, fire elemental imbue, and two specific abyss gear effects.
Setup steps:
Defeat the Antumbra boss and acquire the Vessel of Dark Pursuit. This weapon carries the wound of darkness effect, which triggers on turning slash.
Extract the wound of darkness effect from the Vessel of Dark Pursuit and slot it into your preferred weapon type (for example, a one-handed sword if you want access to parry).
Invest skill points into turning slash proficiency. Leveling turning slash proficiency unlocks the fast combo version of the attack, which lets you trigger the wound of darkness effect more frequently during combat.
Set up fire elemental imbue and imbue turning slash with flame. This adds fire damage to every turning slash hit. See Elemental Attacks for details on how imbuing works.
Equip the Volcanic Eruption abyss gear. Volcanic Eruption triggers an explosive effect whenever you land a fire-imbued attack. Since your turning slash is now imbued with flame, every turning slash hit triggers the explosion.
Fuel with spirit regeneration. The combo drains spirit quickly. Slot spirit regen abyss gear on your armor and spirit siphon on your weapon to keep the cycle going.
The result is three stacking effects on a single attack: wound of darkness from the boss effect, fire damage from the elemental imbue, and the volcanic eruption explosion from the abyss gear. Turning slash becomes a one-button damage engine that chains all three triggers together. Refer to the Combat Tips page for advice on maximizing combo uptime.
This build follows the same logic as the Wound of Darkness combo but uses the lightning element instead of fire. The core concept is identical: pair an elemental imbue with an abyss gear effect that triggers on that element.
Lightning elemental imbue: Imbue your weapon attacks with lightning. This can be applied to any melee skill, not just turning slash.
Orbs of Lightning abyss gear: This effect generates lightning orbs that orbit the area around you whenever you land a lightning-imbued attack. The orbs deal continuous damage to nearby enemies, making it especially effective against groups.
Same spirit management: Like the fire build, this setup consumes spirit rapidly. Slot spirit regen and spirit siphon to sustain the combo loop.
The Orbs of Lightning build trades the burst explosion of Volcanic Eruption for sustained area damage. It works well against multiple enemies and in situations where you need consistent damage output rather than single-target burst. Visit the Elemental Attacks page for a full list of elemental imbue options and their interactions with abyss gear.
The Infinite Arrows Build is arguably the strongest boss-killing setup in the game. It uses Infinite Arrows II (40%) and Infinite Arrows III (60%) to reach 100% arrow conservation, enabling unlimited explosive arrows. Two primary combat techniques drive the build: an imbued focus charge shot burst combo that can one-shot many bosses, and an Evasive Shot spam loop that deals consistent damage while keeping you nearly untouchable. See the full guide for skill tree requirements, equipment loadout, and how to obtain each component.
Beyond the build-specific effects described above, certain abyss gear modifiers are valuable across nearly all builds. The following tables list defensive and offensive priorities. For the full modifier list, see All Abyss Gear Modifiers.
Defensive abyss gear keeps you alive during extended fights and boss encounters. Slot these into armor pieces (helmet, chest, gloves, boots) and your shield.
Priority | Notes | |
|---|---|---|
Top | Essential for any build that dumps spirit into DPS skills. Without spirit regen, offensive combos stall after a few rotations. Stack this as high as possible on armor slots. | |
Food Effect Levels | High | Increases the effectiveness of healing items and food passive buffs. Since food is the primary healing source during boss fights, boosting food effect levels gives more health per item consumed. |
Medium | Useful for general open-world gameplay and exploration. Provides passive healing between encounters, reducing reliance on consumables during non-boss content. | |
Damage Reduction | Situational | Valuable for specific boss fights where incoming damage is consistently high. Less important for general gameplay where dodging and parrying avoid most damage. |
Situational | Flat defense increase. Stacks with armor defense values. Useful as filler when other priority effects are already equipped. |
Avoid investing heavily in swim speed, climb speed, or stamina regeneration abyss gear. These effects sound useful for exploration, but their impact is too small to justify the gear slot over combat-relevant modifiers.
Offensive abyss gear goes primarily on weapons. Focus on stacking a few strong stats rather than spreading points across many different bonuses early on.
Priority | Notes | |
|---|---|---|
Top | Critical hits deal significantly more damage. Stacking crit rate provides consistent DPS increases across all attack types and skills. | |
Attack Power | Top | Flat attack increase that benefits every hit. Equally strong as crit rate in the early game. Stack whichever stat your current gear favors. |
Spirit Siphon (Weapon) | High | Restores spirit on weapon hits. Critical for builds that rely on spirit-consuming skills like elemental imbues and special attacks. Slot this on your primary weapon. |
Low | Increases swing speed, but the actual impact feels underwhelming compared to crit rate and attack power. The animation speed gains are minor, and the stat does not scale as well. Avoid prioritizing attack speed early. |
When choosing between crit rate and attack power, stack whichever stat you can push higher. Mixing small amounts of both is less effective than going deep into one. As your gear improves through the Refining System, you can start balancing both stats once each reaches a meaningful threshold.
Stats can be respecced at any time with no penalty. Experiment freely with different skill distributions.
Boss weapons are the strongest in the game. Prioritize story boss kills to unlock powerful weapon options.
The Ignir Sword (dropped by Ludvig in Chapter 7) has 20 base attack power upgradeable to 45, with five Abyss Core sockets. It is widely considered the strongest weapon for Kliff.
Pairing a melee primary weapon with a ranged secondary weapon gives flexibility in combat. Popular combinations include Greatsword + Musket and Rapier + Pistol.
Always keep food in your inventory. Grilled Meat, purchased at butchers and cooked at cooking pots, is a reliable healing source for tough boss encounters.
Stamina management matters more than raw damage. If you cannot dodge or block, you cannot deal damage.
When building around elemental imbues, commit fully. Pick one element and stack the matching abyss gear effect (Volcanic Eruption for fire, Orbs of Lightning for lightning) rather than splitting between elements.
Spirit siphon on your primary weapon is nearly mandatory for any build that uses spirit-consuming abilities. Without it, you will run dry mid-fight and lose your damage loop.
Stack crit rate or attack power early, not both. Spreading points across multiple offensive stats dilutes their impact. Go deep into one, then branch out once your gear improves through the Refining System.