Overview
Oongka is the heavy hitter of Crimson Desert. He is the third playable characterunlocked during Chapter 7 after the confrontation with Myurdin at Ashclaw Keep. Oongka plays like the exact opposite of Damianeslow swings, massive damage, huge hit areas. He does not dodge or dance around enemies. He walks into a crowd and leaves a crater.
If Kliff is the generalist and Damiane is the precision characterOongka is the one you pick when you want to stop thinking about positioning and start thinking about how many enemies you can hit with a single swing. The combat guide describes him as "The Fearless Powerhouse," excelling in aggressive, high-damage combat with crowd control abilities. He is widely considered the most beginner-friendly of the three playable characterswith straightforward combos and a forgiving playstyle that does not punish mistiming as harshly as Damiane's.
Oongka is the heavy-hitting tank character in Crimson Desert, unlocked during Chapter 7's "Twisted Fate" main quest (approximately 30 to 40 hours into the campaign). He is the polar opposite of Damiane: slow swings, massive damage, and huge hit areas. Oongka does not dodge or dance around enemies. He walks into a group and leaves a crater. His unique Rage ability grants super armor, preventing stagger from incoming attacks, while Rampage lets him cleave through entire groups. His inherent stagger bonuses on heavy attacks make two-handed weapons perform significantly better in his hands than they do for Kliff.
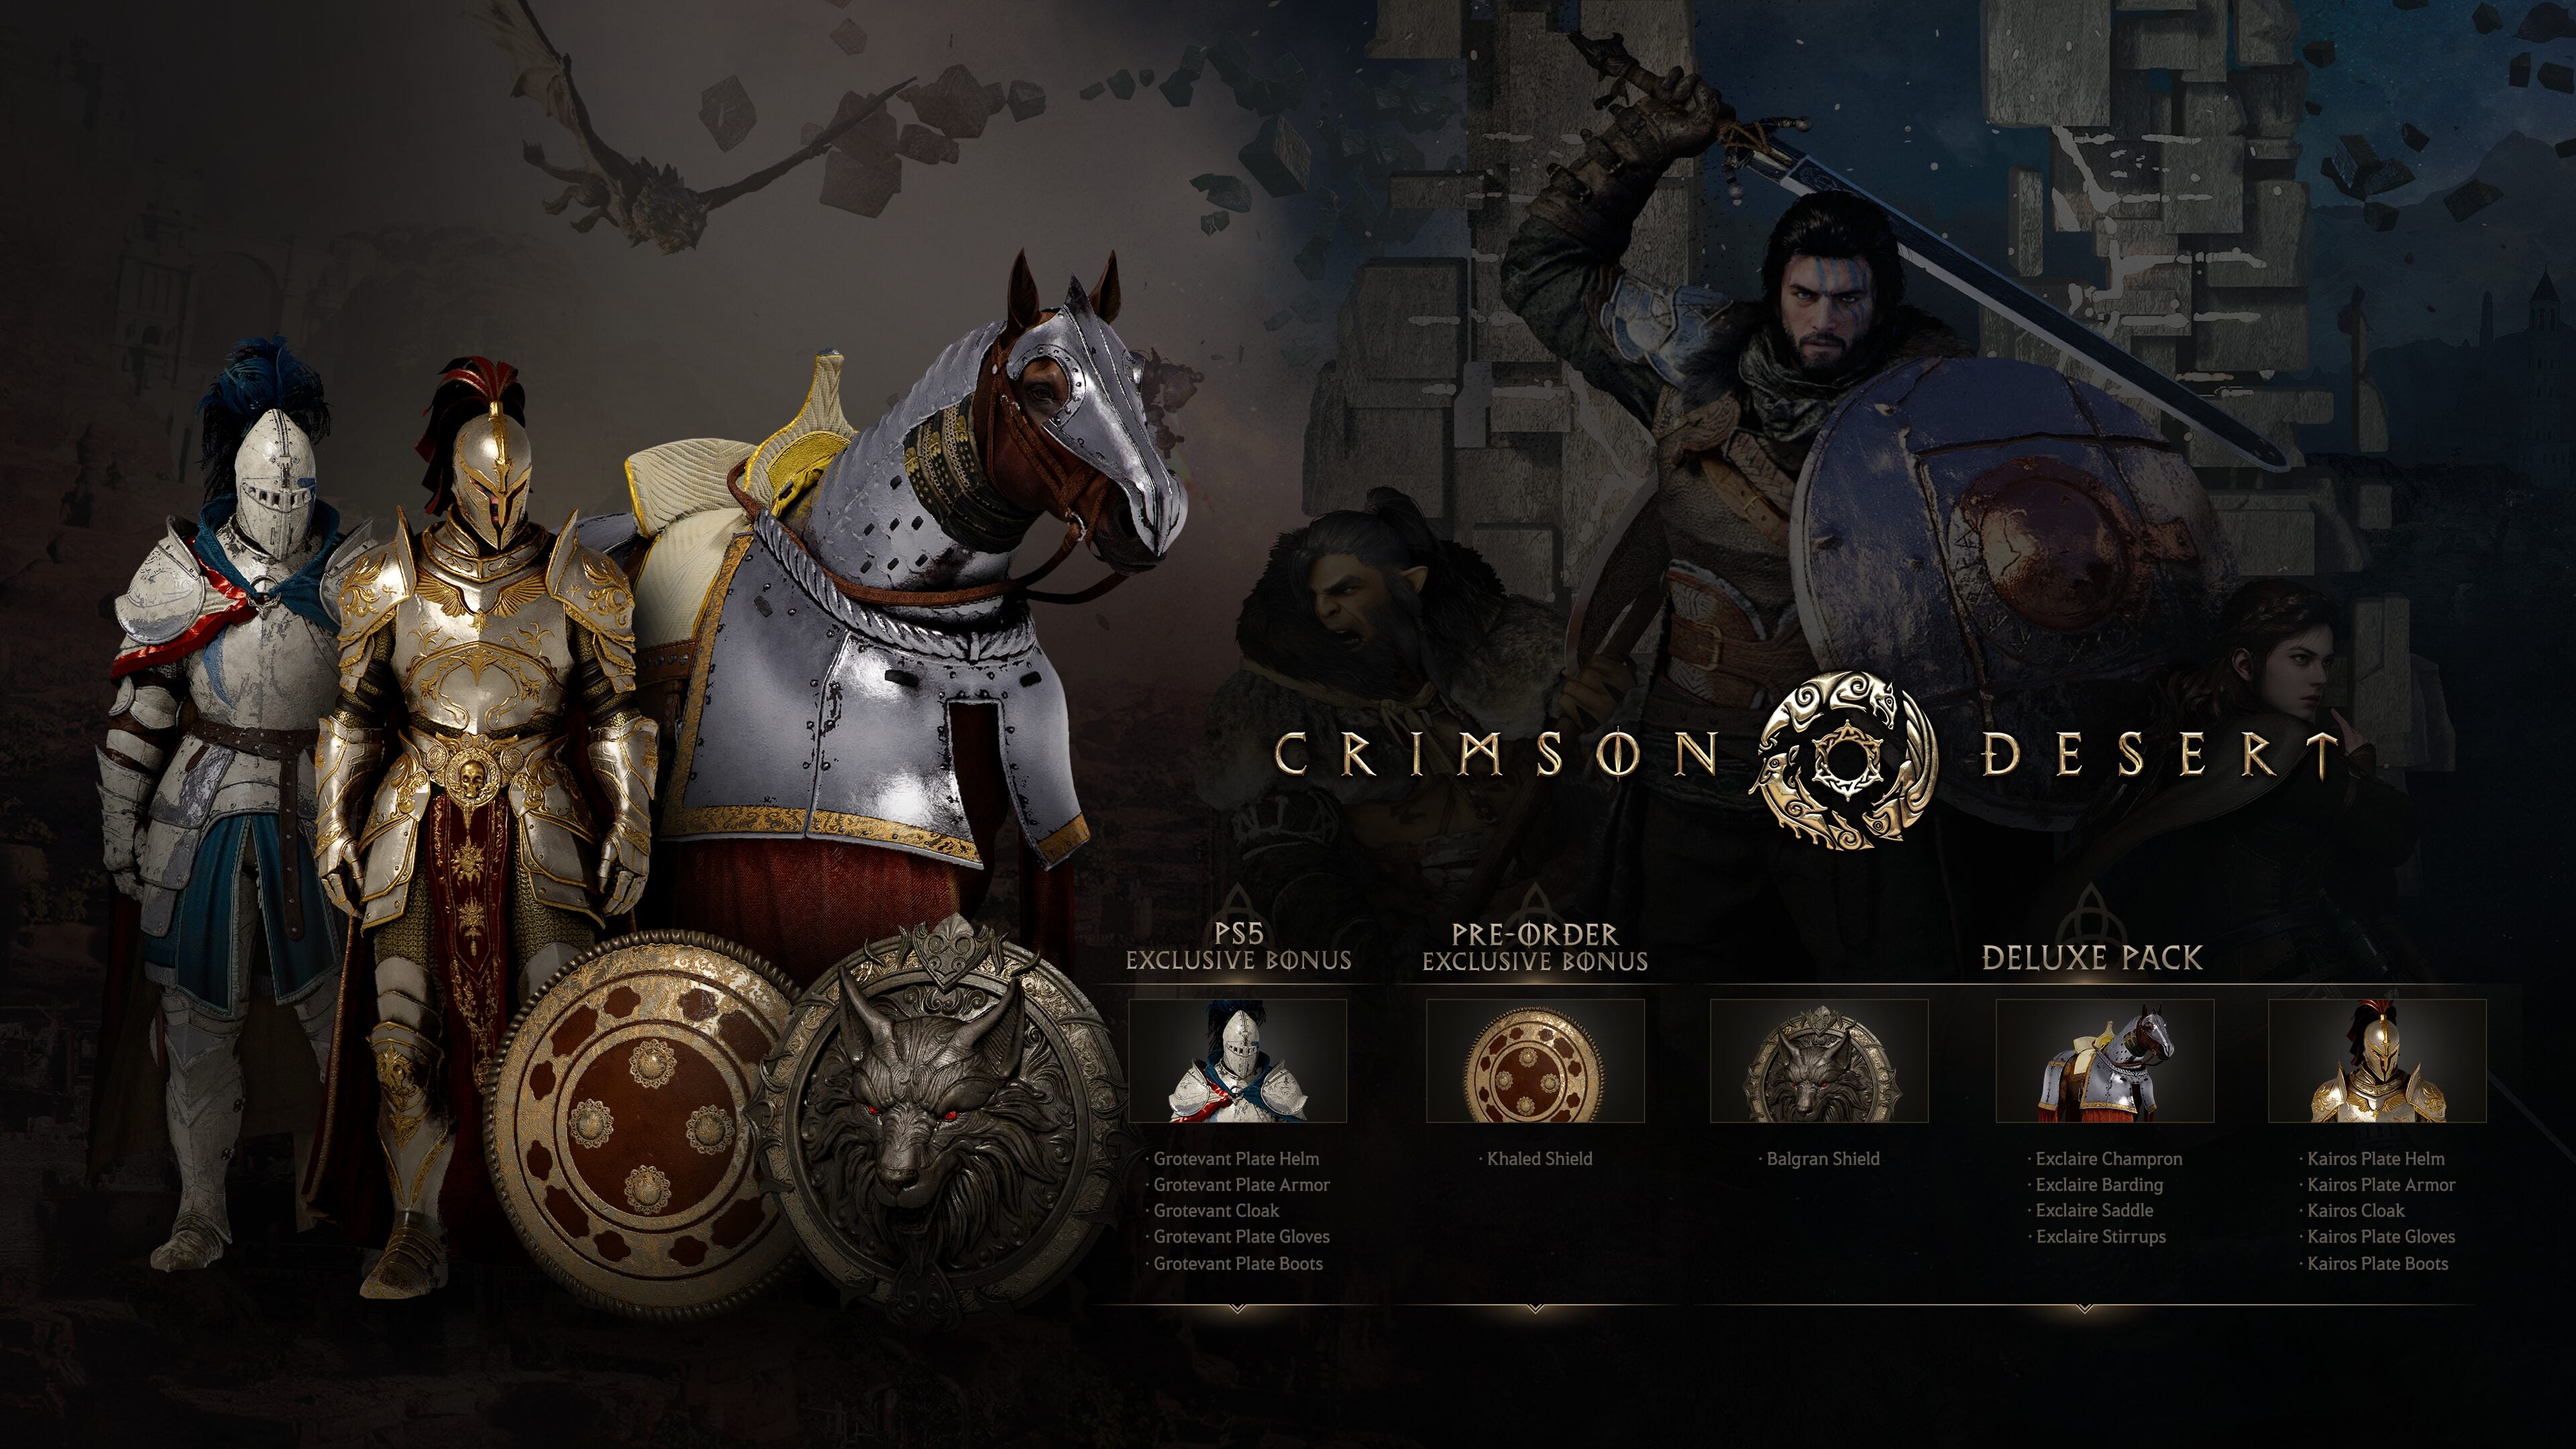
This guide covers two verified build paths: the Siege Titan (Great Axe and Arm Cannon) for maximum AoE destruction, and the Raging Berserker (Great Axe and Wrist Crossbow) for raw damage output.
Important note: All three characters share Abyss Artifact skill points. Over-investing in Oongka can starve Kliff of necessary progression, especially before mandatory story boss fights where you must play as Kliff. Balance your point allocation across characters.
Berserker Playstyle
Oongka is a berserker/brawler type who relies on brute force. His approach centers on destructive melee damage combined with grappling mastery. When equipped with the Rage skill, he gains a Super Armor state that lets him absorb hits that would stagger most fighters. His Dual Wielding Mastery lets him wield two-handed weapons with a single hand, a rare ability in action RPGs.
How to Unlock Oongka
Oongka becomes playable during Chapter 7 ("Incomplete Victory") after the boss encounter with Myurdin inside Ashclaw Keep. When Kliff is incapacitated following the fight, control automatically transfers to Oongka. Reaching this story beat typically takes 30 to 40 hours of gameplay. There is no side quest or optional trigger required; progressing through the main story is all it takes.
After this initial introduction, Oongka is locked again until you complete the side quest "Gentle Sound of Flowing River." Completing that quest makes him permanently available at all times, letting you freely switch between KliffDamiane, and Oongka at any point.
Starting Equipment
When you first take control of Oongka, he comes with the following gear:
Item | Type | Role |
|---|---|---|
Two-handed melee | Primary damage dealer with wide swing arcs | |
Hand cannon (ranged) | Mid-range burst damage and Scatter Shot support | |
Ammo for the Orc Blaster | ||
Melee weapon | Secondary melee option |
The Dekarr Greataxe and Orc Blaster combination gives Oongka genuine flexibility right from the start. Open with the Orc Blaster to soften targets at range, then switch to the Dekarr Greataxe for devastating melee strikes once enemies close in.
Weapons
Weapon | Type | ATK | Notes |
|---|---|---|---|
Great Axe | 19 | CRIT +2; highest ATK among great axes; ideal for Oongka's stagger bonuses | |
Great Axe | 14 | Early-game alternative while working toward the Hellhounds' Chopping Axe | |
Arm Cannon | 22 | Oongka's starting hand cannon; highest ranged ATK; fires explosive AoE projectiles | |
Hand Cannon | 13 | CRIT +1; alternative if Orc Blaster is not yet available | |
Great Axe | 19 | CRIT +2; same primary weapon as the Siege Titan build | |
Wrist Crossbow | Crossbow | Varies | Precision single-target ranged damage; trades AoE for higher per-shot damage |
Greataxe
Oongka's primary weapon and the one shown in most of his footage. The greataxe has wide swing arcs that connect with everything in front of him. Ground slams drive the axe into the floor and send a shockwave out, while spinning attacks turn Oongka into a blender that chews through clustered enemies. The axe is built for groups. Its swing arcs hit multiple targets per attack, and the stagger potential is high enough to interrupt enemy attacks mid-windup.
The Great Axe performs significantly better in Oongka's hands than it does on Kliffwith inherent stagger bonuses on heavy attacks. Use it as your default weapon for open-world encounters where you are fighting three or more enemies at once. When paired with Dual Wielding Masteryequipping a greathammer in the off-hand increases the damage of Rampage and Raging Lightning.
Greathammer
A secondary melee weapon for maximum crowd disruption. The hammer's charge mechanic is its defining feature: hold the attack to charge the swing, then release to send multiple enemies flying. The charged hammer can knock enemies into each other, dealing bonus collision damage when groups are sent flying simultaneously.
The hammer trades the axe's speed for even more crowd control. Where the axe staggers, the hammer launches. Use the charged swing to scatter a tight group, then switch to the axe to clean up separated enemies. The charge time means you need a brief window of safety to set it up; use it after a body slam or when enemies are still recovering from a ground slam. Notable greathammers include the Bekker Greathammer (17 Attack) and the Bonepit Greathammer (20 Attack, Crit Rate Lv. 1).
Orc Blaster (Hand Cannon)
Oongka's ranged option, mounted on his wrist. The Orc Blaster is described as the easiest ranged weapon to use in the game. Scatter Shot hits multiple targets in front of him, while Charged Shot delivers focused burst damage at range. The standout feature is the slow-motion aiming window that triggers when Oongka fires the blaster midair: time slows briefly, letting you line up precision shots before gravity takes over.
The Orc Blaster excels at two things: softening groups with Scatter Shot before closing to melee range, and picking off stragglers who survived the melee onslaught and are trying to retreat. Pair it with a leap slam: jump, fire during the slow-mo window, then crash down with the axe. Elemental modifications through Elemental Scatter Shot and Elemental Charged Shot add further damage and crowd-control options.
Core Skills Breakdown
Oongka's skill tree is divided into several categories: Armed CombatUnarmed CombatGrapplingMarksmanshipKeen SensesFocusand Elemental abilities. Below are the most important skills to understand for building an effective Oongka.
Armed Combat
Skill | Input | Effect | Unlock |
|---|---|---|---|
R1 | Basic weapon attacks; each level increases melee weapon damage | Default | |
R1 + O | Leap high and slam down hard, attacking surrounding enemies | Default | |
R1 + Triangle | Fast forward swing that drives enemies into the ground; can be charged | Default | |
R1 after charged Slash | Follow-up attack after a successful charged Slash | Default | |
Move + charged Slash | Follow up a charged Slash with a spinning grab throw | Slash Lv. 2 | |
Passive | Slash Lv. 3 | ||
R2 | Move forward and cut down enemies in your path; core damage skill | Default | |
R1 + R2 after hit | Perform a downward strike followed by a finishing attack | Rampage Lv. 2 | |
Passive | Rampage can no longer miss | Rampage Lv. 3 | |
R1 + X | Rapidly spin your body to slash all enemies around you | Default | |
Hold R1 + X | Increase movement distance during Raging Lightning | Raging Lightning Lv. 2 | |
R1 + R2 | Spinning sweep followed by a downward strike; devastating AoE | Default | |
R1 + R2 during skill | Chain into Quaking Fury from another skill | Default | |
Hold R1 + R2 | Stomp the ground, disable enemies with an earthquake, then chain into Quaking Fury | Quaking Fury Lv. 2 | |
Passive | Quaking Fury ignores Super Armor | Quaking Fury Lv. 3 | |
L1 + R1 | Reflect light and temporarily blind enemies | Default | |
X twice while guarding | Charge forward and smash an enemy with your shield | Armed Combat Lv. 3 (Watch and Learn) | |
Passive | Wield two-handed weapons single-handed; greathammer in off-hand boosts Rampage and Raging Lightning damage | Armed Combat Lv. 4 | |
L1 + L2 | Rapidly switch between primary and secondary weapons to perform an attack | Default |
Unarmed Combat
Oongka is not limited to weapons. His unarmed combat strikes are faster than his weapon attacks and useful for filling gaps between slower weapon swings. A quick kick can interrupt an enemy that is about to attack during your weapon recovery frames.
Skill | Input | Effect | Unlock |
|---|---|---|---|
Triangle | Strike with bare fists; each level increases unarmed damage | Default | |
Hold Triangle | Launch your body forward with a double-kick that sends enemies flying | Default | |
Hold Triangle | Powerful two-footed kick that shoves enemies away | Default | |
X + Square (mid-air) | Slam full weight down upon an enemy from the air | Default | |
X + Square (sprinting) | Hook an enemy while sprinting and slam them into the ground | Default | |
Triangle (after rolling) | Low kick after a roll that sends enemies flying | Default | |
Hold Triangle (crouching) | Wrap legs around an enemy and bring them to the ground | Unarmed Combat Lv. 2 | |
Triangle (high in air) | Precise diving kick from high altitude | Unarmed Combat Lv. 5 | |
R1 + Square | Vault over the back of an enemy | Default |
Grappling
Oongka has Lariat available by default, unlike the other characters. His grappling moves slam enemies into the ground with enough force to stagger nearby foes, making them both single-target damage and crowd-control tools.
Skill | Input | Effect | Unlock |
|---|---|---|---|
Triangle + O / X + Square | Perform a grapple; each level increases grappling damage | Default | |
Triangle + O | Toss an enemy across the battlefield | Default | |
Triangle + O during Slash | Take an enemy hostage during Slash | Default | |
X + Square | Slam your enemy into the ground with overwhelming force | Default | |
Triangle + O during kick | Grab enemy during Pump Kick or Dropkick and hurl them with a spinning throw | Grappling Lv. 3 | |
Airborne approach | Latch onto a target while airborne to attack or escape danger | Grappling Lv. 4 | |
X + Square during Lariat | Perform multiple Lariat strikes on the same enemy | Grappling Lv. 5 (Watch and Learn) |
Ranged Combat (Marksmanship)
Skill | Input | Effect | Unlock |
|---|---|---|---|
L2 | Basic ranged attack; each level increases ranged weapon damage | Default | |
R3 | Fire a spread shot that hits nearby enemies | Default | |
Triangle during Scatter Shot | Channel power and deliver an explosive punch during Scatter Shot | Unarmed Combat Lv. 3 + 1 Abyss Artifact | |
L3 + R3 while aiming | Enter Focus then fire multiple shots at several targets | Default | |
Square while aiming / L2 while rolling | Enter Focused Shot mode while aiming or rolling | Focused Shot Lv. 2 | |
R2 during Focused Shot | Unleash a rapid volley of shells with Focused Shot | Focused Shot Lv. 3 | |
O twice while aiming | Sidestep an enemy attack and fire the blaster | Default | |
Passive | Increases the speed of Evasive Shot | Evasive Shot Lv. 2 | |
Passive | Automatically fire two shells in rapid succession during Evasive Shot | Evasive Shot Lv. 3 | |
R2 while aiming | Charge your shot and fire a powerful shell | Default |
Defensive and Utility Skills
Skill | Effect | Unlock |
|---|---|---|
Enhances swift actions with the power of nature; unlocks ParryDodgeand Counter at higher levels | Default | |
Guard right before being hit to precisely block an enemy attack | Default | |
Input evade just before being hit to escape danger | Keen Senses Lv. 2 | |
Attack right before being hit to interrupt an enemy attack | Keen Senses Lv. 3 | |
Input evade after being hit to roll away quickly | Default | |
Perform an extra jump in mid-air or off an enemy | Default | |
Just before being hit, grapple an enemy and interrupt their attack | Default |
Focus and Rage
Focus is activated by pressing L3 + R3. Time flows more slowly around you while in Focus mode, giving you a window to set up precision shots or powerful abilities. Focus also replenishes your Spiritwhich fuels your more powerful moves.
Rage is activated by pressing R1 while in Focus mode. It unleashes Oongka's inner fury and enters a Super Armor state, meaning he cannot be staggered by incoming attacks. This is one of his most important tools for surviving tough encounters: activate Focus, trigger Rage, then commit to your biggest combo chains without worrying about being interrupted.
Skill | Input | Effect | Unlock |
|---|---|---|---|
L3 + R3 | Time flows more slowly; replenishes Spirit | Default (Abyss Artifact to enhance) | |
R1 in Focus mode | Enter Super Armor state; cannot be staggered by incoming attacks | Default | |
In Focus mode | Jump to a targeted location and land with explosive force | Focus Lv. 3 + Marksmanship Lv. 3 + 1 Abyss Artifact | |
R3 (mid-air) | Fire a powerful shell mid-air and use the recoil to evade an attack |
Elemental Skills
Once you unlock Imbue Element (requires learning one of the four base elemental skills plus one Abyss Artifact), Oongka can apply elemental effects to several of his core abilities. The four base elements are earned through Abyss exploration
Element | Skill | Input | Effect |
|---|---|---|---|
Flame | R2 + Triangle | Strike the ground with fire-imbued fists | |
Frost | R2 + Square | Create a barrier of frost around you | |
Lightning | R2 + O | Gather lightning in both hands and electrocute nearby enemies | |
Wind | R2 + X | Let out a roar that drives enemies back |
As you level Imbue Elementyou unlock the ability to apply elements to your existing skills:
Imbue Element Level | Skill Unlocked | Effect |
|---|---|---|
Lv. 1 | Imbue Quaking Fury with an element for additional elemental damage | |
Lv. 2 | Imbue your Charged Shot with an element | |
Lv. 3 | Imbue Scatter Shot with an element for elemental AoE | |
Lv. 4 | Imbue Meteor Kick with an element |
Recommended Builds
Community build guides and sources like Slashskill and identify several loadout combinations for Oongka. All three builds share the same core principle: prioritize two-handed weapons with the highest base damage you can equip, stack Attack and Healthand invest in Abyss Cores that boost attack power or reduce skill cooldowns.
Raging Berserker (Greataxe + Orc Blaster)
Oongka's strongest option for raw damage according to multiple weapon tier lists. The Great Axe is the primary melee weapon, benefiting from Oongka's inherent stagger bonuses on heavy attacks. The Orc Blaster provides ranged pulls for gap closing and the Scatter Shot covers AoE softening before you wade into melee.
Item | Description |
|---|---|
Primary | Greataxe (best availableHellhounds' Chopping Axe at 19 Attack with Crit Rate Lv. 2, or Horseshoe-Blade for earlier progression) |
Secondary | Orc Blaster for Scatter Shot and Charged Shot ranged support |
Key Skills | |
Playstyle | Open with blaster to soften the groupLeaping Smash into the centerRampage through the lineQuaking Fury to finish. Activate Rage through Focus before engaging bosses. |
Siege Titan (Greataxe + Arm Cannon)
Swaps the Orc Blaster for an Arm Cannontrading precision for AoE at range. This loadout excels against large groups and siege-style encounters where you need both melee and heavy ranged firepower.
Item | Description |
|---|---|
Primary | Greataxe for melee dominance |
Secondary | Arm Cannon for heavy ranged AoE damage |
Key Skills | |
Playstyle | Bombard groups at range with the Arm Cannonthen close in with Leaping Smash and chain into axe combos. The Arm Cannon's heavier damage compensates for the loss of the Orc Blaster's agility. |
Mountain Breaker (Greathammer + Arm Cannon)
Full heavy-weapons loadout for maximum stagger and knockback. The greathammer's charged swings send enemies flying, and the Arm Cannon delivers punishing ranged damage. This build sacrifices speed entirely in favor of overwhelming force.
Item | Description |
|---|---|
Primary | Greathammer (Bonepit Greathammer at 20 Attack, Crit Rate Lv. 1; or Bekker Greathammer at 17 Attack) |
Secondary | Arm Cannon for heavy ranged support |
Key Skills | |
Playstyle | Charge hammer swings to scatter groups, use Lariat and Giant Swing for single-target control, Arm Cannon for ranged cleanup. Best against slower enemies and bosses. |
Dual Wielder (Greataxe + Greathammer)
Unlocked through Dual Wielding Mastery at Armed Combat Lv. 4. This build equips a greathammer in the off-hand to boost the damage of Rampage and Raging Lightning. It is the highest melee damage configuration but sacrifices all ranged options.
Item | Description |
|---|---|
Primary | Greataxe for Rampage and standard combos |
Secondary | Greathammer in off-hand for passive Rampage and Raging Lightning damage boost |
Key Skills | Dual Wielding MasteryRampageRaging LightningQuaking FurySlash Rend Armor |
Playstyle | Pure melee aggression. Open with Leaping Smashchain Rampage through enemy lines, use Raging Lightning for 360-degree coverage. Without a ranged weapon, you need to close gaps quickly with Clothesline and Dropkick. |
Skill Priority
Skills for Oongka should focus on heavy attack modifiersstamina management, and survivability tools. Below is a recommended priority order for investing Abyss Artifacts and leveling skills.
Armed Combat to Lv. 4: Unlocks Dual Wielding Masteryyour most important passive. Each level also increases base melee damage.
Rampage to Lv. 3: Rampage is your bread-and-butter damage skill. Lv. 2 adds Rampage Proficiency (finishing strike), and Lv. 3 grants Rampage Sure Hit so it never misses.
Quaking Fury to Lv. 3: Your best AoE. Lv. 2 gives Quaking Fury Expertise (earthquake stomp opener), and Lv. 3 gives Quaking Fury Rend Armor to ignore Super Armor.
Keen Senses to Lv. 3: Unlocks Dodge (Lv. 2) and Counter (Lv. 3). Even though Oongka is a tank, having Dodge and Counter available keeps you alive during boss fights.
HealthInvest in Health upgrades through the skill tree. Oongka takes hits as part of his playstyle, so a larger health pool is essential. Max upgrade is Lv. 18 via Abyss Artifacts.
Slash to Lv. 3: Unlocks Slash Rend Armor at Lv. 3, letting you bypass Super Armor on tough enemies and bosses.
Grappling to Lv. 5: Unlocks Giant Swing (Lv. 3)Back Hang (Lv. 4), and Lariat Follow-Up (Lv. 5) for maximum grab-combo potential.
Unarmed Combat to Lv. 5: Unlocks Scissor Takedown (Lv. 2)Unarmed Combat Proficiency (Lv. 3), and Meteor Kick (Lv. 5).
Imbue ElementOnce you have the base elemental skills from Abyss exploration, invest here to add elemental damage to Quaking Fury, Charged Shot, Scatter Shot, and Meteor Kick.
Abyss Gear and Abyss Core Recommendations
Abyss Cores that boost attack power or reduce skill cooldowns are the highest priority for Oongka. Defensive Abyss Gears help compensate for his lower evasion and tendency to trade hits. Below are recommended options:
Effect | Why It's Good for Oongka | |
|---|---|---|
Swift | Attack Speed increase (up to Lv. 5) | Speeds up Oongka's slow swing animations, significantly improving damage output at higher levels |
Aegis | Damage Reduction | Flat damage reduction helps Oongka survive the hits he takes while swinging through groups |
Vitality | Health regeneration (+0.2 per second, scaling) | Passive health recovery synergizes perfectly with his tanky, hit-trading playstyle |
+35% Turning Slash Damage | Direct damage boost to directional slash attacks | |
Vigor | Stamina Regen +2% | Oongka's powerful moves consume heavy staminafaster regen keeps you swinging |
Gourmet | Food Effect Lv +3 | Enhances healing from cooked meats, which Oongka burns through during boss fights |
Unleashes a forward blade of wind | Adds a ranged option for builds that skip the Orc Blaster or Arm Cannon | |
Frostward | Ice Resistance (up to Lv. 5) | Situational; swap in for cold environments or frost-based boss encounters |
For Abyss Coresprioritize cores that increase Attack, reduce skill cooldowns, or boost Health. These three stats define Oongka's effectiveness. See the Abyss Gear Guide and How to Unlock Abyss Core Slots for more details on equipping and upgrading your cores.
Armor Priorities
Armor for Oongka should compensate for his lower evasion with high physical defense values. There are four armor slots (HeadgearBody ArmorGlovesand Footwear), and keeping all four equipped is essential for the stat bonuses they provide.
Item | Details |
|---|---|
Priority stat | Physical Defense. Oongka takes hits constantly, so maximizing damage reduction through armor is critical. |
Secondary stats | |
Stamina bonuses are less critical than for Damianesince Oongka attacks more slowly and dodges less. | -- |
Upgrade regularly | Use the Sharpen and Repair system to keep your armor in top condition. Worn armor loses effectiveness. |
Combo Chains
Oongka's combat revolves around chaining heavy hits together while enemies are staggered. The key is to use each move's stagger effect to set up the next one.
Standard AoE Clear
Leaping Smash into the center of a group (R1 + O)
Ground slam the toughest enemy
Raging Lightning spin to hit everything around you (R1 + X)
Switch to Orc Blaster and fire Scatter Shot to ignite whatever is left standing
This four-move sequence covers gap-closing, single-target burst, area damage, and ranged cleanup.
Boss Opener
Enter Focus (L3 + R3) to slow time and replenish Spirit
Activate Rage (R1 in Focus) for Super Armor
Leaping Smash into the boss
Slash (R1 + Triangle), charge it, then Hack and Slash follow-up
Chain into Quaking Fury (R1 + R2) for heavy damage
Rampage (R2) through the boss if still in Rage state
Grapple Chain
Clothesline a sprinting enemy (X + Square while sprinting)
Lariat slam them into the ground (X + Square)
Lariat Follow-up for additional slams (X + Square during Lariat)
Aerial Combo
Jump and activate the Orc Blaster's slow-motion aiming window
Fire Charged Shot or Scatter Shot during bullet-time
Body Slam (X + Square mid-air) to crash down on the target
Follow up with axe swings or Quaking Fury on landing
Stamina Management
Oongka's powerful moves consume heavy stamina. Running out of stamina mid-combo leaves you stuck in recovery frames with no way to dodge or attack. Managing your stamina is the difference between clearing a group and getting surrounded.
Activity | Details |
|---|---|
Pace your swings | Do not chain every heavy attack back-to-back. Mix in unarmed strikes (kicks and punches) between weapon swings to deal damage while your stamina recovers. |
Activating Focus replenishes your Spirit gauge, which fuels special abilities. Use it between engagements to reset. | |
Vigor Abyss Gear | Equipping Vigor increases stamina regeneration, directly extending how long you can stay aggressive. |
Cook and eat meat | Cooked meats from hunting provide both health and stamina recovery. Stock up before boss fights by buying meat from vendors in Hernand or hunting and skinning animals. |
Playstyle Tips
Tip | Details |
|---|---|
Stand your ground | Oongka is not built for dodging. His attacks have wide arcs and heavy stagger, so the best defense is keeping enemies flinched. If you are swinging, they are not. |
Axe for groups, hammer for control | The axe is your default weapon. Switch to hammer when you need to scatter a tight cluster or create space for a charged swing. |
Blaster for cleanup | After the melee, use the Orc Blaster to burn down runners and finish off wounded enemies. Jump first to trigger the slow-mo aiming window. |
Leap slam to start every fight | Close the distance and stagger the group in one move. The initial stagger window is your best opportunity for a full combo chain. |
Recovery frames are your weakness | Oongka's big swings have long recovery animations. If you whiff a ground slam or spinning attack, you are open. Time your attacks to hit. |
Use unarmed to fill gaps | A quick kick between hammer charge-ups or axe swings keeps the pressure on and prevents enemies from recovering. |
Activate Rage before bosses | Enter Focustrigger Rage for Super Armorthen commit to your biggest combo chains without worrying about being interrupted. |
Maintain forward momentum | Oongka's kit rewards aggression. Retreating gives enemies time to recover and regroup. Keep pushing forward with RampageClotheslineand Leaping Smash. |
Open at range with Scatter Shot from the Arm Cannon to soften the group and apply stagger. Switch to the Great Axe and activate Rage for super armor. Use Rampage to cleave through the weakened group. For surviving enemies, use charged heavy attacks to launch them into the air. Against bosses, focus on reading attack patterns and punishing during recovery windows with heavy axe strikes. Oongka's damage per hit is high enough that even a few clean swings deal massive damage.
Boss Strategy
Against bosses, Oongka's approach depends on boss size and Super Armor behavior.
Human-Sized Bosses
Smaller bosses can be body-slammed, grappled, and staggered. This opens them up for full hammer and axe combos. Use Lariat to slam them down, follow up with Quaking Fury, then chain Rampage through them while they recover. Slash Rend Armor and Quaking Fury Rend Armor are critical for bosses that use Super Armor, letting your attacks break through their defensive states.
Large Bosses
Larger bosses that are immune to grapples require more patience. Wait for their attack recovery windows, get in a ground slam or heavy axe swing, then back off before the counter-attack. Activate Rage through Focus before engaging to gain Super Armor, letting you trade hits during these windows. The Orc Blaster's slow-mo aiming is useful against large bosses for landing precise shots on weak points.
Preparing for Boss Fights
Stock up on healing itemsbuy meat from vendors in Hernand and cook it at a campfire. Bringing 40+ cooked meats makes most boss fights manageable.
Equip Abyss Cores with Attack and Health boosts.
Consider swapping to faster weapons (such as one-handed swords) for bosses with tight dodge windows. The Sword of the Lord from Kailok is an option for maximizing attack speed.
Upgrade your weapons and armor through the Sharpen and Repair system before the fight.
Strengths and Weaknesses
Strengths | Weaknesses |
|---|---|
Exceptional single-target damage against bosses | Heavy stamina consumption from powerful moves |
Wide AoE attacks that hit everything in range | Slow attack animations with long recovery frames |
Less effective against agile, fast-moving targets | |
Default access to Lariat grapple | Requires active stamina management |
Dual Wielding Mastery enables unique loadouts | No ranged options in Dual Wielder build |
Most beginner-friendly of the three characters | |
Forgiving aim thanks to wide weapon arcs | Punished harder than other characters when attacks miss |
Traversal
Unlike Kliff and Damiane who use gliders, Oongka straps a jetpack (rocket pack) to his back for aerial movement. The Flight skill lets him fly while airborne, and Swift Flight (Flight Lv. 2) reduces air resistance for faster travel. Vertical Flight lets him take off from the ground or ascend vertically.
See Also
Article | Description |
|---|---|
Character page with story role and background | |
Complete list of all Oongka skills | |
All three characters compared | |
Kliff's sword-and-shield build guide | |
Damiane's speed/precision build guide | |
Quick-reference build recommendations | |
Weapon recommendations for early game | |
All two-handed weapons in the game | |
Details on dual-wielding two-handed weapons | |
How to equip and upgrade Abyss Gear | |
How to reset your skill points | |
Core combat mechanics overview | |
All confirmed boss encounters | |
Watch and Learn Skill Locations | Locations for observation-based skill unlocks |
Post-Patch Crit Rate Fix
A recent patch corrected what the notes described as a visual bug on jewelry and the Kuku Flame Resistant Chest. In practice the issue was functional, not cosmetic, so those pieces really were handing out double critical rate. After the fix, a critical rate necklace such as the Engraved Silver Necklace now gives the advertised 4 critical rate instead of 8, and the chest no longer contributes a doubled amount either.
The practical consequence for builds is that critical rate has to be rebuilt around weapons and Abyss Gear slots. To hit the 15 critical rate cap you generally need the highest crit-rate weapon available for your type plus 2 to 3 Insight III gears in the weapon, with a crit necklace and a crit ring filling out the remainder.
Post-Patch Stat Targets
With the doubling bug gone, the practical crit-rate math for a two-handed Oongka setup is:
Great axe: up to 4 critical rate at max refinement, so only 2 Insight III gears are needed to close the gap with the necklace and ring.
Great hammer: caps at 3 critical rate at max refinement, so you need roughly 7 critical rate in the weapon's gear slots to still hit crit rate 15.
Necklace: a crit-rate necklace such as the Engraved Silver Necklace contributes 4 critical rate after the fix, not 8.
Ring: one crit-rate ring adds 1 critical rate; the other ring slot is used for attack speed.
Whirlwind Template
A full double-two-handed whirlwind loadout settles around the following slots:
Great axe slot: 4-crit great axe, 2x Insight III2x Stamina Siphon (optionally swap one Stamina Siphon for Hounds Claws since the main attack is spinning slash).
Great hammer slot: 3-crit great hammer, Insight gears totalling 7 critical rate, 2x Stamina Siphon.
Necklace: crit-rate necklace, for example the Engraved Silver Necklace.
Ring 1: crit-rate ring (+1 critical rate).
Ring 2: attack speed level 4 ring such as the Mark of Darknessthis also adds 6% stamina regeneration.
Helmet and chest: 3 Stamina Regen abyss gears total across the two pieces (18% stamina regen).
Gloves: 1 Relentless plus one of Bane, Shred, Rend, or Shatter matched to the enemy type.
Boots: 2x Swift (attack speed 3) to land at attack speed level 10.
Armor visuals are cosmetic for Oongka in this build. There is no attack-speed glove or crit chest piece he can equip to compete with the abyss-gear numbers above, so pick what you like and slot the correct gears. The final line reads roughly 15 critical rate, attack speed 10, and 30% stamina regeneration, which is the regen cap.
Playing the Loop
Stay in Rage whenever you can so the super armor lets you trade through incoming hits, then hold Raging Lightning. Use the whirlwind's forward drift to close on mobile targets, cancel into Turning Slash when you need a burst, and let Stamina Siphon and stamina food top you back up during short breaks.
Build 1: Siege Titan (Great Axe and Arm Cannon)
The Siege Titan build combines the Great Axe's devastating melee cleaves with the Arm Cannon's explosive ranged bombardment. It gives Oongka surprising ranged versatility, allowing him to alternate between melee crowd control and AoE ranged damage. The cannon provides the opening volley to soften groups before you wade in with the axe.
Armor Recommendations
Oongka's build philosophy prioritizes high physical defense to compensate for his lower evasion. Plate armor is available for purchase early from the vendor near the Hernand blacksmith and is one of the strongest options since there is no equip-load penalty in Crimson Desert.
Slot | Recommended Piece | Key Stats |
|---|---|---|
Head | DEF 3, 1 Abyss Core socket | |
Body | DEF 12, Mvmt Spd +1, Lightning Res 1, 3 Abyss Core sockets | |
DEF 1, ATK 11, Mvmt Spd +1, 2 Abyss Core sockets; Slashing Reed skill | ||
Boots | DEF 5, ATK 16, ATK Spd +1, Mvmt Spd +1, 2 sockets | |
Cloak | Any plate cloak | All cloaks have similar defensive stats; pick based on elemental resistance needs |
The same armor set from the Siege Titan build works here. Oongka always wants maximum physical defense regardless of weapon choice. The Blackwing Leather Armor (DEF 12) with three Abyss Core sockets provides the flexibility to customize your defensive and offensive bonuses.
Recommended Abyss Cores
Effect | Priority | |
|---|---|---|
Destruction I-III | Increases base ATK | High |
Fortification I-III | Increases base DEF | High |
Passive crow damage on every swing | High | |
Vitality I-III | Increases max HP | Medium |
Erupts ground rocks and lava for AoE | Medium |
Key Skills and Abilities
Rampage is Oongka's signature ability, letting him cleave through entire groups of enemies with wide sweeping attacks. Pair it with Rage to gain super armor during the cleave, ensuring you will not be interrupted mid-swing. Scatter Shot fires explosive cannon rounds for strong ranged burst damage. Use it to open fights before closing the distance with the Great Axe.
Priority 1: Rampage (AoE cleave through groups)
Priority 2: Rage (super armor, prevents stagger)
Priority 3: Scatter Shot (ranged cannon burst)
Priority 4: Heavy attack modifiers (increase two-handed damage)
Priority 5: Stamina management tools (sustain longer combo sequences)
Build 2: Raging Berserker (Great Axe and Wrist Crossbow)
The Raging Berserker swaps the Arm Cannon for a Wrist Crossbow, trading AoE ranged damage for precision single-target ranged poke. This build is Oongka's strongest option for raw damage output and excels at burning down individual tough targets like bosses while still having solid group-clearing capability with the Great Axe.
Key Differences From Siege Titan
Aspect | Siege Titan | Raging Berserker |
|---|---|---|
Ranged Weapon | Arm Cannon (AoE explosions) | Wrist Crossbow (single-target precision) |
Best Against | Groups of enemies, camps | Bosses, high-HP targets |
Ranged Damage Style | Explosive splash damage | Focused burst on single target |
Ease of Use | Slightly easier (AoE is forgiving) | Requires better target selection |
Tips for Both Oongka Builds
Keep all three characters equipped with reasonably upgraded gear, even if you primarily play Kliff. Oongka's damage output scales with his equipment, and a poorly geared companion deals noticeably less damage.
Oongka's aerial slam (launching into the air with the Great Axe and crashing down) creates a shockwave that damages and staggers surrounding enemies. Use it as both a gap closer and crowd control tool.
The Great Axe performs significantly better in Oongka's hands than in Kliff's, thanks to Oongka's inherent stagger bonuses on heavy attacks.
Rage (super armor) is not permanent. Time its activation for moments when you are about to take hits, not preemptively.
Oongka has the lowest mobility of the three characters. Use the ranged weapon to initiate fights from a distance, then close the gap once enemies are softened up.
For the Mountain Breaker variant, you can also pair the Hammer with the Arm Cannon for concentrated burst damage against individual tough targets. The Hammer's charged attacks launch enemies, and the Cannon finishes them in the air.