Best Abyss Cores
A complete tier list and ranking guide for Abyss Cores in Crimson Desert. Covers the best cores for offensive, defensive, and utility builds across all three playable characters, how to obtain each core, socket mechanics, and recommended core combinations for every equipment slot.
On This Page
Overview
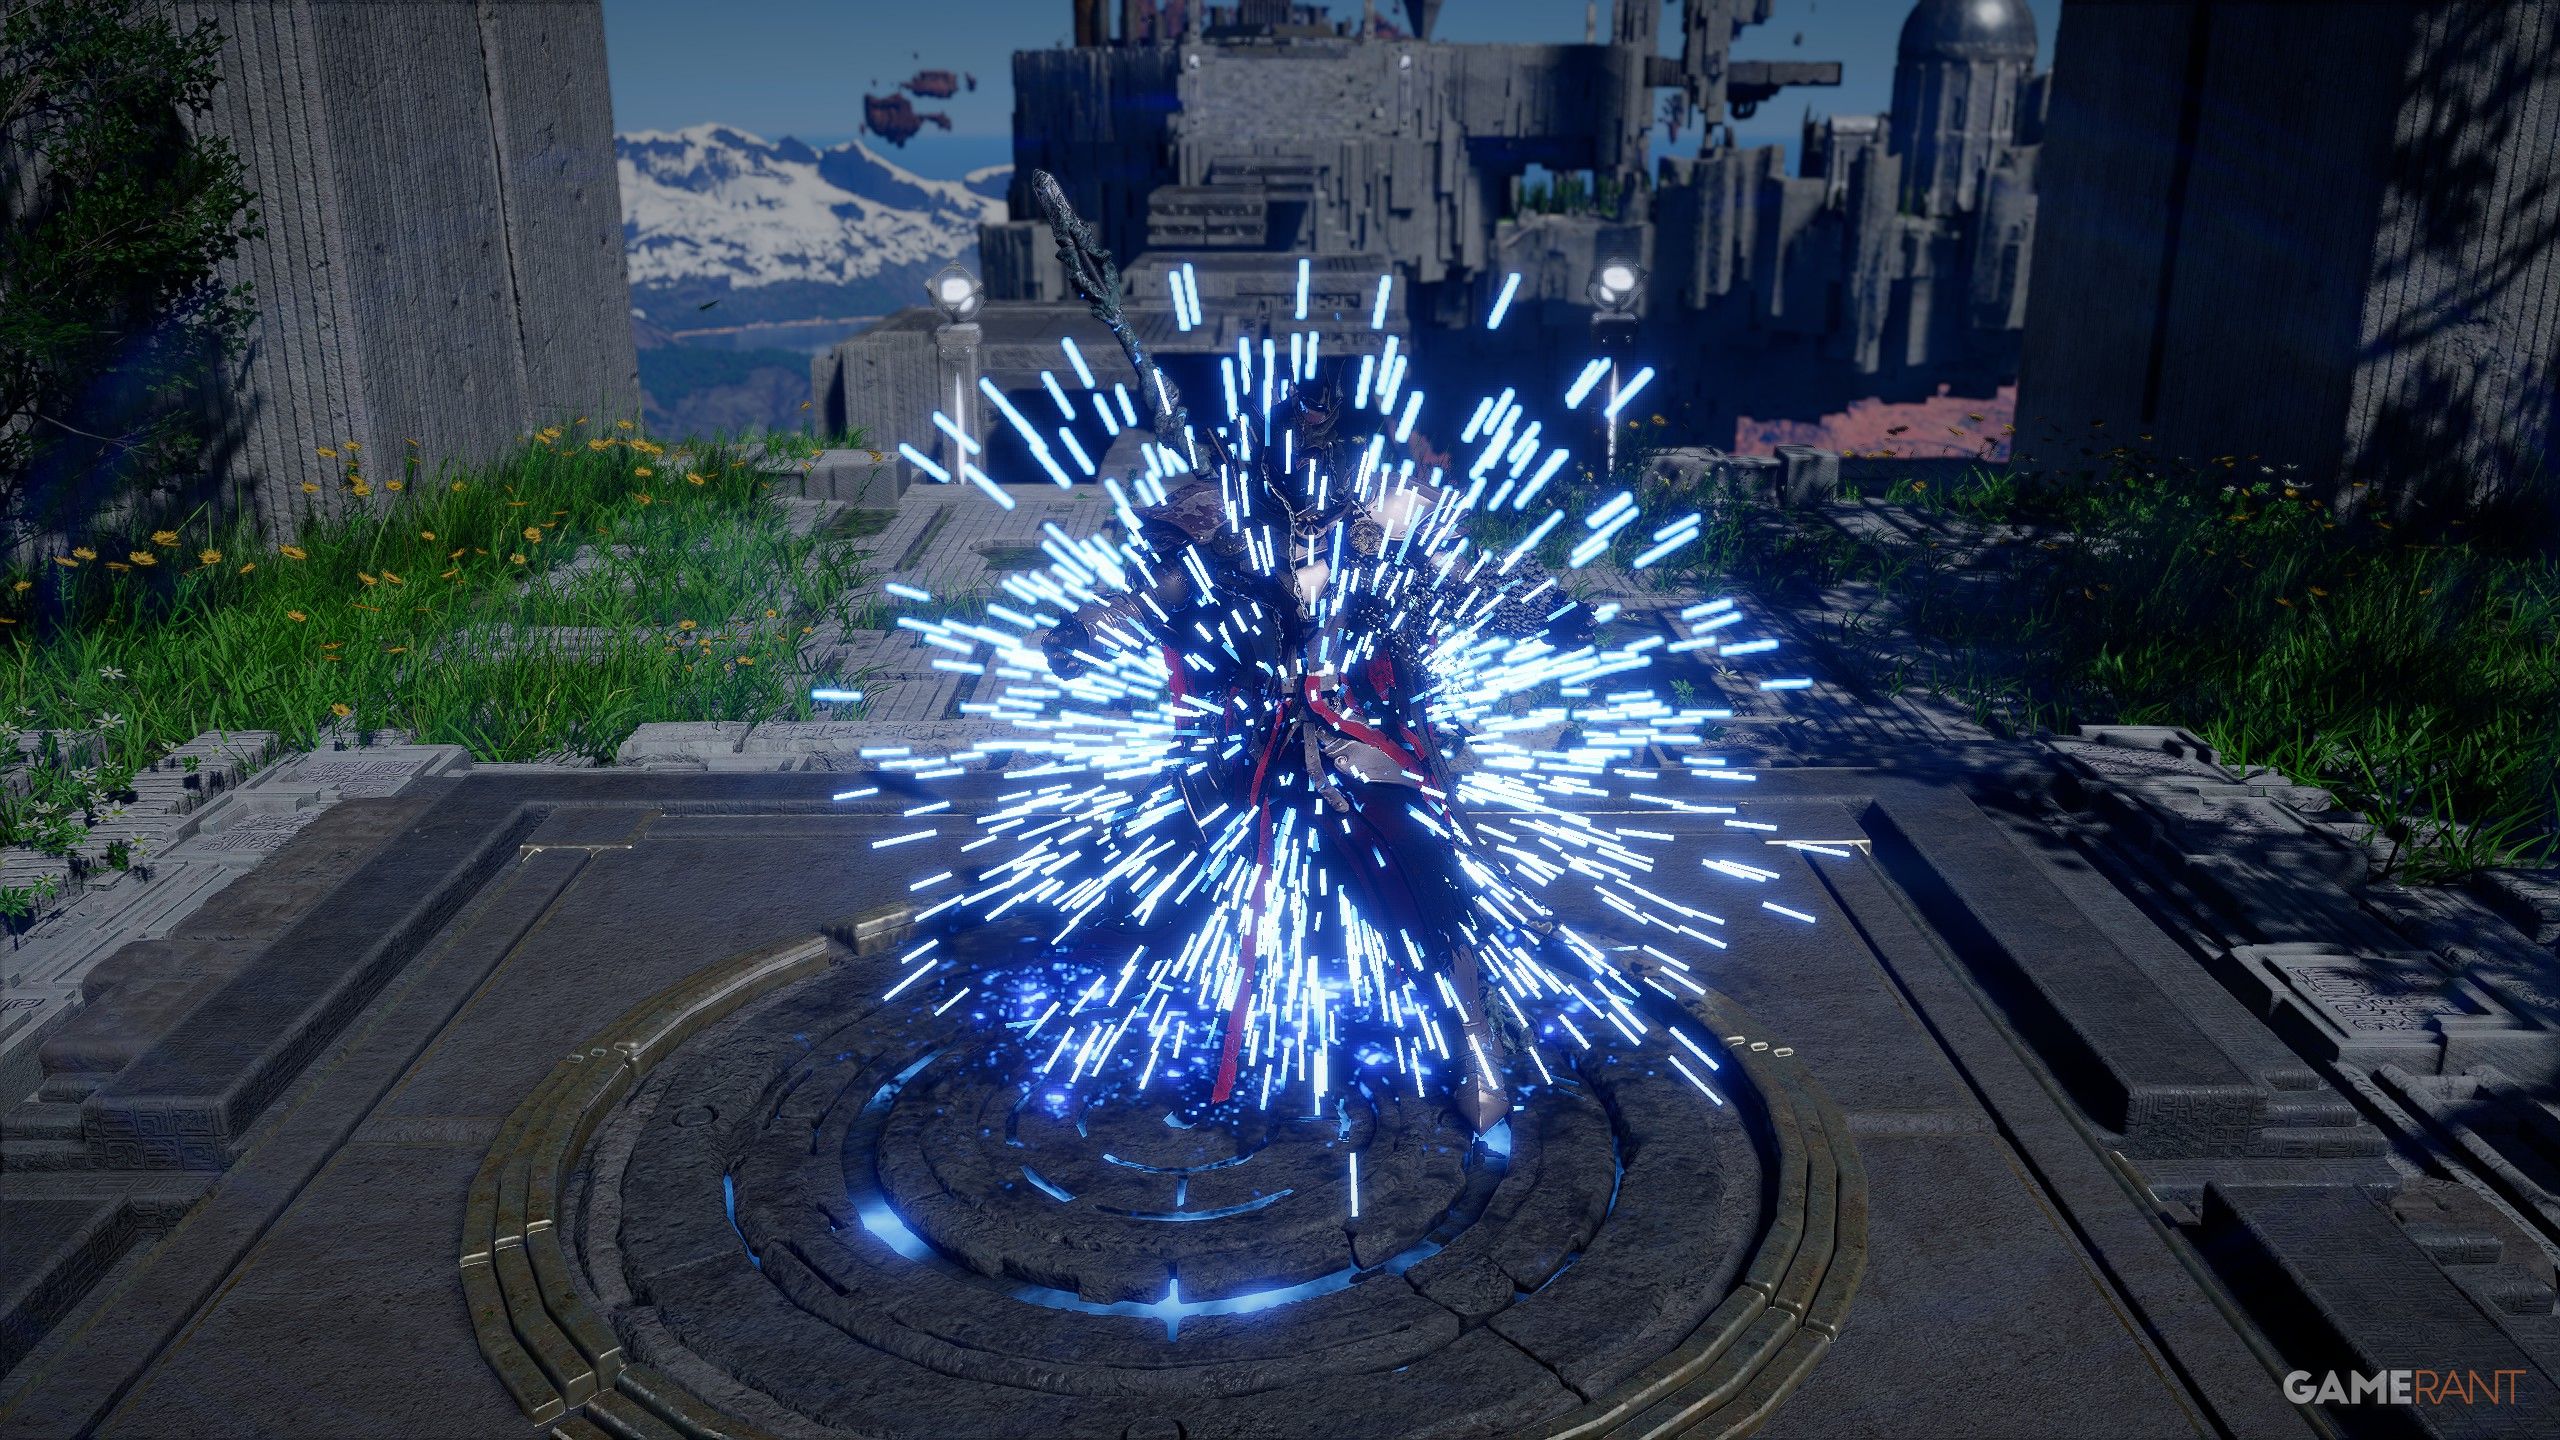
Abyss Cores are special enhancement items in Crimson Desert that can be socketed into your equipment to grant bonus stats, passive effects, and even active combat skills. Choosing the right cores for your build is one of the most important decisions you can make when optimizing your character, whether you are playing as Kliff, Damiane, or Oongka. This guide ranks every confirmed Abyss Core by usefulness, breaks down the best picks for different playstyles, and explains how to obtain and equip each one.
Abyss Cores fall into three broad categories: stat cores that raise flat numbers like Attack or Defense, utility cores that improve quality-of-life stats like Movement Speed or Stamina Regeneration, and skill cores that grant entirely new combat abilities when socketed. The strongest loadouts typically combine all three types, stacking offensive stat cores on weapons and gloves while slotting defensive and utility cores into armor and shields.
How Abyss Core Sockets Work
Before you can equip any Abyss Core, your equipment needs open sockets. Sockets appear as locked chain icons on gear and must be unlocked through a Witch NPC. The system becomes available during Chapter 5 of the main story, when you encounter the first Witch, Elowen, after completing the "The Hermit Witch" quest and receiving a letter from a white bird at an Abyss Nexus point.

Socket Creation
Visit any Witch and select Create Socket to unlock locked slots on your equipment. The cost in Silver scales with the number of sockets you open: early slots on basic gear start around 5 Silver, while later slots on high-tier weapons can cost 50 to over 100 Silver. Not every piece of equipment supports the same number of sockets. Weapons generally have the most slots (the Ignir Sword has five), while headgear typically has one or two.
Socket Limits by Equipment Type
Typical Socket Range | Example | |
|---|---|---|
2 to 5 | Ignir Sword (5 sockets) | |
1 to 2 | Lifsoth Large Shield (2 sockets) | |
2 to 3 | Canta Plate Armor (3 sockets) | |
1 to 2 | Bolton Plate Helm (1 socket) | |
1 to 2 | Plate Gloves of Cursed Soul (2 sockets) | |
1 to 2 | Odeck's Protector Plate Boots (2 sockets) |
Embedding and Extracting Cores
Once a socket is open, select Embed Abyss Core at any Witch to install a core. Embedding and extraction are both free services. You can freely move cores between equipment pieces at no cost, so experimenting with different setups carries no penalty. Some high-tier or legendary weapons come with unique cores already installed; these can be extracted and moved to other gear if you prefer a different setup.
Where to Get Abyss Cores
Abyss Cores come from multiple entries throughout the game. Understanding where each type drops helps you plan your build ahead of time.
Witches and Blueprints
Each Witch sells Abyss Core blueprints that let you craft cores at their shop. Different Witches specialize in different blueprint categories:
Witch | Title | Location | Specialty |
|---|---|---|---|
The Hermit | North of Hernand | Basic embedding, extraction, and socket creation | |
First story Witch | The Witchwoods, west of Hernand Highlands | Crafting, blueprints (including Haste), Abyss shop | |
Areciel | Destruction blueprints (Attack-boosting cores) | ||
Lyselia | Serpent Marsh, south of Demeniss | Fortification blueprints (Defense-boosting cores) | |
Bari | Witch of the North | Far reaches of Pailune | Advanced blueprints and specialized cores |
When you acquire a blueprint, examine it in your inventory to unlock the recipe. Then visit any Witch that offers the Craft Abyss Core service to create the core using gathered materials and Silver.
Boss Drops
Several bosses drop unique skill-type Abyss Cores that cannot be crafted. These are often the most powerful cores in the game. For example, defeating Crowcaller during the main story rewards the Crow's Pursuit core, and Myurdin in Chapter 7 drops a weapon containing Groundsurge. Some legendary weapons come with their unique core pre-installed; you can extract it at a Witch and slot it into whichever weapon you prefer.
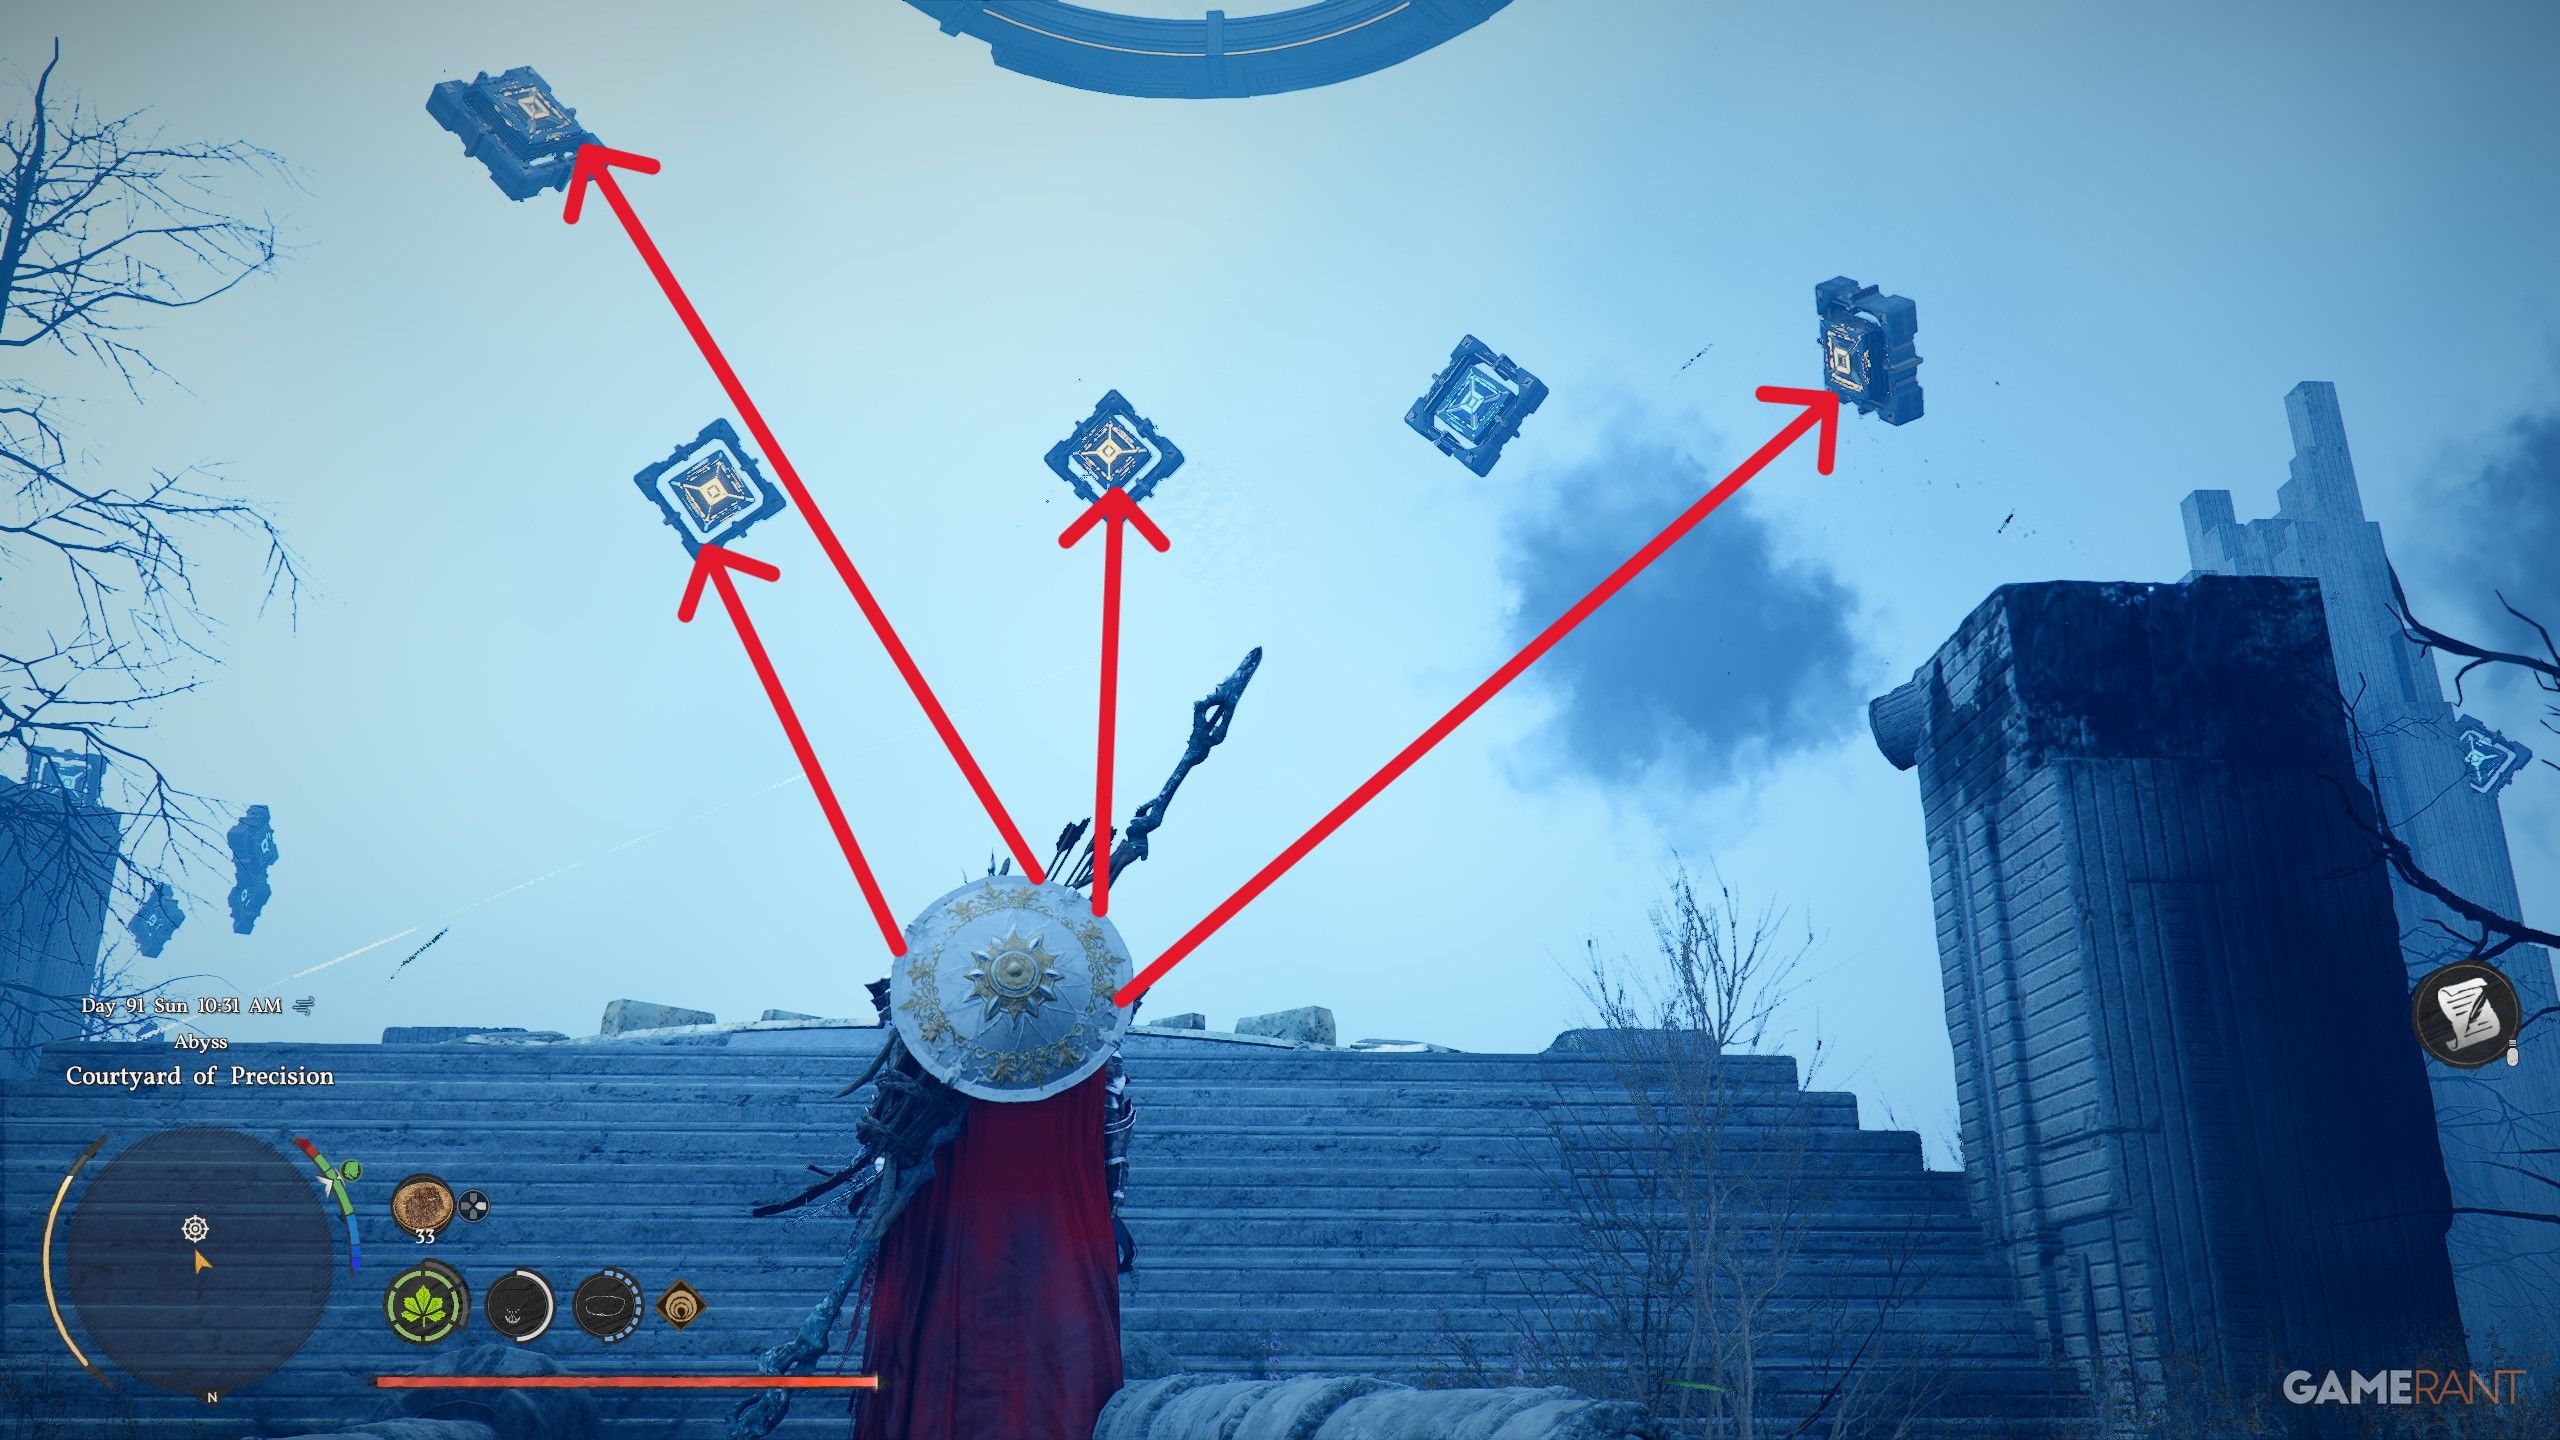
Sealed Abyss Artifacts
Completing Sealed Abyss Artifact challenges found throughout the open world can also reward Abyss Cores alongside the Abyss Artifacts used for skill tree progression. Keep an eye out for these optional puzzle encounters as you explore.
Abyss Core Tier List
The following tier list ranks every confirmed Abyss Core based on overall usefulness across all three playable characters and multiple build types. S-tier cores are universally strong, while lower tiers are more situational.
S-Tier (Must-Have)
These cores offer the highest impact on your build and should be prioritized above all others. They work well on every character and in nearly every situation.
Core | Effect | Slot Type | Why It Is S-Tier |
|---|---|---|---|
Summons a murder of crows that viciously attack nearby enemies on each swing | Adds free passive damage to every attack. Crows auto-target enemies, so you never miss. Works on all three characters. | ||
Attack +2 | Flat attack boost stacks across multiple slots. The most direct way to increase your damage output. | ||
Attack Speed Lv 1 (scales to Lv 5) | Attack speed applies to all weapon types and scales dramatically at higher levels. Reaches full potential at Attack Speed Lv 5. | ||
Unleashes a forward blade of wind that cuts through enemies | Provides a ranged skill on melee weapons. Excellent for gap closing and hitting groups of enemies at a distance. |
A-Tier (Highly Recommended)
A-tier cores are extremely useful and will slot into most builds. They may not be quite as universally dominant as S-tier picks, but they remain top choices for their respective roles.
Core | Effect | Slot Type | Why It Is A-Tier |
|---|---|---|---|
Defense +3 | Flat defense helps you survive tougher encounters. Essential for builds that trade hits rather than dodge everything. | ||
Attack +1 | Slightly weaker version of Destruction II but still excellent. Use until you can upgrade or if you need cores in multiple slots. | ||
Damage Reduction 1.0 | Percentage-based damage reduction becomes increasingly valuable against late-game bosses with high-damage attacks. | ||
Critical Rate Lv 1 | Critical hits deal significantly more damage. Stacking Insight cores across weapon and glove slots boosts overall DPS noticeably. | ||
Stamina Regen +2% | Stamina governs dodging, sprinting, and blocking. Improved regeneration keeps you mobile during long boss fights. | ||
Erupts rocks and lava from the ground, dealing area damage | Strong crowd control skill core. Obtained from Myurdin's weapon in Chapter 7. Great for handling groups of enemies. |
B-Tier (Solid Picks)
B-tier cores are good choices that fill specific roles in your build. They are worth using when you have open sockets to fill or need to address a particular weakness.
Core | Effect | Slot Type | Best Use Case |
|---|---|---|---|
Food Effect Lv +3 | Boosts healing from consumables. Excellent during the early and mid game when you rely heavily on food for recovery. | ||
Health +0.2 per second | Passive health regeneration that adds up over time. Helpful for exploration and sustained fights where you take chip damage. | ||
Health +1 per second | Stronger version of passive health regeneration. Very good for survivability in extended encounters. | ||
Emits a sonic shockwave that applies Confusion to nearby enemies | Crowd control skill core. The Confusion debuff causes enemies to attack each other briefly, useful against groups. | ||
Attack Speed Lv 2 | Alternative to Swift for stacking attack speed. Combines with Swift cores to reach higher speed levels faster. | ||
Movement Speed Lv 1 | Faster movement helps with exploration and repositioning in combat. First blueprint given by Elowen upon rescue. | ||
Guard Stamina Cost -3.0% | Reduces the stamina cost of blocking. Valuable for shield-heavy defensive builds. | ||
Scatters a deadly flurry of reeds, dealing damage to enemies hit | Offensive skill core on an armor slot. Provides extra AoE damage without taking up a weapon socket. | ||
+35% Turning Slash Damage | Large damage boost to a specific skill. Excellent if you use Turning Slash frequently in your rotation. |
C-Tier (Situational)
C-tier cores are useful in specific situations but are not general-purpose picks. Swap them in when the encounter or environment calls for it.
Core | Effect | Slot Type | When to Use |
|---|---|---|---|
Ice Resistance Lv 1 (scales to Lv 5) | Slot this when exploring cold regions or fighting ice-element bosses. Swap out when not needed. | ||
Lightning Resistance Lv 1 | Protects against lightning damage from specific enemies and environmental hazards. | ||
Spirit Siphon Lv 1 | Drains Spirit from enemies on hit. Useful for builds that rely heavily on Spirit-consuming skills. | ||
Attack Speed Lv 1 | Weaker version of Gale II. Use as a stepping stone until you can upgrade or find Swift cores. | ||
Reduces flinch duration | Niche defensive option. Helps maintain attack chains against enemies that frequently interrupt you. |
Best Cores by Playstyle
Offensive / DPS Build
If your goal is to deal the maximum possible damage, stack attack and speed cores across every available slot. The ideal offensive setup focuses on the following priorities.
Crow's Pursuit in your main weapon for free passive damage on every swing.
Destruction I/II in remaining weapon sockets, gloves, and footwear to boost raw Attack.
Swift I in at least one weapon or glove slot for Attack Speed. At Lv 5, the speed increase noticeably improves DPS.
Insight I in any remaining offensive slot to increase Critical Rate.
Momentum in an armor slot if you use Turning Slash regularly.
Defensive / Survivability Build
When facing difficult bosses or exploring dangerous areas, swap to a tanky core setup. This build sacrifices some damage for much greater staying power.
Fortification I in armor and shield sockets for flat Defense increases.
Aegis I alongside Fortification for percentage-based Damage Reduction.
Vitality I or Breath of Life I in armor for passive health regeneration.
Fortitude I in shield, gloves, or footwear to reduce Guard Stamina Cost for blocking.
Vigor I in an armor slot to maintain stamina for dodges and blocks.
Utility / Exploration Build
For general exploration and traversal, prioritize convenience and sustain over raw combat stats.
Haste I in an armor slot for faster movement speed while exploring the open world.
Gourmet III in armor to get more healing out of food items, reducing the need to carry large food supplies.
Vigor I for stamina regeneration, which benefits sprinting and climbing.
Frostward I or Shockward I swapped in based on the region you are exploring.
Wind Slash in your weapon for a ranged option that helps clear wildlife and weaker enemies quickly.
Best Cores Per Character
Kliff (Sword and Shield)
Kliff is the starting character and the most versatile of the three. His sword-and-shield playstyle benefits from a balanced mix of offensive and defensive cores. Because Kliff can both block with a shield and dodge, he has flexibility to lean in either direction.
Slot | Recommended Core | Reason |
|---|---|---|
Weapon (primary) | Auto-targeting crows add consistent passive damage to every combo | |
Weapon (secondary slots) | Stacks Attack and Attack Speed for higher DPS output | |
Weapon (optional) | Ranged skill for gap closing and hitting enemies at a distance | |
Flat Defense and Damage Reduction for tanking hits during blocks | ||
Stamina sustain plus bonus Turning Slash damage for Kliff's spinning attacks | ||
Additional Attack or Critical Rate depending on preference | ||
Extra Attack Speed or Attack to round out the offensive core set |
For Kliff's weapon, the Ignir Sword is the gold standard with five Abyss Core sockets, an attack range of 20 to 45 when fully upgraded, and room to fit Crow's Pursuit, Destruction II, Swift I, Wind Slash, and Insight I all at once.
Damiane (Rapier and Ranged)
Damiane excels at fast, aggressive combat with rapier strikes, shield abilities like Shield Toss and Shield Sentinel, and ranged options including pistols and muskets. Her speed-focused playstyle benefits most from attack speed and critical rate cores.
Slot | Recommended Core | Reason |
|---|---|---|
Weapon (primary) | Pairs well with Damiane's rapid multi-hit combos, triggering crows on every hit | |
Weapon (secondary) | Maximizes her already fast attack speed and adds critical hits to her flurries | |
Stamina sustain for rapid combos plus an AoE skill for crowd control | ||
Shield | Confuses enemies in close range, complementing Damiane's Shield Sentinel ability | |
More Critical Rate to capitalize on her many rapid hits | ||
Further stacks Attack Speed for her rapier combos |
Damiane's rapid multi-hit combos make Critical Rate and Attack Speed disproportionately valuable on her compared to the other characters. Even a small crit chance increase translates to many more critical hits per fight because she lands so many individual strikes.
Oongka (Heavy Melee and AoE)
Oongka specializes in heavy melee attacks using hammers, axes, and arm cannons. He deals massive single-hit damage, tanks hits with his large health pool, and excels at area-of-effect crowd control. His slower attack speed means he benefits more from raw Attack and Defense cores rather than speed.
Slot | Recommended Core | Reason |
|---|---|---|
Weapon (primary) | AoE eruption matches Oongka's crowd control playstyle perfectly | |
Weapon (secondary) | Maximizes raw Attack power for Oongka's heavy single-hit strikes | |
Full defensive core set for tanking; Oongka is meant to absorb damage | ||
More raw Attack to boost his already high base damage | ||
Reduced Guard Stamina Cost supports his defensive tanking role |
Oongka does not benefit as much from Attack Speed because his weapon animations are inherently slow and his damage comes from heavy individual hits rather than rapid combos. Invest in raw Attack and Defense instead, and use skill cores like Groundsurge for AoE control.
Recommended Core Combinations
Below are several proven core loadout combinations for different situations. These assume you have access to most sockets on your equipment.
Build Name | Weapon Cores | Shield / Accessory Cores | Best For | |
|---|---|---|---|---|
Maximum damage output; ideal for skilled players who can dodge consistently | ||||
Iron Wall | Maximum survivability; ideal for difficult boss fights and New Game Plus | |||
Balanced Fighter | Well-rounded setup suitable for the main story and most content | |||
Explorer | Fast movement and self-sustain for open world exploration and side quests | |||
Cold Weather | Pailune and other cold regions; swap Frostward for Shockward in lightning areas |
Core Progression Roadmap
Not all cores are available from the start. Here is a rough roadmap of when you can expect to obtain the best cores as you progress through the story.
Early Game (Chapters 1 Through 4)
You will not have access to Witches yet, so you cannot socket or craft cores. Focus on collecting any cores you find as loot and saving them for later. You may find basic cores like Gale I or Destruction I from defeated enemies or treasure chests.
Mid Game (Chapter 5 Through 6)
Chapter 5 unlocks the Witch system. Your first priorities should be:
Rescue Sylvia and unlock socket creation on your best current equipment.
Complete the Missing Seal quest to meet Elowen and receive the Haste I blueprint.
Socket Wind Slash and Vigor I early; both are available from this point and provide immediate value.
Slot Gourmet III into armor if you are struggling with healing supplies.
Late Game (Chapter 7 Through 8)
By this stage, you should be visiting Areciel for Destruction blueprints and Lyselia for Fortification blueprints. Defeat Myurdin during the main quest to extract Groundsurge. Defeat Crowcaller for Crow's Pursuit. Your loadout should now include multiple S-tier and A-tier cores.
Endgame and New Game Plus
With all Witches unlocked and bosses defeated, you have access to every core in the game. Focus on upgrading to the highest tier of each stat core (Destruction II over I, Gale II over I) and stacking multiple copies across all equipment pieces. The full Glass Cannon or Iron Wall loadouts described above become achievable at this stage.
Tips and Tricks
Swap cores freely. Embedding and extraction cost nothing at any Witch. Keep a variety of cores in your inventory and swap before tough fights.
Elemental resistance cores are situational. Do not permanently slot Frostward or Shockward. Only equip them when entering a region or boss fight that deals that element.
Skill cores do not stack. You cannot slot two copies of Crow's Pursuit into the same weapon. Each unique skill core can only be equipped once per character.
Check boss weapons before selling. Many unique weapons dropped by bosses come with rare skill cores already installed. Extract these at a Witch before selling or scrapping the weapon.
Speed stacking has diminishing returns. Swift I and Gale cores both contribute to Attack Speed, but the visual difference plateaus after reaching around Attack Speed Lv 5. Beyond that point, invest in other stats.
Blueprints must be examined first. When you buy or find a blueprint, open your inventory and examine it to unlock the crafting recipe. The recipe will not appear at the Witch's crafting menu until you do this.
Upgrade sockets on your best gear. Socket creation costs Silver, so prioritize opening all sockets on end-game equipment like the Ignir Sword rather than spending Silver on gear you will replace soon.
Cores work across all characters. Cores socketed in shared equipment carry over when you switch between Kliff, Damiane, and Oongka. However, each character has their own independent skill tree for Abyss Artifacts.
See Also
Abyss Core for a full database of every core in the game
Abyss Cores for the hub article on the Abyss Core system
Abyss Gear for a broader overview of the Abyss Gear system
How to Unlock Abyss Core Slots for a step-by-step socket unlocking guide
Sealed Abyss Artifacts for all Sealed Abyss Artifact locations and rewards
Combat System for an overview of combat mechanics
Witches for all Witch locations and services
Kliff, Damiane, and Oongka for individual character guides