Overview
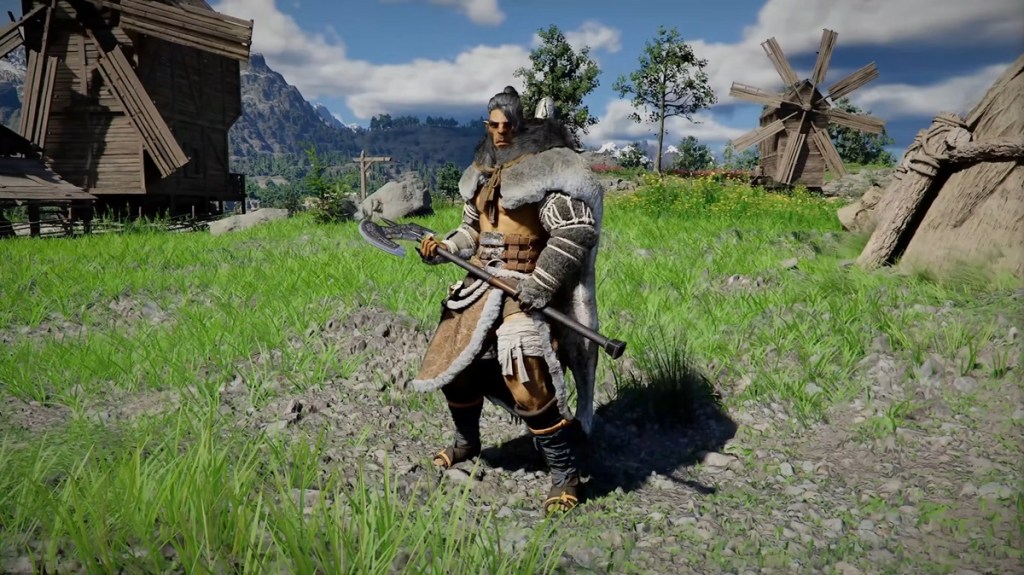
The sword and shield is Kliff's default and signature weapon in Crimson Desert, featured in most promotional material. This guide focuses specifically on the sword-and-shield combat style: a defensive, counter-based approach built around parries, ripostes, shield bashes, and precise timing. Because Crimson Desert has no class system, players can switch weapons freely at any time, but the sword and shield offers the most balanced combination of offense and survivability.
For a broader overview of all weapon types and general combat mechanics, see the Build Guide: Kliff article. For information about all available weapons, see Weapons.
Controls
The sword-and-shield moveset uses the following controls (PlayStation layout):
Input | Action |
|---|---|
R1 | Light attack (sword combos) |
R2 | Heavy attack |
L1 | Block (hold to maintain guard) |
L1 + R1 | Counterattack (requires precise timing with enemy attack) |
L1 + R2 | Parry (timing-based deflection that creates openings) |
Circle | Dodge roll |
Circle + Triangle | Grab / Neckbreaker initiation |
Right Stick | Force Palm (energy wave for damage and vertical mobility) |
On keyboard and mouse: WASD for movement, mouse for camera, left/right click for attacks, Space for dodge, Ctrl for block. Special combo moves are mapped to number keys. Note that multiple playtesters described the controls as complex, requiring simultaneous thumbstick presses plus face buttons; the system takes roughly 15 minutes to internalize on controller.
Core Skills
The following confirmed skills complement the sword-and-shield playstyle:
Skill | Effect |
|---|---|
Neckbreaker | Grab-based move; during a run, Circle + Triangle transitions into a neckbreaker, follow up with R1 for a sword stab |
Deals a vicious blow while hurling the enemy away; excellent for crowd control | |
Flurry Slash | Unleashes a rapid combo of sword swipes for maximum DPS during openings |
Energy wave for ranged damage, enemy pushback, and vertical mobility when aimed at the ground | |
Blinds and briefly incapacitates enemies; can also reveal hidden objects | |
Slow-motion arrow shooting while diving sideways; useful when switching to bow for ranged pressure |
Defensive Techniques
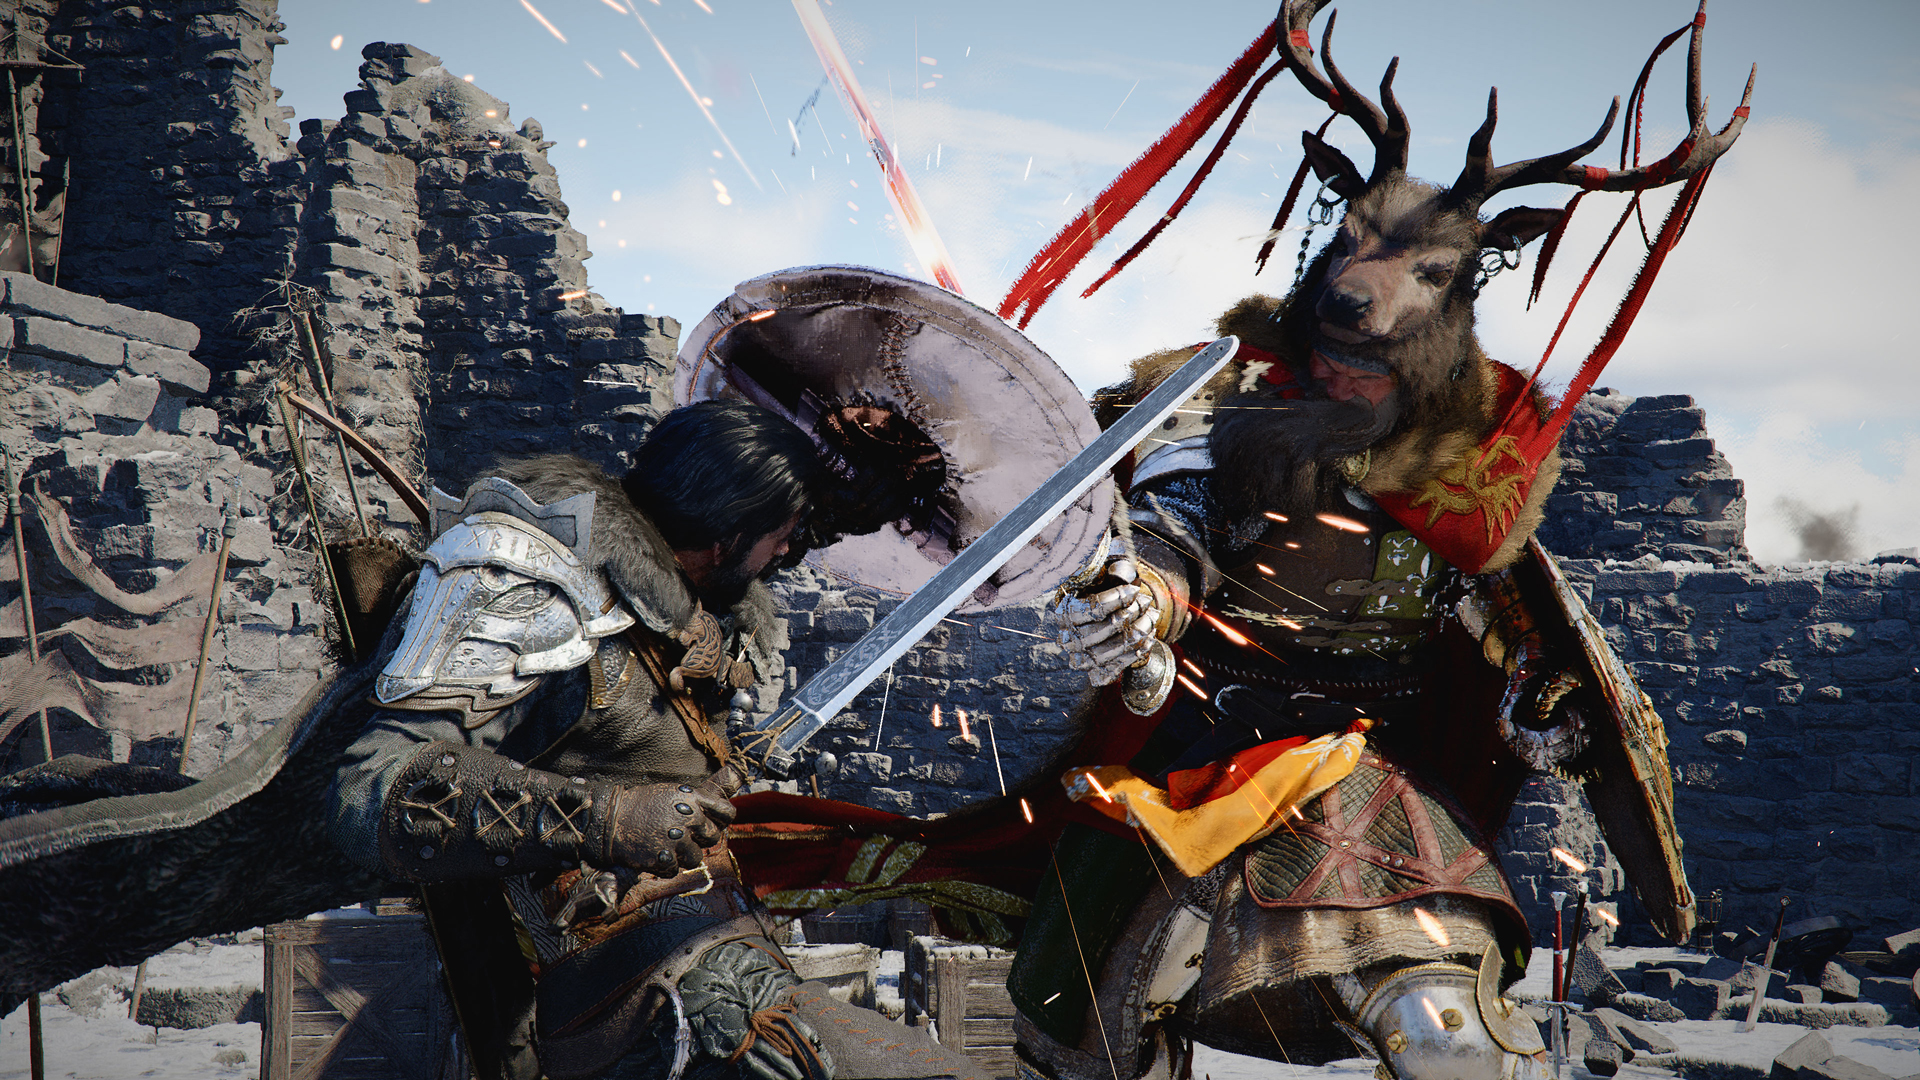
The sword-and-shield style's greatest strength is its defensive toolkit. Perfect blocks trigger visual feedback cues that enable immediate counterattacks. The key is not to hold block passively but to time it to enemy attack animations for maximum effectiveness. A well-timed parry (L1 + R2) creates a larger opening than a standard block counter, rewarding precise play.
Beyond parrying, players can grab opponents and use them as human shields against other attackers. The Neckbreaker functions as crowd control, knocking surrounding enemies backward. Stamina governs blocking and special skills (though regular strikes do not consume it), so managing the stamina meter between defensive and offensive actions is important during extended fights.
Elemental Integration
Use the Axiom Bracelet to enhance sword attacks with elemental effects. Switch elements using the D-Pad based on the situation:
Element | Best For |
|---|---|
Ice | One-on-one fights; freezes enemies for shattering follow-ups; best single-target control |
Fire | Groups of enemies; adds area damage over time; incinerates and explodes on contact |
Lightning | Shielded enemies; breaks guards and stuns; bonus damage against wet targets |
Elemental reactions can chain together for devastating combos: freeze enemies then shatter them with a heavy attack, or burn then combo for additional fire damage ticks. The system rewards experimentation and creativity.
Stat Priorities
Key stats to develop through Abyss Fragments investment:
Slot | Details |
|---|---|
Attack | : Core damage output for sword strikes |
: Damage reduction; especially important for a shield-focused style that blocks frequently | |
: Governs blocking duration, dodge rolls, and advanced movement | |
: Survivability for a playstyle that stays in close range | |
Critical Chance | : Burst damage during the openings created by parries and counters |
Stats can be refunded and redistributed at any time, so players can experiment freely. Community build guides suggest pairing the sword and shield as the primary weapon with a greatsword as a secondary option for situations requiring heavier damage output.
Equipment Priorities
Look for armor with Attack, Defense, and Stamina bonuses to support the balanced swordsman playstyle. Pre-order equipment like the Kairos Plate Set (Deluxe Edition) or Grotevant Plate Set (PS5) provides early armor advantages. The Khaled Shield (pre-order bonus) or Balgran Shield (Deluxe) offer early shield options. Weapon refinement at blacksmiths increases attack stats through material upgrades.
Weapon Context
The sword and shield offers balanced offense and defense. For comparison with other weapon options:
Weapon | Style |
|---|---|
Sword & Shield | Defensive/counter; parries, ripostes, shield bashes; high survivability |
Greatsword | Heavy/precise; slow concentrated strikes; high single-target damage |
Agile/evasive; quick strikes; plenty of evasion | |
Spear | Ranged melee; rapid thrusting; keeps enemies at distance |
Axe | Heavy/AOE; slow swings with wide arcs for cleaving through groups |
Bow | Ranged; fast and hard-hitting; multiple ammo types (explosive, freezing) |
Musket | Long-range; charged shots for high single-hit damage |
Grappling/brawling; tackles, chokeslams, back-breakers |
Players can switch weapons mid-combat using the equipment wheel (accessed without pausing), so the sword and shield pairs well with any secondary weapon. Footage showed players parrying with the shield before switching to a spear for follow-up attacks.
Boss Strategy
Against bosses like the Staglord who also wields a sword and shield, focus on precise dodging rather than blocking, as his heavy attacks can overwhelm a held guard. Wait for charge recoveries to attack. Against faster bosses like the Reed Devil, Force Palm helps create space when the boss teleports close. Remember that defeating bosses grants their weapons and potentially their moves, expanding the arsenal available to the sword-and-shield fighter.
Recommended Weapons by Stage
The sword-and-shield playstyle evolves as Kliff acquires better weapons through the campaign. The following table outlines the best sword options at each stage of progression:
Stage | Weapon | Notes | |
|---|---|---|---|
Early Game | Solid base ATK with 2 Abyss Core slots | First reliable sword; Abyss Gear slots include Crow's Pursuit and Wind Slash | |
Mid Game | Higher ATK with elemental Wind Slash | Obtained by defeating Kailok the Hornsplitter at end of Chapter 2 | |
Late Game | Ignir Sword | 20 ATK base, upgradable to 45 ATK, 5 Abyss Core sockets | Acquired by defeating Ludvig in Chapter 7 quest 'Time to Face Justice' |
For shields, prioritize whatever has the best Abyss Core slots attached rather than chasing a specific model in the early game. Any shield works alongside the Sword of the Wolf. The Lifsoth Large Shield (found at the Witch's House in Hernand, through the second floor balcony door) is a strong upgrade that starts at 12 DEF and scales up to 35.
Skill Combos and Attack Chains
The core gameplay loop for the swordsman build is: apply sustained pressure with sword combos, create openings with Keen Senses parries, then punish with heavy attacks or swap to a secondary weapon for burst damage.
Slot | Description |
|---|---|
Basic Combo: | R1, R1, R1, R2 (three light attacks into a heavy finisher). This is the bread-and-butter string for consistent damage. |
Parry Punish: | L1 tap (Parry) into R2 (Heavy Attack). A successful parry regenerates both Stamina and Spirit, then the heavy riposte deals bonus damage. |
Shield Bash Opener: Shield Bash | into R1, R1, R2. The bash staggers enemies, opening a guaranteed combo window. |
Weapon Swap Punish: | Stagger with sword combos, then quick-swap to a Warspike Spear for heavier punishing hits during the stagger window. |
Force Palm Reset: | When pressured, use Force Palm to push enemies back and create breathing room, then re-engage with R1 combos. |
Keen Senses Mastery
Keen Senses is arguably the most important skill for the swordsman build. It gates three precision-defense abilities that define the playstyle:
Skill | Details |
|---|---|
Tap the block button with precise timing just before an enemy attack lands. A successful parry costs no stamina, regenerates both Stamina and Spirit, and creates an immediate counterattack window. | |
Backstep: | Press the dodge button with the same timing as a parry. Kliff steps cleanly out of the attack's range instead of deflecting it, preserving stamina while avoiding damage. |
Press the attack button at the exact moment an enemy is about to strike. Kliff simultaneously blocks the incoming hit and deals damage back. Counters prevent damage, stagger enemies (including larger ones), and deal bonus damage. |
Unlocking Keen Senses requires spending Abyss Artifacts to enhance the skill. The first enhancement grants Parry, with further enhancements adding Backstep and Counter. Perfect Dodges also restore stamina instead of consuming it, rewarding precise timing throughout combat.
Abyss Core Priorities
For the swordsman build, prioritize the following Abyss Cores:
Slot | Details |
|---|---|
Swift Cores: | Increase attack speed, which directly improves your DPS during combo windows and makes parry timing more forgiving. |
Destruction Cores: | Boost raw attack power, increasing damage from both light and heavy attacks. |
Fortification Cores: | Add defense, improving survivability during boss encounters where chip damage through blocks adds up. |
Armor and Shield Recommendations
For armor, the Bolton Plate Helm paired with the Canta Plate Armor (available for purchase at the Contribution shop in Hernand) provides enough defense to carry a swordsman build through the entire game. Prioritize armor pieces with high DEF ratings and Abyss Core slots that complement your offensive cores.