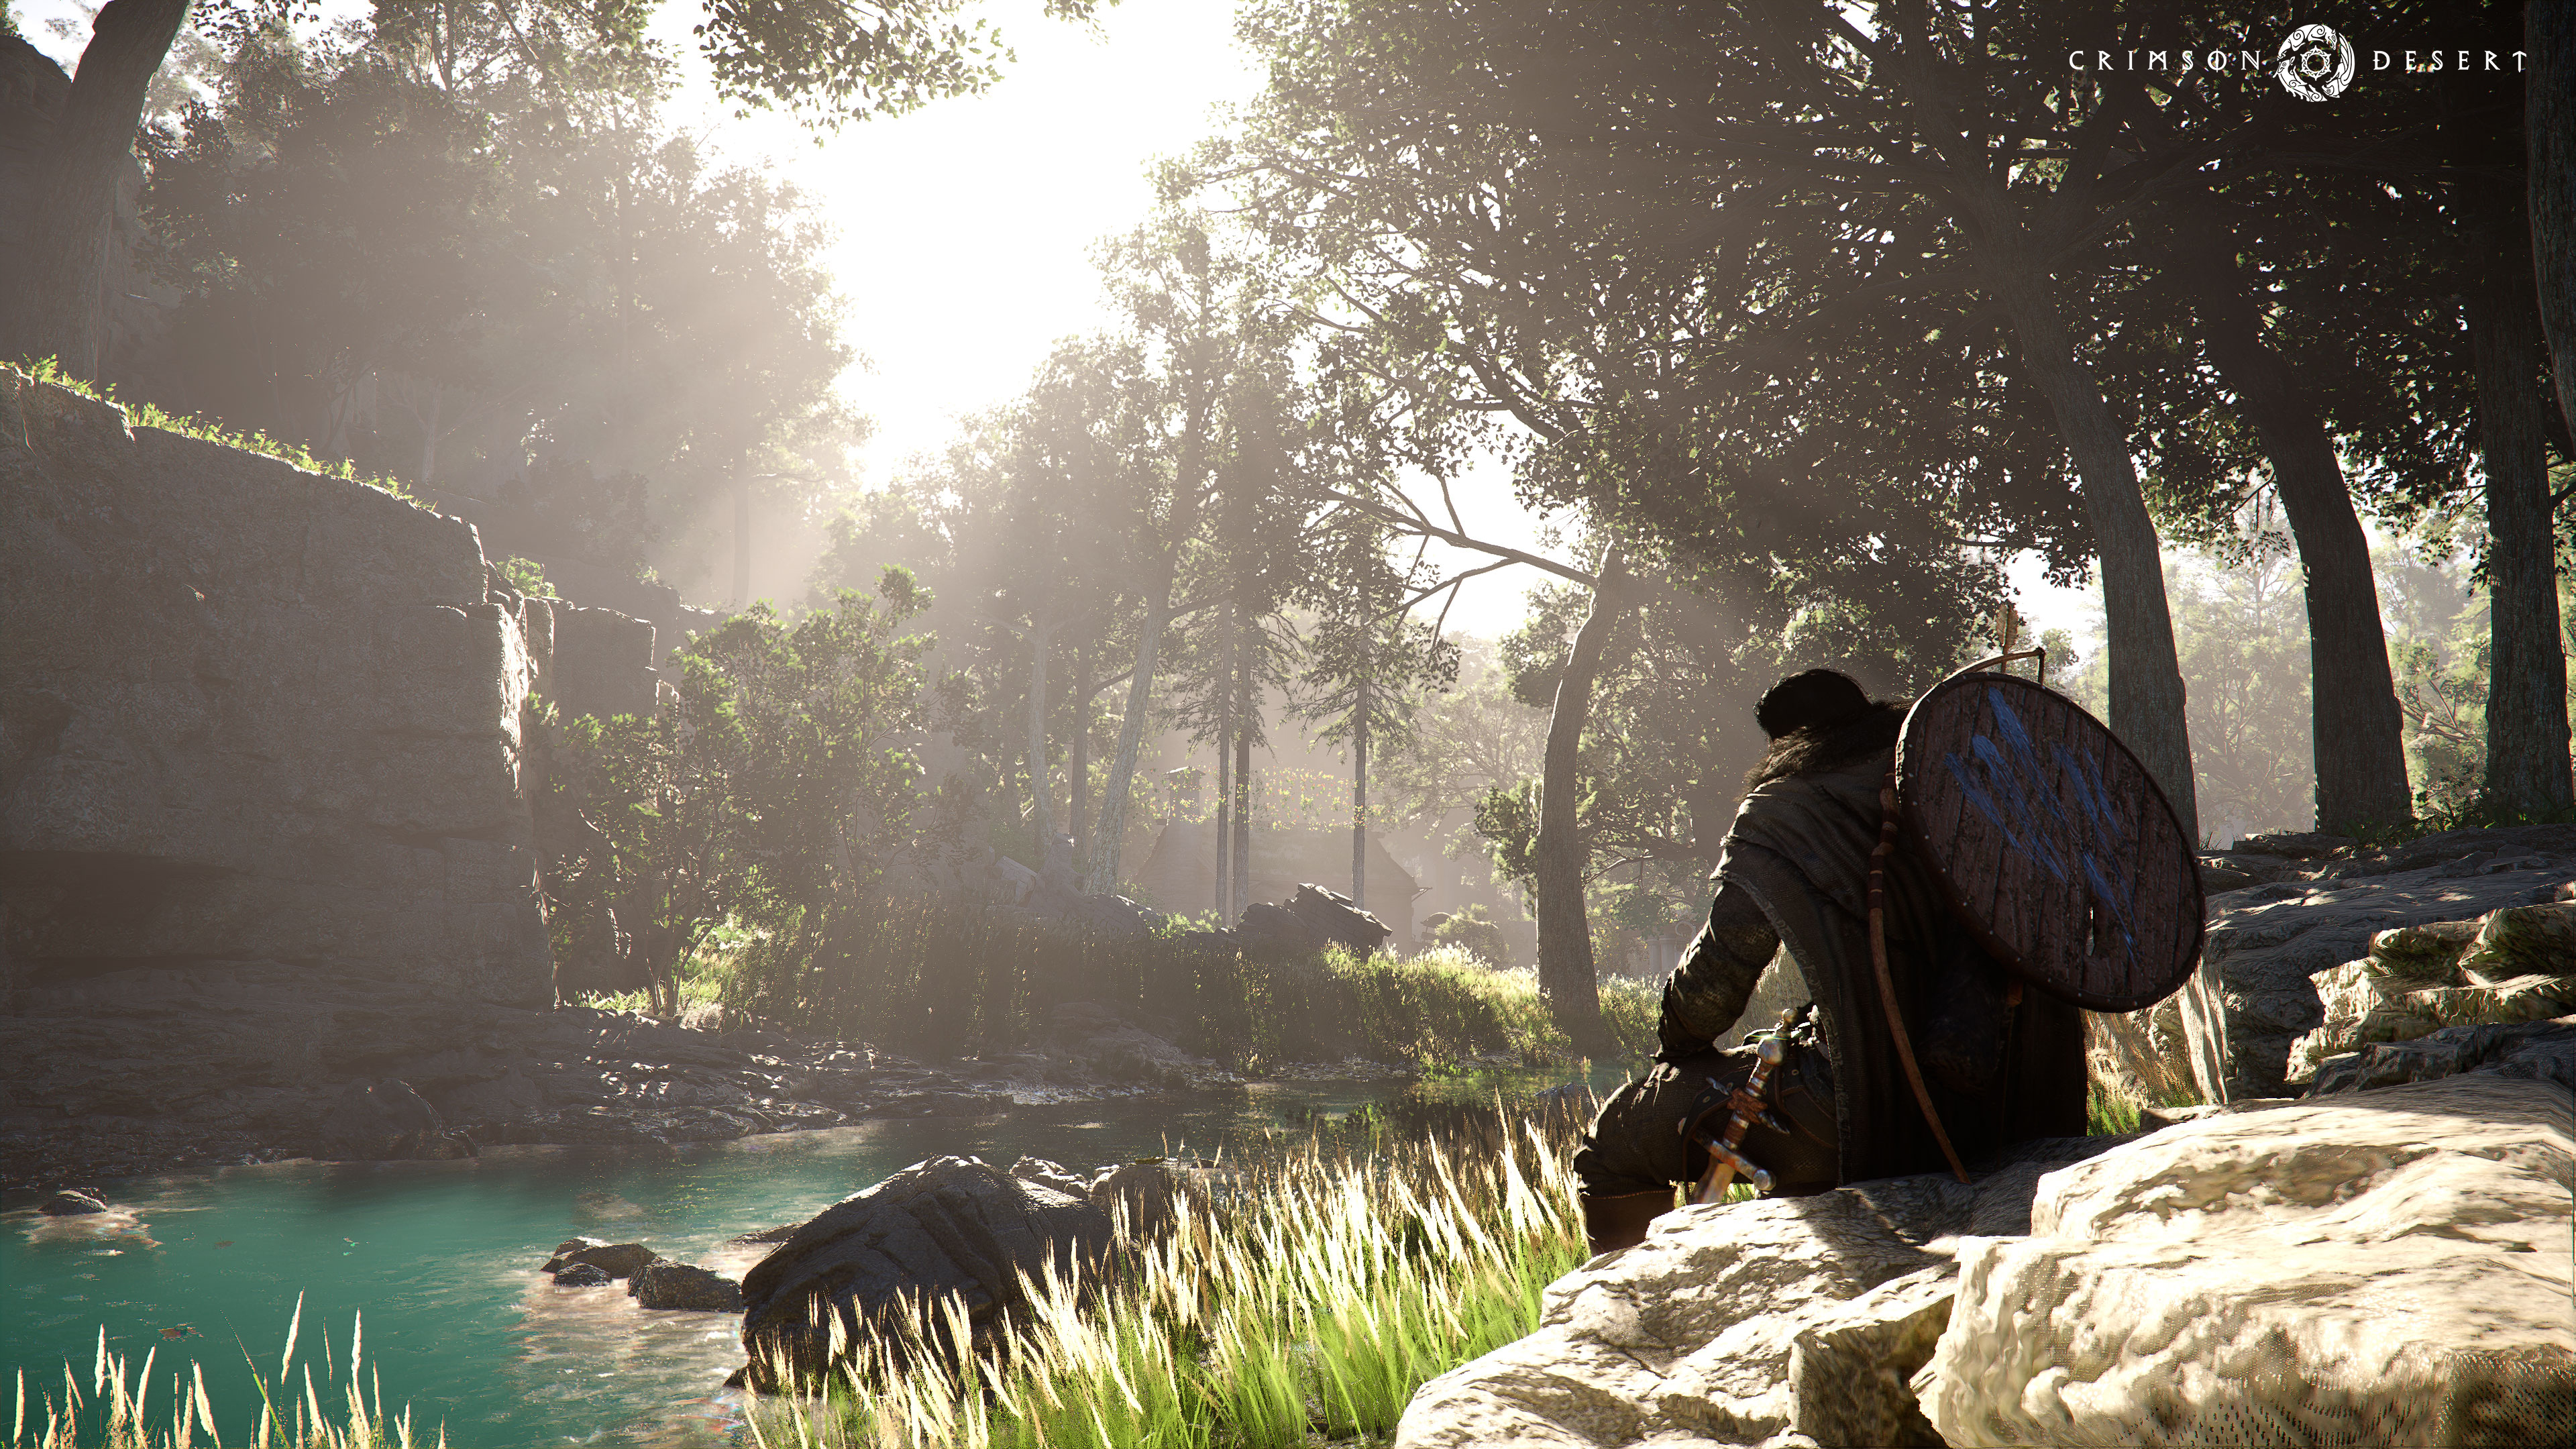
Overview
Scattered across the continent of Pywel, treasure chests serve as one of the primary sources of valuable equipment, crafting materials, unique accessories, and rare recipes in Crimson Desert. Whether you are exploring crumbling castle ruins, sneaking through guarded manors, or stabbing through waterfalls to uncover hidden caves, the game rewards curiosity and thorough exploration at every turn. Over 120 treasure chests of varying types are distributed across every region of the map, and finding them all requires knowledge of each chest category, the mechanics behind locked containers, and the specific locations where loot is hidden.
This guide covers every known chest type in Crimson Desert: Strongboxes (puzzle-locked containers holding the rarest rewards), Treasure Chests (mid-tier containers with useful armor, weapons, and Palmar Pills), Regular Chests (basic containers with silver and crafting materials), Waterside Cave Chests (hidden behind waterfalls throughout Pywel), Hidden Treasure Map Chests (unlocked by finding scattered map pieces), and Supply Chests (recovery containers that store loot you missed picking up). Each section provides locations, rewards, and tips for tracking down every container.
Chest Types
Crimson Desert features several distinct categories of lootable containers. Each type carries different rewards, and some require specific abilities, puzzle-solving skills, or quest progression to access. Understanding the differences helps you prioritize which chests to seek out first.
Chest Type | Tier | Typical Contents | Access Method |
|---|---|---|---|
Highest | Rare accessories, crafting recipes, unique weapons, keys | Solve a mechanical puzzle (button sequence, scroll wheel, sliding tile, or rotation) | |
Treasure Chest | Mid | Armor sets, weapons, Palmar Pills, Abyss Gear | Break through obstacles (boarded walls, ivy), light lanterns, or progress quests |
Regular Chest | Low | Silver, crafting materials, basic consumables | Open directly; some hidden behind rock formations |
Waterside Cave Chest | Varies | Use the Stab ability to pass through a waterfall | |
High | Unique armor pieces, rare gear | Find a treasure map piece, then follow its visual clue to the hidden cache | |
Recovery | Any dropped loot you did not pick up | Visit Kliff's tent at the Royal Trading Post or Howling Hill |
Wooden chests that you occasionally see placed around Pywel's towns and buildings are purely decorative. They cannot be opened or interacted with for item storage or collection.
Strongbox Locations
Strongboxes are the highest-tier lootable containers in Crimson Desert. Unlike other chests that simply require you to walk up and open them, every Strongbox is sealed behind a unique mechanical puzzle. The rewards justify the effort: crafting recipes, high-grade accessories, rare weapons, and keys that unlock additional content or rooms. There are 15 Strongboxes spread across three regions, and most of them are tucked inside manor houses and castle rooms that require you to sneak in through windows or find hidden entrances.
Strongbox puzzles fall into four categories: sequential button presses (press buttons in a specific order), scroll wheel combinations (rotate five wheels to the correct positions), sliding tile grids (rearrange tiles to form a pattern), and rotation panels (rotate square sections to match a target image). The rotation puzzles at Lioncrest Manor and Sungrove Manor randomize their layouts each playthrough, so memorizing a single solution will not work for those two.
Hernand Region Strongboxes
The Hernand region has the densest cluster of Strongboxes, with five containers located in and around the city. This makes it the best starting point for Strongbox hunters.
Location | Puzzle Type | Solution | Reward |
|---|---|---|---|
Bluemont Manor (Leon Roberts' bedroom, 2nd floor) | Button sequence | Press: 2, 2, 2, 4, 3, 3, 3, 3, 2, 1, 1, 1, 1 | |
Bluemont Manor (southern house, 2nd floor) | Scroll wheel | Wheels left to right: 5, 2, 4, 3, 5 scrolls | |
Hillside Manor (southeastern room, 2nd floor, enter via window) | Scroll wheel | Wheels left to right: 2, 3, 4, 5, 5 scrolls | |
Hernand Castle (top floor locked room; key required) | Key sequence | Top 1st, Bottom 4th, Bottom 3rd, Bottom 4th, Top 3rd, Bottom 1st, Top 3rd | |
Lioncrest Manor (eastern room, 2nd floor, enter via window) | Rotation panels | Rotate each square to match the target image (randomized) |
The Bluemont Manor key for the first Strongbox is found in Leon Roberts' bedroom. Check the room carefully before attempting the puzzle. The Hernand Castle Strongbox requires the Mystical Key, which you obtain through the main story quest of the same name.
Demeniss Region Strongboxes
The Demeniss region holds six Strongboxes. Some of the most challenging puzzles in the game are found here, particularly the 16-move sliding tile puzzles at the Western Court and Reventine Monastery.
Location | Puzzle Type | Solution | Reward |
|---|---|---|---|
Church of West Demeniss (Byron Estate; during 'Secret at the Church' quest) | Button sequence | Press: lower right, upper left, lower left, upper right | |
Southern Court (2nd floor) | Button press | Press 1st button, then 2nd button | |
Azerian Manor (2nd floor, behind rotating wall) | Button sequence | Press: 1, 1, 2, 2, 2, 3, 3, 3 | |
Sungrove Manor (2nd floor, northwest of Demeniss city) | Rotation panels | Rotate each square to match the target image (randomized) | |
Western Court (underground basement, northwest of Demeniss) | Sliding tile | 16-move sequence repositioning center and side squares | |
Reventine Monastery (behind revolving bookshelf, far west of Demeniss) | Sliding tile | 16-move sequence repositioning multiple squares |
The Reventine Monastery Strongbox is easy to miss because the entrance is a bookshelf that rotates when you interact with it. Walk along the western edge of the monastery building and look for bookshelves that appear slightly out of place. The Sungrove Manor Key unlocks additional rooms within the manor, so be sure to explore the rest of the building after solving the puzzle.
Pailune Region Strongboxes
The Pailune region contains three Strongboxes. Stellen Manor alone accounts for two of them, making it a high-priority stop when exploring this area.
Location | Puzzle Type | Solution | Reward |
|---|---|---|---|
Stellen Manor dining room (2nd floor, northeast of Drakesfall Gorge) | Key sequence | Bottom 1st, Bottom 3rd, Bottom 4th, Bottom 2nd, Bottom 1st, Bottom 3rd, Bottom 4th | |
Stellen Manor tower (accessible via window) | Scroll wheel | Wheels: 2, 5, 5, 4, 3 scrolls, then hit switch | |
Arboria Castle (basement center, surrounded by spider webs) | Scroll wheel | Wheels: 3, 4, 5, 4, 2 scrolls, then hit switch |
The Stellen Manor Closet Key from the first Strongbox opens a locked closet elsewhere in the manor. Make sure to explore all rooms after solving the dining room puzzle. The Arboria Castle basement is heavily guarded by spiders, so prepare for a fight before approaching the Strongbox.
Pororin Forest Strongbox
One additional Strongbox sits outside the three main regions. The Mudridge Cabin, located in the Pororin Forest southeast of Unicorn Cliff, contains a sliding tile puzzle with a 10-move solution. The reward is the Flower Petal Earring. The cabin also hides a secondary treasure underneath the structure: the Goblin King's Treasure Dagger, found in a hidden chest below the floorboards.
Treasure Chest Locations
Treasure Chests represent the mid-tier loot containers in Crimson Desert. They do not require puzzle-solving, but many are hidden behind destructible barriers, locked behind quest progression, or tucked inside structures that demand platforming to reach. Treasure Chests frequently contain armor pieces, unique weapons, Palmar Pills, and Abyss Gear. Some of the best early-game equipment in the entire game comes from Treasure Chests found in the three Sanctums.
Sanctum Treasure Chests
The three Sanctums associated with the Witch of Wisdom questline each contain Treasure Chests with Abyss Gear and valuable blueprints. Importantly, if you visit these Sanctums before activating the Witch of Wisdom questline, the chests are freely accessible without any combat. Once the quest activates, enemies populate the areas and make the chests harder to reach.
Sanctum | Location | Access Method | Rewards |
|---|---|---|---|
Behind ivy-covered wall near entrance | Remove the Fusion Reactor Core, then burn vines with Blinding Flash | Odeck's Protector Plate Boots (HP regeneration core), Kuku Lightning Spear and Kuku Bird Boltspitter Blueprints | |
Southern ruins, accessible through floor hole | Drop through the hole in the floor | Abyss Gear, Kuku Pack Blueprint | |
Small building beside the right lantern | Light both lanterns on either side of the structure | Mirror of Night Shield, Kuku Marni Laser Helm Blueprint |
The Sanctum of Absolution also contains a standout two-handed weapon that can carry you through multiple chapters of the story. This Sanctum is separate from the Witch of Wisdom trio and features its own combat encounter.
Castle and Ruins Treasure Chests
Several Treasure Chests are hidden within castle ruins and fortifications scattered across Hernand and the surrounding territory. These often require breaking through boarded-up walls or finding hidden passages.
Location | How to Access | Reward |
|---|---|---|
Icemoor Castle Ruins (northwest of Hernand) | Break the wooden planks blocking a cave entrance on the lower left side | |
Icemoor Castle Ruins (second chest) | Near a barrel beside the main chest area | |
Use the Mystical Key from the main story quest | Alchemist's Chamber loot, quest completion rewards | |
Cross bridge, turn left, climb wall with Resist, use Force Palm on leaf symbol |
The Icemoor Castle Ruins are among the most rewarding early detours in the game. The Fallen Kingdom's Rapier and the Leather Cloak both provide strong stat bonuses for the first several chapters. Look carefully at walls for wooden planks that can be broken with your weapon.
Other Notable Treasure Chests
Location | How to Access | Reward |
|---|---|---|
Lioncrest Manor (behind locked door) | Find key near tea table inside the building | |
Climb rocks on the right side, jump to balcony | ||
Bowsprit Cape Cave | Enter the cave valley area | |
Abyss Nexus region cave (near Bowsprit Cape) | Explore the cave structure | |
Trader's Expanse | Climb to the top of a rocky tower | Equipment and consumables |
Lake Kharonso (east of Scholastone Institute) | Behind waterfall, use charged Stab attack |
Regular Chest Locations
Regular Chests are the most common loot containers in Crimson Desert. They contain silver, crafting materials, basic consumables, and occasionally lower-tier equipment. While their individual rewards are modest, collecting them consistently adds up over time and keeps your crafting inventory well stocked. Regular Chests are scattered liberally throughout Pywel, often tucked behind rock formations, inside abandoned buildings, or along less-traveled paths.
Location | Region | Notes |
|---|---|---|
Fort Perwin area (near waterfall) | Close to the Perwin Trading Post | |
Southwest of Hernand, near Lake Kharonso | Hernand | Two chests hidden behind rock formations |
Howling Hollow | Open area, easily spotted | |
Forest of Wolves (between Ancient Rift and The Sage's Peak) | Guarded by wolf packs; clear enemies first |
Regular Chests respawn over time as you progress through the story, so revisiting previously explored areas can yield additional materials. Keep an eye out for chest icons on your map as you travel between regions.
Waterside Cave Chests
One of Crimson Desert's most satisfying exploration mechanics involves the 43 Waterside Caves hidden behind waterfalls throughout Pywel. Each waterfall that conceals a cave has a telltale sign: a small platform with stacked stones visible near the base of the waterfall. If you spot these stones, there is a cave behind the water.
To enter a Waterside Cave, you must use the Stab ability. Hold R1 + Square on PlayStation (or RB + X on Xbox) and release to perform a forward thrust that carries you through the water curtain. This ability is learned naturally during the main story, but it can also be unlocked early as a skill from the Blue Tree in the skill menu.
Every Waterside Cave contains at least one treasure chest, and the loot ranges from basic healing items to full armor sets and Golden Palmar Pills (which restore your health completely, unlike standard Palmar Pills that only provide partial recovery). Because these caves are distributed across every region of the map, they serve as a steady source of gear upgrades throughout the entire game.
Tips for Waterside Caves
Look for stacked stones near the base of any waterfall. These are the visual indicator that a cave lies behind the water.
Not every waterfall hides a cave. Only waterfalls with a platform and stacked stones at their base have accessible interiors.
Unlock Stab early. If you want to access these caves before the story teaches you the ability, invest in the Blue Tree skill path.
Check your map. Waterside Caves appear as discoverable locations once you get close enough to reveal them on the map.
Some caves contain multiple chests and enemy encounters. Prepare for combat, especially in caves guarded by Grave Walkers or spiders.
Hidden Treasure Map Pieces
Scattered across Pywel are Hidden Treasure Map Pieces: small collectible items that, once picked up, reveal a hand-drawn clue pointing toward a buried or concealed cache of rare loot. These map pieces have no quest markers, no notifications, and no map indicators. Finding them is entirely dependent on thorough exploration and a sharp eye for out-of-place objects. The treasures they lead to, however, rank among the best rewards in the game.
Each map piece shows a rough sketch of a landmark or landscape. You must interpret the drawing, match it to a real location in the game world, and then search the corresponding area for the hidden chest. Some treasures require specific abilities like the Visione Helmet or the Pierce attack to access.
Map Piece | Where to Find the Piece | Treasure Location | Reward |
|---|---|---|---|
Piece 1 | Inside a white tent on the north side of Demeniss, south of Drakesfall Gorge | Waterfall cave where two rivers intersect; defeat the Grave Walker and break through a hidden wall inside the dungeon | Rare loot behind secret dungeon room |
Piece 4 | Small hut in the northern part of Pailune, on the floor | Tower visible in the region above Demeniss; slide under or push through a wooden plank gap | Treasure behind wooden fence |
Piece 6 | After defeating Marnie's Excavatron, look right of where the boss entered; break wooden panels | Chest in the hidden space behind the wooden panels | Mid-tier gear and materials |
Piece 7 | Miniature castle south of the Church of Hernand, on a lower ledge next to the outer wall | Delesyia Castle (far eastern Pywel); requires Visione Helmet, Resist wall climb, and Force Palm on leaf symbol | |
Piece 12 | Top of a small shrine in the northern part of Demeniss | Cave behind a waterfall nearby; use Pierce attack to pass through the water | Rare loot at cave entrance |
Additional Hidden Treasure Map Pieces beyond the ones listed above have been confirmed by the community, but their exact locations and solutions are still being documented. The map pieces are numbered, suggesting there are many more to discover as players continue to explore Pywel.
Tips for Hidden Treasure Maps
Map pieces tend to be placed on surfaces you might overlook: shrine tops, hut floors, tent interiors, and defeated-boss arenas.
When you pick up a map piece, study the hand-drawn image carefully. Look for distinctive landmarks like towers, waterfalls, castles, or bridge shapes.
Some treasure locations require story abilities. If a chest location seems inaccessible, return later after learning new skills in the Blue Tree or progressing through the main story.
The Visione Helmet, available from Chapter 2 onward, reveals hidden objects and paths that are otherwise invisible. Equip it when searching for treasure map destinations.
Supply Chests
Supply Chests function differently from every other container in the game. Rather than holding pre-placed loot, Supply Chests store items you dropped or failed to pick up during gameplay. After completing quests, defeating bosses, or clearing enemy camps, any loot left on the ground is automatically transferred to your nearest Supply Chest. A notification appears on screen confirming when items have been added.
Supply Chests hold up to 230 item slots. They collect dropped letters, unexamined recipes, and loot from defeated enemies (including items dropped before you liberated your camp). You can only retrieve items from these chests; you cannot store your own inventory items inside them. Crimson Desert does not currently have a dedicated personal storage system, so your inventory is your only long-term storage option.
Supply Chest Locations
Location | Region | Availability |
|---|---|---|
Royal Trading Post (inside Kliff's tent) | Available from the start of the game | |
Howling Hill (Greymane Camp, inside Kliff's tent) | Unlocks after restoring the Greymane Camp during Chapter 3 |
In addition to the Supply Chest, you can speak with Carl, the Base Camp Provisions Keeper located near the chest at Howling Hill. Carl offers a "Recover Items" tab that lets you buy back lost Kuku Pot items, though he charges premium prices for this service. Regularly check both the Supply Chest and Carl's shop between missions to make sure you have not lost any valuable recipes or upgrade materials.
Three Saints Falls Cave
The Three Saints Falls Cave deserves special mention as one of the most important early treasure locations in the game. Located on the west shoreline of Three Saints' Falls, this cave contains a table with two Palmar Pills and, more importantly, the Palmar Pills Blueprint. This recipe allows you to craft your own Palmar Pills for the rest of the game, which are essential for surviving boss encounters and difficult combat scenarios. To craft a Palmar Pill, you need 15 of any compatible herb and 2 servings of water.
You can also gather Palmar Leaves and catch Palmar Beetles in a grove just north of Pororin Village, providing a renewable supply of crafting ingredients once you have the blueprint.
General Tips for Finding Chests
Destroy anything that looks breakable. Boarded-up walls, wooden planks, and vine-covered passages frequently hide treasure chests behind them. Swing your weapon at suspicious surfaces.
Light every lantern you see. Some treasure chests are locked behind mechanisms that activate when nearby lanterns are lit. The Sanctum of Benediction is the clearest example of this pattern.
Climb buildings and check upper floors. Many Strongboxes and Treasure Chests are located on the second floors of manors and castles. Enter through open windows when doors are locked.
Invest in the Blue Tree early. The Stab ability is essential for Waterside Caves, and other traversal skills help you reach elevated chest locations.
Use the Visione Helmet. This headpiece, available from Chapter 2, reveals hidden objects and paths. Wear it whenever you are exploring a new area.
Explore before advancing the story. Several treasure locations (especially the three Sanctums) offer their loot freely before quest-related enemies appear. Once you trigger certain story beats, accessing these chests becomes significantly harder.
Check your Supply Chest regularly. Missed loot is transferred there automatically. Visit Kliff's tent at the Royal Trading Post or the Greymane Camp between missions.
Use interactive maps. Community-created interactive maps of Pywel track all 121+ treasure chest locations and allow you to mark chests as found. These tools are invaluable for completionist runs.
Priority Rewards
Not all chests are created equal. If you are looking to maximize your combat power as quickly as possible, prioritize these high-value targets:
Reward | Chest Type | Location | Why It Matters |
|---|---|---|---|
Palmar Pills Blueprint | Treasure Chest | Three Saints Falls Cave | Enables unlimited self-revival crafting for the rest of the game |
High-tier food recipe that provides significant combat buffs | |||
Arboria Castle basement | Essential crafting resource for upgrading gear | ||
Church of West Demeniss | Powerful unique weapon with strong base damage | ||
Hidden Treasure Map | Delesyia Castle | Top-tier plate armor with excellent defensive stats | |
Treasure Chest | Sanctums of Temperance, Penitence, and Benediction | Provides powerful stat bonuses that would otherwise require hours of grinding | |
Treasure Chest | HP regeneration core for sustained combat survivability | ||
Hidden Chest | Mudridge Cabin (beneath the structure) | Strong early-game dagger with unique properties |
For the fastest progression, visit the three Sanctums before activating the Witch of Wisdom questline, then head to Three Saints Falls for the Palmar Pills Blueprint. After that, tackle the Hernand-area Strongboxes for their crafting recipes and accessories. This route gives you the strongest foundation of gear and self-sufficiency before pushing into the later chapters.