Combat Guide
Comprehensive guide to combat in Starsand Island, covering all ranged weapons (Slingshot, Bow, Crossbow), arrow types including Bomb Arrows and elemental arrows, Sentry Bots, combat food buffs, enemy types in the Moonlit Forest, boss encounters, and practical tips for surviving every fight.
On This Page
Overview
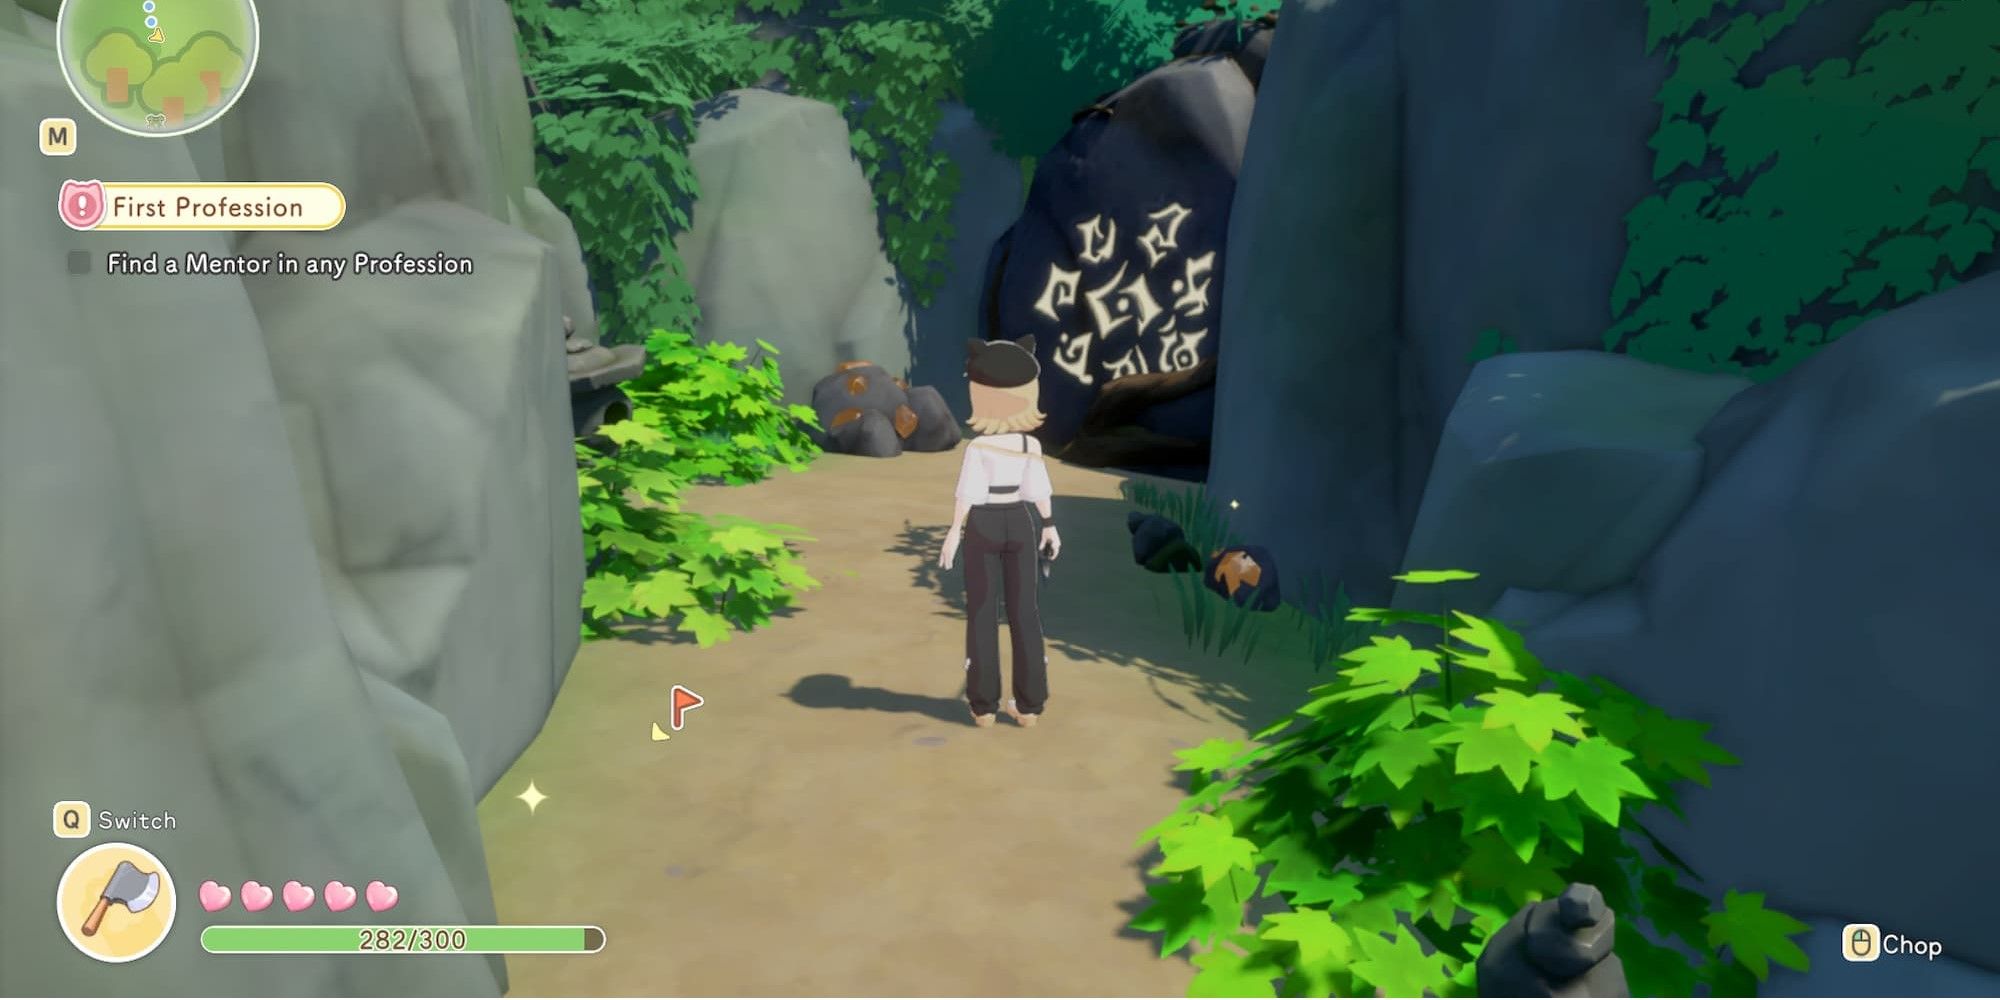
Combat in Starsand Island is primarily ranged, though tools like the Impact Hammer and Machete can also function as melee weapons in a pinch. Most encounters in the Moonlit Forest are handled with projectile-based weapons: the Slingshot, the Bow, and the Crossbow. Each weapon represents a tier of combat progression tied to the Explorer profession. Alongside your personal weapon, you can deploy Sentry Bots as automated companions and eat combat-buffing food to boost your damage output. This guide covers every weapon, ammo type, enemy, and boss in the game along with practical strategies for each.
Weapons
There are three ranged weapons in Starsand Island. Each one is unlocked through the Explorer profession questline, so advancing your Explorer certification directly improves your combat capability.
Slingshot
The Slingshot is the first weapon you receive. Zephyria gives it to you when you begin the Explorer profession. It uses Stone Pellets as ammunition, which are cheap and easy to craft from basic Stone found anywhere on the island or inside the Moonlit Forest.
Attribute | Details |
|---|---|
Unlock | Starting Explorer profession (given by Zephyria) |
Ammo | Stone Pellets |
Quick Shot Damage | Approximately 30 damage per hit |
Charged Shot Damage | Approximately 65 damage (normal), 130 on weak point hits |
Range | Short to medium |
Fire Rate | Fast (quick shots), Slow (charged shots) |
The Slingshot is effective against the weaker enemies in the early Moonlit Forest zones. Hold the fire button to charge your shot for double damage, and aim for the glowing weak spots on enemies to maximize output. For anything beyond the first couple of forest areas, you will want to upgrade to the Bow.
Bow
The Bow is unlocked at the Junior Explorer tier. After completing the Junior Explorer certification quest, you can purchase the "Plume Bow and Arrows" blueprint from the Exploration Club terminal. The Bow offers significantly better damage and range compared to the Slingshot, and it uses Standard Arrows plus specialty arrow types.
Attribute | Details |
|---|---|
Unlock | Junior Explorer certification, then purchase blueprint from Exploration Club |
Ammo | Standard Arrows, Bomb Arrows, Fire Arrows, Water Arrows, Light Arrows |
Damage | Higher than Slingshot per hit |
Range | Medium to long |
Best For | Mid-game exploration, most Moonlit Forest encounters |
The Bow is the workhorse weapon for most of your time in the Moonlit Forest. It handles regular enemies comfortably and can take down bosses with enough ammo and preparation. Pair it with Bomb Arrows for the highest damage output against tough targets.
Crossbow
The Crossbow is the most powerful ranged weapon in Starsand Island. It is obtained as a quest reward upon completing the Expert Explorer certification. The Crossbow deals the highest damage per shot of any weapon and excels against bosses and late-game enemies.
Attribute | Details |
|---|---|
Unlock | Expert Explorer certification quest reward |
Ammo | Standard Arrows, Bomb Arrows, Fire Arrows, Water Arrows, Light Arrows |
Damage | Highest of all weapons |
Range | Long |
Fire Rate | Faster than Bow (highest fire rate of any weapon), but consumes ammo rapidly |
The Crossbow's high fire rate combined with its raw damage makes it the highest-DPS weapon, but it consumes ammunition very quickly. For boss fights, the Crossbow combined with Bomb Arrows delivers the fastest kill times. If you find the slower pace uncomfortable for regular enemies, you can switch between the Bow and Crossbow depending on the situation.
Arrow Types
Beyond the basic Stone Pellets for the Slingshot and Standard Arrows for the Bow and Crossbow, Starsand Island features several specialty arrow types. Each serves a distinct purpose, and some are essential for solving environmental puzzles rather than dealing damage.
Arrow Type | Weapon | Effect | Primary Use |
|---|---|---|---|
Stone Pellets | Basic projectile damage | Early-game combat | |
Standard Arrows | Standard projectile damage | General-purpose combat | |
Bomb Arrows | Explosion on impact with high area damage | Boss fights, groups of enemies, highest DPS ammo | |
Fire Arrows | Ignite targets and burn organic obstacles | Burning root barriers blocking paths in the Moonlit Forest | |
Water Arrows | Water effect that causes vines to grow | Growing vine bridges over gaps to access new areas | |
Light Arrows | Illuminate dark areas and activate torch mechanisms | Lighting torches for puzzles, illuminating dark caves |
Bomb Arrows are by far the most important ammo type for combat. Their explosion deals area damage and the per-hit output far exceeds Standard Arrows. Always bring a stockpile of Bomb Arrows to any boss fight. The other specialty arrows (Fire, Water, Light) are primarily for exploration and puzzle-solving rather than damage, but carrying a small supply of each is wise when venturing deep into the Moonlit Forest.
Charged Attacks and Weak Points
Charged Attacks
All weapons support charged attacks. Hold the fire button to charge, then release for increased damage. Charged shots deal roughly 2x the damage of quick shots. The following table shows specific damage values verified from community testing:
Weapon | Ammo | Quick Shot (Normal) | Quick Shot (Weak Point) | Charged Shot (Normal) | Charged Shot (Weak Point) |
|---|---|---|---|---|---|
Stone Pellets | ~30 | ~60 | ~65 | ~130 | |
Simple Pellets | ~65 | ~130 | ~131 | ~262 | |
Standard Arrows | Higher base damage | 2x normal | Significantly higher | 2x charged normal |
Exact bow and crossbow damage values scale with ammo type. Bomb Arrows deal additional area-of-effect explosion damage on top of the direct hit.
Weak Point System
Enemies have glowing weak points that appear during specific animations or attack phases. Hitting a weak point deals 2x damage compared to a body hit. Weak point windows are temporary; learn each enemy's attack pattern to identify when weak points are exposed.
Certain ammo types (like Bomb Arrows) can force enemies to take "weak point tier" damage regardless of where they are hit.
Boss Weak Points
The following table lists verified boss weak point locations and when they become exposed:
Boss | Weak Point Location | When It Appears |
|---|---|---|
Glowing abdomen | When the boss drains crystal power (abdomen glows bright); deal double damage during this phase | |
Crystal on top of shell | Glows light blue at certain times during the fight; signals vulnerability window | |
Top of head | Head exposed during specific attack recovery phases |
Health System
Players have 5 heart nodes. Each enemy hit removes one heart. There is no armor, blocking, or dodge rolling in the game. Survival depends entirely on movement, positioning, and ranged accuracy.
HP is restored by eating HP-recovery food. Grilled Chicken Wings restore +68 HP and Grilled Mushroom Skewers restore +86 HP. Stock up on cooked meals before heading into combat.
Sentry Bots
Sentry Bots are automated combat companions purchasable from the Exploration Club on a daily basis. Once deployed, they shoot at nearby enemies automatically, dealing passive damage without any input from you. Sentry Bots are especially powerful during boss fights because they provide consistent supplemental damage while you focus on dodging and landing your own shots.
There is a limited quantity available each day, so buy them whenever you plan to tackle a difficult encounter. Combining your own attacks with Sentry Bot fire can trivialize most bosses. See the dedicated Sentry Bots article for full details on acquisition and strategies.
Combat Food Buffs
Certain cooked dishes and drinks provide temporary combat buffs that increase your damage output. Eating buffing food before a boss fight or a deep Moonlit Forest run can make a significant difference.
Buff | Duration | Stacks | Effect |
|---|---|---|---|
Battle Spirit | 4 minutes | Up to 5x | Increases attack damage per stack. At 5 stacks you deal substantially more damage per hit. |
Forest's Gift | 4 minutes | Up to 3x | Provides a defensive and offensive boost suited for Moonlit Forest encounters. |
Both buffs are stackable, meaning you can eat multiple servings to build up stacks before entering combat. Eating 5 servings of Battle Spirit food gives you the maximum 5x stack, which dramatically increases your damage for the full 4-minute window. Prepare your food using the Stove or Gas Stove before heading into the Moonlit Forest.
Enemy Types
The Moonlit Forest is home to several hostile creature types. Each has different attack patterns and behaviors.
Enemy | Location | Behavior | Tips |
|---|---|---|---|
Runebirds | Throughout the Moonlit Forest canopy areas | Aerial enemies that swoop down in quick attack runs | Time your shots as they descend. They are vulnerable during their dive animation. |
Luminfrogs | Swampy and river areas of the forest | Ground-based enemies that shoot projectiles | Strafe sideways to dodge their shots. They pause briefly between attacks, giving you a window to return fire. |
Gravemites | Deeper forest zones, often near guiding spirits | Aggressive ground enemies that charge toward you | Keep your distance and backpedal while firing. Charged shots to their weak spots deal heavy damage. |
Guiding spirits sometimes appear near Gravemite encounters. These spirits are not hostile and instead serve as navigation aids, leading you deeper into the forest. Do not waste ammo on them.
Boss Encounters
The Moonlit Forest contains several boss enemies that are substantially tougher than regular foes. Boss fights require preparation: bring plenty of ammo (at least 50 to 60 rounds), deploy Sentry Bots, and eat combat buff food before engaging.
Boss | Location | Difficulty | Recommended Preparation |
|---|---|---|---|
Mid Moonlit Forest | Medium | Bow or Crossbow, 50+ Standard or Bomb Arrows, 1-2 Sentry Bots | |
Mural Valley (behind the dual-key door) | Hard | Crossbow preferred, 60+ Bomb Arrows, 2-3 Sentry Bots, Battle Spirit food | |
Deep Moonlit Forest | Very Hard | Crossbow, 60+ Bomb Arrows, max Sentry Bots, 5x Battle Spirit stacks |
General Boss Strategy
Before entering the boss arena, eat 5 servings of Battle Spirit food to reach maximum stacks.
Deploy all of your Sentry Bots at the edge of the arena. They will begin firing automatically when the boss activates.
Keep moving in circles around the boss. Most boss attacks are aimed at your current position, so constant movement causes them to miss.
Aim for glowing weak spots. Bosses have specific areas that flash or glow during certain attack phases. Hitting these spots deals critical damage.
Use Bomb Arrows for burst damage. Standard Arrows work in a pinch, but Bomb Arrows cut the fight time significantly.
If you run low on ammo, retreat to the arena entrance. Bosses typically have a leash range and will reset, giving you time to restock from your inventory.
Stun-Lock Technique
All three large bosses in the Moonlit Forest can be stun-locked using explosive ammo. The technique is simple: fire one explosive projectile (Blast Pellets for Slingshot, Bomb Arrows for Bow/Crossbow) to trigger a stagger, then immediately switch to standard ammo and fire rapidly during the immobilization window. Before the boss recovers, fire another explosive projectile to restart the cycle. This conserves expensive ammo while maintaining consistent damage output. See the Ruin Guard article for a detailed step-by-step breakdown of the rotation.
Combat Progression Path
Your combat power in Starsand Island progresses through the Explorer profession tiers. Here is the full progression path for unlocking combat capabilities:
Explorer Tier | Combat Unlock | Requirements |
|---|---|---|
Apprentice Explorer | Slingshot (Stone Pellets) | Start the Explorer profession with Zephyria |
Junior Explorer | Plume Bow and Arrows blueprint | Complete Junior Explorer certification quest |
Intermediate Explorer | Advanced arrow types available | Complete Intermediate Explorer certification |
Expert Explorer | Crossbow (quest reward) | Complete Expert Explorer certification quest |
Advancing through the Explorer tiers also unlocks access to deeper areas of the Moonlit Forest, which means tougher enemies but better loot from Ore Chunks and treasure chests.
Tips and Best Practices
Always carry at least 50 to 60 rounds of ammo before entering the Moonlit Forest. Running out mid-fight leaves you defenseless.
Bring a mix of arrow types: Standard Arrows for regular enemies, Bomb Arrows for bosses, and a handful of Fire, Water, and Light Arrows for environmental puzzles.
Aim for weak spots (glowing areas on enemies). Weak point hits deal roughly double damage.
Move in circles to dodge. Nearly all enemy projectiles and charge attacks are aimed at your current position, so constant lateral movement is the best defense.
Use terrain to your advantage. Many Moonlit Forest areas have rocks and pillars you can use as cover between shots.
Stack Battle Spirit food buffs to 5x before boss fights. The damage increase is substantial and lasts long enough for most encounters.
Deploy Sentry Bots at the start of every boss fight. Their passive damage adds up significantly over the course of a long fight.
Craft ammo in bulk before trips. Stone Pellets and Standard Arrows are cheap to produce, and you never want to run short.
If a boss is too difficult, come back after upgrading your weapon tier. The damage jump between Slingshot, Bow, and Crossbow is significant.
Sell excess common materials from Ore Chunks to fund ammo crafting and Sentry Bot purchases.
Related Articles
Moonlit Forest
Explorer
Sentry Bots
Exploration Club
Ruin Guard
Ore Analyzer