Overview
The Moonlit Forest is not just combat and mining. Between the boss fights and ore veins, the dungeon is built around environmental puzzles that gate your progression. You will encounter spirit-release puzzles, root-burning mechanics, bridge-growing sequences, torch-lighting challenges, and one large mechanical device. None of them are brutally hard, but they do require you to pay attention to your surroundings and come prepared with the right tools.
Slingshot and the Entrance
The very first puzzle is getting into the Moonlit Forest. The entrance is a Damaged Door near your house with golden weak spots. You need a Slingshot (2 Softwood + 2 Fiber, blueprint from Zephyria at the Exploration Club) and Simple Pellets (5 Stone makes 2 ammo at the Exploration Club or an Ammo Maker). Aim at the golden nodes and shoot to break them. On PC, aim with the mouse crosshair and click to fire. Hold the button for a stronger shot.
This is a tutorial-level puzzle, but it establishes the Slingshot as a tool for interacting with the environment, not just fighting enemies.
Gravecrystal and Gravestar Puzzles
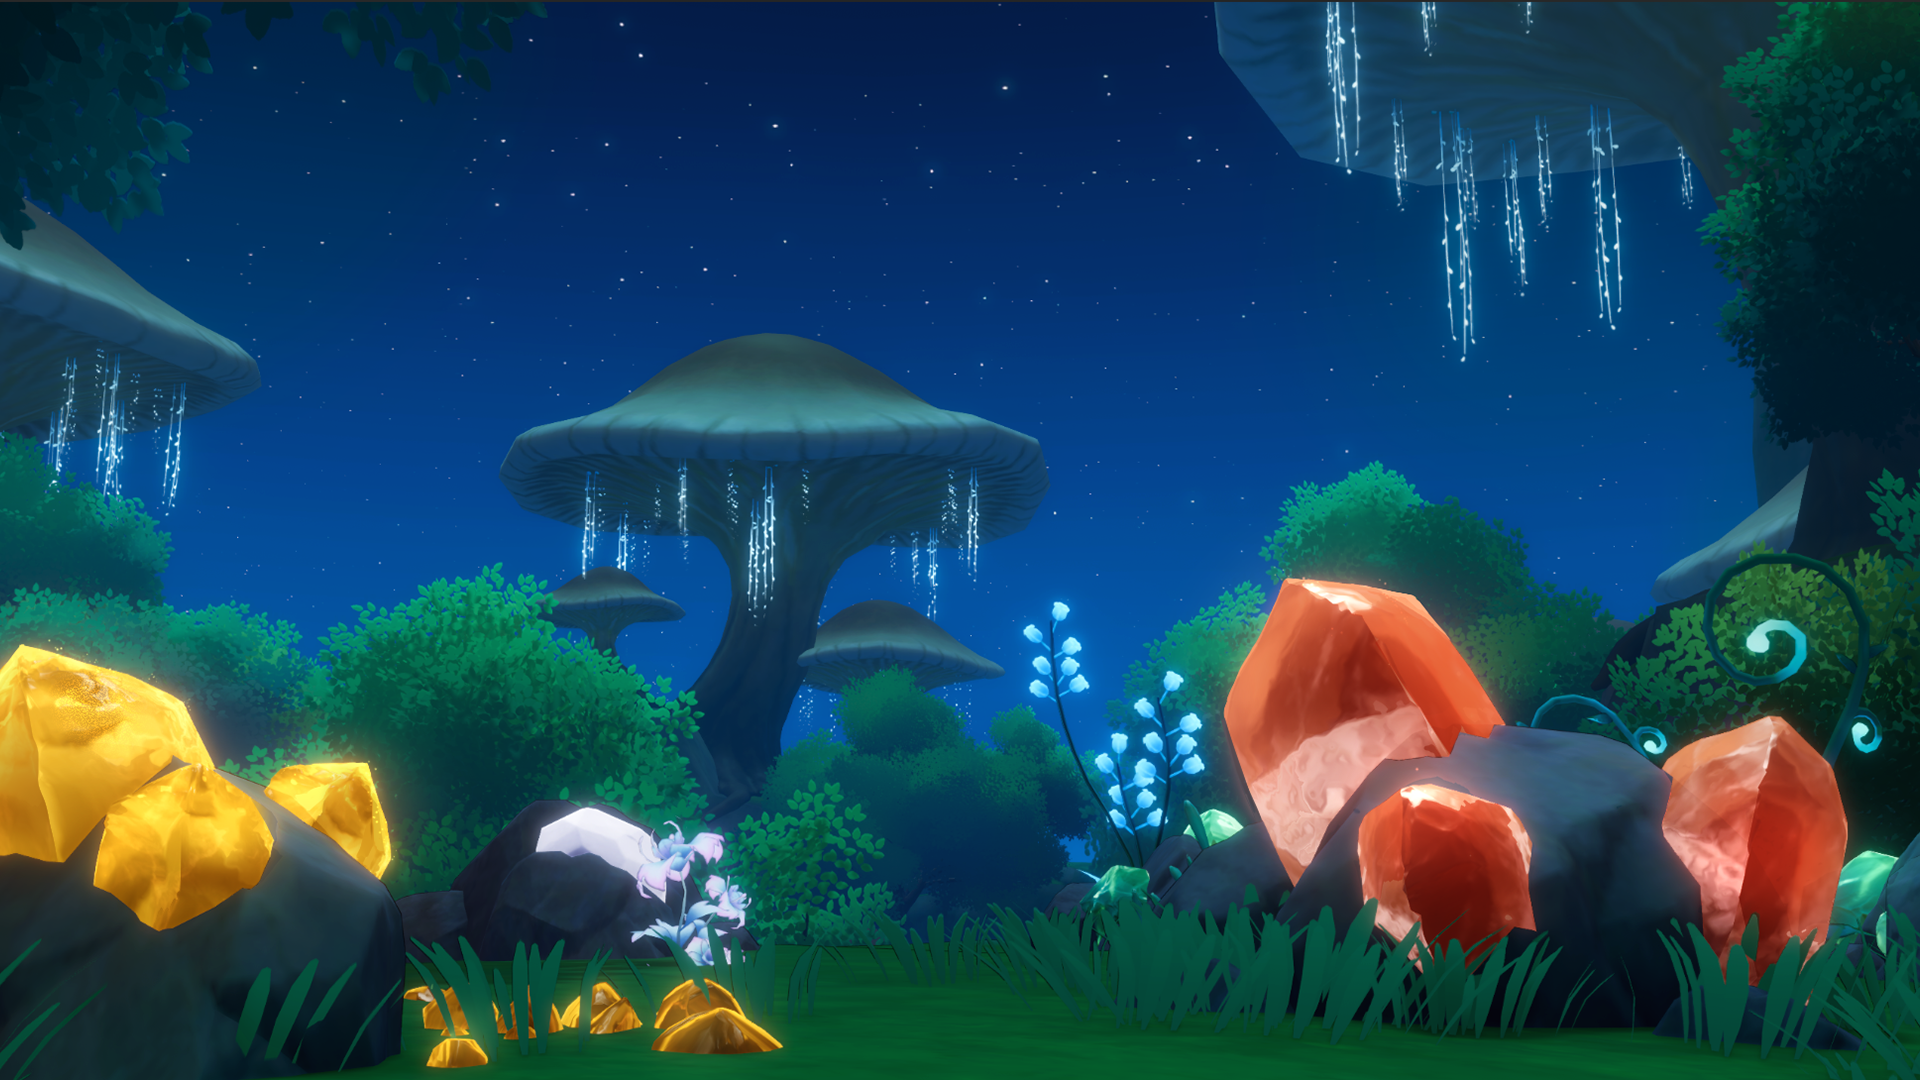
These are the most common puzzle type in the forest. Gravecrystals (also called Gravemites) are orange-reddish glowing rocks embedded in walls and floors. They look similar to Fluorite veins, which makes them easy to walk past if you are not looking carefully. Break one with your pickaxe and it releases a Gravestar, a small glowing spirit that floats toward a specific gate or treasure chest.
Most Gravestar puzzles require you to find and free three spirits in the surrounding area. Once all three reach their destination, the gate opens or the treasure chest becomes accessible. Some Gravecrystals also unlock Astral Paths, hidden shortcuts between areas.
Gate of Life (3 Gravestars)
The first Gravestar puzzle. The three spirits are located:
By the broken bridge northeast of the Evernight Forest camp. Mine the Gravemite, then repair the bridge with 15 Stone so the spirit can cross.
In the Gate of Life camp area, just up from the tent, near the locked door.
On small cliffs directly south of the Gate of Life. Follow the path down from the camp and jump up the cliff face.
Freeing all three opens the Astral Path to Dreamfall Garden.
Crystalith Hideout (3 Gravestars)
The three spirits here are at the start of the path to Azure Bay, on the opposite side of the same path, and above the giant purple mushrooms on the far left. The reward is a treasure chest at the base of the mushrooms.
Mural Valley (3 Gravestars)
Spirits are found by rocks between the camp and river, on the right side of the campsite, and back down the path on the far left of the map. The treasure chest sits on elevated cliffs between Azure Bay and Mural Valley, reachable via a fallen tree trunk from the left side of the tent.
Harvest Yard (2 Gravestars)
One spirit is trapped inside a bubble near the bridge. The second is in a clearing next to the Grain Haven camp. Instead of unlocking a treasure chest, freeing these two spirits enables the waterwheel repair (covered in its own section below).
Luminwing Butterfly Puzzle
In Dreamfall Garden, there is a broken crystal column called the Luminpath. Repairing it requires catching and submitting 5 Luminwing Butterflies. Here is the process step by step:
Arrive at Dreamfall Garden (after solving the Gate of Life puzzle and crossing the bubble bridges).
Activate the camp by repairing the Moonweaver with 5 Fluorite.
Craft a Bug Net at the camp workbench (2 Softwood + 2 Fiber) if you do not already have one.
Head to the back of Dreamfall Garden, near the Moondew Shrooms. Luminwing Butterflies spawn here between 6:00 and 18:00 on Sunny or Snowy days. They are available year-round.
Toggle to walk mode (CTRL on PC) and sneak up slowly. Swing the net with the usual half-second lead time.
Catch 5 butterflies and interact with the Luminpath column.
A blue bridge appears, leading to the Crystalith Hideout and the boss fight beyond.
If the butterflies are not spawning, check the weather and time. Rainy days suppress spawns, and they vanish after 18:00.
Fire Arrow Puzzles
Fire Arrows burn away tree roots and branches that block doorways and passages. Point your bow at the obstruction, fire a Fire Arrow, and it burns away, clearing the path. You pick up Fire Arrows as a special tool mid-dungeon after progressing through the Explorer profession (Junior tier or higher). The blueprint is available at the Exploration Club.
Fire Arrows are used in several locations:
Item | Description |
|---|---|
Harvest Yard entrance | a large tree root blocks the door into the Harvest Yard. Burn it to enter. |
Serenity's Rest torch puzzle | six floating lights hover above torches/pillars in the ruins. Shoot each one with a Fire Arrow to light it. Lighting all six raises a bridge and opens a chest at the end. |
Various blocked passages | smaller root obstructions appear throughout the deeper zones after the Bronze Gate. |
Fire Arrows are not consumable crafted items. Once you acquire them, they stay in your inventory permanently.
Water Arrow Puzzles
Water Arrows do the opposite of Fire Arrows. Shoot a chopped tree stump or cut root and it regrows into a vine bridge or walkable path. This creates a back-and-forth dynamic: burn a root with fire to clear a blockage in one spot, then regrow a different root with water to create a crossing in another.
You receive the Water Arrow blueprint as a reward for defeating the Glintortle boss (accessed after opening the Bronze Gate with both Ruin Keys). Water Arrows are first used in the Harvest Yard, where you burn the entrance root, activate the camp, then shoot a stump with a Water Arrow to grow a vine bridge to the other side.
Pay attention to which roots you cut and which ones you might need as platforms later. Some puzzles require you to clear one path and create another in sequence.
Torch and Fire Pillar Puzzle
Near the Serenity's Rest camp, the ruins contain a puzzle with six floating lights above torch pillars. This is a shooting gallery: pull out your bow with Fire Arrows equipped and shoot each of the six lights to ignite the torches below them.
Lighting all six raises a pathway that leads to loot and creates a route toward Moonlight Meadow. The individual lights are spread across the ruins at different heights and angles, so you need to look around the room carefully to spot all of them.
Bubble Bridges
Giant floating bubbles appear over water sections throughout the forest, most notably on the path from the Gate of Life to Dreamfall Garden. These are platforming segments rather than true puzzles. Time your jumps to land on each bubble and cross the gap.
Bubbles are stable enough to stand on briefly, but do not linger. Jump to the next one at a steady pace. Missing a bubble drops you into the water below, which means climbing back up and trying again.
Waterwheel Mechanism
The waterwheel is the most involved mechanical puzzle in the forest. It sits in the Harvest Yard and functions as an elevator connecting three levels: Harvest Yard, Grain Haven above, and Darkwater Shore below.
Repairing it requires:
Free the 2 Harvest Yard Gravestars (one trapped in a bubble near the bridge, one in a clearing near Grain Haven).
Obtain a Waterwheel Bearing from Zephyria (given when you start the Senior Explorer trial).
Gather materials: 5 Primorite (mined in Mural Valley), 5 Magnetite (translucent white deposits in the Glintortle boss arena), and 5 Gold (found beyond Crystalith Hideout). Gold and Primorite require an Impact Hammer to mine.
Repair the waterwheel with all materials.
Once active, use the waterwheel button to travel up to Grain Haven or reverse direction to descend to Darkwater Shore.
Tips
Scan every room for Gravecrystals. Their orange glow blends into dark cave walls, and the treasures they unlock are worth the effort.
Bring a Bug Net into Dreamfall Garden. If you do not have one, the camp workbench there lets you craft one on the spot.
Fire and Water Arrows are permanent tools, not consumable ammo. Once you have them, they stay.
For the torch puzzle at Serenity's Rest, look up. Some of the floating lights are above eye level and easy to miss.
The waterwheel goes both directions. After reaching Grain Haven, reverse it to access Darkwater Shore, which has Glowfish and Eldergrain.
Repair the broken bridge at Gate of Life (15 Stone) before freeing the first Gravestar. The spirit needs the bridge to reach the gate.
Related Articles
Item | Description |
|---|---|
dungeon overview and zone descriptions | |
ancient structures, Ruin Keys, and lore | |
all 9 Gravemite locations with maps | |
Moonweaver portals, tents, and facilities at each camp | |
all 56+ treasure chests and their contents | |
catching Luminwing Butterflies and other insects | |
Explorer profession tiers and boss strategies |