Loading...
Loading...
Fire Element
May 23, 2026 at 03:52 PM
Added internal wikilinks
Fire (also referred to as Flame) is one of the four primary elemental effects available in Crimson Desert. When applied to weapons through the Axiom Bracelet, Fire causes attacks to inflict a burning status effect that deals sustained damage over time. The burn pressures enemies with continuous health drain even while you are dodging or repositioning, making Fire one of the most versatile and beginner-friendly elements in the game.
Fire excels against groups of enemies because the burn can spread pressure across multiple targets simultaneously. It also serves an environmental role, clearing thorny terrain to open blocked paths. Of the four weapon-imbuable elements (Flame, Frost, Lightning, and Wind), Fire is the safest general-purpose option for most of the early and mid game.
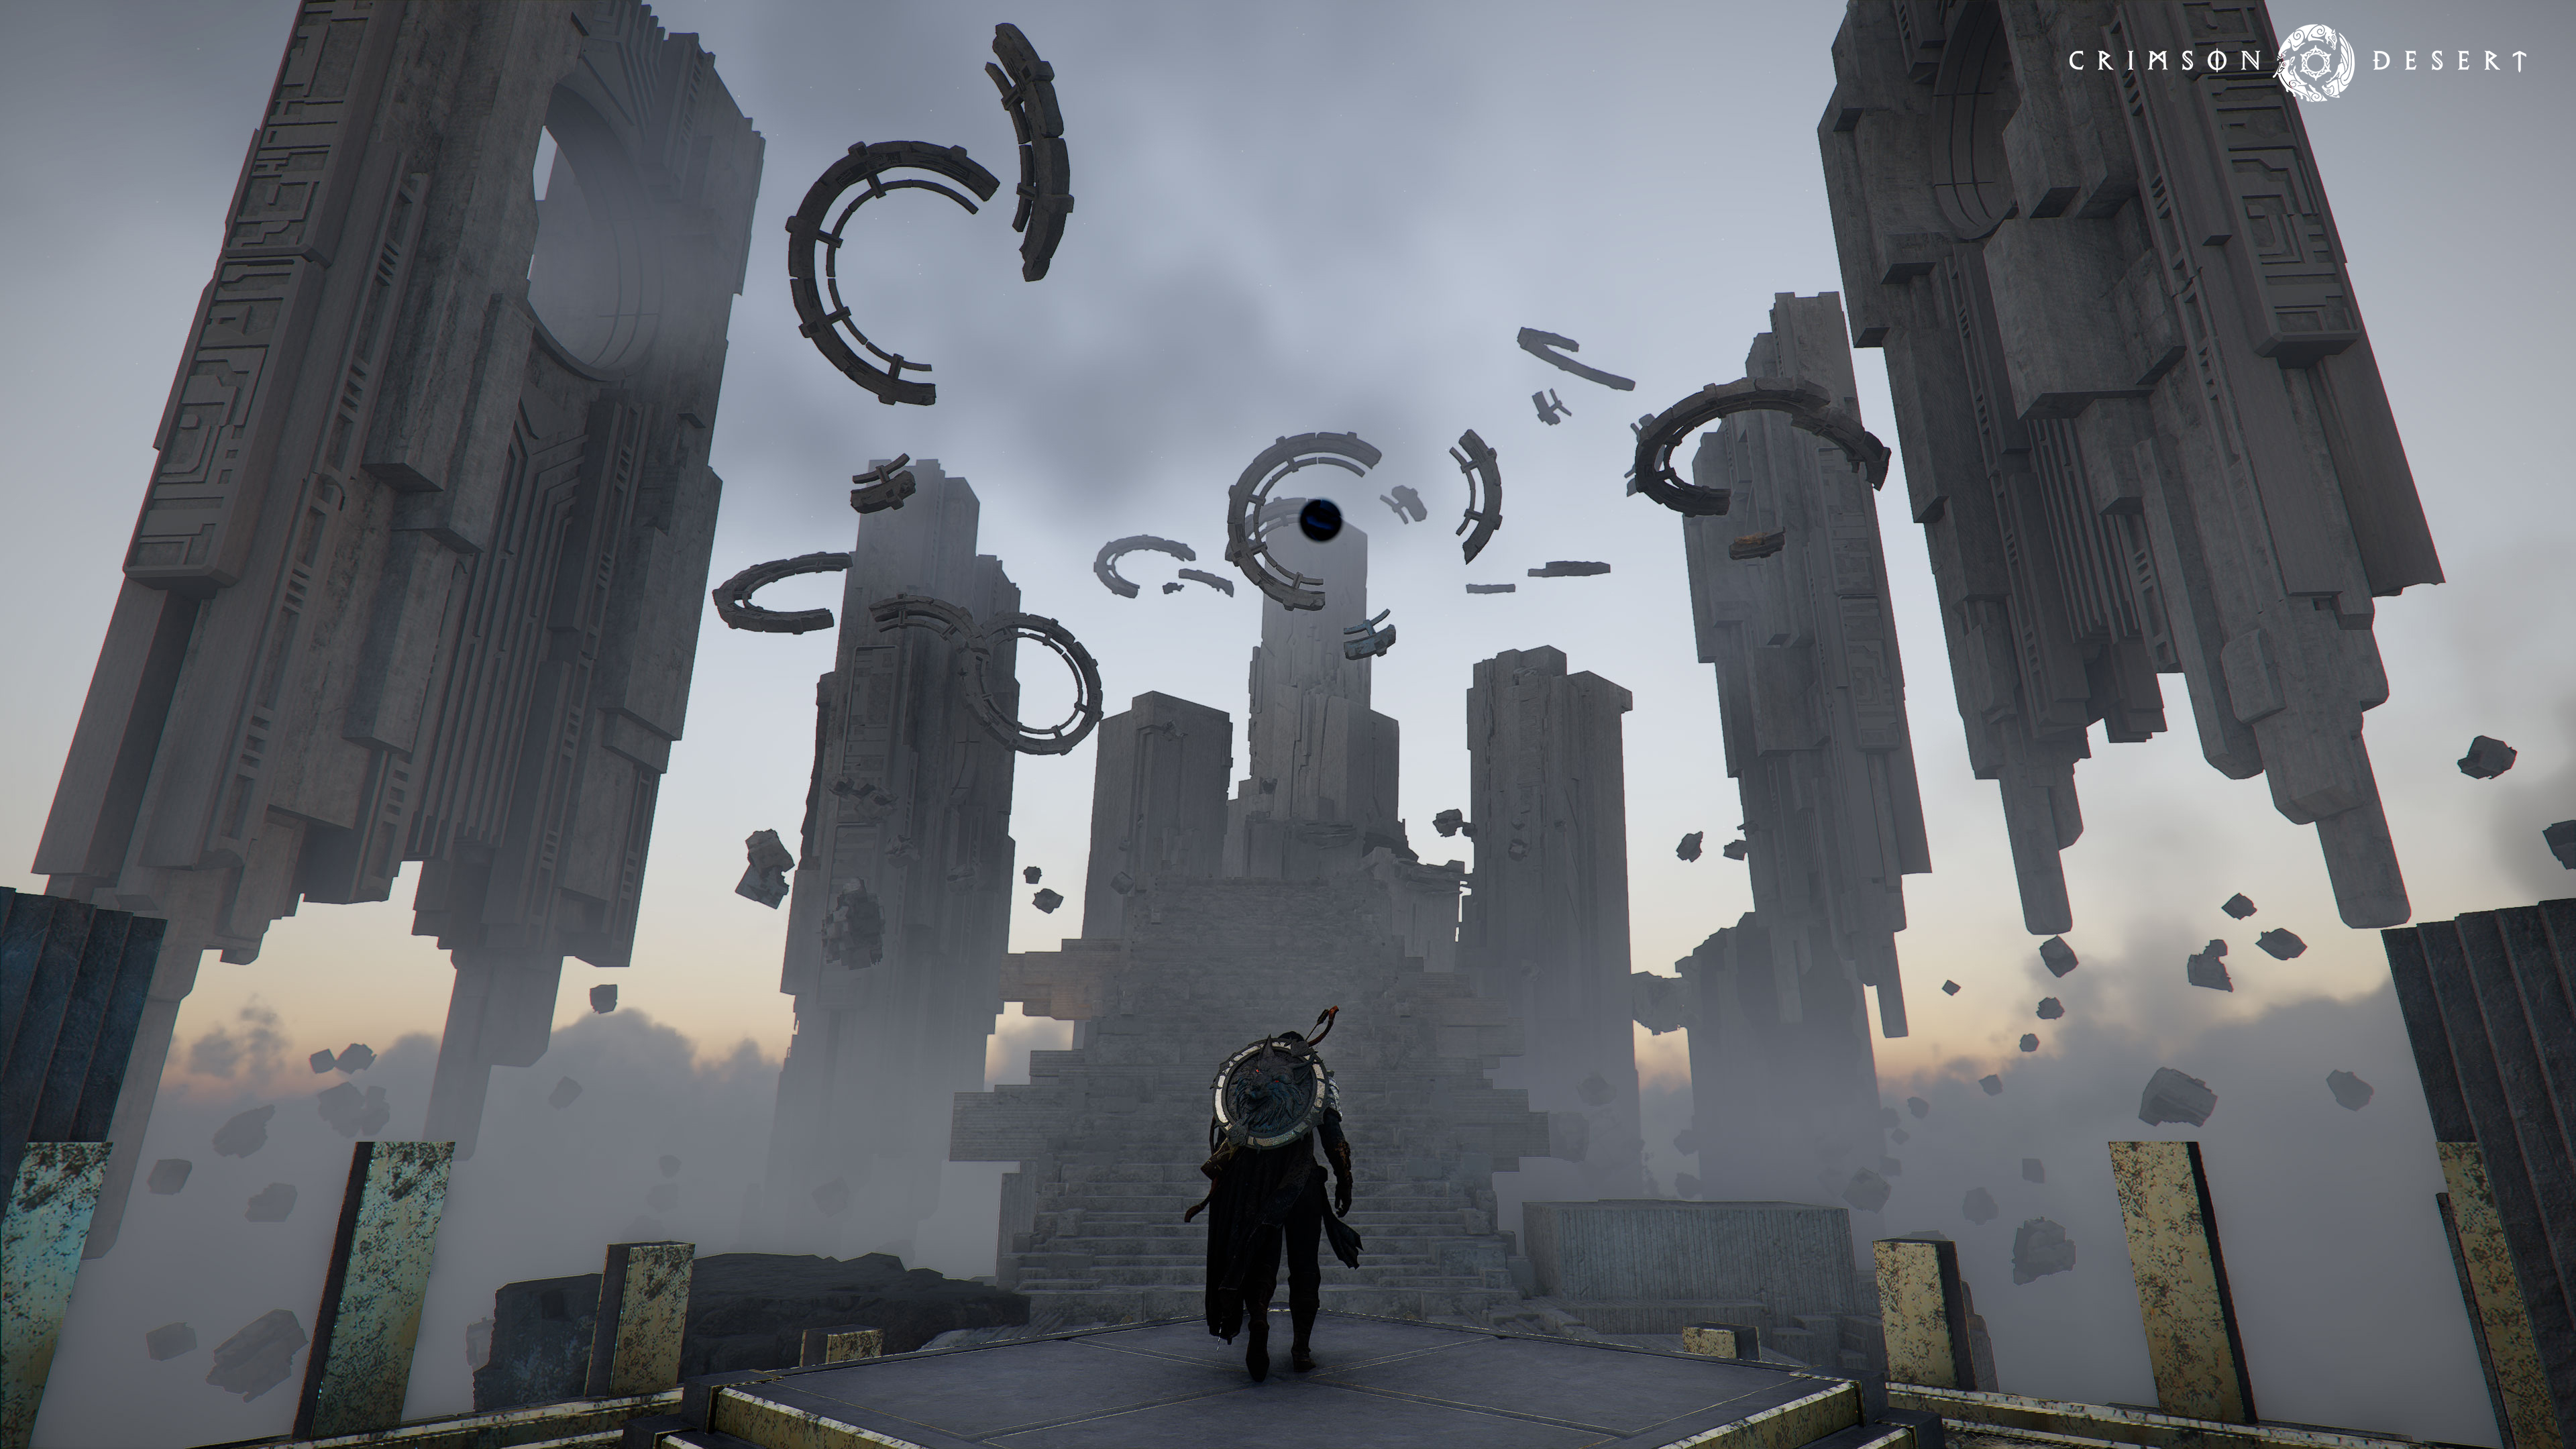
Fire is unlocked by completing the Tree of Slumber puzzle, which is located deep inside the Abyss accessed through the Spire of Ringing Truth in western Pailune, between the Wayward Woods and the Upper Nas River. Unlike most elemental abilities, Flame cannot be unlocked with Abyss Artifacts alone. You must follow the full Abyss puzzle chain to reach the Tree of Slumber.
The complete Abyss path leading to the Tree of Slumber is as follows:
Spire of Ringing Truth (climb to the top, destroy the bell, descend into the basement Abyss Gate)
Ether Rest
Frostbitten Paradise
Path of Trials (this is where you unlock Frost first)
Sanctorum of Darkness
Loop of Life
Tree of Slumber (final puzzle; completing it unlocks Flame)
To solve the Tree of Slumber puzzle, interact with the central pillar by stabbing it with your weapon (R1 + Triangle on PlayStation, RB + Y on Xbox). Once your weapon is embedded in the pillar, rotate it left or right to move the surrounding outer pillars up and down. Each outer pillar must be raised roughly two-thirds of the way up until a blue light begins to glow from its base. When all pillars are set to the correct height, the puzzle completes and you receive Flame Lv. 1.
Completing the Tree of Slumber automatically teaches the following character-specific fire skills and enables Flame as an Elemental Imbuement through the Axiom Bracelet:
Before attempting to unlock Fire, ensure you have the following: the Reindeer Cloak (Ice Resistance Lv. 5, found in a hidden cave southwest of the Scholastone Institute), at least 5 levels in Stamina, a bow with 50-60 poison arrows, and the Cuckoo Pot (obtained during Chapter 4). You should be in Chapter 4 or later before attempting this content.
Unlocking Fire requires completing all six Abyss sky islands accessed through the Spire of Ringing Truth in Pailune. You must unlock Frost first (islands 1-3), then continue through three more islands to reach the Tree of Slumber (island 6). The full chain is: Ether Rest, Frostbitten Paradise, Path of Trials (Frost unlock), Sanctorum of Darkness, Loop of Life, and Tree of Slumber (Fire unlock). The entire chain can be completed in one sitting.
Fire infusions deal extra damage on top of your base attack values. When an enemy accumulates enough fire damage from rapid successive hits, the Burning status effect is applied. Burning causes sustained damage over several seconds, steadily draining the target's health even if you disengage or are forced to dodge away. The effect is visible on the enemy as flames flickering across their body.
Key mechanical properties of the Fire element:
Damage over Time: Burning applies a continuous health drain for several seconds after activation.
Multi-hit Activation: Fire stuns and burn buildup require landing multiple hits in quick succession. This makes Fire better suited for aggressive combo-heavy playstyles rather than single heavy attacks.
Area Pressure: Fire arrows explode on impact, dealing area damage that can hit clustered enemies. Melee fire attacks paired with wide-arc swings spread the burn across multiple targets.
Environmental Clearing: Fire abilities can clear thorny or blocked terrain in the environment, opening new paths.
Imbue Duration: Fire imbues applied through the Axiom Bracelet last approximately 12 seconds of active combat. The timer counts down only during active weapon swings, not while blocking, dodging, or repositioning.
Each playable character receives a unique fire skill upon completing the Tree of Slumber. In addition, the Imbue Element skill node in the Health (Red) branch of the skill tree unlocks several sub-skills that can be imbued with Fire through the Axiom Bracelet.
Skill Name | Character | Effect | Unlock Requirement | |
|---|---|---|---|---|
Perform a powerful strike while wreathed in flame | 10 Spirit | Complete Tree of Slumber (Flame Lv. 1) | ||
Lunge forward with a flame-charged punch | 10 Spirit | Complete Tree of Slumber (Flame Lv. 1) | ||
Strike the ground with fire-imbued fists, creating an area-of-effect blast | 10 Spirit | Complete Tree of Slumber (Flame Lv. 1) |
The Imbue Element skill in the Health (Red) skill tree branch lets you apply your currently selected element to specific combat abilities. When Fire is selected on the Axiom Bracelet, these sub-skills add flame damage and burn buildup on top of the base ability:
Sub-Skill | Character | Base Ability | |
|---|---|---|---|
Turning Slash (adds fire to the wide sweep) | Lv. 1 | ||
Charged Shot (adds fire to ranged attacks) | Lv. 1 | ||
Force Palm (adds fire to palm strikes) | Lv. 1 | ||
Smiting Strike (adds fire to melee strikes) | Lv. 1 | ||
All characters | Meteor Kick (fixed element; may use Lightning instead) | Higher level |
The Axiom Bracelet is the primary tool for applying Fire to your weapons during combat. Once Flame Lv. 1 is unlocked, Fire becomes available on the bracelet's radial dial interface.
To apply a Fire imbue:
Press the corresponding D-pad direction to select Fire on the Axiom Bracelet's radial menu.
Your weapon immediately gains a fire coating that lasts approximately 12 seconds of active combat time.
The timer only counts down during active weapon swings. Blocking, dodging, and repositioning do not consume imbue time.
When the imbue expires, attacks revert to physical damage until you reapply.
You can reapply Fire immediately by pressing the same D-pad direction again, or switch to a different element mid-combo.
The quick-swap nature of the Axiom Bracelet allows skilled players to chain different elements together within a single combo string. For example, you might open with Fire for area burn pressure, then immediately switch to Ice to freeze a priority target that survived the initial burst.
Fire interacts with the environment and other gameplay systems in several confirmed ways:
Interaction | Effect |
|---|---|
Fire + Terrain | Fire abilities clear thorny or blocked terrain, opening paths that are otherwise impassable |
Fire + Airborne Enemy | Applying a fire charge to an airborne enemy and detonating it before landing deals extra impact damage |
Fire + Frost Creatures | Using flame-imbued weapons against frost-dwelling creatures deals significant bonus damage and can negate cold-related debuffs |
Fire + Wide-Arc Swings | Pairing Fire with wide-arc weapon swings from greatswords or axes turns a single strike into a multi-target burn, pressuring groups simultaneously |
Fire Arrows + Clusters | Fire arrows explode on impact, dealing area damage to clustered enemies |
Fire + Aerial Combo | Jump into the air, apply a fire enhancement mid-flight, then launch a ground-slam kick for combined fire and knockdown damage on impact |
Fire can also be layered with other elements in rapid succession. A player can apply Fire to a sword strike, switch to an ice-infused spear thrust, and finish with a lightning-enhanced greatsword slam, stacking multiple elemental effects on a single target.
In addition to the Axiom Bracelet, players can ignite arrows manually using environmental fire sources. To create a fire arrow:
Draw your bow with L2 (PlayStation) or LT (Xbox).
While the bow is drawn, move the arrow tip close to any lit brazier, torch, or campfire in the environment.
Once the arrowhead catches flame (visually indicated by a burning glow), release the arrow.
Fire arrows explode on impact and deal area-of-effect damage, making them effective against groups. They also serve environmental purposes, such as igniting oil spills or lighting distant braziers to solve puzzles and access locations like Lioncrest Tower.
Fire is especially effective against several enemy categories. Understanding these matchups helps you choose the right imbue before committing to a fight.
Enemy Type | Fire Interaction |
|---|---|
Frost-Dwelling Creatures | Frost-based enemies take significant bonus damage from Fire. Imbuing a weapon with Flame against creatures like White Horn scorches their fur, causing extended stuns and negating the Hypothermia debuff from cold environments |
Kearush is extremely weak to fire. Flame-imbued weapons scorch Kearush's fur, striking it for several seconds and creating large punish windows | |
Undead (Skeletons and Revenants) | Fire is particularly effective against undead enemies, as it permanently destroys skeletal foes and prevents respawning. Always bring fire infusions when facing undead |
Beasts (Wolves, Hyenas) | Fire causes pack-hunting beasts to flinch and scatter temporarily, disrupting their coordinated attack patterns |
Warlords (Mini-Bosses) | The fire damage-over-time effect provides consistent chip damage between punish windows during prolonged warlord encounters |
Some enemies are resistant or outright immune to fire damage. A fire troll, for example, takes zero fire damage. Always check for visual elemental cues on an enemy before committing to a fire infusion, since wasting an elemental charge on a resistant target is a significant DPS loss.
Players can also build Fire Resistance for their own characters through two primary methods: cloaks and cooked food.
Cloaks are one of the five armor slots in Crimson Desert, and they are the primary source of elemental resistance. Each cloak's resistance type is determined by its material:
Plate Cloaks: Provide Fire Resistance. Plate cloaks are the only reliable source of fire protection. Prioritize acquiring a plate cloak before entering volcanic or fire-themed regions.
Cloth Cloaks: Provide Ice Resistance.
Leather Cloaks: Provide Lightning Resistance.
It is recommended to keep at least one cloak of each material type in your inventory so you can swap to the appropriate resistance before challenging a boss or entering a hazardous area.
Cooking meals at bonfires, campfires, or cooking pots grants temporary elemental resistance buffs alongside health recovery. Field grill recipes tend to grant Fire Resistance. Higher-tier versions provide stronger healing and longer buff durations.
Recipe | Ingredients | Effects |
|---|---|---|
Health +120, Fire Resistance Lv. 2 (30 sec) | ||
1 Meat, 1 Berry | Health +120, Spirit +10, Fire Resistance Lv. 2 (30 sec) | |
1 Meat, 1 Egg, 3 Cooking Oil | Health +140, Fire Resistance Lv. 2 (30 sec) | |
Health +140, Spirit +12, Fire Resistance Lv. 4 (1 min) |
Resistance levels scale from Lv. 1 through Lv. 4, with higher levels reducing more incoming elemental damage. For sustained Fire Resistance, Fruit Punch is the best option at Lv. 4 for a full minute. See the Cooking Guide and Recipes articles for the full list.
Pair Fire with wide-arc weapons. Greatswords and axes have sweeping attack animations that hit multiple enemies per swing. Adding Fire to these swings turns each attack into a multi-target burn, which is ideal for clearing groups.
Use Fire for sustained DPS. The burn damage-over-time chips away at enemy health even while you are dodging, blocking, or repositioning. This makes Fire the safest general-purpose element for exploratory play where you encounter varied threats.
Fire is your go-to for early and mid game. Since Lightning is gated behind Chapter 8 progression, plan your early builds around Fire and Ice. Fire handles most encounters effectively until Lightning becomes available.
Prioritize aggressive combos. Because fire buildup requires multiple rapid hits, favor fast combo chains over single heavy strikes. Characters with rapid multi-hit combos build the burning status faster.
Check for elemental immunity before committing. Some enemies such as fire trolls are completely immune to fire damage. Look for visual elemental cues on the enemy before applying your imbue to avoid wasting the charge.
Bring Fire against undead. Fire permanently destroys skeletal enemies and prevents respawning, making it the ideal element whenever you face undead encounters.
Combine Fire with aerial attacks. Jump into the air, apply fire mid-flight, then execute a ground-slam for combined fire damage and knockdown on impact. This works particularly well with Oongka's Flame Quake.
Cook Fruit Punch before fire-heavy regions. At Fire Resistance Lv. 4 for one minute, Fruit Punch is the strongest food-based fire protection available. Bring the ingredients (1 Berry, 1 Barley, 1 Water) with you.
Keep a Plate Cloak in your inventory. It is the only reliable armor source of Fire Resistance. Swap to it before entering volcanic areas or fighting fire-based bosses.
Effect on Fire-Imbued Hit | Pre-Socketed On | Source | |
|---|---|---|---|
Triggers massive fire meteors / molten boulder explosions around the target | Treasure chest behind the RIGHT waterfall east of Hernand, between Hernand and Demeniss. Pierce the waterfall with a dive attack to open the cave. | ||
Ramps up the burning effect with explosive spark lines that erupt outward | Auto-drops in inventory after the final boss cutscene of Chapter 8: Blood Coronation Walkthrough. No alternate source. |
Effect on Fire-Imbued Hit | Pre-Socketed On | Source | |
|---|---|---|---|
Triggers massive fire meteors / molten boulder explosions around the target | Treasure chest behind the RIGHT waterfall east of Hernand, between Hernand and Demeniss. Pierce the waterfall with a dive attack to open the cave. | ||
Ramps up the burning effect with explosive spark lines that erupt outward | Auto-drops in inventory after the final boss cutscene of Chapter 8: Blood Coronation Walkthrough ( |
Both cores trigger off any active flame imbuement and are weapon-agnostic, so a single fire-imbued strike can produce both effects on the same hit. This is the entire reason fire dominates community boss-kill footage: the two abyss gears stack on top of any baseline skill (Turning Slash, Force Palm, Charged Shot) without locking the player into a specific weapon.
The canonical workflow concentrates both fire abyss cores into a single armor piece so the build can swap between elements by swapping armor in the inventory, rather than re-embedding gears at a witch every time. The fire mode is set up once, the carrier piece is saved, and afterwards the player can flip between fire, frost, lightning, and wind builds with a single equipment change.
Acquire both source items: the Scorchflame Plate Gloves from the waterfall chest, and the Eclipsed Solas Plate Gloves from the Chapter 8 final-boss auto-drop.
Travel to any Witch's Workshops and use Extract Abyss Gear on both pairs of gloves. The cores return to inventory free of their source armor and can be socketed onto any armor piece with an open slot.
Choose a carrier piece. The standard pick is Plate Boots of the Shadows, because its socket count allows both fire cores to live in the same slot.
Embed both Volcanic Eruption and Flames of Judgment into the carrier piece at the witch. The first socket is free; the second uses an existing socket or a new socket opened by the witch.
Repeat the same pattern for sibling elements: a second pair of plate boots can hold the frost pair, a third pair the lightning pair, and so on. Carry them all in inventory and swap whichever carrier is needed.
Once the carrier piece is built, the in-combat rotation is trivial: equip the fire boots, imbue Fire on the Axiom Bracelet, and every fire-imbued strike fires both Volcanic Eruption and Flames of Judgment at once. The skill spam of choice is Flame Strike, which costs almost nothing and procs both cores on every projectile.
Element | Canonical Abyss Gear Pair | Recommended Carrier Slot |
|---|---|---|
A second pair of plate boots set aside as the frost carrier | ||
A third pair of plate boots set aside as the lightning carrier | ||
Wind abyss cores per Wind Element notes | A fourth carrier piece for traversal-heavy zones |
The carrier-piece pattern is the recommended way to keep multiple element kits ready without re-visiting a witch mid-session. The full extract and embed flow is documented under Witch's Workshops and Imbue Element; the fire-side details live on Volcanic Eruption and Flames of Judgment.
For a complete fire-mage rotation that uses the canonical pair plus the Flame Strike spam loop, see Build Guide: Volcanic Mage. The build assumes both abyss cores are extracted and consolidated into a single boot, and walks through the witch sequence, the imbue rotation, and the recommended sibling-element backup carriers in inventory.
Elemental Effects (full overview of all elements)
Axiom Bracelet (the tool for imbuing elements)
Flame Strike (Kliff's fire skill)
Flame Quake (Oongka's fire skill)
Frost Mantle (Ice defensive skill, unlocked earlier in the same Abyss chain)
Cloaks (armor slot that provides elemental resistance)
Cooking Guide (recipes with elemental resistance buffs)
Kearush the Slayer (boss extremely weak to fire)
Status Effects (full list of combat status effects)
Kweiden (snowy region where Fire is especially useful)
Across nearly every endgame build guide published in 2026, Fire Element is ranked at the very top of the elemental tier list. Creators commonly mark it as S+ or a tier of its own, with the shared framing that fire is not an addition to a build but a transformation of how the game plays. The two fire-specific abyss gears Flames of Judgment and Volcanic Eruption are the reason. Together they apply massive poise damage, chain stagger, and juggle bosses out of their upright animation windows long enough for follow-up combos to land.
Fire also shines because of its signature skill Flame Strike. Community testers describe it as a Liu Kang fireball: a spammable projectile with almost no spirit cost, capable of clearing dozens of trash mobs when fanned out in all directions. This is in sharp contrast to Lightning Surge, which locks the player in place, and to Storm Veil which disables rather than kills.
The common closing line in community discussions is that until the game receives a balance pass, fire is the undisputed king. Combined with a zero-arrow-consumption bow running max critical rate and Charged Shot, a single focus salvo can stun essentially any opponent in the game, including so-called overwhelming beings. That is why fire appears in 90 percent of content-creator boss-kill footage.
Flames of Judgment: Flames of Judgment sends out additional sparks on every imbued attack. The spark damage stacks with the base strike and contributes meaningfully to stagger building, which is the real engine behind fire's dominance.
Volcanic Eruption: Volcanic Eruption detonates a molten boulder that hurls extra fireballs into the field. Each explosion can independently proc poise damage, which is why fire chains so consistently knock bosses out of their stance.
Flame Strike as a skill: Spammable, cheap, and effective. Players frequently macro it as a fallback clear tool because it costs almost nothing and neutralizes dense groups before a fight really starts.
The honest answer is rarely. Traversal-heavy zones may benefit from Wind Element for Pillar of Wind jumps, and lightning or ice can be better in niche challenge runs where a specific status proc is required. For everyday combat, most builds stay on fire through the endgame.
After unlocking Frost Element at the Path of Trials, the same Spire of Ringing Truth chain extends through three more abyss islands before the Tree of Slumber unlocks Fire Lv.1. The full chain runs cleanly in a single sitting; teleporters between islands are short, and the falling-platform parkour between Sanctorum of Darkness and Loop of Life can be skipped almost entirely with triple-jump glides if Stamina is at Lv.5.
The fast-travel point above this island sits on top of a grate. The chip needed to power the second laser ball is in the room directly underneath the grate, behind a barrier. The puzzle reads in three steps:
Grapple the back of the right-hand ball (the one with a working laser already attached) and aim its beam at the wall crystal across the chamber to lock the lower-right anchor.
Drop through the grate by jumping onto it and holding L2 plus a punch to drop down. Grapple the chip out of the wall slot, float it back up through the grate hole, and drag it down to the spotlit anchor on the lower platform. Jump-punch when the leaves appear.
Climb back up, grapple the second ball, and aim it at the second wall crystal. Both lasers connected drops the central barricade. Glide across to the altar, jump-punch the button, and grab the abyss artifact.
Each ring of three has one electrical chip that, when slotted, activates the ring and starts it rotating. The rings turn counter-clockwise, so do not activate them all at once or the chips will spin out of reach. Order matters:
Slot the first chip on the entry ring. Confirm the leaves are visible, jump-punch, the orb lights up.
Pull the chip back out and pre-position the second chip on the inside of the next ring before activating it. The ring will rotate, but the chip slot rotates with it; activating early just makes the slot harder to reach.
Lift the door barrier with the chip in the doorway socket. Important: pull that chip back out before activating the third ring. Forgetting it forces a return trip after the rings start moving.
On the third ring, slot the doorway chip into the southeastern socket. With all three orbs lit, the central button rises; jump-punch it to claim the artifact.
The transition out of Loop of Life is a slow rotating-cube parkour. The cubes turn slow enough to slide you off; the practical solution is to triple-jump glide above them, landing on one only when you have to. After the cubes, a long single-platform lift takes you to the next island; expect a couple of minutes of travel.
Lava covers most of the floor of this island and any contact is an instant kill, including the small inner patch by the central pillar. Stay airborne or on the raised stones around the central altar. The puzzle reads as a three-rotation solve with a fixed order; the sequence below is consistent rather than randomized between saves.
Rotation 1: Stab the right-side anchor and rotate it. Stop with everything blue and the tallest pillar still up behind you.
Rotation 2: Run around to the opposite side of the central column. Stab that anchor and lower until the tall pillar drops to ground level; two pillars will sink into the floor in this turn.
Rotation 3: Stab the third anchor opposite the second. Raise the two sunken pillars until everything glows blue together. The lava pit drains and the central button rises.
If a turn goes wrong and pillars drift out of pattern, an alternative is to climb on top of any pillar and jump-crouch repeatedly or aerial Force Palm down from above; both inputs depress that pillar manually and let you re-enter the puzzle from a known state. With the lava drained, grapple the central button (do not walk through what was the lava channel even after it lowers) and glide across to the altar. Picking up the abyss artifact unlocks Flame Strike for Kliff, Flame Rush for Damiane, and Flame Quake for Oongka, and Fire becomes selectable on the Axiom Bracelet radial dial.
Several traversal stretches in this half of the chain use dark gray platforms that drop after a couple of seconds of weight. The pattern: do not stop to plan on these tiles, do not look around, jump straight through. Targeted jumps (L1 plus Square) are safer than free jumps because they commit to the next platform before the current one falls. If you fall, the nearest fast-travel point is back at the previous island's altar, so dropping the platform sequence costs an entire island reset.