
Overview
Blacksmiths are specialized NPCs found throughout Pywel who sell weapons and provide weapon and armor refinement services. Earlier notes also assigned jewelry crafting, Abyss Gear slotting and routine repair of equipment to every smith. The equipment guide instead distinguishes Witch socket services and the camp jeweler from smithy crafting and refinement in Crimson Desert. The following location and upgrade notes are a selected earlier directory; they do not establish that every settlement or Greymane Camp upgrade provides an identical service set.

Earlier role notes said tailors focus exclusively on cloth and leather armor, while smiths handle all weapons and metal armor. That strict material-based division is not independently established by the refinement guide, which describes selecting equipment at a smithy. Check the selected item and available service rather than treating the older division as a universal restriction.
Blacksmith Locations
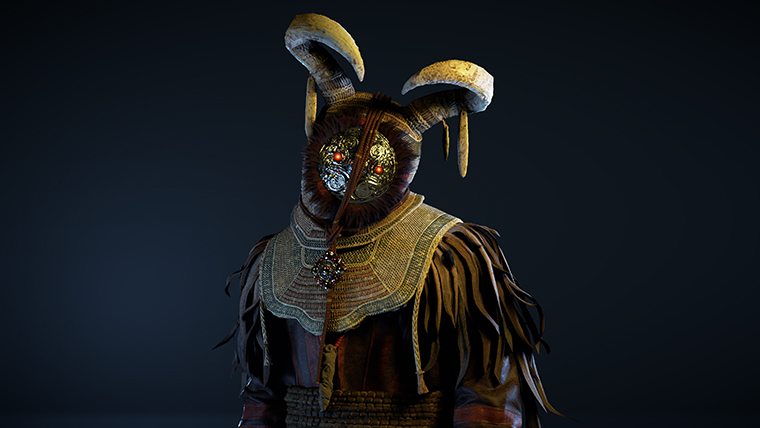
Blacksmiths can be found in most major towns across the continent. Each city blacksmith carries region-specific stock, and their refinement services scale with the settlement's importance. Below is a breakdown of confirmed blacksmith locations:
Location | Region | Notes |
|---|---|---|
Main city blacksmith near the market district. Full refinement services up to the highest tier. Located close to Hernand Castle | ||
Earlier notes described a coastal smith stocking weapons for maritime threats, with refinement and jewelry crafting. That coastal/Demeniss attribution and exact service inventory remain unverified; the regional guide places Pailune in the northern icy region. | ||
Earlier capital-vendor notes describe a broad weapon selection and Abyss Gear slotting. Core socket services are documented at Witches, not certified here as smithy services. | ||
Mountain region blacksmith. Known for stocking heavy weapons and sturdy metal armor pieces. Materials from local mining nodes are sold here. | ||
Frozen region blacksmith. Stocks cold-resistant gear. Limited jewelry crafting options due to the remote location. | ||
Home-base smithy. The equipment crafting guide identifies Alec as the camp blacksmith and Connor as its jeweler. Older claims that camp tiers unlock every refinement, repair and socket service are not independently established; core sockets remain a Witch workflow. | ||
Frontier outposts | Various | Smaller settlements in remote areas may have basic blacksmiths with limited stock and lower-tier refinement only. |
City blacksmiths generally offer the same core services, but their weapon inventories differ based on the region. A blacksmith in a coastal town stocks different weapon types than one in the frozen mountains of Kweiden. It is worth visiting blacksmiths in every region you explore to see what unique weapons they carry.
Blacksmith Services
The earlier list groups six service categories together, including repair and Witch socket work. It is not a confirmed six-service menu at every frontier, city or Greymane Camp smithy. The documented smithy workflow is crafting/refinement; confirm other services with their specific NPC.
Service | Description | Requirements |
|---|---|---|
Weapon purchasing | Browse the selected smithy inventory. Earlier daily-restock and vendor-tier rules are not independently established for every item or smithy. | Gold (earlier currency label; check the listed shop price) |
Upgrade a weapon's base attack stat through a tiered enhancement system. Each refinement level increases damage output progressively. | Required ores and crafting materials | |
Armor refinement | Upgrade metal-based armor pieces (helmets, gauntlets, greaves, breastplates) to increase their defense stats. Works the same way as weapon refinement. | Required ores and crafting materials |
Jewelry crafting | The earlier service list assigned accessories such as necklaces, rings, and earrings to every smith, including set effects. The crafting guide specifically identifies Connor as the camp jeweler; the universal service and set-bonus rules remain unverified. | Selected recipe/material requirements; earlier Gold-fee claim unverified |
Abyss Gear slotting | A Witch can embed or extract compatible Abyss Gear from eligible sockets. This is separate from smithy refinement; the typed socket limit is not three on every weapon. | Abyss Gear items |
Repair | Earlier notes assumed routine durability repair for weapons and metal armor. Equipment with a visible weapon durability stat needs item-specific treatment; some weapons carry an Irreparable tag. A universal paid repair service is not established here. | Earlier generic fee model, not independently confirmed |
Weapon and Armor Refinement
Refining equipment is the primary upgrade path in Crimson Desert. The refining system works as a tiered enhancement system where each level boosts the item's base stats. The process is the same for weapons and metal armor, though the specific materials differ.
How Refinement Works
Bring a weapon or armor piece to any blacksmith that offers refinement services.
Select the item and check its required refinement materials. The refinement guide explicitly describes no separate currency charge.
If you have the materials, confirm the upgrade. The item's base stats increase immediately.
Higher steps require the selected item's material recipe; do not add the older generic gold surcharge to that documented workflow.
Refinement Levels 1 Through 4
The earlier generic first-four-level model used common resources that are readily available through normal gameplay. Its examples included ores from mining nodes and basic crafting materials purchased from NPC vendors. It also assumed moderate gold costs and a universally optimal +4 stopping point. Those are retained as older budgeting advice, not current item-specific prices or a measured universal optimum. The refinement guide describes material submission without a currency charge; check the chosen refinement curve.
Level | Materials Required | Stat Increase |
|---|---|---|
1 | Earlier model: common ore plus small gold cost; currency charge not confirmed | Minor stat boost |
2 | Earlier model: common ore, basic crafting materials, moderate gold (unverified old fee) | Noticeable improvement |
3 | Earlier model: uncommon ore, crafting materials, increased gold (unverified old fee) | Significant stat gain |
4 | Earlier model: uncommon ore, refined crafting materials, higher gold (unverified old fee) | Earlier strong-baseline/most-cost-effective stopping-point advice; not a measured universal optimum |

Refinement Level 5 and Beyond
Earlier +5-and-above notes grouped rare ore, blood stones and abyss artifacts with a gold surcharge. The artifact-farming guide separately documents Artifacts for refinement +5 and above, but a universal bloodstone recipe and gold charge are not established for every item. Earlier sourcing notes mention powerful enemies and world bosses, while abyss artifacts come from Abyss Dungeons and other progression content. Match the actual item recipe rather than assume every +5 step has the same ingredients or is restricted to endgame.
Level | Materials Required | Notes |
|---|---|---|
5 | Earlier model: rare ore, bloodstones, abyss artifacts, substantial gold (old surcharge unverified) | Earlier endgame-tier label; not a universal progression gate |
6+ | Earlier model: more bloodstones, higher-grade abyss artifacts, premium ore, large gold investment (unverified universal model) | Earlier advice assumed increasing costs and dedicated endgame builds |
The earlier exponential-cost model quoted a few hundred gold at level 1 and tens of thousands at level 6 or above. Those figures are not verified smithy refinement fees: the guide documents materials without a separate currency charge. Plan material gathering accordingly and prioritize the pieces of equipment you intend to keep long-term.
Jewelry Crafting
Earlier notes assigned all jewelry work to blacksmiths, including accessories: necklaces, rings and earrings, with gemstone, rare-material and gold costs plus matching-set bonuses. Those universal costs and set bonuses remain unverified. The crafting guide specifically identifies Connor as the camp jeweler, so use the selected recipe and NPC instead of assuming every smith handles every accessory.
The earlier account tied jewelry recipes to city/frontier smith tiers and the Greymane Camp upgrade tree. Exact service-tier gates and the claim that every accessory follows the same smithy route are not independently established; check the actual jeweler or refinement menu.
Jewelry Type | Equipment Slot | Typical Bonuses |
|---|---|---|
Necklace | Neck | Health, defense, or elemental resistance bonuses |
Ring | Finger (two slots) | Attack power, critical hit chance, or stamina bonuses |
Earring | Ear | Accuracy, evasion, or special effect bonuses |
Earlier jewelry advice proposed matching-set bonuses, such as one necklace and two rings adding Attack beyond their individual stats. That combination effect is not independently confirmed here; compare the selected items rather than assume a universal accessory set bonus.
Abyss Gear Slotting
Beyond refinement and crafting, weapons can be enhanced with Abyss Gear augments through Witch services. The slot guide lists three for one-handed weapons and five for two-handed or ranged weapons; those documented type limits do not mean every item starts with three open sockets. Check the selected item's existing and maximum compatible sockets. Examples of bonuses include:
Higher critical hit chance
Bonus damage against specific enemy types
Elemental effects (fire, ice, lightning) added to strikes
Abyss Gear items are found throughout the world, often as rewards from Abyss Dungeons and boss encounters. The documented embed/extract workflow uses a Witch, rather than a regular smith. The core guide explicitly describes extraction without a fee; it does not independently prove a universal free-embedding rule. Compatibility can restrict the destination. Earlier build advice paired attack speed boosts with Critical Rate; that remains advice rather than a new measured damage comparison.
Vendor Stock and Daily Refresh
Earlier vendor notes assumed all smithy stock refreshes on a daily cycle. The Version 1.08.00 notes specifically document daily restocking for Contribution Shop items and restocking for supply contracts. They do not establish that every smithy item lets you return the next day for a refill, nor a universal clock or guarantee for limited materials.
Revisit a smith that actually stocks the material you need and check whether it has replenished. The earlier buy-every-day plan assumes a reset for every item; that scope and its claimed best supply rate are unverified. Rotating between merchants can still help locate available stock without guaranteeing a daily refill.
Repair
Earlier notes proposed universal weapon/metal-armor wear, reduced stats and a gold repair fee that scales with item quality and damage. The durability guide instead describes some weapons with a visible durability stat, sometimes tagged Irreparable. It gives makeshift banners as examples, not an exhaustive category. This does not establish that all weapons or armor share a repairable condition meter.
Before difficult world bosses or Abyss Dungeons, inspect the selected item. The durability guide says a weapon's displayed durability decreases per hit and that it breaks and disappears at zero. Do not assume a merely reduced-stat broken state, or that a smith can repair an Irreparable item.
Version 1.06.00 added a separate smithy Extraction service for refinement materials. It can step equipment back by one level or to its original acquisition refinement, without destroying the item. The notes specify 100% recovery for special materials such as Artifacts and Aeserion's Scales, and approximately 70% for common materials such as Iron Ore, Copper Ore and Bloodstones. This is distinct from extracting an embedded Abyss Core at a Witch.
Grindstones and Anvils in the World

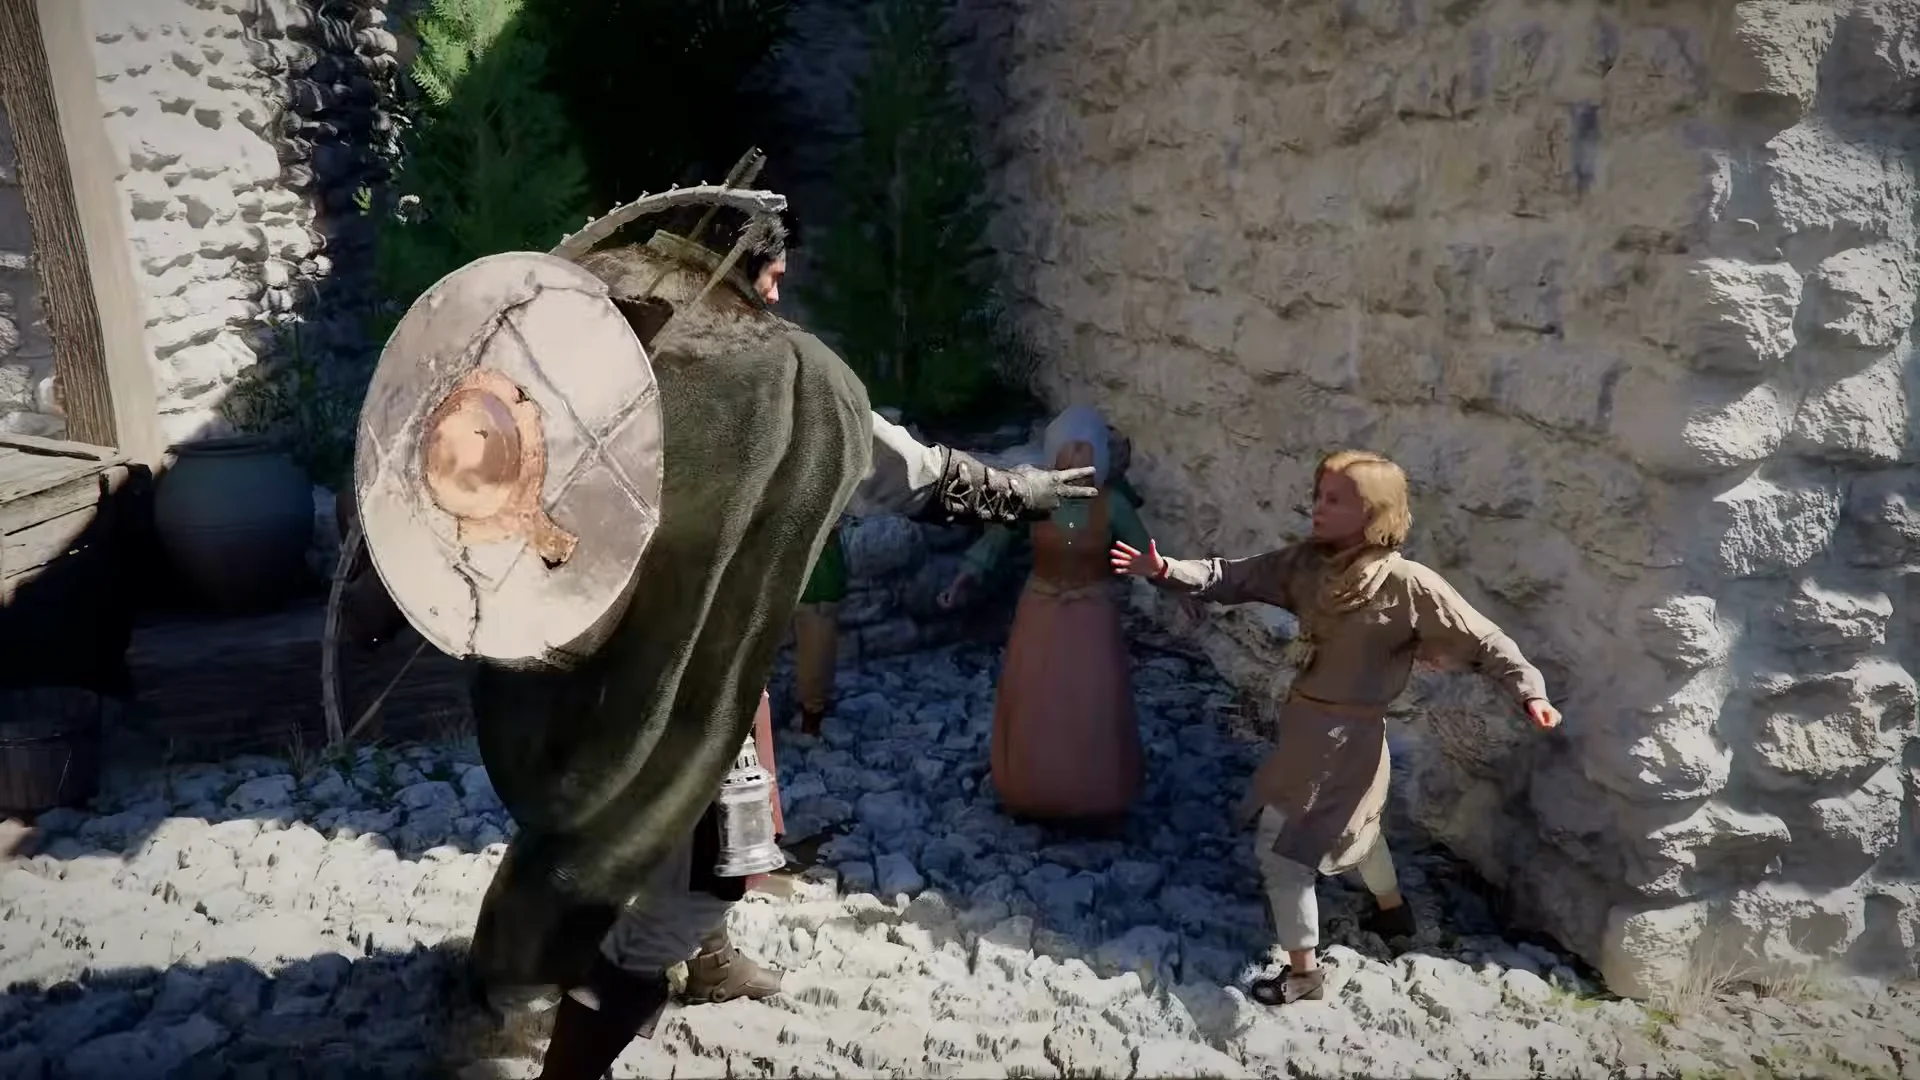
Scattered across Pywel are grindstones and anvils that players can interact with outside of blacksmith shops. These environmental objects provide temporary combat buffs:

Object | Buff | Duration | Details |
|---|---|---|---|
+5 Attack | Temporary | Found near camps, roads, and settlements. Interact to sharpen your weapon for a temporary attack boost. | |
Anvil | +5 Defense | Temporary | Found near blacksmith shops and military outposts. Interact to reinforce your armor for a temporary defense boost. |
These buffs do not stack with themselves, but a grindstone buff and an anvil buff can be active at the same time. Before heading into a difficult fight, look for a grindstone or anvil nearby. The +5 attack from a grindstone and +5 defense from an anvil together provide a meaningful edge, especially in the early and mid-game when your base stats are still relatively low.
Grindstones and anvils are not marked on the map by default. You will discover them naturally as you explore. Some are located near fast travel points or outside dungeon entrances, making them convenient to use before entering challenging content.
Greymane Camp Blacksmith
Earlier notes divided the smithy at the Greymane Camp into the three tiers below. Their exact level gates, repair services and all-in-one jewelry/socket claims are not independently confirmed; the crafting guide distinguishes Alec, Connor and Witch services.
Tier | Services Unlocked |
|---|---|
Tier 1 | Earlier tier model: basic purchases, refinement levels 1-2 and simple repairs (exact unlocks unverified) |
Tier 2 | Earlier tier model: refinement levels 3-4, broader stock and basic jewelry (exact unlocks unverified) |
Tier 3 | Earlier tier model: refinement 5+, Abyss Gear slotting, full jewelry and expanded stock. The combined service claim is unverified; sockets are a Witch workflow. |
Earlier camp-upgrade advice linked smith services to resources from logging, mining, and other life skills. Those resources support crafting and progression, but the exact tiers above are not proof that one upgraded smith handles all armor, jewelry, repairs and Core work. Use the appropriate available smithy, jeweler or Witch.
Connection to the Refining System
Blacksmiths are the physical access point for the broader refining system that improves equipment stats. Smithy refinement, jewelry crafting and Witch Core services should be distinguished, rather than treating every equipment upgrade as one metal-only smith menu. Materials and valid steps depend on the selected item.
The refining system rewards players who plan ahead. Gathering materials from mining nodes, checking merchant stock and collecting recipe-specific rare materials support progression. Earlier bloodstone and daily-stock recommendations are not universal item requirements. Abyss Dungeons are one possible progression route, not proof that all refinement resources are endgame-only.
Blacksmiths vs Tailors
Different vendors provide different equipment services. Earlier notes assigned all weapons, metal armor and jewelry to smiths, and cloth or leather armor to tailors. That universal division and identical slotting mechanics are not independently established for every piece of equipment. Check the selected item and NPC; the documented Core workshop belongs to a Witch.
Tips
Earlier +4 priority advice. The guide recommended cheap early refinement, but the actual recipe and best stopping point depend on the chosen item; the old universal cost-benefit claim is unverified.
Start with weapons. Offensive upgrades tend to have a bigger impact on clear speed and boss kill times than defensive upgrades. Get your main weapon to level 4 before investing heavily in armor refinement.
Check multiple blacksmiths across different regions. Each one stocks different weapon types suited to the local threats.
Use available camp crafting services for convenience; exact smith-tier unlocks and routine repair claims above remain unverified.
Check the material stock at each merchant instead of assuming every smithy item resets every day or at a fixed clock time.
A refined weapon you are comfortable with often outperforms an unrefined weapon of a higher base tier. Do not throw away a well-refined weapon just because you found something with a slightly higher base stat.
Save blood stones and abyss artifacts for the specific weapon and armor pieces you plan to keep long-term. Do not waste endgame materials on gear you will replace soon.
Look for grindstones and anvils in the world before entering difficult content. The temporary +5 attack and +5 defense buffs can make a real difference.
Inspect the selected weapon's durability and any Irreparable tag. The guide describes zero-durability weapons breaking and disappearing, not a universal repairable low-stat state.
Experiment with Abyss Gear combinations. Removing augments does not destroy them, so you can freely test different setups to find what works best for your build.
Use a suitable jeweler and recipe for accessories. Earlier matching-set bonus advice is unverified; assess individual item properties.