Blackstar Dragon
Complete guide to the Blackstar Dragon mount in Crimson Desert. Covers how to unlock Blackstar through Chapter 11, fire breath and fireball abilities, the 50-minute summoning cooldown, Narima's Horn cooldown reset for infinite dragon flight, Abyssal Dragon Armor upgrade, restricted flight zones, and tips for effective aerial combat.
On This Page
Overview
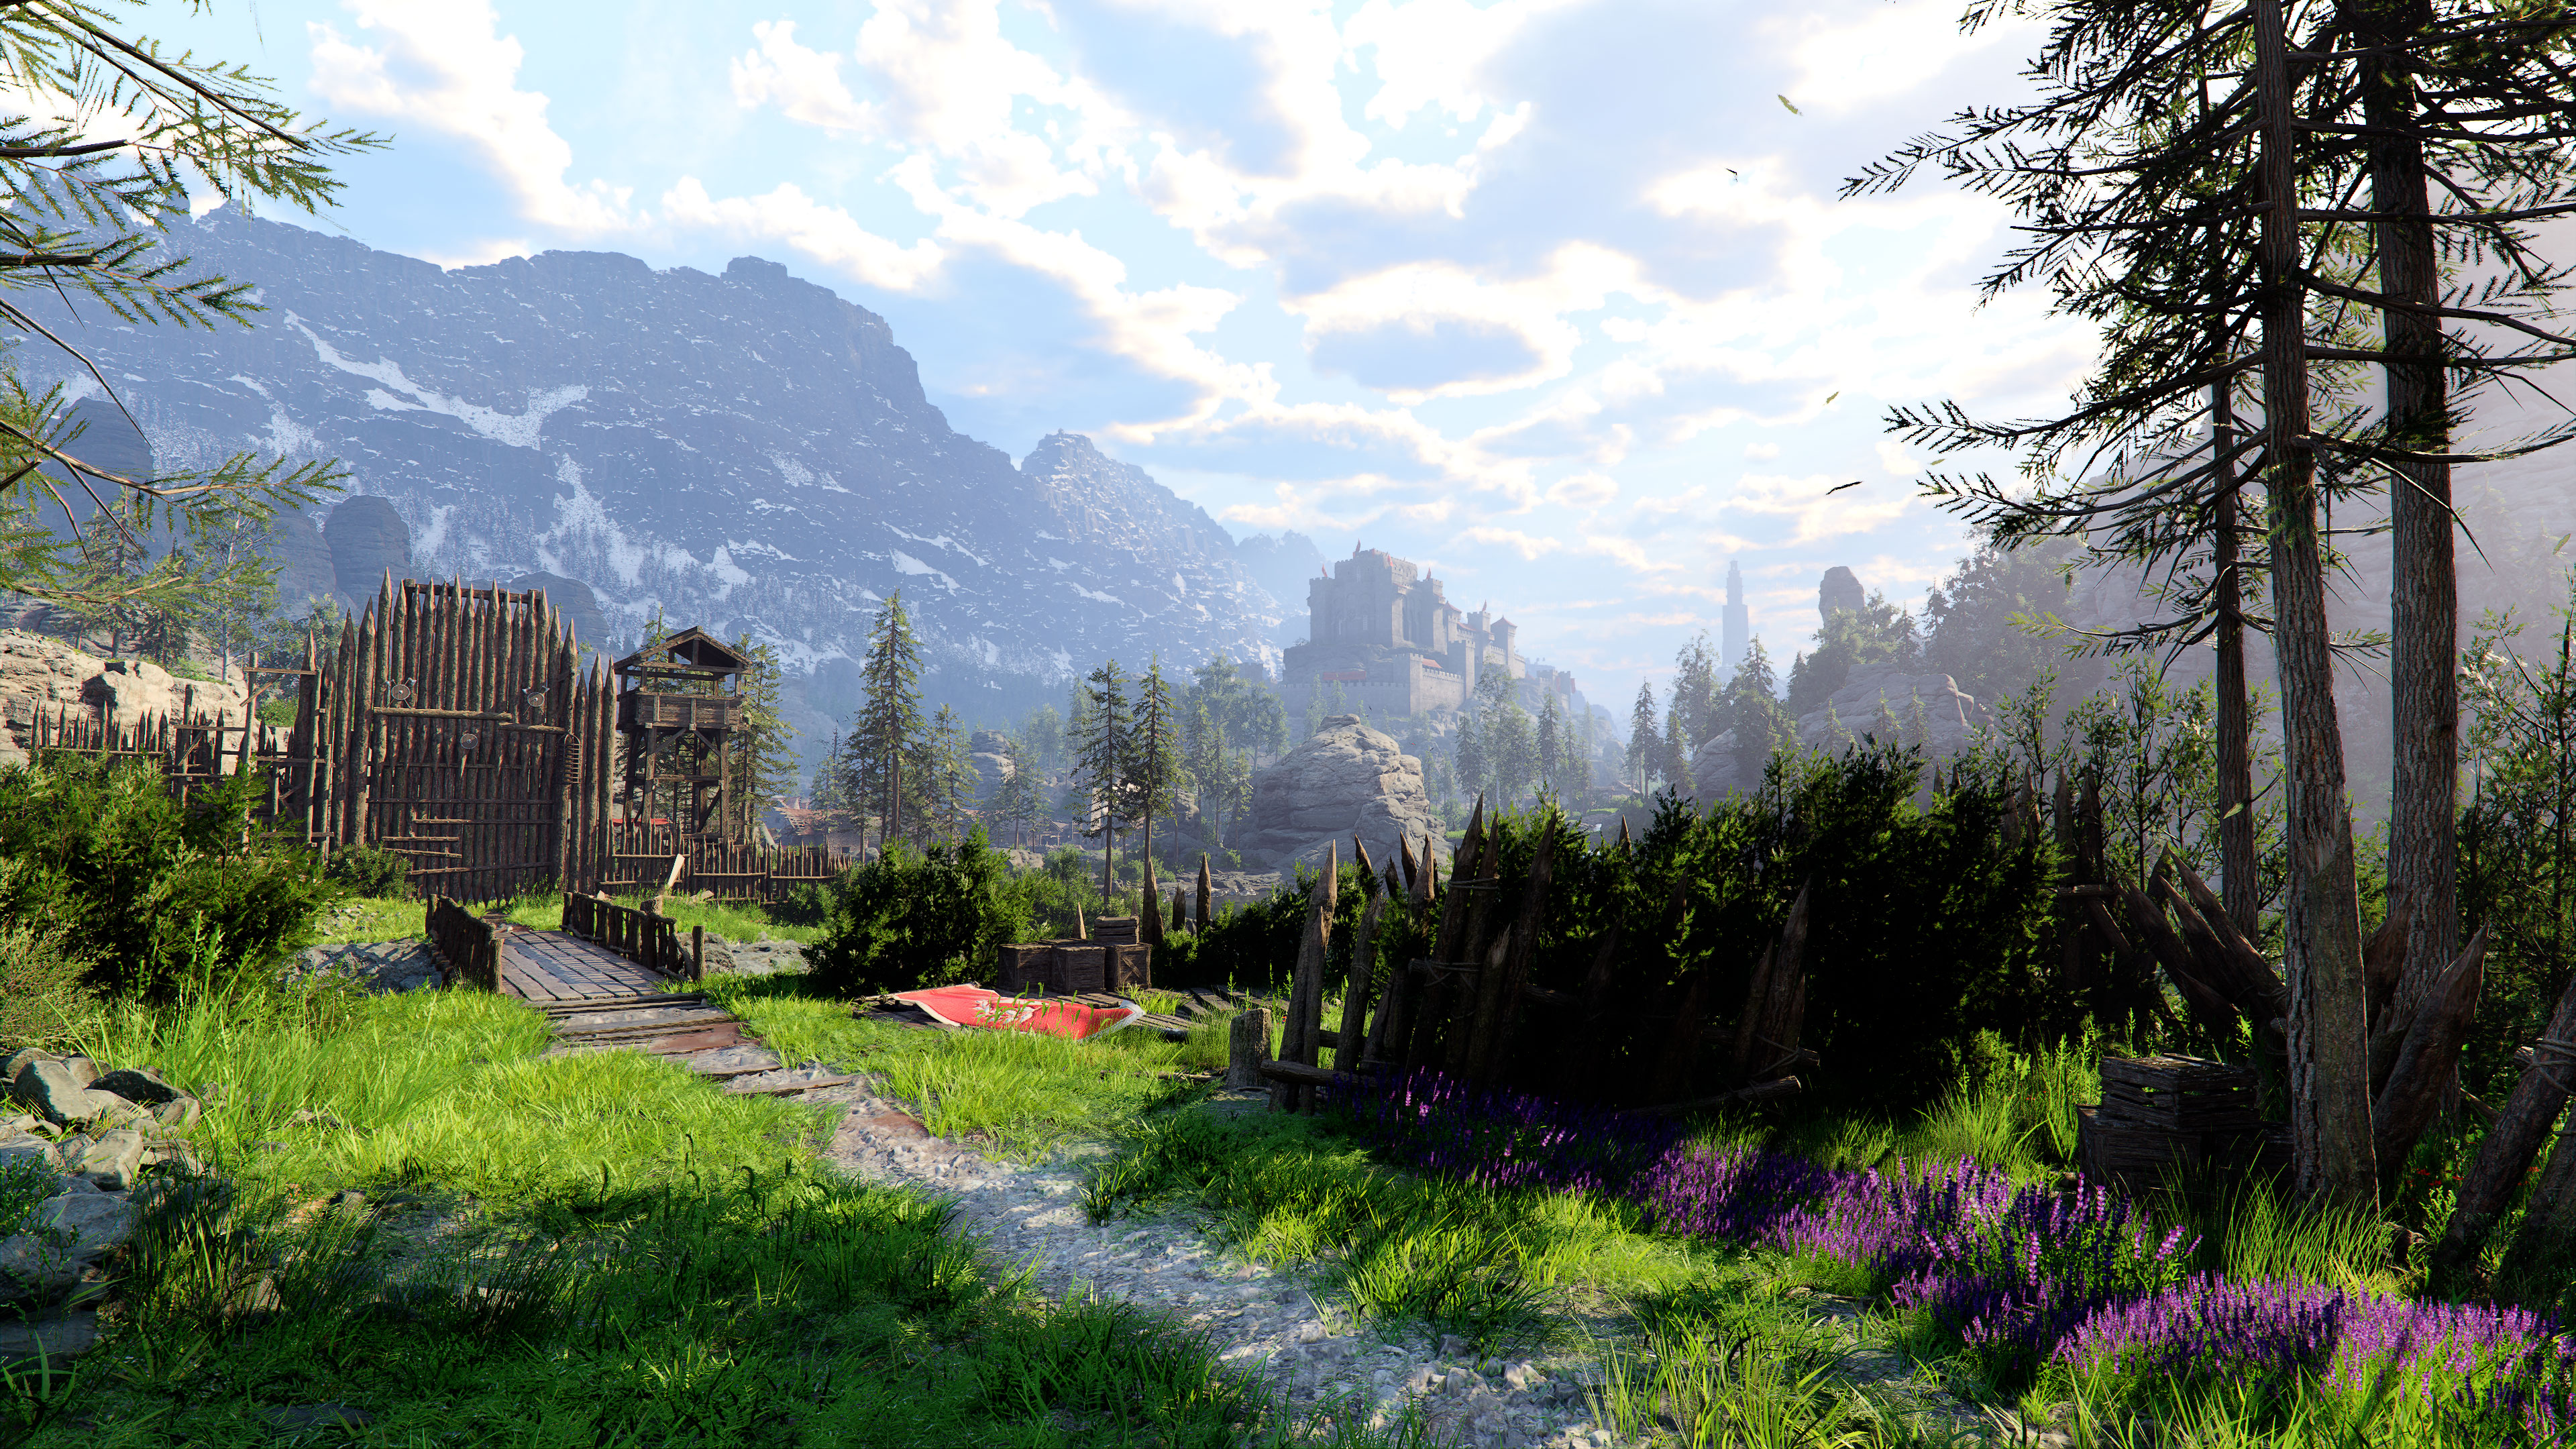
The Blackstar is the primary dragon mount in Crimson Desert and the most powerful flying mount in the game. This abyssal dragon becomes permanently available to the player in the late game, offering devastating fire attacks, full aerial combat capability, and the ability to fly across the entire continent of Pywel. The Blackstar is an unmissable story unlock, meaning every player who completes the main campaign will obtain it.
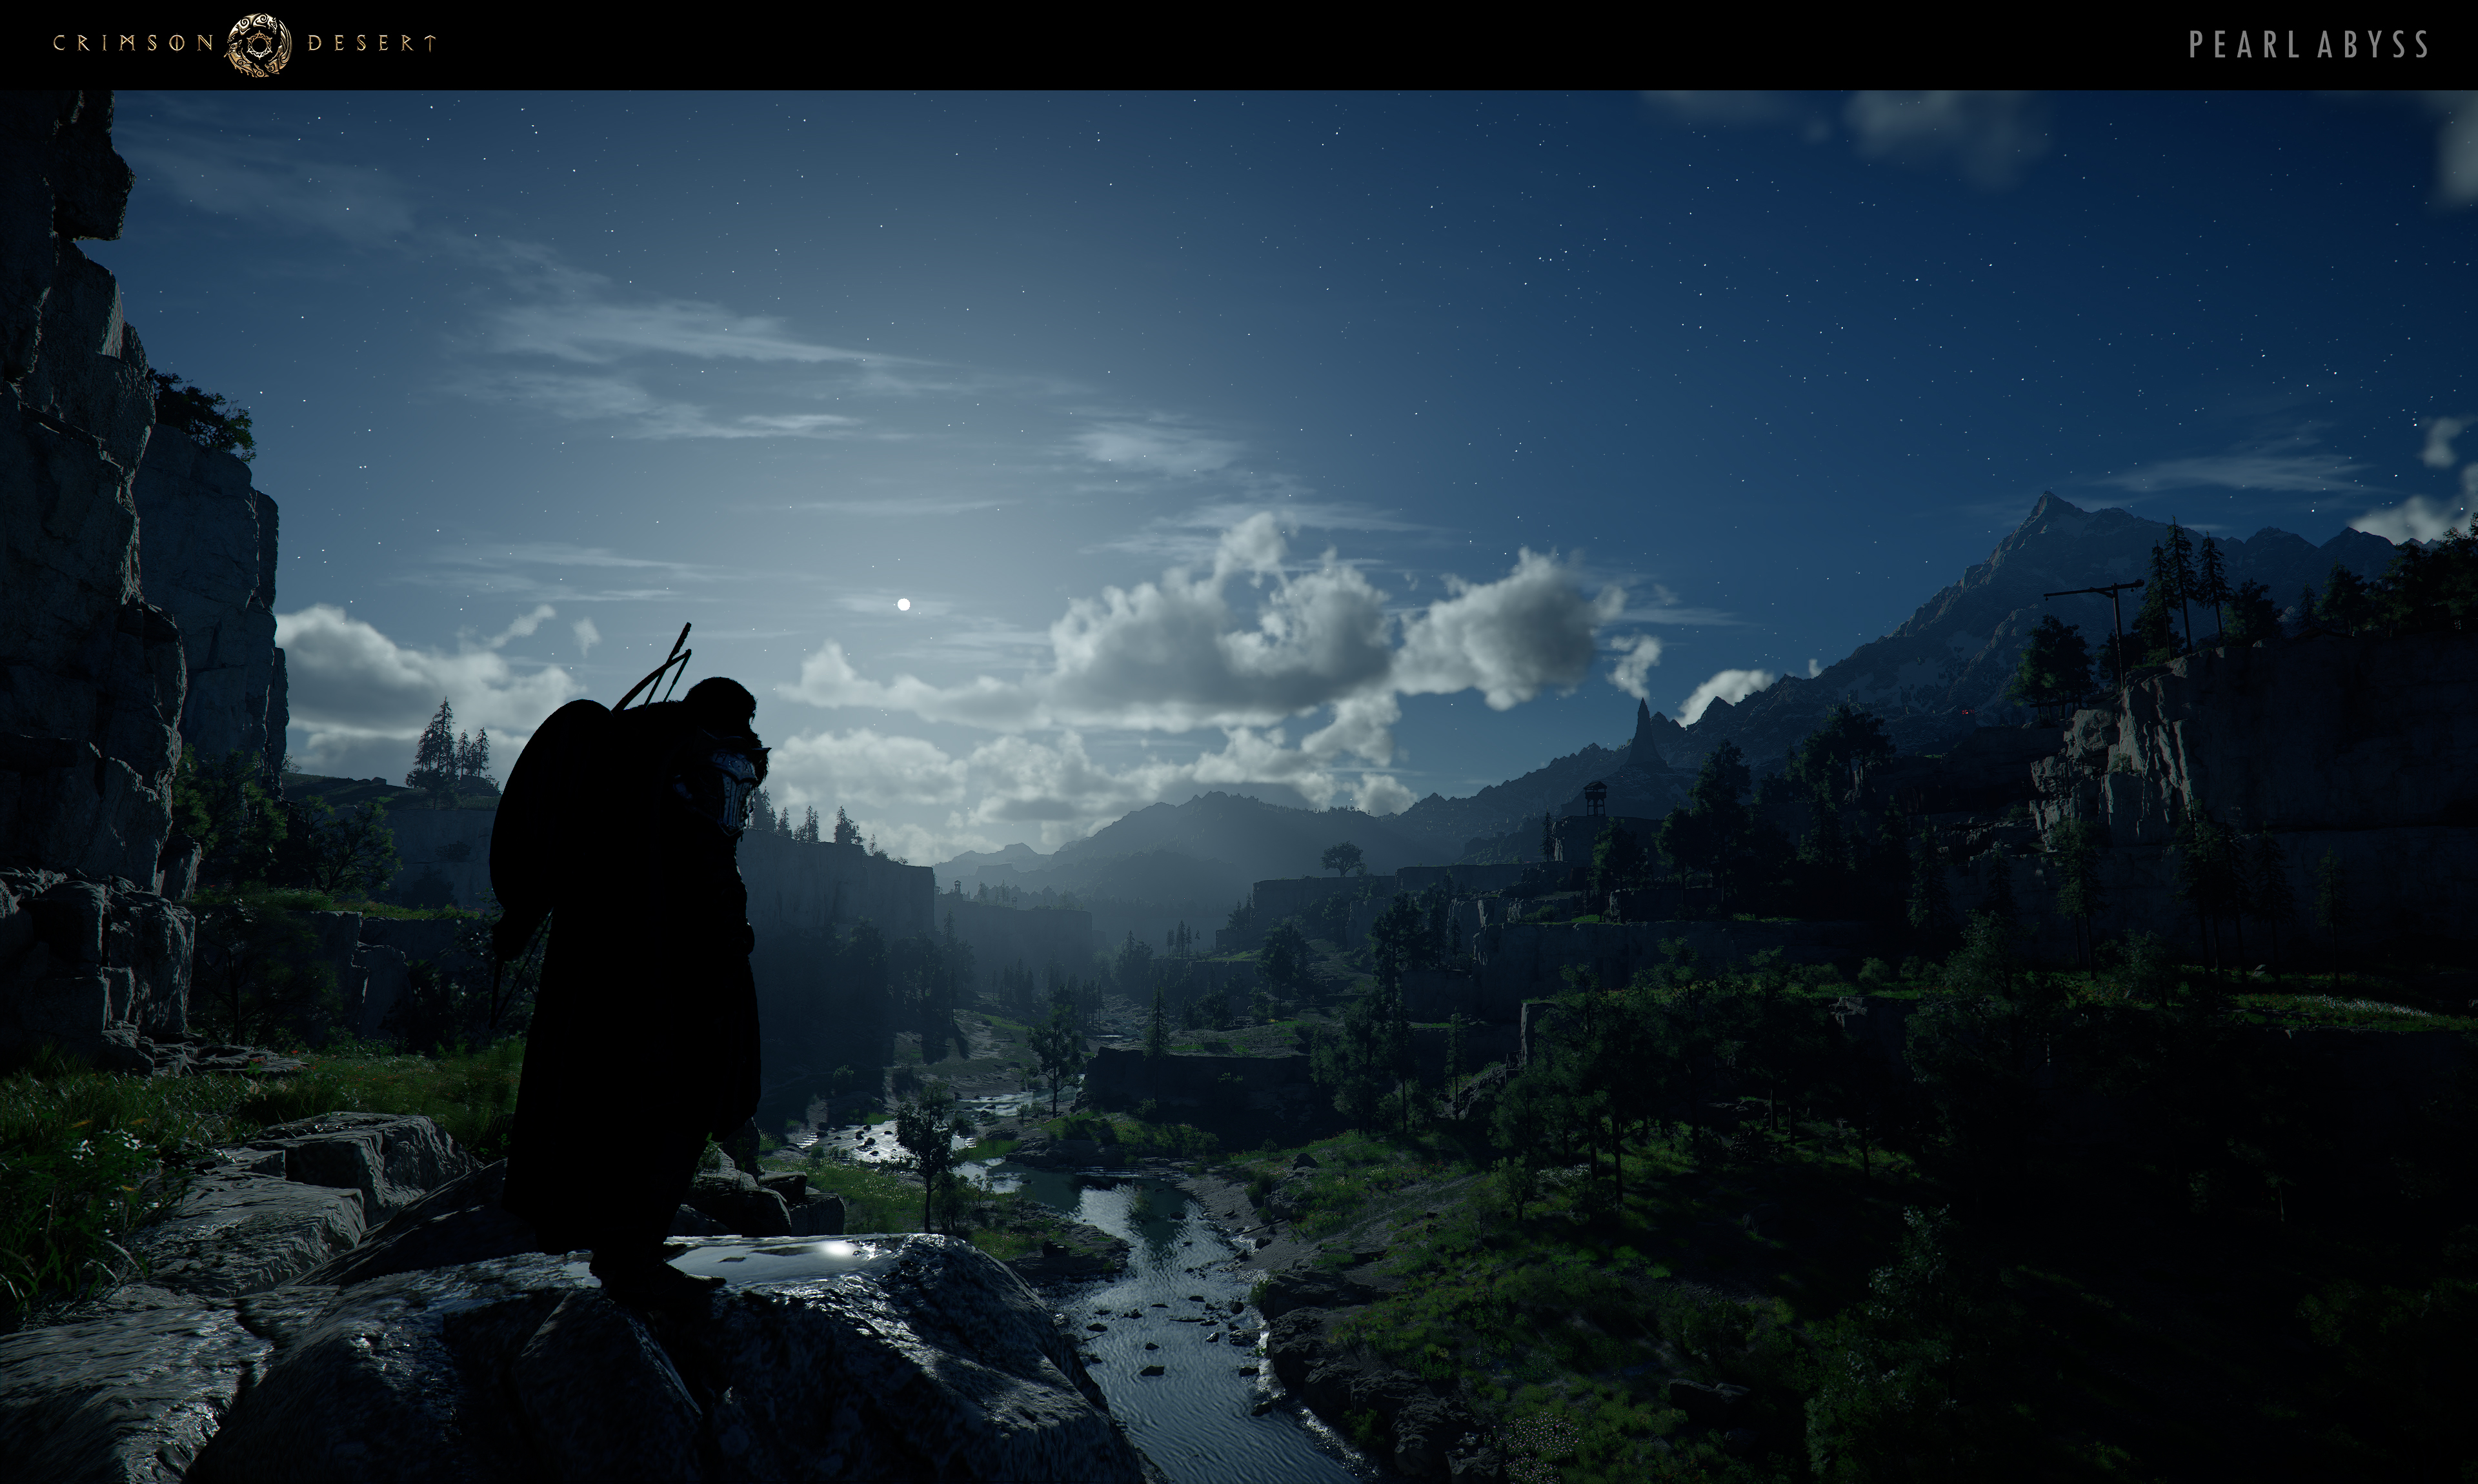
While the Blackstar is incredibly powerful, it operates under strict availability constraints. Each summon lasts approximately 15 minutes of real time, followed by a 50-minute cooldown. By default, this cooldown cannot be skipped, making each summon a strategic decision. However, players can craft Narima's Horn, a consumable item that instantly resets the Blackstar's cooldown and allows the dragon to be summoned again without waiting. This opens the door to effectively unlimited dragon flight for players willing to farm the necessary materials.
Story Role and Lore
The Bismuth-Spear Rescue
Kliff first meets the dragon near the great gates of Uldever, guided there during the Master Du trial sequence in Chapter 9. The creature is injured and pinned to the ground by a cluster of Bismuth spears. Before Kliff can pull the spears out, the dragon takes flight, forcing a dramatic mid-air rescue: Kliff dives onto its back and blasts the spears off with a focused Force Palm. The act of freeing the creature is what later earns its trust.
The rescue is not a chance meeting. Memory fragments and the abyss-archive entries describe several earlier cycles where the ancients tried to bond Cliff and the dragon directly, but the creature thrashed wildly with him on its back and refused to be tamed by force. The wounded-dragon scenario is the configuration that finally produces a stable bond, with the dragon's first reaction shifting from rejection to gratitude after Kliff removes the spears.
Defeating the Flying Fortress
Once permanently bonded in Chapter 11, the dragon becomes the only practical way for Kliff and his allies to assault Flying Fortress Orbian, the airborne stronghold that H.A.L.L. controls on Caliburn's behalf. The fortress is described as capable of killing anyone who gets too close from the ground, and the Greymanes have no land-based counter to it. Mounted on the dragon, Kliff knocks out the fortress's shield generators with Fireballs, reaches the power core, and ends H.A.L.L.'s seat of power.
The dragon's role does not end when the fortress falls. Duke Caliburn surrounds Fort Musket with three giant turret super-weapons immediately after, and the only way to neutralize them is another aerial pass: Kliff flies the dragon around each turret in turn, evades incoming fire, and detonates them with sustained Fireball runs. The dragon is then dismissed before the abyss-gate confrontation, since the Abyss cannot be entered while it is summoned.
Connection to the Golden Star
The Golden Star boss fight that gates the dragon-mount unlock is directly connected to the dragon's lore. The inventor Marni observed the dragon at Uldever and tried to replicate it in mechanical form, eventually stealing its heart and combining it with an Abyss artifact to create the Golden Star as a guardian of Delesyia's skies. Defeating the Golden Star and reclaiming what was taken is what completes the bond and turns the dragon into the permanent mount.
How to Unlock
The Blackstar is unlocked through the main story and cannot be missed:
Event | Chapter | Details |
|---|---|---|
First encounter | Chapter 9: The Sage of the Desert | You first encounter the Blackstar roughly 50 hours into the campaign. The dragon is not rideable at this point. |
Permanent unlock | Chapter 11: Truth and Reality | Complete the Foreboding Shadow: Whispers in the Wind quest to permanently acquire Blackstar. |
During the acquisition sequence in Chapter 11, you travel to Delesyia and eventually face a Mecha Dragon boss known as the Golden Star. Once you deplete the boss's health, Blackstar swoops in to aid you. After the battle, when you return to the Nest of Valor, Blackstar becomes your permanent dragon mount.
Golden Star Boss Fight Strategy
The Golden Star boss fight near the end of Chapter 11 unlocks the Blackstar Dragon. This is a gimmick fight where conventional melee is less effective than ability-based strategies:
Nature's Snare is essential: When Golden Star stretches its neck up to the sky, it prepares to launch a barrage of projectiles. Use Nature's Snare to absorb all incoming projectiles, then fire them back at the boss. This deals massive stun damage and is the primary method of attacking.
Dodge flame breath: Golden Star has a devastating flame breath attack. Stay to the side or behind the boss when you see it winding up.
Use Axiom Force for positioning: When Golden Star perches on a high point, use your grapple and aerial maneuvers to zip toward it for quick ranged shots, then retreat before it attacks.
Focus on stun buildup: Reflecting projectiles with Nature's Snare builds stun faster than direct attacks. Multiple reflects in succession will stagger the boss, creating safe windows for melee damage.
Dragon Death Penalty
After obtaining the Blackstar, keep a close eye on the dragon's health bar during aerial combat. If the Blackstar is killed, it becomes unsummonable for an extended period based on real in-game time played. This penalty cannot be sped up by sleeping or using the wait function, as it tracks actual gameplay time rather than in-game clock time.
This penalty is particularly punishing because some main story quests immediately following the dragon unlock require having the dragon available. Losing the Blackstar at this point can temporarily halt story progression until the cooldown expires. Always disengage from aerial combat before the dragon's health drops too low.
Summoning Blackstar
After unlocking, summon the Blackstar by holding Down on the D-Pad (or H on keyboard) to open the mount wheel, then select the dragon with the Right Stick. The summon operates under these constraints:
Parameter | Value |
|---|---|
Active Duration | Approximately 15 minutes per summon (real time) |
Cooldown | 50 minutes after dismissal (real time) |
Cooldown Reset | Use Narima's Horn to instantly reset the cooldown and resummon Blackstar |
Summon Location | Any outdoor area with enough open sky (see Restricted Zones below) |
The long cooldown makes the Blackstar a strategic resource. Save your summons for major objectives: fortress assaults, world boss encounters, or long-distance travel between regions. If you plan to use the dragon frequently, stock up on Narima's Horn to bypass the cooldown entirely.
Narima's Horn (Cooldown Reset)
Narima's Horn is a craftable consumable item that instantly resets the Blackstar's summoning cooldown. When used, the dragon becomes available for summoning again immediately, regardless of how much time remains on the 50-minute timer. This is the only way to bypass the cooldown through normal gameplay.
How it Works
The horn is described as being crafted using a dragon's fang, with a distinct sound that allows communication with the Blackstar. Using the item from your inventory instantly readies Blackstar for another summon. Because the item is consumed on use, you need a steady supply of crafting materials to maintain infinite flight capability.
Crafting Recipe
Narima's Horn requires the following materials to craft:
Material | Where Found |
|---|---|
Farmed at the Tinkerton Digsite | |
Gathered from various locations across Pywel | |
Found in caves and underground areas |
The item is crafted through the Alchemy system. Dragon Claw Horn is the most time-consuming material to gather, as it requires farming enemies at the Tinkerton Digsite. Stock up on Dragon Claw Horns whenever you visit the area so you always have Narima's Horns ready when needed.
Infinite Dragon Flight Strategy
By crafting multiple Narima's Horns before a play session, you can effectively achieve unlimited dragon flight. Summon the Blackstar, fly for up to 15 minutes, and when the timer expires (or you dismiss the dragon early), immediately use a Narima's Horn from your inventory and resummon. This loop can be repeated as long as you have horns in stock, making it ideal for extended exploration sessions, farming runs across multiple regions, or clearing large enemy encampments in sequence.
Farming the Narima's Horn Blueprint
The hardest part of keeping Narima's Horns in stock is unlocking the crafting blueprint in the first place. The most reliable source is the Timeworn Ruins Excavation expedition from the dispatch missions menu. Specifically, you need the Greymane expedition version, not the player-cleared version. The expedition awards a random item from the Timeworn Ruins abyss gear pool, which includes the Narima's Horn blueprint alongside other rare blueprints like Infinite Arrows.
Because the reward is rerolled each time the dispatch resolves, a save-scum loop makes this farm one-and-done. Send the expedition, wait until fewer than 12 in-game hours remain on the timer, perform a hard save, then sleep through the remaining hours. If the Narima's Horn blueprint does not drop, reload the hard save and sleep again until it does. Once the recipe appears at a witch, you never have to run the expedition again for that specific item.
When the full cooldown is active (reported in the 300-hour walkthrough as a flat 60 minutes from dismissal), a single Narima's Horn takes it to zero instantly, even if you consumed the last one only a moment before. There is no overlap or stacking requirement; each horn is a clean reset.
Narima's Horn Components
Each Narima's Horn craft uses three Dragon Claw Horns, one Stalactite, and a small number of Feathers. Dragon Claw Horns come from a dedicated Greymane dispatch at the Dragon Claw Horn Production site south of Delesyia, which unlocks after completing the Efficient Gathering Research project at the Pororin Research Institute. The dispatch yields 3 Dragon Claw Horns per in-game day. Stalactites are mined with a pickaxe in the Hernand Highlands cave south of the Greymane Camp, and feathers are scavenged from wild birds or harvested from ranch chickens (roughly 6 feathers per sacrificed chicken).
Restricted Flight Zones
The Blackstar cannot fly everywhere on the map. After unlocking the dragon, check your world map for red-highlighted areas. These zones are restricted, and flying low through them will force you off the dragon. The Blackstar also cannot be summoned inside the Abyss realm; if you enter the Abyss while the dragon is active, it will be dismissed automatically.
Red zones on the map: Areas marked in red on the world map are no-fly zones. Flying low through these regions forces you to dismount. Some of these zones contain anti-air defenses such as cannons.
Abyss realm: The Blackstar cannot enter or be summoned inside the Abyss. Entering an Abyss area while riding the dragon causes automatic dismissal.
Indoor areas: The dragon requires open sky to operate and cannot be summoned in enclosed spaces, caves, or buildings.
Aerial Combat Abilities
While riding the Blackstar, you have access to unique aerial combat abilities. All attacks consume stamina, but stamina regenerates passively during flight.
Ability | Input | Effect |
|---|---|---|
Fireball | R1 / RB | Targeted fireball at ground enemies; moderate stamina cost. Has a lock-on function for targeting multiple fireballs. |
Fire Breath | R2 / RT (hold) | Sustained fire stream scorching a wide area below; high stamina drain. Devastating against grouped enemies. |
L2 + R2 / LT + RT | Rapid descent attack dealing massive area damage on impact. | |
Barrel Roll | L1 + direction / LB + direction | Evasive maneuver to dodge incoming projectiles. |
Ascend | L2 / LT | Gain altitude for repositioning before attack runs. |
Sprint | L3 / Left Stick press | Burst of speed for rapid traversal; drains stamina. |
Fire Breath is the most devastating ability against clustered enemy groups, spreading the Burn status effect across targets. Fireballs are better for precision strikes against single targets or world bosses. The lock-on function lets you queue multiple fireballs at different targets before launching them simultaneously.
Stamina Management
The Blackstar's attacks drain stamina, but stamina regenerates passively even while airborne. Effective stamina management is the key to maximizing your dragon's combat effectiveness during the 15-minute window:
Pace your attacks rather than dumping all stamina at once. Short bursts of Fire Breath followed by gliding recovery maintain sustained damage output.
Fireballs cost less stamina than Fire Breath. Use them for smaller groups and save Fire Breath for dense clusters.
Ascending costs stamina but repositions you for safer attack angles. Use it to gain height before dive-bombing.
Sprinting drains stamina rapidly. Only sprint when you need to cover distance quickly or escape danger.
Abyssal Dragon Armor
The Abyssal Dragon Armor is a late-game upgrade that provides the Blackstar with significant damage resistance. With the armor equipped, Blackstar can withstand considerably more punishment from anti-air defenses and enemy attacks. The armor transforms Blackstar's appearance into a mecha-inspired design but does not affect flight speed, stamina consumption, or the 50-minute summoning cooldown.
How to Obtain
The armor is obtained through the Wings of Iron faction quest, which becomes available from the Witches after unlocking Blackstar in Chapter 11. The armor is crafted at Grimnir's Kuku Shop in the Kilnden Workshop at Hernand.
Crafting Materials
Material | How to Obtain |
|---|---|
Small Kuku A.T.A.G. x1 | Crafted from a blueprint acquired from Marek at Zargan Tankworks, west of Gorthak |
Automatically received after defeating the Golden Star boss in Chapter 11 | |
Aeserion's Scale x1 | Found at the Serpent Shrine in Dewhaven, southwest Delesyia |
Power Core (Ore of Resipiscence) x1 | Dropped by Abyss Creatures such as Runewalkers and Stone Golems |
The Small Kuku A.T.A.G. itself requires a Kuku Pot, an Abyss Cell, five Cogwheels, and five Small Battery units. Note that the Kuku Pot used in crafting is consumed, so keep a spare if you need one for other recipes.
Activation
Once you have gathered all the materials, craft the Abyssal Fusion at Grimnir's shop, then travel to the Nest of Valor in the north. A transformation cutscene will play, and Blackstar will gain its armored form permanently.
Unlock Requirements
To mount the Blackstar during the Chapter 11 acquisition sequence, you need:
Stamina attribute level 5 or higher. The Aerial Maneuver needed to mount the dragon costs 200 Stamina points. Insufficient stamina causes the mount attempt to fail.
The ability to glide toward the dragon while it swoops overhead.
The Axiom Force grapple ability to target the dragon's back.
Invest in Stamina upgrades before reaching Chapter 9. While level 5 is the minimum, higher levels give more room for error during the taming sequence and more stamina for fire attacks during flight.
Patch History
Patch 1.04.00
Patch 1.04.00 fixed two long-standing issues with the dragon mount. Teleporting via the dragon no longer leaves the player stuck in an invincibility / immobility state at the destination (which could lock movement until another action was forced), and summoning the dragon from a long distance away no longer fails or visibly desyncs.
Patch 1.07.00
Patch 1.07.00 corrected a regression in the late-game ultimate-weapon sequence. The dragon's health would not recover after retrying or giving up while fighting with the ultimate weapon during the Deferred Advance encounter, leaving the mount stuck at the depleted HP it ended the previous attempt with. After the patch the HP pool resets to full on every retry, so the encounter is winnable on subsequent attempts without quitting back to a checkpoint.
Tips
Plan your Blackstar summons around major objectives. The 50-minute cooldown means you get roughly one summon per hour of real play time, unless you use Narima's Horn to reset it.
Fire Breath is most efficient against tightly packed enemy groups, while Fireballs work better against scattered or solo targets.
The Blackstar makes clearing exploration challenges trivial since you can fly directly to hard-to-reach areas.
During the 50-minute cooldown, use the ATAG Mech as your heavy combat mount. The two complement each other well.
Avoid flying low through red-highlighted zones on your map. These restricted areas will force you off the dragon, potentially stranding you in hostile territory.
The lock-on Fireball function is especially useful against flying enemies and bosses with mobile attack patterns.
Craft the Abyssal Dragon Armor as soon as possible after unlocking Blackstar. The added damage resistance is essential for surviving anti-air cannon fire in contested regions.
Stock up on Dragon Claw Horns from the Tinkerton Digsite so you always have materials to craft Narima's Horn for cooldown resets.
Tilt the stick down while flying to dive-bomb, which is faster than horizontal flight. Use this to cover long distances quickly.
Related Articles
Narima's Horn
Abyssal Dragon Armor
Dragon Riding
Dragon Mount
Mounts
ATAG Mech
Gliding
Dragon Claw Horn
Wings of Iron
Golden Star