Overview
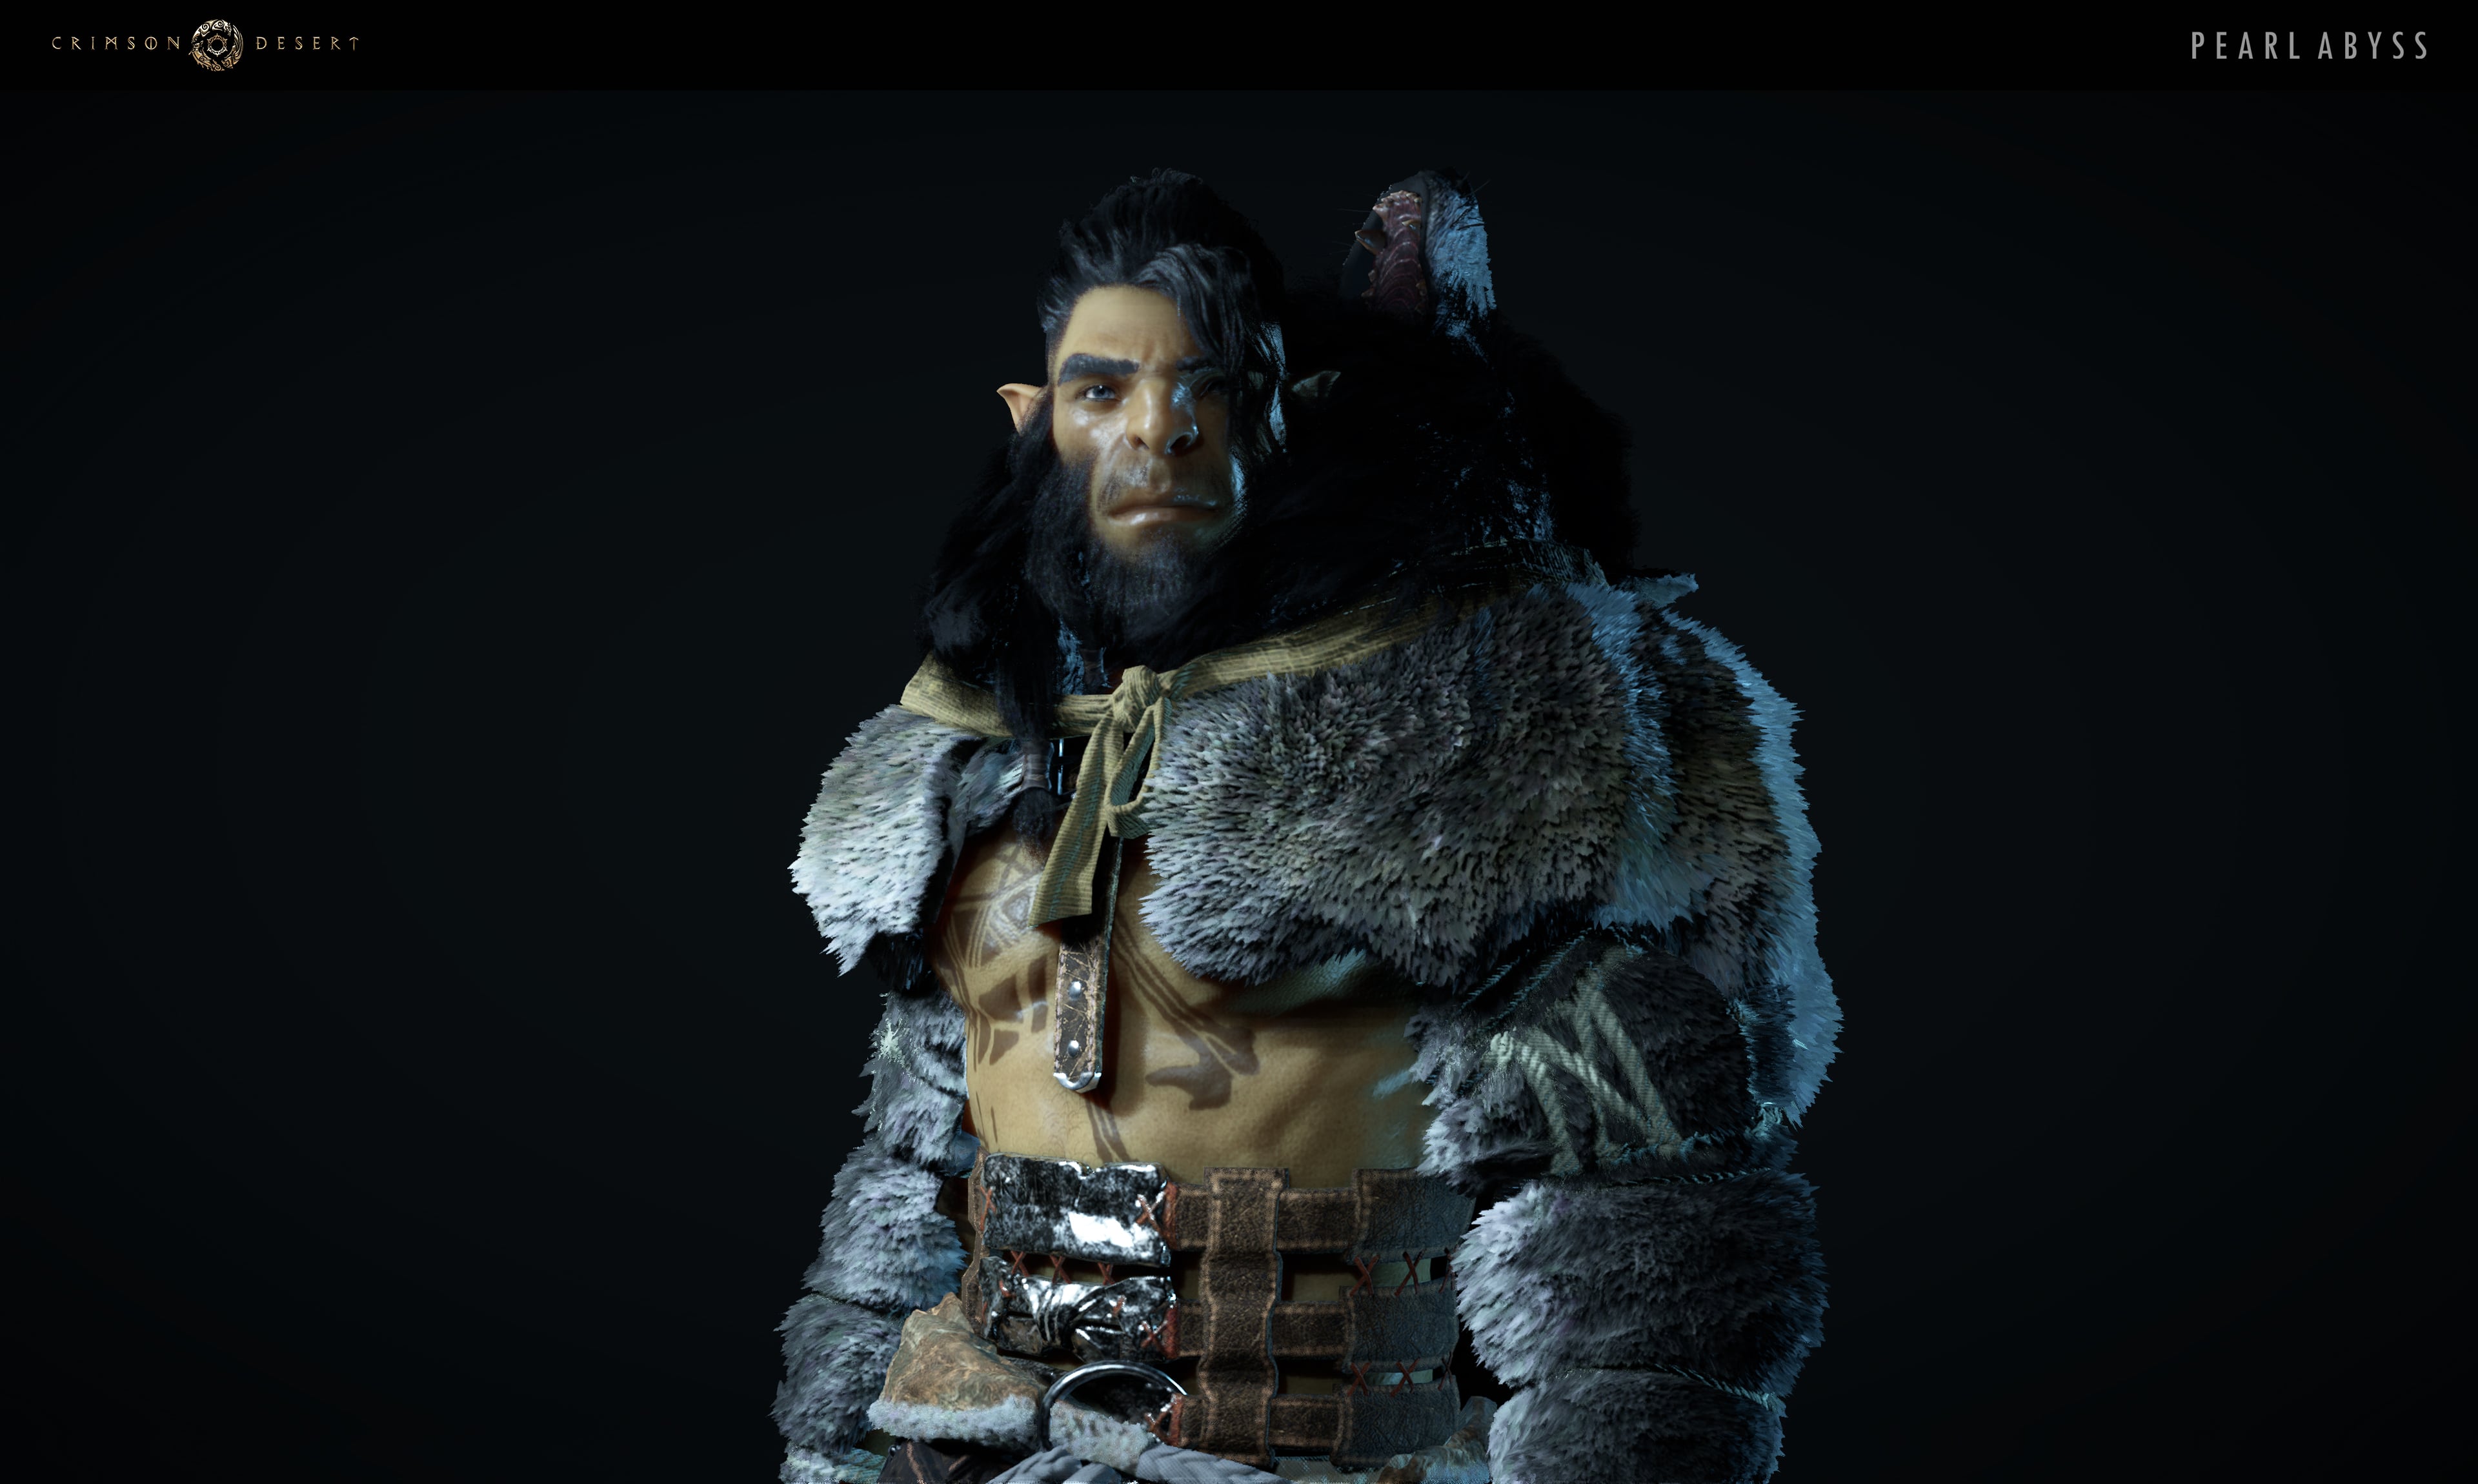
The Ogre is an optional boss encounter in Crimson Desert, located at the Desolate Megalith Altar near Tashkalp in the Crimson Desert region. As one of several optional bosses scattered across the continent of Pywel, the Ogre is a towering, brutish creature that relies on raw physical force and devastating ground slams to overwhelm anyone who challenges it.
Unlike the story bosses encountered during the main campaign, the Ogre does not need to be defeated to progress through the narrative. However, seeking it out is well worth the effort for players looking to collect every accessory and ability in the game. Defeating the Ogre rewards two notable prizes: the Ogre's Necklace and the Colossal Might ability.
Quick Reference
Attribute | Details |
|---|---|
Type | World Boss |
Location | Desolate Megalith Altar, near Tashkalp |
Region | |
Rewards | Ogre's Necklace, Colossal Might |
Difficulty | Moderate to High |
Recommended Preparation | 100+ Grilled Meat, upgraded plate armor, dodge-focused build |
Combat Stats
The table below lists the Ogre's numeric combat attributes from the game data. Two figures stand out: the Defense value of 200 is among the highest of any optional boss in the game, and the Knockout resistance of 1,000 means stagger-based strategies are far less effective here than in other fights. Players should rely on timed dodges and standard melee combos rather than trying to stunlock the Ogre.
Stat | Value |
|---|---|
2,675 | |
Attack | 190 |
200 | |
100 | |
Knockout | 1,000 |
Fatal | 5 |
Location and How to Find the Ogre
The Ogre is found at the Desolate Megalith Altar, a site located near the settlement of Tashkalp in the Crimson Desert region. The Crimson Desert region is the vast sandy landscape in the northern part of the continent of Pywel, and it becomes accessible as players progress through the later chapters of the story.
To reveal the Crimson Desert region on your map, you need to ring the Toll of Tommaso, which is located on a tower in the Tashkalp area. Once the fog of war has been cleared, the Desolate Megalith Altar will be visible as a point of interest on the map. Travel to Tashkalp and then head toward the altar. The location can also be reached through fast travel if you have unlocked a nearby Abyss Nexus point.
Since this is an optional encounter in the later portion of the game, make sure you are properly geared before heading out. The Crimson Desert region is home to some of the tougher enemies in Pywel, and the Ogre itself is no pushover.
Attack Patterns
The Ogre has a relatively straightforward but punishing moveset. It relies on powerful ground slams and wide area-of-effect attacks. Understanding the timing and shape of each attack is the key to surviving this fight. Below is a breakdown of its two primary attack types.
Slam Combinations
The Ogre's bread-and-butter attack is a series of ground slams. It raises its massive hands and pounds the ground in front of it, creating an area-of-effect damage zone. The important thing to know about these combos is that they always end with a double hand slam. The AoE hitbox from these slams spreads outward in a cone shape in front of the Ogre. This means the damage zone fans out the further it gets from the boss, making it much safer to be close to the creature than far away.
When the Ogre begins a slam combination, dodge diagonally forward toward the creature. Because the AoE is cone-shaped, getting close to its body and slightly to the side will put you outside the danger zone. If you try to dodge backward or stay at range, the widening cone is far more likely to catch you.
After the double hand slam that finishes every combo, there is a brief window of opportunity where the Ogre is recovering. Use this opening to land up to three quick attacks before repositioning. Do not get greedy and try to squeeze in more hits, as the Ogre will start its next combo quickly.
Jump Slams
The Ogre's second major attack pattern is a series of jump slams. It leaps high into the air and crashes down on your position, repeating this move four consecutive times. Each landing creates a damaging impact zone at the point of contact.
When you see the Ogre crouch to jump, watch the ground for a darkened area that marks where it will land. As soon as the ground darkens, immediately sprint toward the Ogre's position (where it jumped from, not where it is landing). Then, as it descends, dodge forward to clear the impact area. The timing on this is tight, but the strategy is consistent across all four jumps in the sequence.
After the fourth and final jump slam, the Ogre will pause briefly, giving you another window to land a few attacks before it begins its next sequence.
Attack Pattern Summary
Attack | Description | How to Dodge | Punish Window |
|---|---|---|---|
Slam Combination | A series of ground pounds ending with a double hand slam. AoE spreads in a cone shape in front of the Ogre. | Dodge diagonally forward and stay close to the Ogre's body to avoid the widening cone. | After the final double hand slam. Land up to 3 quick hits. |
Jump Slam (x4) | The Ogre leaps into the air and slams down on your position four times in a row. | Run toward where the Ogre jumped from when the ground darkens, then dodge forward as it descends. | After the 4th landing. Land 2-3 quick hits. |
Strategy
The Ogre fight rewards players who stay aggressive and maintain close proximity to the boss. While it might feel counterintuitive to hug a giant creature that wants to smash you into the ground, the cone-shaped AoE on its slam attacks makes the safest position right next to its body. Here is a step-by-step breakdown of the recommended approach.
Stay Close
This is the single most important piece of advice for the Ogre fight: stay close to the Ogre at all times. Because its slam AoE radiates outward in a cone from its hands, you can dodge forward and through the attacks when you are standing nearby. At range, the cone widens and becomes nearly impossible to avoid, especially during slam combos.
Position yourself slightly to the side or in front of the Ogre. When it begins an attack, dodge forward and diagonally to slide past the impact zone. After the combo ends, land your attacks and reset your position.
Hit-and-Run Rhythm
The core combat loop against the Ogre follows a simple rhythm:
Wait for the Ogre to commit to a slam combo or jump slam sequence.
Dodge forward or diagonally forward to avoid the AoE.
After the combo finishes (the double hand slam or the fourth jump slam), rush in and land two to three quick attacks.
Immediately back off and prepare to dodge the next combo.
Do not be greedy. Landing more than three hits will often leave you stuck in an attack animation when the Ogre starts its next combo, which can lead to taking heavy damage.
Avoid Using Back Hang
The Back Hang skill, which allows Kliff to mount large enemies from behind and deal repeated stab damage, is not effective against the Ogre. Despite the Ogre's large size, attempting to use Back Hang during this fight will result in the Ogre throwing you off once your attack window disappears. If you find yourself latched on and the Ogre begins to resist, release the skill immediately to avoid taking unnecessary damage from the throw.
Focus on standard melee combos instead. The hit-and-run rhythm of quick attacks after dodged slams is far more reliable and safer than trying to grapple this particular boss.
Healing During the Fight
The Ogre hits hard, and you will likely take damage during the fight. The recommended approach is to heal by eating Grilled Meat while simultaneously attacking during punish windows. In Crimson Desert, you can eat food and attack at the same time, so take advantage of this by popping Grilled Meat whenever your health dips below half. If your health drops dangerously low, disengage from attacking and focus entirely on dodging while you eat to recover.
Recommended Preparation
Since the Ogre is an optional boss in the later-game Crimson Desert region, you should be well-equipped before taking it on. Here is a checklist of what to bring and upgrade before traveling to the Desolate Megalith Altar.
Healing Items
Bring at least 100 Grilled Meat to the fight, and ideally 150 or more if this is your first attempt. Grilled Meat is the most efficient healing item in the game because it only costs one raw meat to cook and still restores a solid amount of health. You can buy raw meat from the meat vendor in Hernand (she restocks every night at midnight in-game time), or hunt deer in the wild. Each deer drops 3 to 4 raw meat. Cook the meat at any bonfire or cooking pot.
Armor and Weapons
Equip plate armor for the highest defense available. Plate armor provides the best damage reduction with no movement penalty, making it the ideal choice for boss encounters. Make sure your armor and weapons are refined to at least level 4 or higher. The extra defense from refinement makes a noticeable difference in how much damage you take per hit. You can refine gear using mining materials gathered from mineral deposits at mountain walls.
Skills and Stats
Before the fight, make sure you have invested in at least 4 health upgrades and 4 stamina upgrades in the skill tree. Higher health gives you more room for error, while higher stamina ensures you can chain multiple dodges without running dry. Focus on a dodge-oriented build rather than a shield-based one for this fight, since the Ogre's slams hit too hard and too wide for effective blocking.
Preparation Checklist
Recommendation | |
|---|---|
Healing | 100+ Grilled Meat (150+ recommended for first attempt) |
Plate armor, refined to level 4 or higher | |
Refined to level 4 or higher | |
At least 4 skill points invested | |
At least 4 skill points invested | |
Combat Style | Dodge-focused (avoid shield reliance for this fight) |
Rewards
Defeating the Ogre grants two rewards:
Reward | Type | Description |
|---|---|---|
Ogre's Necklace | Accessory (Necklace) | A unique necklace dropped by the Ogre. Necklaces occupy the neck accessory slot and generally provide Spirit regeneration along with additional effects at higher refinement levels. Boss-dropped accessories like this one tend to have unique passive effects that standard gear cannot replicate. |
Ability | An ability obtained from defeating the Ogre. Boss encounters in Crimson Desert frequently reward unique abilities that can be learned and added to your skill loadout. |
The Ogre's Necklace is especially worth pursuing for players who want to fill out every accessory slot with the best available gear. In Crimson Desert, you can equip up to six accessories at once (two rings, two earrings, one necklace, and one cloak), and boss-dropped pieces often outperform anything you can buy from vendors.
Tips and Additional Notes
Stay close. This cannot be overstated. The cone-shaped AoE on the Ogre's slams makes close range the safest position.
Dodge forward, not backward. Forward and diagonal dodges put you behind or beside the AoE hitbox. Rolling backward keeps you in the widening cone.
Cap your attacks at three hits per opening. Getting greedy with extra swings is the most common way to take avoidable damage in this fight.
Do not use Back Hang. Despite the Ogre's size, the Back Hang grapple skill does not work well here. You will get thrown off and take damage.
Watch for the ground darkening. During jump slams, the darkened ground telegraph is your cue to sprint toward the Ogre's launch point and dodge forward.
Eat while attacking. You can consume Grilled Meat simultaneously with quick attacks in Crimson Desert. Use this to sustain your health without sacrificing damage output.
Bring more food than you think you need. Healing items are cheap to craft and there is no penalty for carrying too many. Running out of food mid-fight is a much worse outcome than having 50 leftover Grilled Meats.
Learn the combo cadence. The Ogre's slam combos always end with a double hand slam. Once you recognize the pattern, you can anticipate every punish window.
Other Optional Bosses
The Ogre is one of seven optional bosses scattered across the world of Pywel. If you enjoyed this fight, you may want to track down the others as well:
Location | Region | |
|---|---|---|
Saigord the Staglord | ||
Twisted Thicketway | ||
Ogre | Desolate Megalith Altar |
For a full overview of all boss encounters in the game, see the Bosses article. For broader tips on handling any boss fight in the game, check out the Boss Strategies and Advanced Combat Guide pages.
Database Stats
Combat attributes recorded in the game database for Ogre.
Stat | Value |
|---|---|
HP | 5,350 |
Attack | 166 |
Defense | 65 |
Stamina | 100 |
Knockout | 600 |
Fatal | 5 |