Crookrock Walker
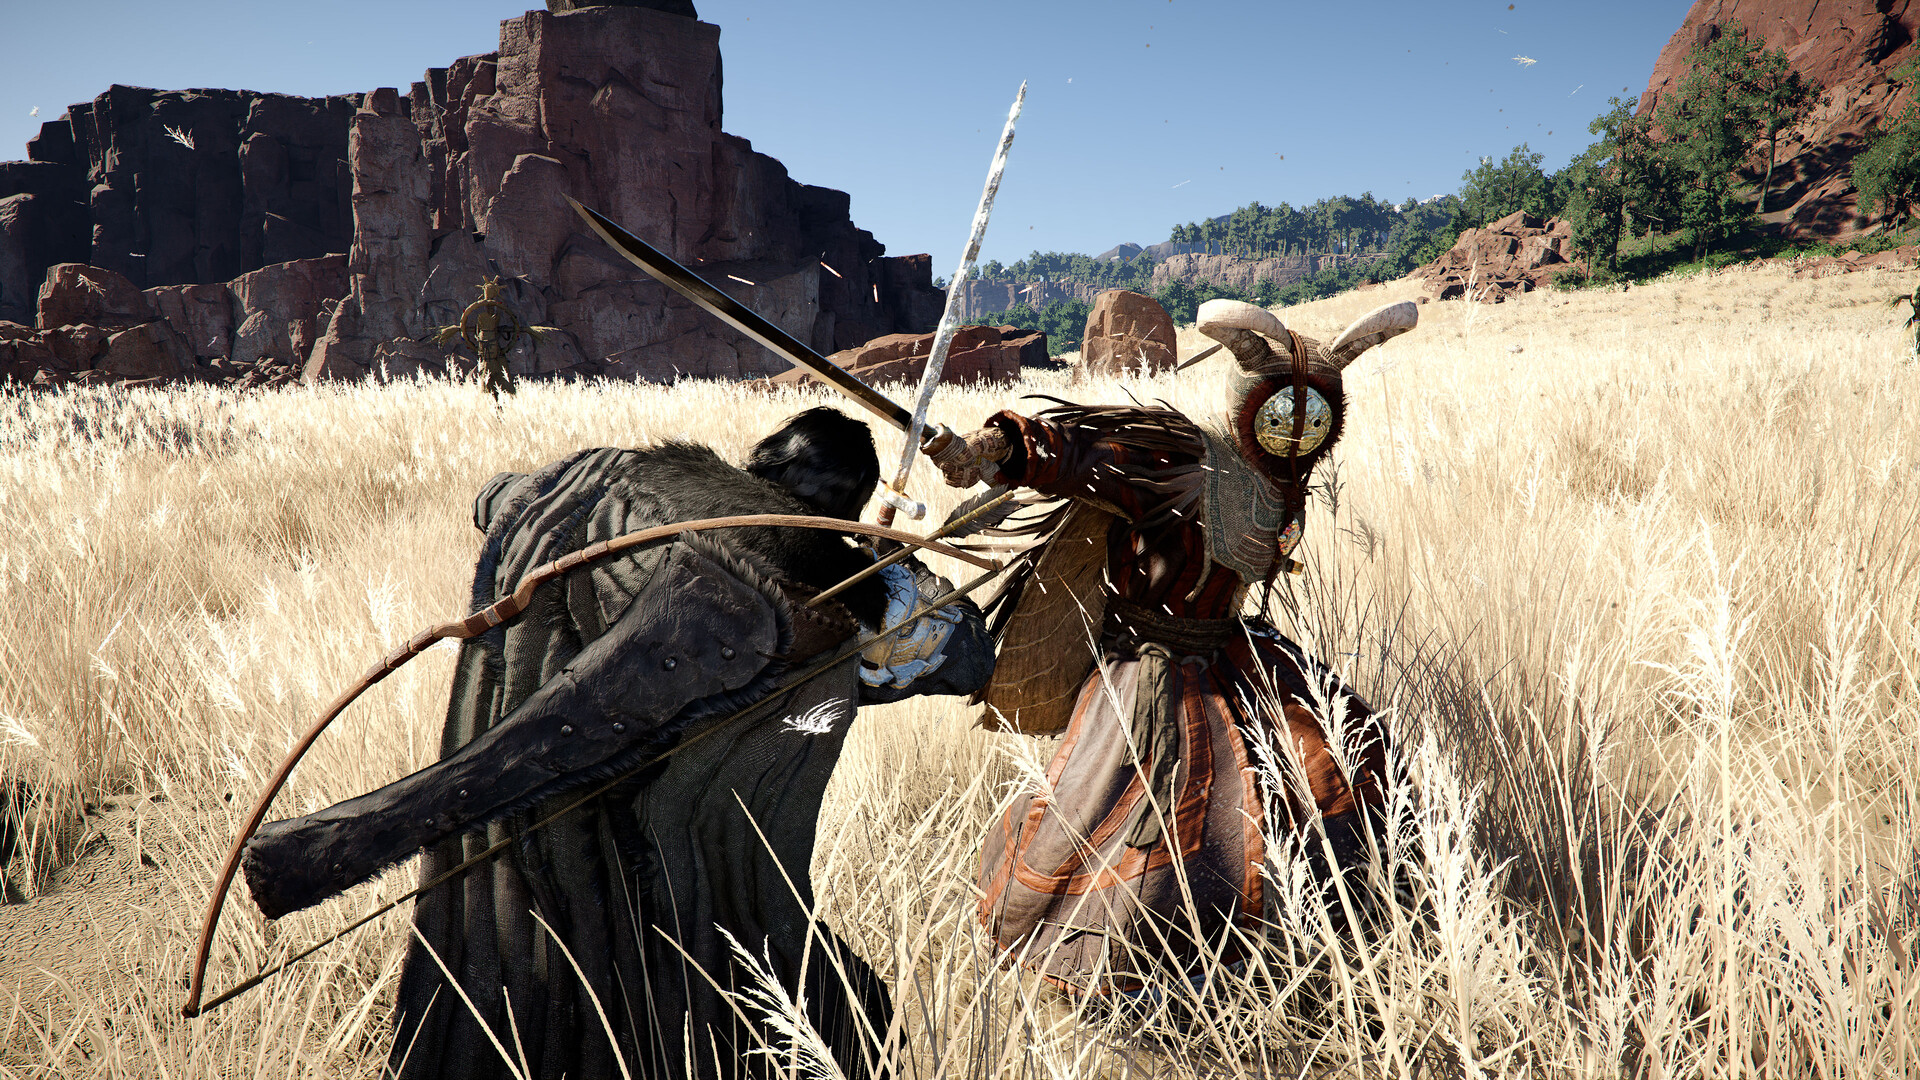
The Crookrock Walker is an optional World Boss in Crimson Desert, found on top of an Abyss Nexus in the Forebearer's Barrens area of the Crimson Desert region, north of Tashkalp. This stone golem fights with slow but powerful attacks. Players should stay on its flank and exploit the long wind-up animations to deal sustained damage, then finish off the scattered stones once it staggers and breaks apart.
On This Page
Overview
The Crookrock Walker is an optional World Boss in Crimson Desert, found perched on top of an Abyss Nexus in the Forebearer's Barrens area of the Crimson Desert region. The boss sits north of Tashkalp, near the Spire of the Sun. As a stone golem, the Crookrock Walker is part of the same family of rocky, elemental creatures that inhabit the harsh desert landscape of Pywel, sharing similarities with other walker-type bosses such as the Grave Walker and the Snow Walker.
Unlike many of the story bosses in the game, the Crookrock Walker is entirely optional. Players stumble upon it while exploring the Abyss Nexus fast travel points scattered around the Spire of the Sun. One of the nearby teleporters triggers the encounter, so anyone seeking to activate all fast travel points in the area should be prepared for a fight. The boss rewards several useful items, including an Abyss Cell and Abyss Gear blueprints, making it a worthwhile detour for players who are building out their gear setup.
Boss Information
Attribute | Details |
|---|---|
Name | Crookrock Walker |
Type | World Boss (Optional) |
Region | |
Area | Forebearer's Barrens, north of Tashkalp |
Nearby Landmark | |
Creature Type | Stone Golem |
Difficulty | Intermediate |
Related Quest | None (free-roam encounter near Abyss Nexus) |
How to Find the Crookrock Walker
The Crookrock Walker is located on top of an Abyss Nexus in the Forebearer's Barrens, which is the northern part of the Crimson Desert region. The area is accessible during Chapter 9 of the main story, when the narrative takes Klau and his mercenaries into the desert.
To reach the boss, head north from Tashkalp toward the Spire of the Sun. There are several Abyss Nexus teleporters clustered around the Spire. One of these teleporters will spawn the Crookrock Walker when you approach or attempt to activate it. The boss does not require any special trigger beyond visiting the right Abyss Nexus point.
Players can use their sword's Guiding Light (press L1+R1 on PlayStation, LB+RB on Xbox, or CTRL + Left Click on PC) to highlight Abyss Nexus locations with a blue glow when they are nearby. The Nexus points look like round floor plates. Standing on them normally activates fast travel, but in this case, one of them will instead trigger the world boss encounter.
Be careful when tagging the fast travel points in this area. If you are underleveled or low on supplies, the Crookrock Walker can catch you off guard. Make sure to stock up on healing items at Tashkalp or Varnia before heading out to explore the Forebearer's Barrens.
Attack Patterns
The Crookrock Walker fights with slow, heavy attacks that deal significant damage on impact. Its wind-up animations are noticeably long compared to faster bosses in the game, which gives players a wider window to react. However, the damage from each hit is substantial, so getting caught by even a single attack can drain a large portion of your health bar.
Attack | Description | How to Counter |
|---|---|---|
Ground Slam | The Crookrock Walker raises one of its massive stone arms and brings it crashing down into the ground. The impact creates a small shockwave in the immediate area around the point of contact. | Dodge to the side during the wind-up animation. The attack targets the player's current position when the animation starts, so moving laterally avoids it entirely. |
Sweeping Swing | The golem swings one arm in a wide horizontal arc in front of it. This attack covers a broader area than the ground slam and can hit players who are standing too close to the front. | Stay on the boss's flank or behind it. The sweep only covers the frontal cone. If you are to the side, the swing will miss. |
The Crookrock Walker lifts one of its legs and stamps the ground with force. The stomp has a smaller area of effect but comes out slightly faster than the arm attacks. | Roll backward or to the side when you see the leg lift. The stomp is quicker than the arm attacks, so react as soon as the animation begins. | |
Body Check | The golem leans forward and shoves its entire body weight into the player. This is a close-range attack that can knock the player back and interrupt combos. | Maintain a slight gap even when attacking the flank. If you see the boss shift its weight forward, dodge away to avoid the shove. |
All of the Crookrock Walker's attacks share the same general trait: they are slow to start but hit hard. Players who learn to read the wind-up animations will find that the boss rarely lands a clean hit. The fight becomes much easier once you get a feel for the timing.
Strategy
Positioning: Stay on the Flank
The single most important piece of advice for this fight is to stay on the Crookrock Walker's flank. Most of its attacks are directed at whatever is directly in front of it. By circling to the side, you avoid the ground slams, sweeping swings, and body checks almost entirely. The boss has a slow turn speed, which means you can stay ahead of its rotations by simply strafing around it while attacking.
Do not stand directly behind the boss for extended periods. While it is safer than the front, some of the stomp attacks can clip players who are too close to the legs. The sweet spot is at a 45-degree angle to the boss's side, just outside arm's reach, where you can dart in to land hits and pull back out before the next attack.
Exploiting Slow Wind-Ups
The Crookrock Walker's attacks all have noticeably long wind-up animations. This gives you time to identify which attack is coming, position yourself accordingly, and charge your own strikes. Because the boss commits fully to each attack once the animation begins, you can safely punish every missed swing with a combo of your own.
The best approach is to bait an attack, dodge it, then immediately follow up with your strongest available combo or charged heavy attack. Repeat this cycle to build damage and fill the stagger gauge. You can continuously commit to your combos during the recovery frames after each of the boss's attacks, since the Crookrock Walker takes a moment to reset between swings.
Breaking the Stagger Gauge
Like other walker-type bosses in Crimson Desert, the Crookrock Walker has a stagger mechanic. As you deal damage, a stagger gauge fills up. Once the gauge reaches its threshold, the golem becomes staggered and breaks apart into scattered stone pieces. This is the defining moment of the fight.
When the Crookrock Walker breaks apart, each piece of rubble can be attacked individually. You do not need to target a specific fragment. Simply attack any of the scattered stones to deal damage during this window. Use your heaviest attacks, strongest abilities, and any damage-boosting consumables you have available. The stagger window is limited, so make every second count.
After the stagger window ends, the boss reassembles and the cycle repeats. Continue flanking, dodging, and building stagger until the Crookrock Walker is destroyed for good.
Axiom Force
Players who have unlocked Axiom Force should experiment with using it during the fight. Axiom Force allows you to interact with certain environmental elements and boss weak points. Against walker-type bosses, it can sometimes be used to pull out glowing weak points or manipulate the boss's body, similar to how Axiom Force works against Lithus in the Southern Quarry. If you see a glowing element on the Crookrock Walker during the fight, try targeting it with Axiom Force (L3) and pulling it to create an opening.
Rewards
Defeating the Crookrock Walker grants several rewards that are useful for character progression and gear enhancement.
Reward | Description |
|---|---|
A crafting material used to create Abyss Cores at a Witch's crafting station. Abyss Cells are also required for certain health upgrades in the Skills menu. | |
An Abyss Gear blueprint or gear piece. Composure-type Abyss Gears provide defensive or poise-related bonuses when slotted into equipment. | |
A Power Core item that goes into your Supply Chest. Power Cores are tied to the Spire progression system and provide permanent upgrades. | |
An Abyss Gear that provides Attack +1 when slotted into Weapons, Gloves, or Footwear. One of the most widely used offensive Abyss Gears in the game. |
The Abyss Cell is particularly valuable because these materials are needed to craft various Abyss Gears at a Witch's crafting station. Abyss Cells can also be obtained from Wandershrub variants and Bismuth Oreback Crabs found at other Abyss fast travel points, but picking one up from a world boss fight is a convenient bonus.
The Destruction I Abyss Gear is one of the most straightforward damage-boosting gear pieces in the game. Slotting it into a weapon provides a flat +1 Attack increase, which stacks with other attack bonuses. Players focused on building an offensive loadout should hold onto this reward.
Recommended Preparation
Healing Supplies
Bring plenty of Grilled Meat or other healing food. As a general rule for world bosses, having at least 50 to 100 pieces of healing food makes the fight much more forgiving. The Crookrock Walker's attacks hit hard, and having a deep supply of healing lets you recover from mistakes without having to restart.
Gear and Level
The Forebearer's Barrens is part of the late-game Crimson Desert region, which players typically reach during Chapter 9 of the main story. By this point, you should have access to mid-tier or better weapons and armor. Make sure your equipment is refined and upgraded before heading into the fight. Players who are rushing through the story and skipping side content may find the Crookrock Walker punishing.
Abyss Gears
If you have already collected some Abyss Gears, slot any defensive or damage-boosting gears you have into your equipment before the fight. Gears like Aegis (Damage Reduction), Fortification (Defense), or Destruction (Attack) can make a noticeable difference.
Skills
Make sure you have a good mix of offensive and defensive skills unlocked. Abilities that deal burst damage are ideal for the stagger window, when you need to unload as much damage as possible in a short time. Charged heavy attacks, Force Palm, and combo finishers all work well during the damage window.
Tips and Tricks
Stay on the boss's flank at all times. The majority of its attacks target the area directly in front of it. Circling to the side makes the fight significantly safer.
Do not panic when the boss winds up an attack. The animations are slow, and you have time to react. Wait for the attack to commit before dodging.
Save your strongest abilities and combos for the stagger window when the golem breaks apart. That is your primary damage phase.
Attack any of the scattered stone fragments during the stagger phase. You do not need to target a specific piece.
Keep your healing supplies well stocked. Even with good positioning, a stray hit from the Crookrock Walker deals significant damage.
If you are low on health after the fight, there are Abyss Nexus fast travel points nearby. Activate one to travel back to a safe location and restock.
Explore the area around the Spire of the Sun thoroughly after the fight. The Forebearer's Barrens contains additional Abyss Nexus points, hidden Abyss Cressets, and other points of interest.
If you die to the boss, you can return and try again. World bosses in Crimson Desert respawn, and your progress on the boss's health bar is not saved between attempts.
Related Bosses
Crimson Desert features several walker-type bosses that share similar stone golem designs and stagger-based mechanics. Players who enjoy the Crookrock Walker fight may want to seek out these other encounters.
Region | Description | |
|---|---|---|
A stone golem inside the Silent Falls Hideout cave near Hook Rapids. One of the earliest World Bosses in the game. Uses a distance-reactive attack pattern with boulder throws at range and overhead slams up close. | ||
A massive ice elemental found in the White Mountains of the Pailune region. Combines ice elemental attacks like snowstorms and hail barrages with brutal charging strikes. | ||
Hernand (Grace Estate) | A Cubewalker boss in the Southern Quarry. Players use Axiom Force to pull the glowing cube from its head, causing it to crumble into fragments that can be attacked. |
Trivia
The name "Crookrock" likely refers to the Crookrock Crag, a known location in the southern Crimson Desert region where Scorpions and other desert creatures can be found. The walker may share a connection to the rocky formations in that area.
Walker-type bosses (Grave Walker, Snow Walker, Crookrock Walker) all share the core mechanic of breaking apart into fragments when staggered. This makes them distinct from humanoid bosses, which tend to have phase transitions instead.
The Crookrock Walker is one of several world bosses that spawn near Abyss Nexus fast travel points, encouraging players to stay alert even during routine exploration and map completion.