Loading...
Loading...
Elemental Attacks
April 10, 2026 at 09:30 PM
Fix elemental skill button inputs (all use R2+Circle) and Spirit cost (varies by skill)
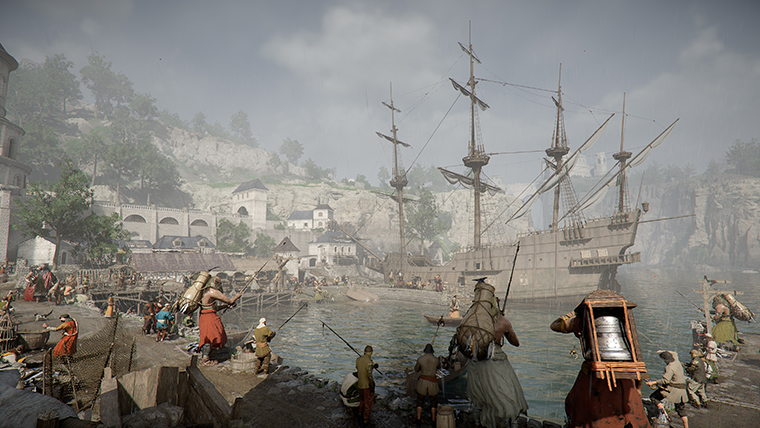
Elemental Attacks are one of the most powerful combat tools available in Crimson Desert, allowing players to channel the forces of Lightning, Flame, Frost, and Wind into their strikes. Rather than being simple stat boosts, elemental abilities function as entire sub-systems that add secondary damage layers, crowd-control effects, and visual enhancements to your existing combat skills. The system is split into two parts: standalone elemental skills (such as Lightning Surge and Flame Strike) that act as castable abilities, and the Imbue mechanic that lets you infuse your regular weapon attacks with elemental power for bonus damage and status effects.
Unlike most progression in Crimson Desert, elemental attacks are not unlocked through spending Abyss Artifacts in a skill tree. Instead, they are gated behind exploration and puzzle-solving. Each element is locked inside a specific chain of Abyss islands accessed from Spires scattered across the regions of Pywel. Players must climb these Spires, enter the Abyss realm, and complete a series of increasingly difficult environmental puzzles to earn each elemental power. The earliest opportunity to begin unlocking elements comes during Chapter 4 of the main story, though some elements require later story progression to access.
The elemental system in Crimson Desert operates on two distinct layers that complement each other in combat.
Each element has a signature skill that can be activated directly during combat. These standalone skills function as castable abilities with their own animations, cooldowns, and area-of-effect properties. All standalone elemental skills share the same activation input (R2 + Circle on controller), with the active element selected via the D-pad:
Element | Skill | Input | Effect |
|---|---|---|---|
Frost | R2 + Circle | Area-of-effect freeze explosion around Kliff. Pushes back and freezes nearby enemies. | |
Flame | R2 + Circle | Launches a fire projectile. Also lights beacons and burns through vines in the environment. | |
Lightning | R2 + Circle | Area-of-effect lightning field around Kliff. Stuns and paralyzes enemies caught in the radius. | |
Wind | R2 + Circle | Area-of-effect smoke bomb. Obscures enemy vision and breaks aggro. |
Standalone elemental skills do not consume weapon durability or ammunition. They draw from the Spirit resource instead, making them freely usable as long as you have Spirit available.
The second layer is the Imbue system, which lets players coat their existing weapon-based skills with elemental energy. Once you unlock your first element and learn the Imbue Element skill, you can press L2 during certain attacks to infuse them with your currently active element. This adds a visible elemental aura around the weapon swing and deals additional elemental damage on top of the base physical damage. Imbued attacks also apply status effects tied to the chosen element, such as burning, freezing, or stunning the target.
Imbue is not a passive buff that stays active permanently. It is activated per-skill, meaning you choose which specific attacks receive the elemental enhancement. This makes positioning and timing important, as you want to imbue your highest-damage skills rather than wasting the effect on light combo starters.
To swap your active element, hold right D-pad. This opens the element selector wheel, allowing you to choose which element will be used for both standalone casts and imbued attacks. You can switch elements at any time outside of active attack animations.
Each imbued attack costs 10 Spirit. Spirit regenerates naturally over time and can also be recovered through certain combat actions and consumables. Because of the Spirit cost, you cannot spam imbued attacks indefinitely. Manage your Spirit pool carefully and reserve imbue activations for your highest-damage skills to maximize the elemental bonus.
The four imbue-capable skills unlock progressively as you level up the Imbue Element skill tree. In terms of raw value, Turning Slash (unlocked at Imbue Level 1) is widely considered the best imbue target because it is fast, hits a wide arc, and you have access to it from the very start. Charge Shot (Level 2) is excellent for applying elemental status effects at range, especially useful against flying enemies or targets you cannot safely approach. Force Palm (Level 3) adds elemental burst to a close-range knockback strike, while Meteor Kick (Level 4) delivers the single largest elemental burst damage in the game, making it the go-to choice for boss encounters where you can land the full aerial kick.
Before you can begin unlocking elemental attacks, several gameplay systems and stats must be in place. Elements are gated behind Abyss puzzle chains, and those puzzles require specific traversal skills and a minimum level of preparation.
You need at least 200 stamina to comfortably complete the Abyss puzzle chains, since gliding, climbing, and mid-air shooting all drain your stamina bar. The following skills are either required or strongly recommended before entering any Abyss puzzle chain:
Axiom Force (aerial maneuver): Required. Many Abyss islands involve mid-air grapple points and Axiom Force pads.
Force Current: Highly recommended. Speeds up moving power sockets and objects during laser puzzles.
Focus (Focus Shot): Required for Lightning and several other chains. Focus Shot lets you lock onto and shoot multiple bullseye targets simultaneously.
Arrows: Bring a full supply. Multiple puzzles require ranged shots, and the Priscus the Ancient boss fight at the Spire of Ringing Truth is best handled with ranged attacks.
The Spire of Ringing Truth leads to both the Frost and Flame unlock chains. The Path of Trials section of this chain takes you through an extremely cold area that inflicts Cold damage over time. You need Ice Resistance level 5 or higher to survive comfortably. Achieving this requires specific equipment:
Notes | ||
|---|---|---|
Dark Ring Leader Cloak (cloak) | The single largest Ice Resistance bonus from one piece. Obtainable before the Frost chain. | |
Blackwing Lever Armor (body) | +1 Ice Resistance (abyss gear) | An abyss-type body armor piece that provides a point of cold protection. |
Pairs with the cloak to hit the required threshold together. |
With the Dark Ring Leader Cloak (+3), Blackwing Lever Armor (+1), and Dark Ring Leader Gloves (+1), you reach the required +5 Ice Resistance. Without sufficient cold protection, the temperature in the Path of Trials area will drain your health rapidly, making progress nearly impossible.
Crimson Desert features four distinct elements, each with its own standalone skill, status effect, and strategic niche. The following table summarizes each element at a glance.
Element | Standalone Skill | Status Effect | Best For |
|---|---|---|---|
Lightning | Stun and paralysis; bypasses shields | Aggressive combo-heavy playstyles | |
Flame | Burn (damage over time) | Consistent damage; effective against groups | |
Frost | Freeze; slows enemies | Crowd control and defensive play | |
Wind | Smoke screen; obscures enemy vision | Stealth approaches and repositioning |
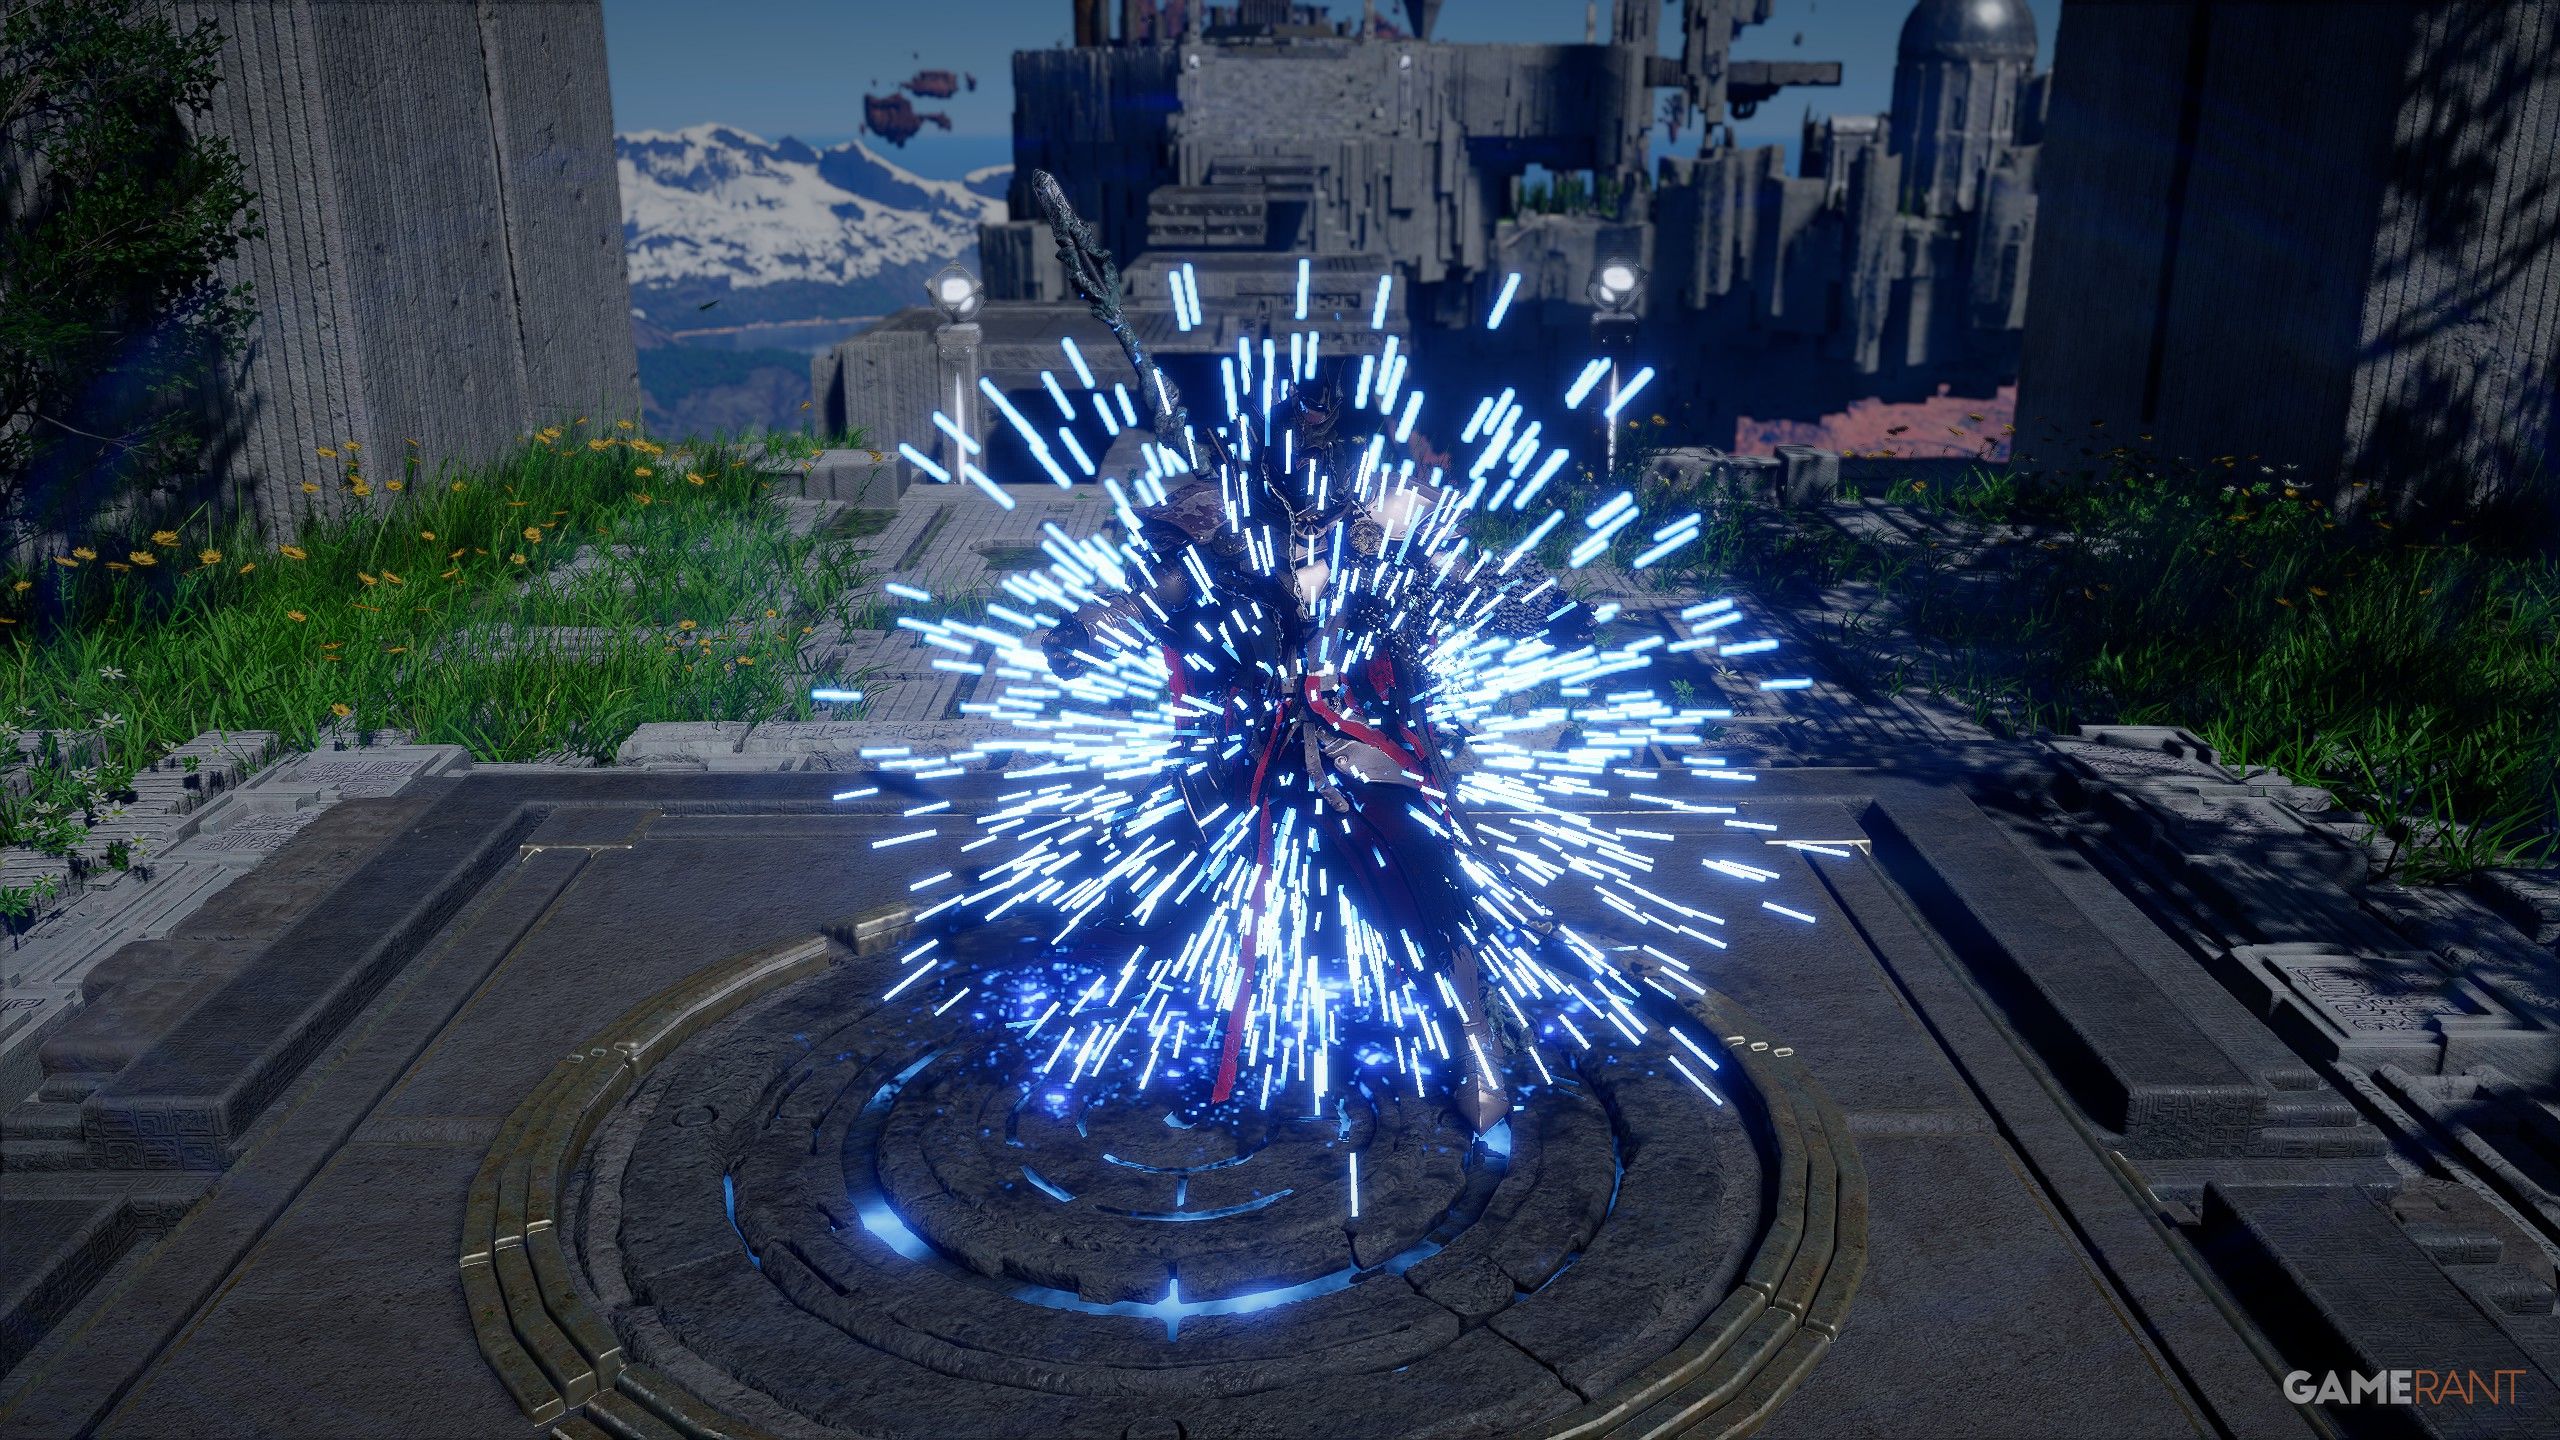
Lightning is often the first element players unlock because its Spire is directly tied to the Chapter 4 story path. When activated, Lightning Surge spawns electric tentacles around Kliff that stun and paralyze enemies caught in the field. This makes it one of the strongest crowd-control tools in the game, especially against shielded enemies whose defensive postures would normally block physical attacks. Lightning damage bypasses those guards entirely, creating openings for follow-up combos.
In combat, Lightning truly shines as an execution element. When an enemy is affected by the Lightning stun, they become vulnerable and take approximately +30% increased physical damage during the stun window. Players who can land full combo strings during this brief opening will deal significantly more total damage than with any other element. The trade-off is that the window is short, rewarding aggressive and precise play.
Lightning also interacts with weather conditions. When it is raining in-game, Lightning attacks receive a roughly 20% damage bonus on top of their base values. Wet enemies suffer longer stun durations and take amplified Lightning damage. However, rain also reduces your own Lightning Resistance by about 9 points, so fighting Lightning-wielding enemies during storms carries additional risk.
Beyond combat, Lightning Surge has utility applications. It can conduct electricity into certain objects in the environment, such as Bismuth Ore deposits that require electrical conduction to harvest. This makes the Lightning element useful for gathering rare crafting materials in addition to its combat benefits.
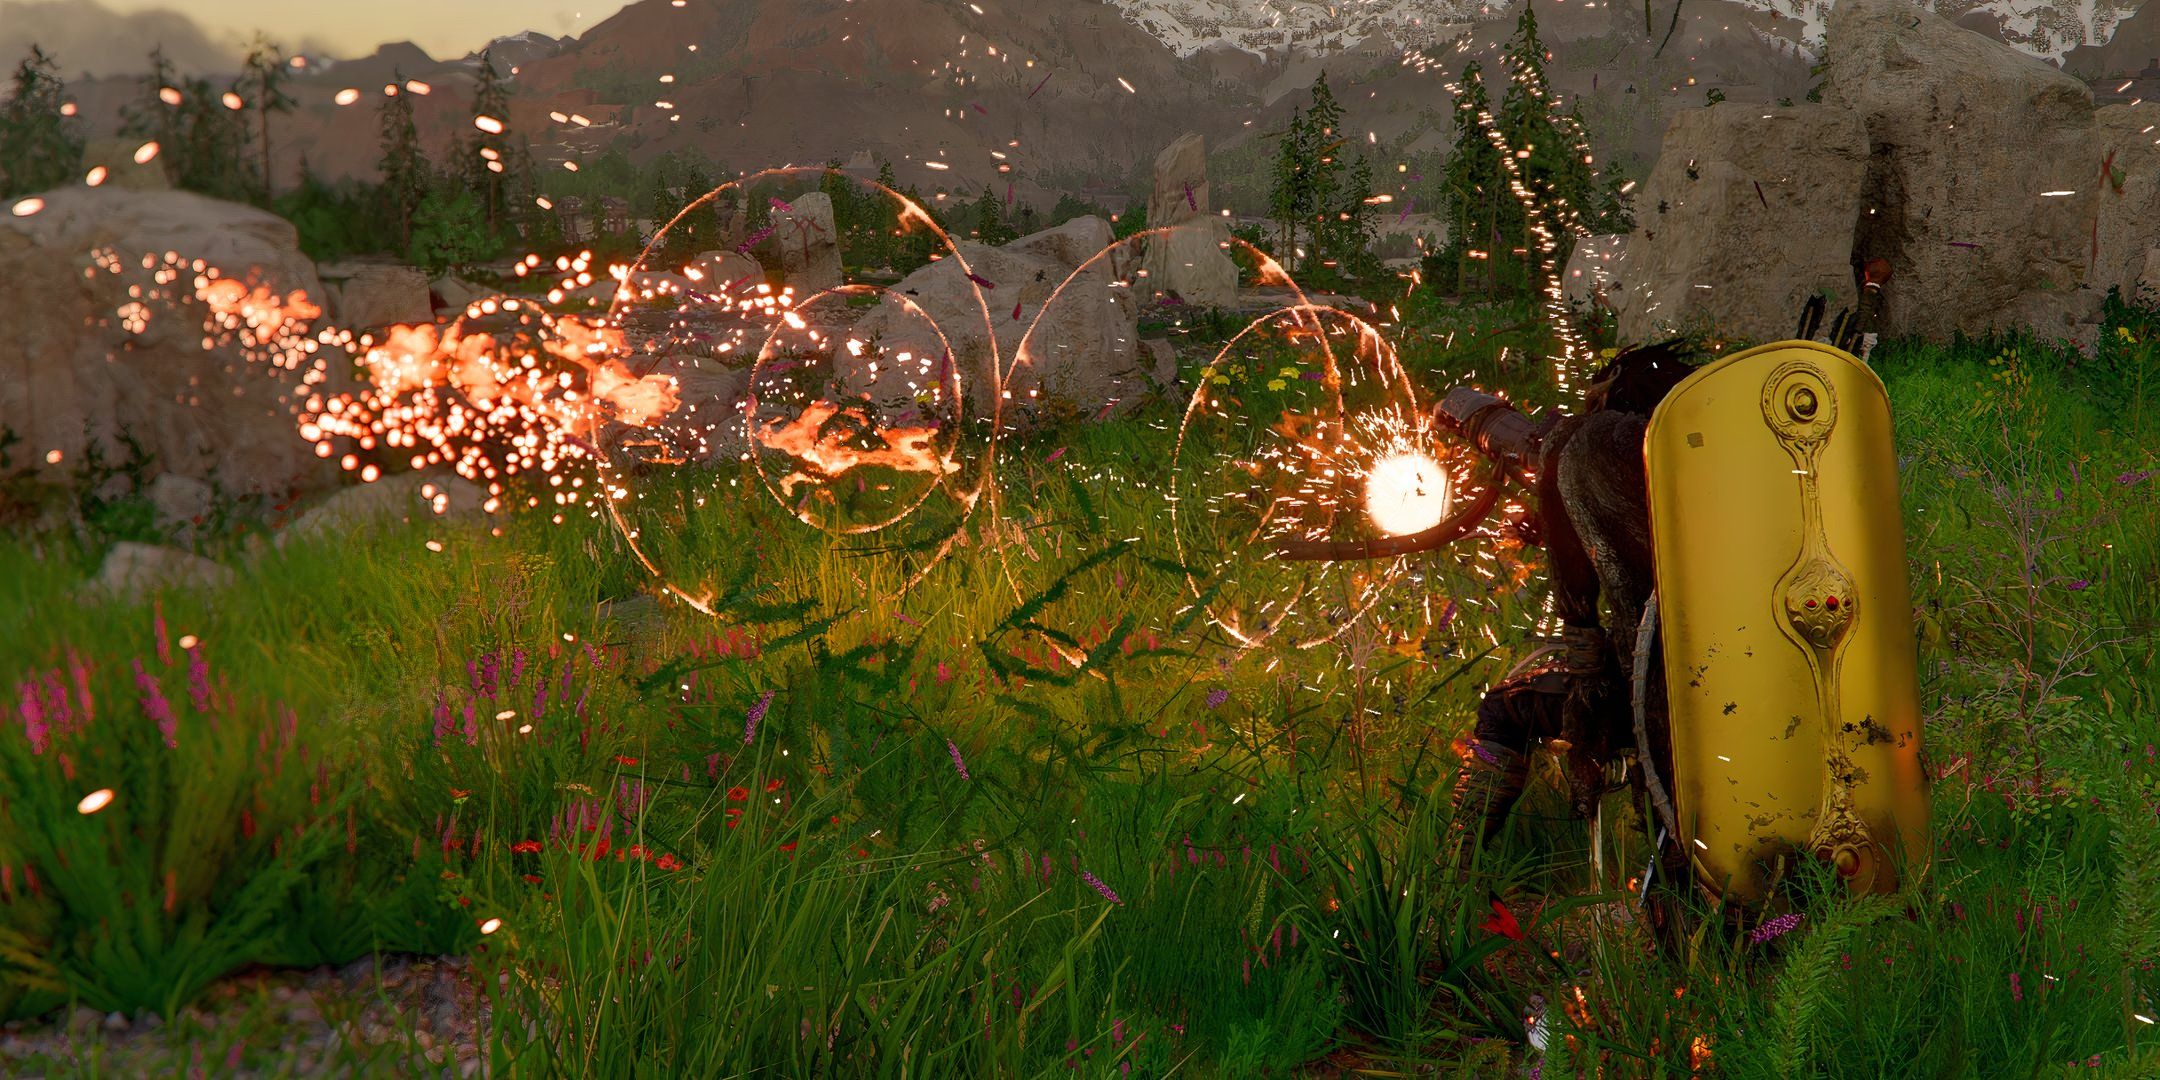
The Flame element centers on sustained damage through the burn status effect. When you activate Flame Strike, Kliff scorches opponents within a small radius around him. Enemies hit by the initial blast and any subsequent imbued fire attacks will catch on fire, taking damage over time that continues ticking even while you are dodging, repositioning, or recovering stamina.
This makes Flame the most forgiving element for newer or more cautious players. Because burn damage chips away at enemy health independently of your actions after application, you can apply the effect and then focus on defense without losing DPS uptime. Against groups of enemies, Flame Strike's area-of-effect application can set multiple targets ablaze simultaneously, making it particularly effective in encounters where you are outnumbered.
In terms of raw damage output, Flame provides the most consistent DPS among the three offensive elements (Lightning, Flame, and Frost). The burn damage ticks reliably regardless of your critical hit rate or combo execution, which makes it a strong baseline choice before you have optimized your build around other stats.
Frost is the defensive and crowd-control element. Frost Mantle creates a protective barrier of ice around Kliff that pushes back nearby enemies and can freeze those who come into contact with it. The freeze effect locks enemies in place for a short duration, giving you time to reposition, heal, or set up a powerful charged attack.
Where Frost becomes especially powerful is in builds with high Critical Rate. Each time you land a critical hit with a Frost-imbued attack, the ice modifier applies bonus damage that scales with your crit chance. Below roughly 40% Critical Rate, Frost tends to underperform Flame in raw DPS. However, once you push past that 40% threshold, the per-crit ice damage modifier overtakes Flame's burn, making Frost the superior damage element for precision-focused builds that invest heavily in critical hit stats.
Frost also interacts with environmental temperature. In cold regions or during snowfall, Frost effects last longer on enemies and the freeze duration is slightly extended. Conversely, in hot areas, Frost effects wear off faster. Keep in mind that rain reduces your own Ice Resistance by about 13 points, which means enemies using Frost attacks against you will hit harder during storms.
Wind is the stealth-oriented element, unlocked later in the game than the other three. Storm Veil emits a cloud of smoke in the middle of combat that obscures enemy vision. While enemies are blinded by the smoke, you can reposition stealthily, escape a dangerous situation, or close distance for a surprise attack. This makes Wind uniquely valuable in encounters against large groups or when you are low on health and need breathing room.
Unlike the other three elements, Wind is less about dealing direct damage and more about battlefield manipulation. The smoke cloud breaks enemy aggro and targeting, which can reset encounters in your favor. For players who prefer hit-and-run tactics or stealth-based approaches, Wind provides options that no other element can match.
Wind is the last element most players will unlock because it requires completion of Chapter 8 (Blood Coronation) before the Spire of Clockwork becomes accessible. This makes it a late-game addition to your elemental toolkit, but its utility in high-difficulty encounters and against late-game bosses makes it well worth pursuing.
Elemental attacks do not unlock all at once. Each element is tied to a specific Spire and its associated chain of Abyss islands. You must physically travel to the Spire, climb to the top, enter the Abyss Gate, and complete every island in the chain before the element becomes available. The puzzles range from laser manipulation and target shooting to timed flight challenges, and some can be surprisingly difficult.
The following table details the unlock path for each element, including the Spire location, required Abyss islands, and the earliest point in the story when the unlock becomes available.
Element | Spire | Region | Abyss Islands | Earliest Availability |
|---|---|---|---|---|
Lightning | Starfall (near the Institute) | Secret Garden, Vault of Vengeance, Courtyard of Precision | Chapter 4 | |
Flame | Pailune (western area) | Ether Rest, Frostbitten Paradise, Path of Trials, Sanctorum of Darkness, Loop of Life, Tree of Slumber | Chapter 4 (optional) | |
Frost | Pailune (western area) | Ether Rest, Frostbitten Paradise, Path of Trials | Chapter 4 (optional) | |
Wind | Demeniss (eastern edge) | Riddle Square | After Chapter 8 |
Note that Frost and Flame share the same Spire (the Spire of Ringing Truth) and overlap in their early Abyss islands. Frost unlocks partway through the chain at the Path of Trials, while Flame requires continuing further through the Sanctorum of Darkness and Tree of Slumber. This means completing the Flame unlock also grants Frost along the way.
Lightning is typically the first element players encounter because it is tied to the Spire of Insight, which you visit as part of the main story during Chapter 4. The Spire is located near the Scholar Stone Institute in Hernand. When the story sends you to the Institute and then up to the Abyss, you can choose to stay and complete the puzzle islands rather than continuing with the main quest. To return later, fast travel to the Abyss point directly above the Institute. The full chain takes you through the Sanctorum of Insight, then three puzzle islands: the Secret Garden, Vault of Vengeance, and Courtyard of Precision.
The first island in the chain is the Secret Garden. This puzzle revolves around power sockets (also called abyss pads) and laser alignment.
Step 1: When you arrive, look for the missing abyss pad in the southwestern corner of the area, tucked behind some foliage. Pick it up.
Step 2: Carry the pad to the deactivated laser mechanism near the center of the island. Plug the pad into the power socket to activate the laser.
Step 3: You now have two active lasers. Aim each laser so that its beam strikes the correct mirror target. The mirrors are positioned on pedestals around the garden. Rotate each laser until its beam visibly connects to its corresponding mirror.
Step 4: Once both lasers are aligned correctly, the locked door at the far end of the garden opens.
Step 5: Glide upward using the air current behind the door. Pick up the Abyss Artifact inside to complete this island.
The Force Current ability (if you have it) speeds up moving the abyss pad into position. If you do not have Force Current yet, you can still carry the pad manually, though it takes longer.
The second island is the Vault of Vengeance. This is a multi-stage puzzle that tests your combat traversal skills and your ability to use Focus Shot to hit multiple targets at once.
Step 1: At the entrance, power two stone pillars by inserting abyss pads into their sockets. This activates the chamber.
Step 2: Use Focus Shot to lock onto two bullseye targets simultaneously and fire. The targets are positioned on opposite walls, so you need to pan your aim wide before releasing. Hitting both targets at once opens the inner gate.
Step 3: Inside the vault, collect the golden sword and open the treasure chests.
Step 4: Take the elevator down to the lower level.
Step 5: Sprint through a laser pattern corridor. The lasers sweep in a repeating pattern, so watch the timing and dash through gaps between sweeps. Getting hit by a laser deals significant damage.
Step 6: At the end of the corridor, find and activate another power pad.
Step 7: Connect the wire circuits by rotating junction nodes until the power flows from the pad to the door mechanism.
Step 8: Use Force Palm on the final button to complete the island and proceed to the next.
The Courtyard of Precision is the final and most challenging island in the Lightning chain. It uses the same Focus Shot targeting mechanic as the Vault of Vengeance, but the target placement is significantly harder.
Ground-level targets: Begin by shooting all the orange bullseye markers on the ground floor. Focus only on the orange/yellow targets and ignore any blue ones. Use Focus Shot to lock onto multiple targets and fire volleys.
Elevated targets (the hard part): The final set of targets is positioned at elevated heights in the center of the arena. To reach them, stand on the central fan grate. When the air current activates, ride it upward. While gliding, use Focus Shot to lock onto the elevated targets and fire before you lose altitude.
Many players find this section extremely difficult, and it can take upwards of 20 minutes to complete. The key is to ride the central air current, mark your targets while gliding, and fire before you start falling. You can also try landing on the floating disc structures positioned around the arena and sniping from a stationary position, which some players find easier than shooting mid-glide.
Once all targets are destroyed, use Force Palm on the final button to activate the wheel mechanism. Collect the Abyss Artifact. This unlocks Lightning Surge and grants Lightning Lv 1, giving you access to your first elemental attack along with the Imbue capability for Lightning.
Both Frost and Flame are unlocked through the Spire of Ringing Truth, located in western Paleoon. This Spire is entirely optional and is not visited during any main quest, so you need to seek it out on your own. The Spire becomes accessible during Chapter 4.
To access the Abyss Gate at the top of the Spire of Ringing Truth, you must first climb the tower. At the top, use your bow to shoot the large bell. The impact causes the bell to fall and crash through the floor, creating a hole that reveals a basement entrance below.
In the basement, you face Priscus the Ancient, a flying boss. Priscus stays airborne for most of the fight, making melee attacks difficult to land. The most effective strategy is to use Focus Shot to lock onto Priscus while it is flying and fire arrows to stun it. When stunned, Priscus crashes to the ground, where you can rush in and deal heavy melee damage. Repeat this pattern until Priscus is defeated. After the boss falls, the Abyss Gate opens.
After entering the Abyss from the Spire of Ringing Truth, the first island you reach is Ether's Rest in the Sleet Isles. This island features a wind turbine puzzle.
Wind turbines: The island has several wind turbines that need to be activated. Use Axiom Force to interact with the turbine mechanisms and start them spinning.
Cage puzzle: A locked cage blocks your path forward. Solve the cage puzzle by finding and activating the correct combination of turbines. The cage lifts once the puzzle is complete, allowing you to proceed.
The second island, Frostbitten Paradise, is a complex puzzle area that introduces lightning cubes and power pads. This is one of the longer Abyss islands in the game.
Lightning cubes: You need to find and carry lightning-charged cubes to specific power pad receptacles. The cubes glow with electrical energy and must be placed in the correct sockets to power gates and bridges.
Power pad chaining: Some areas require powering multiple pads in sequence. Once a cube is placed, it activates a section of the bridge or opens a gate that leads to the next cube location.
Timing elements: Certain powered bridges are temporary and will deactivate after a short window. Move quickly across powered sections before they shut down.
The Path of Trials is the critical island where Frost is unlocked. This is the area that requires Ice Resistance level 5 because it is set in an extremely cold environment. Without sufficient cold protection, your health drains rapidly.
Cold mechanic: The ambient temperature is dangerously low. A cold meter appears on screen, and as it fills, you take increasing damage over time. Moving near lit torches temporarily warms you up and resets the meter.
Torch navigation: The island is designed as a gauntlet between torches. Sprint from one torch to the next, warming up at each one before continuing. If you dawdle between torches, the cold will kill you.
Frozen power pad puzzle: Partway through the Path of Trials, you encounter a frozen power pad. The pad is encased in ice and cannot be activated. You must pick up the frozen pad, carry it to a nearby lava pool, and dunk it in the lava to defrost it. Once defrosted, quickly carry the now-active pad back to its socket and plug it in before the cold refreezes it.
Completing the Path of Trials by activating its Abyss Gate unlocks Frost Mantle and Frost Lv 1, allowing you to use Frost as an Elemental Imbuement. This is the halfway point of the Abyss chain from the Spire of Ringing Truth.
After unlocking Frost, the Abyss chain continues. The next island is the Sanctorum of Darkness, which features a laser puzzle similar to the Secret Garden but more complex.
Laser grid: The floor is covered with electrified panels. Use Axiom Force (the grapple ability) to pull out the electrified panel and deactivate the floor barrier.
Mirror alignment: Rotate multiple mirrors to redirect laser beams through the correct sequence. The beams must connect in a chain from the power source to the exit mechanism.
The Loop of Life island requires powering three separate loops using abyss pads.
Three-loop puzzle: Each loop is a circular mechanism that needs a power pad inserted. Find the three pads scattered across the island and place each one in its corresponding loop socket.
Sequence matters: The loops must be powered in a specific order. Powering them out of sequence resets the puzzle. Watch for visual indicators (glowing runes) that hint at the correct order.
The Tree of Slumber is the final island in the Frost/Flame chain and the location where Flame is unlocked. This puzzle is often compared to a Rubik's Cube because it involves adjusting pillar heights to match a target configuration.
Central pillar: The main mechanism is a central pillar that you must stab (R1 + Triangle / RB + Y) to set the target height.
Outer pillars: Five outer pillars surround the central one. Each pillar must be adjusted to match the height of the central pillar. Pillars switch from orange to blue when set to the correct height.
Adjacency mechanic: Stabbing a slot on one pillar lowers the adjacent pillar. This means adjustments cascade, so you need to think several moves ahead. Work through each pillar methodically, starting from one side and moving around the circle.
All five blue: Once all five outer pillars glow blue, the puzzle is complete.
Completing the Tree of Slumber unlocks Flame Strike and Flame Lv 1, granting you the Flame element for imbuing. Since the Frost and Flame chains share the same Spire, completing the full chain gives you both elements in one extended Abyss run.
Wind is the last element most players unlock because it requires completing Chapter 8: Blood Coronation in its entirety. After finishing that chapter, you receive the Spire of Clockwork Key, which grants access to the Spire of Clockwork located at the eastern edge of Demeniss, near the river border between Demeniss and Delesyia.
The main story during Chapter 8 actually brings you to or near the Spire of Clockwork as part of the narrative. Before entering the Abyss, you fight a boss battle as Damiane. After that boss encounter, you gain access to the Spire proper.
Step 1: Pull two levers inside the Spire to activate its internal mechanisms.
Step 2: Take the elevator up to the Abyss Gate at the top of the Spire.
Step 3: Enter the Abyss Gate to reach Riddle Square.
Riddle Square is the Abyss island connected to the Spire of Clockwork. Unlike the multi-island chains for Lightning or Frost/Flame, Wind's unlock is a single, focused challenge.
Ring flight challenge: The core puzzle is a timed flight challenge. You must glide through a series of rings suspended in the air above the island. Each ring you fly through grants a small stamina boost, which keeps you airborne long enough to reach the next ring. Missing a ring means you lose the stamina bonus and will likely fall short of the next one, forcing a restart.
Stamina management: The rings are spaced so that you need the stamina bonus from each ring to maintain your glide. Plan your trajectory through the entire ring sequence before launching.
Final button: After passing through all the rings, land on the far platform and use Force Palm on the button to activate the wheel mechanism.
Collect the Abyss Artifact on the opposite side of the island platform. This unlocks Storm Veil and Wind Lv 1, completing the set of all four elemental attacks.
Once you unlock your first element (any one of the four), the Imbue Element skill becomes available in the skill tree for each playable character. Unlike the base elemental unlocks, the Imbue skill itself is upgraded by spending Abyss Artifacts. Each level of Imbue Element unlocks a new imbue-capable skill, expanding the number of attacks you can infuse with elemental power.
Imbue Level | Unlocks | Description |
|---|---|---|
Level 1 | Imbue Turning Slash with your chosen element. Activated with L2 + R2 during Turning Slash. The first imbue skill available after unlocking any element. | |
Level 2 | Imbue Charged Shot with elemental power. Adds elemental damage and status effects to your ranged charged attack. | |
Level 3 | Imbue Force Palm with an element. Enhances this close-range strike with elemental damage and crowd-control effects. | |
Level 4 | Imbue Meteor Kick with elemental power (typically Lightning). The most powerful imbue skill, adding massive elemental burst damage to an already devastating attack. |
Each playable character (Kliff, Damiane, Oongka) has their own separate Imbue Element skill tree. This means you must level up each character's Imbue skill independently by spending Abyss Artifacts on each one. The skills unlocked at each level are the same across characters, but the Abyss Artifact cost must be paid per character.
Choosing the right element for a given encounter depends on your build, playstyle, and the enemies you are facing. The following breakdown covers the strengths and ideal use cases for each offensive element.
Element | Damage Profile | Scaling | Ideal Playstyle |
|---|---|---|---|
Lightning | +30% physical damage vulnerability window during stun | Scales with combo execution; rain weather adds ~20% bonus | Aggressive, combo-heavy players who can capitalize on short stun windows |
Flame | Consistent burn damage over time after application | Does not depend on crit rate or combo execution | Cautious or defensive players; effective against groups |
Frost | Per-crit ice modifier on frozen targets | Scales with Critical Rate; outperforms Flame above ~40% crit | Precision builds with high crit investment |
Wind | Minimal direct damage; utility-focused | Does not scale with damage stats | Stealth-oriented players; hit-and-run tactics |
Early game: Flame is the safest choice because burn damage is consistent and does not require build optimization. It works well regardless of your weapon or stat investment.
Mid game: Lightning becomes very strong once you learn to exploit the stun window. Practice landing full combo strings during the vulnerability period.
Late game with crit build: Frost overtakes Flame in damage once your Critical Rate exceeds roughly 40%. If your build invests heavily in crit stats, switch to Frost for maximum DPS.
Difficult encounters: Wind's smoke screen is invaluable for resetting encounters, escaping bad positioning, and approaching enemies unseen. Do not overlook its defensive utility.
Rain weather: Always prefer Lightning during rain. The ~20% damage bonus and extended stun durations make it significantly stronger than other elements in wet conditions.
Elemental attacks interact with Crimson Desert's dynamic weather and environment systems in meaningful ways. Understanding these interactions can give you a significant edge in combat.
Condition | Effect on Elemental Combat |
|---|---|
Rain | Lightning damage increased by ~20%. Wet enemies suffer longer stuns. Player Ice Resistance reduced by ~13 and Lightning Resistance reduced by ~9. |
Cold regions / snowfall | Frost effects last longer on enemies. Freeze duration slightly extended. |
Hot regions | Frost effects wear off faster on enemies. |
Environmental objects | Lightning Surge can conduct electricity into objects like Bismuth Ore deposits for resource gathering. |
The weather system in Crimson Desert changes dynamically, so keeping an eye on conditions before engaging enemies can help you choose the most effective element for the situation. If you see rain rolling in, consider switching to Lightning to take advantage of the damage bonus.
The following table lists every imbue-capable skill, its activation input, and what the elemental infusion adds to the base attack.
Skill | Imbue Input | Base Effect | Elemental Enhancement |
|---|---|---|---|
L2 + R2 during Turning Slash | Wide sweeping melee attack | Adds elemental damage and status effect to the slash. Visual aura around the weapon. | |
L2 + R2 during Charged Shot | Powerful single-target ranged attack | Infuses the projectile with elemental energy for bonus damage and status application at range. | |
L2 + R2 during Force Palm | Close-range palm strike with knockback | Adds elemental burst damage and enhanced crowd-control to the strike. | |
L2 + R2 during Meteor Kick | Devastating aerial kick with high base damage | Infuses with massive elemental burst damage. The strongest imbue-capable attack. |
The standalone elemental skills (Lightning Surge, Flame Strike, Frost Mantle, Storm Veil) are all activated with R2 + Circle on controller. You can switch between elements in your skill loadout to change which element is active for both standalone casts and imbued attacks.
Do not rush past the Abyss during Chapter 4. When the story takes you to the Spire of Insight, stay and complete the puzzle islands to unlock Lightning before continuing the main quest. Having an elemental attack early gives you a massive combat advantage for the rest of the story.
The Courtyard of Precision is notorious for its difficulty. If you are struggling with the mid-air targets, try landing on the floating disc platforms and sniping from a stationary position rather than shooting while gliding.
You can unlock Frost and Flame from the same Spire (Spire of Ringing Truth). Since Frost unlocks partway through the chain, you get two elements for the price of one extended Abyss run.
Imbue your highest-damage skills first. Elemental Turning Slash (Imbue Level 1) is the starting point, but saving your imbue activation for Elemental Meteor Kick (Level 4) yields far greater burst damage.
Each character's Imbue Element skill must be leveled separately. If you switch to Damiane or Oongka, remember to invest Abyss Artifacts into their Imbue skills too.
Lightning is not just for combat. Use Lightning Surge on Bismuth Ore deposits and other electricity-reactive objects to gather rare materials you cannot obtain any other way.
During boss fights, combine elemental imbues with your strongest combo for maximum damage. Apply Lightning to stun the boss, then follow up with a full combo string during the +30% damage vulnerability window.
For more general combat advice, see the Tips and Tricks page. For information on the Blinding Flash skill and other combat abilities, check the relevant wiki pages.
Frost and Flame are unlocked through a single chain of six Abyss sky islands accessed from the Spire of Ringing Truth in Pailune. The chain must be completed in order, with Frost coming first:
Island | Element Unlocked | Skills Gained |
|---|---|---|
Path of Trials (3rd island) | Frost Lv. 1 | |
Tree of Slumber (6th island) | Flame Lv. 1 | Flame Strike (Kliff), Flame Rush (Damiane), Flame Quake (Oongka) |
Before attempting the chain, equip the Reindeer Cloak (Ice Resistance Lv. 5), invest at least 5 levels in Stamina, and bring a bow with poison arrows for the Priscus the Ancient boss fight at the base of the Spire. Ensure you have the Cuckoo Pot from Chapter 4.
Spire of Insight - The Spire where Lightning is unlocked during Chapter 4
Axiom Force - The grapple ability used in several Abyss puzzles
Blinding Flash - Another powerful combat skill
Tips and Tricks - General gameplay advice including elemental combat strategies
Abyss Gear - Weapon augment system that complements elemental attacks
Artifacts and Abyss Fragments - The progression currency used to level up Imbue Element
Boss Battles - Encounters where elemental attacks are most impactful
Elemental Effects - Detailed breakdown of status effects from each element
Damage Types - How elemental damage interacts with physical damage and resistances
Keen Senses - Perception skill tree that complements elemental combat
Force Current - Traversal ability used in multiple Abyss puzzles
Force Palm - Close-range skill used to activate Abyss mechanisms