

Monster Taming and Bonding
Catching an Animon is only the beginning. After a creature joins your team, you raise it, build a bond with it, and help it grow into stronger forms. This page covers how taming, stat growth, and evolution work.
Capturing in the Field
In the overworld you reach for the Holoken and throw a Bilia at a wild Animon. There are two distinct overworld approaches that shape every capture attempt:
Mode | How It Works |
|---|---|
Bilia Mode | You throw a Bilia directly to begin a capture. A short quick-time event on the throw determines how much the capture chance improves. |
Animon Mode | You send one of your own Animon out for a preemptive overworld strike. A successful hit stuns the wild creature, while a failed capture attempt afterward still leaves it stunned and easier to handle. |
Both modes feed into the same goal, but they reward different play styles: Bilia Mode is quick and direct, while Animon Mode treats capture as a small overworld setup. For the full catching loop, see Monster Collecting and How to Catch Animon.
Bilia Variants
There are three confirmed kinds of Bilia, each with its own role:
Notes | |
|---|---|
The standard capture item, used for most species. | |
Velox Bilia | A faster, premium variant included in the launch-window bonus. |
Lost Bilia | A capture item tied to rarer encounters, also included in the launch-window bonus. |
Raising Your Animon
Captured Animon gain experience and level up through battle. As they grow they become stronger and can evolve into new forms. The Leveling and Progression page covers experience and growth in more detail.
Allocate Stat Points Yourself
Each time an Animon levels up it earns Stat Points, and these are not assigned automatically. You distribute them yourself from the Stat Management screen, reached by opening the menu, selecting the Animon tab, choosing a creature to view its info, and pressing the prompt in the bottom corner. There are six core stats to invest in, and you are free to build a creature however you want. Distributing points is crucial: an Animon that never has its points spent will feel weak in battle even if its level is high. Points can be redistributed later, so early choices are not permanent.
Ways to Gain EXP Quickly
Method | Details |
|---|---|
Discard items at trash cans | Trash cans in cities let you throw away unneeded items for EXP. Useful after long exploration, but do not discard crafting or move-enhancement materials. |
Cook for EXP | The Riso del Bosco recipe gives an Animon 1000 EXP. Buy the recipe once it appears in city restaurants. |
Use Experience Bilia | An Experience Bilia gives the Animon caught with it a one-time EXP boost on capture. |
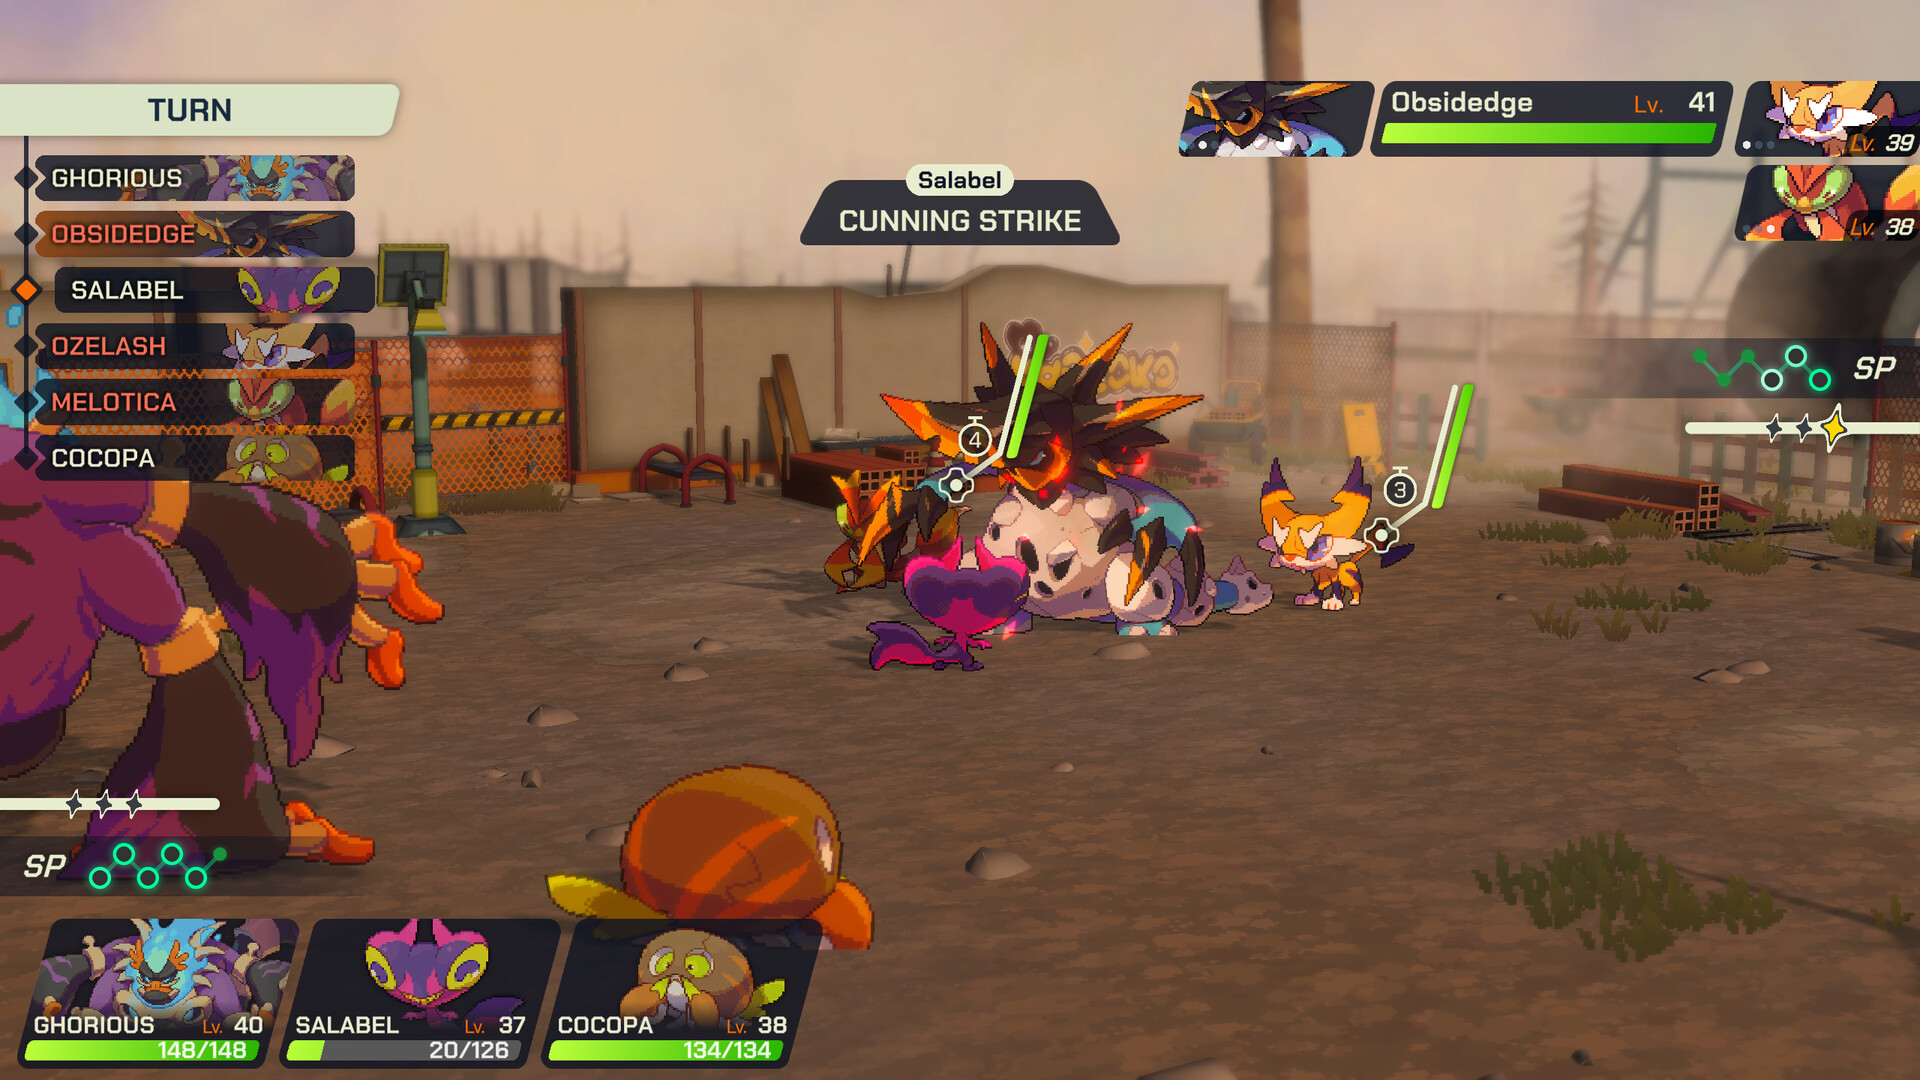
Battle in high-level areas | The riskiest method. Fighting higher-level Animon grants large EXP, so save first and bring plenty of healing items. The Update 1 damage values, which Advanced keeps, cut damage against higher-level non-boss enemies down to x0.20 at 7 or more levels above, and Ace reduces battle EXP to x0.33. Opening with Animon Mode using your strongest creature gives a head start by lowering the enemy's health before the fight begins. |
Cook Food to Raise Innate Stats
At each area's fountain rest spot you can heal your party and also cook and craft from recipes. Several recipes raise an Animon's innate stats. When cooking, use Trey, as he is better at cooking than Ales or Nada and will not waste ingredients. (For crafting Bilia, the reverse is true: Ales has the higher success rate.)
Walking With Your Team
You can select one Animon from your party and bring it along as you travel towns, cities, and routes in Talea. Companion walking is small in mechanical terms but big in tone: it makes the bond between Trey and his roster part of the day-to-day rhythm of exploration.
The Anispace
The Anispace is a personal space, set apart from the ordinary world, where your captured Animon live, rest, and can be trained. It is also customizable, so you can decorate it to your taste. Spending time here is part of bonding with your collection.
Emotional Attributes
Every Animon carries an emotional attribute such as Felicis (joy), Mestus (sadness), or Furor (anger). These attributes are tied to the creatures' emotions and matter in battle alongside their elemental type. Understanding your team's attributes helps you read how they perform. See Animon Attributes for the full set.
Evolution
Many Animon evolve as they grow, but evolution is never automatic. When a creature is ready to evolve, a yellow up-arrow appears next to its icon. To evolve it, open the menu, go to the Animon tab, select the creature, and choose Evolve from the list. For the complete picture, see the All Evolutions Guide.
Starter Evolution Lines
The five starters all reach a stage-two form at Level 18, each keeping its original type and attribute:
Starter | Stage Two | Type | Attribute |
|---|---|---|---|
Each stage-two starter then branches into one of two stage-three forms at Level 40, decided by which emblem item you use. Using a Meridemblem produces one final form, while using a Septemblem produces the other:
Stage Two | Level 40 + Meridemblem | Level 40 + Septemblem |
|---|---|---|
Evolution Conditions Vary Widely
Other Animon evolve under a range of conditions beyond simple levels. Confirmed requirements include level thresholds, held or used items, time of day, weather, repeated trait activation, and even sacrificing another Animon:
Animon | Evolves Into | Requirement |
|---|---|---|
Level 18 | ||
Level 38 | ||
Level 28 during daytime | ||
Level 27 during nighttime | ||
Level 25 with a Lampalite | ||
Level 20 | ||
Level 30 with a Candleshroom | ||
Use the Mestus trait several times | ||
Level 26 with its Hidden Type revealed | ||
Use the Sereum trait several times | ||
Level 30 | ||
Level 30 during daytime | ||
Level 30, sacrifice a Nanafin | ||
Level 28 | ||
Level 28 | ||
Level 40 with a Lustrostar | ||
Level 27 during rainy weather | ||
Use the Felicis trait several times | ||
Level 36 with a Crimson Horn | ||
Use the Furor trait several times | ||
Level 37 in Area 24 | ||
Level 40 | ||
Level 36 with its Hidden Type revealed | ||
Use the Horrens trait 20 times | ||
Level 37 while in Area 11 | ||
Collect all 6 Minube colors, then evolve during Rainbow Weather |
Some evolutions split based on a battle result. Chagma becomes Gongbog if you land 5 critical hits in a single battle, or Natmiss if you miss 5 times in a single battle. Regional and form variants can lead to different evolutions too: a Northern Canabble becomes Birchette while a Southern one becomes Foiequack, and a Southern Rushog evolves into Volcabeko in Area 12 while a Northern one evolves into Blizzbull in Area 25. The three Toypette shapes (Cubishape, Rotoshape, Trigoshape) all combine, along with a Zord Head, into Anizord. Many fully evolved or single-stage Animon, such as Nanafin, Carrigante, Katamos, and Arct-Rex, have no evolution at all.
A few Animon's final forms also depend on the Hidden Type system or on rare crafted items, so the Prismatype item (used to grant an Animon its Hidden Type) is valuable for creatures like Mollupom and Twinkler that can only evolve once their Hidden Type is out.
Quirks
Each Animon carries an innate quirk, a small built in behavior that shapes how it acts in and out of battle. Official patch notes have named quirks such as Hoarder, which interacts with item pickups, Stunner, and Jump Scare, and rarer species can roll one of several possible quirks when captured.
If you are not happy with an Animon's quirk, a gadget called Appendix Q can change it. It can be crafted at rest spots from 2 Anivite EX, 10 Glass, and 1 Diamond, with Ales offering the best crafting success rate for gadgets, and crafting it repeatedly eventually teaches you the recipe. Because its materials are rare, it is worth saving Appendix Q for Animon that are hard to recapture. See Items and Currency for related materials and Crafting and Cooking for how crafting works.
For the full list of quirks, what each one does, and which creatures carry it, see Animon Quirks.
Building a Bond
Spending time with your Animon, battling alongside them, and caring for them in the Anispace all feed into the relationship between Trey and his team. The story leans on this connection, framing your creatures as companions rather than just tools.
Related Pages
See Starter Animon for your first creature, Combat System for how raised Animon perform in battle, and Crafting and Cooking for items that support your team.