Loading...
Loading...
Toward the Nest
April 27, 2026 at 04:32 PM
Cleaned punctuation and AI-style phrasing (2026-04-27)
Detail | Info |
|---|---|
Chapter | 5: Guest Unbidden |
Sub-Chapter | |
Quest Number | 69 |
Region | |
Prerequisite | |
Next Quest | |
Rewards | Blackwing Leather Armor, Blackwing Mask, Tauria Curved Sword |
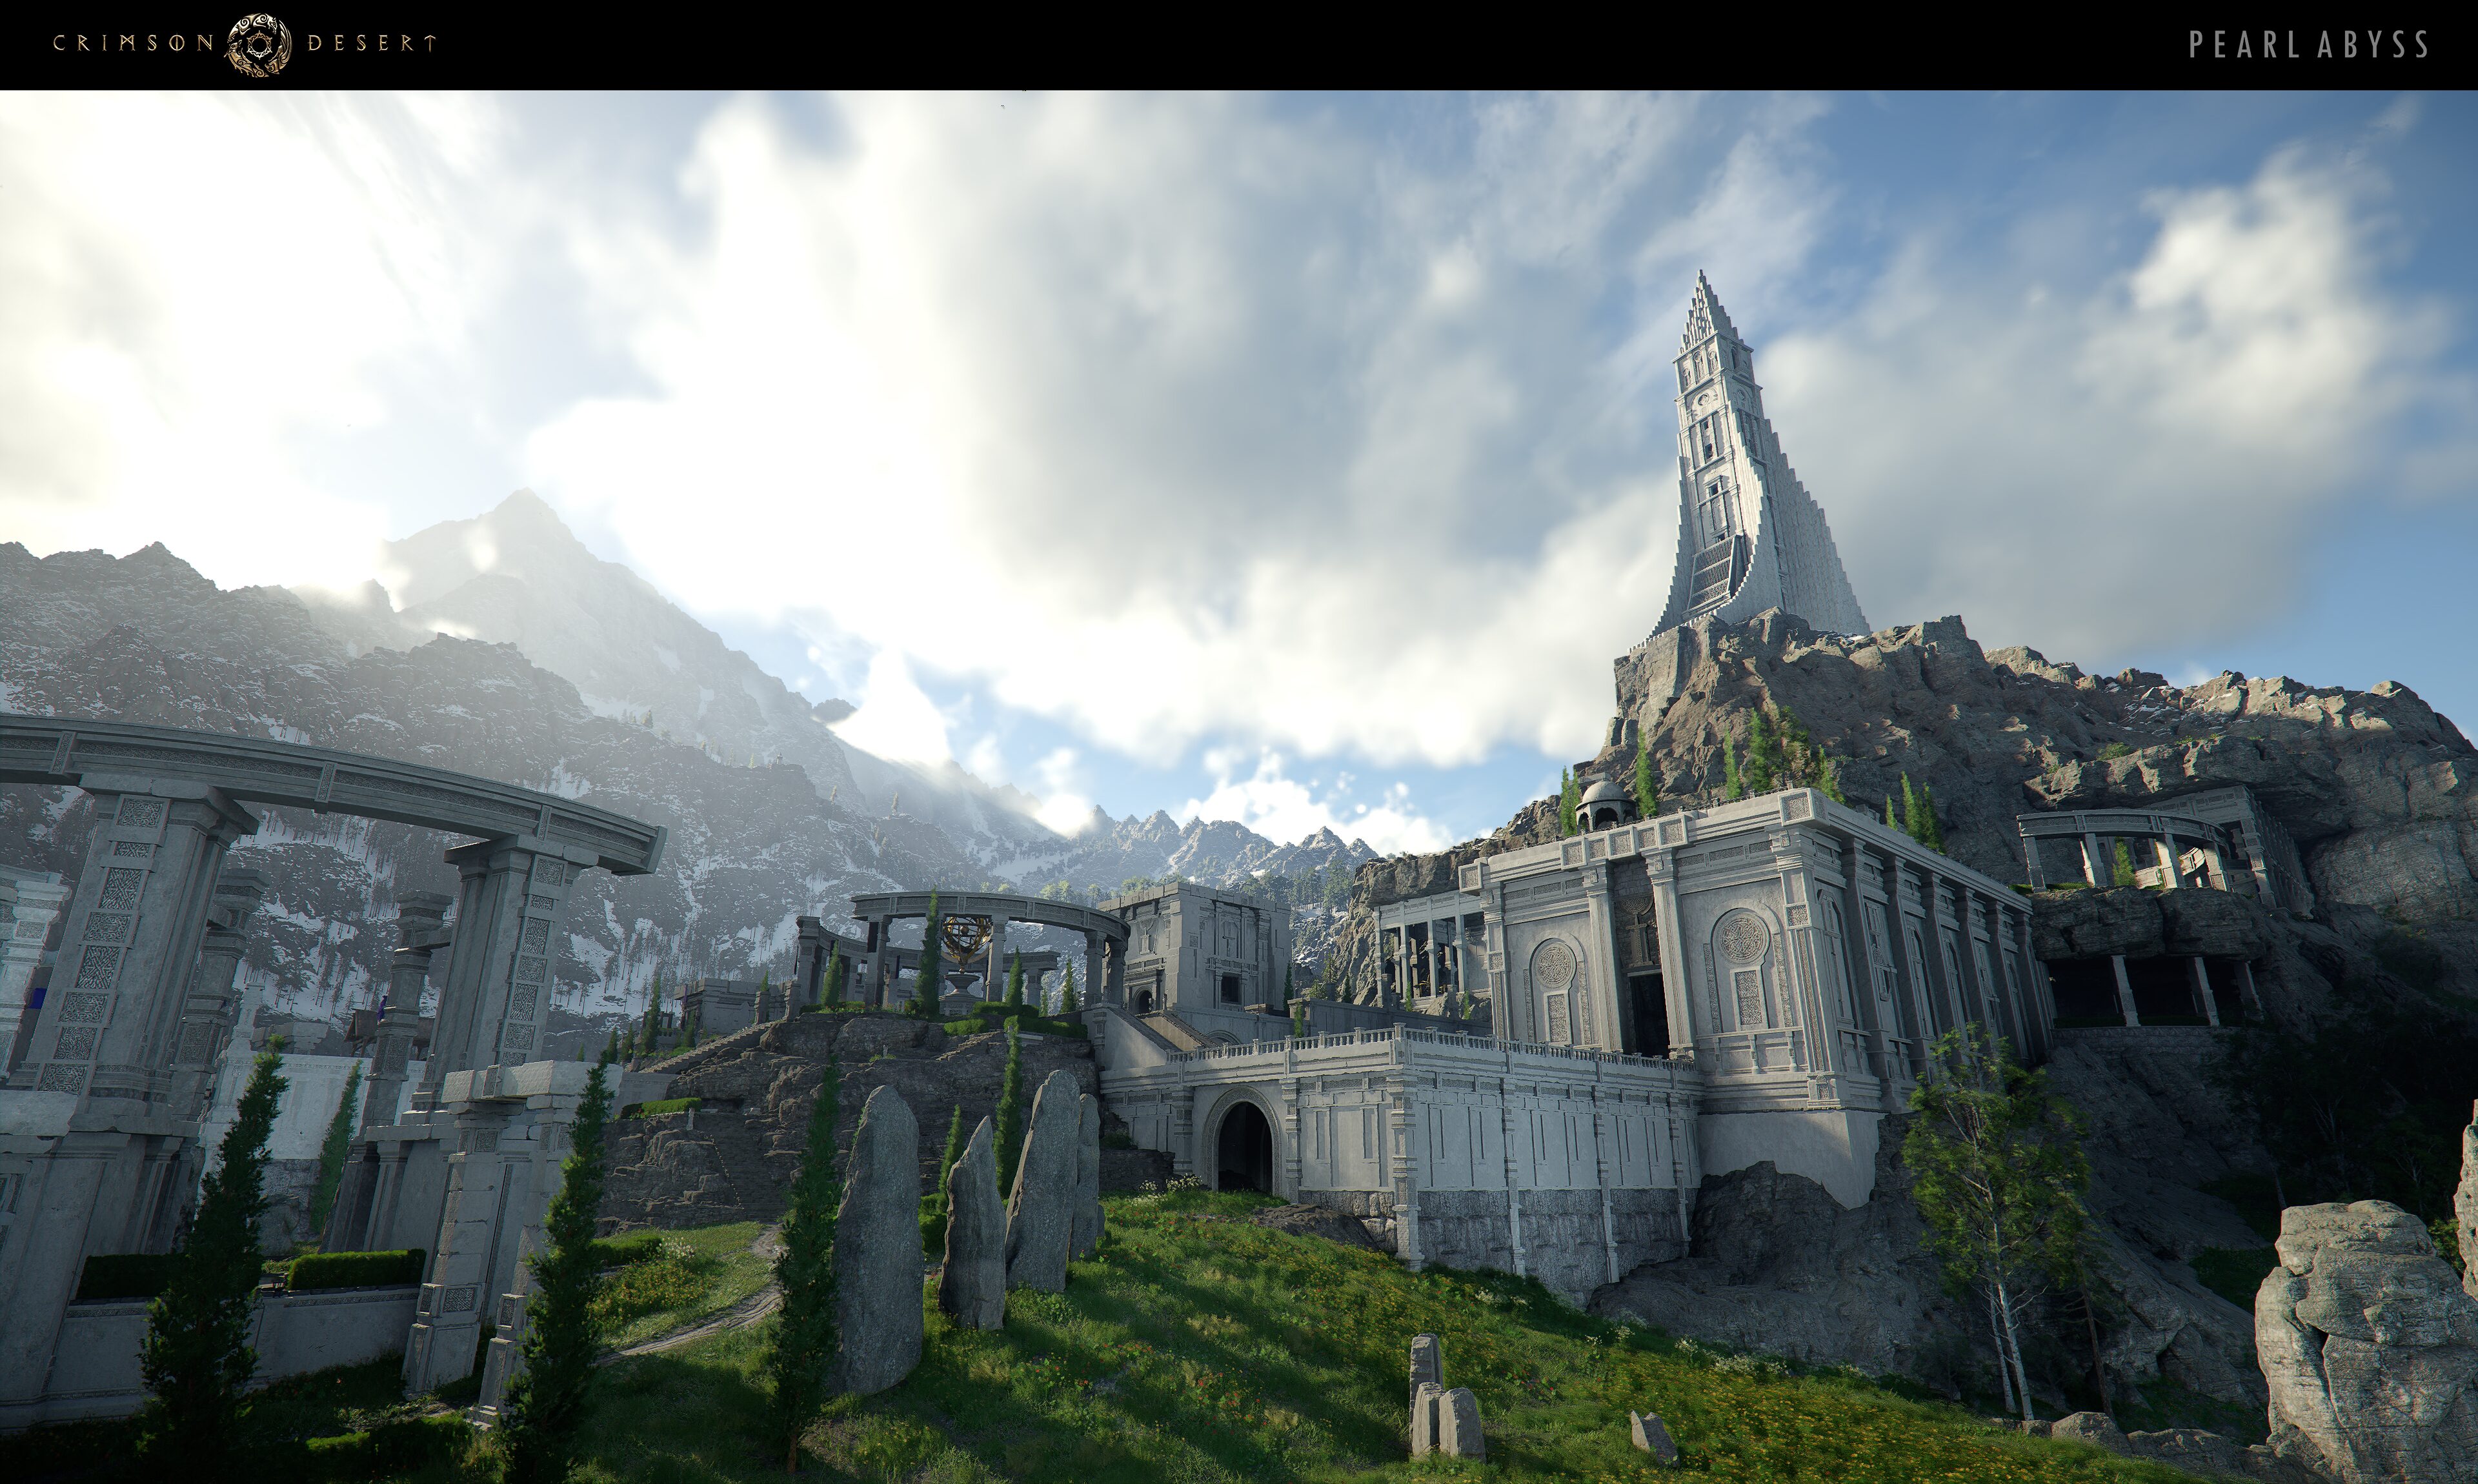
Toward the Nest is the final quest of Chapter 5: Guest Unbidden in Crimson Desert. It takes Kliff to the Spire of Soaring in northern Demeniss, a towering structure filled with wind-based traversal puzzles. The quest culminates in the definitive boss fight against the Crowcaller, who has three full health bars this time.
This quest is split into three major sections: climbing the interior of the Spire using wind updrafts and Axiom Force wall puzzles, crossing the Crescent Skybridge by aligning light orbs and reconnecting power cables, and finally confronting the Crowcaller at Crow's Nest. The Spire puzzles are among the most complex environmental challenges in the game and have no in-game hints, so this walkthrough covers each step in detail.
Before heading to the Spire, stock up on healing items. The Crowcaller fight at the end of this quest has three full health bars and can drain your supplies quickly. Bring cooked meals rather than raw ingredients, as meals restore significantly more health. Soups made from meat and barley at cooking pots are particularly effective. Pills and other consumables that restore Spirit are also useful, since you will be relying on Force Palm and Blinding Flash throughout the boss fight.
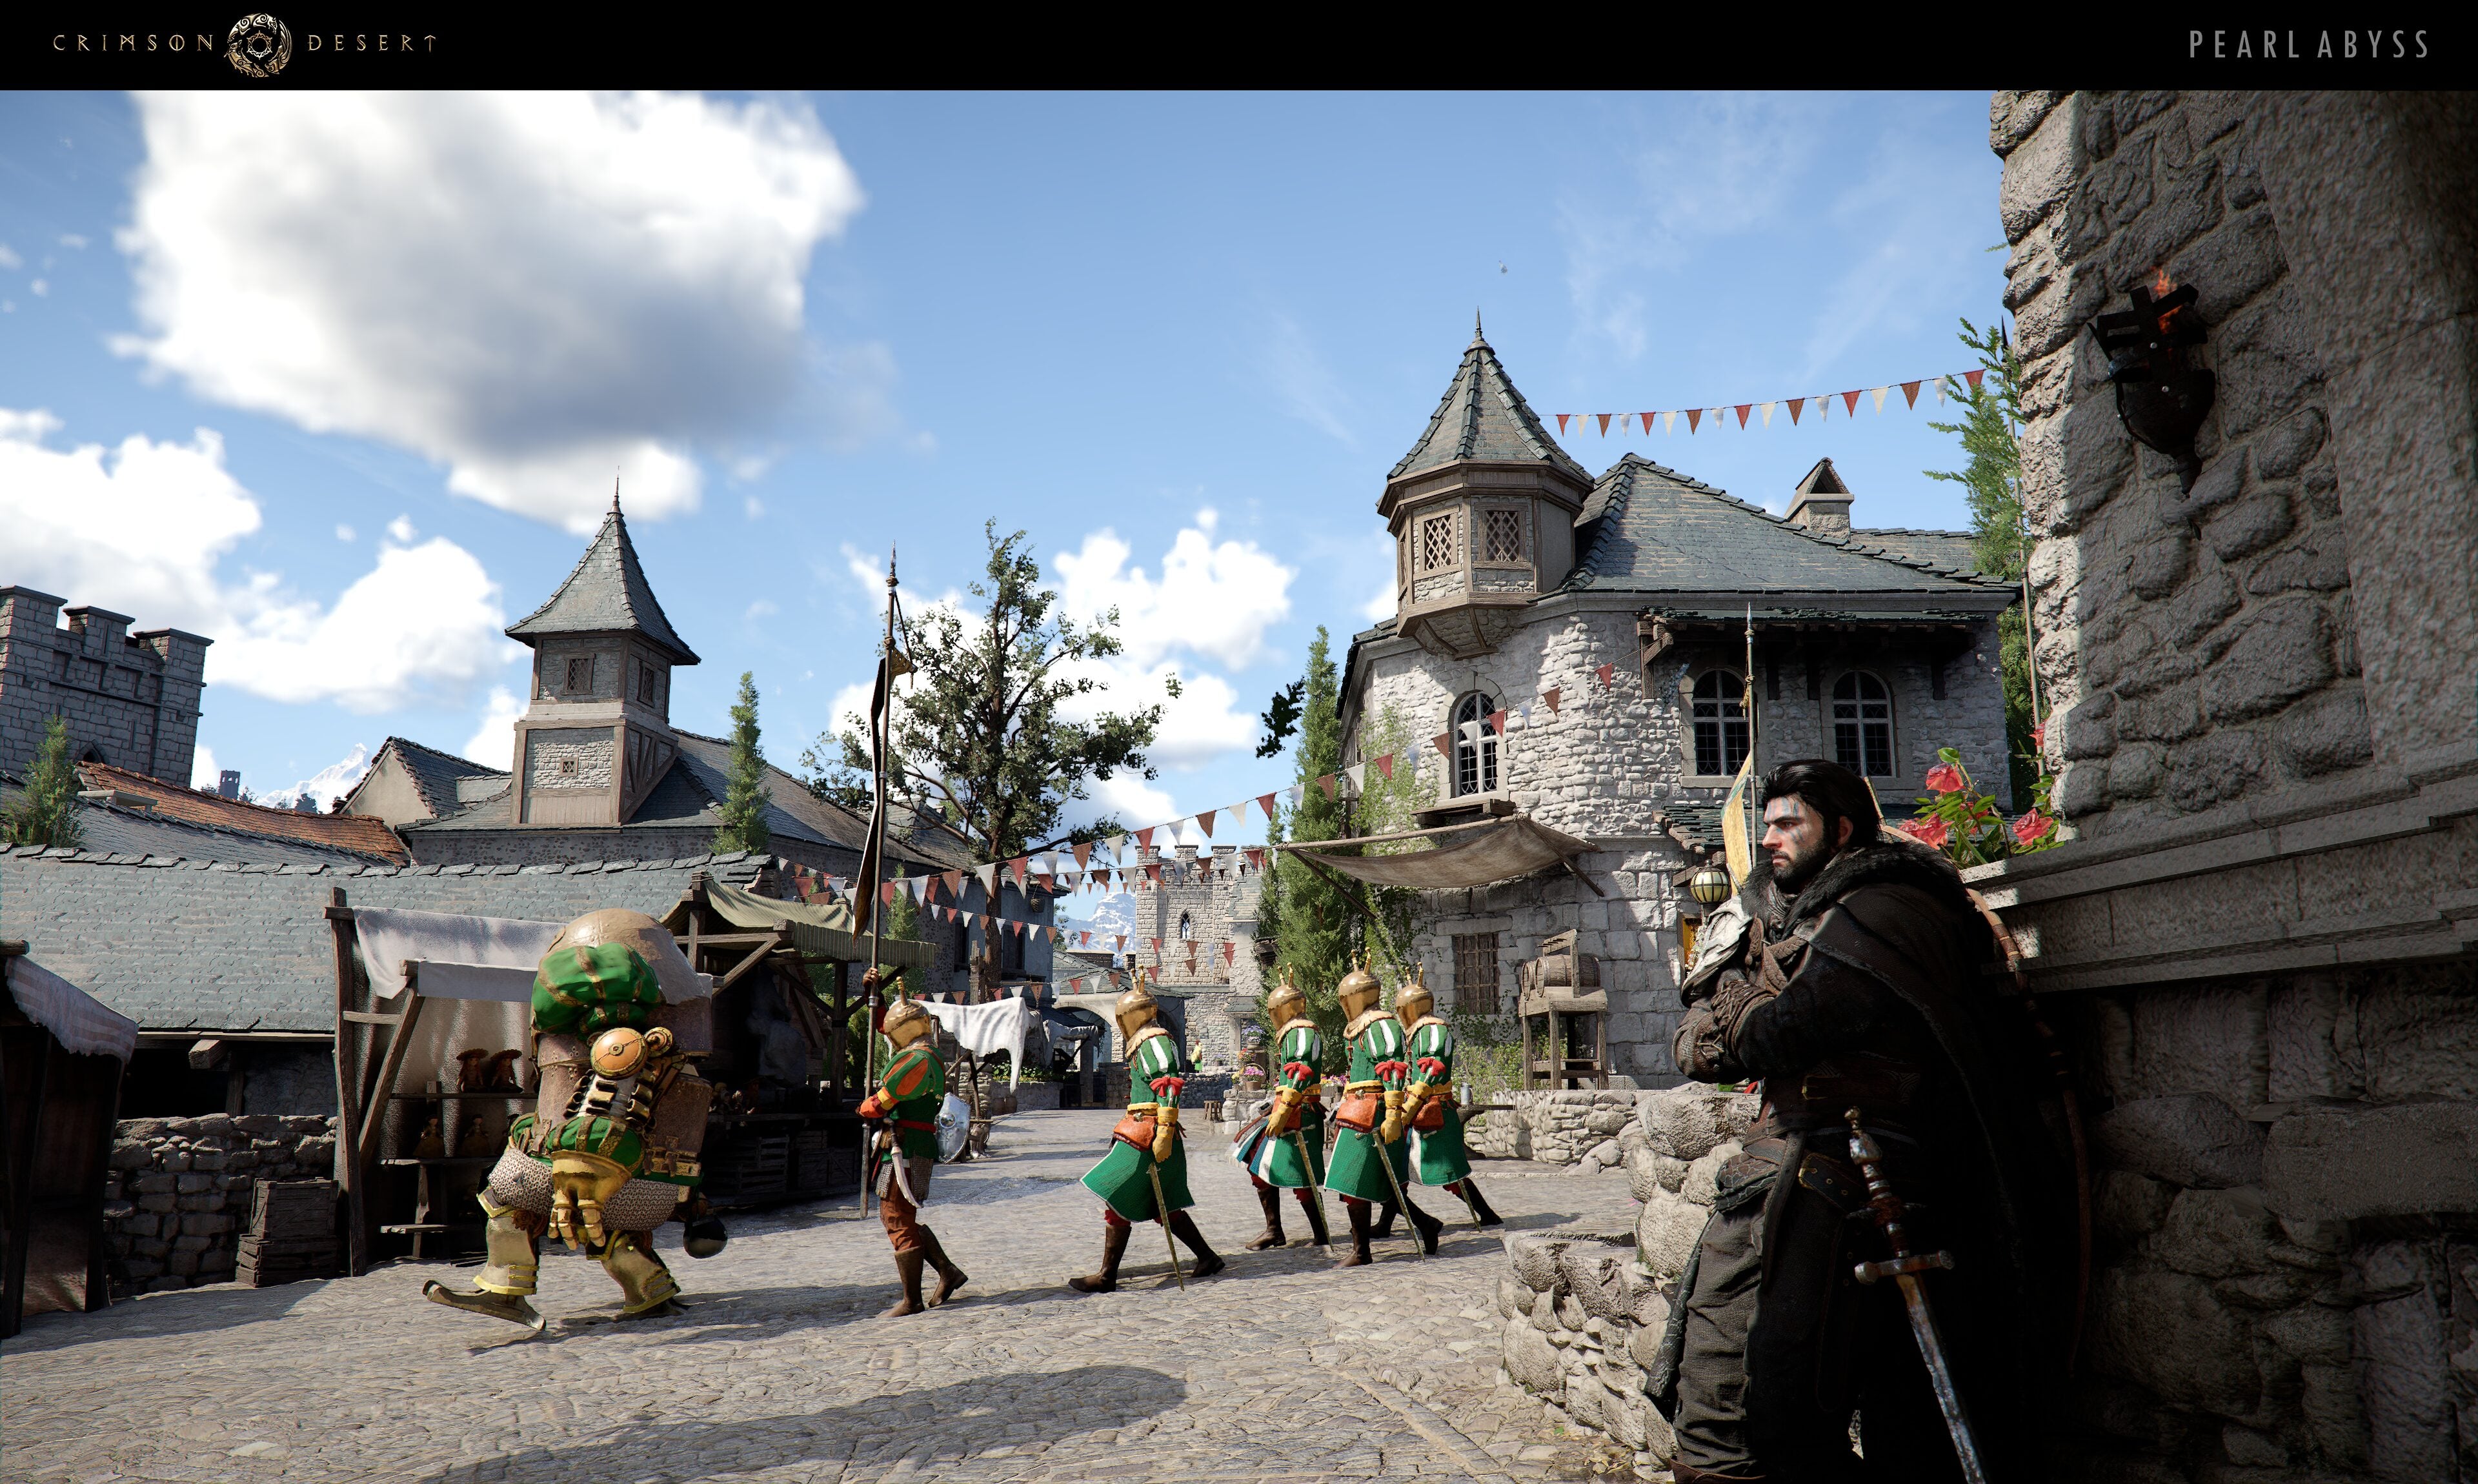
A reliable way to stock up is to fast travel back to Hernand before starting this quest. Buy raw meat from the meat vendor in town, then cook it at the cooking pot right next to the vendor's stall. If the vendor runs out of stock, rest at a nearby campfire to advance the in-game clock and allow the shop to replenish its inventory. Repeat until you have at least 100 cooked meals. Consider visiting the blacksmith to upgrade your gear as well, since this is the last major fight of Chapter 5.
Healing food: Bring at least 100 Grilled Meat or equivalent cooked meals. If you want to play aggressively, bring 200+ healing items so you can trade hits and out-heal the boss.
Spirit recovery: Stock up on Spirit-restoring consumables. Running out of Spirit mid-fight limits your ability to use Blinding Flash and Force Palm.
Abyss Cores: If you have collected any Abyss Cores from previous encounters, slot them into your weapon and armor before this fight. The stat buffs from Abyss Cores can make a noticeable difference during the three-phase boss battle.
Recommended skills: The Blinding Flash Finisher (blue skill tree) and Lariat Follow-Up upgrade are highly effective against the Crowcaller. Grappling moves deal heavy stagger buildup.
The Spire of Soaring is located in northern Demeniss. When you arrive at the base of the tower, the main doors are locked, so do not try to enter from the front. Instead, look for a cave entrance (a mineshaft) on the right side of the cliff face. Drop down the cliffs to the right in front of the tower and enter the cave, which leads directly into the tower's basement. This mineshaft route is the intended path and is much easier than trying to scale the exterior through broken windows, though that is technically possible.
The Spire is a vertical traversal puzzle that relies on wind platforms and Axiom Force abilities. The goal is to route power through wall panels to activate platforms that carry you upward. For a standalone guide to this puzzle, see How to Activate the Spire of Soaring.
Inside the tower basement, jump onto the blue wind platform. The updraft will launch you upward through the interior. Double-press Square (PlayStation) or X (Xbox) to glide between platforms and control your ascent.
Important: Do not remove the two blue spheres powering the wind turbine in the basement, and do not interact with the battery below the top floor. Both are essential to progression. If you accidentally remove them, the wind platforms stop working and you cannot ascend.
You will be catapulted up through several floors until you hit a platform that blocks the way. Land on the ledge next to the platform on the top floor where the wind stops.
On the first puzzle floor, press L1+R1 (PlayStation) or LB+RB (Xbox) to activate your power line vision. This highlights the puzzle on the wall: yellow power cables run through rotatable wall panels, and your job is to redirect power from the left wall to the right wall.
Hold L3 to grab a wall panel with Axiom Force, then move the right stick to rotate it. Start with the bottom-left panel and work your way to the bottom-right panel. When a cable connection completes, it turns from yellow to blue. Route the power all the way from the left side to the right side of the wall.
Once the power connection is complete, the platform below activates. Stand on it and ride it up to the next level.
At the next puzzle floor, you will find a large circular wall panel with three rotating lines. Grab onto it with L3 and rotate all three lines downward until they all glow blue. This aligns the power flow in a left-to-bottom-to-right configuration and completes the second power connection.
Step onto the central platform. It rises through the tower roof and into the open sky above. This elevator ride takes roughly two minutes and offers spectacular views of the surrounding landscape. Stay on the platform and enjoy the scenery until you arrive in the Abyss.
At the top of the elevator ride, step on the circular floor plate to activate a fast travel point. This is critical for two reasons: if you die during the boss fight later, you can warp back here to resupply without repeating the Spire puzzles, and if you fall off the Skybridge platforms, all puzzle progress in this section resets. Activating the fast travel point saves you from having to redo the entire Spire. The Skybridge section is a complex aerial obstacle course that requires precise use of Force Palm and Axiom Force.
Three glowing orbs are positioned around the platform area. Each orb must be aimed at a corresponding blue receiver panel on the walls. One of the three orbs is already aligned when you arrive, so you need to connect the remaining two.
Use the Force Palm jump trick to reach the upper platforms: jump, then press R3 three times while airborne to chain three Force Palm attacks. Each one boosts your height. After the third palm, glide across to the target platform.
Grab the right orb with Axiom Force (hold L3) and rotate it until its light beam shines directly at the corresponding blue wall panel on the opposite side.
Do the same for the leftmost orb. Aim its light at the left blue wall panel.
When all three orbs are correctly aligned, the large rings in the area turn blue and begin rotating. This signals that the pathway forward is now active.
Watch out for the blue and purple flowers growing along the paths between platforms. These Abyss flowers passively drain your health when you stand near them. Move through flower patches quickly and avoid lingering. If your health gets low, heal immediately rather than pushing forward, since a badly timed health drain can cause a fall death. For more on this type of environmental puzzle, see Abyss Island Puzzle Solutions.
After crossing to the far side of the orb section, head east to find an unpowered gear mechanism with three power cables: two on the left side and one on the right. You need to repair the broken cables and reconnect them to power the Skybridge device.
Use L1+R1 / LB+RB to visualize the power cables. Active cables glow blue; broken cables remain yellow. Follow each cable along the crescent walkway to find where it is split.
For each broken cable, locate the split point and interact with the connecting pipe to repair it. Hold Square (PlayStation) or X (Xbox) at the pipe break to reconnect the cable. The cable turns blue once properly repaired.
The rightmost cable runs along the crescent edge and connects to a square machine at the end. Follow it and repair any breaks along the way. At the far end, glide across to a laser orb sphere and use Axiom Force (L3) to grab the center of the orb. Rotate it with the D-pad to align the laser with the distant gem receiver.
Repeat the process for the remaining cables on the left side. One cable requires climbing onto a round wall panel structure and striking its center with Force Palm (R3) while clinging to it.
With all cables repaired and all lasers aligned, a cutscene triggers. A stone pillar emerges from the ground near the gear mechanism. Latch onto it with Axiom Force (L3) and rotate it using left/right directional input until it glows blue. Wait several seconds for the mechanism to engage. The Crescent Skybridge activates.
Cross the now-active Crescent Skybridge to reach the far side.
After crossing the Skybridge, you will pass through a triangle-shaped forcefield barrier. On the other side, a switch pops out of the ground. Grab it with Axiom Force (L3) and use the D-pad to find the correct position, which spawns a pathway forward. Follow the emerging platforms on the far side of the bridge. Launch off wind turbines and land on a blue ground platform that teleports you to the arena at Crow's Nest.
Activate the fast travel point here before approaching the tree ahead. This second fast travel point is your safety net: if you die against the Crowcaller and need to resupply with more food, you can warp back to either fast travel point and return without repeating any puzzles. When you approach the tree, a cutscene plays and enemies ambush you. Defeat the initial wave of enemies, and then the Crowcaller boss fight begins.
This is the definitive fight against the Crowcaller (also known as Draven), and he has three full health bars compared to the single bar from Bloodwind. This is the second time you face the Crowcaller in the story (the first encounter occurred during the Bloodwind quest, where he had only a single health bar). He is a dual-blade fighter who tests your parry timing, patience, and healing supply across three escalating phases. The fight takes place at Crow's Nest in the Abyss.
The Crowcaller is a parry boss. Focus on reading his attack telegraphs and parrying with L1 / LB when the red highlights are about to connect with your weapon. Successful parries stun him briefly and open a damage window. Between parries, grappling moves (Triangle + Circle / Y + B) deal heavy damage and build up his stagger bar quickly. Once the stagger bar fills, he collapses and you get a long opening for burst damage.
After his attack flurries, the Crowcaller will dodge your immediate follow-up every time. To punish him after a flurry, use either Blinding Flash (which stuns him after the dodge) or Force Palm (which staggers him through the dodge). One or both of these abilities should be your go-to response after every flurry ends.
The Crowcaller is particularly vulnerable to being tripped. A dodge-roll followed immediately by Triangle / Y performs a leg sweep that consistently knocks him down. From there, chain ground stabs into follow-up combos to inflict bleeding damage, which ticks away at his health while you reposition. Pump kicks (forward + Circle / B) are another effective tool for creating space and dealing stagger damage between his combos.
Phase 1 is the most straightforward. The Crowcaller attacks with basic dual-blade combos and has three main mechanics to watch for: melee flurries that end with a dodge, a single dive-bomb attack, and crow-summoning abilities that create area-of-effect damage.
The dive-bomb telegraph is distinctive: the Crowcaller crosses his swords in front of his chest and glows blue, then flies up into the air. You cannot hurt him while he is airborne, so do not waste attacks. He performs one sideways dodge in the air, then crashes down on your position. Roll with Circle / B right after his single air dodge to avoid the impact. The timing is generous in this phase.
The core strategy of parry, Blinding Flash Finisher, and grapple will carry you through Phase 1 without much difficulty. Use this phase to learn his attack rhythms before they speed up in later phases.
Phase 2 is nearly identical to Phase 1 in terms of attack patterns, but with two key escalations. First, the Crowcaller's attack chains are longer and faster. Second, his dive-bomb attack now includes two consecutive aerial dodges before crashing down instead of one. Wait for the second mid-air dodge before rolling to avoid the impact. If you roll after the first dodge, you will recover too early and get hit by the actual landing.
Continue using the same parry-and-punish strategy. Blinding Flash remains your best tool for creating damage windows after his flurries. Keep your healing items flowing with D-pad right whenever your health dips below half.
Phase 3 returns to the main arena, but the Crowcaller is at his most aggressive. His melee combos are the longest they have been all fight, and his dive-bomb attack now features up to three consecutive aerial dodges before the slam. You must wait through all three dodges before rolling, which requires patience and precise timing.
Parry windows, Blinding Flash, and grapple remain your primary tools. The Lariat Follow-Up skill upgrade is especially valuable here, as it lets you perform multiple consecutive Lariat grapples to rapidly fill the stagger bar and create longer stun windows. This is the most resource-intensive phase, so do not hold back on healing items. The fight is a test of endurance as much as skill.
The biggest danger in Phase 3 is not the Crowcaller's raw damage output; it is running out of food and Spirit mid-fight. If you entered the fight with fewer than 100 healing items, you may struggle to survive the full duration of this phase. Keep healing proactively rather than waiting until you are critically low.
Reward | Type |
|---|---|
Head Armor | |
Weapon |
Activate both fast travel points (one at the top of the Spire elevator, one at Crow's Nest) before engaging the boss. If you die and need to resupply, you can warp back without repeating any puzzles.
The Tauria Curved Sword you receive as a reward is one of the best weapons at this point in the game. Keep it equipped going into Chapter 6.
The Spire traversal puzzles are one-time affairs. Once you solve them and activate the fast travel points, you can skip them entirely on return visits.
If you struggle with the aerial sections, focus on timing your glides rather than spamming Force Palm. Controlled movement is more reliable than frantic button presses.
For the Force Palm jump trick, the rhythm is: jump, R3, R3, R3, then glide. Each Force Palm gives you a small height boost, and three in sequence gives enough altitude to reach most upper platforms.
When visualizing power cables with L1+R1, blue cables are active and yellow cables are inactive or broken. Use this to track which connections still need to be made.
Avoid the blue and purple Abyss flowers along the Skybridge paths. They silently drain your health and can cause unexpected deaths if you linger in a flower patch while trying to solve a puzzle.
During the Crowcaller fight, dodge-roll into a Triangle / Y input to perform a leg sweep. This trips the boss reliably and gives you a free ground stab follow-up.
If you are struggling with the Crowcaller's dive-bomb in Phase 3, count the aerial dodges before rolling. Phase 1 has one dodge, Phase 2 has two, and Phase 3 has three. Roll after the final dodge each time.
The Blinding Flash Finisher from the blue skill tree is one of the strongest tools for this fight. If you have not unlocked it yet, consider investing in it before attempting this quest.