Loading...
Loading...
Ancient Ruins Solutions
April 11, 2026 at 07:54 AM
Added 3 image(s) to article
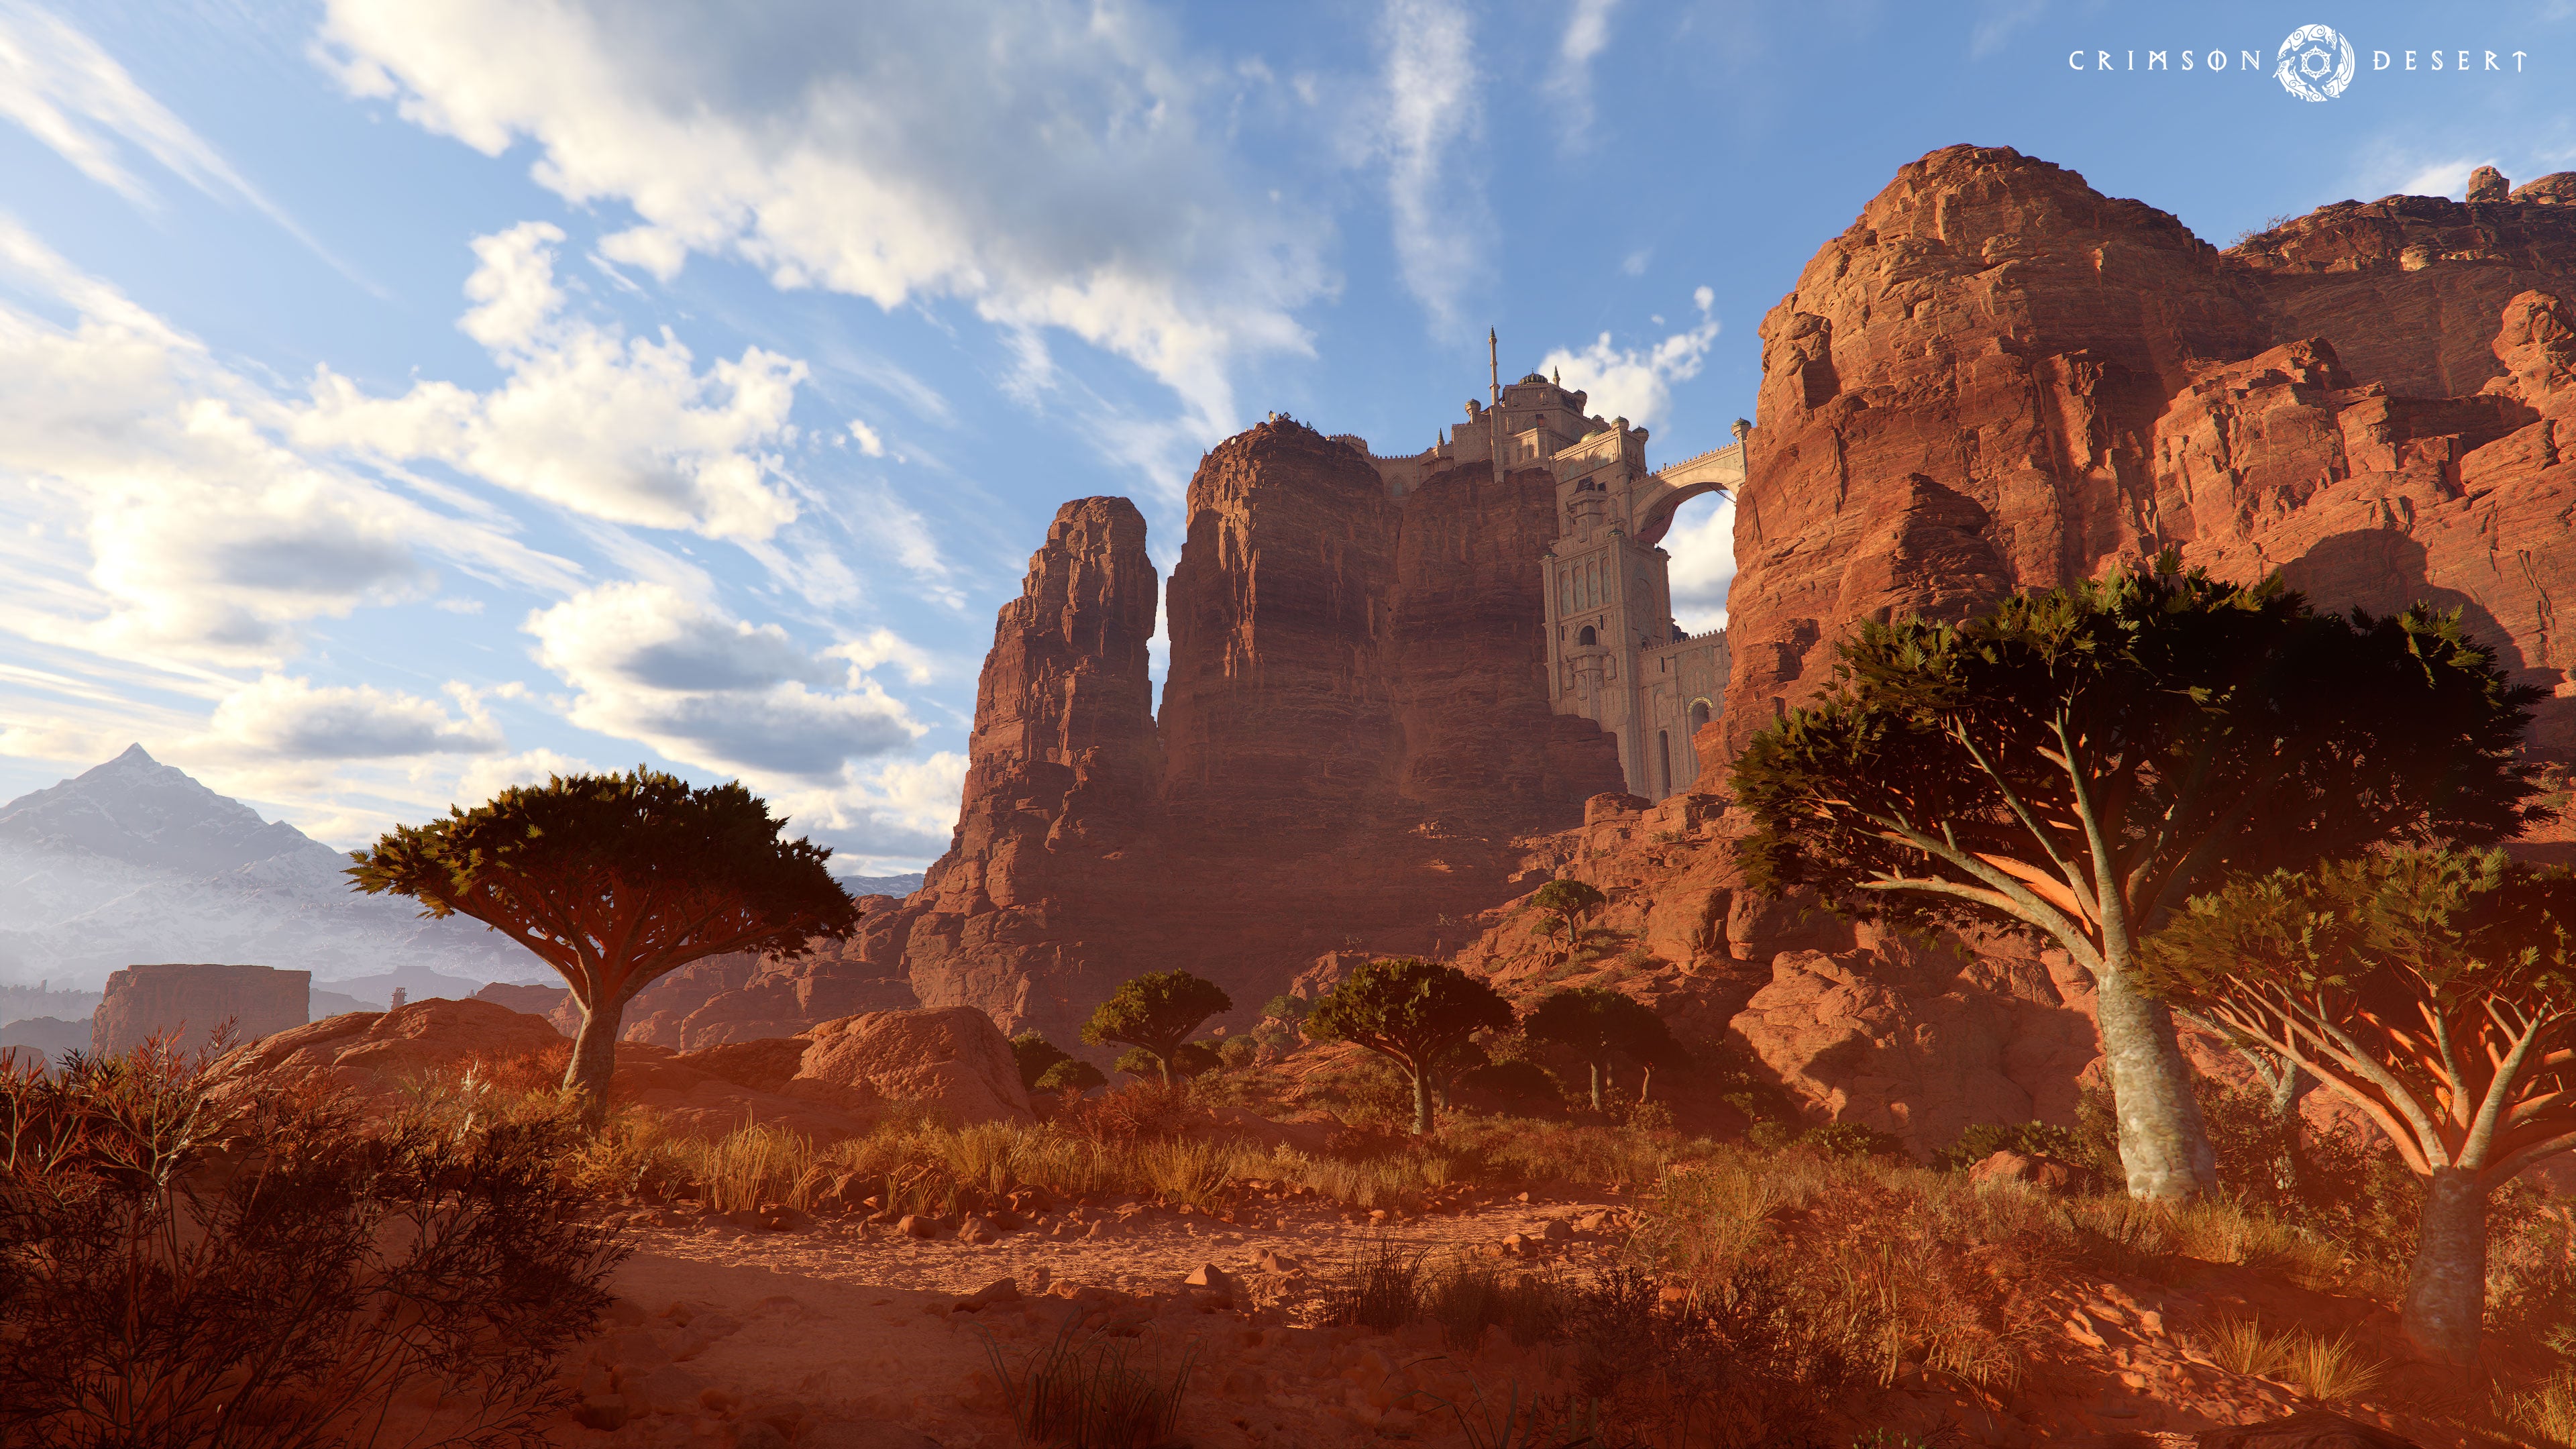
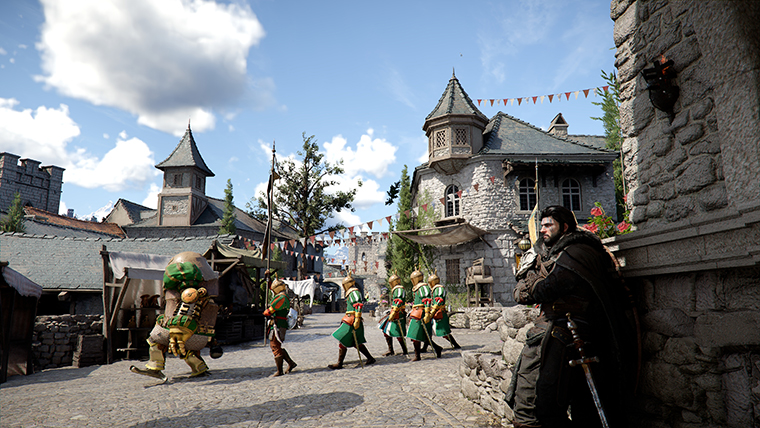
Ancient Ruins are puzzle locations scattered across the world of Pywel in Crimson Desert. Each ruin contains a unique environmental puzzle that must be solved to activate the Abyss Cresset hidden inside. Completing a puzzle rewards players with an Abyss Artifact, which grants a Skill Point for the skill tree. These Skill Points can be spent to learn new combat abilities or enhance core stats like health, stamina, and attack power.
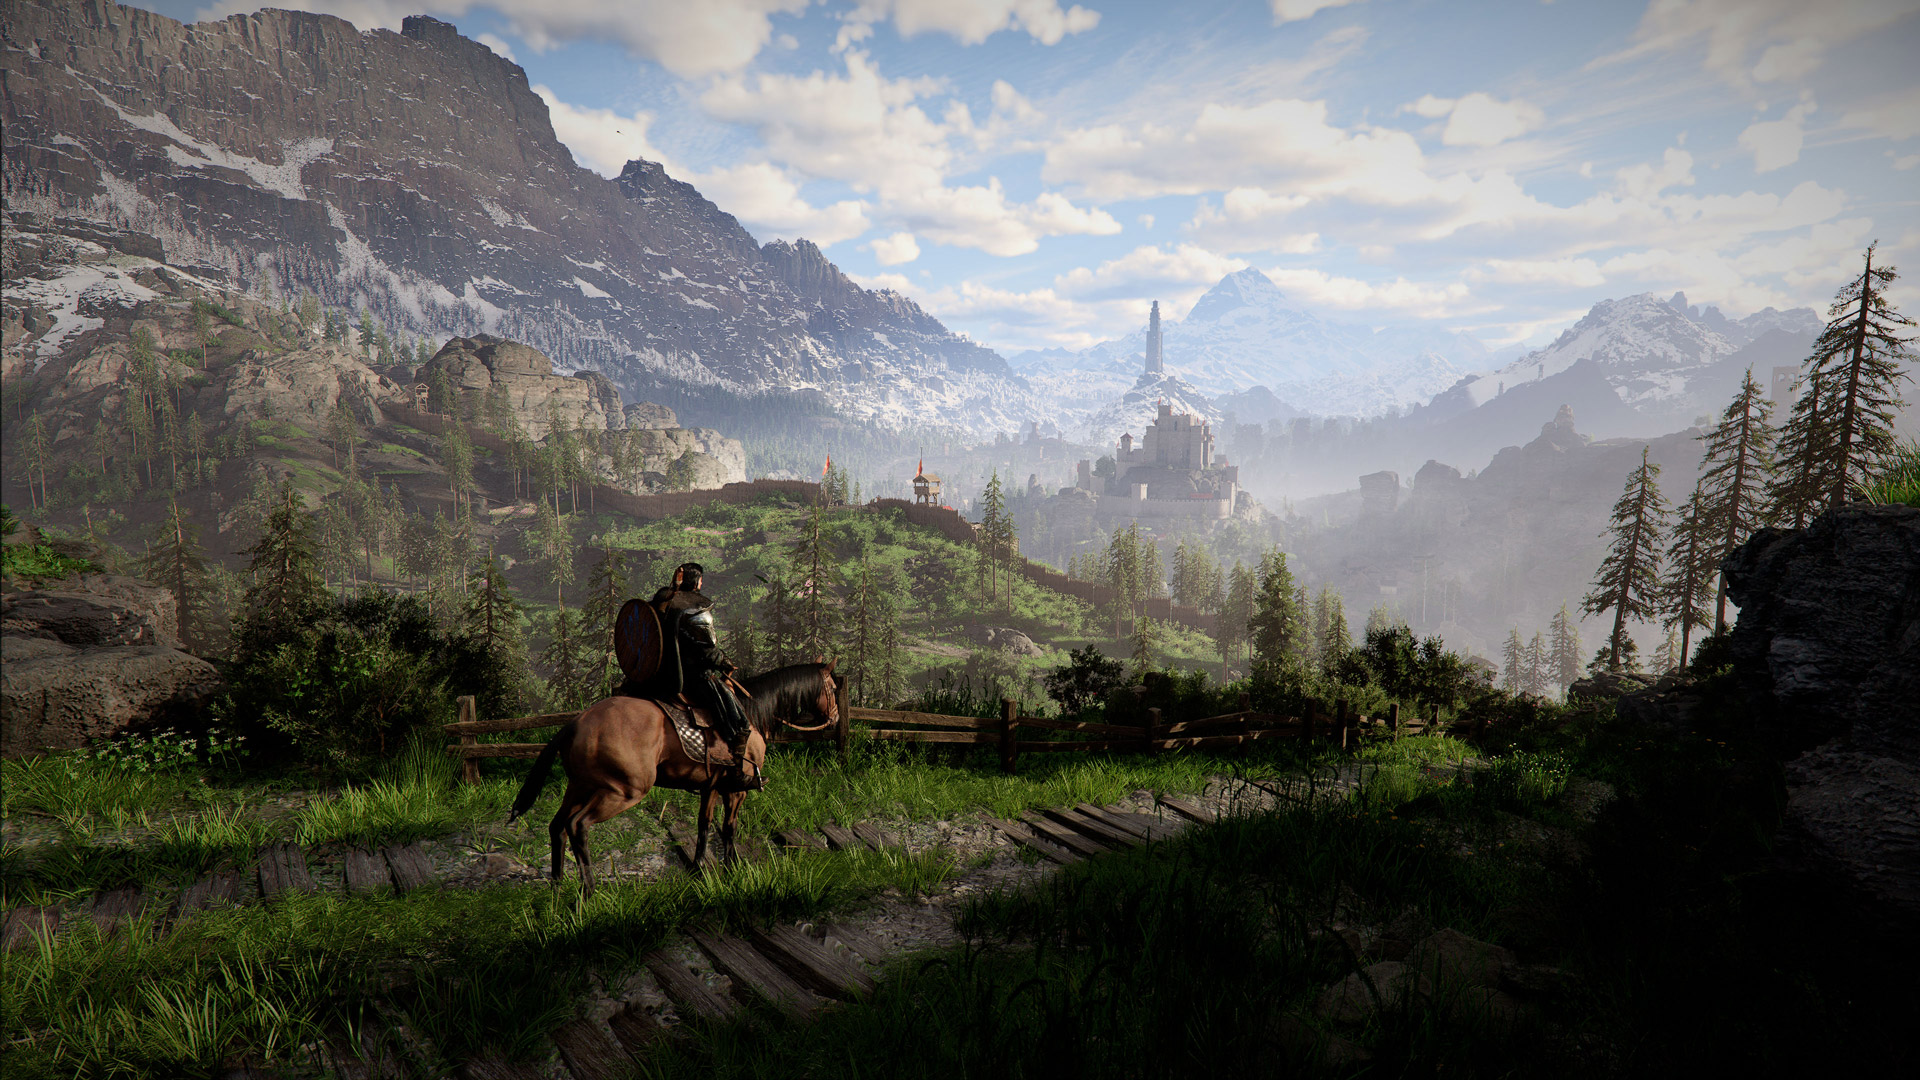
There are 37 Ancient Ruins Challenges in total, tracked in the journal under Challenges, specifically the "The Thread in the Forest" tab. Each Abyss Cresset also serves as a fast travel waypoint once activated, making ruins worth seeking out even beyond the stat bonuses.
Many ancient ruins require specific abilities to interact with the puzzle mechanisms. The most commonly needed skills are listed below. If you reach a ruin and cannot solve it, you may need to progress further in the main story to unlock the required ability.
Skill | How It Is Used | Unlocked |
|---|---|---|
Lifts stone gates blocking ruin entrances; moves broken columns on puzzle platforms | Chapter 2 (Reunion quest) | |
Strikes wall-mounted disc platforms; activates power devices in the Abyss | Chapter 1 (Abyss Without Balance quest) | |
Pierces mechanism sockets to rotate dials, fountains, pillars, and sundials | Main quest progression | |
Burns away vines and foliage blocking mechanisms and pillars | Main quest progression | |
Spirit (green) branch of the skill tree | ||
Grabs and rotates alignment devices; moves power cores inside the Abyss | Chapter 1 (Axiom Archive quest line) | |
Highlights interactable objects; used to observe holograms and learn new skills | Tutorial (early main quest) |
The ancient ruins feature several recurring puzzle types. Understanding the core mechanic of each type helps when encountering new variants in different regions.
Puzzle Type | Core Mechanic |
|---|---|
Force Palm Sequence | Hit wall-mounted disc platforms with Force Palm in the correct order. Striking a disc inverts the state of adjacent discs. |
Pillar Height Alignment | Use the Stab skill on a central pedestal to adjust pillar heights. Each control slot affects a different combination of pillars, and the goal is to align all pillars to the same height. |
Statue Rotation | Rotate statues using the Stab skill on their bases or by shooting arrows. Linked statues move together, and all must face the central Abyss Cresset. |
Fountain Rotation | Rotate fountain spouts with the Stab ability to redirect water flow into a central basin. |
Bell Sequence | Hit a set of bells in the order shown by musical note symbols on a nearby board. |
Sundial/Symbol Matching | Rotate a central sundial or dial to align symbols on the floor with those indicated by illuminated statues. Requires the Stab skill to rotate. |
Red Light, Green Light | Approach a king statue without moving when its eyes light up. Getting caught resets you to the start. |
Tile Grid Matching | Step on tiles to connect pairs of identical icons without stepping on other active symbols or retracing your path. |
Stone Color Alignment | Arrange stones on a grid to form a line of five matching colors (horizontal, vertical, or diagonal). |
Picture Arrangement | Drag and position movable image tiles to reconstruct a picture (such as a dragon mural). |
Dial/Wheel Alignment | Rotate concentric rings on a puzzle door until their metalwork aligns with the underlying circular patterns. |
Mural Clue Puzzles | Find visual clues from murals, trees, or nearby landmarks, then return to the ruin and input the solution. |
Lantern Lighting | Find and light all unlit stone lanterns scattered around a graveyard or ruin site. |
Water Drainage | Use Nature's Snare on wooden mechanisms to drain water blocking the Abyss Cresset. |
This is the first ancient ruin most players encounter, accessed during the main quest "Reunion" in Chapter 2. After reaching the ruins, look for a blue silhouette of a child. Hold the Observe button (L1 on PlayStation, LB on Xbox) while watching the silhouette to learn the Nature's Grasp skill. Then target the blue-highlighted wall at the ruins entrance and activate Nature's Grasp (Triangle + Square, then X on PlayStation; Y + X, then A on Xbox) to raise the stone gate and reveal the cave entrance.
Inside the cave, three round disc platforms are embedded in the wall. Use the Force Palm skill (hold R3/Right Stick) and hit them in this exact order:
Middle platform
Left platform
Right platform
The key mechanic to understand is that striking a disc with Force Palm inverts the position of any disc adjacent to it. If an adjacent disc is pushed in, it pops out, and vice versa. By hitting the middle first, both side discs change state. Then hitting left and right in sequence brings all three into the wall simultaneously, completing the circuit and allowing energy to flow through them.
The Abyss Cresset can then be claimed from a small pillar just outside the cave entrance, completing the "Abyss Cresset of Meandering Hills" challenge.
The Duskhill Ruins are accessible early in the campaign and introduce a pillar height alignment puzzle. Five stone pillars stand in a row, with the first pillar fixed at a set height. The remaining four can be repositioned using a central mechanism. Before the puzzle can be solved, vines covering the pillars must be cleared. Aim an arrow through one of the two small fires flanking the mechanism to create a fire arrow, then shoot the vines. Alternatively, enter sword state (LB + RB on controller) and use Blinding Flash to burn them.
The central contraption has four numbered positions, each controlling different pillar combinations:
Position | Pillars Affected |
|---|---|
1 | Pillars 2 and 4 |
2 | Pillars 2 and 5 |
3 | Pillars 2, 3, and 4 |
4 | Pillars 3, 4, and 5 |
Use the Stab skill to interact with each position. The goal is to raise all four movable pillars to match the height of the first pillar. One approach is to rotate Position 3 clockwise once, then Position 2 clockwise twice, then Position 4 clockwise roughly one and a half times, and make a small counterclockwise adjustment on Position 2. Exact alignment is not required; the game accepts small differences. Once all pillars glow, climb the platform and collect the Abyss Artifact. If you make a mistake, reloading the game resets the puzzle.
Located in The Witchwoods, this ruin features a similar pillar height alignment puzzle but with different controls. Five pillars stand in a line, with the first serving as the height reference. Before solving, use Blinding Flash to burn away the foliage blocking the mechanism and all the pillars.
The central mechanism has four slots, each moving different pillar groups when you embed your blade using the Stab skill. The solution has three steps:
Move pillars 2, 3, and 4 approximately halfway up. Do not align them with pillar 1 yet.
Adjust pillars 3, 4, and 5 so that pillars 3 and 4 align with pillar 1, while pillars 2 and 5 end up at the same lower level.
Move pillars 2 and 5 together until they align with the rest.
All five pillars glow upon completion, revealing the Abyss Cresset of the Witchwoods and its Abyss Artifact. Reloading the game resets the puzzle if needed.
Also in The Witchwoods, near the Kilnden Workshop fast travel point, this ruin features a stone color alignment puzzle. A board of stones is laid out on a grid with both black and white pieces. The objective is to align five stones of the same color in a single line, which can be horizontal, vertical, or diagonal.
Look for an extra white stone near the Abyss Cresset itself. Place it between two existing white stones to form a straight horizontal line of five. Be aware that some "stones" on the grid are actually crabs with greenery growing on their shells; these move around and serve as distractions. Only the fixed stones matter for the solution. Once five matching stones form a line, the puzzle completes and the Abyss Cresset activates.
Located in The Witchwoods southwest of Hernand, this ruin features a mural clue puzzle inside a labyrinth. A mural on the wall just before the main puzzle room reveals five locations near Pororin village where trees with specific letter markings can be found. Travel to Pororin (southeast of Hernand), locate all the marked trees, and note the symbols painted on each.
Return to the labyrinth and press the five correct buttons out of eight available symbols. The five buttons correspond to the markings found on the Pororin trees: P with three lines, standard P, P with one line, F, and E with a long tail. The buttons can be pressed in any order. Pressing an incorrect symbol resets the puzzle after five presses. Successfully solving it opens the gate protecting the Abyss Cresset and unlocks an exit door that lets you bypass the labyrinth obstacle course. The puzzle rewards an Abyss Artifact and a Memory of Tide consumable.
This ruin features a bell sequence puzzle. Beside a locked door, you will find a set of bells and a board with musical note symbols. Hit the bells in the order that matches the note symbols on the board, reading from left to right. Completing the sequence correctly unlocks the door and grants access to the Abyss Cresset.
Found deep in the forest of Deepfog Basin near the foot of the Argen Peaks, this ruin features a pillar height alignment puzzle. A central pedestal has four slots where you can embed your blade using the Stab skill. Each slot controls a different set of pillars. The goal is to match all pillar heights to the leftmost pillar by rotating the pedestal and adjusting each group. Work through the slots one at a time, checking the pillar heights against the reference after each adjustment, until all pillars align and the Abyss Cresset unlocks.
Located west of Calphade Castle and Thalwynd, this ruin contains a picture arrangement puzzle. In front of a dragon statue, a partially completed mural shows a dragon image with the bottom three tiles already painted. Six movable tiles must be arranged in the upper portion to complete the picture.
Clear any wolves in the vicinity before starting. To move tiles, use Axiom Force (Left Shift + Right Click on PC; LB + Y on Xbox; L1 + Triangle on PlayStation). The solution:
Drag the sun tile to the top-right position.
Move the dragon wing tile to the bottom-left box.
Place the dragon body in the bottom-middle box next to the wing.
Put the dragon head in the bottom-right box next to the body.
Move the wing tip to the top-middle box to complete the top row.
Push the bottom row toward the middle position. The arranged tiles merge with the underlying paintings to form the complete dragon image.
A short cutscene plays and the Abyss Cresset chamber opens, revealing the Abyss Artifact inside.
Situated in southern Demeniss on the border with Hernand, this ruin features a dial/wheel alignment puzzle. A large circular mechanism on the wall has three handles controlling concentric rings. Two bears guard the area and must be defeated or lured away before you can work on the puzzle.
The goal is to rotate the three handles until the metalwork on each ring overlays the circular patterns underneath. The right handle rotates the innermost ring with white symbols. The center handle controls the large middle ring. The left handle has all its wooden grips broken, so you must use the Stab skill to wedge your sword into the mechanism and turn it.
Turn the right handle until the white symbols align with the middle wooden plate.
Turn the center handle until the large round metal slate aligns with the large white sun drawing.
Use the Stab skill on the left wheel and rotate it until the outer rings with smaller steel circles align with the remaining pattern.
Once all three rings are properly overlaid, the puzzle resolves and the Abyss Artifact becomes accessible.
Located southeast of St. Halssius' House of Healing, this ruin uses a sundial and symbol matching puzzle. Several statues stand around a central platform, each holding a different item (scales, jug, lute, coin, horse, etc.). Light beams highlight certain statues during each phase, and you must rotate a floor grid to match the corresponding symbols on the ground tiles.
Before starting, use Nature's Grasp to lift and clear broken columns from the platform by slamming them off to the side. Then use the Stab skill to pierce the black sundial post in the center and push it to rotate the floor grid.
The puzzle has three alignment phases:
Stab the sundial and rotate it to align the upper space with the golden coin tile. The tile glows when correctly positioned.
Follow the next golden light beam to a statue holding scales. Stab the sundial again and rotate it to match the scale tile on the ground.
Look for the third light beam. Stab the sundial and rotate it to match the horse icon tile.
You can hold Stamina to rotate faster. If the tile does not glow, try rotating in the opposite direction. Completing all three phases unlocks the Abyss Cresset of Halssius Conflux and rewards an Abyss Artifact.
Found south of Glenbright Manor in the Grace Estate, past some thick vines, this ruin features a statue rotation puzzle. Four statues stand around a central pedestal, all facing different directions. The goal is to rotate every statue so it faces the Abyss Cresset at the center.
The key detail is that the statues are linked in pairs. Statue 1 is linked to Statue 2, and Statue 3 is linked to Statue 4. Rotating one automatically rotates its partner. To interact with a statue, use the Stab skill (RB + Y on Xbox; R1 + Triangle on PlayStation; Shift + Right Click on PC) to pierce the base, then push Kliff sideways to turn it.
Approach Statue 1 and rotate it until it faces the center. Statue 2 will also rotate to face the center because the two are linked.
Move to Statue 3 and do the same. Statue 4 will follow suit.
The pedestal activates and the Abyss Cresset reveals an Abyss Artifact.
Located on the eastern side of the Haunted Hill area, this ruin involves a water drainage puzzle. The Abyss Cresset is submerged underwater, and two wooden mechanisms must be activated to drain the water.
You need the Nature's Snare skill (unlocked from the spirit/green branch of the skill tree) to operate the mechanisms. Activate Nature's Snare on the first mechanism near the Abyss Cresset. While the device spins, the water level slowly drops. The second mechanism is across from the first; use the stone pillars to cross safely without drowning. Activate Nature's Snare on it and keep draining until the Abyss Cresset fully unlocks.
You will not lose draining progress if you run out of Spirit. Use the Focus ability to quickly restore Spirit, then continue. Once the water is completely drained, a short cutscene plays and the Abyss Cresset becomes accessible.
The Hunter's Cabin graveyard is located northwest of Hernand City in the Haunted Hills. This ruin uses a lantern lighting puzzle. A sealed tomb stands in the center of the graveyard, blocked by a brick wall.
To open it, you must light all five stone lanterns scattered among the graves. Some lanterns are already lit; the rest are dark and must be manually lit by walking up and pressing the interact button. No special skill or item is required. Do a full loop around the graveyard, checking every corner and every row of graves. The unlit lanterns are often found near the stone staircase leading to the tomb and to the east of the tomb itself, though exact positions may vary slightly.
Once the final lantern is lit, the brick wall crumbles and the tomb door opens on its own. Inside is the Abyss Cresset, which grants an Abyss Artifact and acts as a fast travel point.
This ruin combines a water drainage step with a lantern puzzle. First, use Nature's Snare to drain the water surrounding the site, similar to the Haunted Hill approach. After the water recedes, the puzzle is not yet finished.
Continue walking north from the drained area until you find a lantern by a broken stone column. Walk up to it and light it. Once the lantern is lit, the Wiggling Hill Ruins puzzle completes, unlocking the Abyss Cresset as a teleport waypoint and granting an Abyss Artifact.
Located near the Hernand Highlands, southeast of Howling Hill, this ruin contains three rotating dials that must be set to specific orientations to open the door hiding the Abyss Cresset. The clues are found in a large mural inside the ruins, which shows a painted map of Hernand with three locations marked in red paint.
These three marked spots correspond to cliff faces at Anvil Hillside Terrace, west and northwest of the House of Healing. If you visit these locations, you can see the exact drawings that match the images on each dial. The dial orientations, described using clock positions, are:
Sun and Moon dial: Rotate until the sun and moon symbol points directly upward (12 o'clock).
U-shaped design dial: Rotate until the design points to the left, at roughly the 10 o'clock position.
X-shaped design dial: Rotate until the design sits in the top-right area, at roughly the 1 o'clock position.
The alignment must be precise. When the door opens, the Abyss Artifact can be collected inside. This puzzle also awards the Memories of Abundance, a consumable that reveals all hidden areas in Hernand.
Found far to the southwest of Hernand, past the river from Fort Perwin, this ruin features a tile grid matching puzzle on a 7x7 grid. Step on the initial raised platform to activate the grid of symbols. Walk across tiles to connect pairs of identical icons by reaching the second icon of a matching pair without stepping on any other active symbols.
There are strict rules: you cannot step on a depressed tile (doing so resets the entire puzzle), you cannot retrace your steps by stepping on the same grey stone plate twice, and you cannot jump at all, because leaving the grid in any way forces a full reset. The puzzle has multiple sections, and failing at any point sends you back to the very first section.
Plan your route carefully before moving. Study the icon positions from the starting platform and trace a mental path through each pair. After completing all sections, the Abyss Cresset activates.
Located north of Hernand City, west of the Hills of No Return, this Mysterious Zone contains a fountain rotation puzzle. Three fountain pillars pour water outward onto the ground instead of into the central basin. A nearby hologram shows an NPC inserting a sword into one of the square-shaped slits on each pillar, providing a hint for the mechanic.
To solve the puzzle, use the Stab skill to pierce each pillar's slit (Hold Shift + Right Click on PC; Hold RB + Y on Xbox; Hold R1 + Triangle on PlayStation). Once your sword lodges in the slit, push the movement controls sideways to rotate the fountain spout. Redirect all three fountain pillars so the water flows into the central basin.
When all three pillars are correctly oriented, the puzzle completes and the "Abyss Cresset of the Arboria Forest" challenge is finished. This grants an Abyss Artifact and unlocks a fast travel point.
This ruin features a statue rotation puzzle similar to Sunrise Plains. Multiple statues must be rotated until they all face the central Abyss Cresset. Use the Stab skill to pierce each statue's base and push sideways to turn it. Some statues may be linked, so rotating one affects another. Check that all statues are facing the center before the puzzle will register as complete.
Located in the northwest of Pailune, on top of a mountain northwest of Silver Wolf Mountain, this ruin has a unique statue puzzle. Three statues are blocked behind gates that can only be opened by pushing a heavy box-shaped contraption. Between the gates stands a large reference statue holding three weapons.
The goal is to match each of the three gated statues to the weapons shown on the reference statue. Shoot arrows at the gated statues to rotate them. Each statue cycles through different weapon poses, and its eyes glow when it stops on the correct one. The three correct orientations match the reference statue: a man holding a sword, a man holding a staff and a shield, and a man holding a hammer.
Be careful with the middle gate statue, which has two versions of a shield pose (one with a staff, one without). Make sure the statues are precisely centered; the puzzle will not complete if they are at the correct angle but off-center. Once all three match the reference, the Abyss Cresset activates and you can claim the Abyss Artifact.
Several ruins across Pywel, including Drakesfall Gorge, use the "Red Light, Green Light" mechanic. The procedure is the same in each location:
Step on the stone plate at the edge of the area to activate the puzzle. Soldier statues will raise their swords.
Walk toward the king statue at the opposite end of the pathway.
The king statue will periodically turn around. When its eyes light up, stop moving immediately.
If the statue catches you moving, its eyes turn red and you must start over from the beginning.
Successfully reach the king statue without being caught to complete the puzzle and claim the Abyss Cresset.
Walk slowly and steadily rather than sprinting. Sprinting makes it much harder to stop in time. Only move when the king statue's gaze is turned away.
Multiple ruins feature fountain puzzles that follow the same pattern, including Arboria Forest and others:
Locate the fountain mechanisms (pillars with square-shaped slits) around the central basin.
Use the Stab ability to pierce the slit of each mechanism.
While the blade is inserted, push the movement controls sideways to rotate the fountain spout.
Rotate each fountain until its water is directed toward the central basin.
When all fountains fill the basin, the puzzle completes and the Abyss Cresset activates.
Each completed Ancient Ruins puzzle rewards an Abyss Artifact, which grants a Skill Point. These Skill Points can be spent in the skill tree to learn new combat abilities or enhance core stats like health, stamina, and attack power. With 37 Ancient Ruins Challenges available, completing all of them provides a significant boost to character progression.
Certain ruins also grant bonus rewards. For example, the Dragon's Stone Chamber awards the Memories of Abundance consumable, which reveals all hidden areas in Hernand. The Azure Moon Labyrinth awards a Memory of Tide.
Every Abyss Cresset also functions as a fast travel waypoint after activation, giving players a growing network of teleport destinations as they complete ruins across Pywel.
Use Focus mode (CTRL on keyboard, L1/LB on controller) to highlight interactable objects in ruins. This makes it easier to spot mechanisms, dials, platforms, and slits.
Always check the surrounding environment for murals, boards, trees with markings, and landmark clues before attempting a puzzle. Many solutions are hinted at by nearby visual cues.
For Red Light, Green Light puzzles, walk slowly and steadily. Sprinting makes it harder to stop in time when the king statue turns around.
Some ruins require specific abilities like Nature's Grasp, Force Palm, Blinding Flash, or Nature's Snare. If you cannot solve a ruin, you may need to progress further in the main story or spend an Abyss Artifact to unlock the required skill.
The Abyss Cresset pillar is sometimes located outside the main puzzle chamber. After completing the puzzle, look around the immediate area for the glowing cresset.
For pillar alignment puzzles, exact precision is usually not required. The game accepts small height differences, so do not worry about pixel-perfect positioning.
If you make a mistake on a pillar or dial puzzle, you can reload the game to reset the mechanism to its original state.
Track your progress by opening the journal and checking Challenges, then navigating to "The Thread in the Forest" to see which of the 37 ruins you have completed.