
Loading...
Loading...
Weather System
November 2, 2026 at 06:42 AM
Distinguish documented temperature and player resistances from older weather formulas, and clarify specific cold-resistance gear.
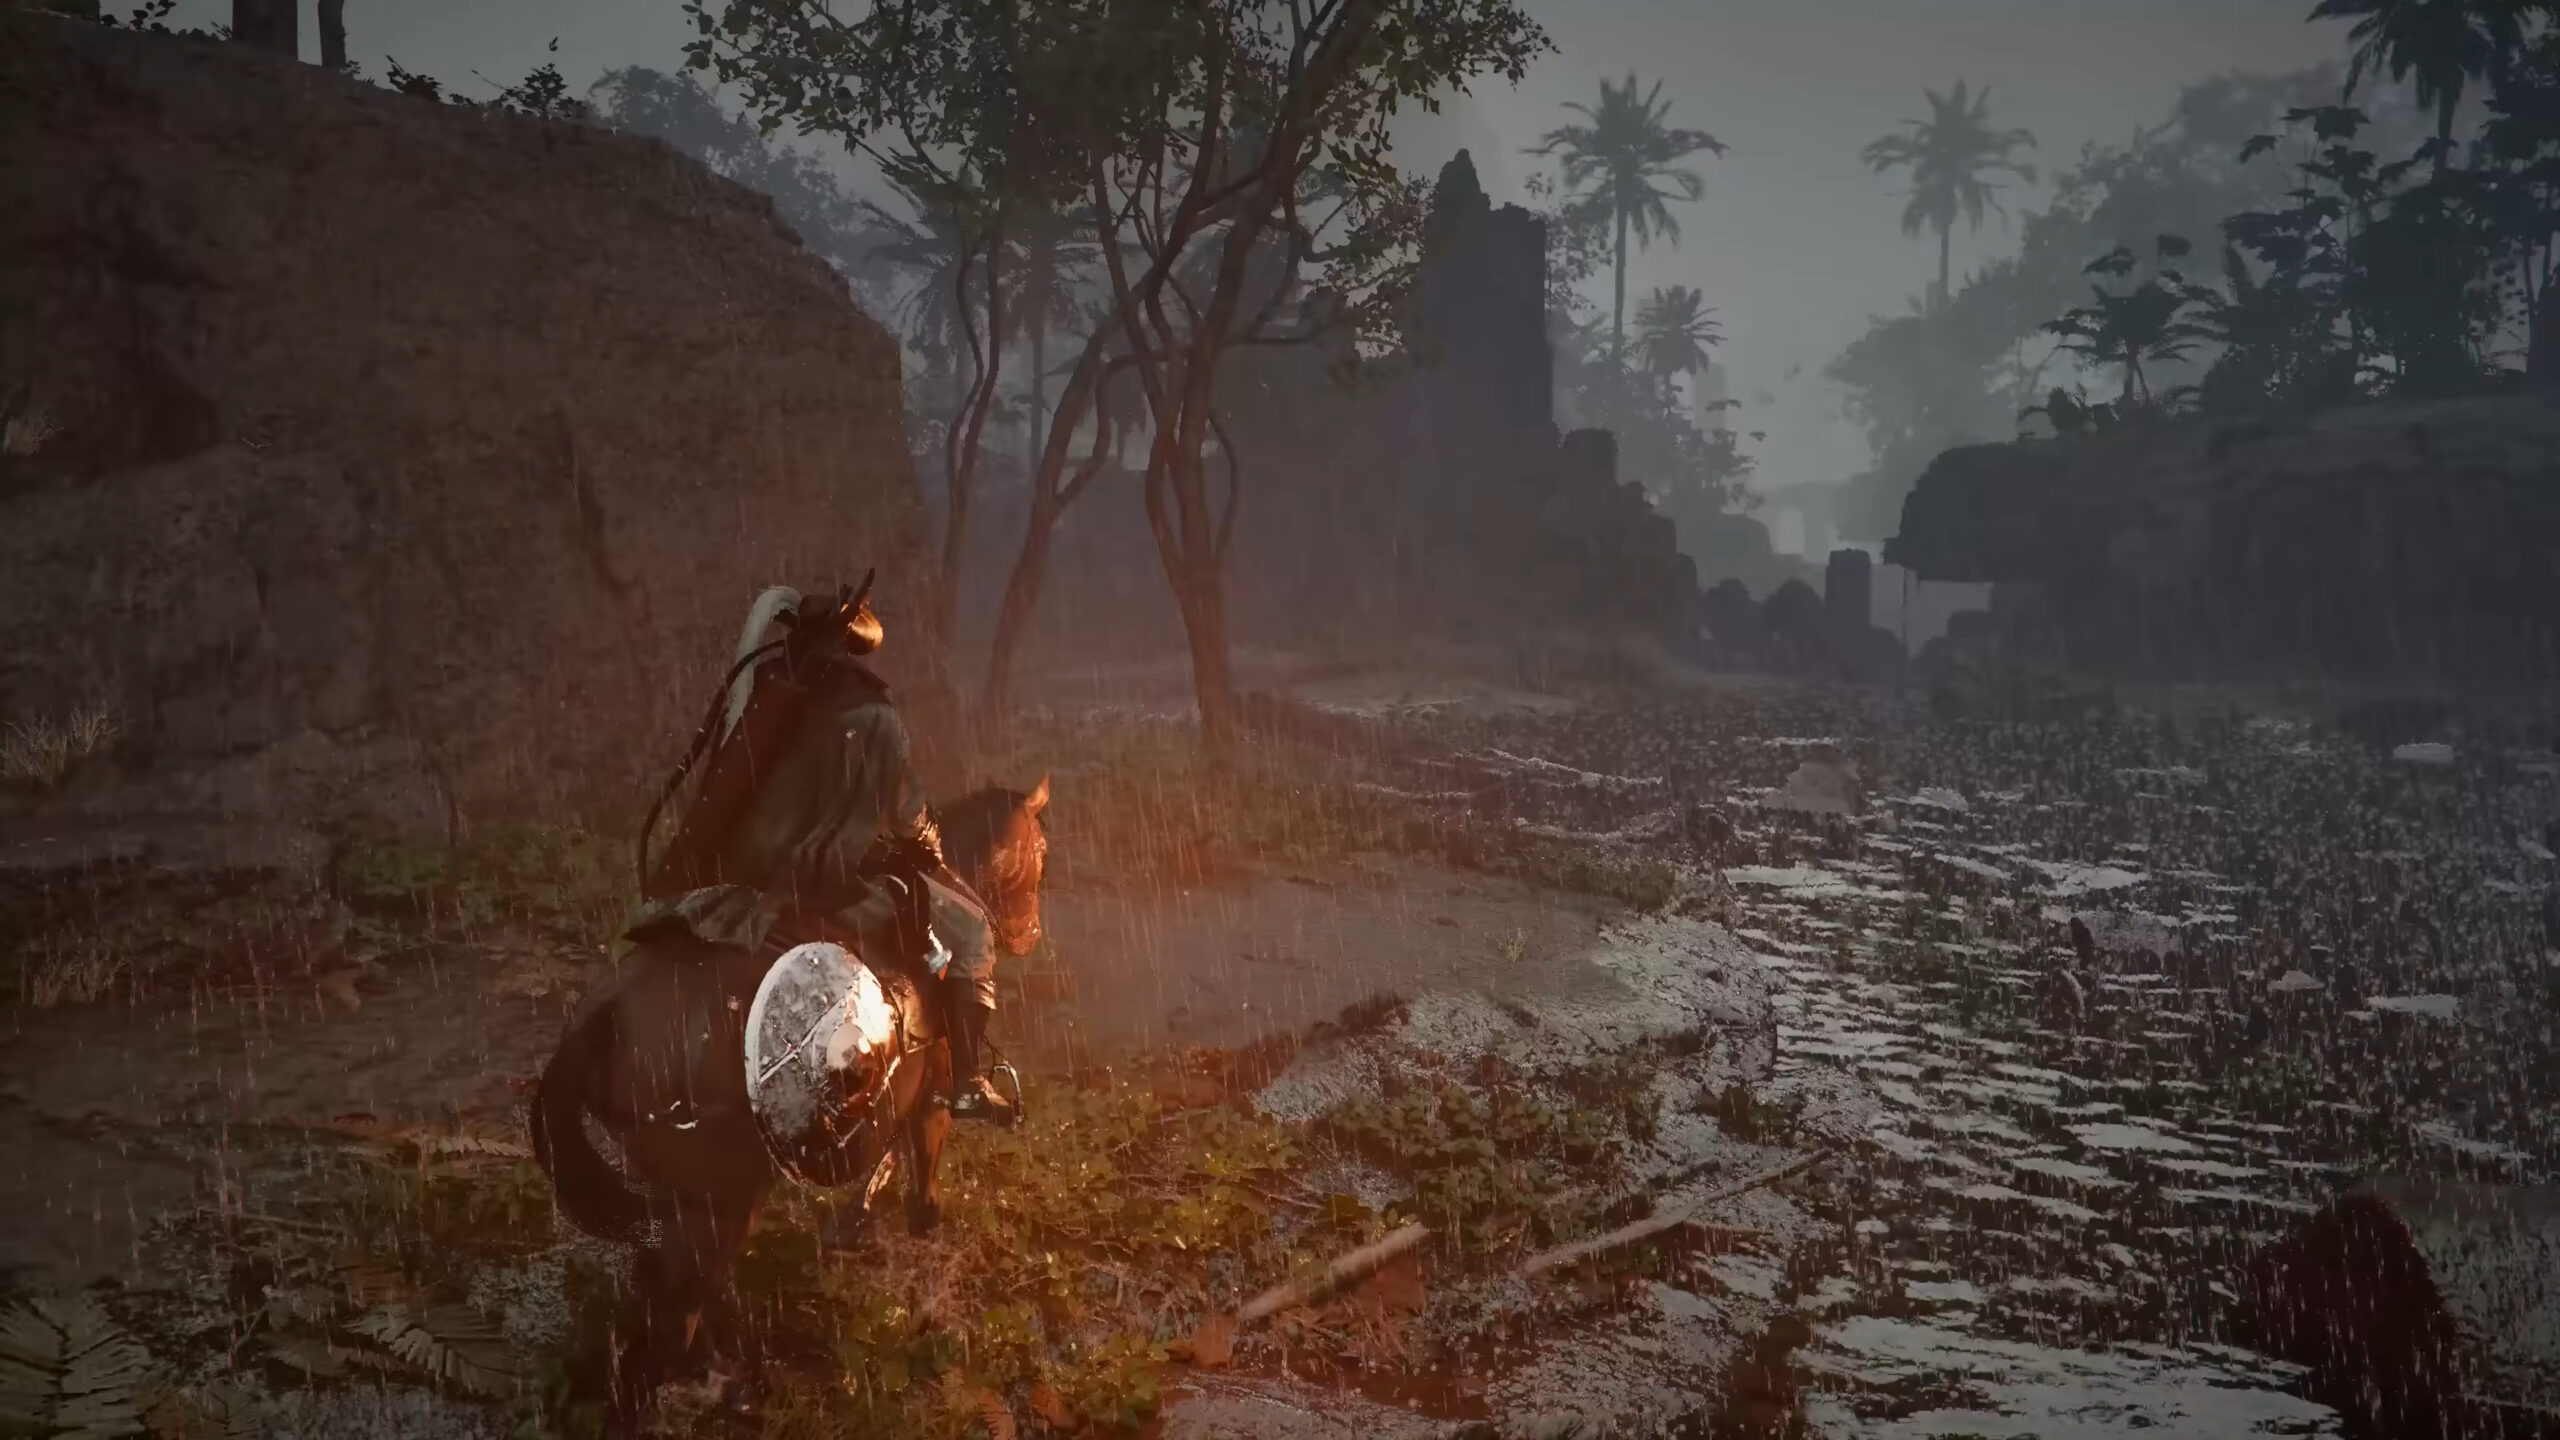
Crimson Desert was described in earlier preview coverage as having a dynamic weather system powered by the BlackSpace Engine. Weather conditions are not scripted or placed on a fixed timer. Instead, they are calculated in real time from multiple environmental variables: biome type, temperature, elevation, wind patterns, and time of day. Pearl Abyss marketing director Will Powers described the approach in a preview coverage interview: "It's all happening in real time...all of these things are just happening and being calculated naturally in real time, which makes this feel like a really alive world."
Earlier preview interpretation: The result is that no two playthroughs see the same weather at the same moments. Desert regions produce sandstorms but never snowfall. Alpine areas experience blizzards. Coastal zones cycle through fog and rain. The system respects geography, so you will not encounter a snowstorm in the middle of the arid Crimson Desert region because the biome and temperature would never produce one. Weather affects everything from cutscene lighting to boss fight difficulty, stamina drain, elemental damage modifiers, NPC behavior, and enemy spawn patterns.
Pywel was described in earlier clock notes as operating on a continuous day-night cycle. That account gives one real-life minute as roughly 12 in-game minutes, making a full day about two real-world hours. It also records a HUD day/day-of-week/time example ("Day 30 Wed 5:51 AM"), more dawn fog, midday heat and lower temperatures after sunset. These are older timing details, not a newly measured universal clock or weather schedule.

Nighttime brings more than a visual change. Wilderness areas become genuinely dark, reducing visibility for both Kliff and enemies. Some enemies only spawn after dark, and certain rare encounters are exclusive to nighttime hours. NPC schedules in settlements shift as well; merchants open during the day and close at night, while guards rotate their patrols. These patterns create meaningful gameplay differences depending on when you choose to explore or fight.
There are three ways to advance time in Crimson Desert: sleeping in beds, waiting at campfires, and using quest-triggered time skips. Understanding these methods is essential for reaching time-sensitive objectives and managing the day-night cycle to your advantage. For a full walkthrough, see Tips and Tricks.
Earlier bed-rest instructions: Beds are found in settlements, inns, and campsites throughout Pywel. Interact with any vacant bed to lie down, then choose to sleep for 3, 6, or 12 hours. Villagers do not mind Kliff borrowing their beds, so feel free to use any unoccupied one you find. Campsites tend to have a higher concentration of available beds.
Earlier campfire controls: To use a campfire, hold Focus (L1 on PlayStation, LB on Xbox, or CTRL on keyboard) to lock onto the fire. Three options appear: Cook (opens the cooking interface for preparing meals), Wait (advances time by 3, 6, or 12 hours), and Off (extinguishes the fire). Select Wait, pick your desired increment, and a short cutscene plays before you resume control at the new time.
Campfires and cooking pots are scattered across the open world, at campsites, settlements, and roadside rest stops. If you need to advance time while exploring, look for a nearby fire rather than returning to a settlement.
Some quests require you to be at a specific location at a particular time of day. When you arrive at the quest marker before the required moment, the game displays a "Wait for the right time" prompt. Press ESC on keyboard or the Menu/Start button on a controller, and time advances instantly to the exact moment the quest needs. This is the fastest and most precise way to skip time, but it only works when a quest actively calls for it.
For example, during the Missing Companion quest in Chapter 2, you enter a house and receive the prompt at the bottom of the screen. Pressing the menu button skips to the right hour without any manual calculation.
Earlier rest-cooldown account: After Kliff rests (through a bed or campfire), there is a built-in cooldown before he can rest again. The game does not display an explicit timer for this, so plan your time increment carefully. Choosing 12 hours when you only needed 3 locks you out of resting again sooner, which can be frustrating if you overshoot a quest window or vendor restock timer.
Pywel has varied weather conditions. The table keeps earlier visual and gameplay accounts; the specific temperature and player-resistance examples documented below should not be read as confirmation of every old visibility, damage or equipment formula.
Weather Type | Visual Effect | Gameplay Impact |
|---|---|---|
Clear Skies | Full visibility, bright sunlight during the day, starry nights | No penalties. Ideal for exploration and long-distance travel. |
Rain | Falling rain, wet surfaces, darker skies | Earlier rain accounts described slippery climbing and a Lightning element damage boost against wet enemies. The temperature guide instead gives a player example: Kliff's Ice Resistance falls by 13, and Lightning Resistance falls by 9. This does not establish the earlier outgoing-damage or every-enemy wet assumption. |
Thunderstorm | Heavy rain with lightning strikes and thunder | Earlier thunderstorm accounts add rain effects and say Lightning skills deal up to 50% more damage with chaining against wet enemies. They also suggest disabling some Axiom Bracelet abilities. Those are older combat/interface claims, not consequences established by the player-resistance example. |
Snow / Blizzard | Snowfall, whiteout conditions in blizzards, icy terrain | Cold drains stamina faster and slows regeneration. Deep snow further increases stamina cost for sprinting. Requires adequate Ice Resistance to avoid severe penalties. |
Fog | Thick fog reducing draw distance, muted lighting | Reduces visibility for both you and enemies. Enemy detection range drops, making fog favorable for stealth approaches. |
Sandstorm | Blowing sand, heavy particle effects, orange-tinted sky | Dramatically reduced visibility. Exclusive to the arid Crimson Desert region. Dust makes ranged targeting difficult. |
Extreme Heat | Heat shimmer, harsh sunlight, temperature gauge spikes | Overheating causes stamina drain similar to cold. Heavy armor amplifies the effect. Common in the Crimson Desert region during daytime. |
The colored gauge beside the minimap tracks body temperature: blue indicates cold and red indicates heat. The climate guide documents quicker stamina depletion in extreme conditions. The earlier detailed model adds scaled stamina penalties, slower cold regeneration and higher costs for every action, including sprinting, climbing and combat combos. It also suggests larger heat penalties with heavy armor. Those extra formulas are earlier accounts; use the actual gauge and listed resistance effects rather than assume a fixed rule for every action or material.
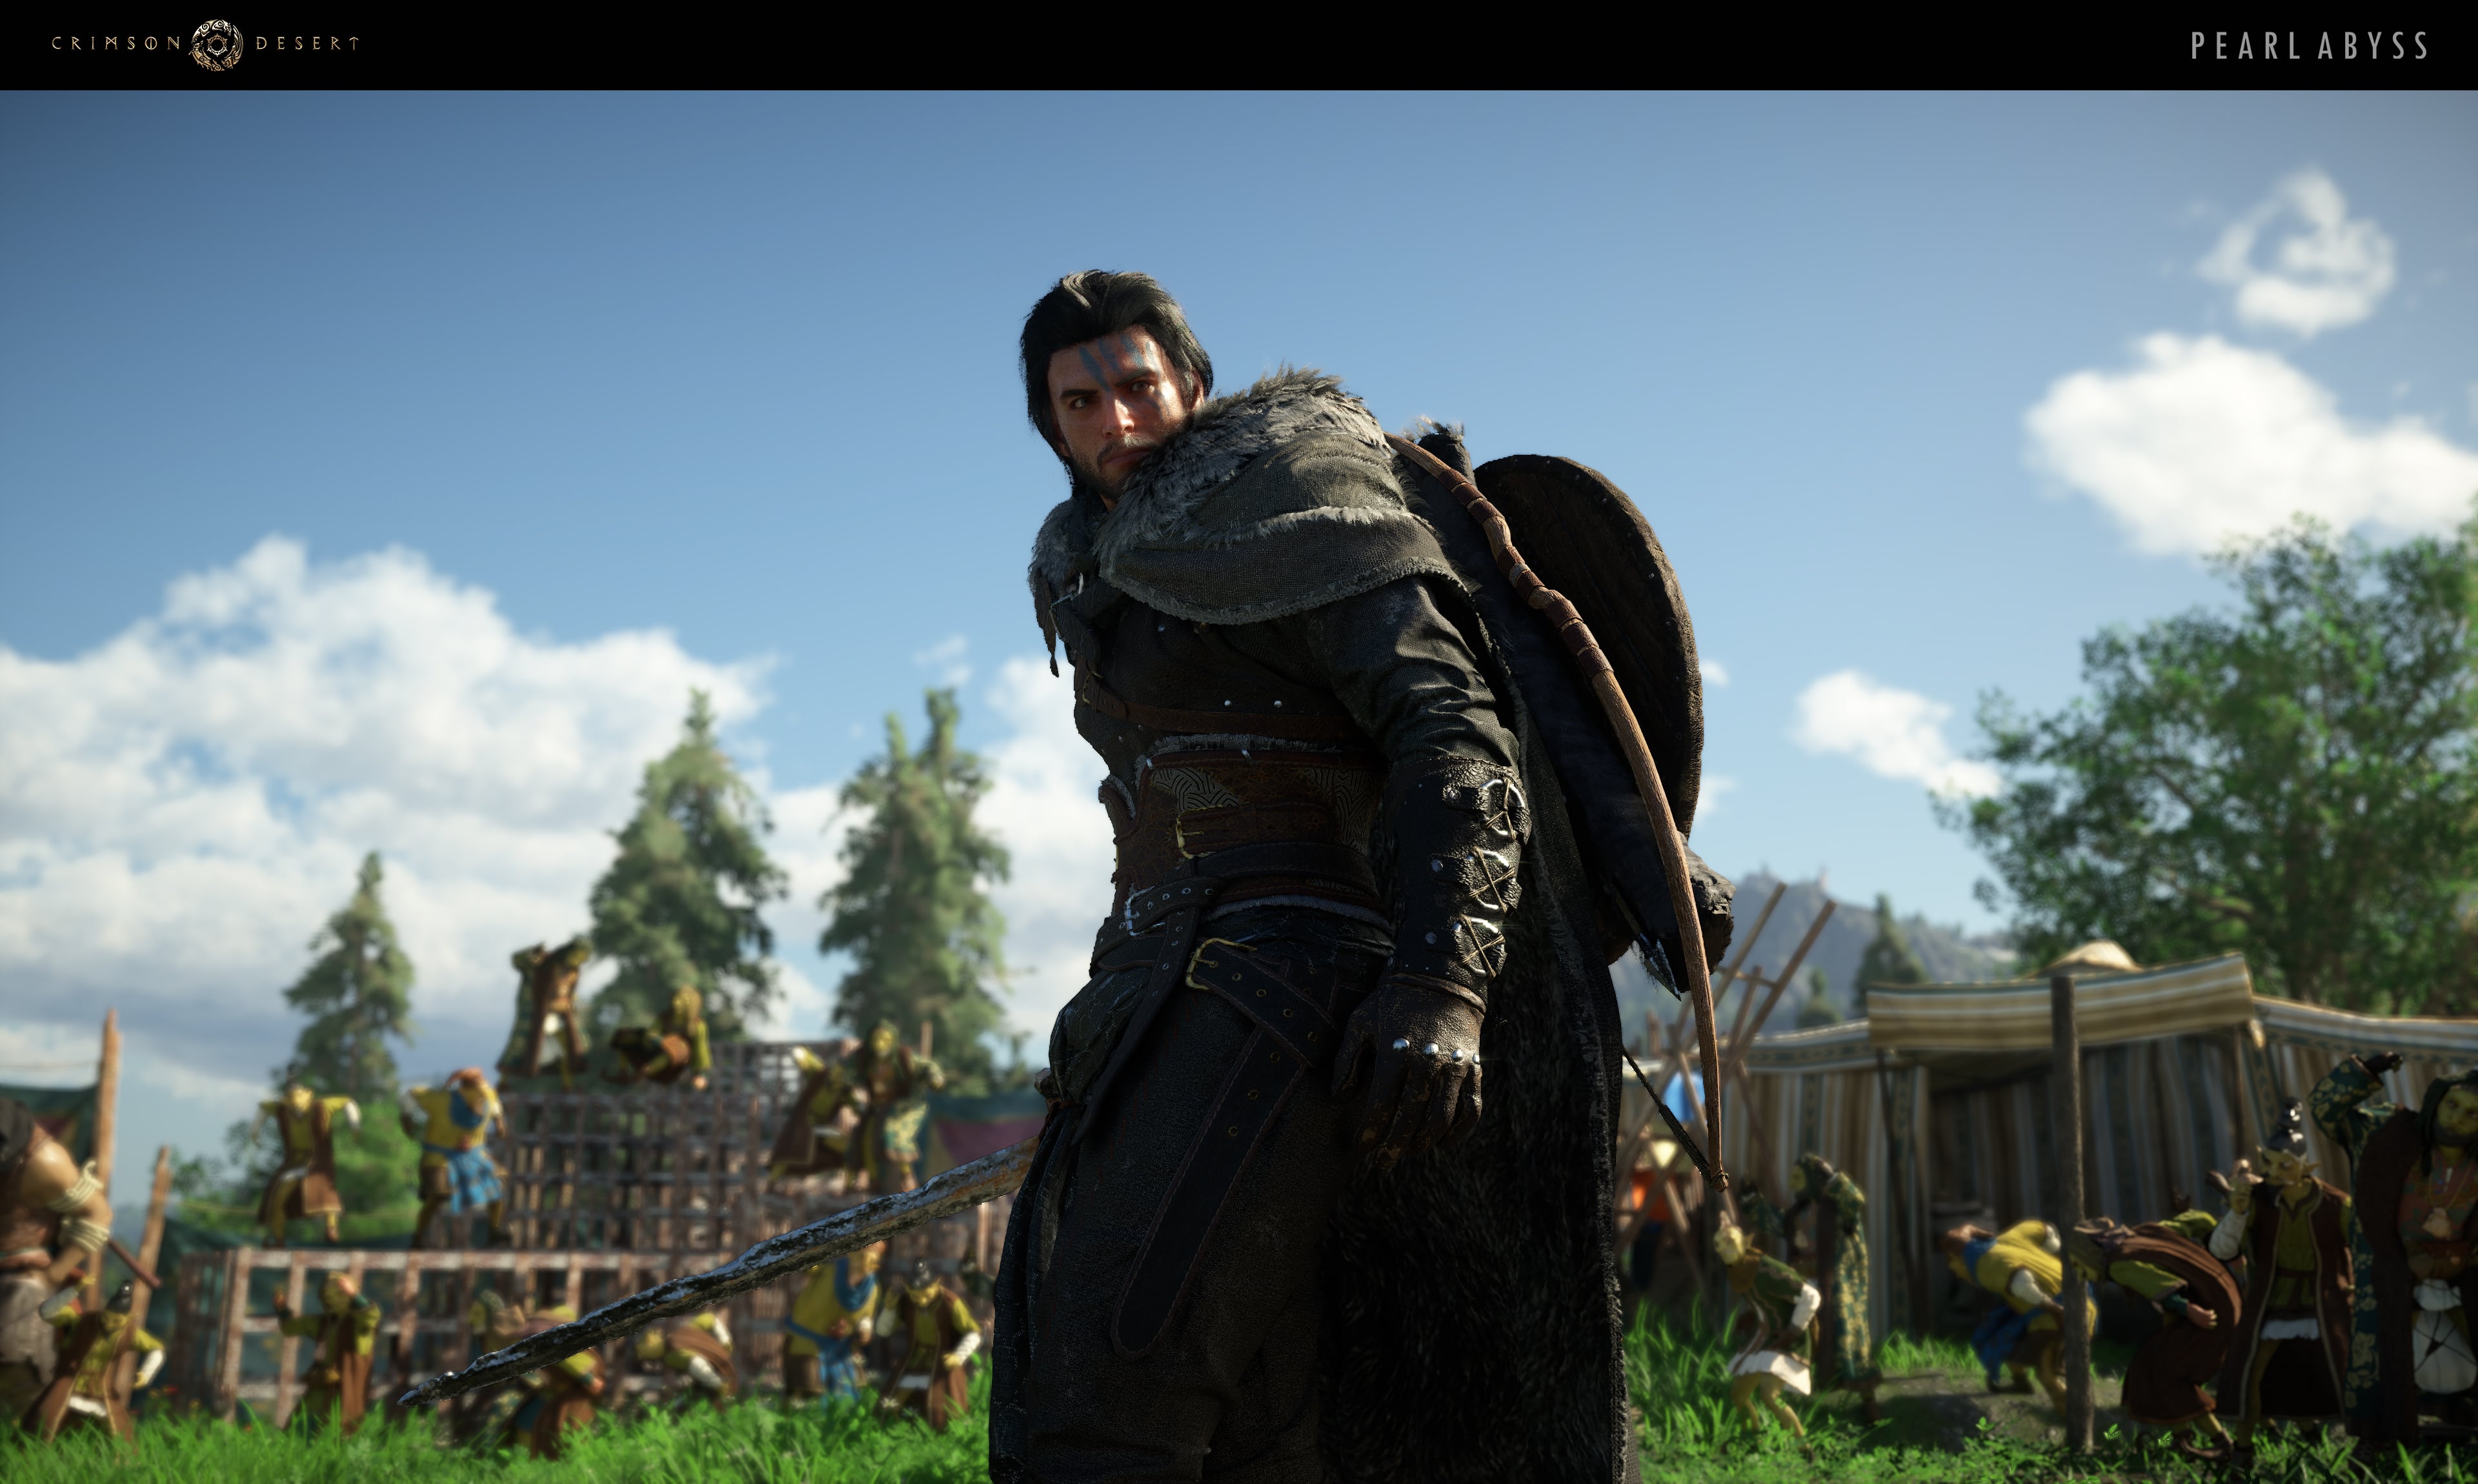
Temperature varies based on region, altitude, time of day, and whether you are indoors or outdoors. Preview footage from the Crimson Desert region showed temperatures reaching 50 degrees Celsius during daytime travel. Standing near a fire source in a cold area warms Kliff up temporarily, while moving to higher elevations in warm regions reduces heat.
Rain can change the player's elemental resistance. The documented example applies a reduction of 13 Ice Resistance and 9 Lightning Resistance. Earlier combat accounts extrapolated this to every wet enemy and a Lightning element attack dealing up to 50% extra damage with chaining. Those outgoing-damage and all-enemy claims are not established by the player-resistance example. Consider your own exposure before planning Lightning-focused builds. Shockward I is listed as Lightning Resistance Lv.1 for armor; that is a defensive gear effect, not an outgoing damage multiplier.
Earlier wet-condition notes also discuss enemies standing in water or on shattered ice platforms, and assume rain affects every outdoor target. Treat those as older combat accounts rather than a demonstrated universal outgoing-damage formula.
Cold regions such as Pailune and the Sleet Isles are discussed in earlier cold-preparation notes. Those notes claim faster stamina drain, slower regeneration and increased costs below Ice Resistance 5, with full immunity at 5 in deeper frozen areas. The documented climate effect is quicker stamina depletion under extreme conditions; the precise full-immunity threshold and every-action formula remain older account details.
Source | How to Obtain | |
|---|---|---|
3 | Found in Echoing Tunnel near Fort Perwin, behind a waterfall in the Hernand region. Free, no quest required. | |
5 | Documented chest: Everfrost Basin northwest of Kharonso in southwestern Hernand, inside a cave blocked by Bismuth. Open it with Focused Force Palm. Earlier notes instead pointed to a research site south of Scholastone; that older location and full-cold-immunity claim are not established by the chest guide. | |
Frostcursed Plate Set | High (varies by piece) | Earlier base-set account: 5-piece armor set found in hidden caves across Demeniss. Cannot hold Abyss Gears and most pieces cannot be upgraded, but provides excellent Ice Resistance. That older profile is not a statement about separately crafted Kuku Ice armor, whose identity and properties must be checked independently. |
3 | Earlier price account: 19 Contribution Points from the Contribution Shop inside Hernand Castle. | |
Temporary boost | Consumables appear in an earlier account claiming availability at any settlement inn; that account describes Honey Tea as especially effective for temporary Ice Resistance. | |
Temporary boost | Cooked at any bonfire/campfire and granting cold resistance, according to the earlier recipe account. | |
Frostward (Abyss Gear) | Frostward I: Ice Resistance Lv.1 | Abyss Gear provides Ice Resistance Lv.1 and is listed as compatible with armor. This names the documented first-tier gear, rather than promising identical effects or slot rules for every core. |
Earlier cold-preparation advice recommends the Dark Ringleader's Cloth Cloak at Ice Resistance 3 as a free early piece in Hernand and combining it with Honey Tea. Those route, food and full-immunity details remain older accounts. The Reindeer Cloak is recorded with Ice Resistance Lv.5, but the earlier south-of-Scholastone lead should not replace the documented Everfrost Basin chest route. The separately named Disguise Cloak records Ice Resistance Lv.3 and Civilian Disguise, while Reindeer Cloak records Ice Resistance Lv.5 and Deer Disguise. These are distinct items, not interchangeable names.
Earlier heat-management account: The Crimson Desert region and other arid zones produce extreme heat during the day. Overheating is just as punishing as freezing if you ignore it: stamina drain increases, especially in heavy armor. Unlike cold, where resistance gear is abundant, heat management relies more on avoiding the worst conditions. Traveling through hot areas at night reduces the temperature significantly, and staying near water or in shaded areas helps.
Wind direction and strength are simulated in real time. This has a direct gameplay effect on gliding: headwinds reduce distance and increase stamina drain, while tailwinds extend range. Some areas have consistent updrafts that let you gain altitude. When planning long glides, pay attention to wind direction to conserve stamina and maximize distance. See Exploration and Traversal for more on gliding mechanics.
Fog reduces draw distance and mutes lighting. Critically, fog reduces enemy detection range as well as your own visibility. This makes fog conditions favorable for stealth approaches; enemies that would normally spot you at a distance become unaware until you are much closer. If you are trying to sneak past a camp or set up a stealth kill, foggy weather is your ally.
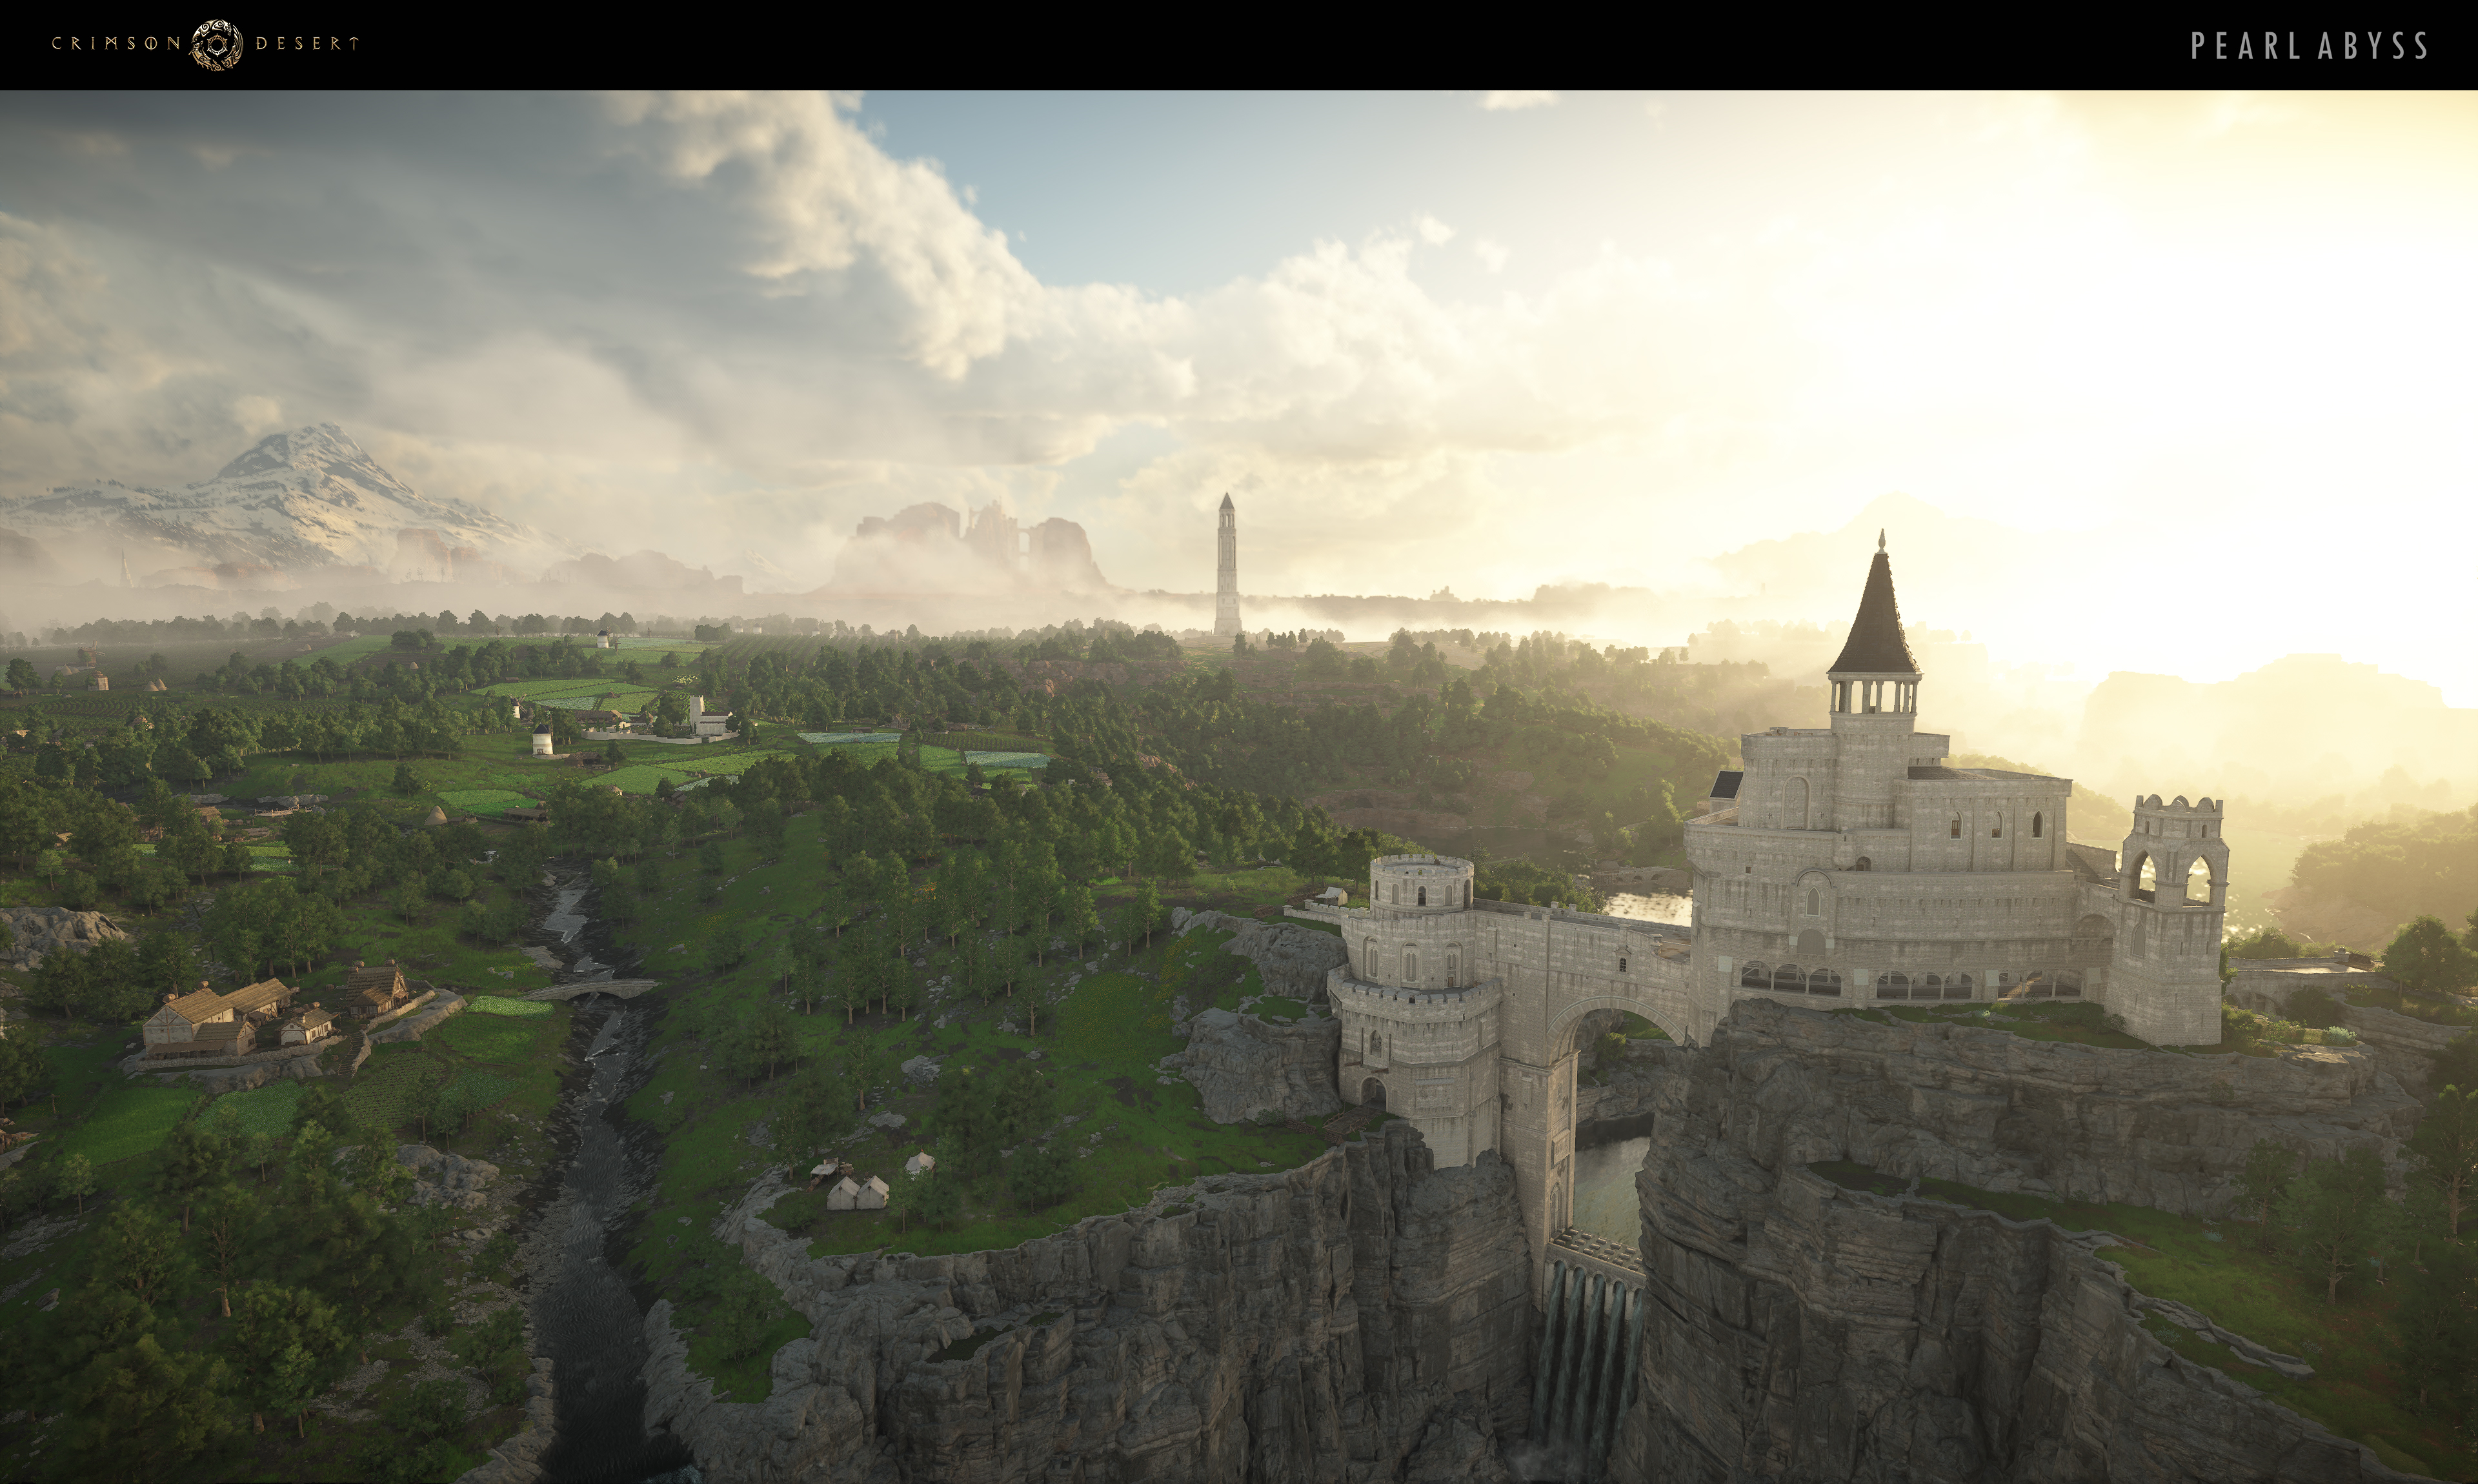
NPCs were described in earlier schedule notes as following daily routines, with shops open by day and closed at night. Those notes also quote a midnight (0:00) inventory restock and suggest buying, sleeping past midnight and buying again. The temperature guide does not establish that as a universal vendor reset. Keep quest-specific time/weather hints separate from that older restock model.
The day-night cycle directly affects enemy spawns and patrol patterns. Nighttime introduces tougher enemies, rare encounters, and exclusive spawn types that do not appear during the day. Weather conditions further modify behavior: fog reduces detection range (benefiting stealth), and storms may alter patrol routes.
Earlier preview discussion of boss weather: Boss fights also inherit the current weather and lighting conditions. Since all cutscenes are rendered in real time using the BlackSpace Engine, the same boss encounter looks and feels different depending on whether you trigger it at noon under clear skies, at dusk during rain, or at midnight in fog. Will Powers noted that this was intentional: "You can have the same boss encounter and...if you do it at night or if you do it during the rain, like completely different vibes in encounters."
Several activities in Crimson Desert reward you for paying attention to the clock. Planning around the day-night cycle can save time, earn more money, and unlock encounters you would otherwise miss.
Activity | Best Time | Why |
|---|---|---|
Night | The bank in northwest Hernand is best robbed at night when guard presence shifts. Equip a Mask (purchased from the Back Alley Shop south of the Church) before entering, then crouch and loot the strongboxes. A successful night heist yields at least 60 silver. | |
Evening / Night | Gambling dens in Hernand and Tommaso host Duo (card game) and cost 15 Silver per round. The number of opponents varies by visit (1 to 3), and visiting at different times gives you fresh matchups. Five-Card is played in Beighen. | |
Vendor Restocking | After midnight (0:00) | Earlier restock account: buy out food, arrows or crafting materials, then sleep past midnight and buy again. That is an older timing suggestion, not a verified reset for every vendor. |
Freesword Camp Missions | Any (use sleep to speed up) | Earlier dispatch timing for Greymane Camp (Howling Hill) quotes 18 in-game hours for an example and suggests sleeping for 12 hours to speed collection. Those are older mission-timer details; check the specific mission rather than infer a clock rule from the weather guide. |
Night | Certain powerful enemies and rare encounters only spawn between sunset and sunrise. If you are hunting specific drops or looking for unique fights, explore the wilderness after dark. | |
Night or Fog | Darkness reduces enemy detection range. Combine night travel with foggy weather for the least chance of being spotted. Ideal for infiltrating camps or pickpocketing. |
Each of Pywel's five major regions has its own climate profile, producing distinct weather patterns. The weather system uses these biome definitions to determine what conditions are possible in each area.
Region | Climate | Common Weather | Notes |
|---|---|---|---|
Cold / Arctic | Snow, blizzards, ice | Earlier regional notes call this the opening area and require Ice Resistance 5 for deeper frozen zones. That full-immunity threshold remains an older account; lower-elevation autumn valleys are also described. | |
Temperate / Mountainous | Clear, rain, mild fog | Rivers, vertical terrain. Weather is relatively mild. Most early-game gear acquisition happens here. | |
Varied | Clear to harsh at elevation | Large region with political complexity. Lowland fortress towns stay clear while higher elevations produce harsher conditions. | |
Coastal | Rain, fog, overcast | Tech-forward coastal region. Frequent precipitation due to proximity to the sea. | |
Arid / Extreme heat | Sandstorms, extreme heat, clear nights | Earlier regional account: Daytime temperatures reach 50°C. Much cooler at night. Sandstorms reduce visibility dramatically. |
The entire weather system runs on Pearl Abyss's proprietary BlackSpace Engine, which handles real-time atmospheric scattering, volumetric lighting, and physically based rendering. Light shafts pass through clouds, foliage, and structures with real-time calculations. The engine's weather layer integrates directly with the rendering pipeline, which is why cutscenes can inherit environmental conditions without a separate pre-rendered pass.
Because every cutscene is rendered in-engine in real time, weather and lighting at the moment of triggering carry through. One player might see a dramatic confrontation under bright noon sun, while another sees the same scene at dusk in a downpour. Pearl Abyss showcased the engine at GDC 2025, demonstrating how the weather and lighting subsystems operate under the hood. The studio built on its experience with large-scale weather simulation from Black Desert Online.
Check the temperature gauge regularly. The bar beside the minimap gives you advance warning before stamina penalties become severe. If it shifts to blue or red, take action before you lose combat effectiveness.
Earlier preparation advice targets Ice Resistance 5 for Pailune's deeper zones. The Reindeer Cloak is recorded at Lv.5, but use its Everfrost Basin chest guide rather than the older Scholastone lead. Earlier advice also combines a Dark Ringleader cloak at Lv.3 with Honey Tea; that food effect and full-immunity threshold remain earlier accounts.
For Lightning builds, separate player defense from outgoing damage. The documented rain example lowers the player's Ice Resistance by 13 and Lightning Resistance by 9. Earlier claims about every enemy being wet and Elemental attacks gaining up to 50% damage with chaining remain older combat accounts, not a measured universal bonus.
Plan bank robberies for nighttime. The Hernand bank in the northwest district is easier to rob at night. Equip your Mask, crouch, and loot the strongboxes for at least 60 silver per run.
Earlier dispatch advice suggests sleeping to speed up Greymane Camp missions, including a quoted 12-hour rest. Check the actual mission's time basis rather than assume every passive task uses that older in-game timer model.
Earlier hot-region advice recommends lighter armor or night travel. It says heat penalties are amplified by heavy equipment. Check the actual temperature gauge and each item's listed resistance rather than assume material weight alone establishes the penalty.
Use fog for stealth. Fog reduces enemy detection range. If you are infiltrating a hostile camp or setting up an ambush, wait for or seek out foggy conditions.
Watch for the quest time-skip prompt. When a quest requires a specific time of day, an hourglass icon appears on screen. Press ESC or the Menu button to skip instantly to the right moment instead of manually calculating sleep increments.
Stamina - how stamina works and what drains it
Elemental Attacks - weather interactions with elemental damage types
Exploration and Traversal - gliding, climbing, and wind effects
Tips and Tricks - general gameplay advice including time management
Weather and Day-Night Cycle - overview of the weather simulation engine and developer quotes
Dynamic World Events - emergent events influenced by weather and time
Regions of Pywel - biome differences across the five major regions
BlackSpace Engine - the proprietary engine powering the weather system