Loading...
Loading...
All Puzzle Solutions
April 27, 2026 at 04:45 PM
Cleaned punctuation and AI-style phrasing (2026-04-27)
Crimson Desert is packed with puzzles of every variety, from mechanical lock boxes hidden in manor houses to ancient disc mechanisms buried in forgotten ruins. Solving these puzzles rewards Abyss Cressets (fast travel points), Abyss Artifacts, unique gear, and crafting materials. This hub page organizes every puzzle type in the game and links to detailed solution guides.
Puzzle progress is tracked in the Journal under the Challenges tab. Ancient Ruins puzzles fall under The Thread in the Forest, while Sanctum puzzles and Spire puzzles have their own dedicated tracking sections.
Ancient Ruins are puzzle sites scattered across Pywel. Each ruin contains a unique environmental puzzle that must be solved to activate the Abyss Cresset hidden inside. There are 37 Ancient Ruins puzzles tracked under The Thread in the Forest challenge category. Completing them all is one of the longest side objectives in the game.
Ancient Ruins feature several distinct puzzle mechanics. For full solutions to every ruin, see the Ancient Ruins Solutions article and the The Thread in the Forest Puzzle Solutions guide.
Puzzle Type | Mechanic | |
|---|---|---|
Disc Inversion | Force Palm one disc to invert adjacent discs. All discs must be pressed in simultaneously. | Meandering Hills (Reunion quest) |
Statue Rotation | Rotate statues until they all face the central pedestal. | |
Pillar Alignment | Adjust pillar heights so all stone blocks align at the same level. | |
Symbol Stepping Stones | Step on the initial plate, then walk to the matching symbol plate without stepping on other active symbols or reusing grey plates. | Multiple locations across Pywel |
Grid Symbol Matching | Match the symbols held by marked statues with symbols on the floor by rotating a grid mechanism. | |
Red Light, Green Light | Approach the king statue while soldier statues raise their swords. Stop moving whenever the king statue turns around with glowing eyes. | West of Hills of No Return |
Fountain Rotation | Use the Stab ability to pierce fountain mechanism sockets, then move sideways to rotate waterspouts until both fill the central basin. | Various ruins |
Mural Decoding | Examine cracked walls inside the puzzle room to find clues, then travel to real-world locations depicted in the mural to decode the solution. | |
Angel Statue Beam | Follow the beam from the Angel Statue to a second statue depicting a person, animal, or object. Identify the depicted subject to progress. | Multiple locations |
Mallet and Chimes | Strike chimes with a mallet in the correct order. The sequence is written on a nearby bounty board posted outside the ruin. Read the board first, then play the notes from left to right in the order shown. | |
Graveyard Lights | Light all of the lanterns arranged around a graveyard area. Once every light is active simultaneously, a hidden Abyss Cresset is revealed at the center of the site. Some lanterns extinguish neighboring lights when lit, so the order matters. |
Strongboxes are locked containers found primarily in and around Hernand. Each one has a unique mechanical puzzle built into its lid or frame. Because the items inside count as stolen goods, you must be wearing a mask to take the contents after solving the puzzle. For a complete walkthrough of every strongbox, see the Strongbox Puzzle Locations and Solutions guide.
Location | Puzzle Type | |
|---|---|---|
Bluemont Manor (North) | Northern building of Bluemont Manor | Hexagonal prism owl picture alignment (4 buttons) |
Bluemont Manor (South) | Southern building of Bluemont Manor | Piston height alignment using five segmented wheels |
Hillside Manor interior | Pin alignment mechanism. The strongbox lid has a series of cylindrical pins with silver tops and wooden bases. Raise each pin until the silver top sits above the wood paneling line. All pins must be aligned to the correct height simultaneously to unlock the box. | |
Lioncrest Manor interior | Nine-fragment rotating painting of a girl with fairy wings | |
Musical melody replication (crank the dial and copy the tune) | ||
Lion Crest Manor (Pattern Box) | Lion Crest Manor, second floor study | Pattern matching puzzle on the lid. Rotate segments to form the lion crest emblem. Each segment clicks into place when correctly oriented. The completed pattern reveals the family crest of the manor's original owners. |
Mud Ridge Cabin | Mud Ridge Cabin interior | Tree picture puzzle. Slide and rotate wooden tiles to reconstruct the image of a tree. The completed picture matches the view from the cabin window, so look outside for reference if you get stuck. |
Sanctums are sacred sites tied to the Witch of Wisdom questline. After acquiring the ability to slot Abyssal Gears, you can cleanse five Sanctums spread through the Hernand region. Each Sanctum has an interior combat encounter followed by a puzzle involving Fusion Reactor Cores that must be placed using Axiom Force and Force Palm. For a full overview, see the Sanctum Challenges article.
Sanctum | Location | Core Mechanic |
|---|---|---|
Southeast of Stormtalon Ridge | Seal Fusion Reactor Core: IV in the Kuku Pot, then drag and Force Palm cores into generator slots | |
Southwest of Haunted Hill | Defeat enemies, seal Fusion Reactor Core: III, then place two cores into correct slots | |
Near Hernand region | Retrieve a missing sphere from rubble, hover it over a broken pillar, then find a hidden cube behind clay pots | |
Hernand region | Combat encounter followed by Fusion Reactor Core placement puzzle | |
Hernand region | Combat encounter followed by Fusion Reactor Core placement puzzle | |
Hernand region | Combat encounter followed by Fusion Reactor Core placement puzzle |
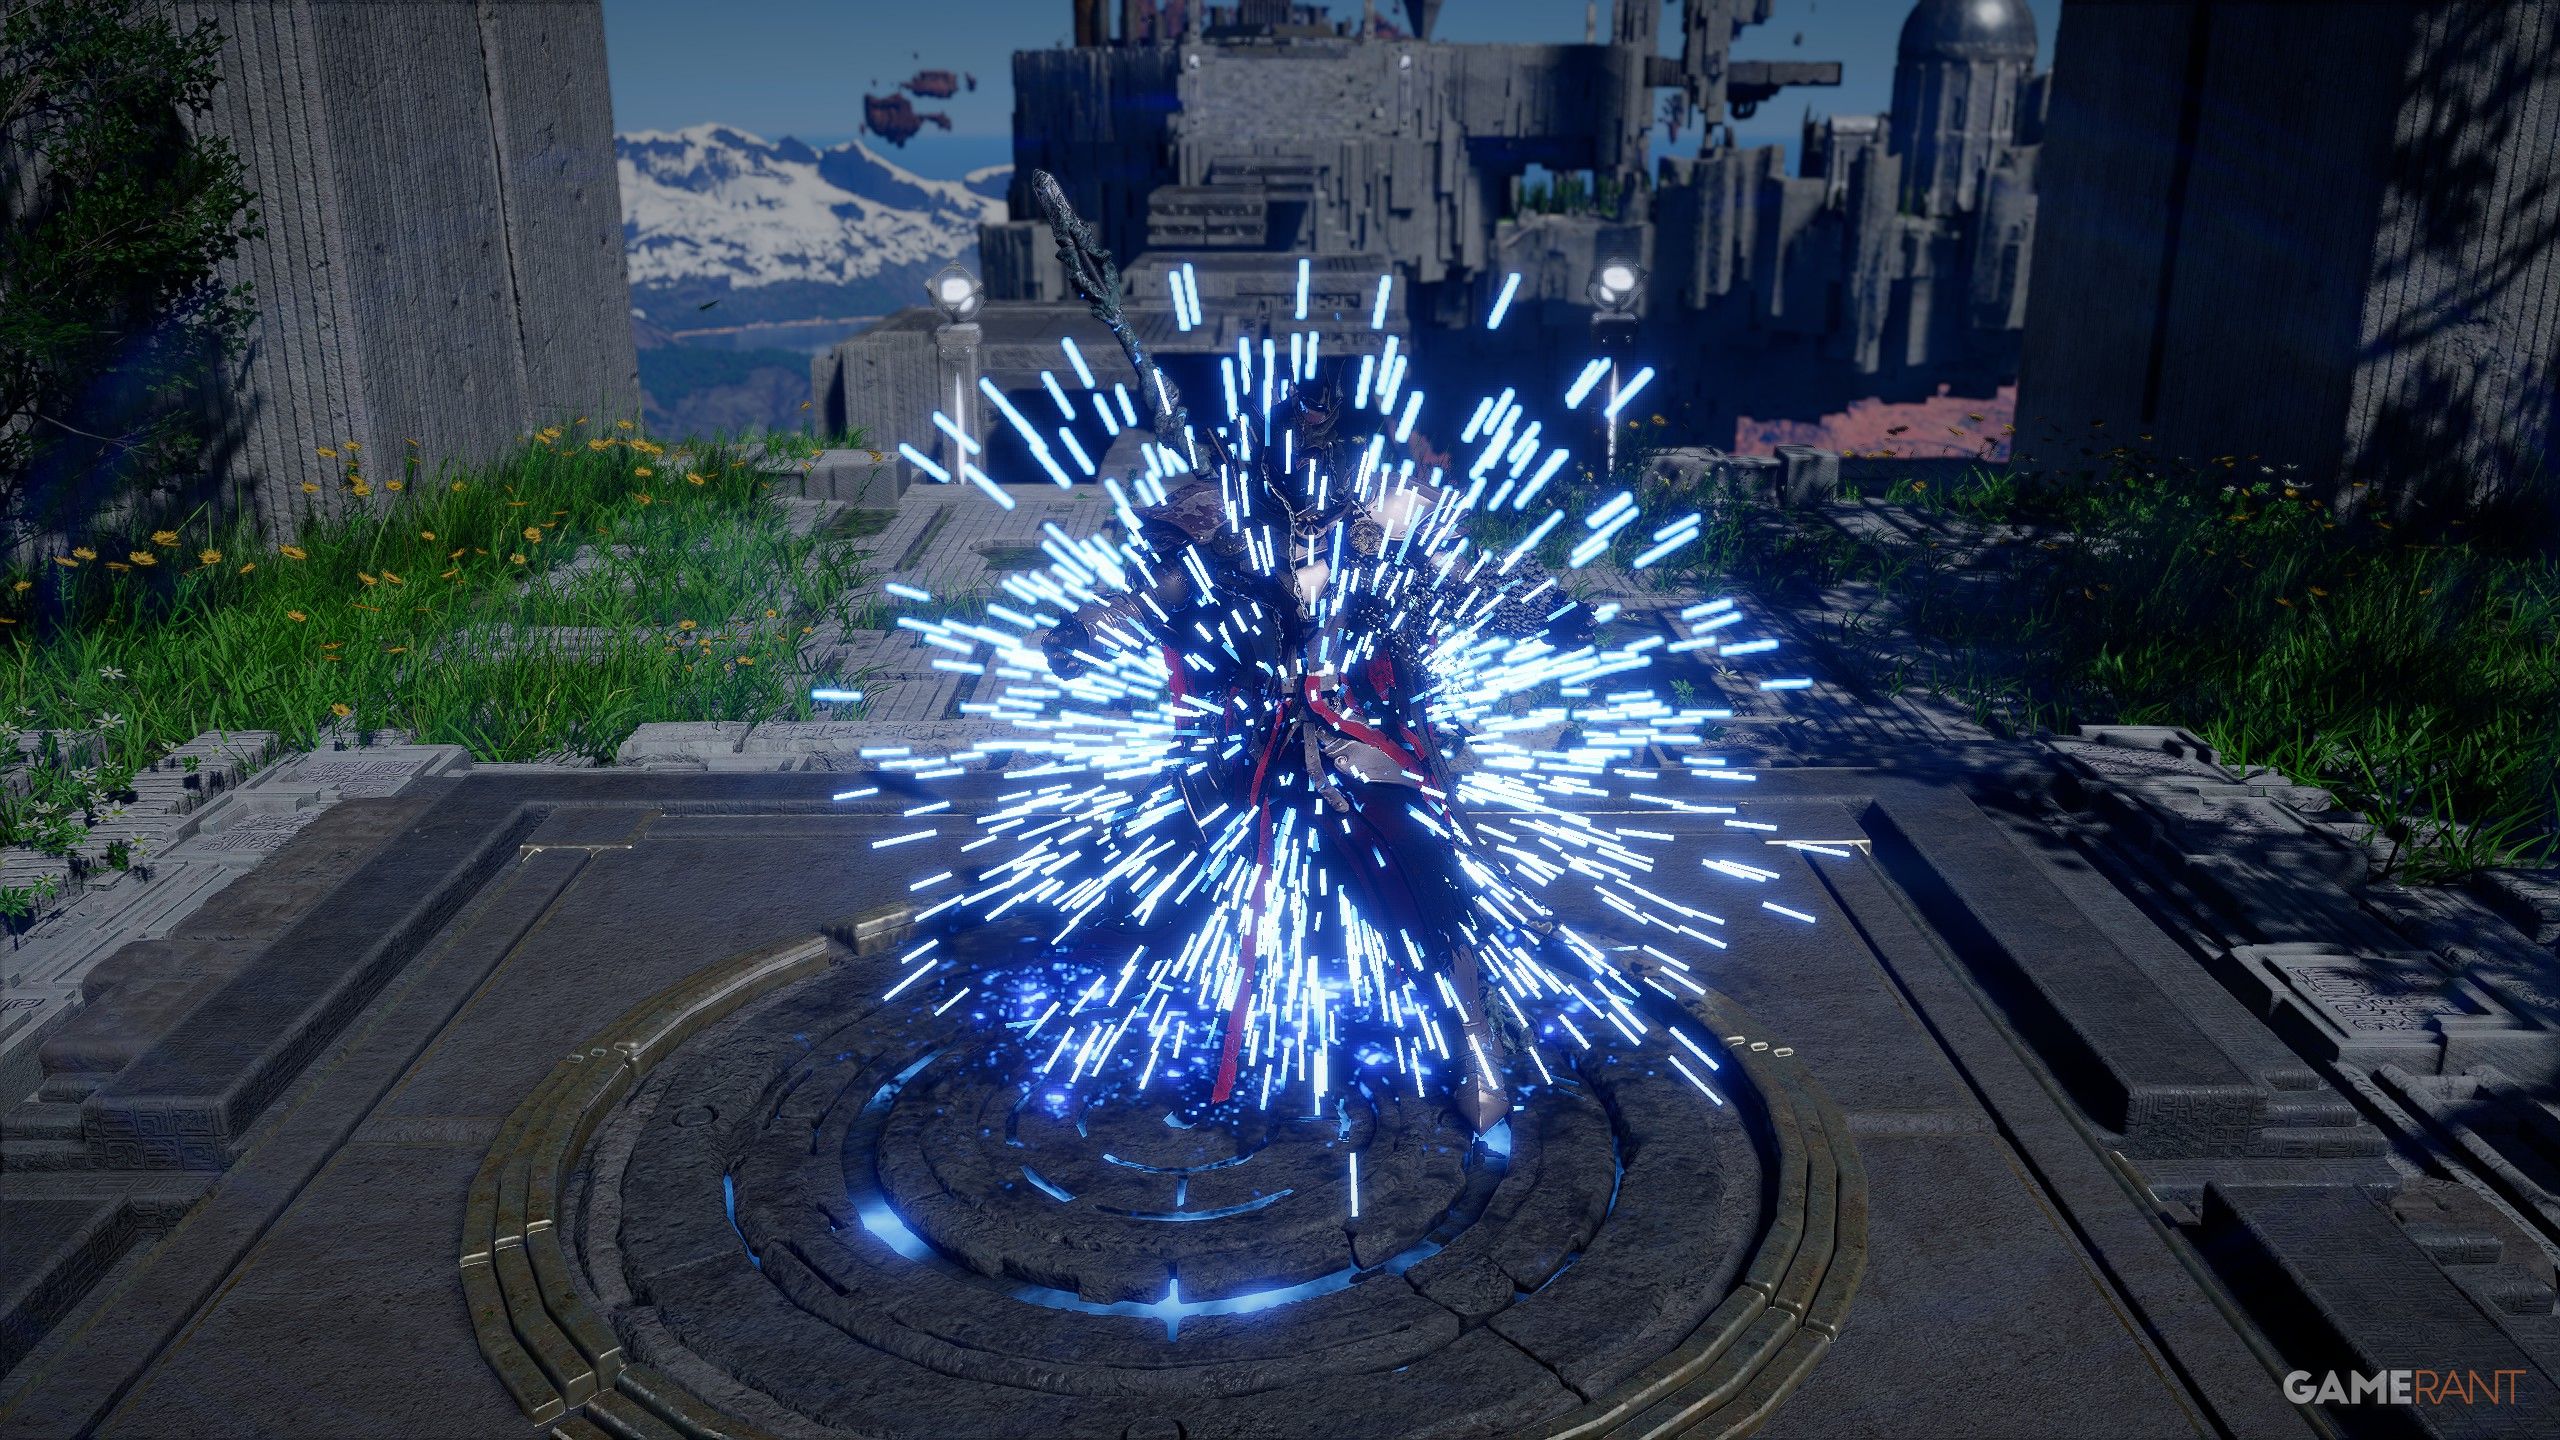
Abyss Islands are floating puzzle realms accessed through ancient structures called Spires. Each island presents platforming and environmental puzzles that reward Abyss Artifacts upon completion. These puzzles make heavy use of Axiom Force to manipulate objects, sweet spot switches, engraved stones, and Abyss Cells. See the Abyss Island Puzzle Solutions article for comprehensive walkthroughs.
Abyss Cell Placement: Use Axiom Force to drag blue floating cubes (Abyss Cells) onto deactivated lantern pedestals or wall slots, then Force Palm them into place.
Sweet Spot Switches: Grab switches with Axiom Force and use the D-pad to rotate or adjust them until they glow bright blue and emit an audio cue.
Engraved Stone Insertion: Collect Engraved Stones from side corridors by Force Palming wall buttons, then insert them into symbol slots and adjust their vertical position by climbing levers.
Water Drain Puzzles: Some Abyss puzzles are surrounded by water. Use Nature's Snare on nearby plants or vines to drain the water before solving the main mechanism.
Force Current: Certain Abyss puzzles feature force current streams that push objects or the player in a fixed direction. Use these currents to guide Abyss Cells into otherwise unreachable slots, or ride them to reach distant platforms. Force current can also press buttons and interact with objects remotely, letting you trigger switches from a distance without needing to stand next to them. Understanding force current behavior is essential for several of the later Abyss Islands.
Each Abyss Island has a distinct theme and puzzle style. The table below lists the named islands and their core puzzle mechanics. Completing all of them is required for the Challenges tracker.

Abyss Island | Puzzle Style | Solution Overview |
|---|---|---|
Secret Garden | Laser alignment | Redirect beams of light by rotating mirrors and crystals until each laser hits its matching receptor. Start with the outermost mirrors and work inward. Use Axiom Force to grab and rotate the mirror platforms. Some mirrors are on elevated platforms that require platforming to reach. |
Vault of Vengeance | Focus shot dual targets | Two targets must be hit simultaneously with a single charged focus shot. Position yourself so that both targets align in your line of sight, then release the shot. The targets are on opposite walls, so look for the one angle where they overlap. Hitting only one target resets the puzzle. |
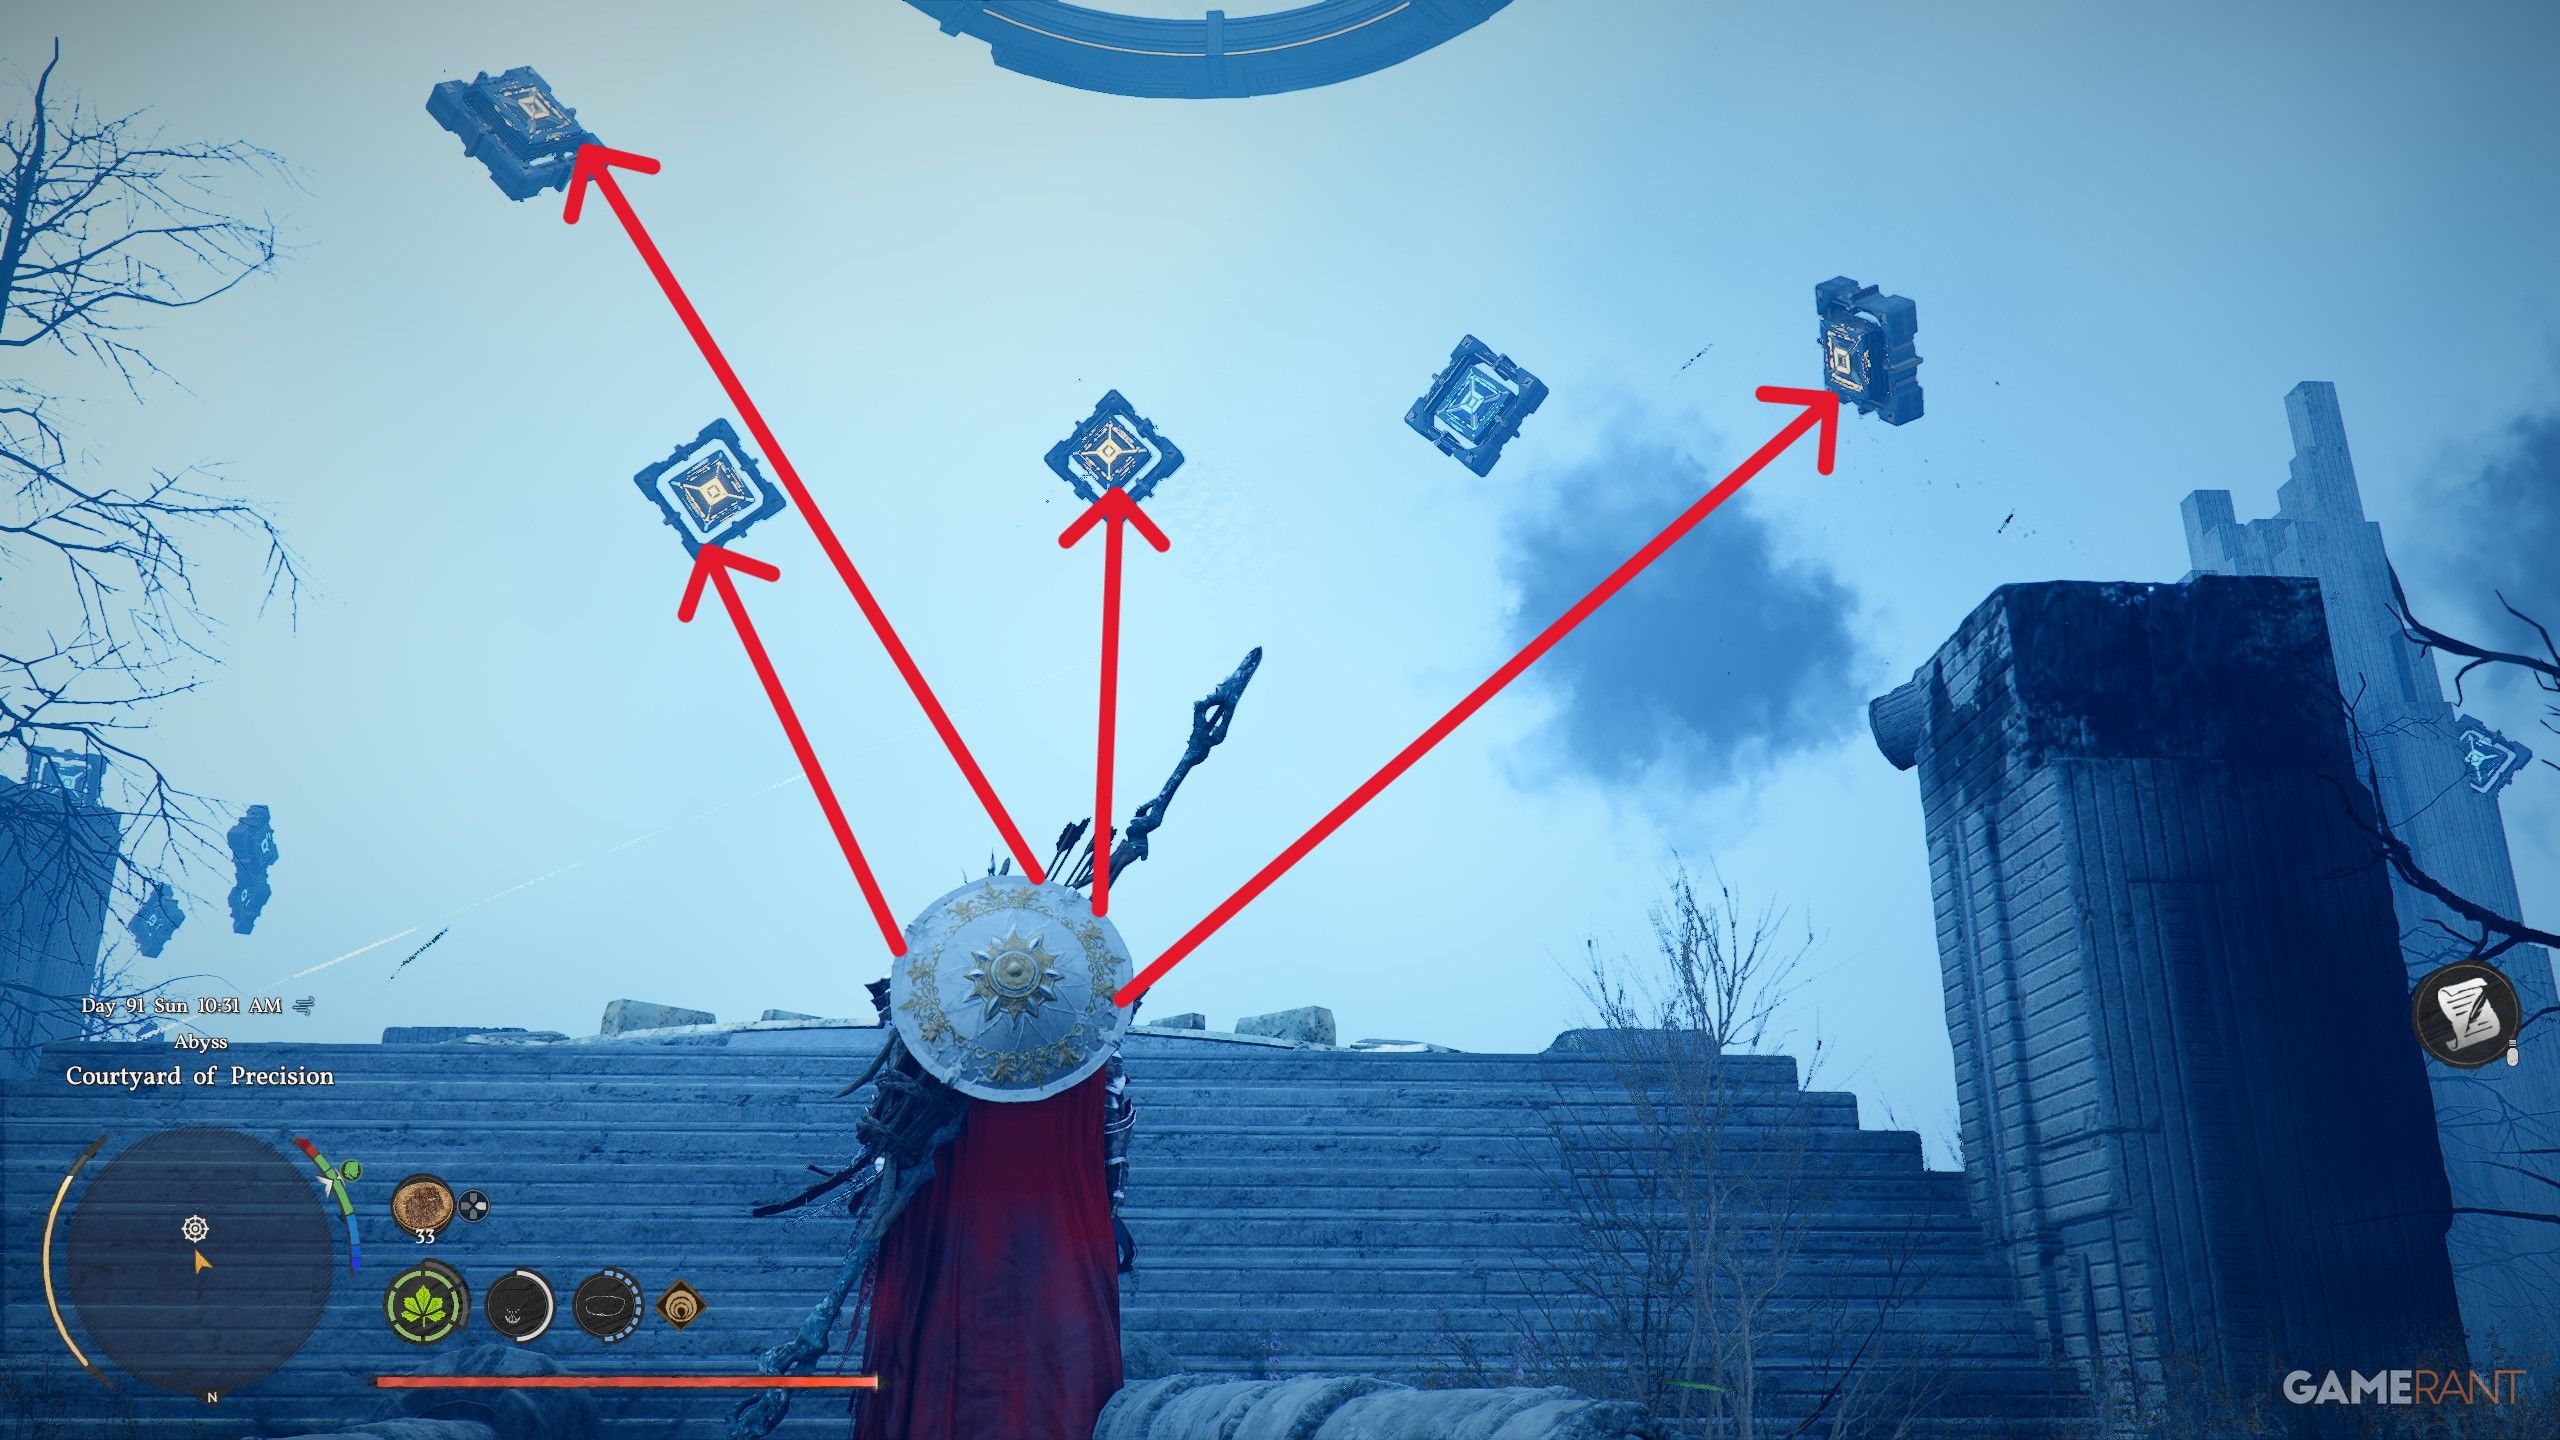
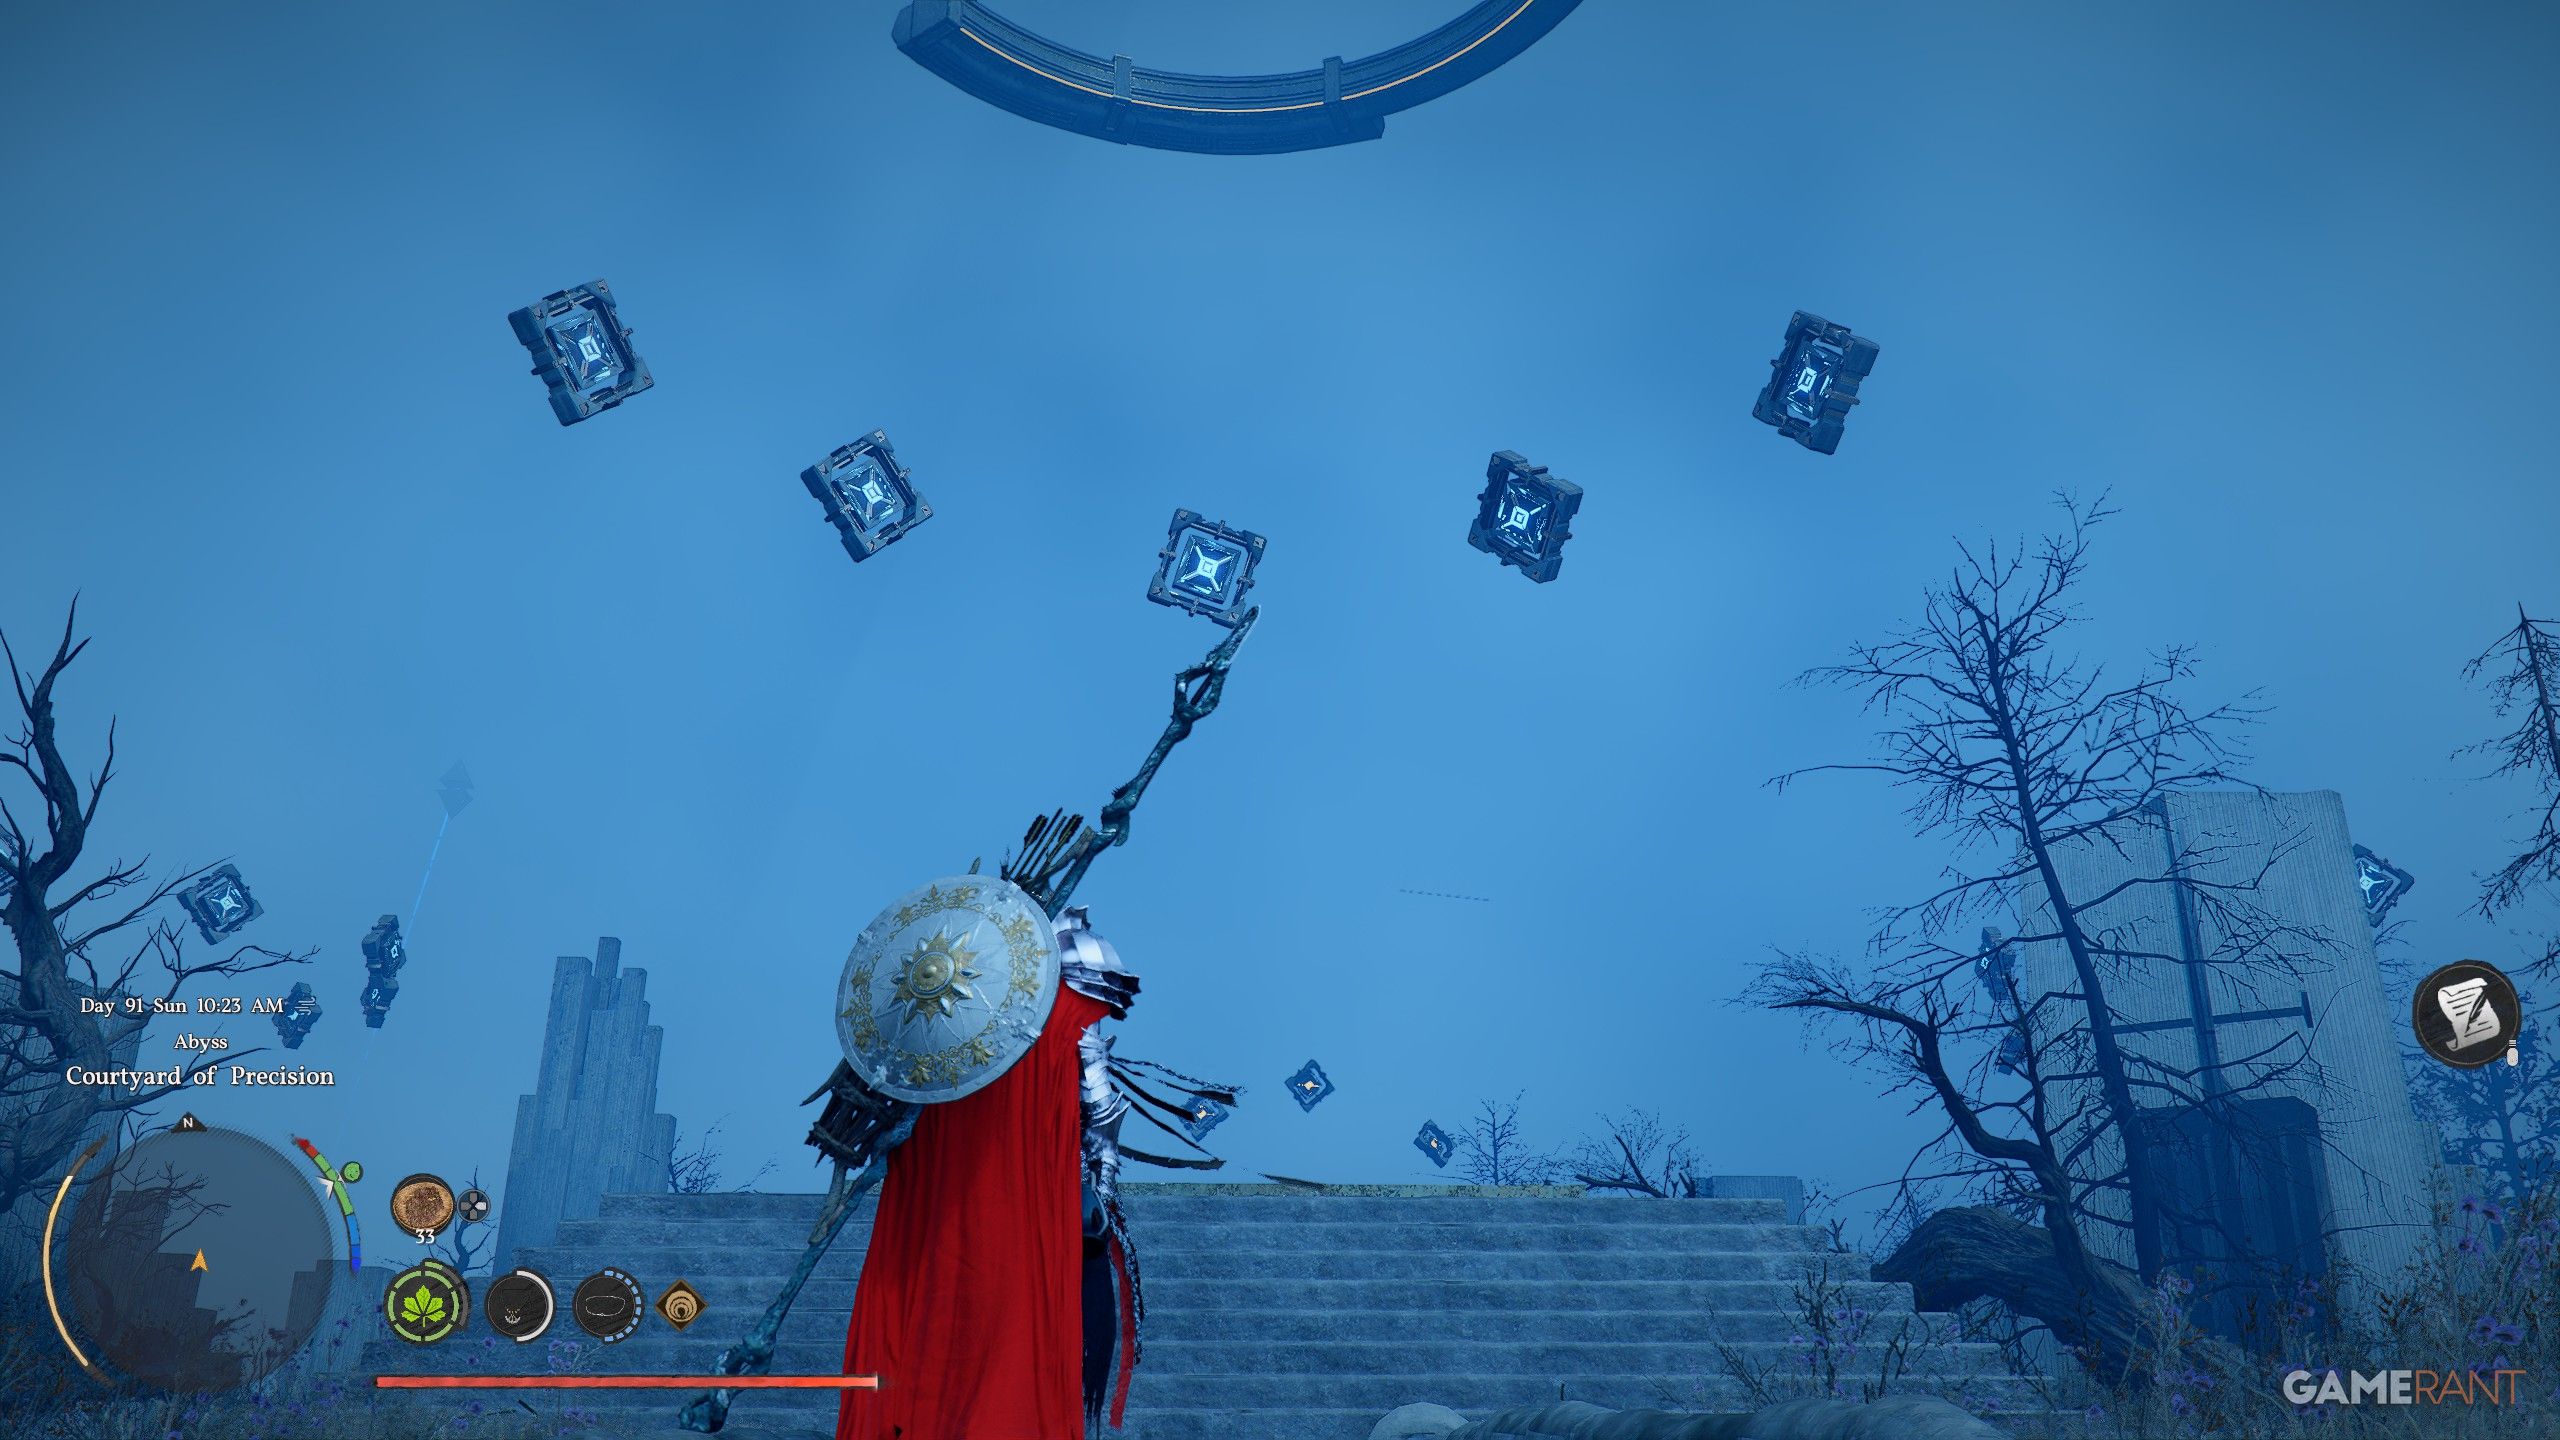
Ground and aerial targets | Destroy a series of targets scattered across the courtyard, some on the ground and others floating in mid-air. Ground targets can be struck with melee, but aerial targets require ranged elemental attacks or well-timed jumps. Clear all targets within the time limit to unlock the reward chest. | |
Frostbitten Paradise | Lightning cube and power pad | Drag a lightning-charged cube onto a series of power pads using Axiom Force. Each pad activates a section of the bridge leading to the island's core. The cube discharges over time, so you need to move quickly between pads. If it runs out, return it to the recharging station at the entrance and try again. |
Tree of Slumber | Five-pillar rotation (Rubik's-like) | Five stone pillars surround a central tree. Each pillar can be rotated independently, but rotating one also partially rotates its neighbors (similar to a Rubik's Cube). The goal is to align all five pillars so that their carved symbols face the tree. Work from one side to the other and use the neighbor-rotation effect to your advantage rather than fighting it. |
Spires are tall structures that serve as gateways to the Abyss Islands. Activating a Spire typically requires solving a multi-step puzzle involving platforms, levers, and symbol alignment. See the Spire Challenges article for details on each one.
Spire | |
|---|---|
Collect three Engraved Stones from side corridors via Force Palm wall buttons, insert into triangle/ring symbol slots at specific heights | |
Spire of Soaring | Activate the Crescent Skybridge by rotating sweet spot switches with Axiom Force |
Navigate platforming sections using Axiom Force to reach the Chaos Forest branch of the Abyss |
Several main story quests contain mandatory puzzle sequences that must be completed to advance the plot. These puzzles introduce core mechanics like Force Palm and Axiom Force that are used throughout the rest of the game.
Quest | Chapter | Puzzle Type | Guide |
|---|---|---|---|
Chapter 2: Golden Greed | Disc inversion puzzle (three discs, Force Palm) | ||
Chapter 1: The First Encounter | Stone dial rotation puzzle (Axiom Force) | ||
After Polar Opposites | Skybridge sweet spot switch, Abyss Cell wall slot placement | ||
Late game (Mission 56) | Underground lock device, hatch button puzzle | ||
Late game (Mission 57) | Engraved Stone insertion, triangle/ring symbol alignment |
The Dragon's Stone Chamber is a unique mural puzzle found in a deep chasm in the Hernand Highlands near Thinker's Meadow. Unlike most Ancient Ruins puzzles, this one requires you to leave the chamber, travel to real-world locations depicted on cracked murals inside, and decode the solution from what you find there. The correct dial settings are: first wheel with the sun and moon pointing upwards, second wheel with the U-shaped design pointing left, and third wheel with the X-shaped design in the top right.
Solving the Dragon's Stone Chamber rewards an Abyss Artifact and the Memory of Abundance Tide. This special memory item permanently marks six hidden locations on your map across Pywel, most of which are concealed waterfall caves containing rare loot and additional puzzles. If you have been spotting waterfalls throughout the world and wondering whether anything is behind them, the Memory of Abundance Tide is the key to confirming which ones hide secret passages.
Special Chambers are rare, one-of-a-kind puzzle dungeons found in remote corners of Pywel. Unlike the repeatable puzzle types in Ancient Ruins, each Special Chamber has a completely unique layout and mechanic. The rewards are some of the best in the game, often granting Memory items that unlock new areas or reveal hidden secrets on the world map.
The Azure Moon Labyrinth is a sprawling underground maze accessible through a hidden entrance in the northern highlands. The labyrinth features shifting walls that rearrange themselves at timed intervals, forcing you to memorize the layout and plan your route before the walls move again.
The puzzle involves activating moonstone lanterns in each chamber of the labyrinth. Lighting a lantern locks that section of the maze in place, preventing the walls from shifting. Work your way from the outermost ring inward, locking each section as you go. The central chamber contains a final mechanism that requires you to align all the locked sections by rotating a large moon dial.
Completing the Azure Moon Labyrinth awards the Memory of Abundance Tide (if you have not already obtained it from the Dragon's Stone Chamber). It also grants a unique Abyss Artifact and a significant amount of crafting materials. The Memory of Abundance Tide reveals the locations of hidden waterfall caves on your world map, making it one of the most valuable exploration rewards in the game.
The Statue of Justice is a standalone puzzle found north of Hernand Castle, near Free Saints Falls in the Hernand region. It is typically encountered while exploring side paths off the main roads leading out of the castle grounds. The statue depicts a robed figure holding a set of scales, with an unlit candle on each side.
To solve the puzzle, you must light both candles simultaneously. One candle is directly in front of the statue and can be lit with a standard fire source or elemental attack. The second candle is on a ledge behind the statue that is only reachable by climbing around the back of the monument. Light the rear candle first, then quickly drop down and light the front candle before the first one extinguishes. Both candles must be burning at the same time for the puzzle to register as complete.
Successfully lighting both candles causes the statue's base to open, revealing a hidden compartment containing the Legionary Gladius, a unique one-handed sword with above-average damage and a distinctive design. The Legionary Gladius cannot be obtained through any other means, making this puzzle the only way to add it to your collection.
The Steel Mountain Ruins are located in the mountainous area east of Pywel's central plains. This Ancient Ruin contains a mallet and chimes puzzle that is unlike any other ruin in the game. Inside the ruin, you will find a large mallet mounted on a pivot and a row of metal chimes arranged in a semicircle.
The solution is posted on a bounty board near the entrance to the ruin. Before entering, read the board carefully. It displays a sequence of musical notes (represented by symbols corresponding to each chime). Once inside, strike the chimes with the mallet in the exact order shown on the bounty board, working from left to right. Each correct strike produces a resonant tone, while an incorrect strike produces a dull thud and resets the sequence.
After playing the full sequence correctly, the floor mechanism activates and reveals the Abyss Cresset below. This puzzle is easy to miss because the bounty board is outside and slightly off the main path. If you enter the ruin without reading the board first, you will have no way to determine the correct order from inside the chamber alone.
The Hunter Cabin Ruins are found near a forested area in the western part of the map. The ruin is built around an old graveyard, and the puzzle requires you to light all of the lanterns arranged in a circle around the graves.
Each lantern can be interacted with to toggle it on or off. However, lighting one lantern also toggles the state of adjacent lanterns (similar to a lights-out puzzle). The trick is to find the correct starting lantern and activation order so that all lights end up lit simultaneously. Experiment with different starting positions, or use a systematic approach by lighting lanterns in a clockwise pattern and adjusting from there.
When all lanterns are lit at once, the ground at the center of the graveyard cracks open to reveal the hidden Abyss Cresset. This is one of the more atmospheric puzzle locations in the game, especially at night when the lantern glow illuminates the surrounding tombstones.
Beyond the structured puzzle types above, Crimson Desert also features treasure maps and environmental discovery puzzles scattered throughout the open world. These include hidden caches behind waterfalls, buried stashes at crossroads, and sealed containers requiring specific key items. For details on these optional puzzles, see the Treasure Maps and Puzzles and Environmental Puzzles articles.
Learn your Abyss abilities early. Force Palm, Axiom Force, and Nature's Grasp are required for nearly every puzzle in the game. Practice using them in the tutorial puzzles during the Polar Opposites and Reunion quests.
Check journal progress. The Journal tracks all Ancient Ruins under The Thread in the Forest and all Sanctum/Spire challenges in their own sections. Use it to find puzzles you have not yet discovered.
Listen for audio cues. Many puzzle mechanisms produce distinct sounds when a component is placed correctly. Sweet spot switches glow bright blue and emit a chime when aligned.
Look for environmental hints. Green leaf particle effects appear when a Fusion Reactor Core is placed in the correct orientation. Glowing energy streams confirm pipe connections are aligned.
Bring a mask for Strongboxes. Items inside Strongboxes count as stolen goods. Without a mask equipped, you can solve the puzzle but cannot take the loot.
Use the Visione. Activating your Visione near puzzle sites can highlight interactable objects and reveal hidden paths.
Use force current to your advantage. Force current streams can carry Abyss Cells and other objects across gaps in Abyss Island puzzles. Instead of trying to throw objects manually, place them in the current and let the stream do the work. Force current can also press buttons and move objects remotely, letting you trigger distant switches or push puzzle pieces into position without having to physically reach them. This is especially useful in the Frostbitten Paradise and Tree of Slumber islands.
Use focused light to burn vines. If vines or other flammable obstacles block your path, you do not need fire arrows to clear them. The Blinding Flash ability (a focused burst of light) sets vines on fire on contact. This is faster and more reliable than searching for fire arrow pickups, and it works on any vine barrier you encounter during puzzles or exploration.
Reset stuck puzzles. If a puzzle becomes stuck in an unsolvable state (for example, chimes played in the wrong order or lanterns toggled into a dead-end configuration), you can reset it by fast traveling away and returning, or by saving your game and reloading. The puzzle will revert to its initial state, letting you try again from scratch.
Read nearby notes and boards. Several puzzles, including the Steel Mountain Ruins chimes, have their solutions written on bounty boards, notes, or wall engravings near the puzzle site. Always explore the area around a puzzle before attempting it.