
Loading...
Loading...
Tips and Tricks
March 22, 2026 at 08:00 PM
Add 2 official images to article
This page collects the most useful tips, hidden mechanics, and practical advice for Crimson Desert. Whether you are just starting out in Hernand or deep into the later chapters, these tips will help you fight smarter, explore more efficiently, and avoid common mistakes.
There are no healing potions in Crimson Desert. All healing comes from eating food during combat. You can eat one piece of food roughly every 2 seconds with no limit, so the difficulty of any fight depends largely on how much food you bring. For tough bosses from Chapter 5 onward, bring at least 100 pieces of Grilled Meat. You can eat while attacking with quick strikes, or dodge while recovering to full health.
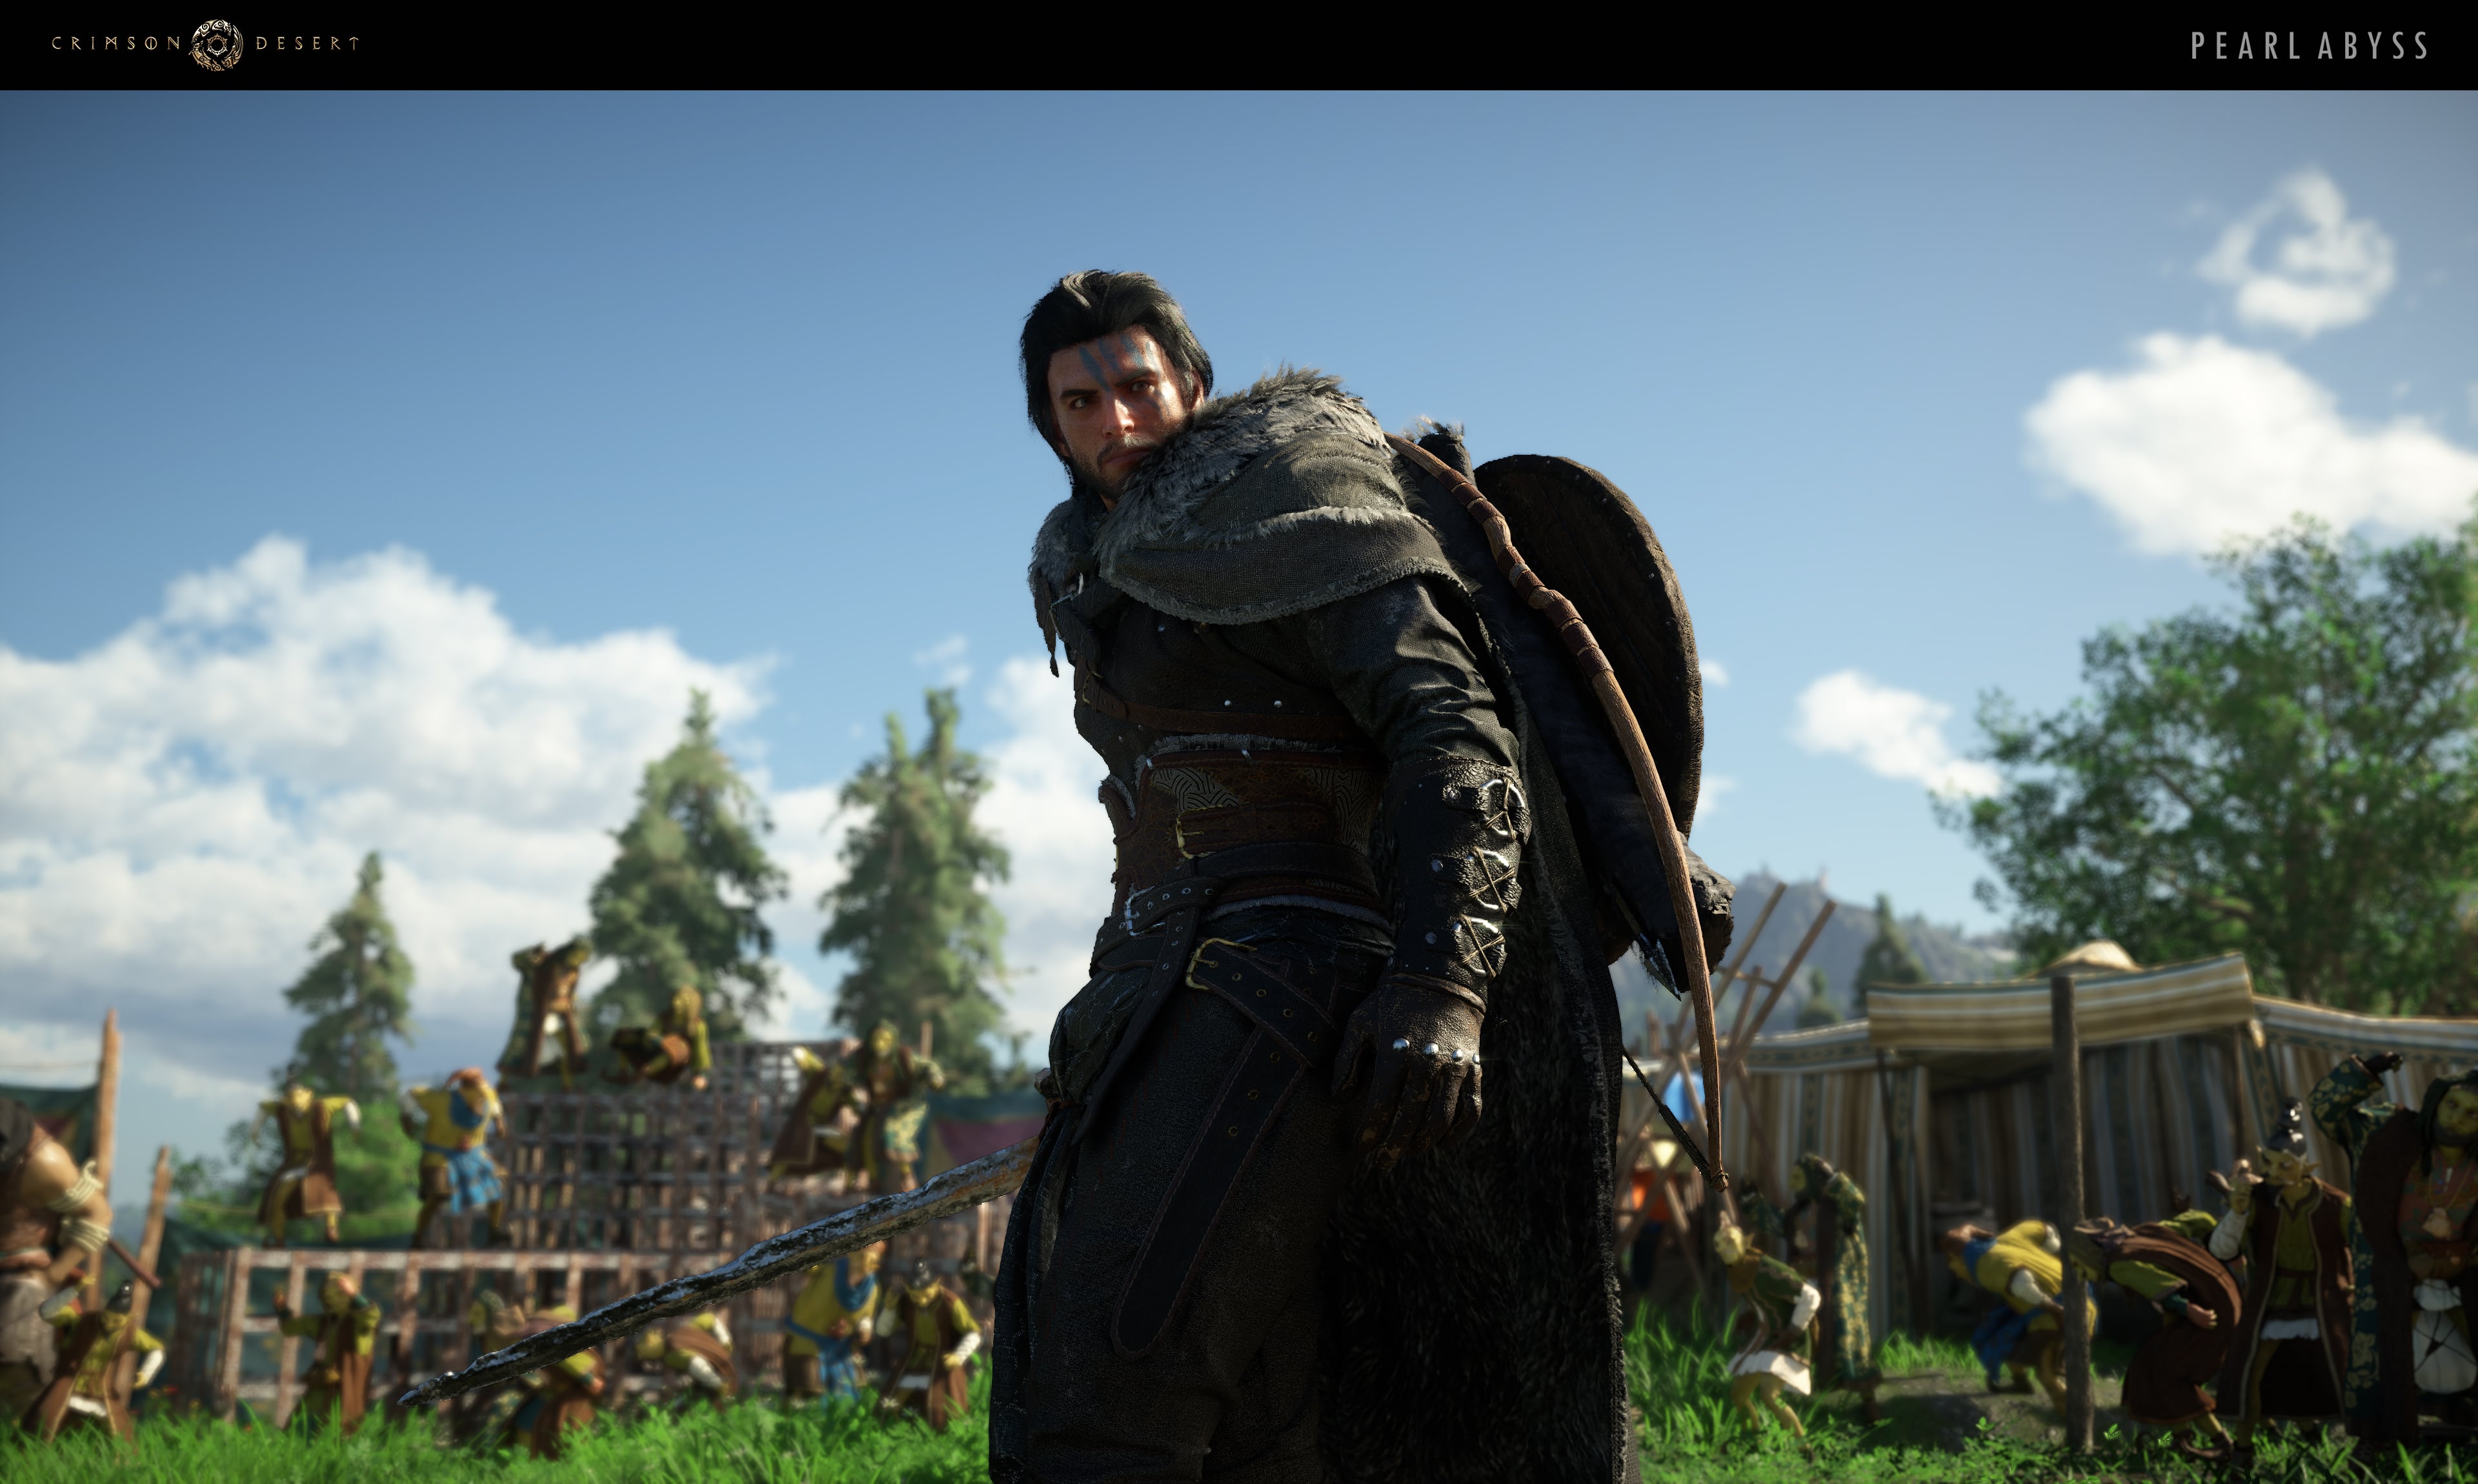
Basic Grilled Meat (1 raw meat per serving, 80 HP restored) is the most efficient healing item. With 10 raw meat you get 10 Grilled Meat for a total of 800 HP. By contrast, the more expensive Hearty Grilled Meat consumes far more raw meat for only marginally better healing per piece. Stock up on cheap "Tough Meat" from the butcher in Hernand (restocks nightly at midnight) and cook it at any campfire or cooking pot.
If you have a Palmar Pill in your inventory when you die, it automatically triggers and revives you with 30% of your total health. The game does not notify you when one is consumed, so keep track of how many you have. Never sell or discard them.
If you spot a Grindstone near a boss arena entrance, the game is giving you a localized advantage. Always sharpen your weapon at a Grindstone and repair your armor at an Anvil before entering a boss fight. These temporary buffs stack with permanent Refinement levels.
When you kill an enemy in a group, those around the fallen enemy are briefly stunned. Be aggressive, focus one target down quickly, and the chain reaction makes mopping up the rest much easier.
Sprint at an enemy and press the interact button (F on keyboard, Y on Xbox, Triangle on PlayStation) to deliver a powerful kick that knocks them down. This is a great way to initiate combat against groups.
Human bosses: parry with L1/LB to interrupt their attacks, then follow up with quick R1/RB combos.
Shield/blocking enemies: use R2/RT heavy attacks to break their guard. Light attacks do not drain their stamina.
Monster bosses: dodge their attacks and strike during the recovery window after their combo finishes. Most monster attacks cannot be blocked.
There is no level system in Crimson Desert. Your stats come entirely from gear upgrades and spending Abyss Artifacts on passive bonuses. Prioritize Health Level 4 and Stamina Level 4 first. Stamina determines your ability to block, attack, and sprint, while health keeps you alive through unavoidable damage.
Unlock Nature's Echo from the green (Spirit) skill tree to duplicate your heavy attacks. This synergizes powerfully with the Tauria Curved Sword (dropped by Boss #6). To reach it, you need to purchase three Forward Slash skills (blue) and three Keen Senses skills (green) first.
Your Lantern detects nearby Memory Fragments (blue glow) and points of interest (orange glow). Blinding Flash (Lantern button + Light Attack) emits a burst of light that reveals Sealed Abyss Artifacts, fast travel points, and other secrets with blue glints in the distance.
Use your sword's Guiding Light ability (L1 + R1 on PlayStation, LB + RB on Xbox, Ctrl + Left Click on PC) to mark nearby fast travel platforms and Abyss Artifacts with a blue glimmer. This is especially useful from elevated positions where you can survey a wide area.
Eight hidden bells are scattered throughout Pywel. Finding and ringing all eight automatically removes all fog from the entire world map. If you prefer to reveal the map organically, you can also activate individual fast travel points to unfog their surrounding area.
The large white question mark circles on the map either hide Abyss Nexus fast travel points or puzzles that unlock Abyss Cressets. Both types serve as fast travel destinations, but Abyss Cressets also reward an Abyss Artifact when activated. Look for a circular platform carved into the ground. Stand in the center and hold your lantern to activate it.
Press R3 on the world map to access the sky view. From sky island fast travel points, you can dive directly down to ground locations, often faster than riding on horseback.
You will return to Hernand constantly. Make activating the town's fast travel point one of your first priorities.
When browsing shops, use Ctrl (PC) or LB (Xbox) / L1 (PlayStation) to examine objects on shelves and tables. Some items are not listed in the vendor's regular inventory and can only be purchased this way. Hold the button long enough for the game to register the inspection.
Buy a Mask from any Back Alley Shop (10 Bronze) and a Key from the masked merchant near the windmill outside Hernand (30 Copper). Equip the mask, walk into the bank, turn left, and approach the locked side door. The key is consumed automatically. Inside you will find chests and strongboxes loaded with silver. Each stolen item is worth 40+ silver. Your Contribution Rank with Hernand drops slightly for each theft, but this is easily recovered by completing requests and defeating enemies.
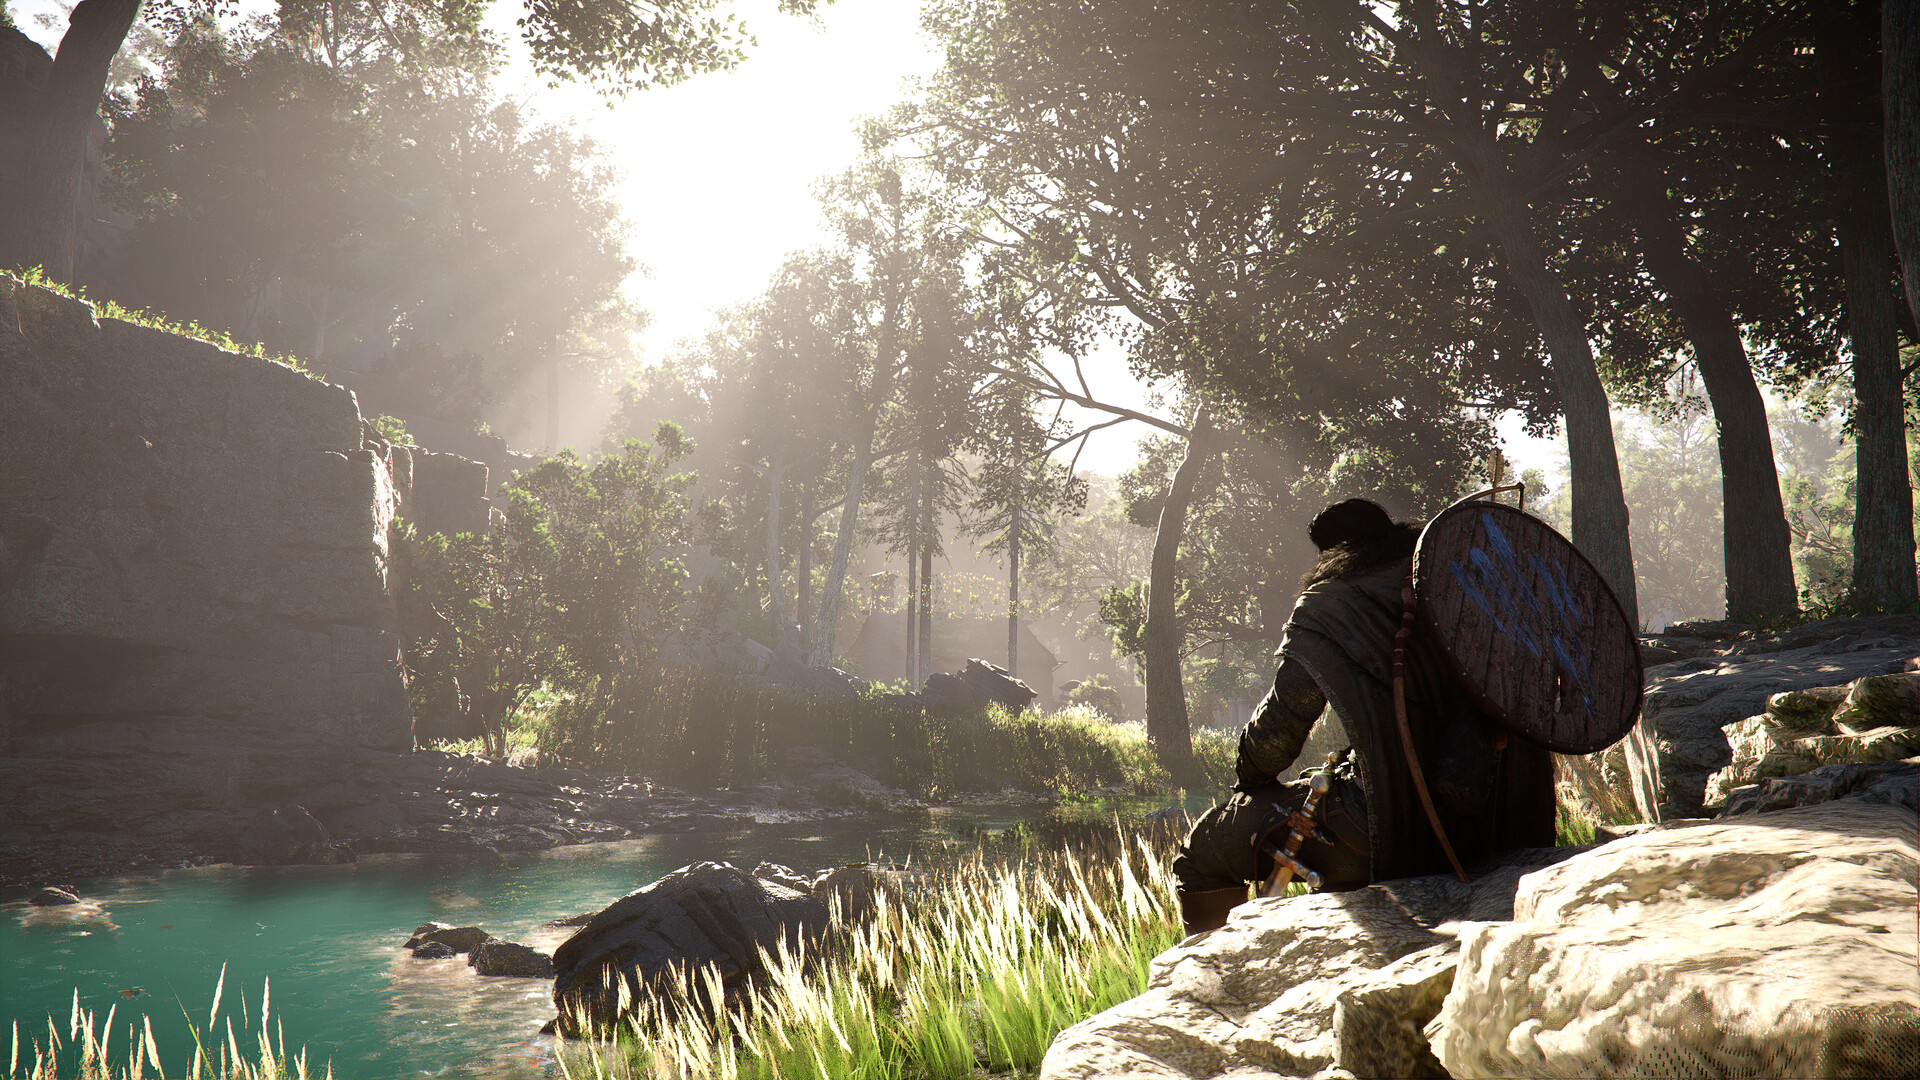
Unique weapons dropped by bosses have special effects. Do not sell them. Notable examples include the Sword of the Lord (Boss #2) for quick strikes and the Tauria Curved Sword (Boss #6) for heavy attacks and crowd control.
Many merchants in Hernand sell Small Bags for 50 Copper each. These expand your inventory capacity. Pick them up early since inventory space fills up fast once you start gathering materials, food, and loot.
Vendor inventories reset every in-game day at midnight (0:00). If a shop is sold out of something you need, rest at a nearby cooking pot or campfire to skip time.
Once you read a recipe or letter, it is permanently learned. The physical item is no longer needed and can be sold for a small amount of silver.
Mining high-priced ores: sell Iron and Copper Ore to merchants for steady income.
Archery Contest: located at Lioncrest Manor (House Alfonso). Each round pays 80 coins and can be repeated as often as you like.
Bounty missions: collect notices from House Celeste, track targets, subdue them, and return to the Guard Station for silver rewards.
Flower picking: flowers sell for decent prices and grow everywhere. Pick hundreds during exploration for passive income.
Some of the most valuable ores in Pywel are embedded in cliff faces and rock walls, well out of melee reach. You have two options for harvesting them. The first is to use Charged Shot (hold the ranged attack button to charge, then release) to shoot the ore node from the ground. The projectile impact dislodges the materials and they drop to your feet. The second option is to climb the wall using the Force Palm triple-jump technique (see above), position yourself next to the ore deposit, and mine it directly. Both approaches work, but Charged Shot is faster and does not cost Spirit. Keep an eye out for glowing ore veins on canyon walls and mountain sides; these high-altitude deposits often contain rarer minerals that ground-level nodes do not.
The yellow bar to the left of the minimap fills as you defeat enemies. Once full, it awards 1 Abyss Artifact. This can be farmed infinitely by fighting enemies repeatedly, giving you a renewable source of skill points.
Use Force Palm (R3 / Mouse Wheel) three consecutive times mid-air to gain significant height and scale walls that seem impossible to climb. Combine with Double Jump for even more height. If you run out of Spirit, press L3 + R3 (X on keyboard) to instantly recharge. This costs Spirit itself, so make sure you time your recharges between wall-climbing bursts.
Reach 100 Trust with an animal and it will follow you around, automatically looting defeated enemies. Pet animals you find in towns daily for 25 Trust per in-game day. You need to befriend 30 unique pets to complete a Life Challenge.
Transform Healing Palm into a horse-targeted heal by holding R3 and then pressing L3 while near your horse. This restores your mount's health. You can check your horse's health in the inventory screen when standing nearby.
Collecting Sealed Abyss Artifacts unlocks challenges that grant additional skill points. Important: progress toward these challenges only counts after you collect the artifact. Prior kills, discoveries, or actions do not count retroactively for most challenges.
If you have a key in your inventory and walk near a locked door, your character will automatically use the key. Be careful around locked doors if you are saving a key for a specific location.
Tap Left on the D-Pad (T on keyboard) to sheathe your weapon. Many actions (interacting, mounting, talking) require your weapon to be put away. If an NPC is not responding or you cannot mount your horse, check that your weapon is sheathed.
Hold L1/LB while approaching your horse to pet it. This builds trust over time and eventually unlocks special mounted moves like drifting.
Concentrate your resources and upgrades on Kliff since he is the character you control for the vast majority of the story. The other playable characters (Damiane and Oongka) have their own separate progression but limited playtime.
The game uses three autosave slots that rotate automatically. When saving manually, scroll down past the three autosaves to an open save slot. This ensures you always have recent autosaves and a separate manual save to fall back on.