World Map
Complete guide to the Crimson Desert world map and the continent of Pywel. Covers all 5 regions (Hernand, Pailune, Demeniss, Delesyia, Crimson Desert), map scale, key locations, traversal methods (horses, gliders, dragons), the Greymanes camp system, life skills, and exploration mechanics.
On This Page
Overview
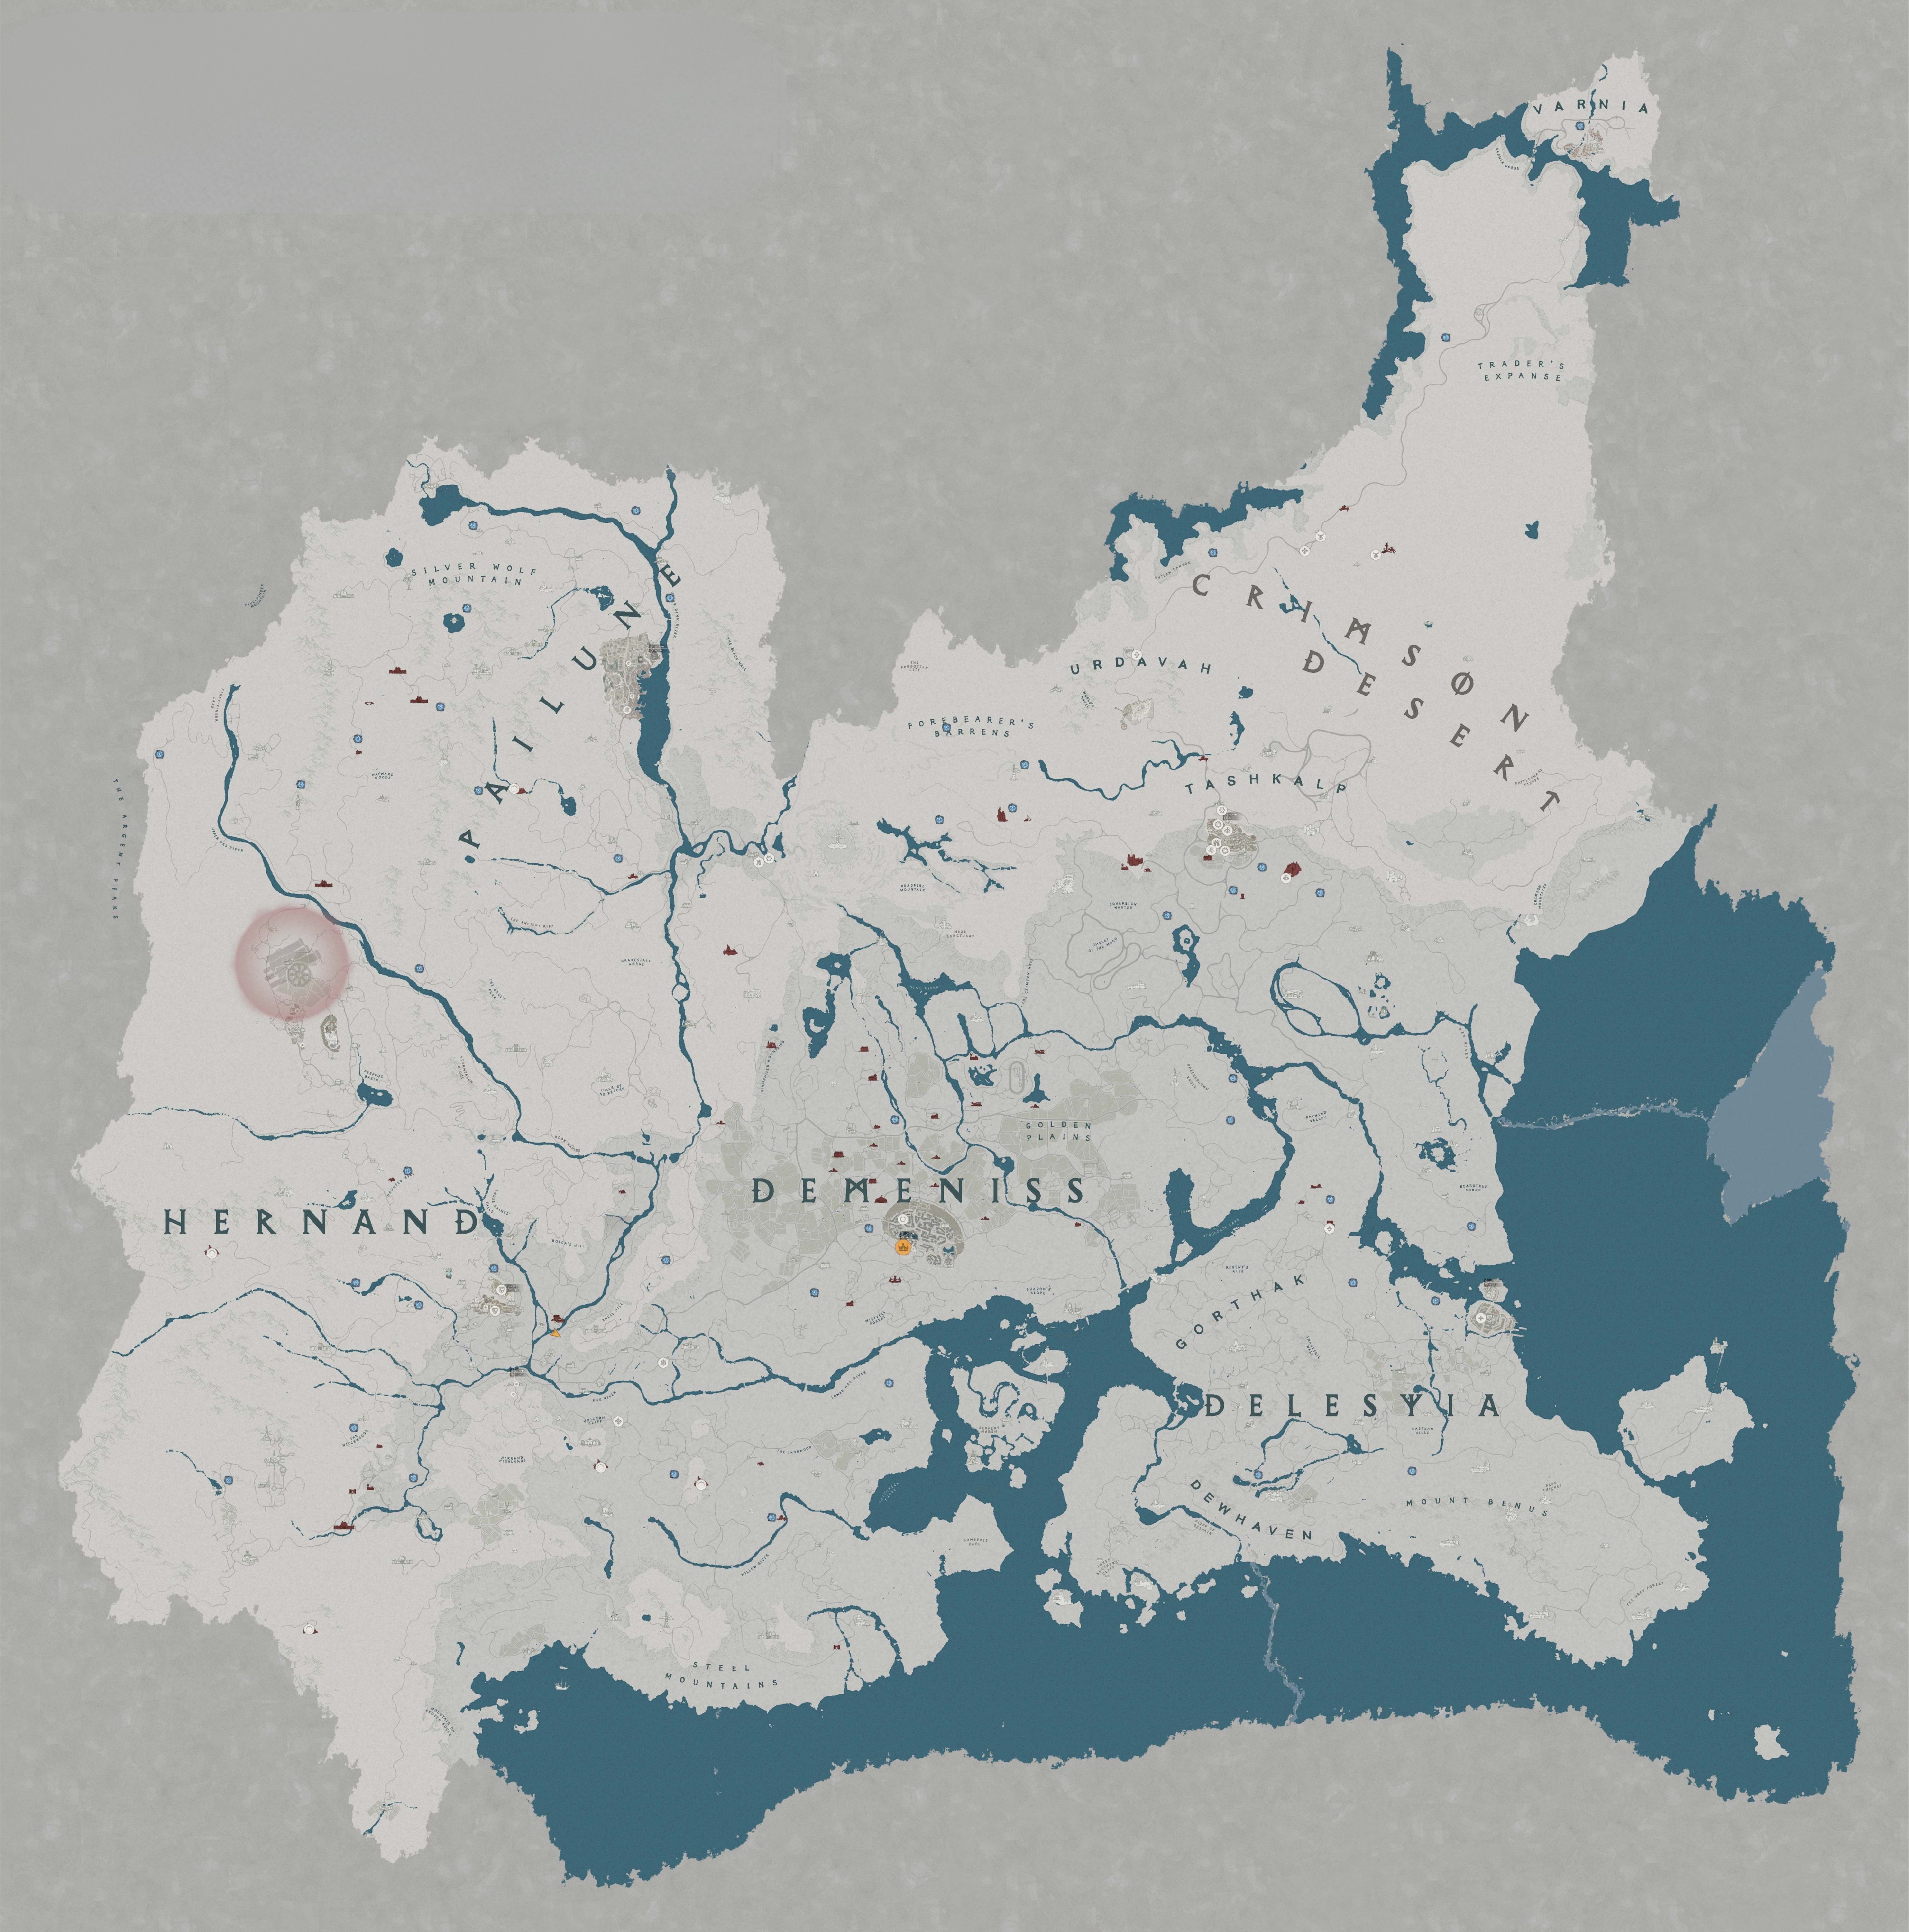
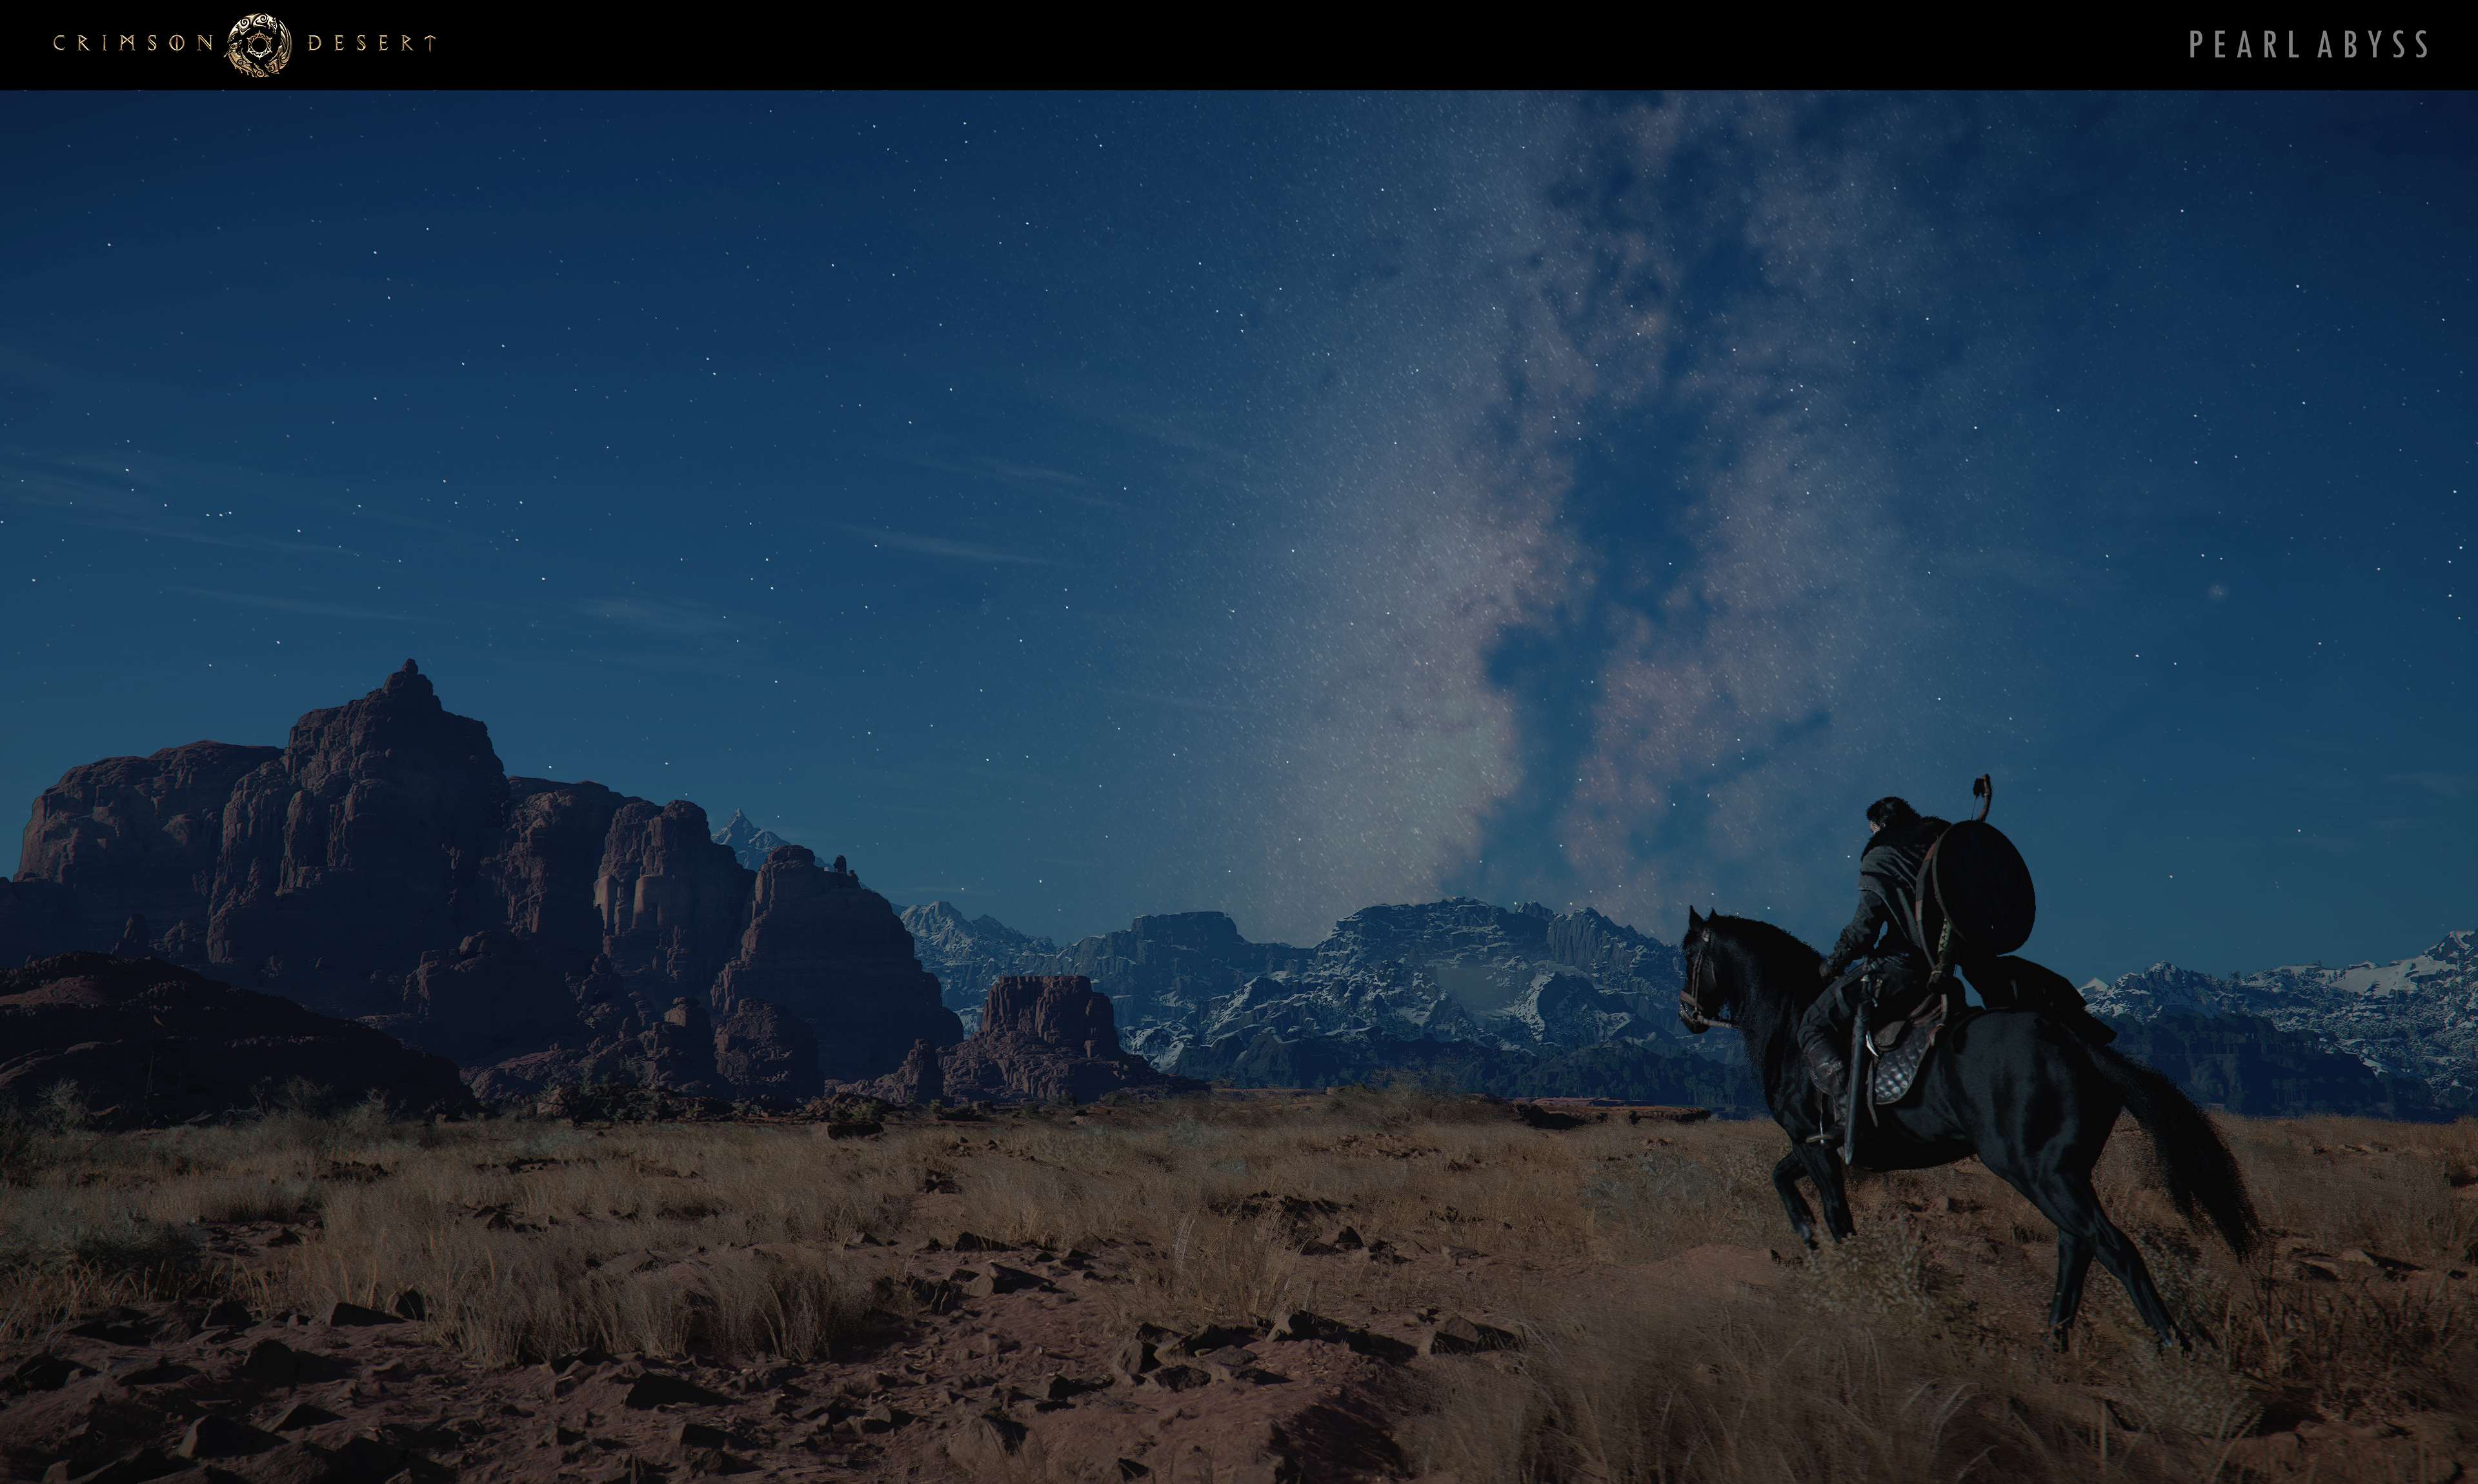
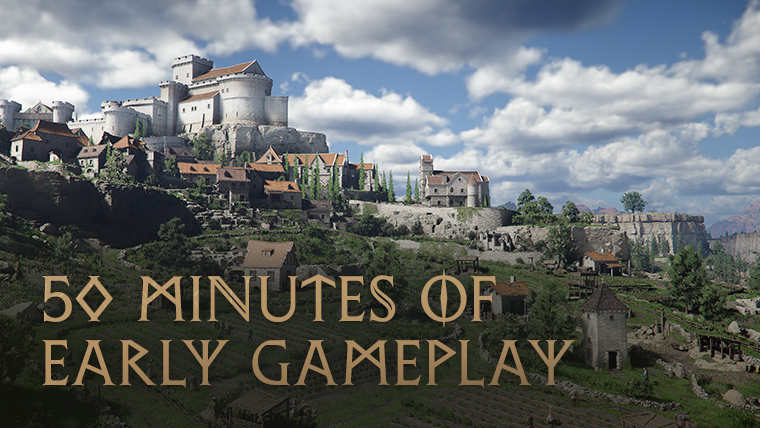
The world of Crimson Desert takes place on the continent of Pywela vast and varied landmass featuring mountains, forests, deserts, frozen tundra, coastal regions, and floating sky islands. The map is estimated at approximately 90 square kilometers of explorable terrain. At least twice the size of Skyrim and larger than Red Dead Redemption 2. Pywel is divided into five distinct regions, each with its own climate, culture, political structure, and dangers. Players explore the world as Kliffleader of the Greymanes mercenary band, in a non-linear open world where regions can be visited in any order.
The open world of Crimson Desert spans the entire continent of Pywela seamless landmass with no loading screens between areas. Will Powers, Director of Marketing and PR at Pearl Abyssconfirmed that the map is "at least twice as big as Skyrim" and "larger than Red Dead Redemption 2." Powers added: "I don't think numbers really do it justice." The world also extends vertically into the Abyssa realm of floating sky islands that adds additional explorable space above the main continent.
Size Comparisons
Game | Estimated Map Size | Comparison |
|---|---|---|
The Elder Scrolls V: Skyrim | Approximately 37 sq km | Crimson Desert is roughly double |
Red Dead Redemption 2 | Approximately 70-75 sq km | Crimson Desert is larger |
Approximately 90 sq km | Plus vertical Abyss sky islands | |
Estimated 74+ sq km | Plus vertical Abyss sky islands |
These estimates are based on community analysis and Pearl Abyss's public statements. The actual explorable area may be larger because the Abyss sky islands add vertical exploration space not captured in surface area measurements.
The Five Regions
Region | Climate | Description |
|---|---|---|
Snowy mountains and frozen tundra | The northernmost region and original homeland of the Greymanes. A harsh mountainous highland region of snow-covered peaks, frozen passes, and hardy settlements. The homeland of the Greymanes. After the Black Bears scattered the Greymanesthe surviving members fled south and rebuilt in Hernand. | |
Temperate | The starting region where Kliff's adventure begins. Mountains, rivers, cliffside cities, and lively markets. The Greymane Camp is located here, growing from a small tent settlement into a fortified base. Features large cities with daily NPC life cycles. | |
Regal plains | The center of political and military power. Features imposing castles and is the political hub of Pywel. Heavily guarded territories with faction-controlled areas. | |
Varied | At the forefront of science and technology. The most technologically advanced region on the continent, with unique machinery and experimental structures. | |
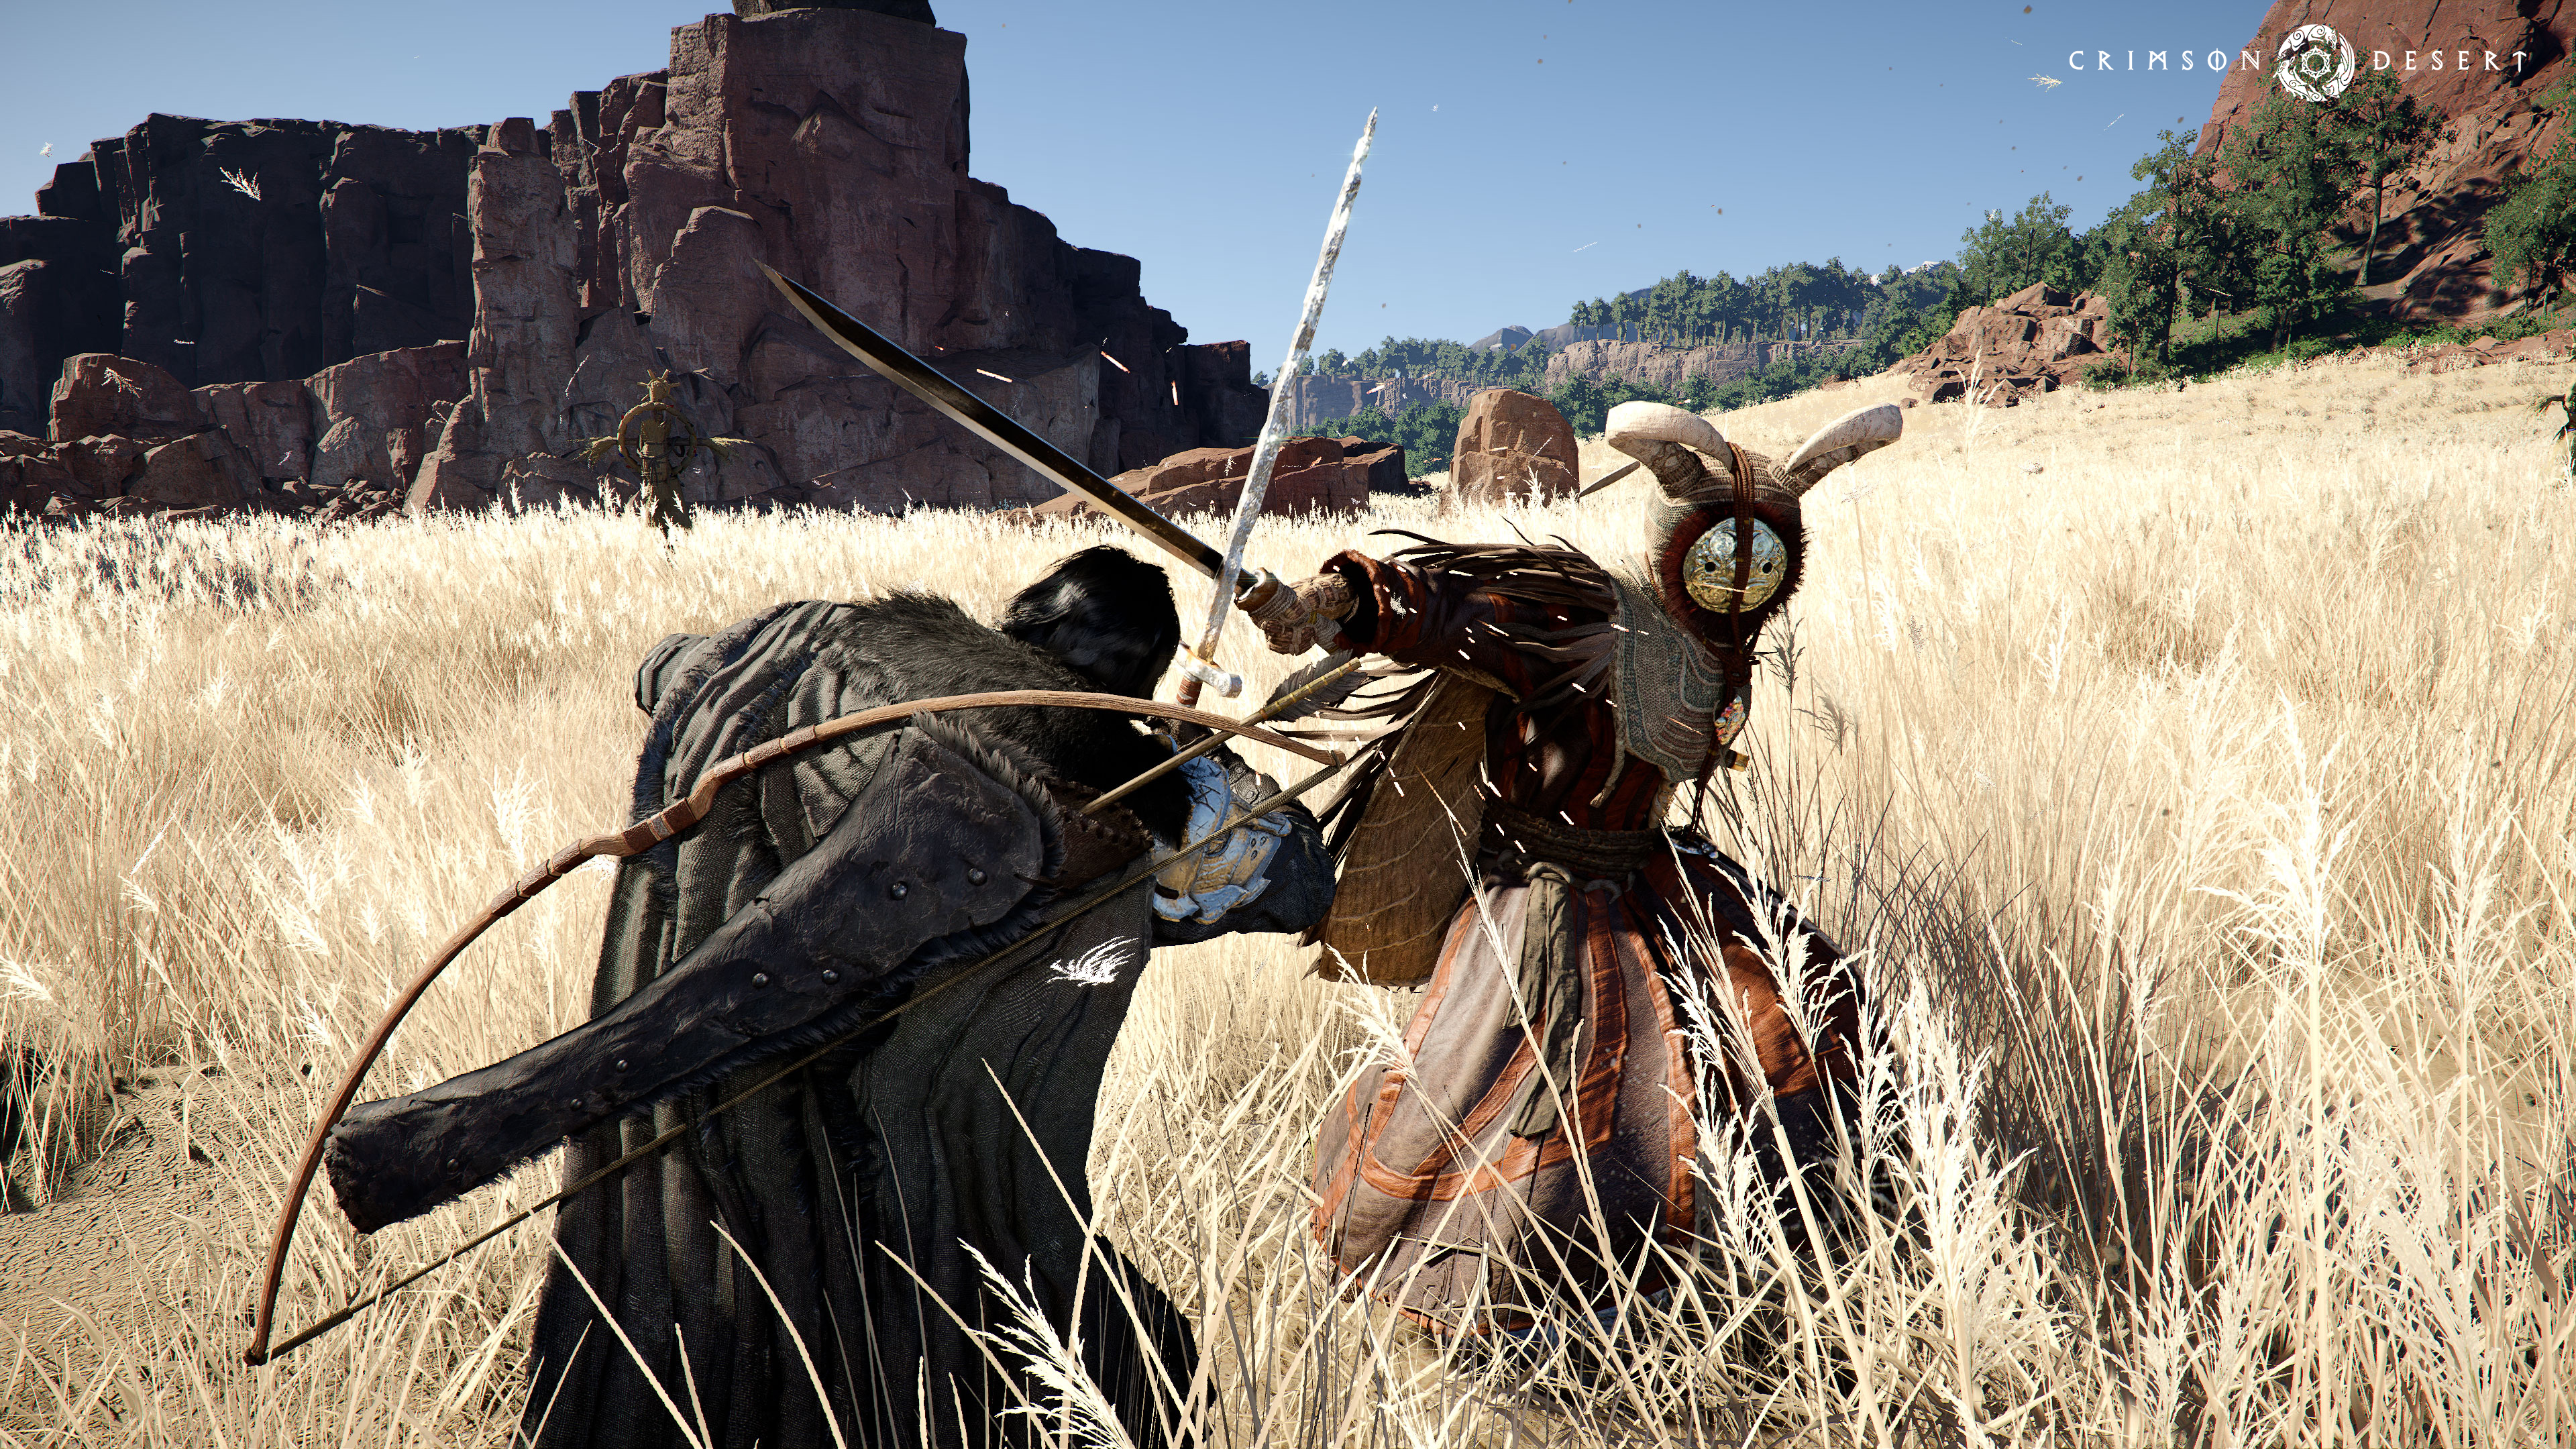
Arid desert | The namesake region. A vast expanse of red sands and lawlessness. Towering ridges, barren wastelands, and dangerous bandits. The harshest environment on Pywel. | |
Green meadows, dense forests, rivers | Starting area; fertile heartland with political intrigue between noble houses | |
Snow-capped mountains, frozen tundra | Homeland of the Greymanes; harsh cold environment with dangerous wildlife | |
Regal castles, ancient temples | Center of political and military power; steeped in ancient magic and history | |
Sophisticated cities, exotic markets | Commerce and trade hub; advanced technology; criminal underworld | |
Red sand wastes, extreme heat | Lawless wasteland with no central government; sandstorms, colossal buried creatures, survival challenges |
Pywel is divided into five main regions, each with distinct geography, climate, factions, and content. The Knowledge System tracks 573 territories across all regions.
Additional Named Territories
Territory | Description |
|---|---|
Inhospitably cold lands, also called "the land of the wolf." Contains the settlement of Ulsrund. Harsh winter conditions year-round. | |
Characterized by vast open plains. Large-scale mounted combat encounters occur here. | |
A stronghold centered around the Eldertreewhere "ancient power awaits." Likely tied to deep lore and endgame content. | |
Floating sky islands above the surface. Fragments rain down onto the world below. Accessible only through late-game aerial traversal. |
Key Locations
Location | Region | Notes |
|---|---|---|
Hernand city | Major city with markets, taverns, quest givers, and NPC daily routines | |
Greymanes Camp | Player-built base. Starts as tents, expands through resource gathering | |
Snow-covered peak with harsh conditions and environmental hazards | ||
Varies | Landmark tied to the main questline | |
Lore-rich location with knowledge and quest content | ||
Goldleaf Camp | Varies | Faction camp connected to story missions |
Detailed Region Breakdown
Hernand
Hernand is the starting region and the most content-dense area in the game. A lush region full of grasslands, plains, and dense forests, Hernand has the City of Hernand as its major settlement, along with numerous villages, ranches, and outposts. The Greymane Camp is established here early in the story, making it the player's primary home base throughout the game.
Hernand is home to the largest concentration of faction questsincluding questlines for House CelesteHouse RobertsHouse Serkisand the Goldleaf Merchant Guild. The region's mild climate supports farming, ranching, and foraging, making it ideal for crafting material gathering. The Pororin Forest Guardiansa faction of the Shai people, protect the hidden village of Pororin in the dense forests south of Hernand.
Pailune
Pailune is the northernmost region and the original homeland of the Greymanes. Located on the northern side of Pywelit features harsh terrain with snowy peaks, frozen tundra, and hard-to-cross mountainous areas. After the Black Bears scattered the GreymanesPailune fell under their control. The region becomes a key story battleground during Chapters 6 and 7 as Kliff works to reclaim the Greymanes' homeland.
Demeniss
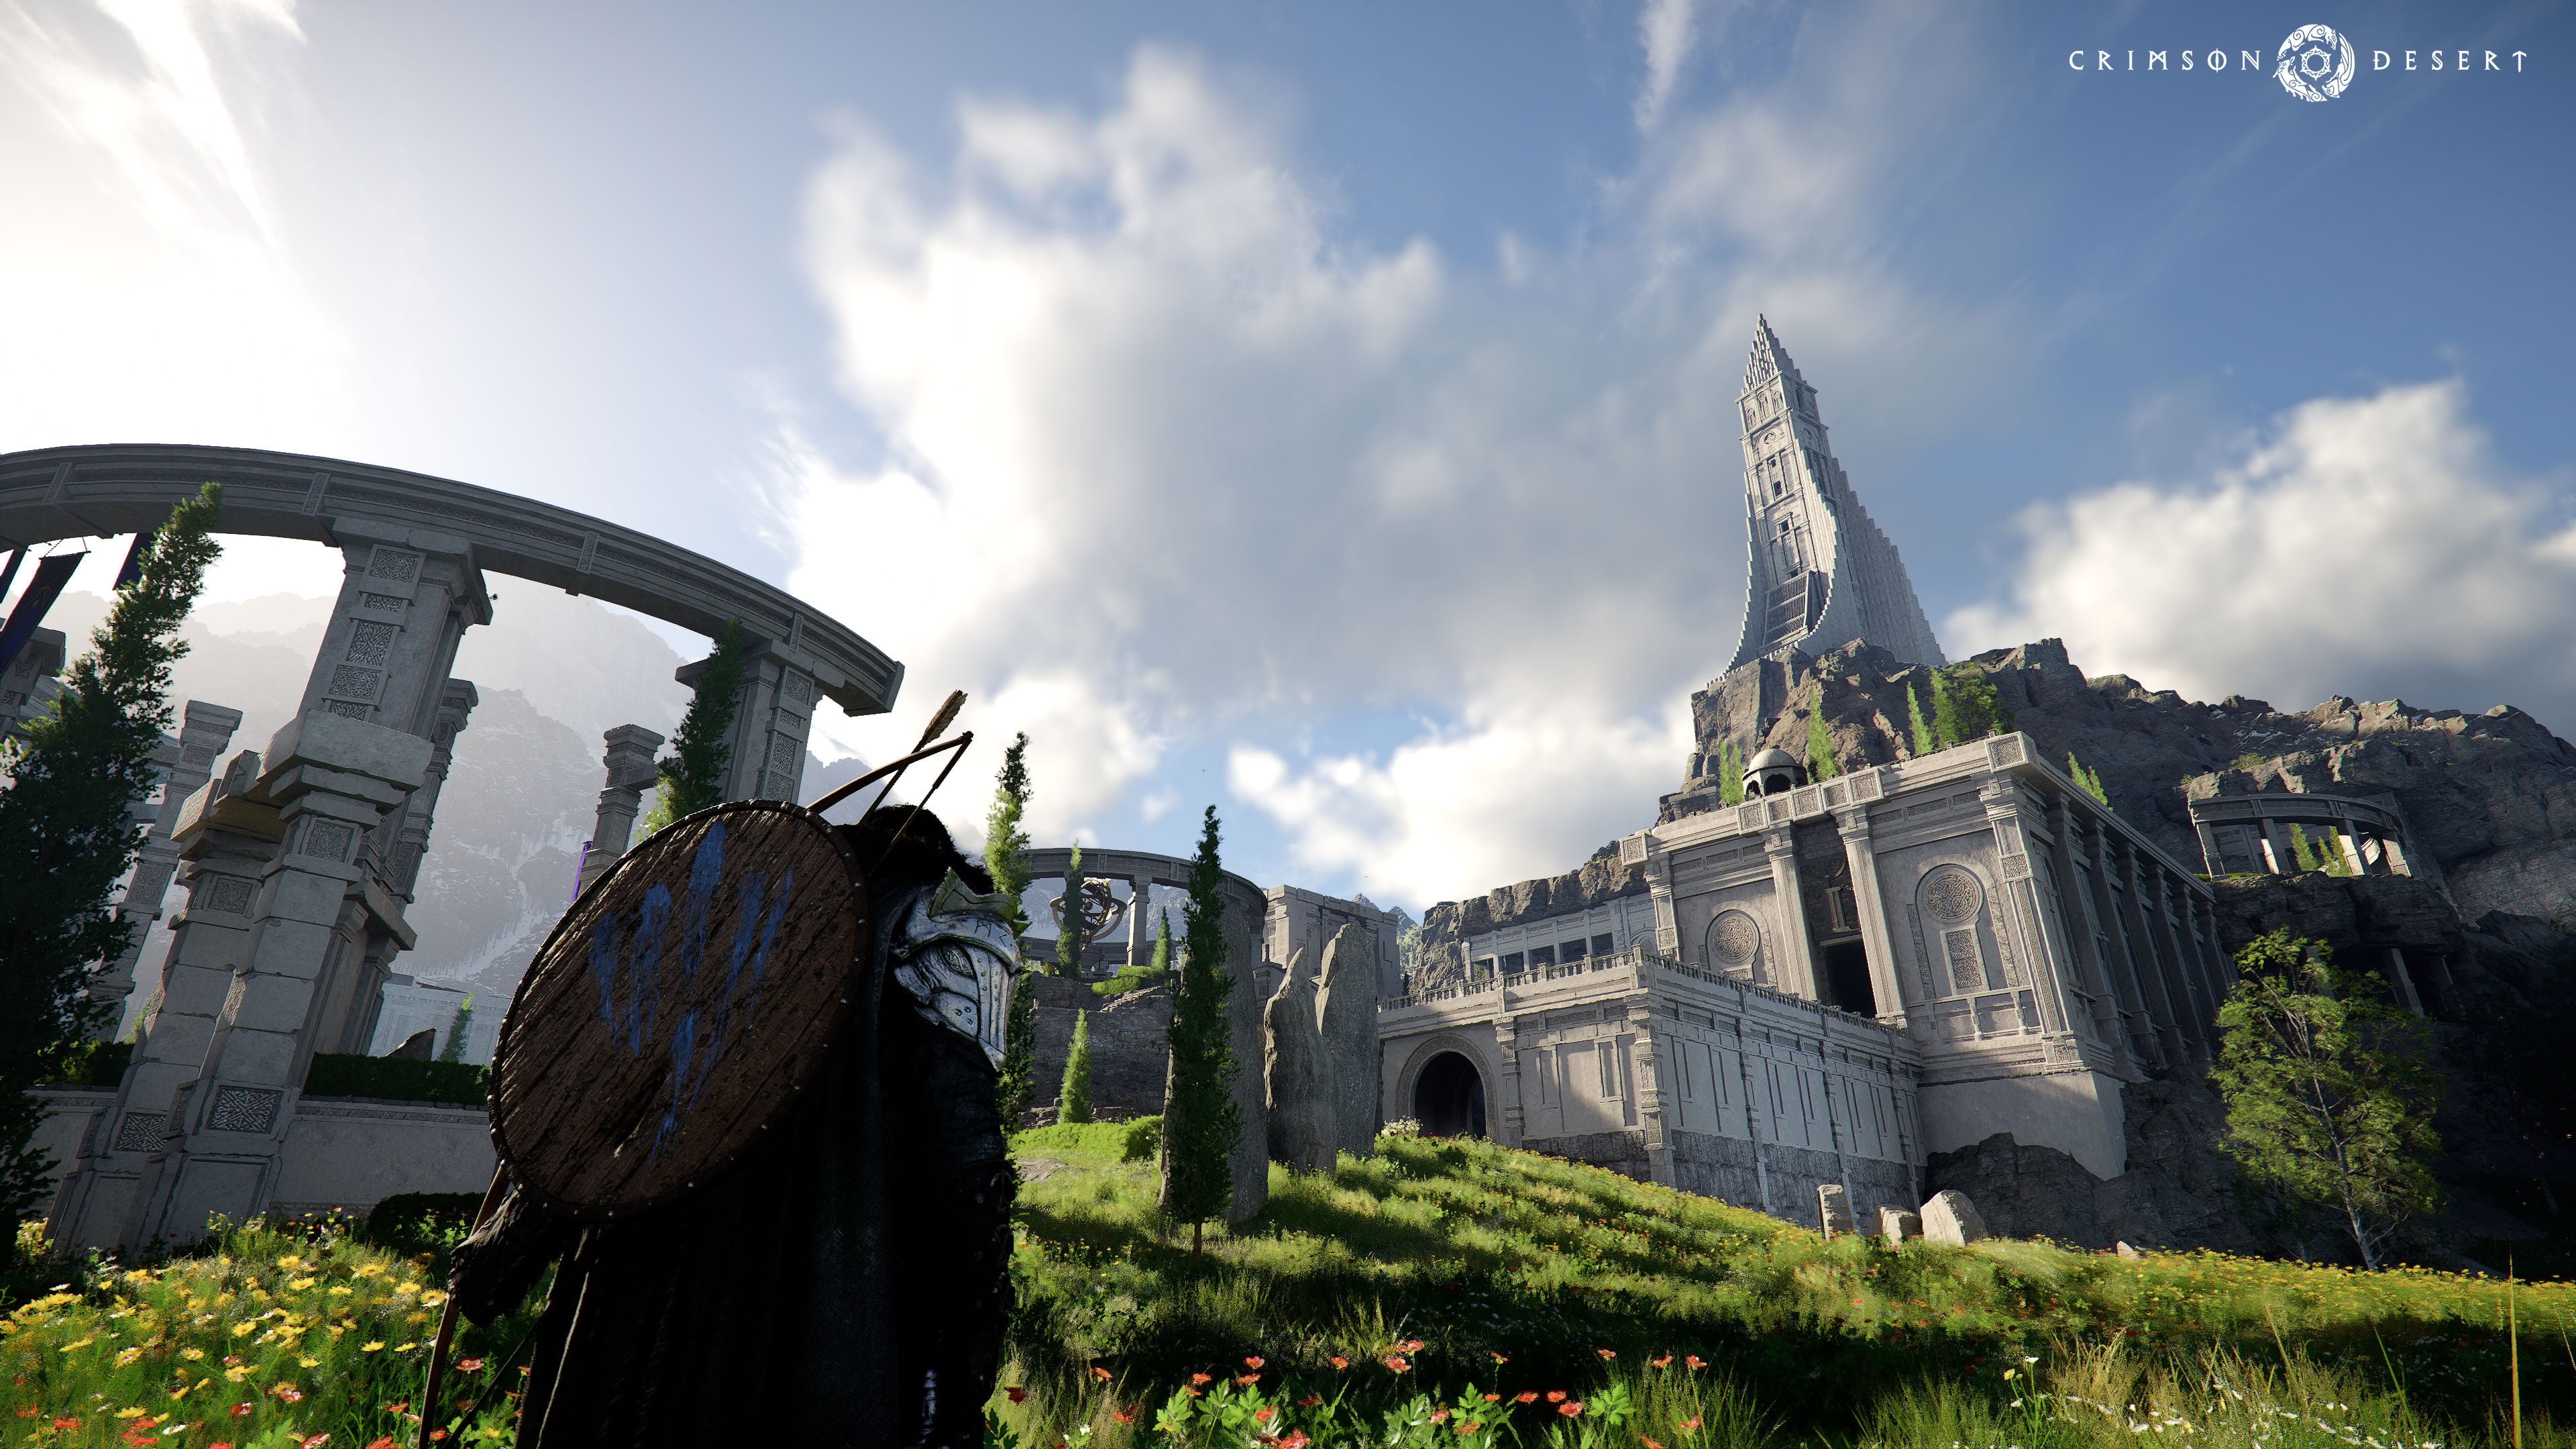
Demeniss is the capital of Pywel and the main seat of political and military power. The region features imposing castles, ancient temples, regal architecture, and heavily guarded territories. It is the political hub of the continent, with faction-controlled areas that require careful diplomacy or force to access. The region is steeped in ancient magic and history, with deeper lore connections to the Abyss.
Delesyia
Delesyia is the most technologically and scientifically advanced region on the continent. Players will find a plethora of mechanical beings, robots, and otherworldly creatures alongside sophisticated cities and exotic markets. Delesyia is a commerce and trade hub with an active criminal underworld.
The Crimson Desert
The Crimson Desert is the namesake region: a barren desert with crimson-colored sand. The region is completely lawless, with no central government and home to all types of brigands and dangerous creatures. Towering ridges, barren wastelands, and extreme heat make it the harshest environment on Pywel. Sandstorms reduce visibility and can reveal (or conceal) buried structures and colossal creatures beneath the sand.
Vertical Space: The Abyss
Above the surface of Pywel lies the Abyssa realm of floating islands accessible through portals on the surface. Fragments of the Abyss rain down onto Pywel, and players use puzzle-solving mechanics to align these fragments and reach new areas. The sky islands contain Abyss Dungeons with environmental puzzlesunique enemiesand Abyss Artifact rewards. Hot air balloons and specific story events provide access to certain Abyss locations.
The sky islands exist on a separate map layer that can be toggled on the world map screen. On a controller, press R3 to switch between the ground map and the sky map. On keyboard and mouse, use the Mouse Wheel to toggle layers. The sky map displays the floating puzzle islands above each region, similar in concept to the sky layer in The Legend of Zelda: Tears of the Kingdom but smaller and more contained in scope.
Players who unlock fast travel points on the sky islands (earned through Abyss Restoration challenges) can use a skydiving mechanic to dive from those elevated fast travel nodes directly down to ground-level destinations. This provides a dramatic and efficient way to return to the surface without needing to glide or backtrack on foot.
Above the surface of Pywel lies the Abyss, a realm of floating islands accessible through portals on the surface. The sky islands contain Abyss Dungeons with environmental puzzles, unique enemies, and Abyss Artifact rewards.
Traversal Methods
Pywel emphasizes both horizontal and vertical exploration. Multiple traversal methods are available:
Pearl Abyss has stated it takes roughly two hours to cross the entire map on horseback. This assumes a straight-line path at a steady gallop without stops. In practice, the terrain variation and density of discoverable content mean most players take significantly longer.
Traversal Method | Description |
|---|---|
Summoned via D-Padstamina-governed gallop. The primary traversal method across open terrain. | |
Exotic Mounts | Bears, raptorscamelselephants, and other tameable creatures, each with different speed and terrain suitability. |
Wyvern Riding | Fire-breathing aerial mount for long-distance flight and aerial combat. |
Battle Mech | War Robot with jet propulsion and missile armaments for heavy combat traversal. |
Glider for controlled descent from high elevations. Unlocked through story progression. | |
Physics-based rope swinging for reaching elevated areas and crossing gaps. | |
Slow, scenic aerial traversal for surveying the landscape from above. | |
Wagons and Skiffs | Ground and water vehicles for transporting goods or traveling along rivers. |
Free Climbing | Climb virtually any surface: rocks, mountains, walls, trees, and even giant creatures. |
Swimming | Surface-level swimming across rivers, lakes, and coastal waters. |
Traversal flows seamlessly between modes. A player can fly on a wyverntransition to gliding downward, and land directly on a moving horse without interruption.
Exploration Mechanics
Non-linear progressionRegions can be explored in any order. If an area is too difficult, leave and return later when stronger
Dynamic world changesLiberating regions from hostile factions causes visible changes. Residents return, structures rebuild, new vendors and services appear
Blockaded areasSome territories are blocked by factions until story progression or faction standing improves
Day-night cycleInfluences NPC availability, enemy spawns, and environmental hazards. Some content is only accessible at night
Weather systemDynamic weather affects visibilitycombat effectiveness, and NPC behavior
Environmental puzzlesManipulating mechanisms, platforming, using swords to move structures, and unlocking hidden pathways
Hidden contentRitual grounds, crypts with treasure mapspoison mist shrouds concealing secretsand unmarked cave systems
Fixed difficulty zonesEnemies have set, non-scaling power levels. Each region is tuned to specific difficulty tiers, so early areas become easier as you gear up while later zones hit significantly harder
Fog of War
The world map uses a fog of war system that reveals terrain only as the player explores. Regions and landmarks remain hidden until physically visited. Some hidden corners and secret areas are not visible even from aerial views during gliding, encouraging thorough ground-level exploration.
Map Unfogging via Hidden Bells
The world map uses a fog of war system that reveals terrain only as the player explores. Regions and landmarks remain hidden until physically visited. The fastest method to unfog the entire map is by ringing the 8 Hidden Bells scattered across Pywel as part of the Toll of Pywel quest.
Each bell is located in a bell tower within a major city or settlement. Ringing a bell summons a Shai child who magically clears the fog of war for the surrounding region. Once all 8 bells are rung, the entire continental map is revealed. The bells are not marked on the map and must be discovered through exploration. Some bells require puzzle-solving or specific traversal techniques to reach.
The 8 bell locations are: Hernand City (Church of Calphade)Scholastone Institute (garden pagoda)Calphade (church)Demeniss Capital (tallest Church of Calphade)Delesyia Town (town square)Tommaso (Tashkalp subregion, Crimson Desert region)Varnia (far north, palace dome), and Pailune (red tower near docks, only available after Chapter 7 liberation). The Calphade bell is temporarily unavailable during Chapter 6. See the Bell Locations article for detailed directions.
Alternatively, the Explorer perk in the Scholarship branch of the skill tree removes all fog of war from the map and reveals all points of interest. However, this is a late-game investment. Ringing bells is the recommended early approach.
Abyss Nexus Fast Travel Network
The primary fast travel system in Crimson Desert uses Abyss Nexus points: glowing blue markers activated by stepping on pressure plates found at key locations across Pywel. Once activated, an Abyss Nexus can be teleported to from the world map at any time. There are 47 Abyss Nexus fast travel points spread across all five regions of the continent.
Region | Abyss Nexus Count |
|---|---|
11 | |
10 | |
6 | |
6 | |
13 | |
Total | 47 |
The Crimson Desert region has the highest concentration of fast travel nodes (13), which is fitting given the vast and featureless desert terrain where horseback travel would otherwise be slow. Hernandthe starting area, comes second with 12 points, giving new players plenty of mobility early on. It is recommended to ring the 8 Hidden Bells first to fully reveal the map before hunting down all 47 Abyss Nexus locations, as unfogged terrain makes spotting the pressure plates much easier.
Dynamic World
The world has a persistent calendar system with timestamps displayed in the UI (e.g. "Day 107 Tue 5:29 PM") along with temperature readings. A dynamic weather system and day-night cycle affect NPC behavior, quest availability, and environmental hazards. NPCs follow daily routinesblacksmiths forge different items based on recent purchasesmerchants open and close their shops on schedule, and townspeople react to time of day and weather conditions.
Content Density
Pearl Abyss emphasized that map size alone was not the goal. Powers stated: "Open-world games are about doing things, having activities, having distractions. So we wanted to create a world that's massive and is also incredibly interactive." The Knowledge System recorded 2,921 total entries during preview buildsspanning 573 territories, 467 people, 401 creatures110 factions76 bosses355 crafting manuals, and 29 mount types. A hands-on reviewer spent four hours in the starting region alone without exhausting its content.
So we wanted to create a world that's not only massive, but is also incredibly interactive." The Knowledge System recorded 2,921 total entries during preview builds, spanning 573 territories, 467 people, 401 creatures, 110 factions, 76 bosses, 355 crafting manuals, and 29 mount types.
Multi-Layered Map Design
While the map measures approximately 90 square kilometers (9,500m width by 9,500m height), the actual explorable area is closer to 100 square kilometers due to the multi-layered design. Pywel features extensive underground cave networks, multi-story dungeon complexes, and the vertical space of the Abyss sky islands. The surface map dimensions do not capture this additional explorable volume.
The underground portion of the map is substantial. measurements, Pywel contains over 100 caves and other subterranean locations, ranging from small one-room hideouts to sprawling multi-level dungeon complexes. These underground areas contribute significantly to the total explorable space, pushing the effective map size from 90 square kilometers of surface area to approximately 100 square kilometers when all layers are combined.
The entire world is fully seamless, with no loading screens between regions, cities, interiors, or the Abyss. Players can walk, ride, climb, glide, or fly from any point to any other point without interruption. Crossing the entire continent on horseback takes approximately two hours at a steady gallop without stops.
Points of Interest
Scattered across Pywel you will find:
Towns and villagesTrade hubs with shops, taverns, and quest givers
Ruins and cryptsContain treasure maps, rare loot, and lore fragments
ShrinesProvide blessings and fast travel nodes
Robber campsHostile encampments that can be cleared for rewards and regional reputation
TavernsSocial hubs where you can gather information, play table games, arm wrestle, and recruit companions
Fishing spotsMarked locations along rivers and coastlines
Related Systems
Several interconnected systems enhance the open world experience. For detailed information, see their dedicated articles:
Greymane CampKliff rebuilds a mercenary base at Howling Hillunlocking buildings, services, and dispatch missions through resource gathering.
Life SkillsFishingfarmingcookinghuntingminingloggingtradingarena fightingand horse racing provide resources and camp supplies.
Wanted SystemCriminal activities reduce your Hernandian Contribution reputation and can trigger bounties that make guards hostile.
Tips
The world is non-linear. If an area feels too tough, explore a different region and return later
Unlock fast travel nodes at shrines as you explore to make backtracking efficient
Invest in camp building early. Upgraded facilities provide permanent stat bonuses
The grappling hook + glide combo is the fastest traversal method before late-game unlocks
Night exploration reveals different content than daytime. Some quests and encounters are nocturnal only
Clear robber camps to improve regional reputation, which can unlock blockaded areas faster than story progression
Life skills provide essential resources for camp development. Do not skip them in favor of combat alone
Patch Update: Improved Map Icons
The latest gameplay update added several map icon distinctions that make at-a-glance progress reading much easier. Visited caves now display a different icon from caves you have not entered, so you can spot which dungeons still need a first run. Looted treasure chests and unopened chests use separate symbols, removing the guesswork of riding back to a known location only to find you already cleared it.
Restored abyss zones and unrestored ones are also visually distinct now, which is a meaningful quality of life improvement when you are trying to mop up the last few Axiom Force puzzles in a region. Faction quest markers received a color split as well, so different factions show in different colors and you can prioritize which storyline to push without opening every tooltip.
Map Filters (Patch 1.04)
Patch 1.04 added a map-icon filter UI that lets the player hide or reveal entire categories of markers on the world map at once. Before the patch, every discovered fast travel node, shop, cresset, and story marker appeared on the same layer, and the only option to cut visual noise was zooming in until individual icons separated. The new filter sits on top of the existing icon improvements covered below and can be combined with them freely, since it only toggles which categories are drawn, not which icons a given category uses.
Opening the Filter Overlay
The filter overlay is tied to a platform-specific button press rather than a menu tab, so it is easy to miss if you never looked for it. On PlayStation 5, open the world map and then press the touchpad in the center of the DualSense controller. On Xbox, the equivalent menu or view button opens the same overlay. On PC, the overlay is bound to the key that maps to the touchpad button in the input settings; rebind it if the default does not match your layout. The overlay appears as a side panel listing every supported icon category with an on or off toggle next to each one.
Per-Category Toggles
Each category can be toggled on or off independently, so the filter is closer to a layered overlay than a simple preset. The selections persist across sessions until you change them again. Filterable categories include abyss nexuses, skybridge gates, grocery shops, and other point-of-interest types such as bounty boards, shrines, stables, contribution shops, and regional storage. The exact list expands as the player discovers new icon types, so categories that are not yet unlocked in a playthrough may simply not appear in the overlay until the first marker of that type is placed on the map.
Practical Uses
The filter is useful for cleaning up visual noise on the map when focusing on a specific objective type. A few common workflows:
Traversal planning. Turn off everything except abyss nexuses and skybridge gates when you need to plot an Abyss-layer route. The map reduces to just the traversal network, which makes it far easier to count nexuses, plan skybridge hops, and spot gaps in the fast travel graph. See All Fast Travel Locations and Abyss Cresset Locations for the canonical lists.
Restocking runs. Turn off every category except grocery or provisioner shops to find the closest vendor for food, cooking ingredients, or camp supplies. This is especially helpful in dense city regions where shop icons normally blend into surrounding quest markers.
Completion sweeps. Leave only the marker type you are still chasing active, such as unopened treasure chests or unvisited caves. Combined with the separate icon distinctions in the earlier Improved Map Icons update, a completionist can clear the last few targets in a region without guessing from the map alone.
Screenshot and scouting. Disable all categories for a clean, icon-free view of the region. The map still shows geography, roads, and your current position, which is useful for scouting a new area or for capturing a clean shot of a region boundary.
Filter Reference
Filter | Category | Notes |
|---|---|---|
Abyss Nexuses | Traversal | Shows every unlocked Abyss Nexus node. Ideal for routing across the Abyss layer. Pair with Abyss Cresset Locations for coverage planning. |
Skybridge Gates | Traversal | Highlights every Abyss Skybridge Gate on the world map. Useful when stitching together long Abyss runs that chain multiple gates. |
Grocery Shops | Shows Grocer's Shops and similar food or ingredient vendors. Toggle solo to find the closest grocer for a restocking detour. | |
Shrines and Fast Travel | Traversal | Covers shrine markers used as surface-level fast travel nodes. Combine with abyss nexuses and skybridge gates for a full traversal view of every unlocked route. |
Points of Interest | World | Broad category covering caves, treasure chests, robber camps, ruins, and similar discoverables. Toggle off when you want a clean traversal-only view, or leave on when sweeping a region for completion. |
Quest Markers | Story and side content | Filters main, side, and faction quest icons. Disable temporarily if you want to explore organically without following yellow markers, or keep on while chasing a specific questline. |
Tips
The filter does not delete data. Toggling a category off only hides those icons on the current map view. Nothing is reset or forgotten, so you can freely flip categories on and off as the situation calls for it.
Use the filter together with the waypoint system. Place a custom waypoint first, then hide everything else; the waypoint stays visible while the rest of the map is clean, giving you an uncluttered line-of-sight to your next target.
For Abyss routing, a good default layout is abyss nexuses and skybridge gates on, everything else off. Once you arrive at a gate, toggle quest markers back on to line up the next objective, then hide them again for travel.
If a category you expect to see is missing from the overlay, you likely have not yet discovered or unlocked that marker type in your current save. Visit a node of that type once and it will appear in the filter list on your next map open.
Traversal Time and Methods
Traversal Method | Description |
|---|---|
Summoned via D-Pad; stamina-governed gallop. The primary traversal method across open terrain. | |
Exotic Mounts | Bears, raptors, camels, elephants, and other tameable creatures, each with different speed and terrain suitability. |
Wyvern Riding | Fire-breathing aerial mount for long-distance flight and aerial combat. |
Battle Mech | War Robot with jet propulsion and missile armaments for heavy combat traversal. |
Glider for controlled descent from high elevations. Unlocked through story progression. | |
Physics-based rope swinging for reaching elevated areas and crossing gaps. | |
Slow, scenic aerial traversal for surveying the landscape from above. | |
Wagons and Skiffs | Ground and water vehicles for transporting goods or traveling along rivers. |
Free Climbing | Climb virtually any surface: rocks, mountains, walls, trees, and even giant creatures. |
Swimming | Surface-level swimming across rivers, lakes, and coastal waters. |
A player can fly on a wyvern, transition to gliding downward, and land directly on a moving horse without interruption.