Loading...
Loading...
Stats and Talents
May 23, 2026 at 08:37 PM
Corrected wikilink existence flags
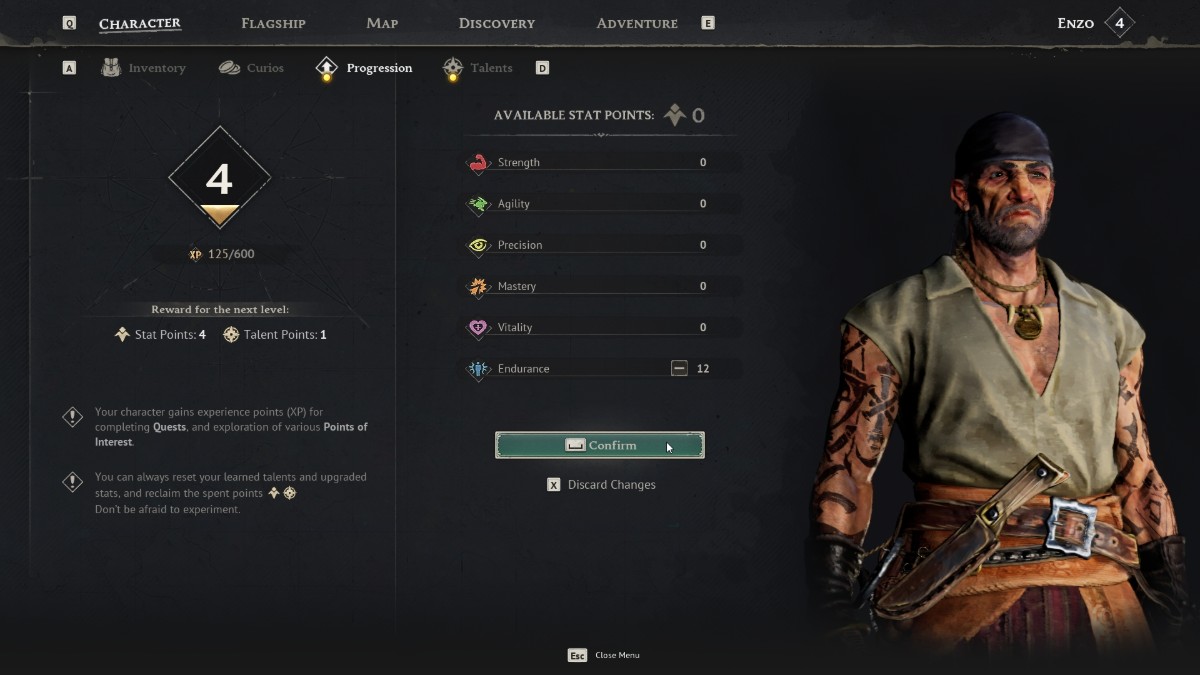
Windrose characters progress through two parallel systems: stat points allocated on level up, and talents unlocked through a four-branch tree. Each level grants stat points and a talent point. Both stats and talents can be reset at any time with no cost, which is a deliberate design choice that lets players experiment freely.
Three of the six stats scale weapon damage; the remaining three govern survivability and critical hits.
Strength damage scaling for heavy melee weapons (Club, Halberd).
Agility damage scaling for fast and sweeping weapons (Saber, Greatsword, Blunderbuss).
Precision damage scaling for ranged and technical weapons (Rapier, Pistol, Musket).
Mastery adds 0.5% critical hit chance per point.
Vitality adds 13 Max Health per point.
Endurance adds 5 Stamina per point.
Launch-week community consensus recommends the following early allocation:
Endurance first stamina is the single most frequent bottleneck in early combat. Dodging, sprinting, and heavy attacks all drain stamina, and running out mid-fight means eating a heavy hit.
Vitality second enemies in the Coastal Jungle and Foothills all hit hard, and 13 HP per point stacks visibly.
Your weapon's scaling stat third Strength for Club/Halberd, Agility for Saber/Greatsword/Blunderbuss, or Precision for Rapier/Pistol/Musket.
Mastery last critical chance is useful but also comes from gear (Razor, Privateer Set), so it rarely needs stat investment.
Talents branch into four trees: Fencer (one-handed precision and dueling), Crusher (two-handed and crude damage), Marksman (ranged and firearms), and Toughguy (survival). Each branch holds its perks across three tiers, and every perk can be ranked up to three times at one point per rank. The Toughguy survival branch is the universally recommended opener because its early talents benefit every build regardless of weapon choice.
Marathon Runner +20 / +35 / +50 Stamina across three ranks. The most universally recommended Tier 0 talent; stamina benefits every playstyle.
Just a Flesh Wound +6% / +9% / +12% Melee Damage Resistance. Requires three points; the permanent mitigation is strong during the Coastal Jungle grind.
Stout Frame +120 / +180 / +240 Maximum Health. Stacks with Pikeman Set pieces to create a genuinely beefy tank.
Too Angry to Die revive at 30% health after a fatal blow once per 16-minute cooldown. Functions as a clutch safety net against Thomas Richards and other poise-shield bosses.
Both stat points and talent points can be reset at any time with no material cost. Players are encouraged to experiment with loadouts, try different weapon scaling stats, and adjust the talent tree for specific boss encounters. The respec option is accessed through the character sheet.
Experience comes primarily from combat, quest completion, and discovering new places. Killing stronger enemies (Sows, wolves, pirate captains) yields more XP than weaker wildlife, and story quests grant large lump sums at completion. There is no hard level cap documented as of version 0.10.0.
The Early Access version 0.10.0 cap is Level 15. The table below shows the exact cumulative XP required for each level, plus the Stat Points and Talent Points awarded on level-up. The Stat Points and Talent Points columns use "0" for levels that do not award that resource (Level 1 is the starting state; Levels 2, 10, 12, and 14 do not award Talent Points).
Level | XP | Stat Points | Total Stat | Talent Points | Total Talent |
|---|---|---|---|---|---|
1 | 0 | 0 | 0 | 0 | 0 |
2 | 600 | +4 | 4 | 0 | 0 |
3 | 1,200 | +4 | 8 | +2 | 2 |
4 | 1,800 | +4 | 12 | +2 | 4 |
5 | 2,400 | +4 | 16 | +1 | 5 |
6 | 3,200 | +3 | 19 | +1 | 6 |
7 | 4,000 | +3 | 22 | +1 | 7 |
8 | 4,800 | +3 | 25 | +1 | 8 |
9 | 5,600 | +3 | 28 | +1 | 9 |
10 | 6,400 | +3 | 31 | 0 | 9 |
11 | 7,400 | +3 | 34 | +1 | 10 |
12 | 8,400 | +3 | 37 | 0 | 10 |
13 | 9,400 | +3 | 40 | +1 | 11 |
14 | 10,400 | +3 | 43 | 0 | 11 |
15 | 11,400 | +2 | 45 | +1 | 12 |
Total at cap: 45 Stat Points and 12 Talent Points. See Hero Progression for the per-level XP delta, XP source breakdown, and recommended leveling route.
The Recommended Stat Priority above assumes a pure single-stat combat build, with two-thirds of points in the weapon's scaling stat and one-third in Endurance. A common one-handed loadout breaks that assumption: equipping a Saber in the main hand and a Pistol in the off-hand splits actual damage output between Agility (the saber's scaling stat) and Precision (the pistol's scaling stat). A character built only for Agility in this pairing will land saber hits at full scaling but under-tune every pistol shot; the reverse is true for a pure-Precision sheet.
The practical split for a Saber plus Pistol Cutthroat build is roughly half Agility, a third Precision, and the remainder in Endurance, rather than the 2/3-plus-1/3 pattern that works for pure-melee or pure-ranged characters. The Rapier plus Pistol variant keeps a clean Precision-heavy stat sheet because both weapons scale off the same stat, which makes it the easier hybrid to gear for.
A build that wants to stay fully in the Agility tree cannot simply pair a Saber with a Blunderbuss. The game treats blunderbusses (and muskets) as two-handed firearms, so equipping one forces the off-hand slot empty; the character can still swap to the saber, but not wield it at the same time as the ranged weapon.
Players who want a pure-Agility loadout should plan around one of three patterns: Saber plus Pistol with a small Precision investment, a two-handed Greatsword with no firearm, or a Blunderbuss main-weapon plan that treats the melee slot as a weapon swap rather than a true off-hand. Resetting stats to try each pattern is free, so this is one of the cheaper places to experiment before locking in a final build.
The character sheet does not label soft caps, but launch-week community testing has established consistent breakpoints for each stat. Values below come from controlled damage tests against target dummies with the rest of the stat sheet zeroed out.
The three main damage stats (Strength, Agility, and Precision) all follow the same soft-cap curve. Each point invested from 1 through 20 adds approximately 13.45 damage to light attacks. Past 20, the per-point gain drops to roughly half (around 7 damage per point) through 30. Investing beyond 20 still adds damage, but every point is worth meaningfully less than the first 20.
Example ladder on a Sturdy Halberd against a neutral dummy: 0 Strength yields about 748 damage per light attack, 10 Strength yields 883, 20 Strength yields 1,017, 21 Strength yields 1,024 (only 7 more from the 21st point instead of the 13 that every point in the 1 to 20 range delivered), and 30 Strength lands at 1,085 (68 total over the 10 points from 20 to 30, versus the 135 that the 10 points from 10 to 20 delivered). The breakpoint at 20 is the point every build should budget toward first before spending further points on the same stat.
The S, A, B, and C scaling letters on weapons do not meaningfully change the damage-per-point return on investing in a stat. A C-scaling Halberd and an S-scaling Sturdy Halberd both receive approximately the same +13 damage per Strength point up to the 20-point soft cap during community tests. The scaling letter instead correlates with the weapon's base damage before stat investment and with its item-level curve during upgrades. The practical takeaway is that a player should pick a weapon for its effect (Sturdy Halberd's +10 percent crit chance, Executioner's Decimation stacks, Rapier of a Thousand Cuts's Bleed) rather than for the letter grade on its scaling column. Do not reject a C-scaling weapon with a strong effect in favor of an S-scaling weapon with a weaker effect.
The Mastery stat governs critical hit chance. Each point adds approximately 0.46 percent crit chance through the first 20, close to the 0.5 percent the tooltip suggests. Past 20 the per-point return drops sharply, and individual points yield only a fraction of a percent. The first 20 Mastery points therefore convert cleanly into about 9.2 percent crit chance; investing further gains almost nothing relative to picking up a flat-chance gear source instead. A Privateer 2-piece bonus or a single crit-chance ring gives more crit per equipment slot than any Mastery point past the soft cap does per stat point. Cap Mastery at 20 and route remaining points elsewhere.
Endurance follows the same 20-point soft cap as the main damage stats. The first 20 points each pay back the full +5 Maximum Stamina; every point past 20 pays back visibly less. Players who need additional stamina headroom past 20 Endurance should lean on food buffs and talents rather than raw allocation. Coffee is the Epic dish that grants +20 Endurance for 30 minutes and can temporarily push the pool beyond the soft cap, and Marathon Runner from the Toughguy branch grants up to +50 Stamina across three ranks. Both of those scale the full amount regardless of where the character sits on the Endurance ladder.
Vitality is the exception to the soft-cap pattern. Community testing from level 1 through level 30 found that every point of Vitality continues to grant the full +13 Maximum Health with no observed drop-off. A 30-Vitality build enjoys exactly 10 points worth of extra HP (+130) over a 20-Vitality build, unlike the 30-Strength build which gets only about half the damage gain from its 20-to-30 investment. Because of this asymmetry, Vitality is the correct dump stat once Strength, Agility, or Precision is at 20, Mastery is at 20, and Endurance is at 20. From that point forward, every additional level's attribute points are worth more in Vitality than in any other stat.
A common mistake when planning a crit build is to assume crit chance bonuses multiply the way they do in many other RPGs. In Windrose, crit chance bonuses from stats, gear, and weapons all stack additively, meaning a 9.2 percent crit chance from 20 Mastery plus a +10 percent bonus from the Privateer Set 2-piece sums to 19.2 percent flat, not 9.2 multiplied by 1.1. The same rule applies to weapon-effect crit bonuses (Sturdy Halberd's +10 percent, Executioner's Decimation stacks up to +30 percent) and to set-specific crit bonuses from the Fencer talent branch.
Practical implication. A dedicated crit build can reach roughly 20 to 30 percent crit chance before spending anything beyond the first 20 Mastery, simply by stacking a crit-chance weapon, the Privateer 2-piece, and one talent that grants crit chance. Once a character is past that saturation point, the next crit-chance bonus adds less damage on average than an equivalent crit-damage bonus from the Privateer Set 4-piece, a crit damage ring, or the Fencer Surgical Cuts talent. The general rule is: reach 20 percent crit chance first, then invest in crit damage multipliers rather than pushing crit chance further.
First 20 points: Endurance. Stamina is the single most frequent bottleneck in early combat. Run out of stamina during a boss combo and the next heavy attack lands for full damage without a dodge available. The +100 Stamina from 20 points is the largest single survivability gain available before sets come online.
Next 20 points: your weapon's scaling stat. Strength for Halberd and Club, Agility for Saber, Greatsword, and Blunderbuss, Precision for Rapier, Pistol, and Musket. Soft-cap at 20 for the full per-point damage return.
Next 20 points: Mastery. Only for builds that already include the Privateer Set or a crit-chance weapon. Builds without a crit foundation should route these points into Vitality instead, because raw Mastery without gear synergy is weak.
Everything past level ~16: Vitality. Once the three main stats are capped at 20, Vitality is the only stat that still pays the full per-point return. Dump every remaining attribute point here for the rest of the character's progression.
Food buffs cover the gaps. Meaty Croc Kebab (+20 Strength), Gazpacho (+20 Agility), Swamp Pie (+20 Precision), Taco (+20 Mastery), Coffee (+20 Endurance), and Seafood Platter (+20 Vitality) all push their stat temporarily past the soft cap, often producing more damage per minute than re-specced allocation would.
Firearm-focused builds follow the same 20-Endurance-then-scaling-stat backbone as melee builds, but the talent ladder and the crit calculation differ significantly because headshots guarantee critical hits on pistol, musket, and blunderbuss shots. The stat priority for a dedicated pistol or musket build is:
Precision to 20. Scales pistol, musket, and rapier damage. Hard soft cap at 20 makes the first 20 points the single best damage investment in the build.
Endurance to 20. Dodge and sprint stamina. The 20-point soft cap matches Precision's cap so both reach their breakpoint together.
Vitality next. Vitality has no soft cap, so every additional point pays the full +13 HP. Push Vitality up before diving deeper into stats that are already past their soft cap.
Precision past 20 and extra Vitality. From the 40-point mark onward, rotate remaining points between Precision past 20 (diminishing but nonzero returns) and Vitality (full return). Skip Mastery entirely because headshots already crit.
Marksman talent ladder. The Marksman branch contains the firearm-specific talents. The ranking below reflects the value each talent provides to a build that plans to land headshots as the primary damage source:
Bull's Eye. Tier 0 baseline, directly amplifies headshot crit damage. Always the first Marksman pick.
Passive Reload Speed. Increases the background refill rate on pistols in the hotbar. Strongly preferred over active reload speed because it turns idle time during melee swings into more shots per fight without demanding any input.
Deep Impact. Flat damage per rank on firearm shots. More efficient than Firearm Training for pure damage output, so take Deep Impact first and fill Firearm Training only after Deep Impact is maxed.
Muzzle Reach for pistols, Extended Reach for muskets. The pair of range-dependent talents point in opposite directions. Pistol builds fight close and benefit from Muzzle Reach's close-range bonus; musket builds fight at distance and benefit from Extended Reach. Do not take both on the same build, and skip whichever does not match the primary firearm.
Over Penetration for blunderbuss only. The penetration talent is wasted on pistols and muskets because single-target headshots do not benefit. On a blunderbuss that already fires a pellet cone, over-penetration doubles up damage on clustered enemies and is worth the point.
Sniper Focus for dedicated musket sniping only. The aim-down-sights stacking damage is strong when the character can hold the reticle for several seconds before firing, which is only true for planned long-range musket opening shots. Skip it on pistol-focused builds.
Deadly Hunter. Chance-based talent. Skip in favor of deterministic picks like Deep Impact and Bull's Eye. Chance effects are less reliable than flat damage bonuses for combat planning.
Bullet Storm. Small stacking bonus up to four hits of consecutive-hit-no-miss. The cap and the miss-reset condition make this weaker per point than Deep Impact in practice. Take only after the higher-value Marksman picks are full.
Food buffs for firearm builds. Swamp Pie (+20 Precision) is the standard Epic dish for pistol, musket, and rapier builds because it pushes the scaling stat cleanly past the soft cap. Coffee (+20 Endurance) covers the stamina pool during long fights. Gazpacho (+20 Agility) only matters for builds that pair a firearm with a Cutlass, Greatsword, or Blunderbuss, where the Agility investment covers the melee swing or the Agility-scaling firearm instead.