
Loading...
Loading...
Party System
November 2, 2026 at 06:42 AM
Clarify character unlocks, held-menu switching and individual Abyss Links; preserve earlier companion and NPC workflow scope.
Accompanying characters are documented in the update notes: version 1.10.00 fixed Kliff failing to be summoned again after dying while accompanying the player and being disbanded. Version 2.00.00 reduced damage received by accompanying characters. These changes establish accompaniment, summoning and disbanding; they do not specify every current party-size limit, Gather input, AI tactic or quest restriction. The recorded switching and skill-resource procedures below are distinct from the earlier party workflow.
Earlier party description; the exact simultaneous group size, mounted behavior and AI roles remain unverified in this review: The Party System is a core mechanic in Crimson Desert that allows players to form an adventuring group with up to three playable characters. Rather than controlling a single hero at all times, you can summon your companions to fight alongside you, ride their own horses, and engage enemies using their own gear and abilities. The system transforms open-world exploration and combat encounters from a solo experience into a cooperative group effort, even though Crimson Desert is a single-player game.
Earlier roster and party-behavior account; see the recorded unlock routes below: The three playable characters are Kliff, Damiane, and Oongka. Kliff is the protagonist and is available from the start. Damiane and Oongka unlock at specific points during the main story. Once all three are unlocked, you can form a full party of three and switch between them freely while exploring the world of Pywel. Party members follow you automatically, engage enemies on their own through AI, and can be directly controlled at any time with a quick character swap.
Earlier use cases and blanket activity restrictions, not a newly verified rule for every quest or boss: The party system is designed primarily for open-world exploration, faction base clearing, and side content. It makes large-scale encounters with dozens of enemies far more manageable, since your companions draw aggro, deal damage independently, and create openings for you to exploit. However, the system comes with important restrictions: main story quests and boss fights require you to disband the party and play solo.
The character guides place Damiane at the camp unlock in Chapter 3 and Oongka after the Chapter 7 Myurdin encounter. The dedicated Oongka guide distinguishes that temporary sequence from full availability after a Chapter 8 faction quest; see the route below before treating the Chapter 7 scene as the permanent unlock.
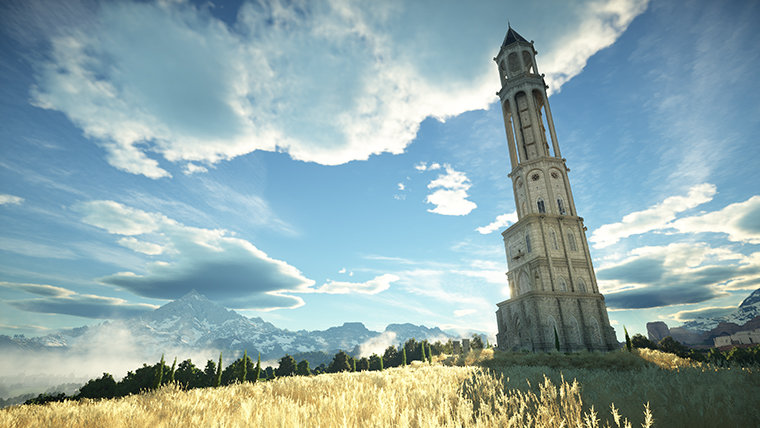
Damiane becomes playable in Chapter 3, when the camp unlocks after the End of Greed questline. At the Greymane Camp at Howling Hill, Barden Middler explains that she is a guest of the Marquis staying with the Greymanes for her safety, rather than a Greymane member. Earlier notes described permanent playable and companion availability from that point; exact temporary story restrictions remain distinct. Her earlier playstyle summary emphasized rapiers, shields and firearms; it should not be read as an exhaustive list of compatible equipment.
Oongka becomes playable in Chapter 7 after the Myurdin encounter at Ashclaw Keep, while Kliff is incapacitated, through the fight against One-Armed Ludvig. The dedicated unlock guide then places full availability in Chapter 8 after the Greymane faction quest Words Left by the Riverside. The earlier label "Gentle Sound of Flowing River" is retained as an earlier quest-name report, without assuming it is a verified alias for that named route. Earlier notes described the intervening lock as preventing summoning and the side quest as resolving a personal matter; those details remain earlier reports. His heavy-weapon summary uses axes and arm cannons to pressure enemy defenses.
Character | Unlock Point | Requirements | Combat Style |
|---|---|---|---|
Prologue | Available from the start | Versatile: swords, magic, gadgets, ranged weapons | |
Chapter 3 | Complete End of Greed and establish Greymane Camp | ||
Chapter 7 temporary sequence; Chapter 8 faction quest for full availability | The dedicated guide names Words Left by the Riverside in Chapter 8. Earlier notes used "Gentle Sound of Flowing River"; the two labels are not established as aliases here. |
Earlier summoning workflow; current availability and confirmation prompts can vary: Once you have unlocked at least one companion, you can summon them to form a party at almost any point while exploring the open world. There are two primary methods for bringing companions to your side.
For character switching, hold Up on the D-Pad or F1 to open the radial menu, hover over the unlocked character and release the held button. Earlier companion-summoning instructions called this the Characters and Mounts wheel, then used X/A or Space to summon a follower. Those summon confirmation keys remain earlier instructions; the documented release-to-switch action should not be replaced by an assumed press-to-cycle action.
Earlier Gather-command instructions, retained without independently verifying every current input or availability condition: For a faster approach, hold Start/Options and scroll to the Gather option on the right side of the menu. Selecting Gather will immediately summon all available companions to your location at once. This is the quickest way to assemble your full party without summoning each character individually.
Earlier dismissal controls and universal quest/boss restriction claim, not a newly verified requirement for every encounter: To send your companions away, open the character wheel again (Up on D-Pad or F1) and select the companion you want to dismiss. Press Space or A to disband them. You can dismiss companions one at a time or all at once. Disbanding is necessary before starting main story quests or entering boss encounters, since the game will prompt you to dismiss your party if you approach these activities with companions active.
Earlier switching comparison, not a guarantee of unrestricted instant switching in every activity: One of the most powerful aspects of the party system is the ability to switch between playable characters on the fly. Once your party is assembled, you can take direct control of any companion instantly, similar to switching characters in games like Grand Theft Auto.
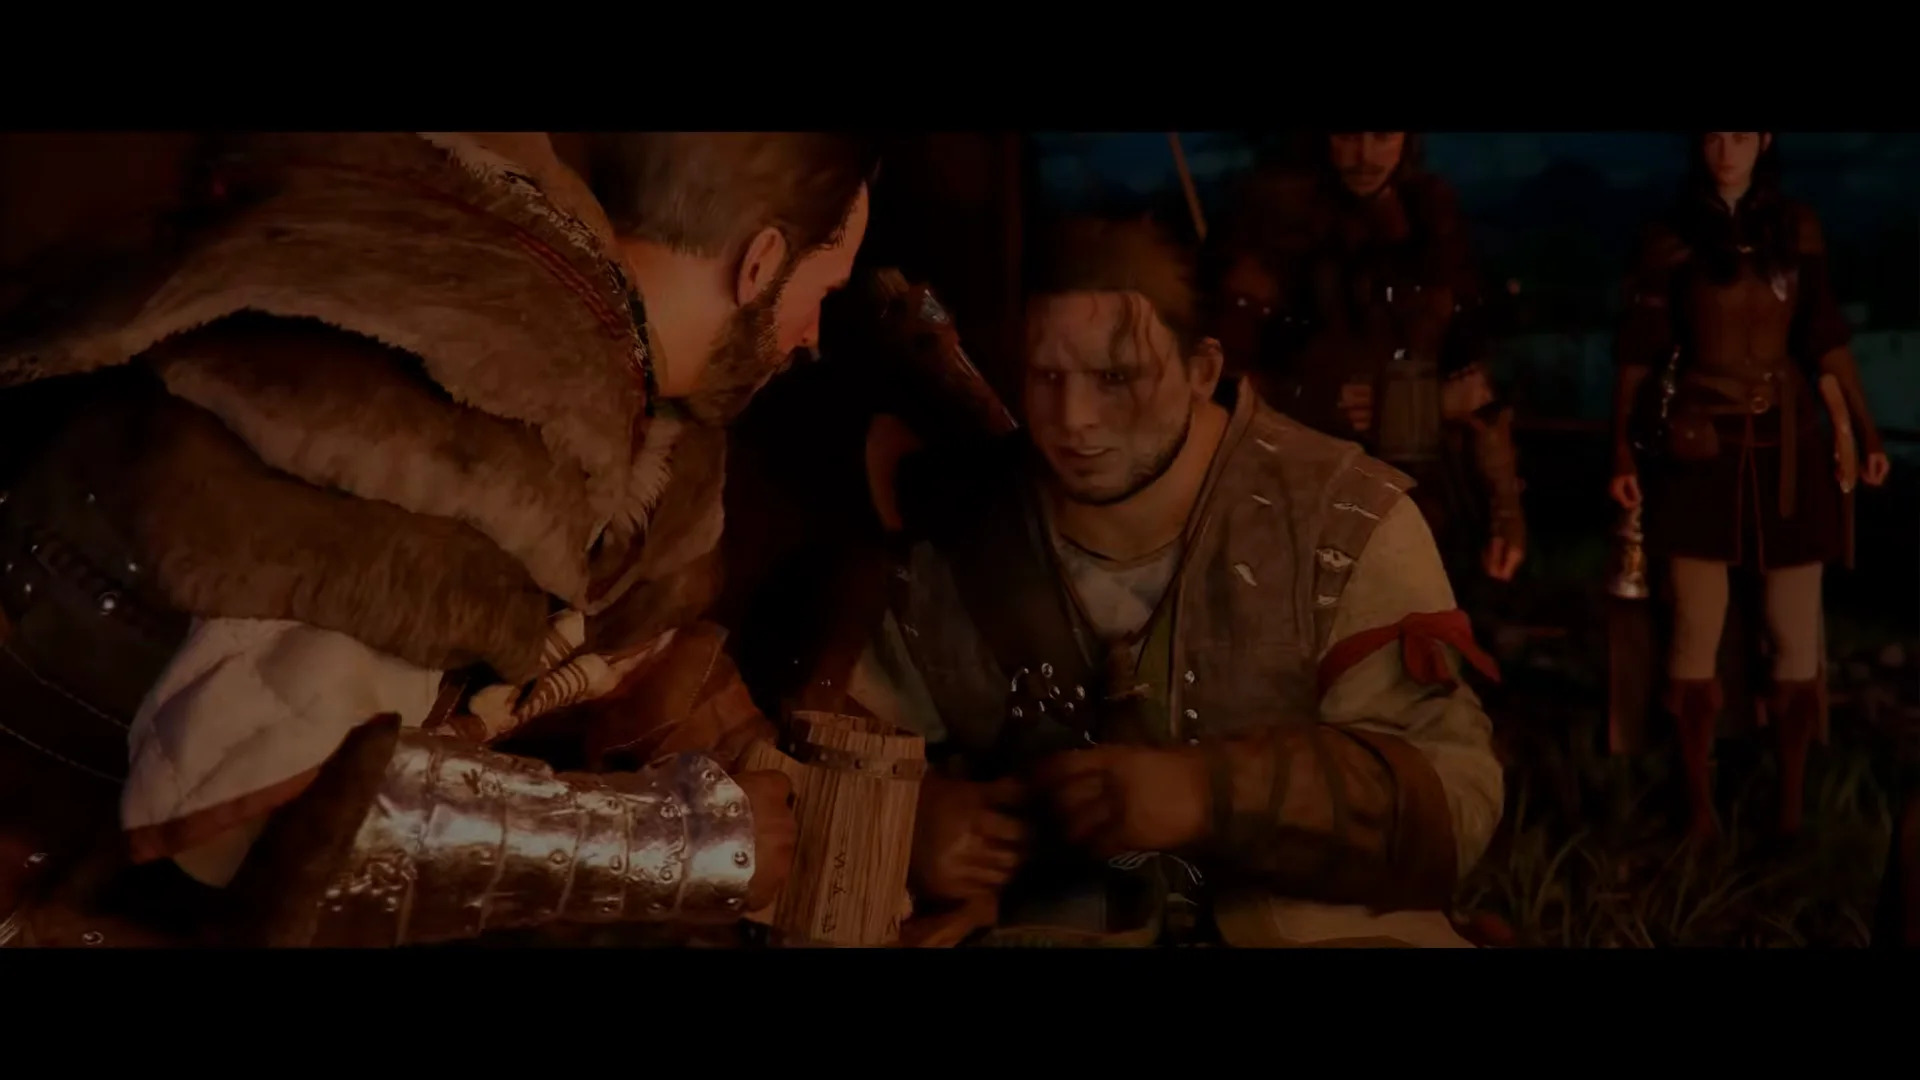
Hold Up on the D-Pad on a controller or F1 on a keyboard to open the radial menu, hover over the character, then release the held button to switch. Earlier notes described a nearly instant swap with no loading, including mid-combat use and the previous character continuing under AI control. Those timing and activity details remain earlier observations, not a guarantee for every encounter or quest state.
Earlier tactical advice, including the unverified claim of recovery while under AI control: Switching characters mid-encounter is a strong tactical tool. If Kliff is low on health, you can swap to Damiane or Oongka while Kliff recovers under AI control. Each character has different strengths, so switching lets you adapt to the situation. Oongka excels at breaking through armored enemies with his heavy attacks, while Damiane can use her agility to flank and deal quick damage. Kliff offers the most versatile toolkit with access to magic, swords, and ranged weapons.
Earlier AI behavior description; the patch notes establish accompaniment but do not verify every targeting, movement and recovery rule below: When you are not directly controlling a companion, they operate under AI control. The companion AI handles movement, targeting, and ability usage automatically. Understanding how the AI behaves helps you get the most out of your party.
Automatic Engagement: Companions detect and engage nearby enemies without any input from you. When combat begins, they choose targets and attack using their equipped weapons and abilities.
Aggro Distribution: Party members draw enemy attention away from the character you are controlling. This is especially valuable during large encounters with 50 or more enemies, since spreading aggro across three characters prevents you from being overwhelmed.
Independent Damage: Companions deal real damage based on their own equipped gear and invested skills. They can and will defeat enemies on their own, though their AI is not as efficient as a human player.
Recovery After Defeat: If a companion is knocked down during combat, they recover automatically once the encounter ends. Companions cannot permanently die.
Following: Outside of combat, companions follow the character you are controlling. They maintain a reasonable distance and keep pace with you.
Mounted Travel: Each companion rides their own horse when you mount up. The entire party travels on horseback together, making long-distance travel across Pywel feel like an actual group expedition.
World Interaction: Companions occasionally comment on the environment and react to world events, adding ambient dialogue that enhances the sense of traveling with a real group.
Each character has their own equipment loadout and skill tree. Version 2.00.00 changed the skill-learning resource system: when one character spends Abyss Artifacts to learn a skill, the other playable characters receive an equivalent number of Abyss Links for their own skills. The remaining shared-stat, inventory and equipment restrictions in the table are earlier guidance unless specifically updated here; the Link change alone does not prove those other sharing rules.
Resource | Shared or Separate | Details |
|---|---|---|
Separate | Each character uses specific weapon types. Kliff uses swords, bows, and gadgets. Damiane uses rapiers and firearms. Oongka uses axes and arm cannons. Weapons cannot be swapped between characters. | |
Separate | Each character equips their own armor pieces. Different characters may benefit from different armor sets. | |
Skill Trees | Separate | Each character has a unique skill tree. Investing points into Kliff's Marksmanship does not affect Damiane's or Oongka's Marksmanship level. |
Artifacts with individual Abyss Links | Spending Abyss Artifacts to learn a skill grants an equivalent number of Abyss Links to the other playable characters. Each character uses their own Links; an individual skill reset refunds that character's spent Links. This supersedes the older advice that a skill investment necessarily leaves the other characters with fewer learning resources. | |
Shared base stats | Base health, stamina, and spirit levels are shared across all characters. Upgrading these stats benefits the entire party. | |
Inventory | Shared | All three characters share a single inventory. Items, materials, and consumables are accessible regardless of which character you are controlling. |
The older recommendation was to focus investments on Kliff first and equip the others later, on the assumption that every skill investment depleted a single scarce pool for all three characters. Version 2.00.00 grants equivalent Links to the other characters when one spends Artifacts on learning a skill. Choose skills for the character and activity you plan to use rather than apply the old scarcity argument unchanged; the patch does not make every upgrade free or remove quest-specific character requirements.

Important warning: the older all-character reset rule has been superseded. Version 2.00.00 allows each character's skill progression to be reset individually and refunds that character's spent Links. The first launch after that update reset existing progression and refunded prior learning resources, including Artifacts; that one-time migration is not the normal rule for every later reset. Review builds for the selected character before spending its resources.
Earlier restriction explanations; check the active quest or encounter prompt rather than treat the following list as universal current coverage: The party system is intentionally restricted in certain areas of the game to maintain narrative focus and difficulty balance during critical story moments. Understanding these restrictions will save you time and frustration.
Restriction | Details |
|---|---|
Earlier restriction report, not independently verified for every current activity: Companions cannot accompany you during main story missions. The game displays a prompt saying this is a character-specific story segment, and you must disband your party before proceeding. This applies to all main quest objectives. | |
Boss Fights | Earlier notes required solo boss fights and dismissing companions before entry. Version 1.05.00 specifically permits a Rematch with Kliff, Oongka or Damiane. That is a playable-character choice for Rematch, not proof that AI companions participate in every boss fight or that every first-clear story restriction has been removed. Follow the actual encounter prompt. |
Earlier restriction report, not independently verified for every current activity: Some quest locations and objectives are restricted to a specific character. For instance, certain story moments are labeled as "Kliff's story" and cannot be progressed while in party mode. | |
Puzzle Sections | Earlier restriction report, not independently verified for every current activity: Companions cannot solve environmental puzzles for you. Puzzle segments generally require solo play. |
Temporary Unavailability | At certain points in the story, companions may be temporarily unavailable for summoning. This typically happens during narrative sequences where a companion is involved in a separate storyline. |
Earlier recommendations for party use; the following benefits and solo-only advice are not guarantees for every encounter: The party system shines in specific gameplay scenarios. Knowing when to summon your companions and when to go solo will help you make the most of this mechanic.
Open-World Exploration: Having companions active while roaming Pywel provides a constant safety net against random enemy encounters. Bandits, wildlife, and hostile faction patrols are far less threatening when you have two allies drawing fire and dealing damage.
Faction Base Liberation: Clearing faction-controlled outposts and encampments is one of the primary uses for the party system. These locations often feature large groups of enemies (sometimes 50 to 60 at once), and having companions to split aggro makes these fights significantly easier.
Side Content and Faction Quests: Most side quests and faction quests allow companions. Bringing your party along speeds up combat-heavy side content and reduces the difficulty of tougher optional encounters.
Material Gathering Runs: When exploring dangerous areas to collect crafting materials or other resources, having companions active means you can focus on gathering while they handle any enemies that wander into range.
Before approaching any main story quest marker, disband your party to avoid the dismissal prompt.
Before entering a known boss arena, dismiss companions since you will be forced to fight alone regardless.
If you want a greater challenge during optional content, going solo keeps the difficulty higher and can make side encounters more rewarding to overcome.
Action | Controller | Keyboard |
|---|---|---|
Open Character Wheel | Hold Up on D-Pad | Hold F1 |
Summon Companion | Earlier input report: Select character on wheel, press X/A | Earlier input report: Select character on wheel, press Space |
Switch Character | Hold Up, hover character, release Up | Hold F1, hover character, release F1 |
Gather All Companions | Earlier input report: Hold Start/Options, select Gather | Earlier input report: Hold Start/Options, select Gather |
Disband Companion | Earlier input report: Open Character Wheel, select companion, press A | Earlier input report: Open Character Wheel, select companion, press Space |
Earlier strategy, not a universal current companion guarantee: Summon your party as soon as you finish a main story quest and return to the open world. There is no penalty for having companions active, and the extra firepower makes everything easier.
Earlier strategy, not a universal current companion guarantee: Switch to a fresh character when your current one is low on health during a fight. The AI will keep the wounded character alive while you continue dealing damage with someone else.
Earlier strategy, not a universal current companion guarantee: Prioritize equipping your companions with decent gear even if they are AI-controlled. Companions deal damage and take hits based on their own equipment, so neglecting their loadouts weakens your entire party.
Earlier strategy, not a universal current companion guarantee: Invest in Oongka's super armor and healing skill nodes to make him a durable frontline tank. A well-built Oongka can absorb huge amounts of punishment while you and Damiane focus on dealing damage.
Earlier strategy, not a universal current companion guarantee: Use Damiane's Shield Throw ability to stun groups of enemies. When controlled by AI, she uses this skill automatically, which creates openings for your other characters to land heavy attacks.
Earlier strategy, not a universal current companion guarantee: Keep a habit of dismantling or selling surplus weapons and armor rather than hoarding them. Since inventory space is shared across all three characters, clutter from one character affects everyone.
Earlier strategy, not a universal current companion guarantee: When approaching a location that might trigger a main story quest, look for the notification prompt. If you see a message about the area being a character-specific story moment, disband your party before entering.
Abyss Artifacts and skill points now need the version 2.00.00 Link distinction. When one character spends Artifacts on skill learning, the others receive equivalent Links. The older advice to focus on farming artifacts through challenges, world bosses and exploration before spreading investments is retained as earlier route advice, rather than proof that investing in one character always deprives the others of learning resources.
Companions
Kliff
Damiane
Oongka
Tips and Tricks
Skills
Equipment
Faction Quests