Overview
The Axiom Archive is a large domed building on a floating island within The Abyss in Crimson Desert. It is the base of operations for Alustin, the alchemist and keeper of the Library of Providence, and is the site of several critical puzzles during Chapter 1. Players visit the Axiom Archive across two main quests: Polar Opposites (which involves opening the sealed entrance) and Abyss Without Balance (which takes place after the meeting with Alustin and covers the skybridge, power core, and Force Palm puzzles).
This guide walks through every puzzle in and around the Axiom Archive, from the rotating disc entrance mechanism to the Abyss Cell placement inside. No combat encounters occur during these sections, so the focus is entirely on puzzle-solving and platforming.
Quest Context
Detail | Information |
|---|---|
Chapter | Chapter 1: The First Encounter |
Region | |
Location | |
Polar Opposites (11th main quest), Abyss Without Balance (12th main quest) | |
Previous Quest | |
Next Quest | |
Rewards | Axiom Force (skill), Force Palm (skill), 2x Abyss Artifact |
Part 1: Reaching the Axiom Archive
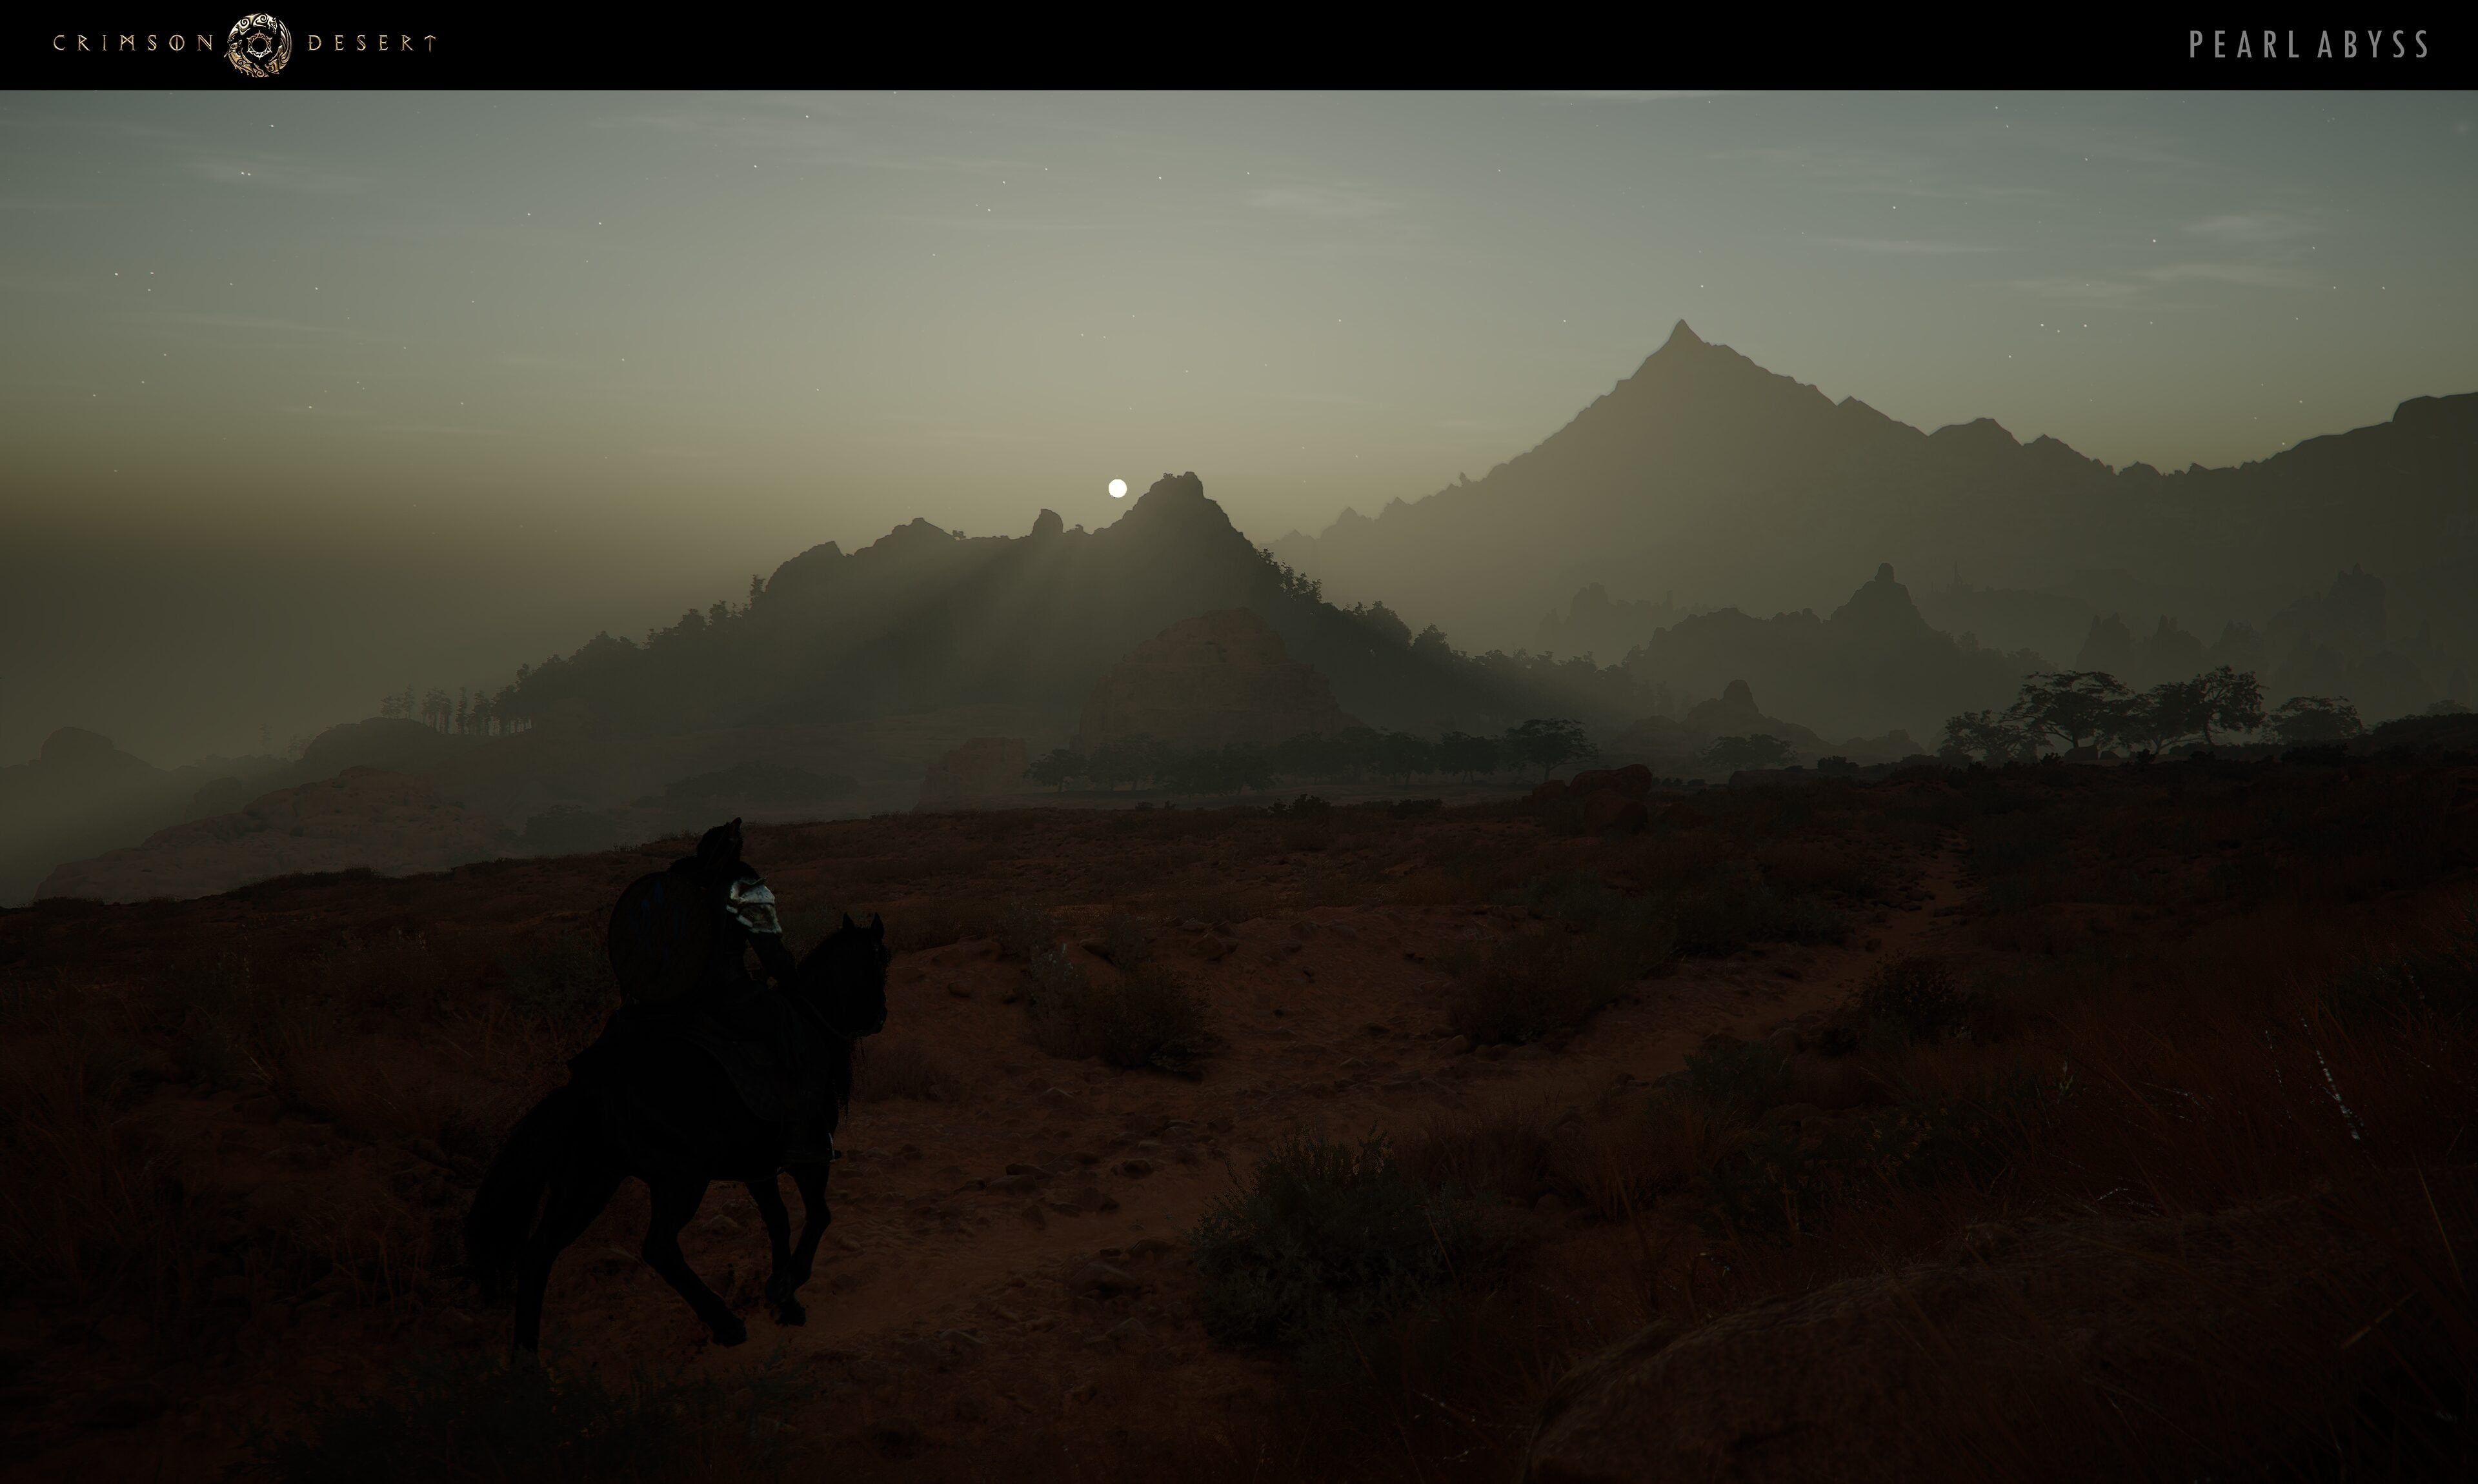
After using the Mystical Key to pass through the Abyss Gate in Hernand Castle, Kliff arrives on a floating island in The Abyss. The Axiom Archive is visible ahead as a large domed structure at the end of a walkway lined with garden trees and foliage.
Activate the Abyss Nexus
Before doing anything else, walk forward to the circular platform on the ground and stand on it for a few seconds. This activates the Abyss Nexus fast travel point, which appears as a blue icon on the sky map. Activating every Nexus you encounter is strongly recommended, since backtracking through The Abyss on foot is time-consuming.
Receive Axiom Force
Continue toward the Axiom Archive building. A cutscene triggers where a talking bird descends and grants Kliff the Axiom Force ability through the Axiom Bracelet. A tutorial explains the basics: hold L3 (PlayStation) or Left Stick (Xbox) or Tab (PC) to activate Axiom Force, which lets you push, pull, and rotate objects in the environment. The bird mentions that someone awaits inside the building.
Part 2: The Entrance Disc Puzzle
The main doors to the Axiom Archive are sealed. To open them, you need to solve a rotating disc puzzle that channels energy through a circuit of pipes running from the right side of the entrance to the doors.
Locating the Discs
As you approach the steps leading to the sealed doors, turn right among the hedges. Two rotating floor discs sit on the ground near some pipes. These are the only two discs you need to adjust; ignore any other mechanisms in the area.
How the Circuit Works
Each disc has yellow circuit lines etched into its surface. These lines need to connect with the fixed wires on the floor and adjacent pipes. When a connection is made correctly, blue light surges through the circuit segment, providing clear visual feedback. Once both discs are aligned and the full circuit is complete, the energy flows from the top pipe to the bottom one, powering the sealed doors and opening them.
Step-by-Step Solution
Reveal the circuit lines. Press L1 (PlayStation) or LB (Xbox) to activate your lantern. This illuminates the yellow circuit outlines on each disc. The yellow lines are not visible while Axiom Force is active, so check the outlines with the lantern first, then switch to Axiom Force to rotate.
Rotate the right disc. Hold L3/Left Stick to activate Axiom Force and target the right disc. Grab its outer edge (not the center) for easier control. Use the right analog stick to rotate it. Turn it clockwise until the 12 o'clock and 9 o'clock positions are lit. Blue light flows from the pipeline into the second disc when the alignment is correct.
Rotate the left disc. Release Axiom Force, check the lines with your lantern again if needed, then grab the left disc the same way. Rotate it clockwise until the 3 o'clock and 6 o'clock positions are lit. Blue light should now flow through the entire circuit.
Enter the building. With both discs aligned, the sealed tower doors open via a cutscene. Walk through the entrance into the Axiom Archive.
Troubleshooting the Disc Puzzle
Disc won't rotate smoothly: Make sure you are grabbing the outer edge of the disc, not the center. Targeting the center makes rotation much harder to control.
Lost track of alignment: Press Circle (PlayStation) or B (Xbox) to release the Axiom Force grip. Use the lantern to check the yellow lines again, then re-grab the disc.
Puzzle feels stuck: The puzzle is not timed and resets cleanly if you release your grip mid-rotation. There is no way to permanently lock a disc in a wrong position.
Axiom Force Controls Reference
Action | PlayStation | Xbox | PC |
|---|---|---|---|
Activate Axiom Force | Hold L3 | Hold Left Stick | Hold Tab |
Push object | R2 | RT | Right Mouse |
Pull object | L2 | LT | Left Mouse |
Rotate object | Right Stick | Right Stick | Mouse movement |
Release grip | Circle | B | Esc |
Reveal circuits (Lantern) | L1 | LB | Q |
Part 3: Meeting Alustin
Inside the Axiom Archive, Kliff meets Alustin, who is no longer disguised as the beggar from the Hernand inn. Alustin reveals that mysterious beings have been causing chaos across Pywel and that the Abyss holds both the problem and the answer. This conversation is the first time Alustin speaks plainly about the stakes, setting up the narrative foundation for the Abyss storyline that continues throughout the game. The Polar Opposites quest concludes with this conversation.
Part 4: Skybridge and Floating Platforms
After the conversation with Alustin, Kliff is teleported outside the Axiom Archive, and the Abyss Without Balance quest begins. The first obstacle is a skybridge alignment device.
Skybridge Alignment
Use Axiom Force on the alignment device near the triangular arch. Rotate the knob using the left analog stick (or D-pad left/right) until you hear a high-pitched clicking sound and see visual feedback (the device glows blue). On controllers, the vibration intensifies when the knob reaches the correct position. A bridge materializes between the floating islands once aligned.
Floating Platform Navigation
The platforming section features slow-moving platforms that travel diagonally between islands. Each platform follows a fixed cycle, moving from one island to another and back. The safest approach is to wait at the edge of each island and watch a platform complete one full cycle before jumping. These platforms move slowly enough that you can land reliably if you time your jump to when the platform is closest to your current position. Rushing through this section leads to missed jumps and respawns, so patience is the key.
Ethereal Pathway
After the floating platforms, you reach an Ethereal Pathway, a glowing floor section that teleports you instantly to a distant floating island when you step on it. Look for a shimmer effect on the ground that signals a teleport point. This mechanic recurs in later Abyss areas, so take note of the visual indicator here.
Part 5: Power Core Puzzle
On the large floating island with the second Abyss Nexus, a blue glowing cube floats in the center of the area. This is a power core that needs to be placed correctly to remove a barrier.
Step-by-Step Solution
Activate the second Abyss Nexus. Find the round floor plate marked with a white ring in the garden area and stand on it. This creates another fast travel point.
Grab the power core. Use Axiom Force (hold L3/Left Stick) on the blue floating cube in the center of the area.
Place it on the lantern. Carry the core to the deactivated lantern nearby and slot it in. The lantern's position is slightly elevated, so you may need to angle your Axiom Force grip upward to place the core correctly. Placing the core reactivates the lantern and removes a wall blocking the path below.
Drop down. With the wall removed, drop through the opened barrier into the lower area.
Part 6: Learning Force Palm
The lower area contains the most important puzzle in this sequence, as it teaches Kliff the Force Palm skill.
Step-by-Step Solution
Find the Abyss Cell. Look for a power cell (called an Abyss Cell) mounted on the right wall. A blue ghost appears nearby.
Observe the ghost. Hold L1 (PlayStation) or LB (Xbox) to observe the ghost's full demonstration. The ghost performs the Force Palm technique: a powerful palm strike that pushes objects into wall sockets. You must watch the entire demonstration for the skill to unlock. Skipping the observation means Force Palm remains locked.
Position the Abyss Cell. After learning Force Palm, use Axiom Force to grab the Abyss Cell and position it where the ghost indicated, against the wall socket on the south side. Rotate it so the flat side faces the wall.
Execute Force Palm. Press R3 to perform Force Palm and punch the cell into the wall socket. When struck correctly, the powered circular device glows from yellow to blue, and a recoil effect launches Kliff backward.
Part 7: Activating the Power Supply
Climb out of the pit. Return to the upper area and locate the large circular cog mechanism.
Scale the cog. Climb to the center of the cog mechanism.
Use Force Palm. Press R3 to strike the mechanism's center with Force Palm. This activates the power supply for the entire area and clears the path upward.
Part 8: Collecting the Abyss Artifact
Proceed to the top of the restored area. Climb the stairs and approach the glowing Abyss Artifact floating in the air. Kliff collects it automatically. A cutscene plays where the talking bird from the Polar Opposites quest reappears on the Ethereal Pathway and transforms into White Crow the Witch, revealing that the bird and White Crow are the same entity. The quest concludes, leading directly into the Woman in White quest.
Rewards
Reward | Details |
|---|---|
Granted by the talking bird before the disc puzzle. Allows pushing, pulling, and rotating objects throughout The Abyss. | |
Learned by observing the ghost demonstration in the lower area. A combat and puzzle skill that punches objects and enemies with an energy wave. | |
Collected during the Abyss Without Balance quest. Used in the skill tree to learn new skills or enhance core stats. | |
2x Abyss Nexus | Two fast travel points activated during the walkthrough, permanently available on the sky map. |
Axiom Archive Challenge
The Axiom Archive is also one of the 40 Abyss Challenges in the game. You can complete it during the Abyss Without Balance quest by collecting the Abyss Artifact at the end of the sequence. The Ethereal Pathway challenge is also available in the same area. Completing Abyss Challenges earns additional Abyss Artifacts, which are essential for character progression through the Skill Tree.
Tips
Activate every Abyss Nexus you see. Fast travel between Nexus points saves significant backtracking time in The Abyss.
The disc puzzle is not timed. Take your time aligning the circuits. Use the lantern frequently to check your progress.
Grab the outer edge of rotating discs for smoother control. Targeting the center makes rotation much harder.
The floating platforms in the skybridge section move on fixed cycles. Watch a platform complete one full loop before jumping to avoid falling.
When placing the power core on the elevated lantern, angle your Axiom Force grip slightly upward.
Do not skip the ghost observation in the lower area. Holding L1/LB and watching the full demonstration is the only way to unlock Force Palm.
Force Palm (R3) is useful in combat later. Practice its timing here where there are no enemies.
From the sky islands, you can skydive to nearby ground locations. Look for white question mark circles on the map for points of interest.
Related Articles
Axiom Archive (location page)
Polar Opposites (quest walkthrough)
Abyss Without Balance (quest walkthrough)
Axiom Bracelet
Force Palm
Alustin
The Abyss
Abyss Challenges
White Crow the Witch