Loading...
Loading...
Fast Travel
April 18, 2026 at 01:51 AM
Embedded 1 image(s) into article
Fast travel in Windrose uses a placeable Fast Travel Bell system. Once unlocked, players can craft bells, place them at strategic locations, and instantly teleport between them or return home from their ship. The system pairs with the K-key ship summon to dramatically reduce time spent traversing the archipelago.
The Fast Travel Bell recipe unlocks after smelting your first Copper Ore at the Smelting Furnace. This means you need to find Copper Ore in island caves, build a Charcoal Kiln (25 Wood + 20 Clay) and a Smelting Furnace (15 Clay + 30 Stone), then smelt at least one Copper Ingot. Once you reach Copper Ingots, the bell recipe becomes available at the Workbench.
Item or Action | Details |
|---|---|
Fast Travel Point | Placed via Build menu: 1 Bell + 20 Wood, shoreline area |
Minimum active points | 2 required for the network to function |
Maximum active points | 10 simultaneously |
Restriction | Bells cannot be placed near trading posts |
Bell-to-Bell: Place bells at different locations and teleport between any two placed bells instantly
Ship-to-Home: Open the map interface while on your ship and teleport directly back to your base bell
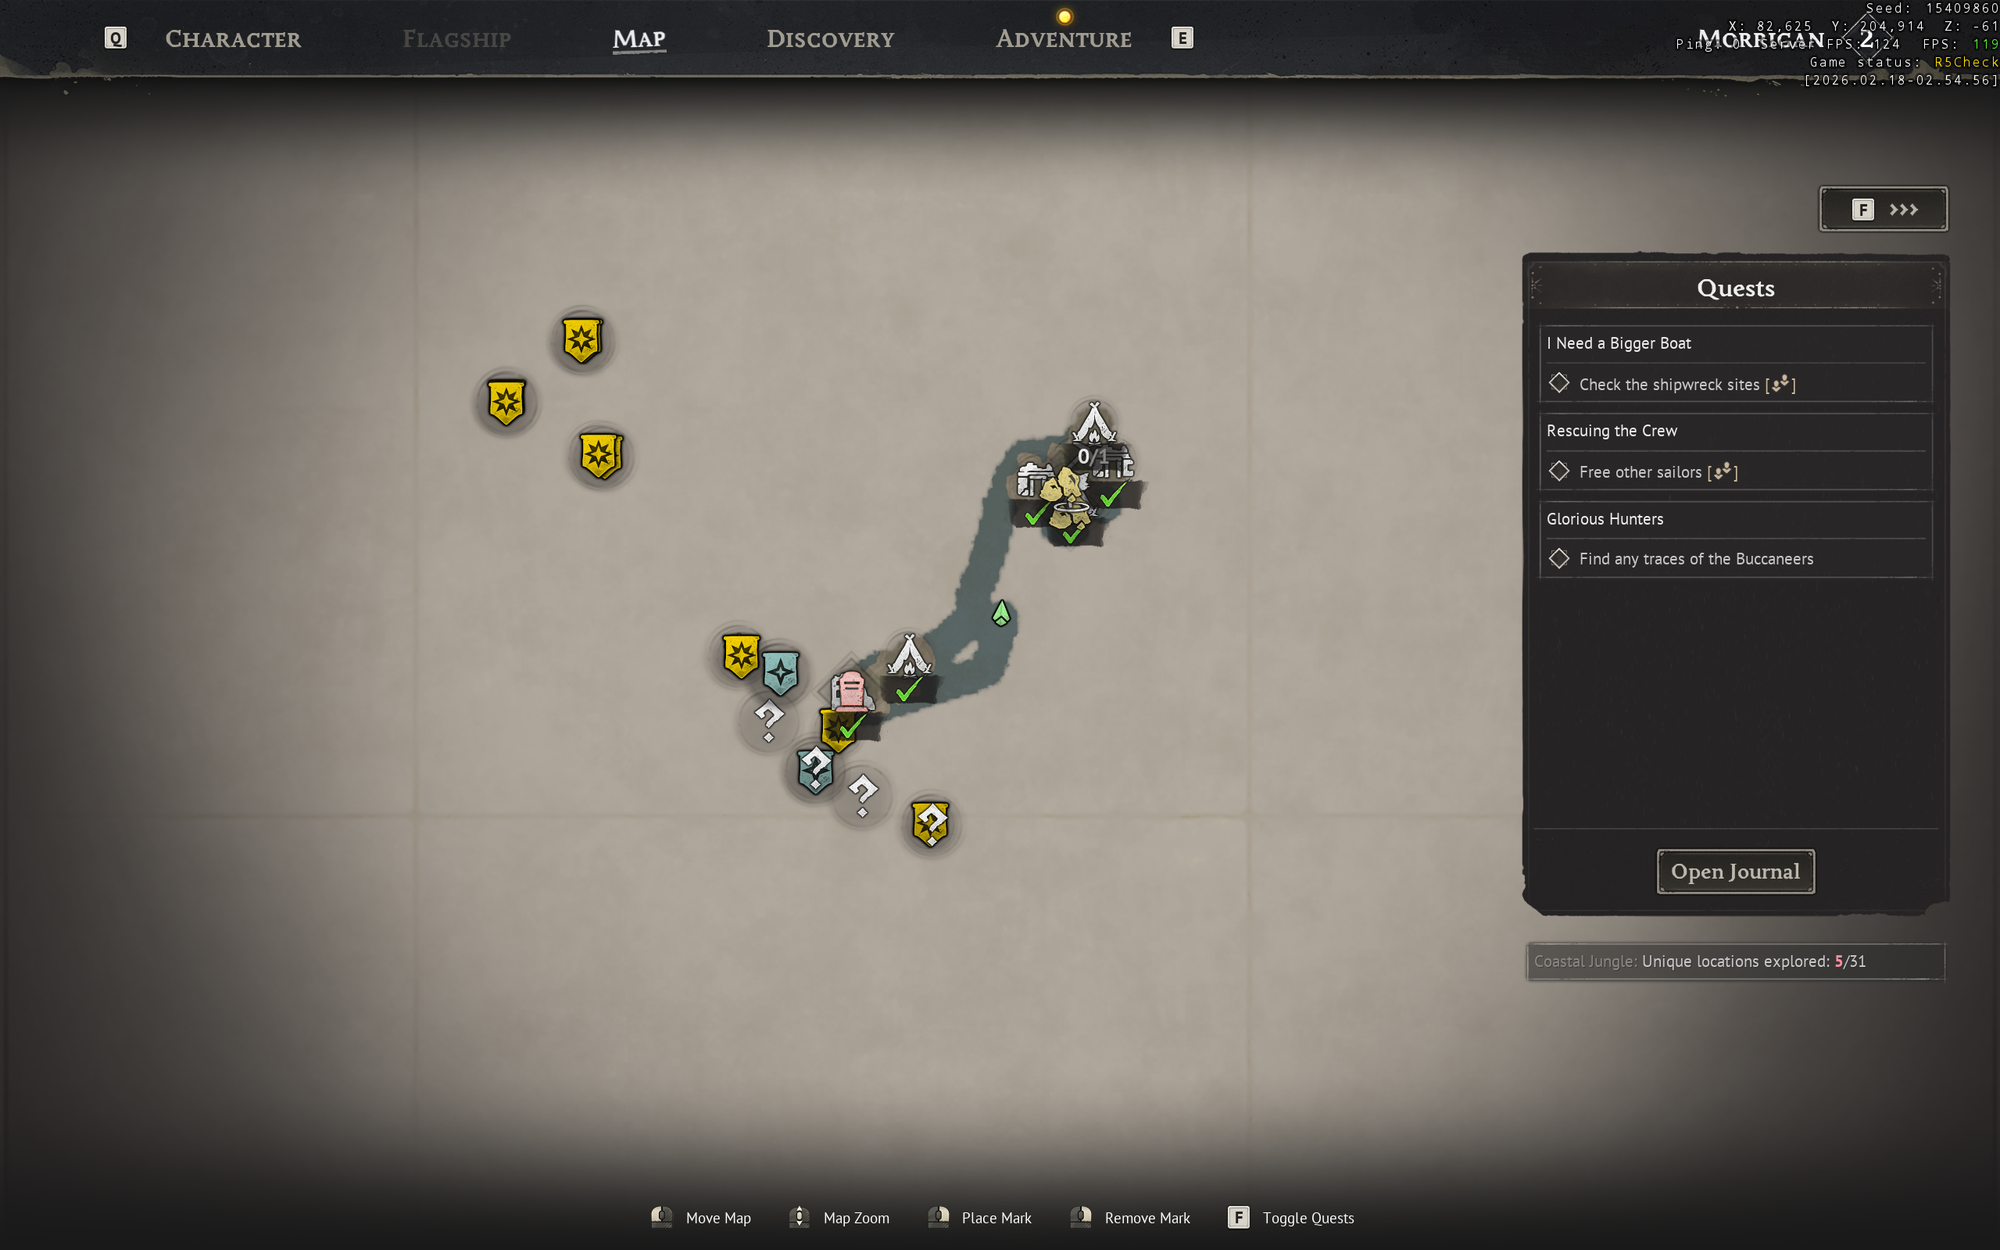
Map Interface: World map (M key) shows all placed bells and their names
Placing bells at the right locations dramatically reduces time spent sailing between islands. Recommended placement spots include:
Your main base (essential; this is where you teleport back to from the ship)
Near dungeon entrances for quick loot runs
Near rich resource deposits for farming routes
On remote islands you visit frequently
Near quest objectives during active questlines
At Copper Cave entrances on the starting island
At pirate camps you farm daily for Gunpowder
Some Fast Travel Bells can be found pre-placed inside smuggler dens and other points of interest, discoverable without consuming your crafting limit. Two confirmed locations on the starting island both reward bells:
Location | Notes |
|---|---|
First Fast Travel Bell; entrance concealed by foliage; guarded by a Drowner | |
Second Fast Travel Bell; two chests requiring platforming or hidden-button interaction; guarded by aggressive boars |
Fast travel and ship summoning (press K) complement each other. Ship summoning brings your vessel to any coastline instantly, while fast travel teleports your character. A typical exploration loop involves: sailing to a distant island, placing a bell, exploring and looting, teleporting home to deposit resources, then using the bell to return and continue exploring. The Wharf at your home base also lets you rebuild a destroyed ship for 20 Wood, so losing a ship at sea is not a disaster when combined with fast travel.
The Alchemy Table produces a consumable called Homeward Journey that functions as a utility travel potion. It can serve as an emergency fast-travel option when no placed bell is nearby. Homeward Journey is especially useful during long exploration trips to new biomes before you have had a chance to place bells at outposts.
Fast Travel Bell - building entry
Ship Types - K-key ship summoning
Smuggler's Cache - first bell location
Exploration - archipelago traversal
Creator guides for the launch build consistently describe fast travel as having exactly two delivery methods, and understanding when to use each one is the difference between a smooth exploration loop and an exhausting one.
Beacon-to-beacon on foot. Walk up to a Fast Travel Bell (or a beacon built from one) and interact with it. You can then select any other connected beacon on the map and teleport there instantly, carrying your full inventory. This is the everyday method for moving between outposts, base, and frequently visited resource islands.
Ship helm to any beacon. While you are at the helm of a ship and actively steering, you can open the world map and jump directly to any beacon on the network. The helm requirement is strict: standing on deck, sitting in the crow's nest, or leaning on a rail is not enough. You must be driving. This method is how you stretch the network after a long voyage; instead of sailing all the way home, you anchor, take the helm, and warp to your base bell.
The single most important rule creator guides stress for travel is: the first thing you do on a new island is place a Tent, and ideally a Fast Travel Bell right next to it. The tent sets your respawn point, so if you die ten or fifteen minutes' sail from base, you come back on the island you were exploring rather than resetting the entire trip.
Without a tent, dying on a remote island means respawning at your main camp and re-sailing everything: the crossing, the coastline scouting, the approach. With a tent, death costs a single run back to the fight you just lost. The tent is cheap and the upside is enormous; there is no reason to skip it on any serious expedition.
Order of operations on landfall: clear a small safe spot near the shore, drop a Tent, drop a Fast Travel Bell or beacon, then begin exploring.
Tents for respawn, bells for convenience: the tent is the insurance policy; the bell is the quality-of-life shortcut. Both are worth placing.
Remote resource islands deserve bells: if an island has heavy resource deposits (copper ore, iron, hardwood), putting a bell there lets you haul full inventories home without round-trip sailing.
Return trips are the real win: fast travel is not just about getting somewhere, it is about cutting dead time on the way back. Bells pay for themselves the first time you haul a full backpack home in one click.
Windrose does not apply any cost, cooldown, or penalty to fast travel. You do not lose resources, forfeit buffs, accelerate hunger/thirst, or trigger any hidden timer by warping. The only constraint is that the destination must be a placed beacon (or a fixed point such as Tortuga), and the ship-helm variant requires you to actually be steering.
This matters for planning. Because the penalty is zero, the correct habit is to use fast travel aggressively: warp home the moment the backpack is full, warp back out the moment you have deposited and re-provisioned, and never walk the same coastline twice. Players who hesitate to "waste" a fast travel are leaving hours of overland time on the table for no benefit.
A typical creator-recommended exploration loop on a new island looks like this:
Sail to the target island. Beach the ship on a safe shoreline.
Drop a Tent and a Fast Travel Bell near the landing spot before doing anything else.
Explore, loot, fight. If you die, you respawn at the tent; the trip is not wasted.
When the backpack fills, use the bell to fast-travel home, deposit loot, restock food and bandages.
Fast-travel back to the island bell (or helm-warp from a ship) and continue.
The Homeward Journey potion listed above as an Alchemy alternative is not craftable from a fresh save. It requires a Level 2 Alchemy Table, and levelling an Alchemy Table follows the same add-on upgrade pattern as every other Crafting station in the game.
To reach Level 2, build the Alchemy Table first (unlocked by picking up a Misty Orchid) and then place a Stove and Pot within the same Bonfire radius. The Stove and Pot add-on silently promotes every Alchemy Table inside the zone, and the Homeward Journey recipe appears on the crafting panel once the promotion applies. See Base Building for the full explanation of how add-on structures broadcast upgrades across the bonfire radius.
The upgrade path effectively splits emergency fast-travel into two phases. Early on, before the Level 2 lab is standing, the placed-bell network and the ship-to-bell warp are the only retreat options, which is why creator guides press so hard on putting a bell and a tent down on every new island. Once the Stove and Pot is up, Homeward Journey becomes a pocketed panic button for the scenario where no bell is within reach and the ship is out of contact.
Before Level 2 Alchemy: rely on the placed-bell network, the helm-warp from the ship, and the tent-plus-bell landfall protocol described above.
After Level 2 Alchemy: brew Homeward Journey in batches, keep two or three in the hotbar, and treat them as a last-resort warp when the expedition has wandered too far from any bell.
Upgrade dependency chain: the Stove and Pot add-on consumes Clay, so a deep clay pass on the starter coastline pays forward into both the Cooking Fire kitchen upgrades and the Homeward Journey unlock.
The Fast Travel system has two distinct craftables. The Bell is the item that goes into inventory, and the Point is the placed structure that becomes the actual jump destination. Both need to be crafted in sequence before any travel link becomes usable:
Item | Recipe | Build Menu Location |
|---|---|---|
10x Copper Ingot, 3x Rope | Building Mode > Crafting & Utilities > Utilities | |
Fast Travel Point | 1x Fast Travel Bell, 10x Wood | Building Mode (place after the Bell is crafted) |
Fast Travel Points are placed manually in the world; the world map cannot be used to drop a travel point remotely. The sited location also typically needs a Bonfire nearby because the Bonfire is what makes the point eligible for ship-summon via the Wharf. The safe pattern is to build a Bonfire, then the Fast Travel Point adjacent to it, then a Wharf if the location is intended to be a sail-out hub. Once the structure is placed, the Fast Travel Point appears as an icon on the world map and can be used from any other Bell-equipped location.
Active Fast Travel Point cap: up to ten active Fast Travel Points may exist in the world at any time. The limit is generous but not unlimited, which means placement still matters. Points that serve a temporary purpose (a dungeon run, a specific farming cluster) should be dismantled when the purpose ends so the slot opens up for the next biome. Demolishing a Point refunds its materials, so rotating nodes costs nothing other than placement time.
Pre-existing faction Fast Travel Points: major faction hubs like Tortuga, the Brethren of the Coast main base, and the People of Tortuga camp have pre-placed Fast Travel Points that activate permanently the first time the player physically visits them. These do not consume any of the player's ten Point slots, so adding a player-built Point at the same location is purely optional and usually a waste of materials.
On foot, Fast Travel Points require interacting with a Bell at either end of the jump. At sea, the system is different: while steering the ship, open the world map and select any active Fast Travel Point directly. The jump is available only when the ship is not in combat and not currently being chased by a hostile vessel. Pressing K summons the ship to the player's current shoreline if the ship is not already nearby, which pairs with the map-travel flow to turn any Fast Travel Point into a sail-out hub without manual repositioning.
The Homeward Journey potion teleports the player directly to the current revival point rather than to a placed Fast Travel Point. It is the fastest emergency return option, ideal for situations where the player is deep in a dungeon, overloaded with loot, or stranded far from any Bell. The potion is crafted at a Level 2 Alchemy Table (a base Alchemy Table plus the Stove and Pot companion structure). Recipe:
Ingredient | Amount | Typical Source |
|---|---|---|
3 | Crafted from Clay Bottles at the Alchemy Table | |
1 | Sailor camps, pirate loot, early main-quest sailor fights | |
5 | Azure Dodos and other Coastal Jungle birds | |
1 | Drowned enemies at night or undead-themed quests |
Craft cadence: Rum Bottles are shared with the Combat Repair Kit recipe, so a base running both naval combat and active alchemy can deplete Rum stockpiles faster than Dodo-hunting provides Feathers. Carry at least two Homeward Journey potions before entering a dungeon, not one, because a single potion used on the inbound leg leaves no return option if a boss phase goes sideways.
There is a quiet asymmetry between the two ship-side warp methods that catches almost every co-op crew the first time they use it. Both use the world map, both are available while sailing, and both look identical from the menu, but the result is different.
Helm warp moves the ship and crew. Standing at the helm and actively steering, then opening the world map and selecting a Fast Travel Bell network node, jumps the entire vessel to the destination. The captain, every co-op passenger on board, and the ship itself all arrive together. This is the intended way to skip a long leg of a return voyage.
Map warp from anywhere on the deck moves only your character. If you open the map without taking the helm and select a Fast Travel Point, only your character teleports. The ship stays on the water where you left it, and any co-op partners still on the vessel stay with the ship rather than coming with you. The destination loads, the inventory carries, but the ship does not. This is the variant that surprises crews most: a player who only needs to deposit loot at base will warp out, leave their crewmate stranded mid-voyage, and have to summon the ship back with the K-key once they return to the shoreline.
How to recover the stranded ship. After a personal map warp, you can press K from any coastline to summon the ship to your current position. The ship sails itself to the nearest valid beach. Co-op partners who were aboard ride along automatically, so the practical fix is just K-summon and wait the few seconds for the hull to dock. The takeaway: if the goal is to keep the whole crew together on a single warp, take the helm first; if the goal is a solo errand back to base while a partner keeps fishing or hauling, the personal map warp is correct, just remember the partner is still standing on a ship that just lost its captain.