
Loading...
Loading...
Wharf
April 27, 2026 at 12:52 PM
Added Game Data section with build cost, recipes, and trade info
The Wharf is the central ship-management building in Windrose. It is the station players build to equip cannons on their Ketch, construct new ships, and rebuild destroyed vessels. The Wharf must be placed on the shoreline.
Attribute | Details |
|---|---|
Cost | 10 Wood + 10 Coarse Fabric |
Placement | Shoreline, within Bonfire range |
HP | Not documented in public sources |
Unlocked by | Seafarer quest objective to craft cannons for the ship |
Function | Description |
|---|---|
Manage Ship | Equip cannons, hull bracing, and boarding gear via drag-and-drop into Ship Gear slots |
Build Ships | |
Repair / Salvage | Rebuild destroyed ships for 20 Wood, then press K to respawn |
Shipyard tab | Access vessel designs available at your progression point |
If your ship is destroyed at sea or sailed out of bounds, return to shore
Use the Wharf's Repair/Salvage option for 20 Wood
Press K to respawn the repaired ship at your current coastline
Ship destruction is not permanent. Rebuilding costs roughly three palm trees of Wood. The much more painful loss is the time spent sailing out and back, which is why players often keep a Fast Travel Bell at their home Wharf to minimize the round trip.
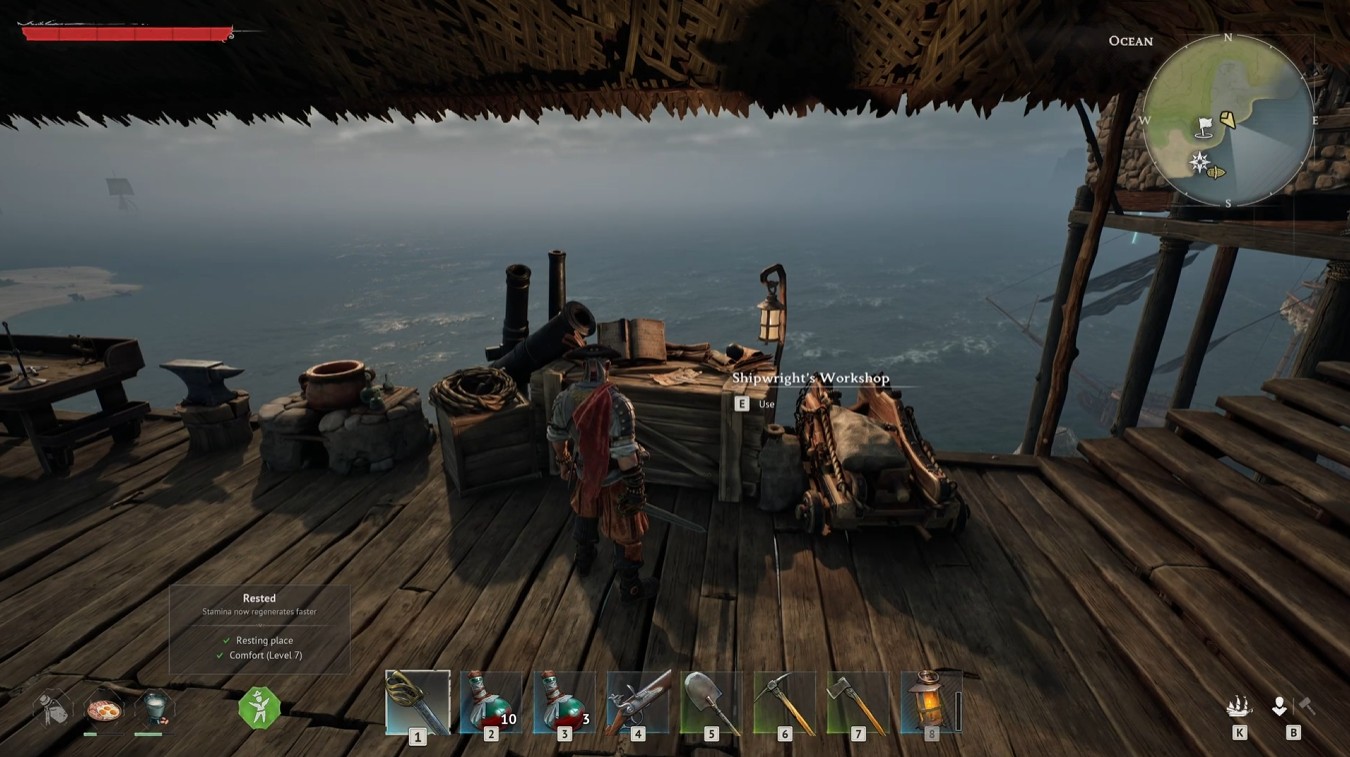
Shipwright's Workshop - crafts ship equipment
Ship Types - available vessels
Naval Combat - ship battles
Ship Customization - customization options
The Wharf is the last stop before any serious engagement. Community guides from the Early Access window converge on a simple pre-sail ritual that turns a freshly crafted stack of ship gear into an actually combat-ready vessel.
Order | Action | Why It Matters |
|---|---|---|
1 | Open Manage Ship | Drag every newly crafted or upgraded cannon, hull armor piece, and boarding equipment from your inventory into the Ship Gear slots. Gear in the inventory does nothing on the water; only equipped gear applies |
2 | Check upgrade tier | Confirm each piece is upgraded to the current material cap. If the upgrade recipe asks for a new material you do not recognize, that is the game signaling you need to progress further in the story before more upgrades become available |
3 | Stock repair kits | Transfer at least four Combat Repair Kits into the ship hold. These are your hull HP potions during combat |
4 | Stock grogs | Place at least one Grog (damage, reload speed, or damage reduction) in the hold. Which grog depends on the fight you plan to take |
5 | Assign hotbar slots | Move the Repair Kit and Grog into the hotbar hotkeys before casting off. Mid-combat menu fumbling is one of the most common causes of a sunk ship |
The Wharf is the correct place to finalize your combat hotbar because the Manage Ship and inventory interfaces are both open at the same station. Set the consumables that matter for the next fight into the hotbar numeric slots: repair kit on one slot, grog on another, healing potion on a third, ranged weapon on a fourth. Once you sail out, the hotbar is read-only in practice because you will not have time to rearrange it in a firefight.
A typical naval-combat hotbar: slot 1 for the primary melee weapon (used if boarding), slot 2 for the blunderbuss (softens enemy sailors before boarding), slot 3 for Combat Repair Kits, slot 4 for the selected grog, slot 5 for healing potions or food buffs. Trigger the grog just before cannons start trading, not after you take the first hit.
The Manage Ship window shows three categories of Ship Gear slots: Cannons (one slot per mounted cannon, varying by hull class), Hull Bracing (ship armor that reduces incoming damage), and Boarding Equipment (buffs NPC crew HP, Defense, and Attack during boarding). Each slot is independent: a cannon upgrade does not improve hull bracing, and vice versa.
Cannons use per-cannon upgrades. A Ketch with six cannon slots takes six separate upgrade passes at the Shipwright's Workshop Upgrade tab, each costing Copper Ingots and Wooden Planks
Hull Bracing is a single slot with its own upgrade track. Upgrading the bracing is the single largest incoming-damage reduction you can apply to the ship
Boarding Equipment is the single most impactful slot for boarding survivability. Fully upgraded Boarding Party Gear turns the NPC crew from speed bumps into reliable combatants
Drag-and-drop applies only to the slot that matches the gear category. Cannon items refuse to slot into hull bracing, and vice versa. If an item will not drop into a slot, check the item tooltip to confirm the category rather than assuming a bug. Refer to Ship Customization for the broader slot layout and to Windrose Naval Tactics for the dedicated Naval Tactics slot that unlocks at Smuggler rank 3.
An easy-to-miss mechanic: when you run out of usable upgrade recipes at the Wharf and Shipwright's Workshop (the materials the next upgrade asks for are materials you have never seen), it is the game's way of telling you that the current zone is tapped out. Rather than grinding copper in circles, push further into the main quest. The next zone drops the next material tier, which immediately unlocks the next round of Wharf-side upgrades. Players who ignore this signal routinely sail into fights under-leveled because they are stuck on blue gear when they should already be on purple.
The Wharf option only appears in the build menu after a specific sequence of early-game story progress. Three quest steps have to be completed before the blueprint becomes visible.
Rescuing the Crew: the main quest that has the player recover the scattered crew across the starting island.
I Need a Bigger Boat: the follow-up story quest that drives the shipbuilding questline forward.
The cannon-crafting step of the Seafarer quest chain, where the player is asked to craft 12-pounder cannons. The Wharf option stays hidden until this step is accepted.
Before these three conditions are met, the Wharf blueprint is not simply locked behind a greyed-out icon. It does not show up in the build menu at all, which is why players who have only rescued the crew often assume the building is bugged. It is not; the cannon step is the gate.
Most community setup guides converge on the same early-base order. The Wharf slots in after the core crafting and storage chain, not before it, because the ship work that the Wharf enables assumes a running supply of ingots and kit items from the rest of the base.
Step | Structure | Why |
|---|---|---|
1 | Foundation, walls, roof | Basic shelter and weather protection. Without them, sleep and respawn mechanics misbehave. |
2 | Every crafting-related recipe chain flows from here. The Wharf's repair material loop assumes rope and cloth are available, both of which start at the Workbench. | |
3 | Copper smelting unlocks cannon upgrades and most mid-game armor. Building these before the Wharf means the first ship gear upgrade pass is not material-starved. | |
4 | Storage chests | The Wharf moves loot between inventory and ship; a dedicated storage tier keeps Combat Repair Kits and grogs separated from general cargo. |
5 | Wharf | Mandatory before any serious naval engagement. Complete the cannon quest, then build. |
6 | Decorations and comfort furniture | Useful but not critical in the first hours. Safe to defer until mid-game. |
A handful of recurring errors account for most of the confusion new captains run into at the Wharf. All four are avoidable with a quick check before interacting with the station.
Searching for a pre-built Wharf at Tortuga. There is not one. Tortuga is the faction hub for vendors and NPC workers, not for player ship infrastructure. The Wharf has to be built by the player at their own base.
Placing the Wharf away from the water. The station refuses to snap into place on dry land. If the placement indicator will not turn green, the chosen spot is too far from the shoreline or the tide is wrong.
Crafting at the Shipwright's Workshop and walking back to the ship. Gear produced at the Shipwright's Workshop still needs to be installed at the Wharf. The 'manage the gear of your Ship while close to a Wharf' prompt in the HUD is the game's reminder that the install step is missing.
Abandoning a destroyed ship. Walk up to the Wharf, pay 20 Wood, and press K to respawn the ship fully repaired. The respawn feature unlocks alongside the Wharf itself and stays available for every later vessel.
Players frequently forget the last point because the first destruction happens quickly and feels punitive. The repair-respawn loop turns what looks like a full progression loss into a twenty-wood top-up. No ship is permanently lost.
The three primary Wharf-installable ship upgrades carry distinct stat lines. Knowing the numbers per piece makes it easier to decide which slot to prioritize first when material is limited:
Ship Equipment | Recipe | Effect / Stat |
|---|---|---|
12-Pounder Cannon | 10x Copper Ingot, 10x Wood | 100 Attack (listed), roughly 1500 damage per volley, 11-second reload |
7x Copper Ingot, 7x Rough Hide, 7x Coarse Fabric | 100 Attack buff to NPC crew during boarding actions | |
Hull Bracing (base) | See Shipwright's Workshop recipe | 100 Defense on equipped slot; single largest incoming-damage reduction source |
Installation flow reminder: each of these three items is crafted at the Shipwright's Workshop but installed at the Wharf. Open Manage Ship, drag the crafted item from the Character Action Panel into the matching Ship Gear slot (cannon slots for cannons, hull bracing slot for Hull Bracing, boarding equipment slot for Boarding Party Gear). Gear sitting in the general inventory does not apply during naval combat; only equipped Ship Gear slot content is active.
In addition to ship construction and gear management, the Wharf exposes a cosmetic customization panel that is easy to miss. Standing near the Wharf and pressing D opens a separate panel from the standard Manage Ship menu. Options available:
Rename the active vessel. The new name appears on the minimap, in fleet engagement logs, and during boarding prompts.
Swap sail patterns across a range of unlockable textures and motifs.
Change primary and secondary ship colors for hull and trim.
Toggle or choose a flag matching any faction with which reputation has already been earned.
Why it matters: beyond pure aesthetics, the faction flag toggle is a passive-reputation indicator in co-op sessions. Allies can identify an alignment at a glance, and hostile NPC factions sometimes react to a flag by opening fire sooner. A neutral or unmarked flag is the safer default when sailing through contested waters during a main-story transition.
When a sunk ship is restored at the Wharf's recovery menu, the material cost scales with the ship's hull class and fitted gear tier. A bare Ketch is the cheapest hull in the game to rebuild and usually runs on the same few resources as the original craft. A Brig sits in the middle tier. A fully equipped Frigate with upgraded cannons, hull bracing, and boarding gear is the most expensive recovery and can demand hundreds of Wooden Planks plus mid-tier metal components.
Cargo hold contents are automatically restored with the ship; the recovery cost only covers the vessel itself. Because cargo is preserved, a captain deep in contraband or artifact loot should never fight to the last hull point. Strategic withdrawal and a Wharf rebuild almost always costs less than the combined ship-recovery-plus-corpse-run after a final stand.
A Wharf is not limited to the home base. The blueprint lives in the build menu permanently once it has been unlocked, so a captain caught on the back foot in a fleet fight can sail to any nearby coastline, drop a new Wharf on the shore, and use its repair option to restore the ship to full hull for twenty wood. This is the fastest emergency patch in the game, and it works no matter how battered the ship is when the repair is triggered.
Keep at least ten wood and ten coarse fabric aboard the flagship at all times so that the emergency Wharf can be built without a return trip to base. Both resources stack lightly and fit easily in the ship hold alongside the usual Combat Repair Kit stash. Once the kit is in the hold:
Break off: disengage from the fleet and steer to the nearest shoreline with at least one open tile of beach.
Beach the ship: dock close enough that the Wharf placement indicator turns green on the adjacent shore.
Place and interact: drop the Wharf, approach it, and trigger the ship repair for twenty wood.
Re-engage: sail back into the fight with full hull HP. Cargo hold contents are preserved the whole time.
The tactic is repeatable. Every successful repair costs a flat twenty wood, no matter the size of the vessel or how much hull damage is being undone, so a long fleet engagement can be sustained through multiple beach trips if the wood supply holds. Carry a small stockpile and the tactic never runs out.
Property | Value |
|---|---|
Max Health | 4,500 |
Duration: 1s
?
How My Sea Adventure Began
Ingredients
Wood
x10
Coarse Fabric
x10
Crafts
Name
Blackbeard Brig
Blackbeard Frigate
Blackbeard Ketch
Brethren Brig
Brethren Frigate
Brethren Ketch
Brig
Frigate
Ketch