Loading...
Loading...
Animal Feed
March 25, 2026 at 04:55 AM
Content expansion (2026-03-24)
Animal Feed is the fuel that keeps your livestock happy and productive in Starsand Island. Every animal on your farm must be fed daily in order to stay healthy and produce byproducts like wool, eggs, milk, and truffles. You can either purchase feed from Pastelle's shop at Green Pasture Ranch or craft it yourself using a Feeder station. Crafting your own feed is cheaper in the long run and lets you produce higher-quality variants as you advance through the Rancher profession.
You receive the basic Feeder station after completing the Apprentice Rancher certification with Pastelle. Before this point, you must buy feed directly from her shop. The Feeder is built at a Worktable I and, once placed on your farm, gives you access to crafting feed for every animal type you have unlocked.
A Feeder can also be purchased from Pastelle's shop as a blueprint. If you want multiple Feeders for convenience (one near each enclosure area, for example), you can build as many as you have materials for.
Each animal species requires its own specific feed type. The Feeder produces 12 standard feed varieties:
Feed Type | For Animal | Rancher Tier |
|---|---|---|
Rabbit Feed | Rabbit | Beginner |
Chicken Feed | Chicken | Junior |
Duck Feed | Duck | Junior |
Sheep Feed | Snowool, Ebowool | Intermediate |
Cattle Feed | Cow | Intermediate |
Pig Feed | Pig | Intermediate |
Royal Jelly | Bumblebee | Intermediate |
Horse Feed | Horse | Senior |
Deer Feed | Spotted Deer | Senior |
Musk Deer Feed | Musk Deer | Senior |
Alpaca Feed | Alpaca | Expert |
Ostrich Feed | Ostrich | Expert |
Feed recipes share a pool of common ingredients. Understanding where to get each one is crucial for keeping up with daily demand:
Ingredient | How to Obtain | Used In |
|---|---|---|
Pasture Grass | Clearing shrubs, grass, and weeds around the island | Rabbit Feed, Cattle Feed, Sheep Feed, and others |
Fruit Pulp | Process any fruit in a Separator (free blueprint from Zerine) | Cattle Feed, Sheep Feed, and large herbivore feeds |
Vegetable Juice | Process any vegetable in a Separator | Chicken Feed, Duck Feed, Horse Feed, Deer Feed, Musk Deer Feed |
Eggs | Sheep Feed, Cattle Feed | |
Rabbit Poop | Collected from Rabbit Hutch | Chicken Feed |
Several feed recipes have been documented:
Feed | Recipe |
|---|---|
Cattle Feed | 1 Egg + 1 Pasture Grass + 2 Fruit Pulp |
Sheep Feed | 1 Egg + 1 Pasture Grass + 2 Fruit Pulp |
Rabbit Feed | Pasture Grass (primary ingredient) |
Chicken Feed | Vegetable Juice + Rabbit Poop |
Duck Feed | Vegetable Juice (primary ingredient) |
A recurring design pattern is that each feed recipe requires byproducts from lower-tier animals. For example, Sheep Feed and Cattle Feed both require Eggs, which come from Chickens and Ducks. Chicken Feed itself requires Rabbit Poop. This creates a natural progression where owning earlier animals supports feeding later ones.
Two of the most important feed ingredients, Fruit Pulp and Vegetable Juice, are both produced at the Separator station. The Separator blueprint is included free in Zerine's Equipment Blueprint bundle from the start of the game. Simply place any fruit in the Separator to get Fruit Pulp, or any vegetable to get Vegetable Juice. Growing a mix of fruit and vegetable crops on your farm ensures a steady supply of both ingredients.
As you advance through the Rancher profession, you unlock upgraded Feeder stations that produce enhanced feed variants. Each tier of feed provides additional benefits to your animals:
Station | Worktable Tier | Feed Prefix | Benefit |
|---|---|---|---|
Feeder | Worktable I | (Standard) | Keeps animals fed and producing basic byproducts |
Mirth Feeder | Worktable II | Mirth | Boosts animal happiness, leading to higher-quality products |
Mega Feeder | Worktable II | Mega | Larger feed capacity; reduces refill frequency |
Love Feeder | Worktable III | Love | Boosts breeding readiness in addition to feeding |
The Mirth Feeder produces 11 "Mirth" variants of standard feeds (e.g., Mirth Chicken Feed, Mirth Cattle Feed) that increase animal happiness when consumed. Happy animals produce higher-quality byproducts, which sell for more and are needed for advanced cooking recipes. The Mega Feeder also produces 11 variants with larger batch sizes, meaning you refill less often. The Love Feeder adds 12 variants including Love Royal Jelly, and its feed boosts breeding cooldown rates when placed in enclosures with breeding pairs.
You can always purchase basic feed from Pastelle's shop at Green Pasture Ranch. This is convenient early on before you have the Feeder, but it gets expensive as your herd grows. Here is a quick comparison:
Method | Pros | Cons |
|---|---|---|
Buy from Pastelle | Instant, no prep needed | Ongoing coin drain; only standard quality |
Craft at Feeder | Cheaper long-term; access to Mirth/Mega/Love variants |
For most players, the ideal approach is to buy feed from Pastelle during the first few days while setting up your farm, then transition to crafting once you have a Feeder and a steady supply of Pasture Grass, Fruit Pulp, and Vegetable Juice.
The v0.3.4862 patch (March 20, 2026) introduced significant balance changes to feed crafting and purchasing. These changes were made in response to community feedback that feed production felt too slow relative to the number of animals a mid-game player typically manages.
Several feed types now produce multiple units per craft at the Feeder, dramatically improving the efficiency of feed production:
Feed Type | Old Yield | New Yield |
|---|---|---|
1 per craft | 2 per craft | |
Cattle Feed | 1 per craft | 3 per craft |
Horse Feed | 1 per craft | 4 per craft |
These yield increases mean that a single crafting session produces substantially more feed, reducing the time players spend at the Feeder and letting them focus on other activities. The materials per craft remain the same, so the effective cost per unit of feed has dropped significantly.
Feed prices at Pastelle's shop at Green Pasture Ranch were reduced by approximately 25% across the board. This makes purchasing feed a more viable alternative to crafting, especially for players who prefer to spend their time on other activities rather than gathering feed ingredients. The price reduction applies to all standard feed types available in the shop.
Combined with the yield increases for crafted feed, these changes make livestock management considerably less time-consuming in the mid and late game. Players with large herds of 10+ animals will notice the biggest improvement, as the daily feed requirements are now much easier to meet through either crafting or purchasing.
Before reaching Apprentice Rancher rank, players can collect free animal feed daily from Pastelle's Ranch Shop. The types given are random and the quantity is limited to a couple per day, but this is a useful supplement in the early game when crafting materials are scarce. Once you advance past Apprentice Rancher, this free source is no longer available, so take advantage of it while you can.
Hand-feeding animals directly from your inventory provides an affection bonus on top of the feed's normal effect. This is the preferred method over auto-feeding from troughs, especially for animals you are trying to raise affection with quickly. Keep a storage box stocked with feed near each enclosure so daily feeding runs are fast and efficient. Brushing dirty animals every few days using blueprints from Pastelle also helps maintain hygiene and happiness.
As your ranch grows, feed costs can become a significant drain. The most sustainable approach is growing your own feed crops. Plant pasture grass and wheat in dedicated plots near the ranch area, then process them through your Feeder. Special feeds like Mirth Feed and Growth Feed can be crafted in higher-tier Feeders for bonus effects on your animals. Breeding animals with the "Workaholic" or "Twins" DNA traits produces enhanced output that offsets the increased feed costs of a larger operation.
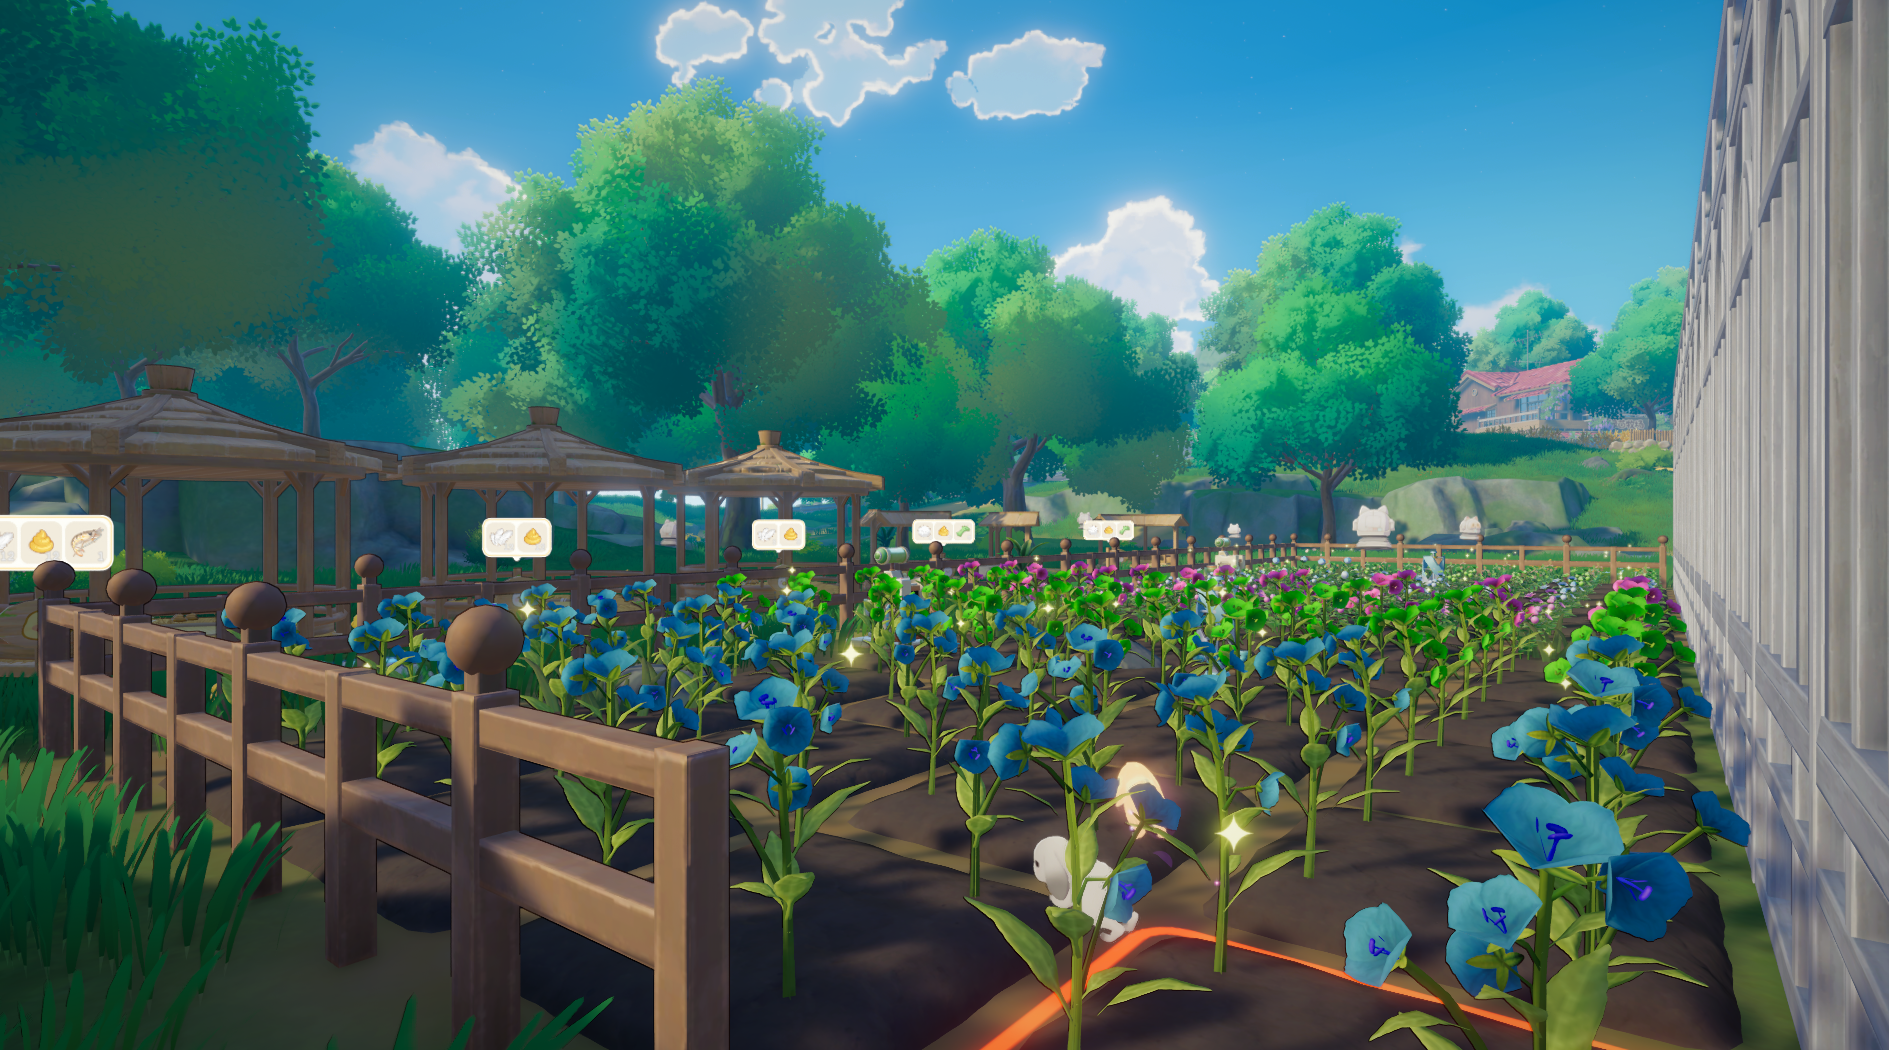
Grow crops for the Separator. Plant a row of fruit trees and a patch of vegetables specifically for feed production. This gives you a renewable supply of Fruit Pulp and Vegetable Juice without cutting into your sell crops.
Stockpile Pasture Grass. Clear weeds and shrubs whenever you see them. Pasture Grass is used in multiple feed types, and running out is the most common bottleneck.
Place Feeders near enclosures. Minimize walking distance by building a Feeder close to each cluster of animal pens. You will be refilling feed daily.
Upgrade to Mirth Feed as soon as possible. The happiness boost from Mirth Feed directly improves product quality, which increases your income from selling animal products.
Use the Love Feeder for breeding. If you are actively breeding animals, place a Love Feeder near your Breeding House to speed up the process.
Collect eggs daily. Eggs are a key ingredient for Sheep and Cattle Feed. Check your Chicken Coop and Duck Coop every morning.
Animals that are fed daily maintain their happiness level and produce byproducts on schedule. If you skip feeding, animal happiness drops, and starving animals eventually stop producing entirely. The Item Quality System also applies to animal products: animals with happiness above 150 produce higher-star items that sell for significantly more. Using Mirth Feed instead of standard feed is the most direct way to boost happiness and push your products into higher quality tiers.
Do all animals eat the same feed?
No. Each animal species has its own dedicated feed type. You cannot feed Rabbit Feed to a chicken or Cattle Feed to a sheep. The Feeder's crafting menu shows only the feed types matching animals you currently own.
Can I automate feeding?
The Mega Feeder holds larger batches that last multiple days, which reduces how often you need to refill. Beyond that, there is no fully automatic feeding system in the current Early Access version. You still need to manually add feed to the Feeder station and place it in the enclosure.
Where do I get the Mirth Feeder blueprint?
The Mirth Feeder blueprint becomes available at Pastelle's shop or through Rancher profession progression. It requires a Worktable II to build, so you also need to advance your Crafter profession to unlock the Worktable II.