Overview
Photo Mode is a beta feature in Crimson Desert that lets players pause gameplay and reposition the camera to capture screenshots of the game's world, characters, and action sequences. The feature was not included in the game's initial launch on March 19, 2026, but Pearl Abyss added it in a subsequent post-launch update. Because it is still labelled as a beta, the studio has indicated that additional improvements and expanded functionality may arrive in future patches.
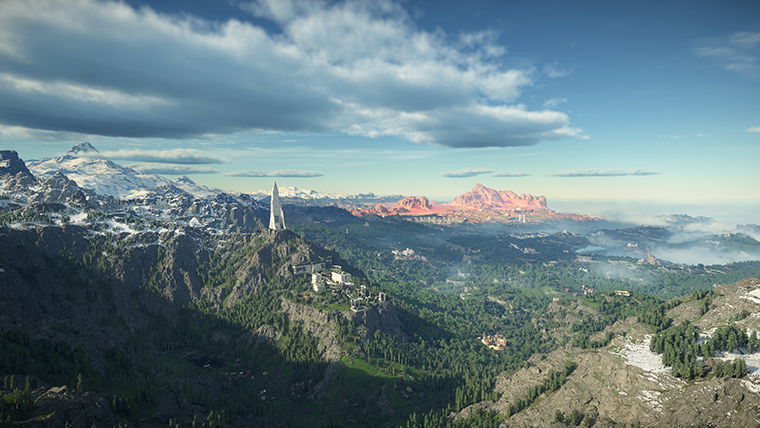
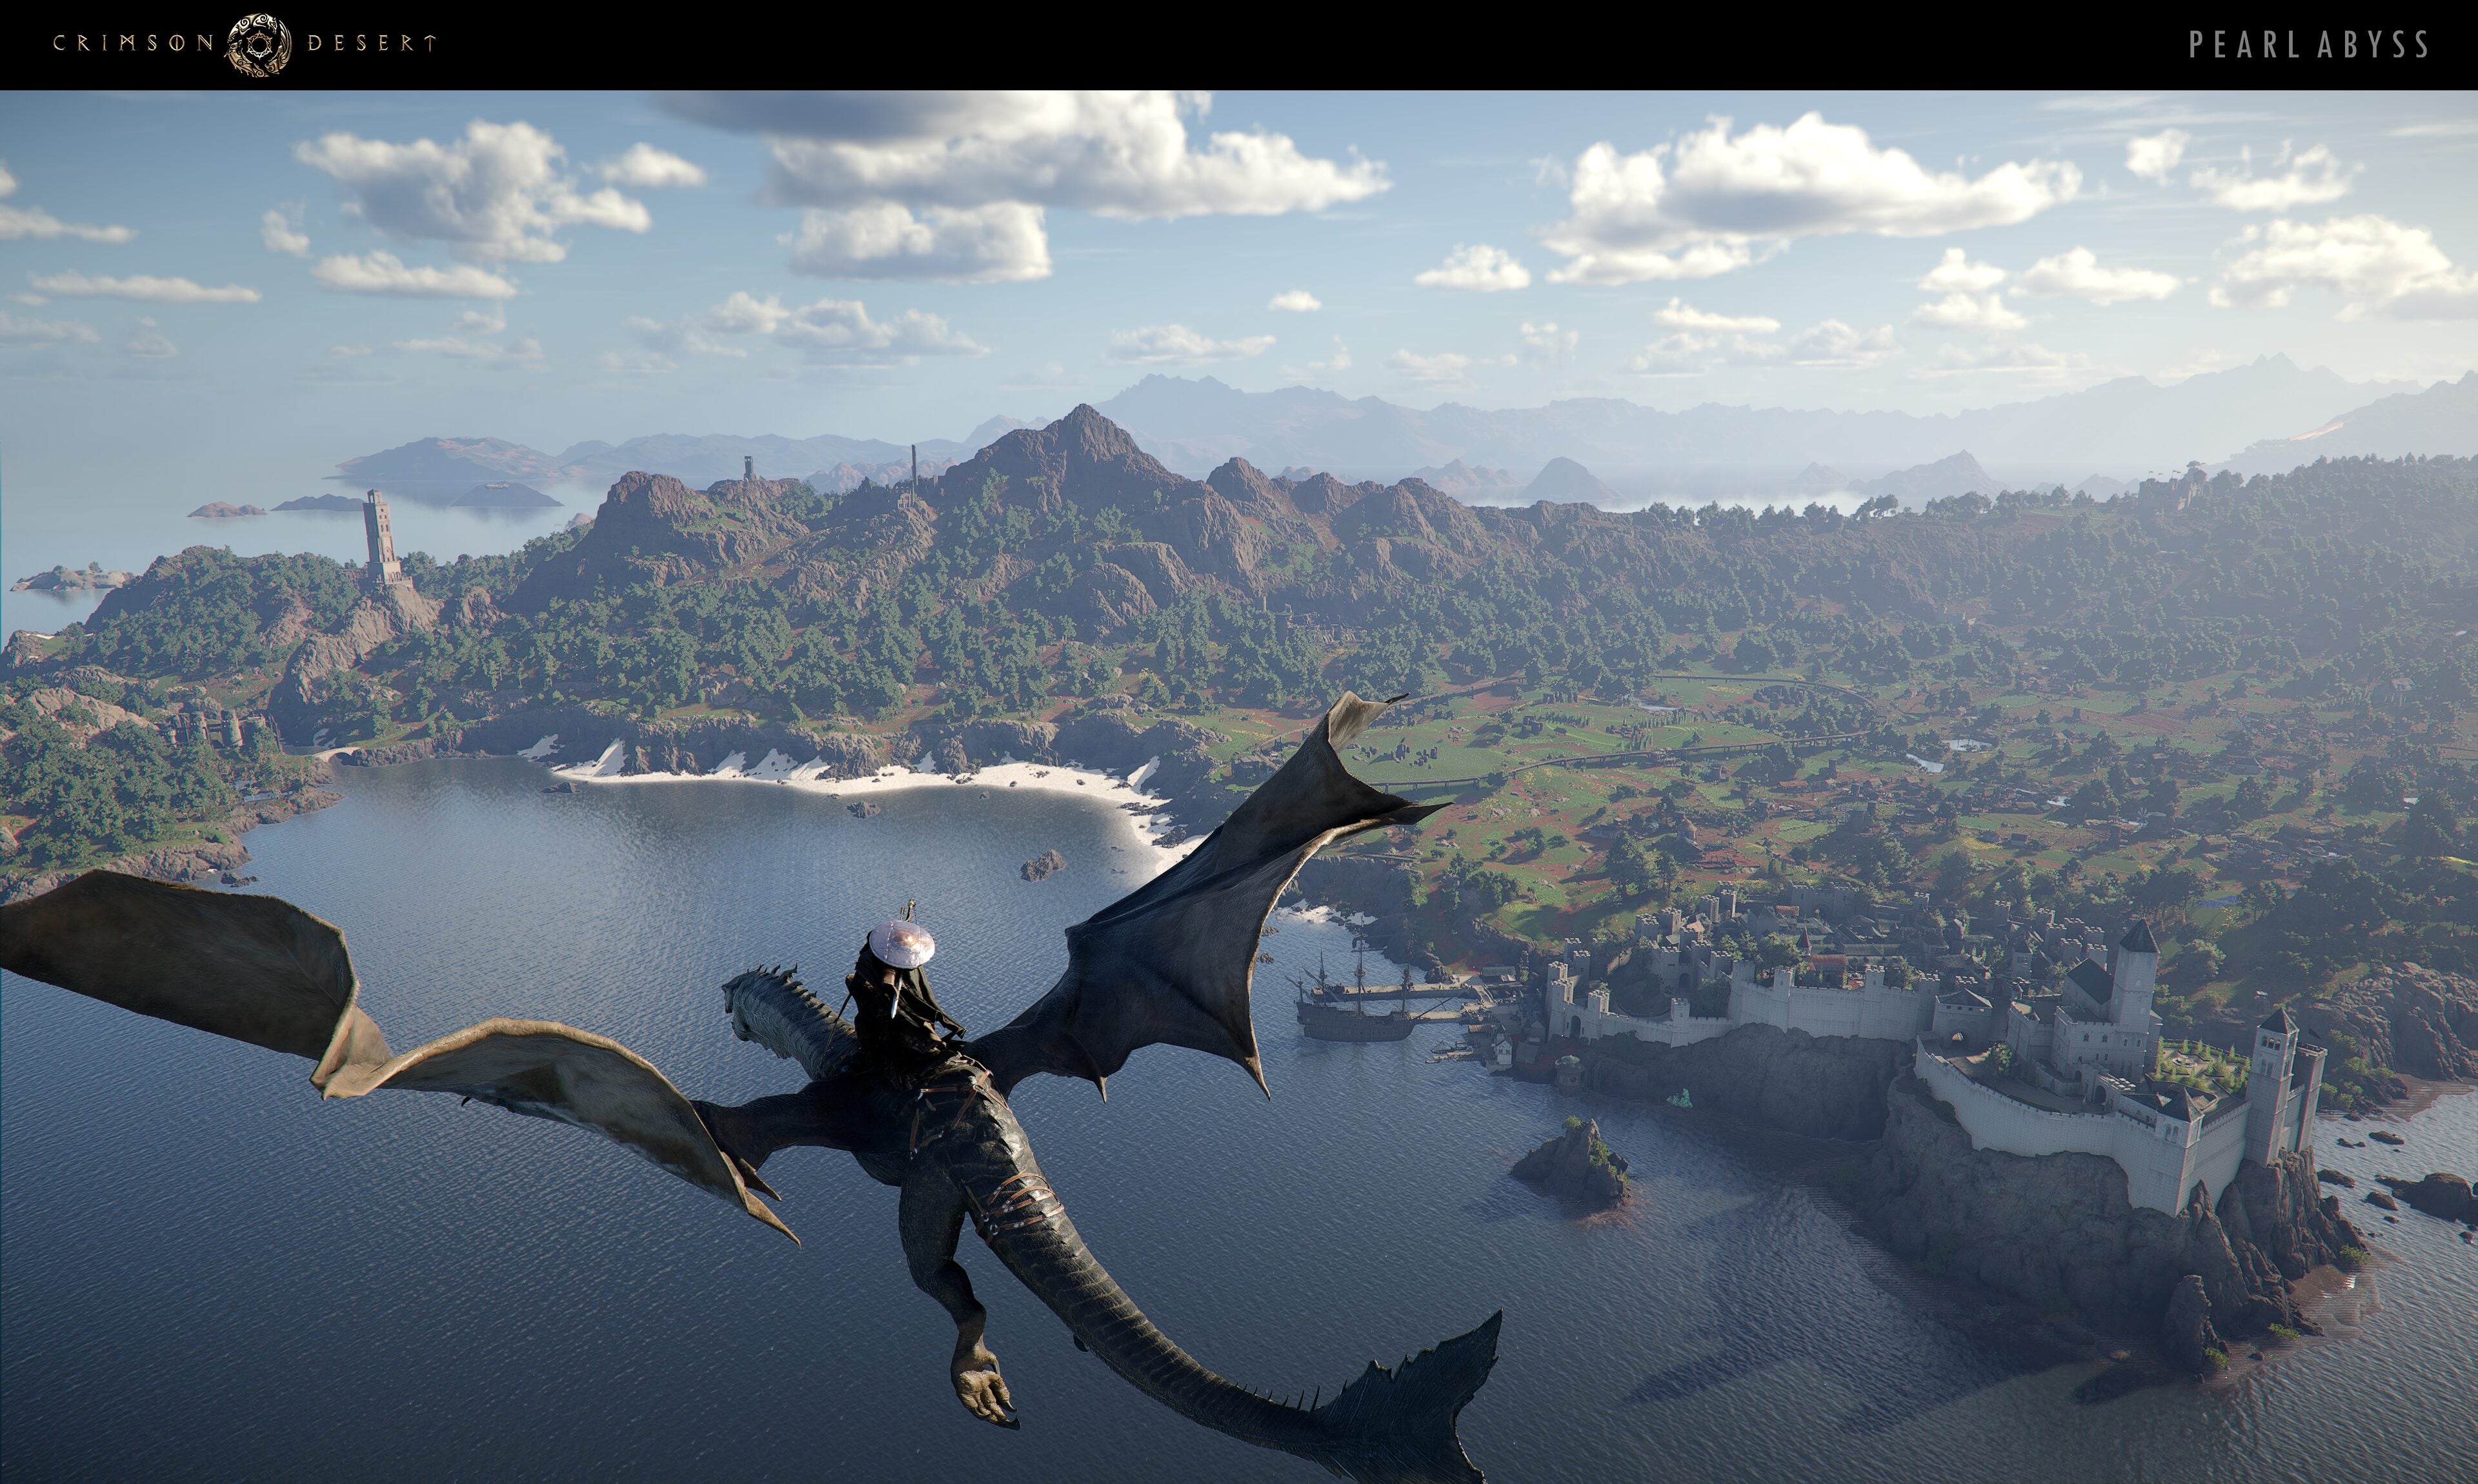
Crimson Desert's detailed character models, dynamic weather system, and varied landscapes across Pywel provide plenty of photographic opportunities. The BlackSpace Engine's rendering capabilities, motion-captured cinematics, and destructible environments add visual depth that rewards experimentation with the camera.
How to Access Photo Mode
Photo Mode is accessed through the game's pause menu. Open the pause menu by holding Escape on keyboard or Options / Menu on a controller. Navigate to the Others tab on the right-hand side, then select the Photo Mode option. The game world freezes when Photo Mode is active, giving you time to compose your shot without worrying about enemies or environmental hazards.
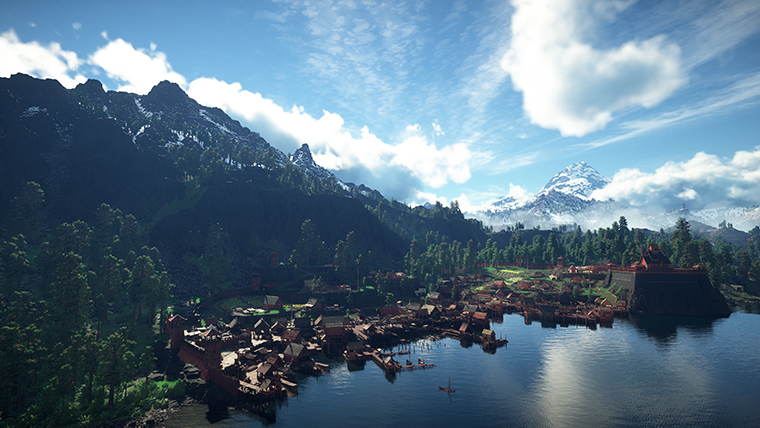
Photo Mode can be activated during most gameplay situations, including exploration, combat encounters, and cutscenes (with some exceptions for scripted sequences where camera control is restricted). You cannot access Photo Mode while swimming or during certain quick-time events.
Camera Controls and Positioning
Once inside Photo Mode, the camera detaches from its normal follow position and can be repositioned around the scene. The current beta provides a camera repositioning system rather than a completely free-roaming camera, so movement is tethered within a radius of the player character.
Action | Keyboard / Mouse | Controller |
|---|---|---|
Move Camera | W / A / S / D | Left Stick |
Rotate Camera | Mouse Movement | Right Stick |
Zoom In / Out | Scroll Wheel | D-Pad Up / Down |
Camera Height Up / Down | Space / Ctrl | LB / LT (or L1 / L2) |
Tilt (Roll) Camera | Q / E | RB / RT (or R1 / R2) |
Capture Screenshot | Enter / Capture Button | A (Xbox) / Cross (PS) |
Exit Photo Mode | Escape | B (Xbox) / Circle (PS) |
The zoom range lets you pull the camera close enough for tight portrait shots or push it back for wide landscape compositions. The tilt (roll) control is especially useful for dramatic diagonal framing. Keep in mind that the tethered range means you cannot fly the camera far from Kliff's position; if you need a different angle on a distant subject, reposition your character before entering Photo Mode.
Filters and Effects
The Photo Mode beta includes a set of visual adjustments that can be applied before capturing a screenshot. While the selection is more limited than some other titles, it covers the essentials for enhancing your shots.
Setting | Description |
|---|---|
Brightness | Adjusts the overall exposure of the scene. Useful for brightening dark interiors or toning down overexposed outdoor shots. |
Contrast | Controls the difference between light and dark areas. Higher contrast gives a punchier look; lower contrast produces a flatter, more cinematic feel. |
Depth of Field | Enables a bokeh-style blur effect. When active, objects at the focus distance remain sharp while foreground and background elements blur, drawing the viewer's eye to the subject. |
Determines which plane of the scene is in sharp focus when Depth of Field is enabled. Adjust this to keep your subject crisp. | |
Vignette | Darkens the edges of the frame, creating a natural focus toward the centre of the image. A subtle vignette works well for portraits. |
Color Filters | A small set of preset colour grading options (such as warm, cool, desaturated, and high-contrast looks) that can shift the mood of a screenshot. |
The game's rendering pipeline also includes settings outside of Photo Mode that affect screenshot quality. Under Settings > Accessibility, you can toggle Depth of Field, Blur Intensity, and Camera Shake Intensity. Setting Blur Intensity to 0 and Camera Shake to 0 before entering Photo Mode can produce cleaner, sharper base images that respond better to the mode's own depth-of-field controls.
Hiding Earring and Accessory Visuals
Earrings and other accessories can sometimes look distracting in close-up screenshots. Crimson Desert provides a dedicated toggle for hiding accessory models on each playable character without removing the items or losing their stat bonuses.
To hide accessory visuals, open Settings, navigate to the Languages and Gameplay tab, and look for the display accessories toggles. There are separate options for each playable character:
Display Kliff's Accessories (on by default)
Display Damiane's Accessories (on by default)
Display Oongka's Accessories (on by default)
Setting any of these to Off will hide the visual model of equipped earrings, rings, and necklaces on that character while all stat bonuses and special effects from the equipment remain fully active. This is particularly useful for portrait-style Photo Mode shots where you want a clean look around the character's face and ears.
Hood and Visor Removal
Crimson Desert does not have a simple "hide helmet" toggle, but there are reliable workarounds to show Kliff's face in Photo Mode without sacrificing defensive stats.
Opening a Helmet Visor
If your equipped helmet has a visor (for example, the Bolton Plate Helm), you can flip it open while keeping the helmet equipped:
Open the Radial Quick Menu with left D-Pad on a controller or the T key on keyboard.
Navigate to the Armor tab.
Hover over the helmet slot.
Press the right joystick (R3) on a controller or click the mouse scroll wheel on PC to toggle the visor open or closed.
Opening the visor reveals Kliff's face without removing the helmet or its stats. This looks great for close-up Photo Mode portraits.
Removing a Cloak Hood
Hooded cloaks can obscure the character's head in screenshots. To remove the hood while keeping the cloak and its bonuses, highlight the cloak or helm slot in the armor quick wheel (left D-Pad / F2), then release the wheel without pressing A (or the equip button). This deselects the slot and can cause the hood to lower, exposing the character's head. The cloak itself remains equipped, so you keep its defensive bonuses. Results vary depending on the specific cloak and helmet combination, so experiment with different pairings.
Character Facial Tracking
Crimson Desert's characters are built with detailed facial animation rigs powered by the BlackSpace Engine. When you zoom the Photo Mode camera in close to a character's face, they will turn their gaze toward the lens. This subtle facial tracking behaviour means that characters appear to make eye contact with the viewer in portrait shots, adding a personal quality to close-up screenshots.
The tracking applies to the player character. NPCs frozen in the scene do not adjust their gaze. If you want an NPC to appear to look at the camera, position the camera to align with the direction they were already facing when the scene was paused.
Tips and Tricks: Getting Good Screenshots
Even with the beta's limited toolset, a few techniques can dramatically improve screenshot quality.
Use first-person mode for landscapes. Switch to the first-person camera perspective before entering Photo Mode for immersive landscape shots. First-person mode removes the character model from the frame, letting the scenery speak for itself.
Adjust time of day. Rest at a bonfire or bed to change the in-game time. Dawn and sunset produce warm, golden light that flatters characters and environments. Night scenes under moonlight or torchlight create moody contrast.
Exploit weather. Rain, fog, and snow each transform the look of Pywel's regions. Fog softens distant detail for a painterly look, rain adds reflections to surfaces, and snow creates a high-contrast palette.
Hide the HUD. Before entering Photo Mode, disable the HUD through the in-game settings or by pressing the assigned toggle key. This gives you a cleaner starting image and prevents any HUD elements from bleeding into the edges of your shot.
Position on elevated terrain. Climbing a hill, tower, or cliff before activating Photo Mode gives you a much wider field of view for sweeping panoramic shots.
Combine depth of field with zoom. Zoom in on your subject and enable Depth of Field to blur the background. This isolates the character or object and gives the image a professional, cinematic quality.
Use the tilt control sparingly. A slight camera roll can add dynamism to action shots, but overusing it makes images look disorienting. Keep tilt subtle for the best results.
Remove distracting gear. Turn off accessory display (see above) and open your helmet visor before shooting a portrait. For full body shots, experiment with different equipment combinations to find a look that photographs well.
Capture during combat. Some of the most dramatic screenshots come from pausing mid-fight. Skills, particle effects, and enemy attack animations freeze in place, creating striking compositions. Practice entering Photo Mode at key moments during boss fights for especially spectacular results.
Turn off HDR for screenshots (PC). If you are using an HDR display on PC, screenshots captured through Steam or Windows may appear washed out. Temporarily disabling HDR in your display settings before a screenshot session can produce more accurate colours in the saved file.
Screenshot Storage and Sharing
Crimson Desert does not include a built-in social sharing feature. Screenshots captured through Photo Mode are saved locally, and sharing relies on platform-level tools.
Where Screenshots Are Saved
Platform | Default Location |
|---|---|
PC (Photo Mode Capture) | C:\Users\[Username]\Pictures\Screenshots (may also appear in your OneDrive Pictures folder if cloud sync is enabled) |
Steam Overlay (F12) | Steam screenshot folder (View > Screenshots in Steam client). Can be changed in Steam > Settings > In-Game. |
PlayStation 5 | Media Gallery on the PS5 home screen. |
Xbox Series X|S | Captures & Achievements in the Xbox Guide. |
Sharing Options by Platform
Platform | Method | How |
|---|---|---|
Steam (PC) | Steam Community Screenshots | Press F12 to capture via Steam overlay, then upload through the Steam screenshot manager. |
PC (Windows) | Windows Game Bar | Press Win + Alt + PrtScn for a quick capture, or Win + G to open the Game Bar for more options. |
PlayStation 5 | Share Button | Press the Share button once for a screenshot. Use the Media Gallery to share directly to social media or via PlayStation messages. |
Xbox Series X|S | Xbox Button + Y | Press the Xbox button then Y for a screenshot. Share through the Xbox app or directly to social media from the console. |
Because the in-game Photo Mode capture button and the platform screenshot keys are separate, some players prefer to compose their shot in Photo Mode and then use the Steam overlay (F12) or console share button to capture the final image. This avoids occasional issues where the in-game capture button may produce a black image when certain upscaling technologies (such as DLAA or DLSS) are active.
Known Issues (Beta)
As a beta feature, Photo Mode has some rough edges that Pearl Abyss may address in future updates.
Black screenshots with DLAA / DLSS. Some PC players have reported that screenshots captured with the in-game Capture button produce a completely black image when DLAA or any DLSS upscaling mode is active. Switching to a different anti-aliasing method or using the Steam overlay screenshot key (F12) as a workaround resolves the issue.
Limited camera range. The camera cannot move far from the player character. A true free camera, similar to the one available in Black Desert Online's Screenshot Mode, has been widely requested by the community.
No pose or expression controls. Unlike Black Desert Online's photo tools, the current beta does not allow players to select character poses or facial expressions. The character remains in whatever stance they were in when Photo Mode was activated.
No time-of-day slider. There is no in-mode control for changing the time of day or weather. Players must adjust these by resting at a bonfire or waiting for weather changes before entering Photo Mode.
Screenshot location confusion. The game does not display a notification indicating where the screenshot was saved, leading some players to search for their captures. Check the locations listed in the table above.
Comparison with Black Desert Online
Pearl Abyss's earlier title, Black Desert Online, features one of the most comprehensive screenshot modes in the MMO genre. Its tools include a full free camera, time-of-day controls, character poses and facial expressions, extensive colour grading, and depth-of-field presets. Crimson Desert's current Photo Mode beta is considerably more basic by comparison.
Community feedback since the beta launched has focused on requests for a free camera, character pose selection, and a wider range of filters. Pearl Abyss has acknowledged post-launch feature requests but has not committed to a specific timeline for Photo Mode improvements.
Other Planned Post-Launch Features
In addition to ongoing Photo Mode improvements, Pearl Abyss has indicated that New Game Plus is also being considered for a future update. The studio has committed to ongoing post-launch support and improvements following the game's launch. Early patches such as Version 1.00.02 and 1.00.03 have already addressed gameplay improvements, skill balancing, controls enhancements, item storage additions, and bug fixes, demonstrating an active approach to post-launch development.
Related Articles
Post-Launch Content
New Game Plus
BlackSpace Engine
Controls
Accessories
Equipment
Tips and Tricks